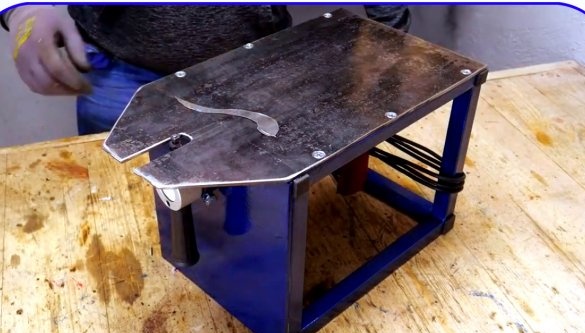
Perhaps some of you have encountered the need to cut sheet metal. This can also be done with an electric jigsaw, but the quality of the cut is not always good, especially if you need to cut curly details.
In this article, Dmitry, the author of the Men’s Craft YouTube channel, will tell you how he made a fairly simple machine that can handle even metal with a thickness of 1.5 mm.
Materials
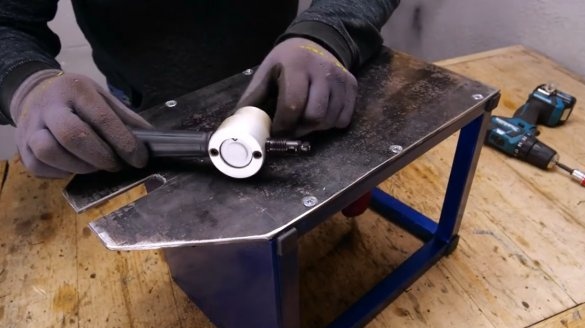
— Sheet Metal Drill Attachment
- drill
- Sheet steel
- Steel profile pipe
- M8 bolt, nuts
- Furniture caps
- Spray paint
- Machine oil.
Instruments, used by the author.
— Screwdriver, bits, drills for metal
— Countersink drill
— Bulgarian
- Petal stripping and cutting discs
— Clamps
— Semi-automatic welding
— Angle for adjustable angle welding
- Vise, core, file, Svenson's square
- Roulette, ruler, square, marker.
Manufacturing process.
The master will assemble the machine from sheet steel and a profile pipe using a welding machine. This machine can also be made of sheet plywood and wooden beams, then welding is not required.
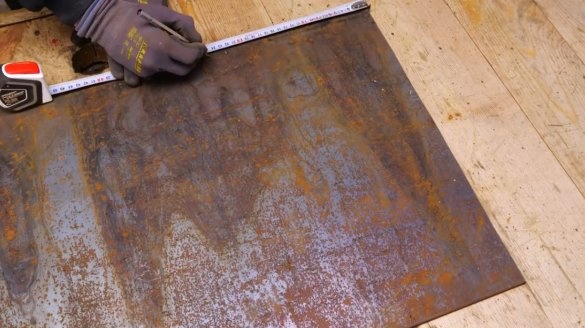
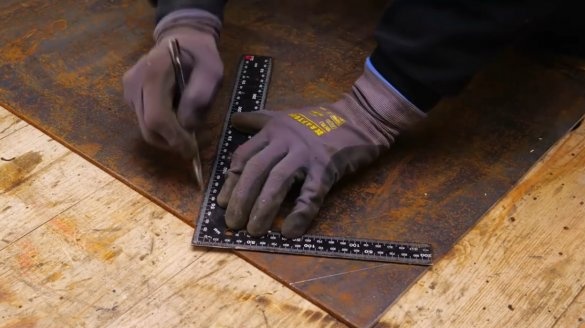
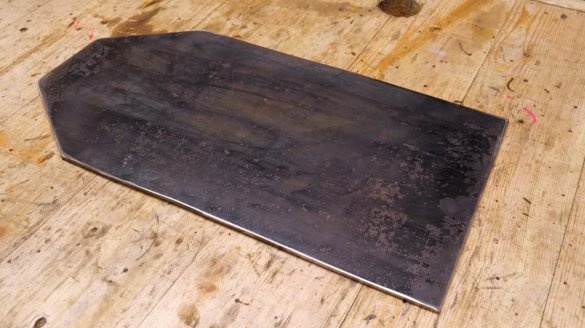
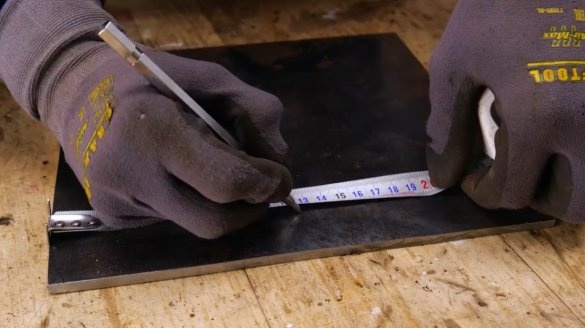
So, on a steel sheet, the author marks the contours of the future working surface of the table for the machine.
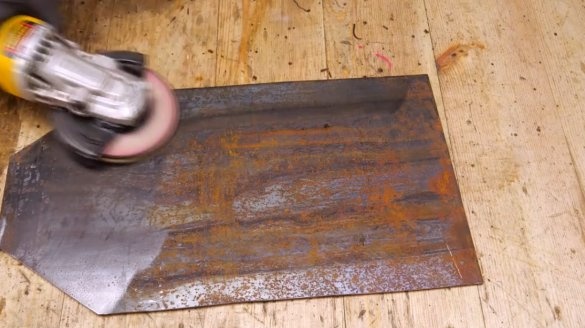
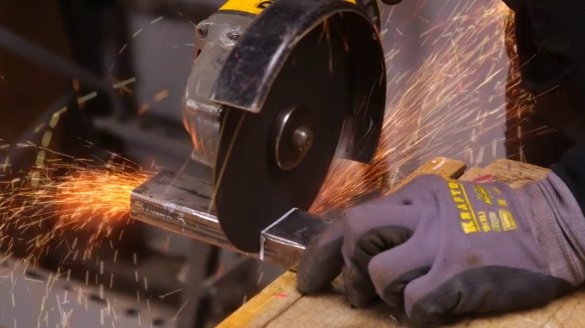
Having cut the workpiece with a grinder, he cleans both sides of it with a petal stripping disk, also processes the edges, removing burrs.
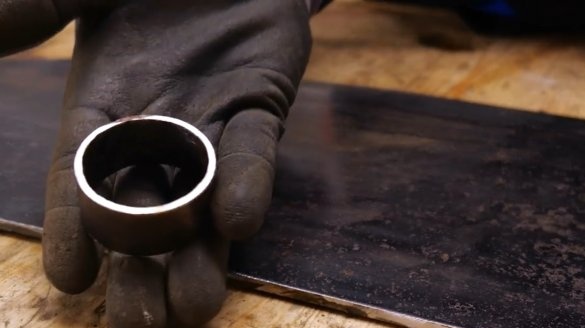
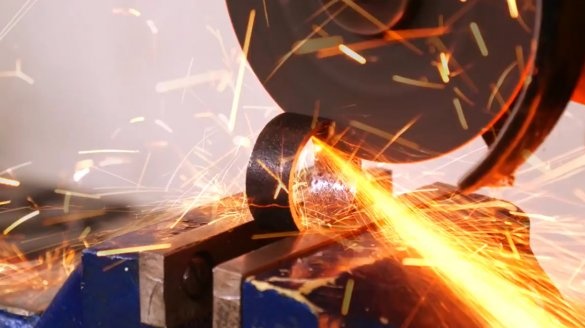
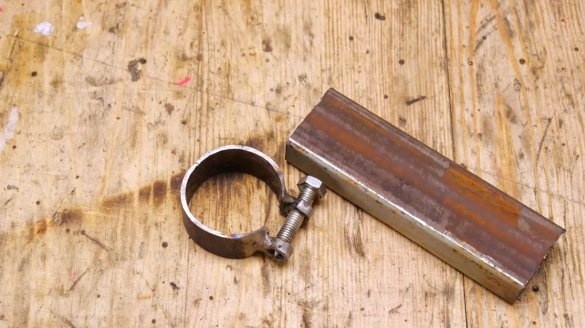
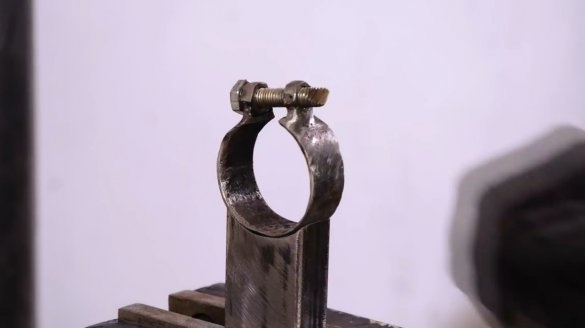
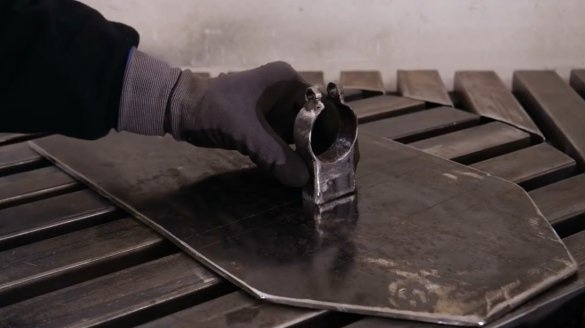
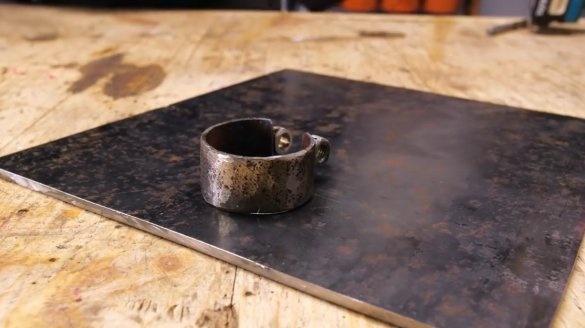
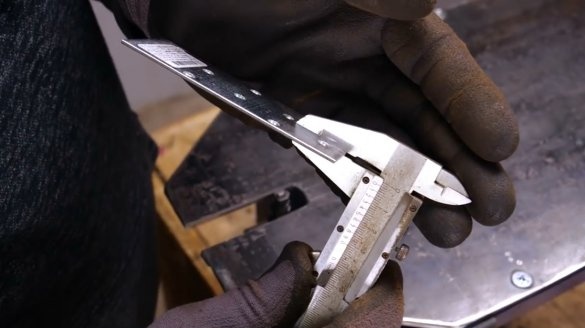
Now you need to make holders for nozzles and drills. To do this, the master cuts the rings from the steel pipe.
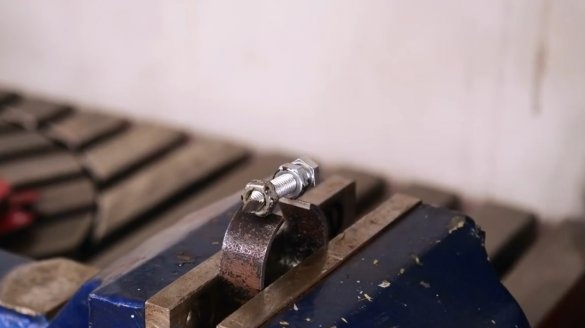
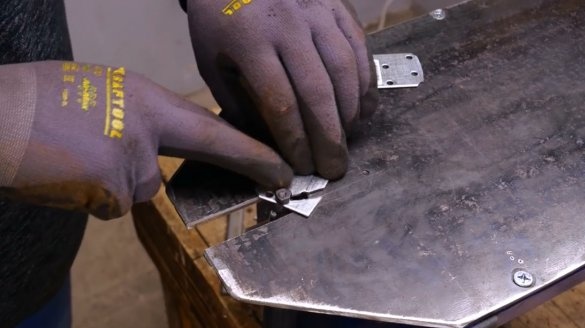
To the edges of the C-shaped blanks, the author welds a pair of nuts.
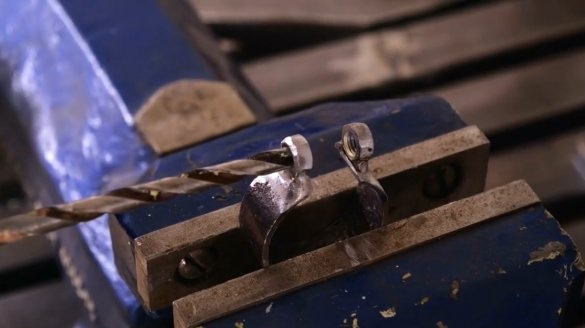
After stripping the welds, a thread is drilled in one of the nuts. She is not required.
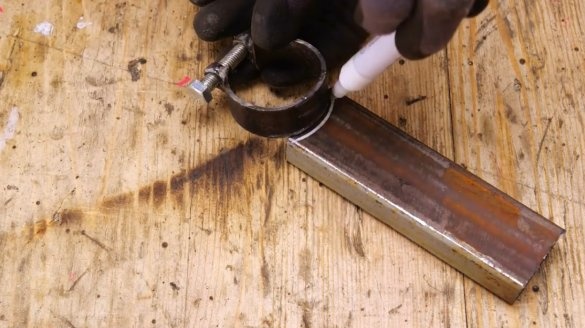
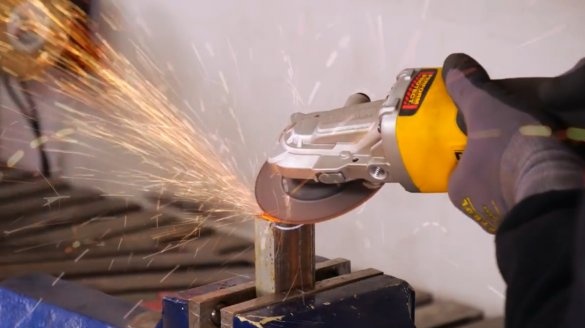
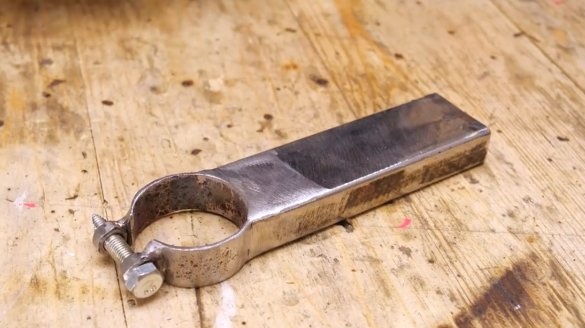
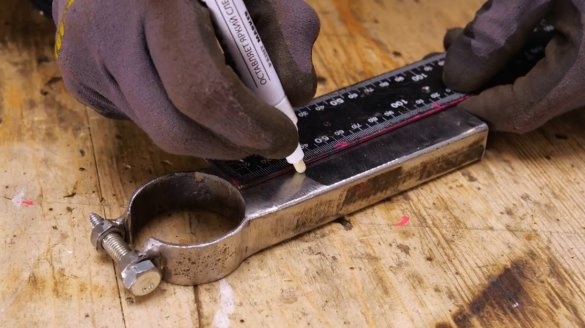
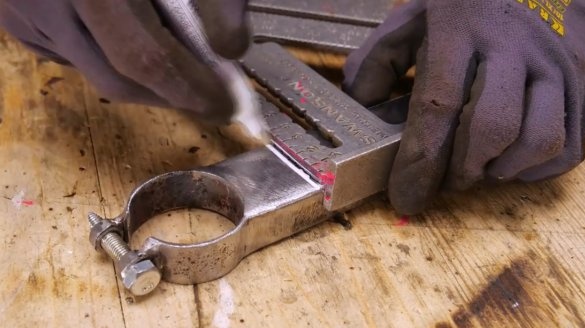
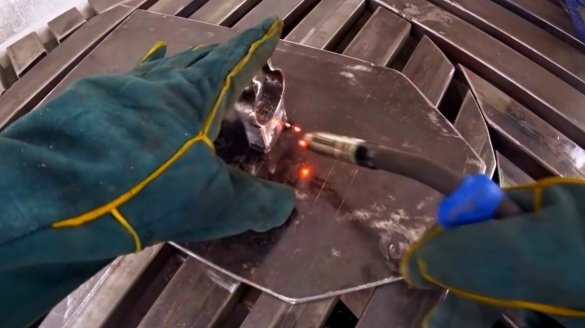
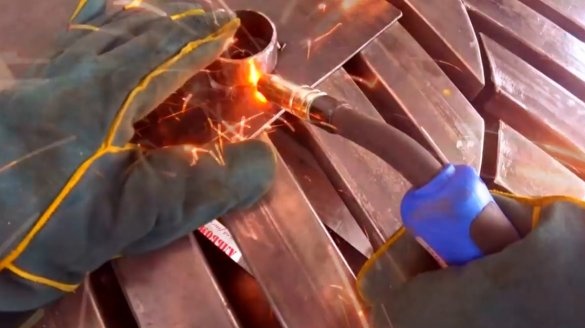
To the first ring that the drill will hold, you need to weld a section of the profile pipe 25X50 mm, having previously cut a radius recess in it.
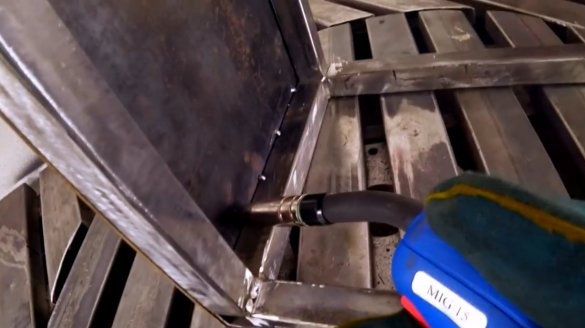
After welding, the seams are cleaned.
The master cuts off the excess profile pipe to the desired size relative to the table.
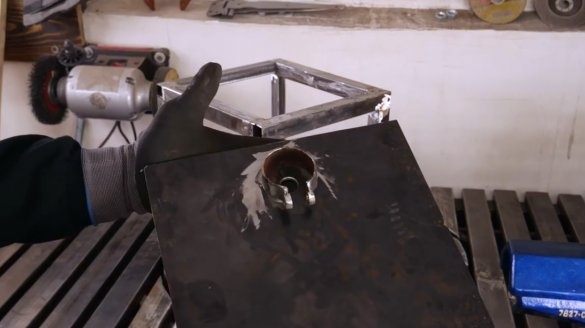
The first holder is welded to the bottom of the countertop sheet.
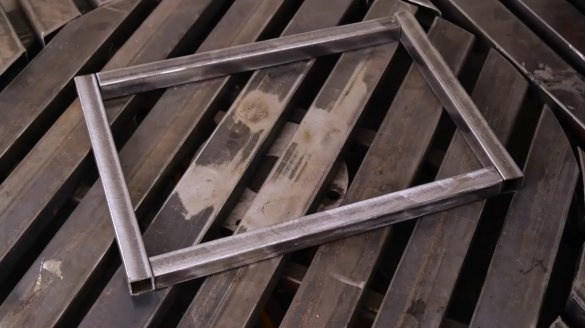
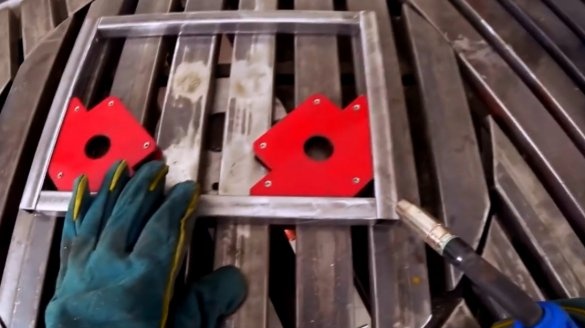
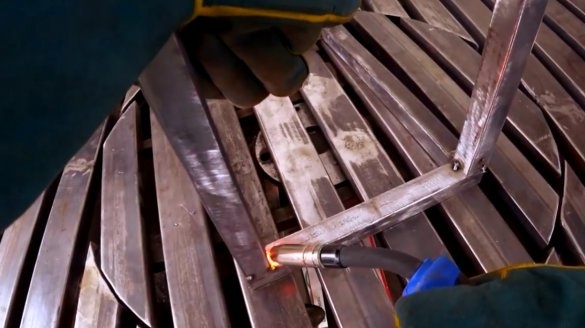
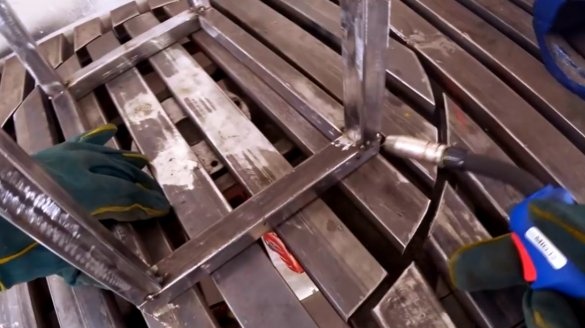
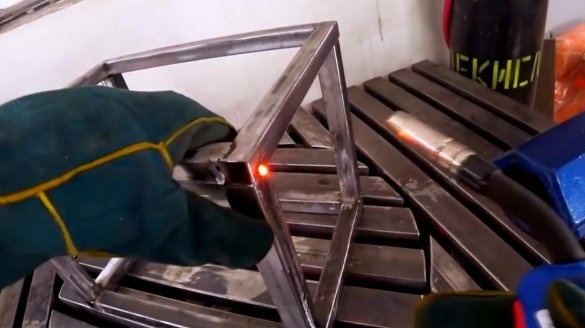
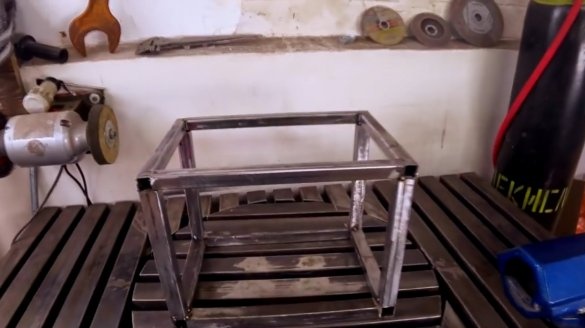
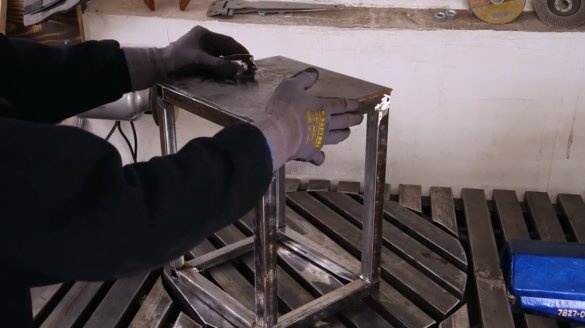
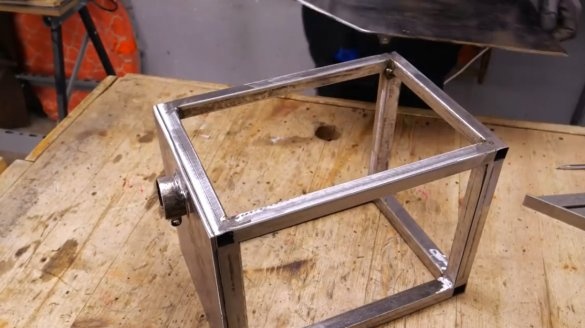
Further, from the profile pipes 25X25, the master begins to weld the frame of the machine.
Having collected two squares, and having cleaned the seams, the author connects them together by transverse racks, obtaining a parallelepiped.
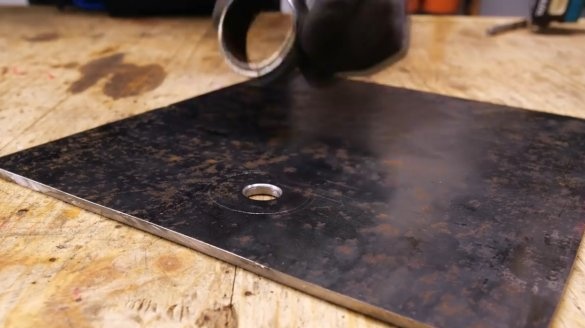
Cutting a plate for the front of the casing from a steel plate, he drills a hole for the nozzle shank in it.
The holder for the nozzle is welded to the front of the plate.
The author welds the plate to the front of the case.
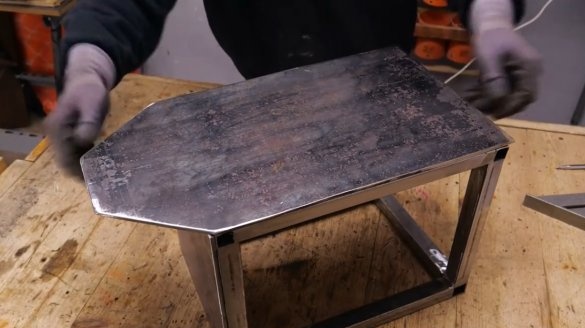
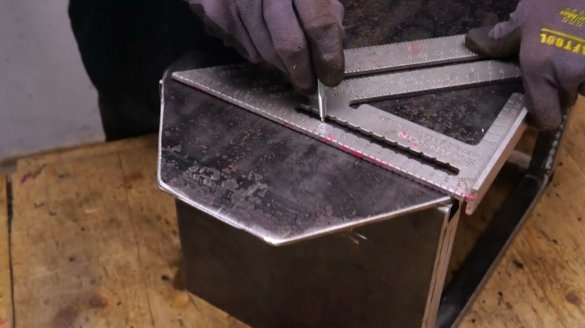
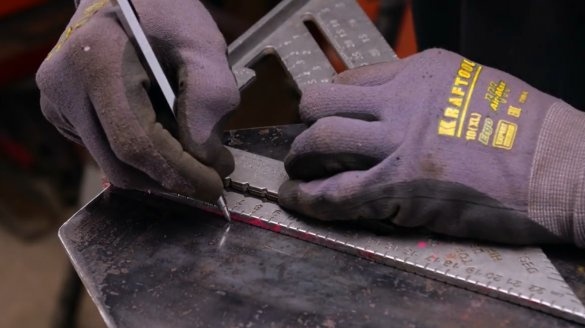
He tries on a plate of a countertop to the body, and marks out the necessary cutout on it.
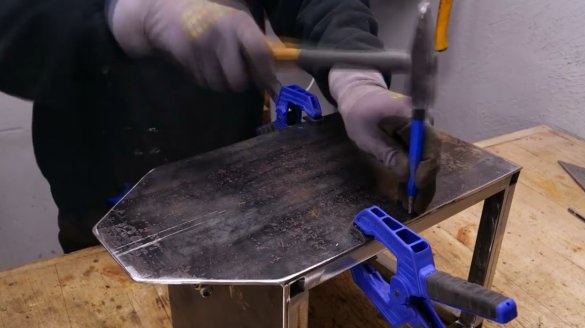
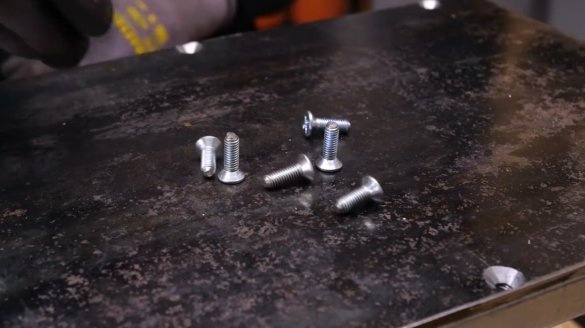
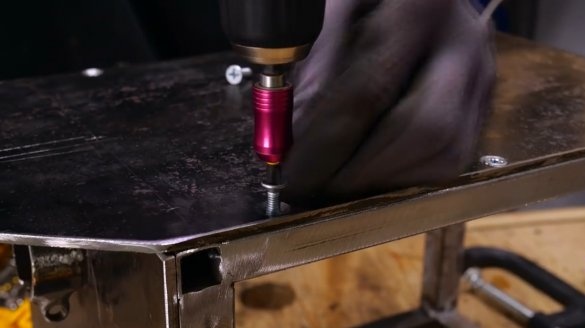
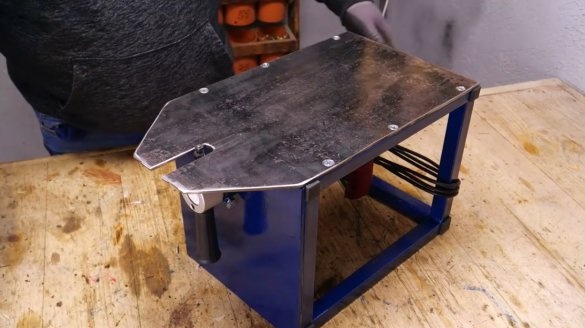
The master decided to attach the countertop to the case using simple screws, drilling holes for them with a countersink drill and cutting threads.
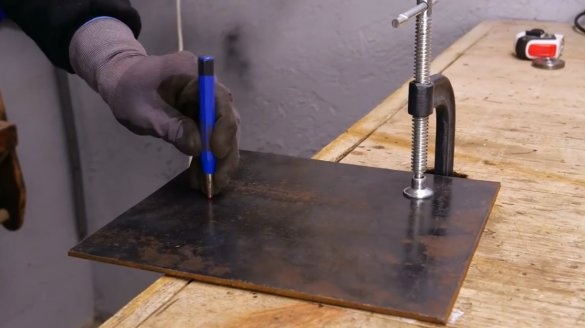
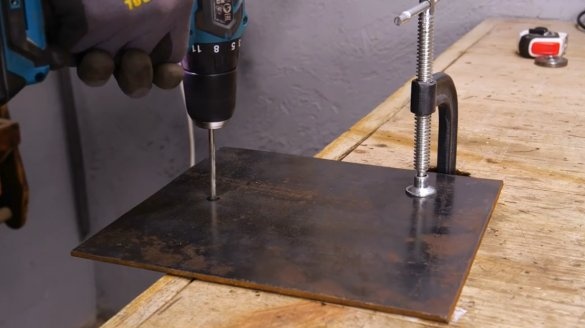
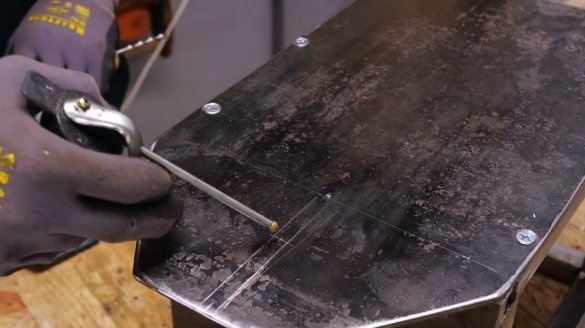
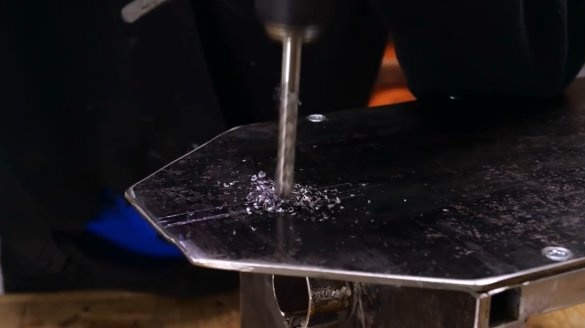
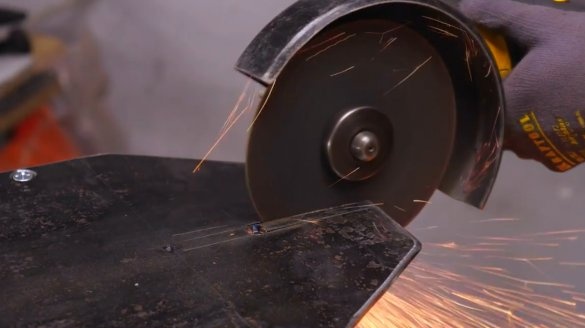
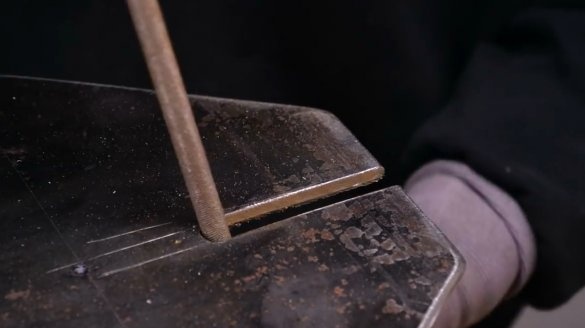
At the beginning of the marking, a hole is drilled, and then a slot is made in two passes with a grinder. Its edges are cleaned with a file.
The frame of the case, the lower part of the table, and the front panel are spray painted. The author leaves unpainted only the surface of the table. After it dries, plastic furniture plugs are clogged into the open edges of the body profile pipes.
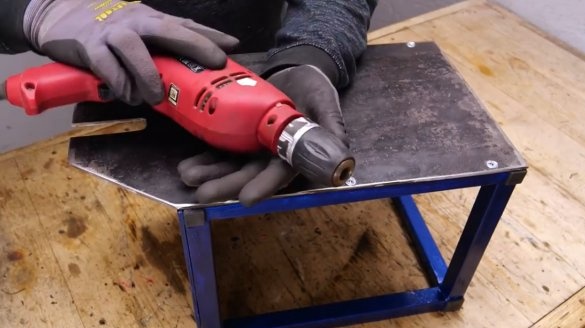
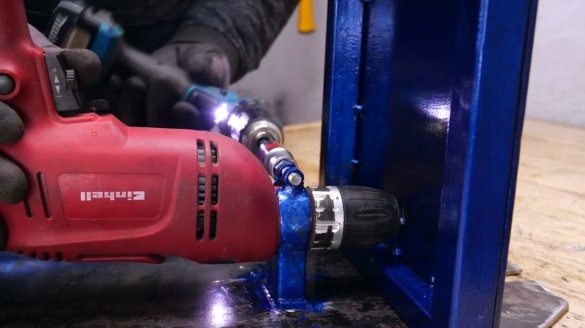
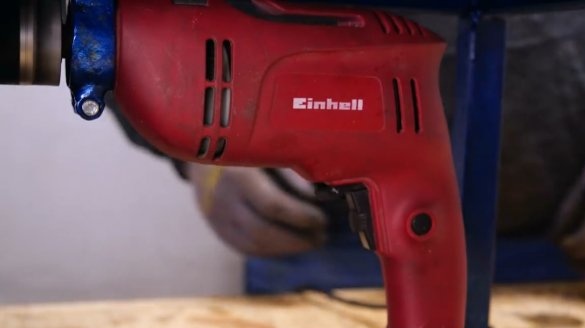
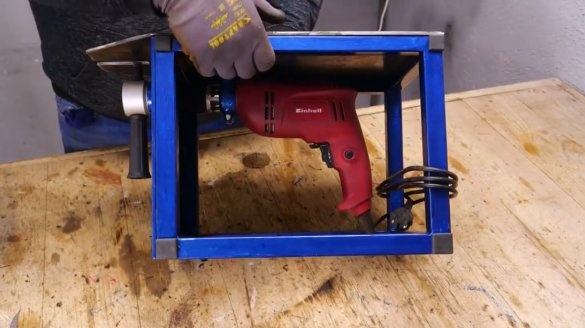
As an engine, you can use a screwdriver, but the master has been idle for a long time with an ordinary drill. It is attached from the bottom of the table.
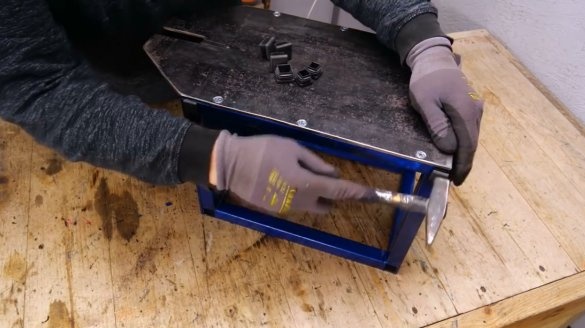
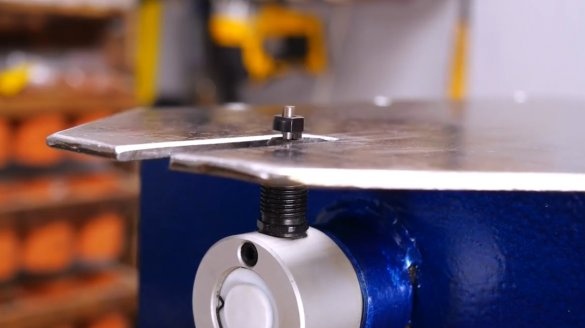
The cutting nozzle itself is fixed in the front holder, and its shank is clamped in the drill chuck.
For continuous operation of the machine, the button on the drill is fixed in the on state.
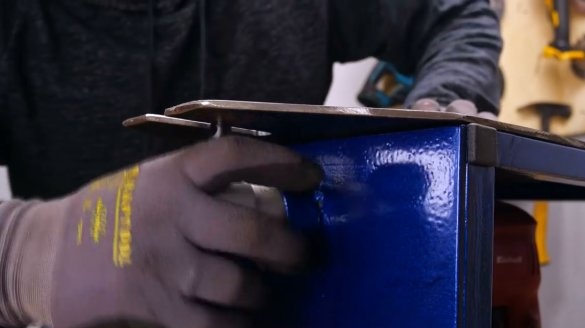
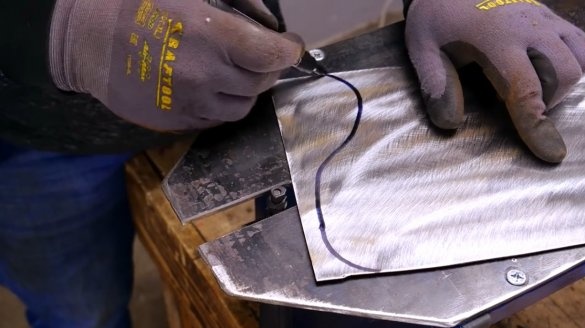
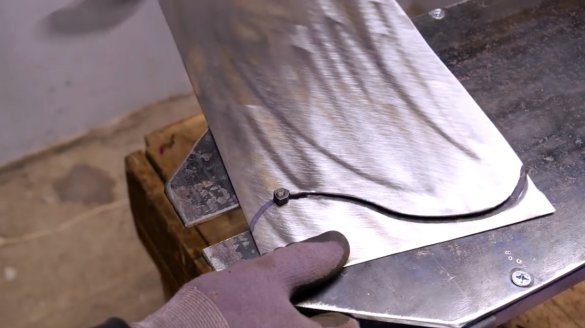
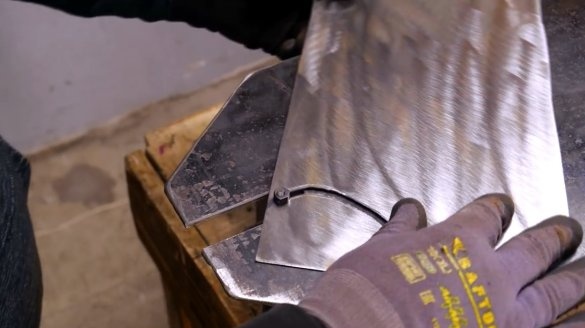
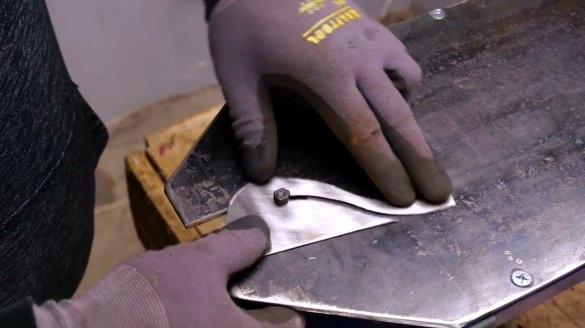
Everything is ready, you can cut metal sheets into parts of complex curly shape. However, their edges do not bend.
The machine can handle even thick steel sheets 1.5 mm thick, and the cutting speed is quite high.
Here is a compact product obtained from the master.
I thank Dmitry for the interesting idea and design of a simple but useful machine for the workshop!
If you have interesting homemade products, share them on this site. Here you will get a real reward, not a “bunch of green stuff" at the entertainment forum.
All good mood, good luck, and interesting ideas!
Author video can be found here.

