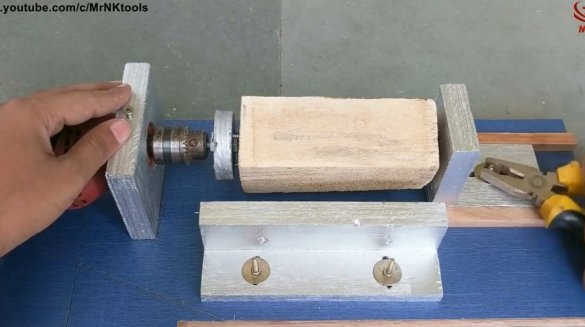
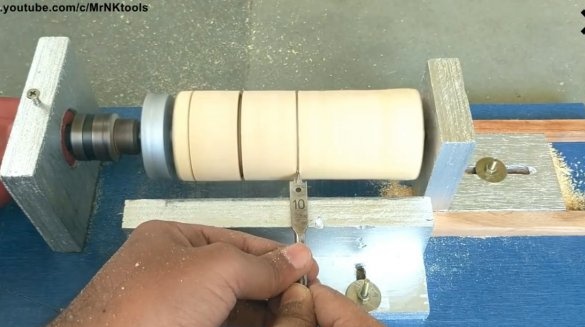
Of course, almost every one of you would like to have a small lathe.
In this article, the author of the YouTube channel “Mr. NK ”will tell you how he did it from an ordinary drill and scraps of plywood.
This homemade product is quite simple to manufacture, and especially sophisticated tools for it will not be needed.
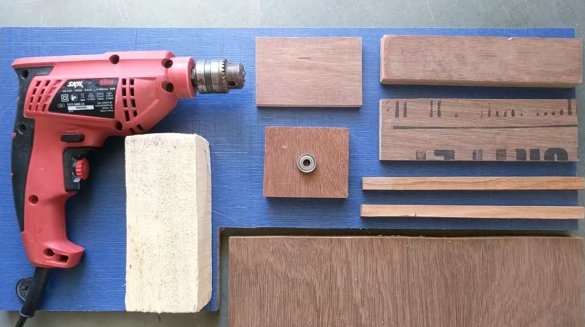
Materials
- sheet plywood
- Wooden beam
- Ball bearing, screws, washers, nuts
- Second glue
- Wood screws
- Sandpaper.
Instruments, used by the author.
— Screwdriver, drill, drill
— Crowns
— A circular saw
- Hacksaw, file, file, hammer, pliers, chisels.
Manufacturing process.
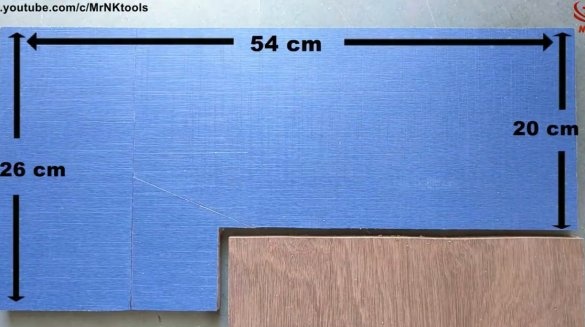
The base of this machine will be made of laminated MDF, and it has the following dimensions.
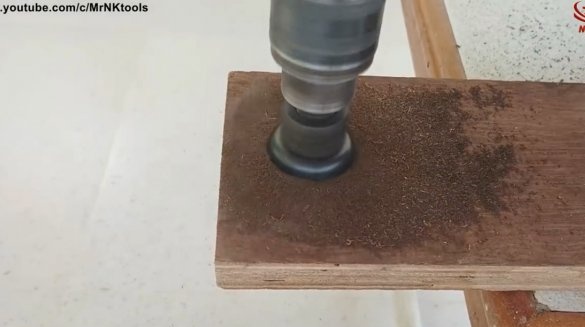
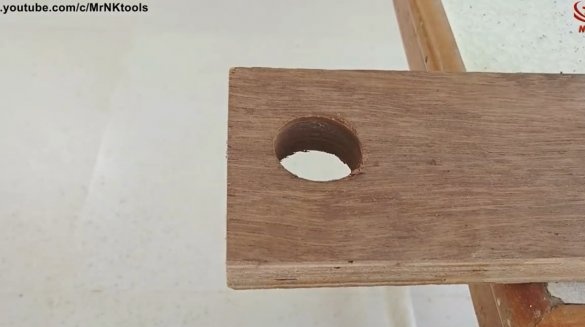
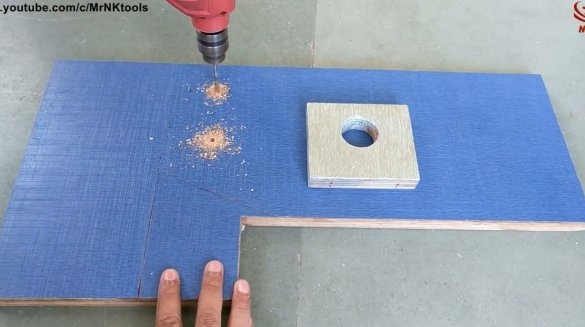
Next, you will need to drill a crown for the gear neck, it most often has an outer diameter of 43 mm.
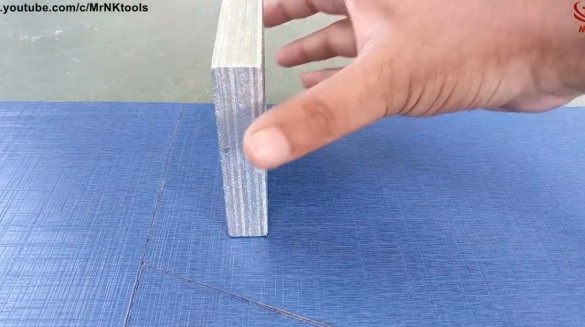
The stand is trimmed to the desired height using a circular saw or an electric jigsaw.
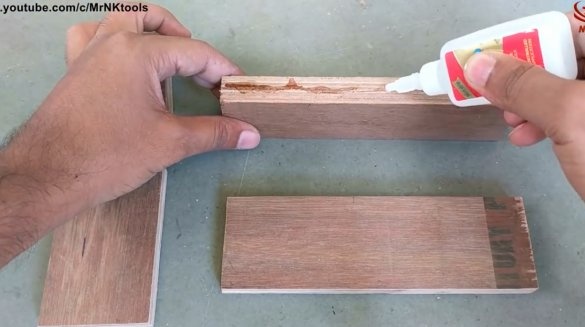
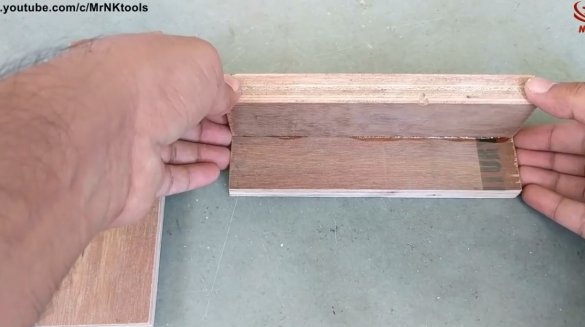
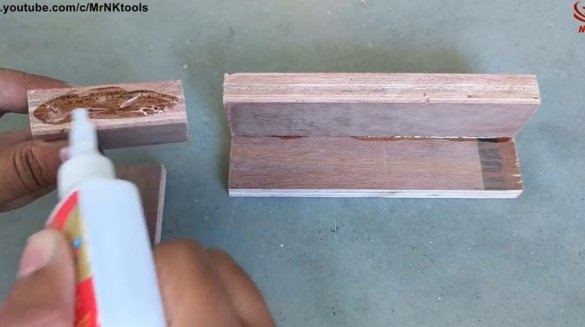
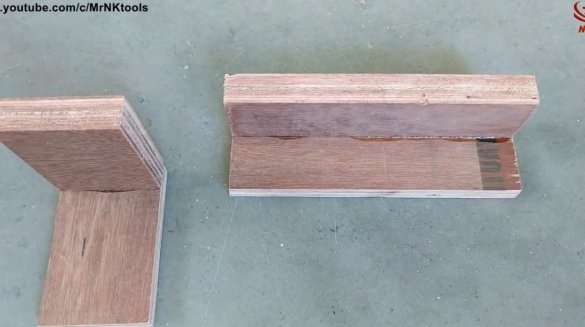
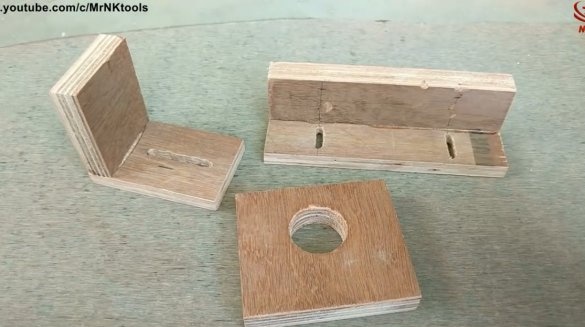
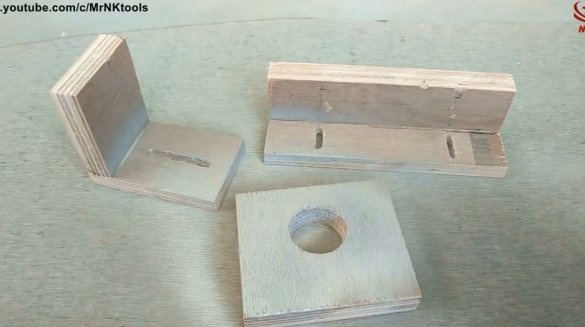
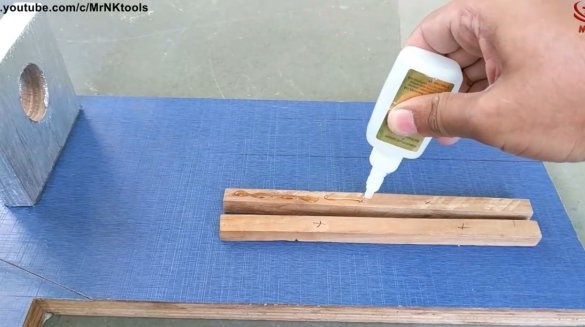
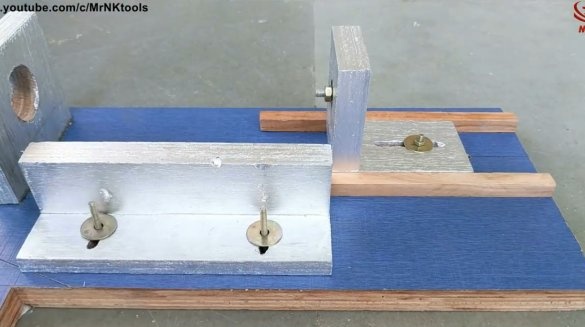
Then the master collects the emphasis for the cutters from two parts, you can connect using second glue, and then strengthen with screws.
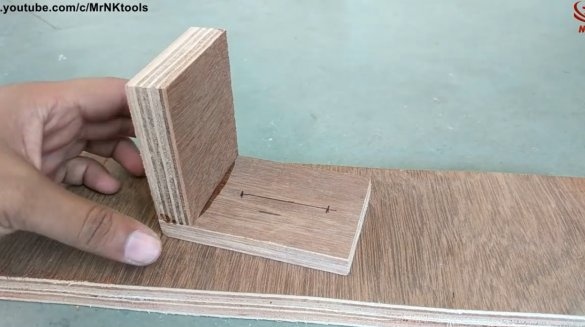
In the same way plywood tailstock is made.
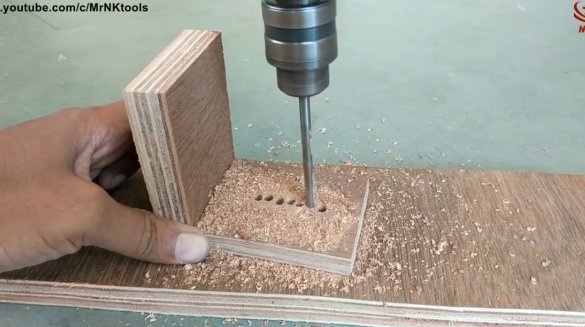
A series of holes are drilled in the lower part of the tailstock (sole), then a slot is made for the clamping screw.
When drilling such cracks with a drill, good results can be achieved, however, the author additionally processes its edges with a file.
So, the three main elements for the machine are ready, the author paints them in silver using aerosol paint in spray cans.
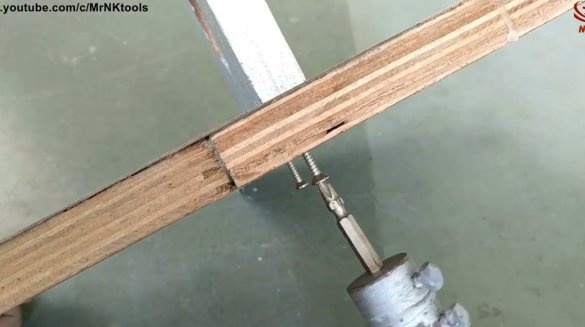
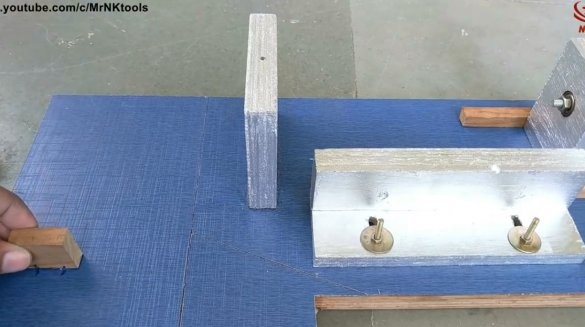
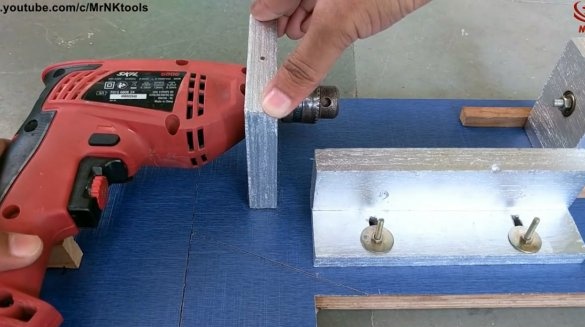
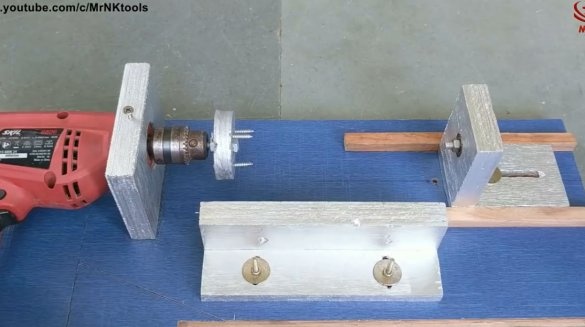
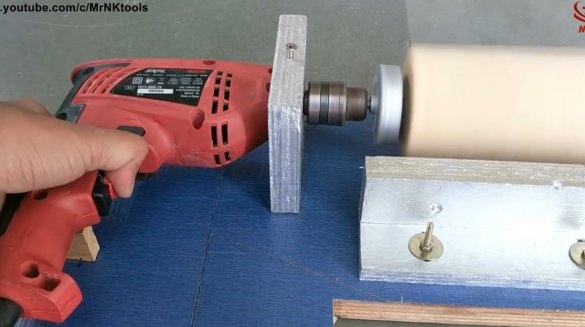
The drill holder itself must be qualitatively fixed on the base. To do this, the author drilled pilot holes in it, stuck the holder, and fixed it with self-tapping screws.
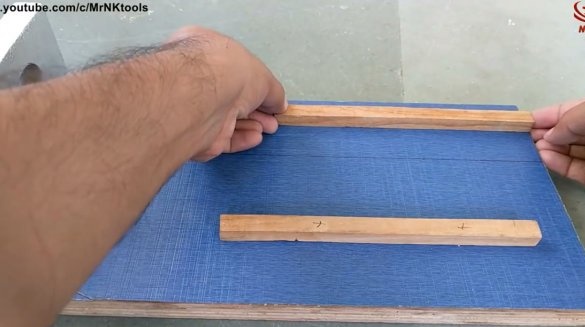
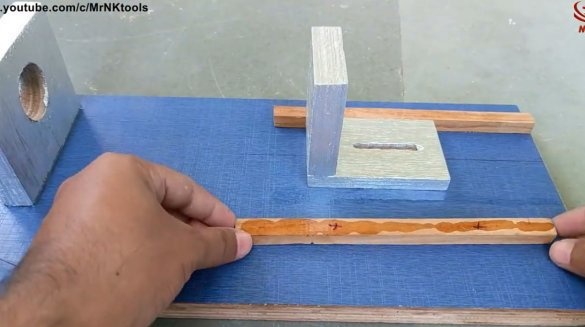
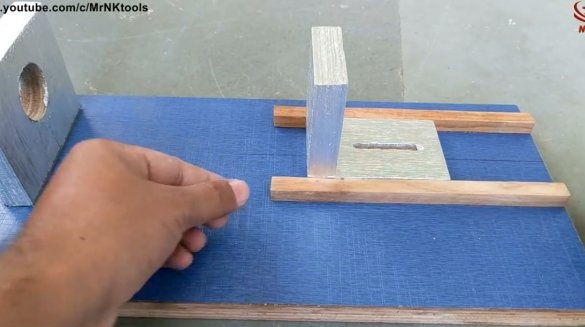
Next, you need to make and secure two guides for the tailstock. The first, putting the headstock coaxially with the center of the holder, the master glues the far guide.
The second guide is fixed already with a mounted headstock on its sole. The grandmother should walk freely between them, but practically have no backlash.
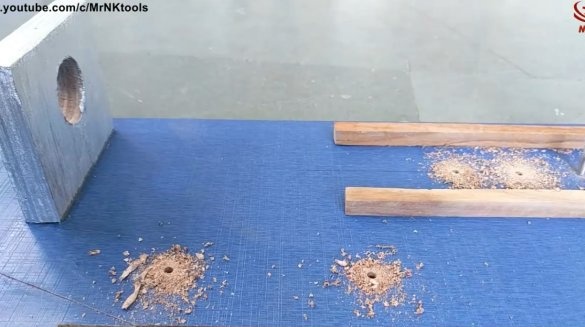
At the base, the author drills holes for the pressure screws of the stop and headstock, then countersinks them on the bottom side of the base.
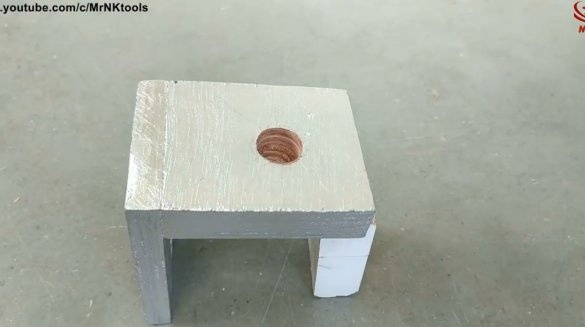
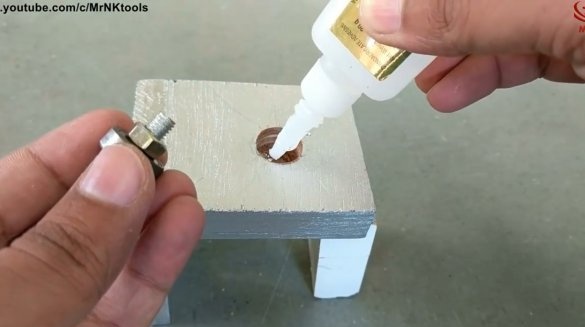
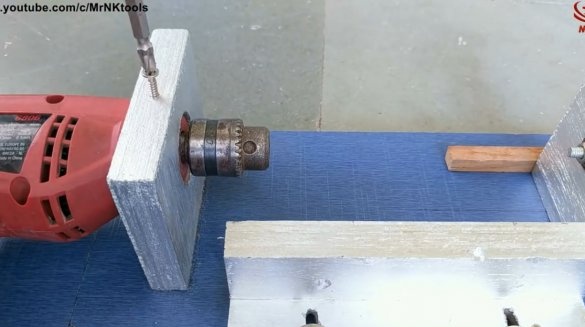
Having found the center on the headstock, a hole for the bearing is drilled in it, it should not be deeper than the bearing itself, however, the screw head should go through it. The master preferred to use the pen drill on wood.
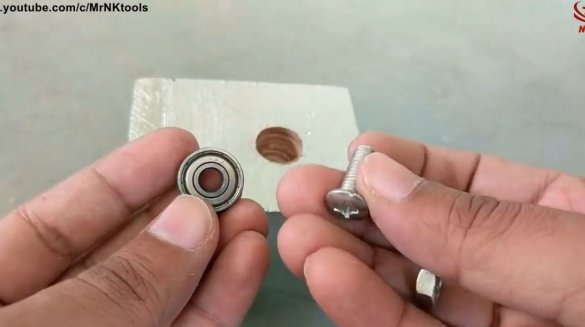
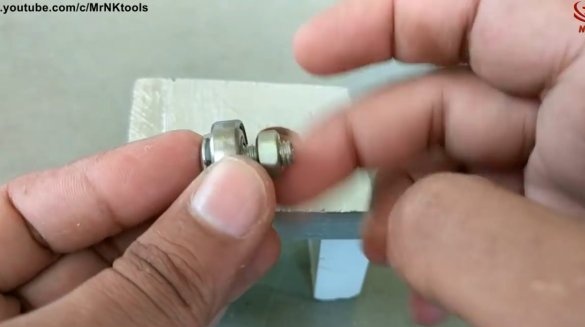
A screw is inserted into the bearing and secured with a nut.
Now a little second glue is applied to the walls of the seat, and the bearing is pressed into place.
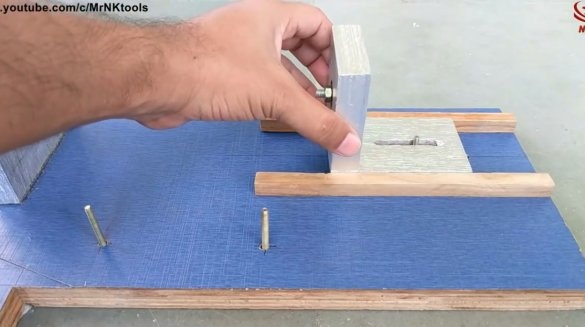
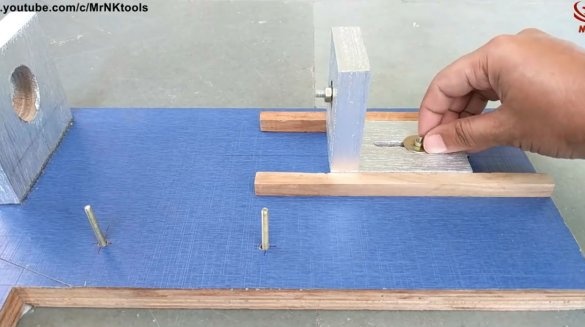
So, the tailstock is installed in its place between the guides, and is fixed with a clamping screw. The stop is fixed in a similar way.
Next, the master glues a small block into which the drill handle rests. The drill is inserted into the holder, and fixed with a side clamping screw.
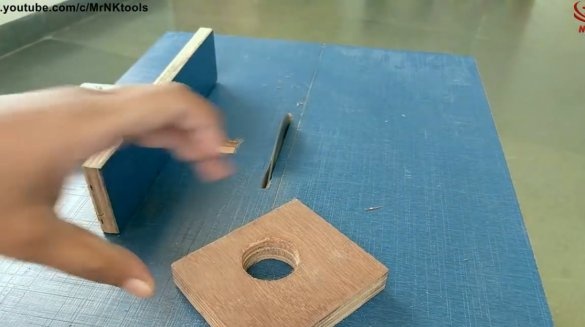
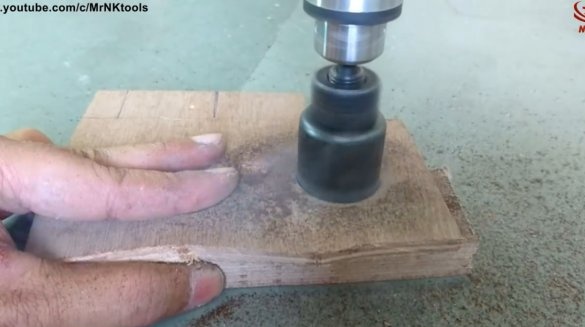
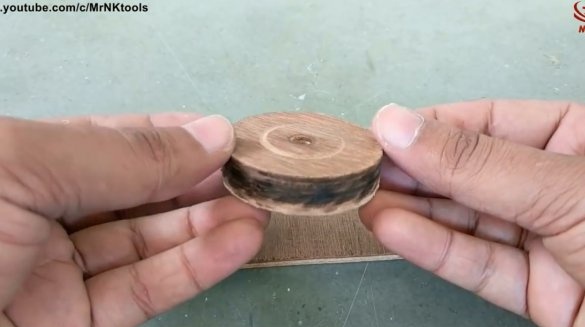
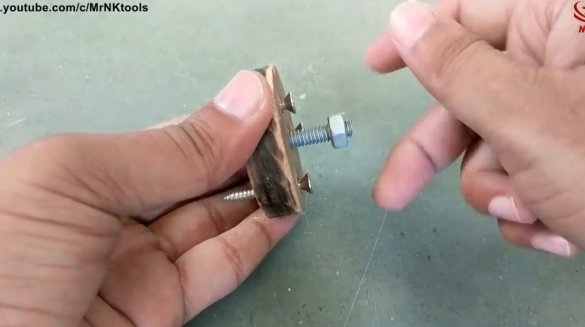
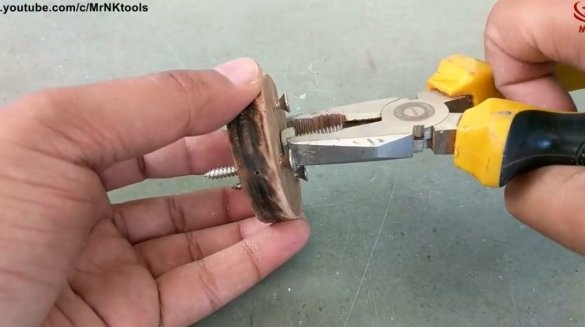
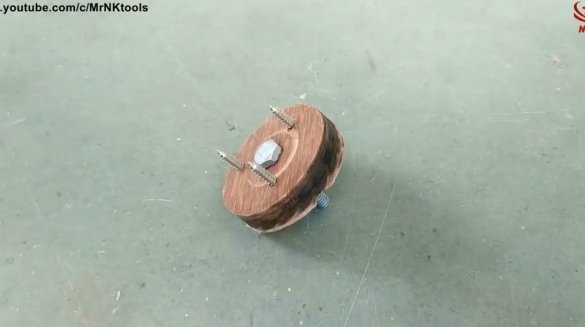
To make the clamping flange, the author also chose plywood, and cut a disk out of it with a crown.
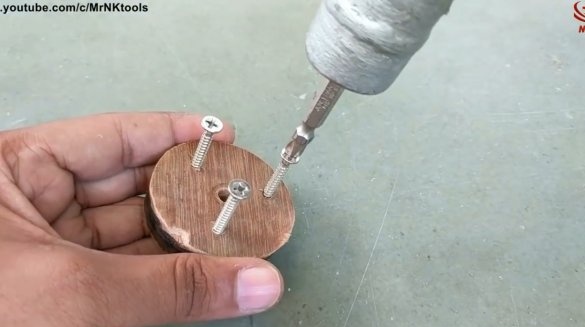
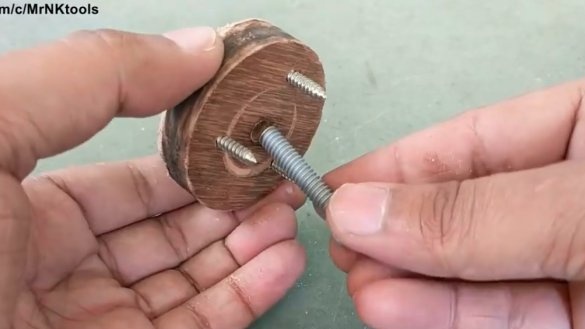
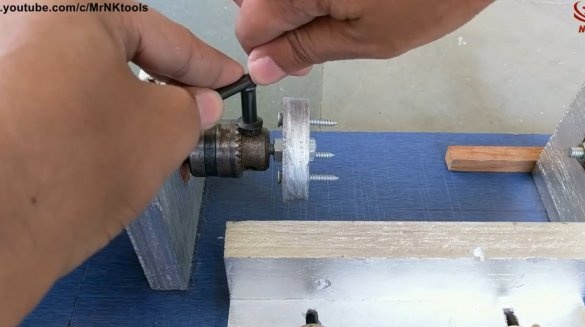
Holes for clamping spikes are drilled in the flange, long screws will play their role. A screw is inserted into the central hole and the nut is tightened securely.
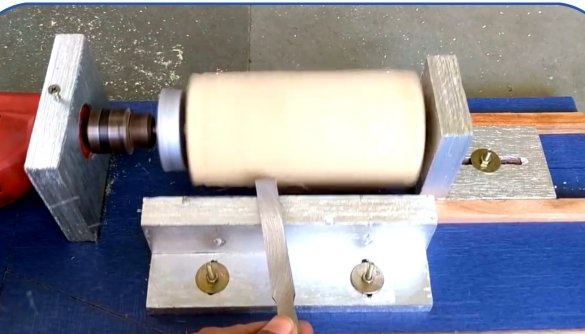
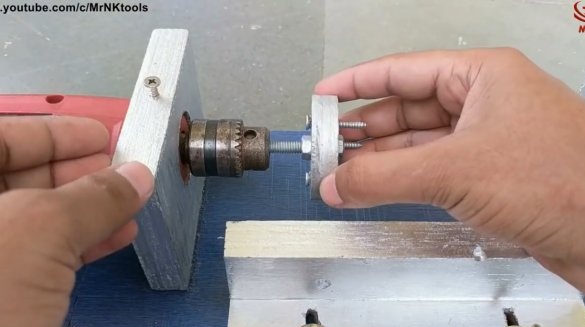
After painting, the manufactured part is clamped in the drill chuck. So, the machine is ready.
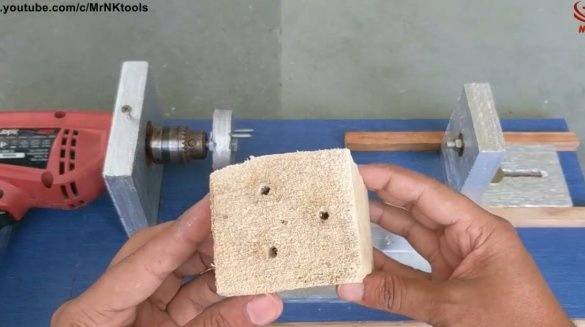
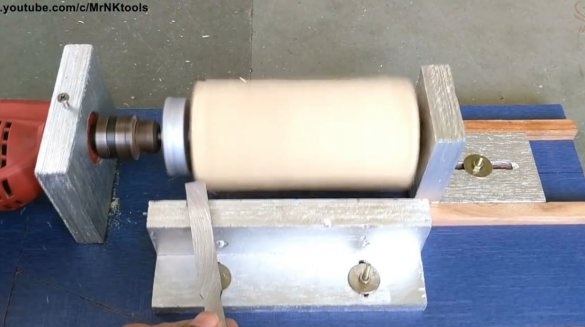
For reliable fixation of the workpiece, holes for studs are drilled in it along their entire length. The workpiece is installed on the machine, then the tailstock is tightened, and the screw is tightened.
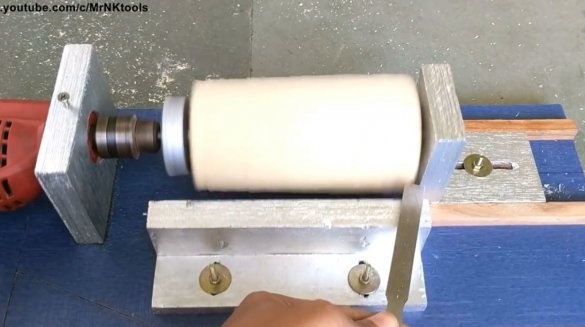
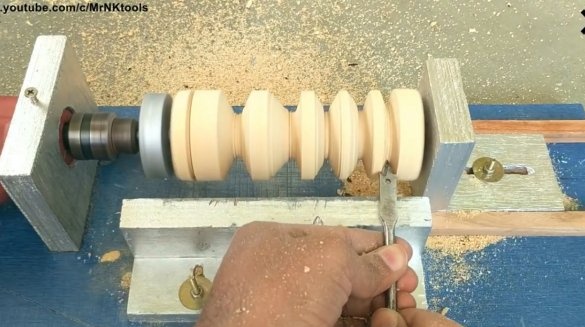
It remains to connect the drill to the network, lock the button, and you can sharpen.
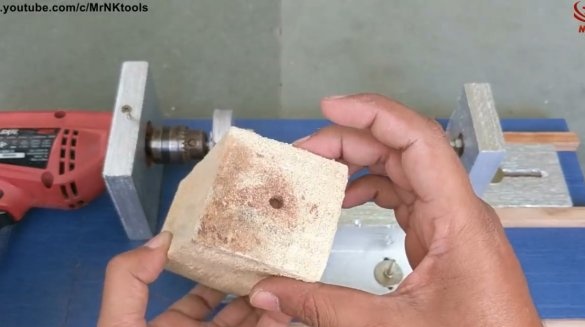
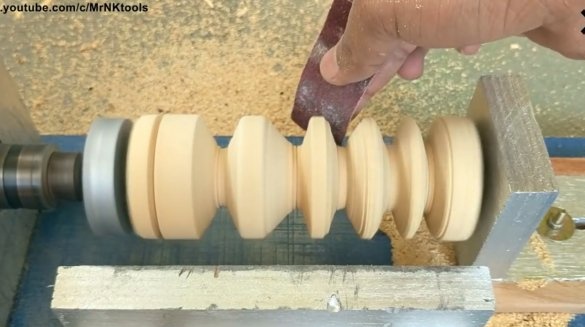
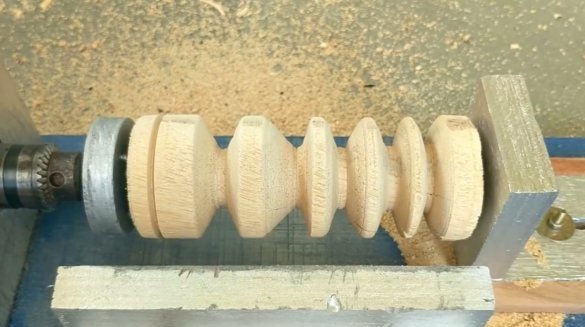
After finishing grinding, the master got such a test piece.
I thank the author for a simple and small but useful machine for a workshop or home! And yes, rather this model worthy of manufacturing from a thick aluminum sheet, and put the wing nuts on the adjustment of the stop and tailstock.
All good mood, good luck, and interesting ideas!
Author video can be found here.

