

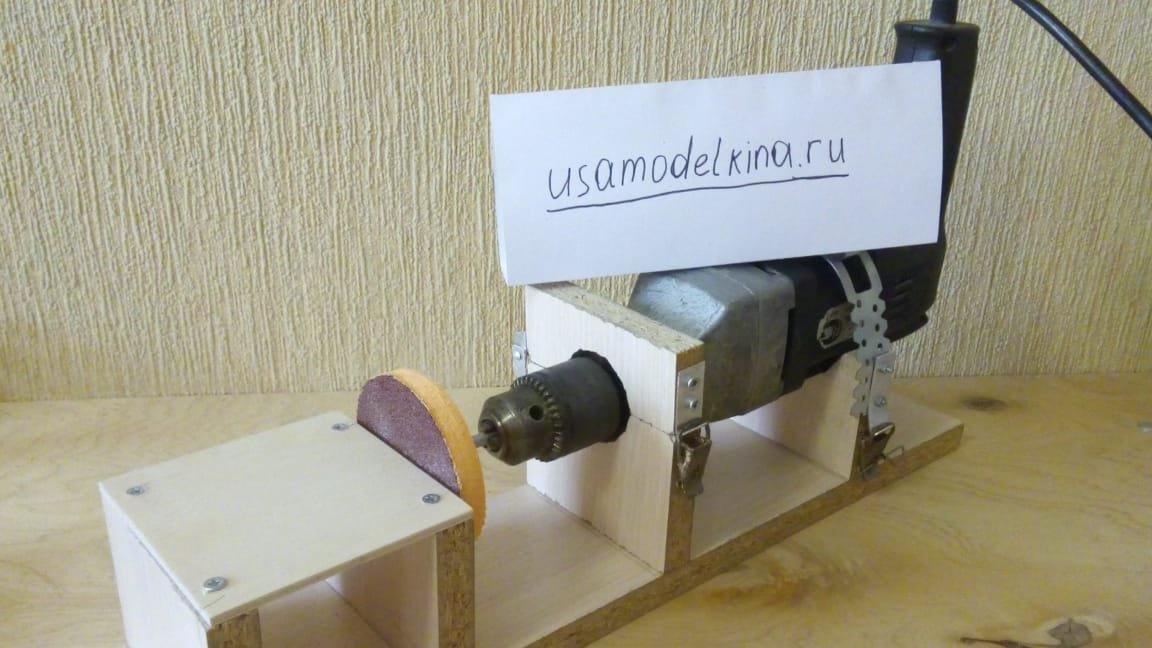
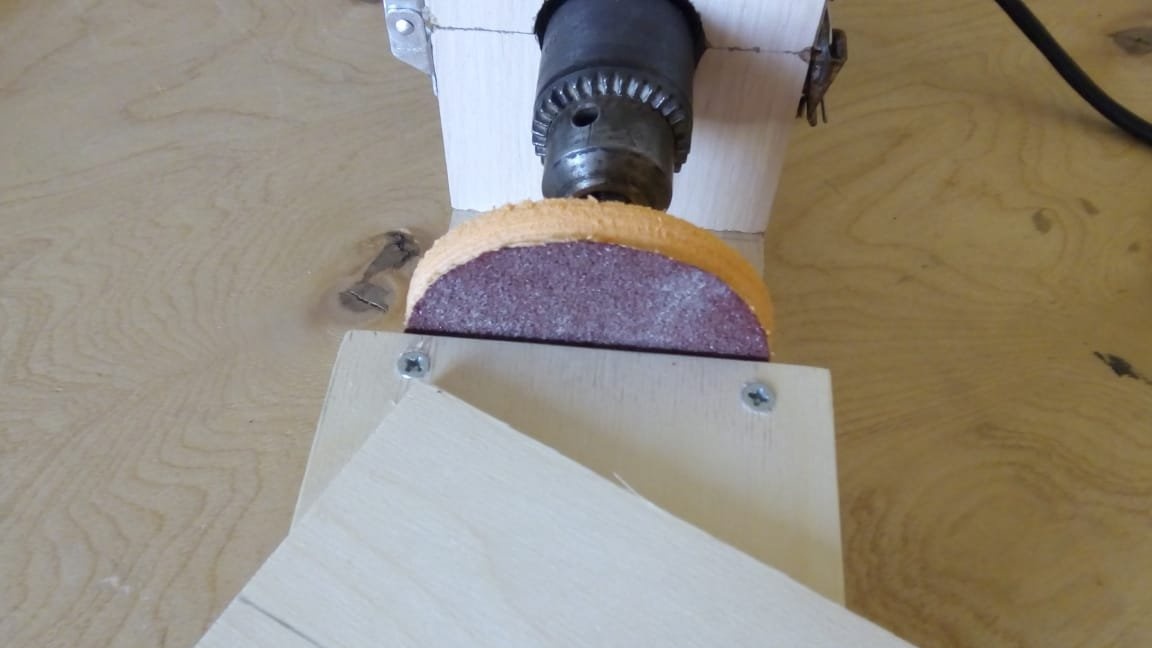
In this article I will tell and show how you can do do it yourself grinding machine from a drill.
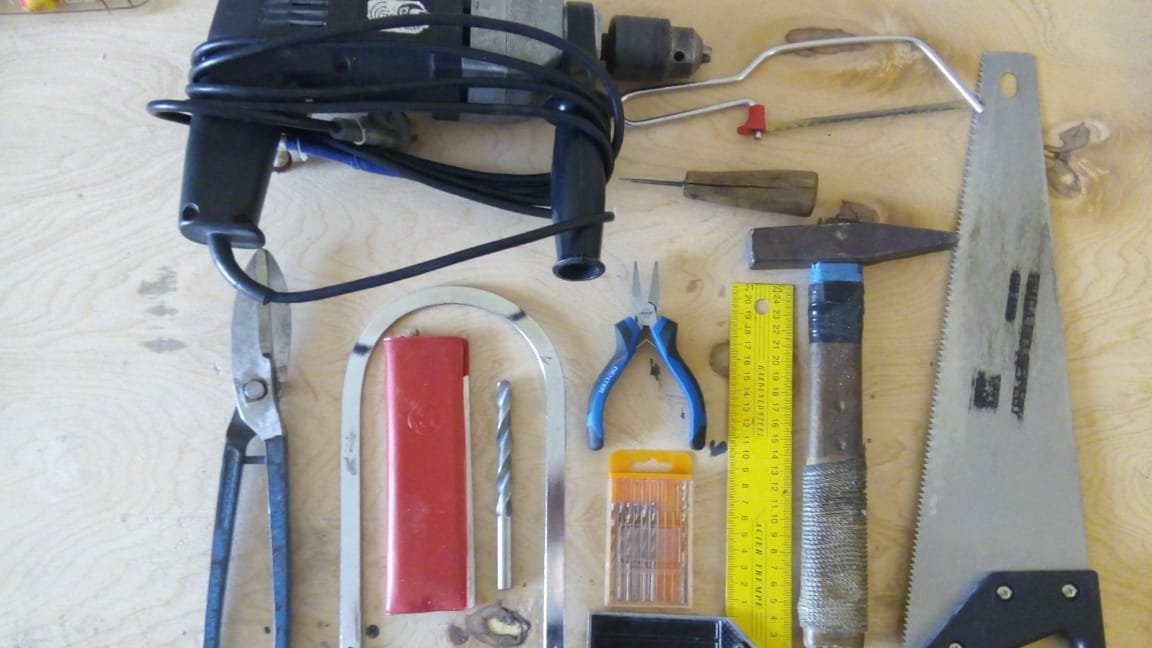
Materials and tools:
- Wood hacksaw.
- Hacksaw for metal.
- Hand jigsaw.
- Sandpaper (40 grit).
- Drill and drill 3 mm.
- Kerner or awl.
- Hammer.
- A metal plate for the manufacture of some parts (in my case, it is aluminum).
- Set of files.
- Chipboard.
- Pliers.
- Vise.
- Small furniture loop.
- Self-tapping screws.
Manufacturing process.
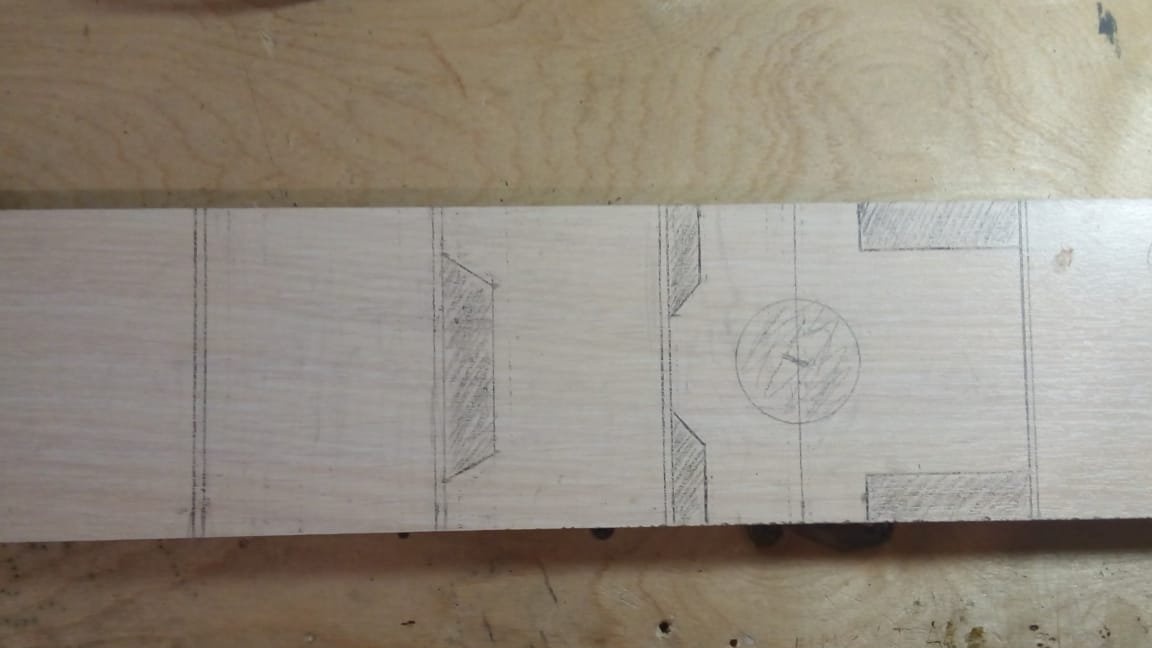
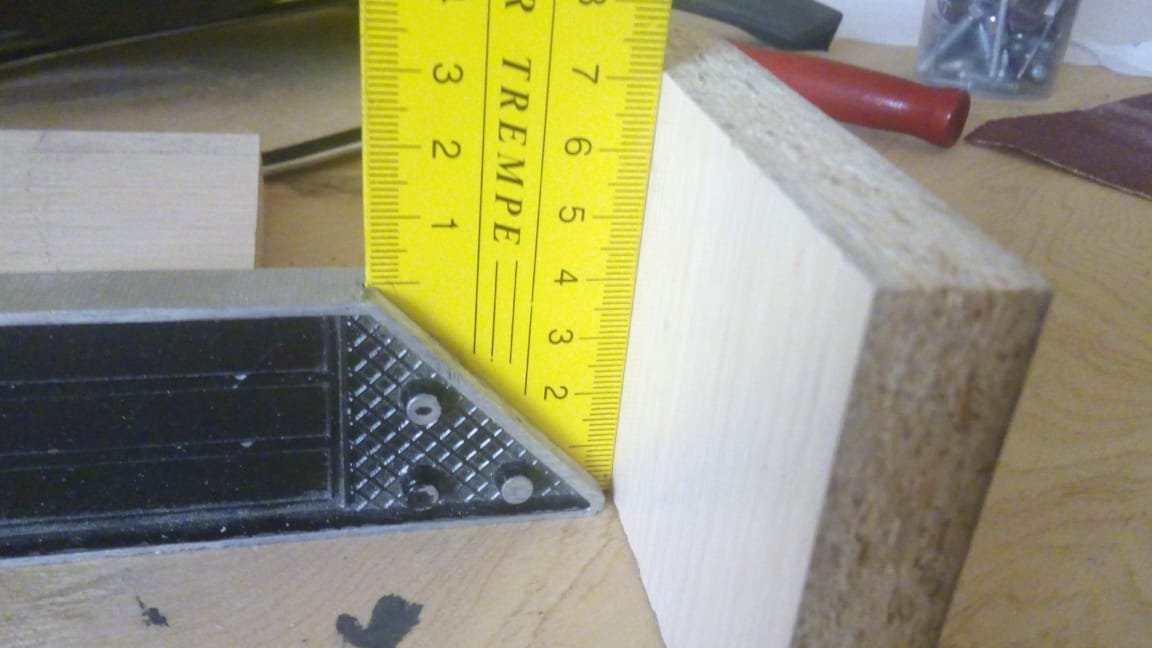
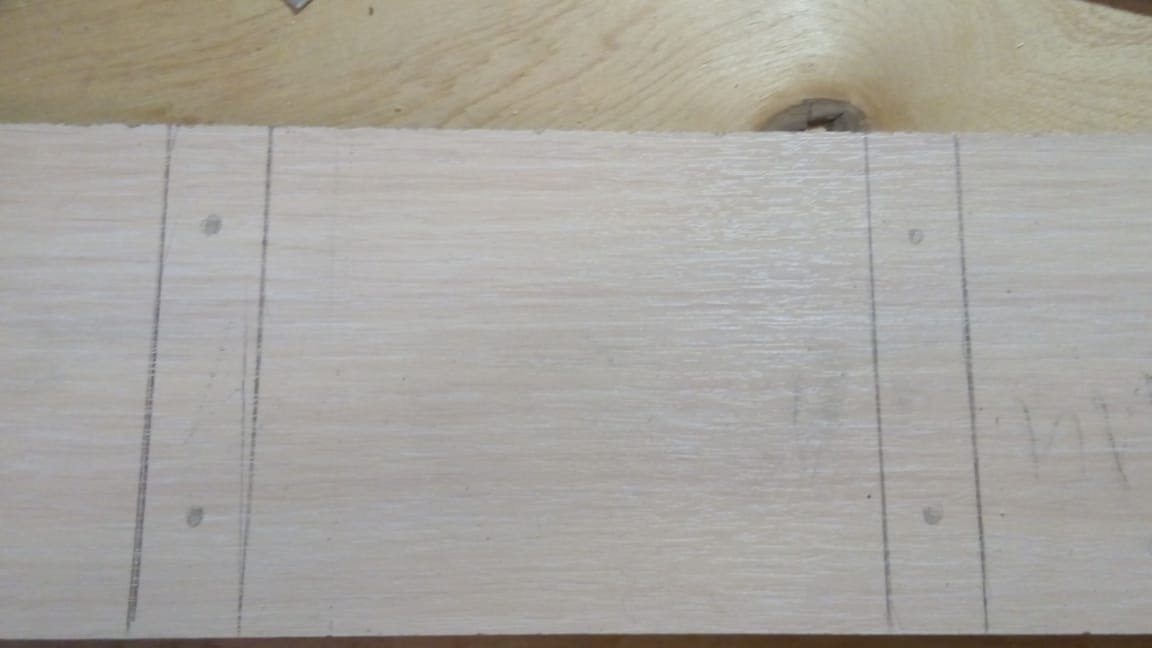
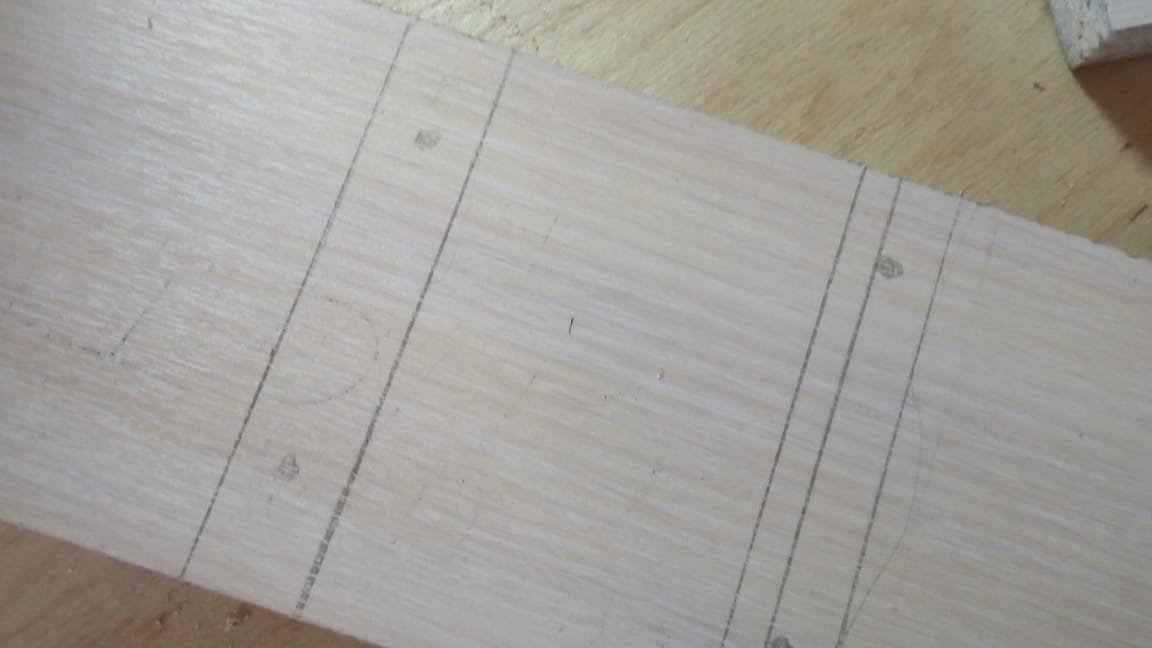
Step 1: marking the material and cutting.
To begin with, we apply diagrams of parts for cutting on the material, taking into account the thickness of the saw cut.
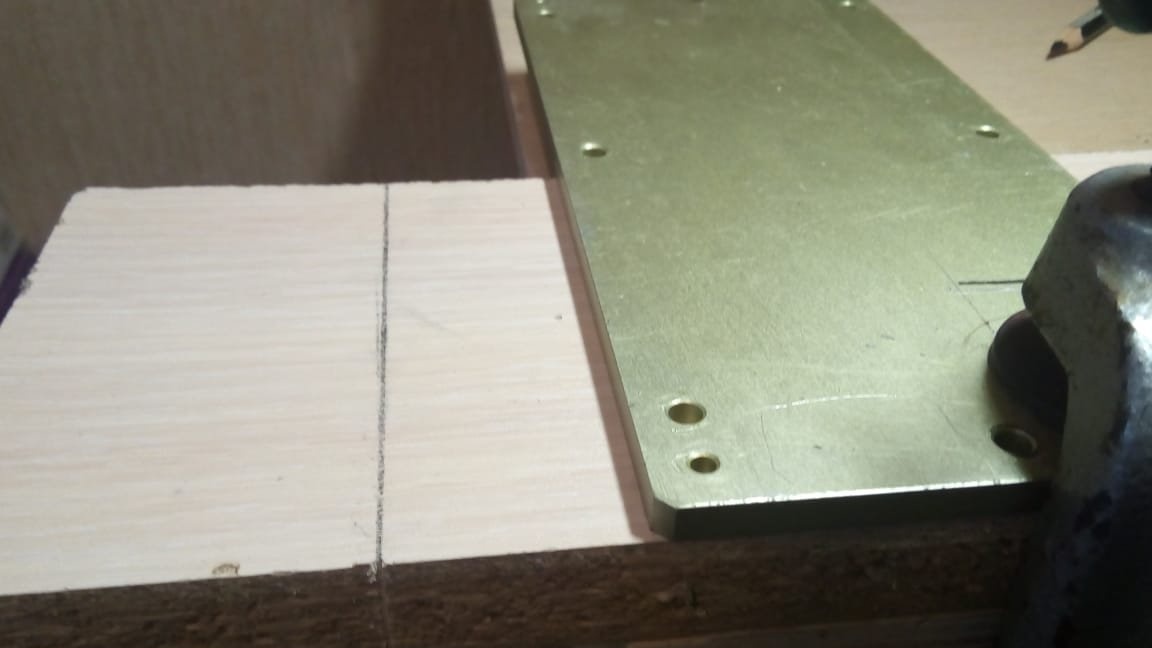
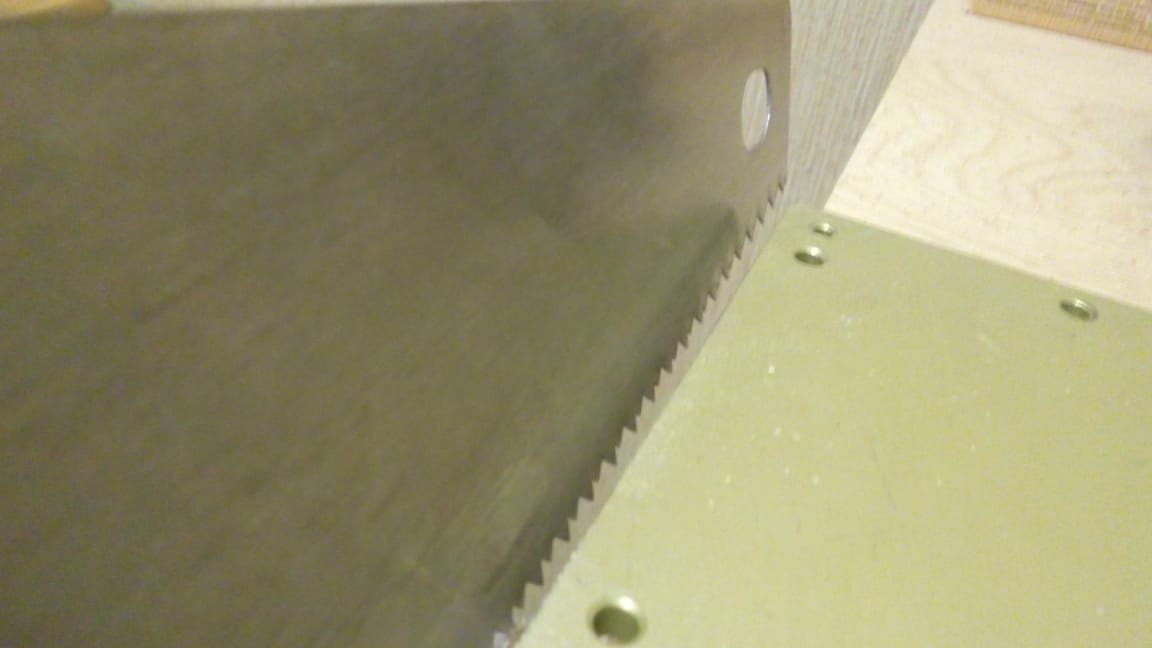
Now let's start the cut. In order to saw everything off smoothly, we install a guide in the place of sawing (I have this aluminum plate) and make a cut. When the part is sawed off, we shift the guide to the next part.
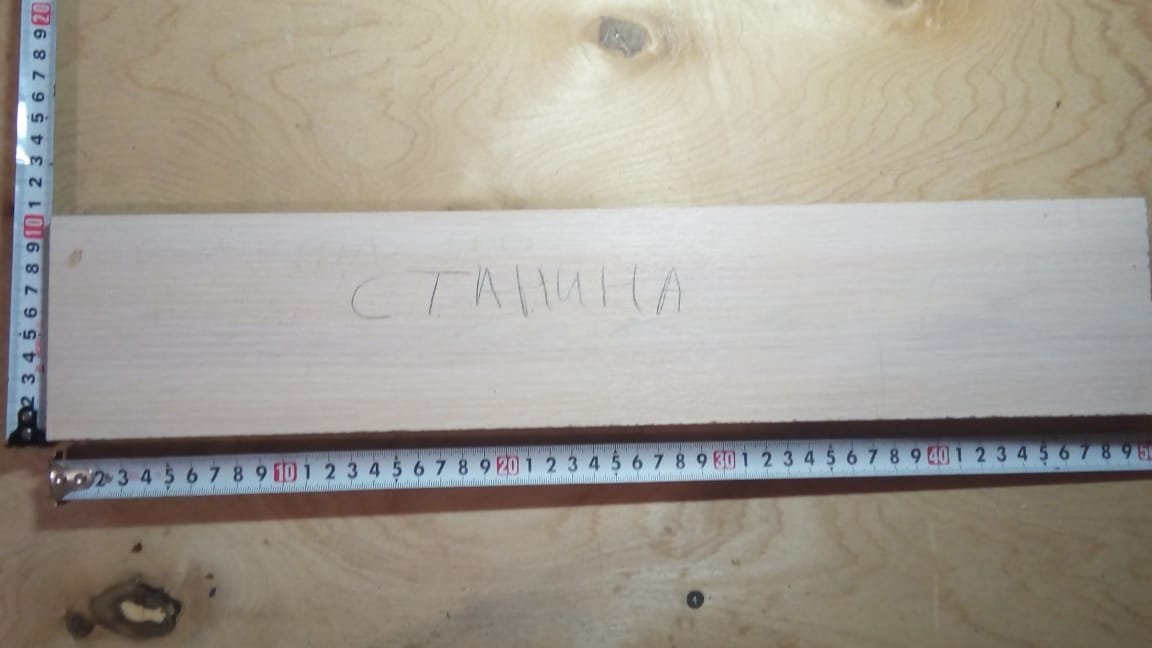
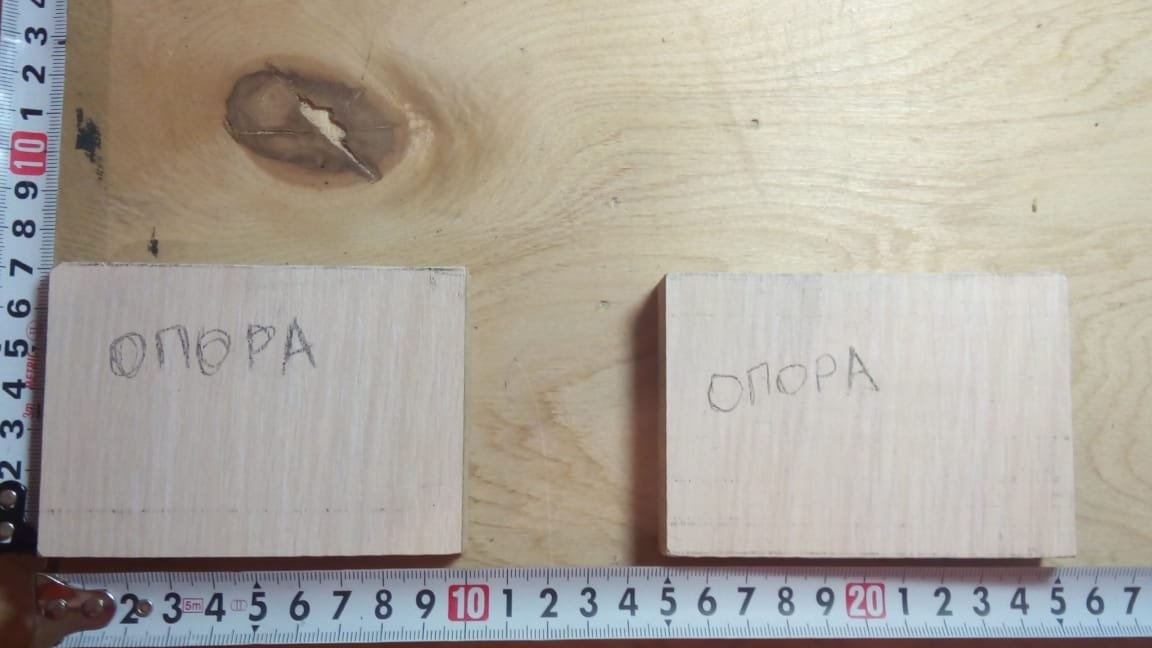
Dimensions of parts.

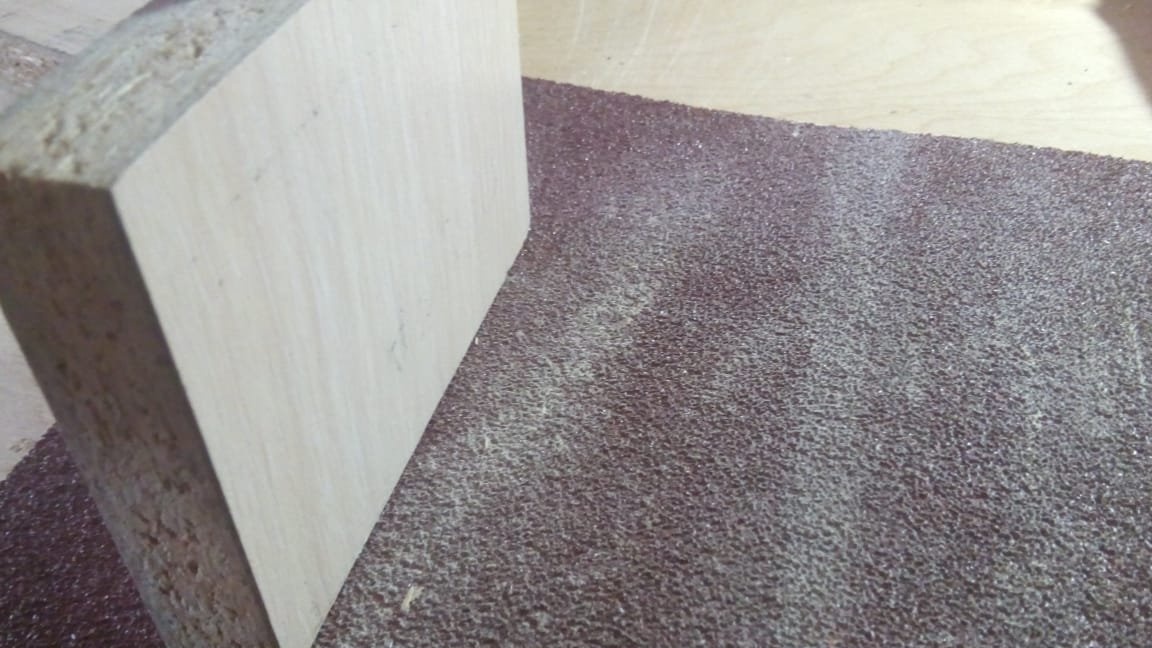
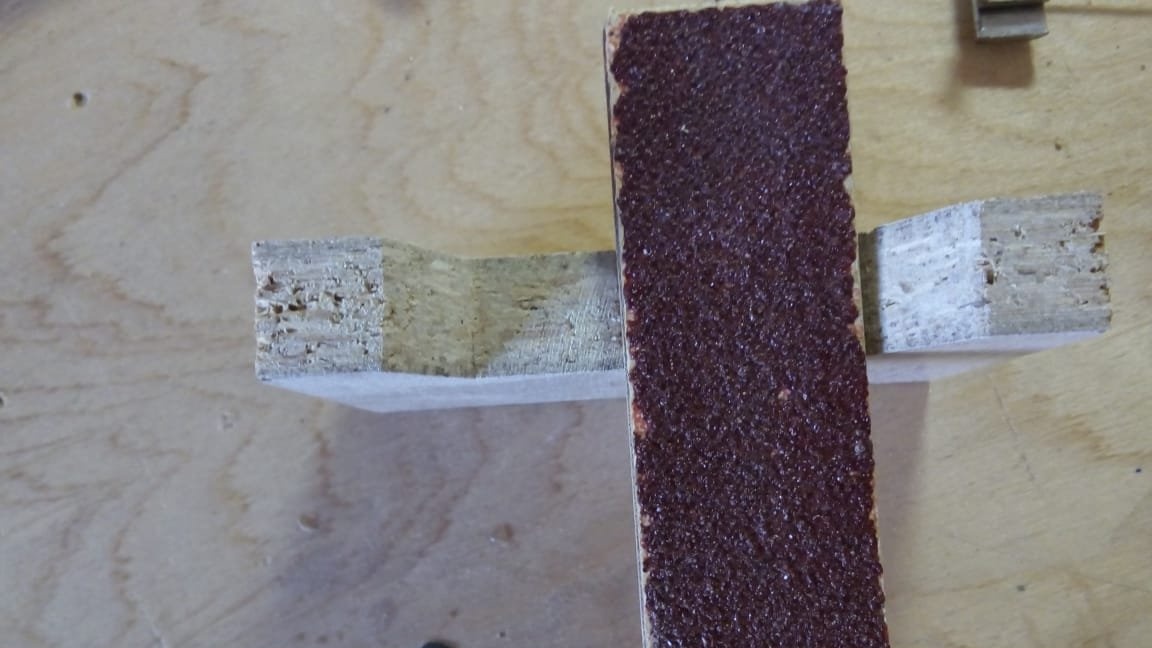
Step 2: grinding and leveling parts.
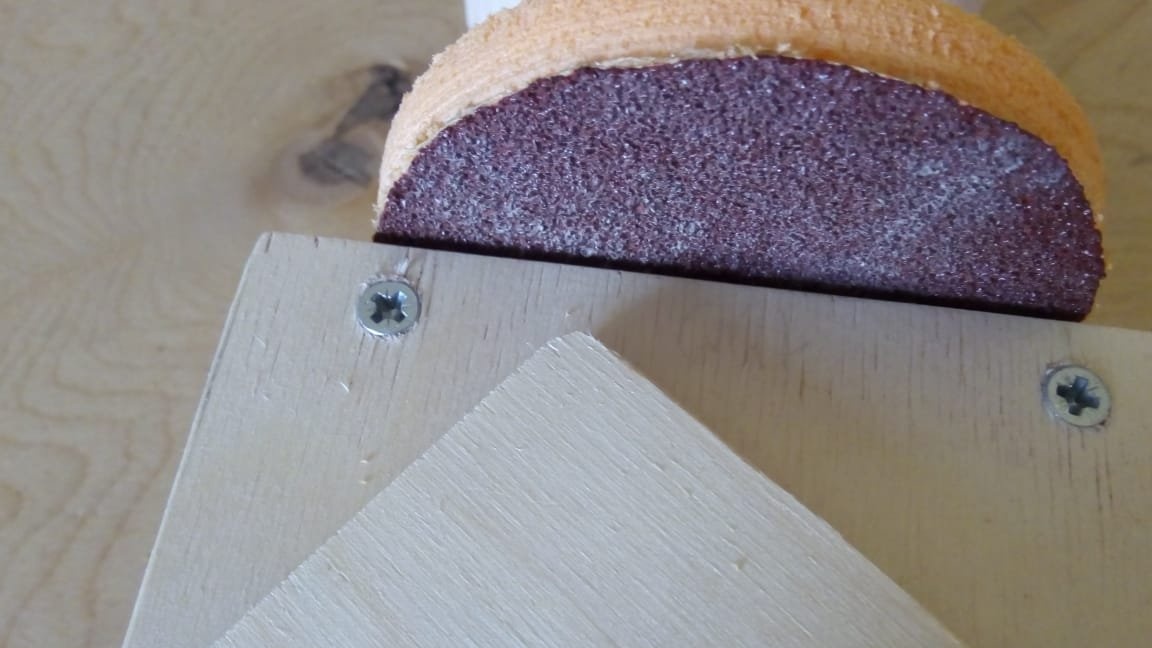
Since manually sawing off perfectly perfectly is quite difficult, therefore, there are small irregularities that need to be removed. To do this, we put rough sandpaper (I have a grain size of 40) on the table and press the part against it until the side aligns (it is important to stop on time, otherwise you may not get into size).
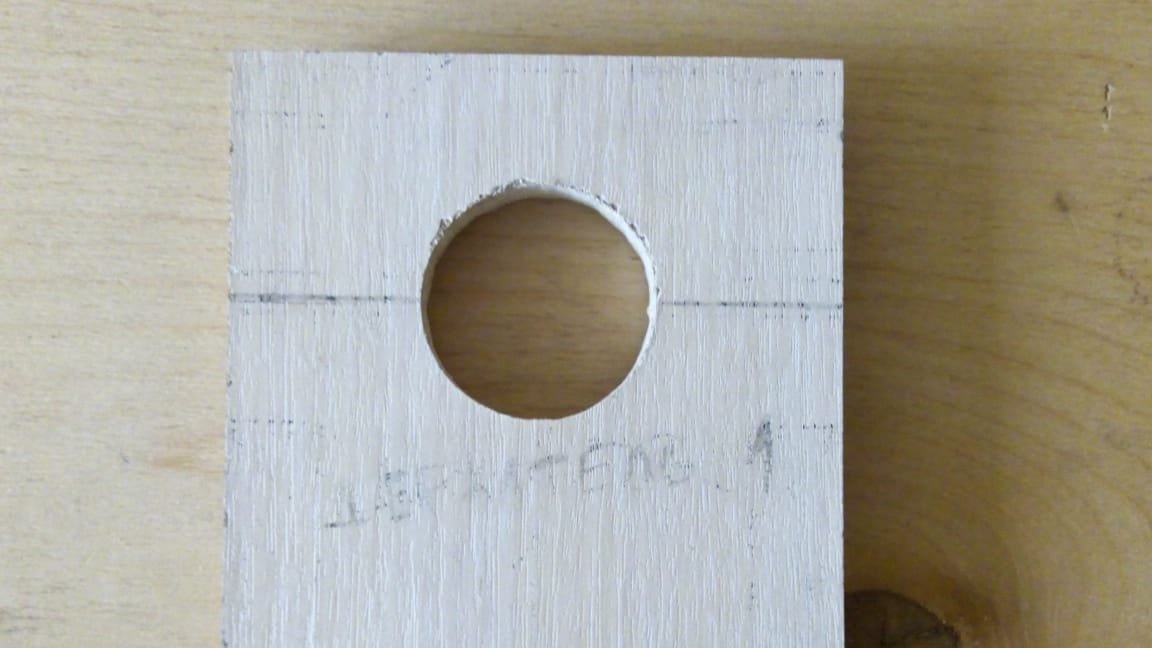
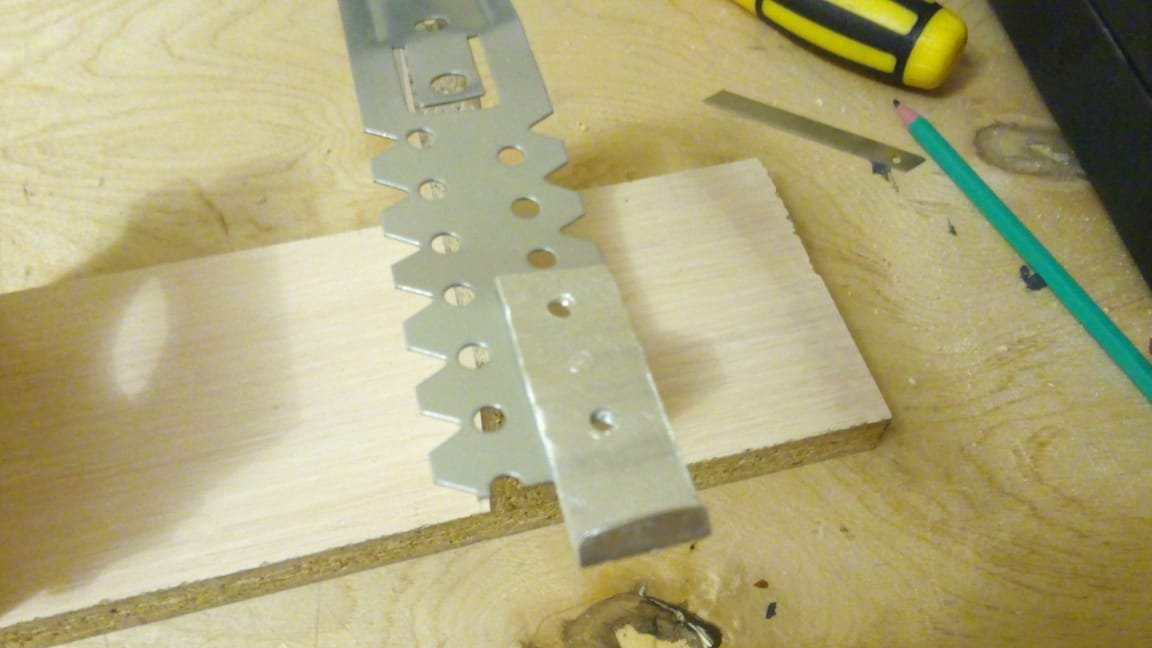
Step 3: refinement of details.
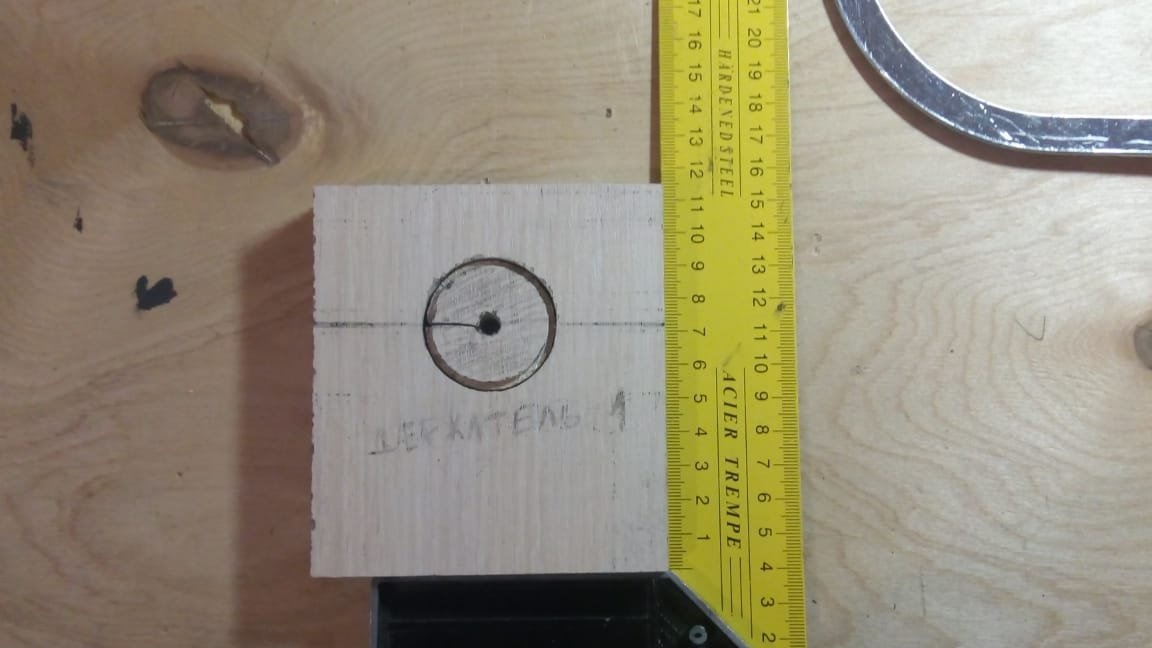
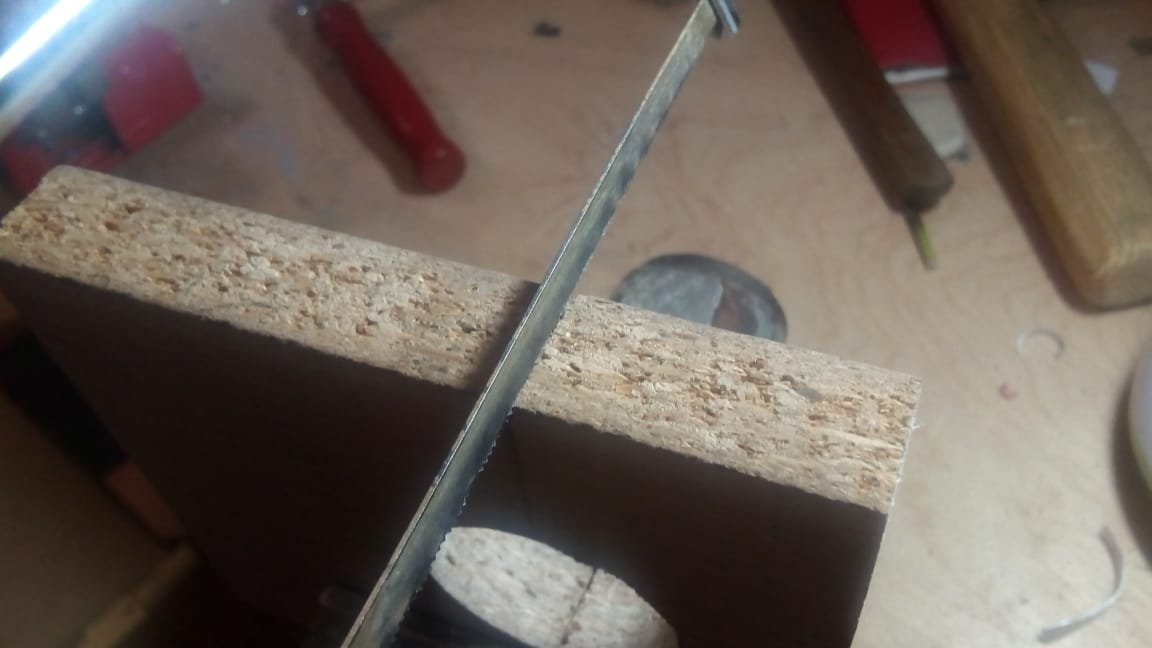
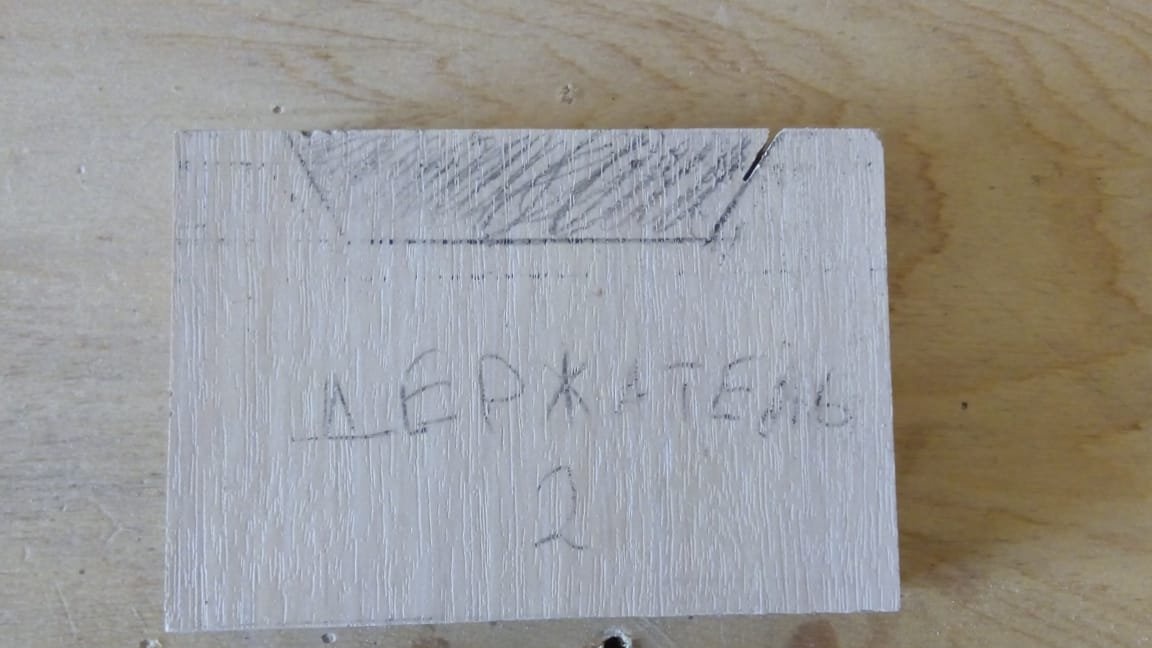
In our design there are two parts that require further work with them. These are the holders. On each of these parts there is a shaded part (it’s easier for me to designate the removed parts that way), which needs to be cut. Armed with a manual jigsaw, we proceed. If the drill is not installed due to a small size mismatch, we bring it with sandpaper (this will help if the size of the mount is less than necessary). Now, using a hacksaw for metal (due to a more accurate cut), we cut the holder in half.
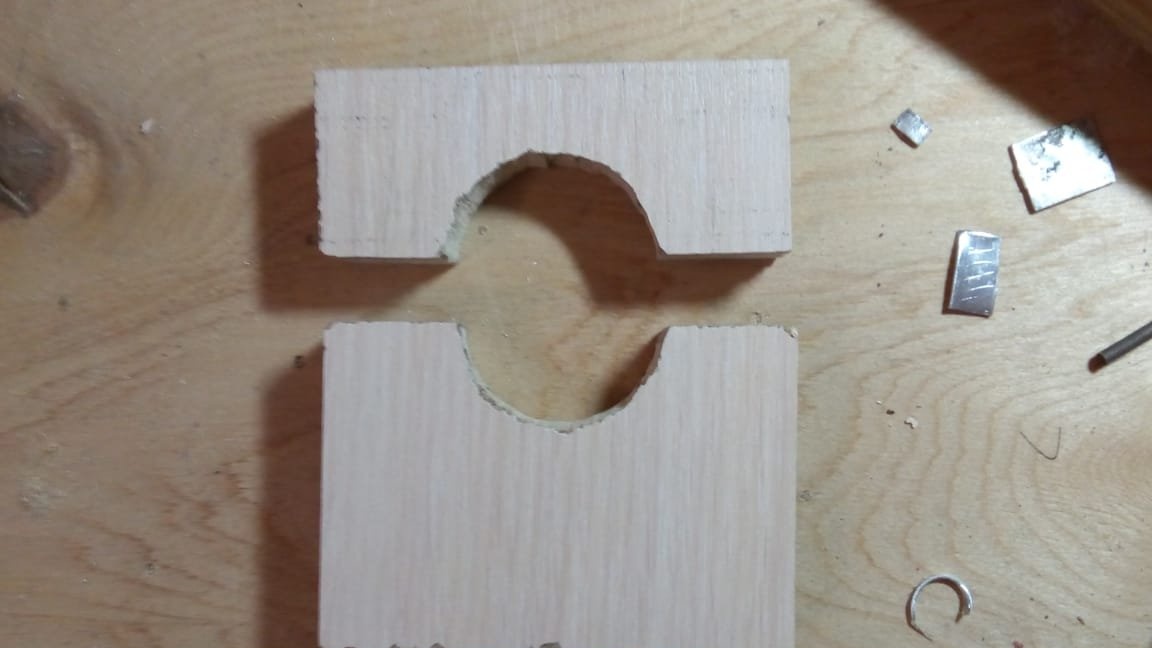
Now we work with the second holder, cut out the shaded part and process it with sandpaper.

Step 4: making hardware.
Since the drill in our machine should be quickly installed and quickly removed, it is necessary to use furniture fittings: small hinges and latches. I did not find small loops, so I used the homemade ones that I once made. Since my latches have a counterpart - the hook did not fit the size of the part, I made it myself.
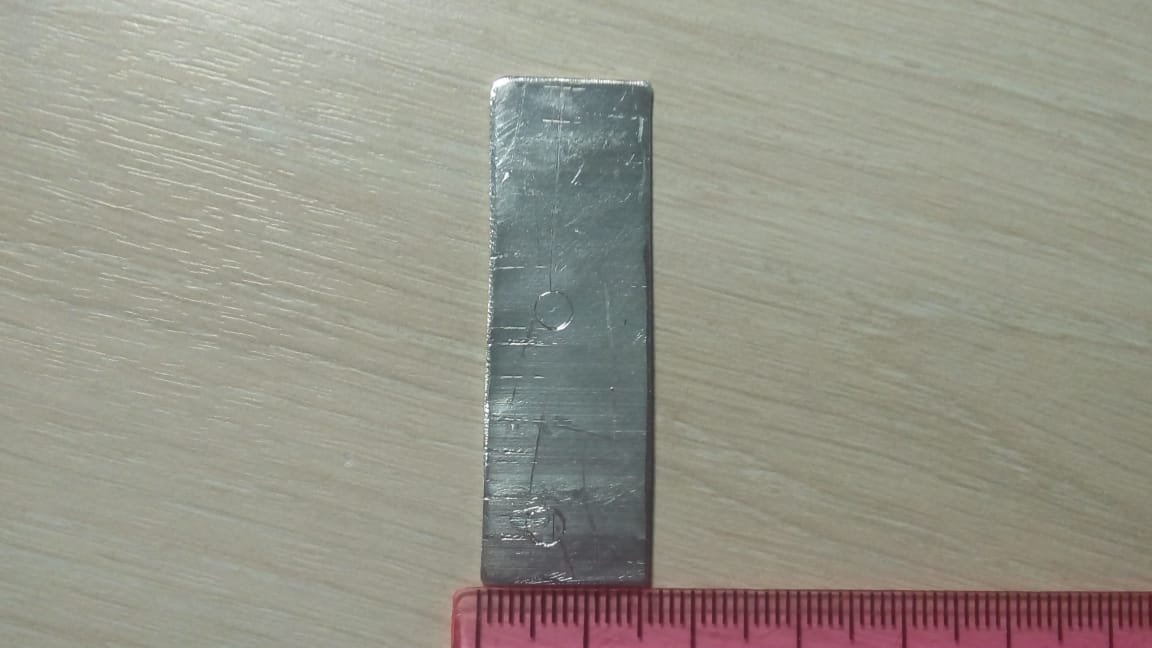
Cut a rectangle 40-50 mm long and 15 mm wide.
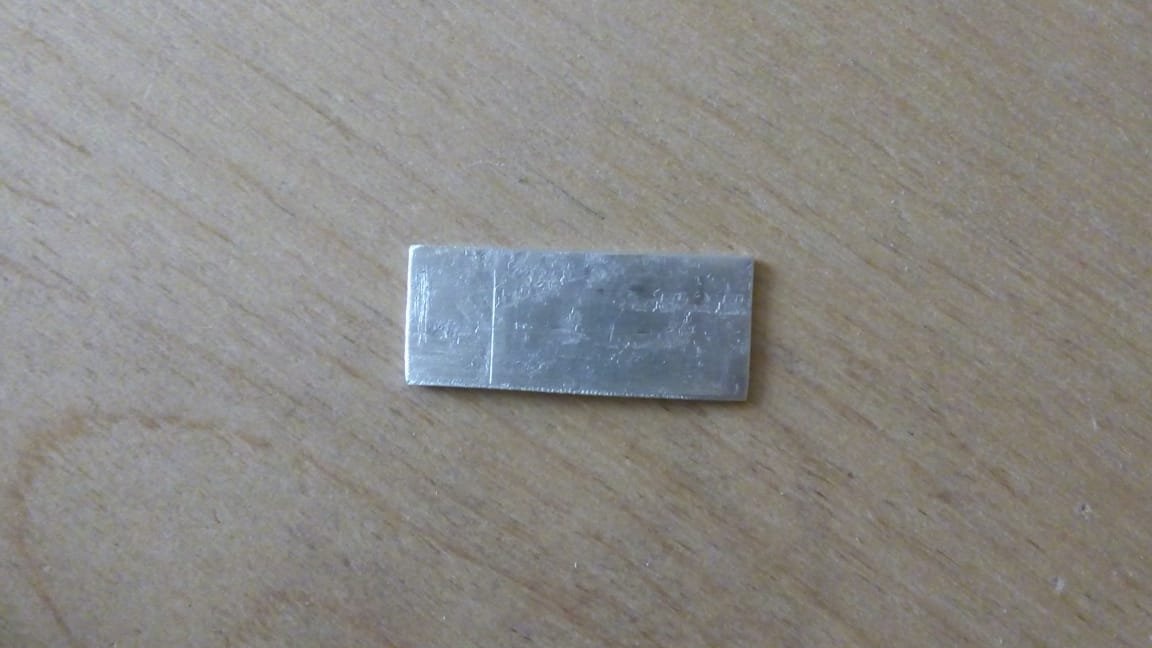
Having retreated 5-6 mm from the edge, we bend to get a hook.
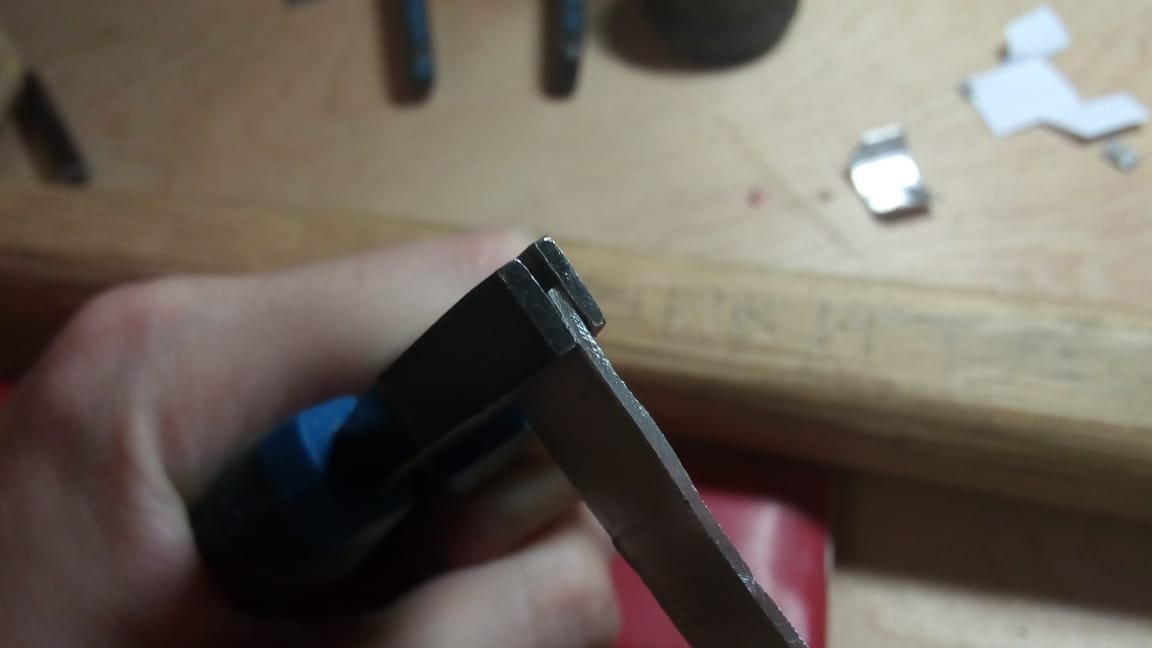
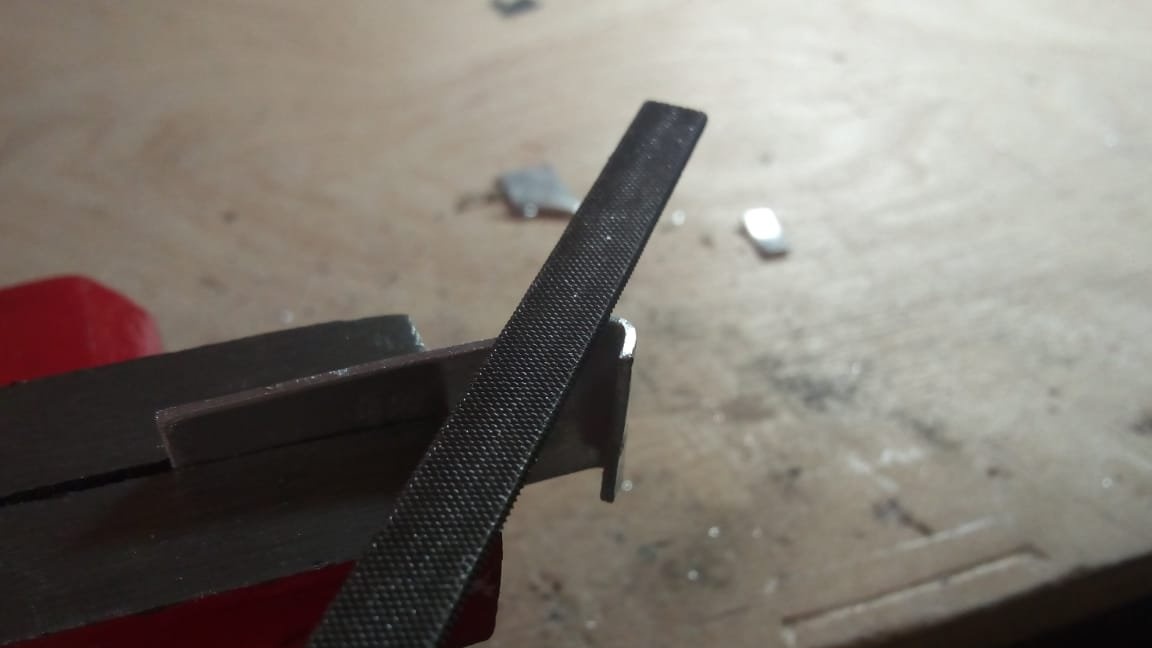
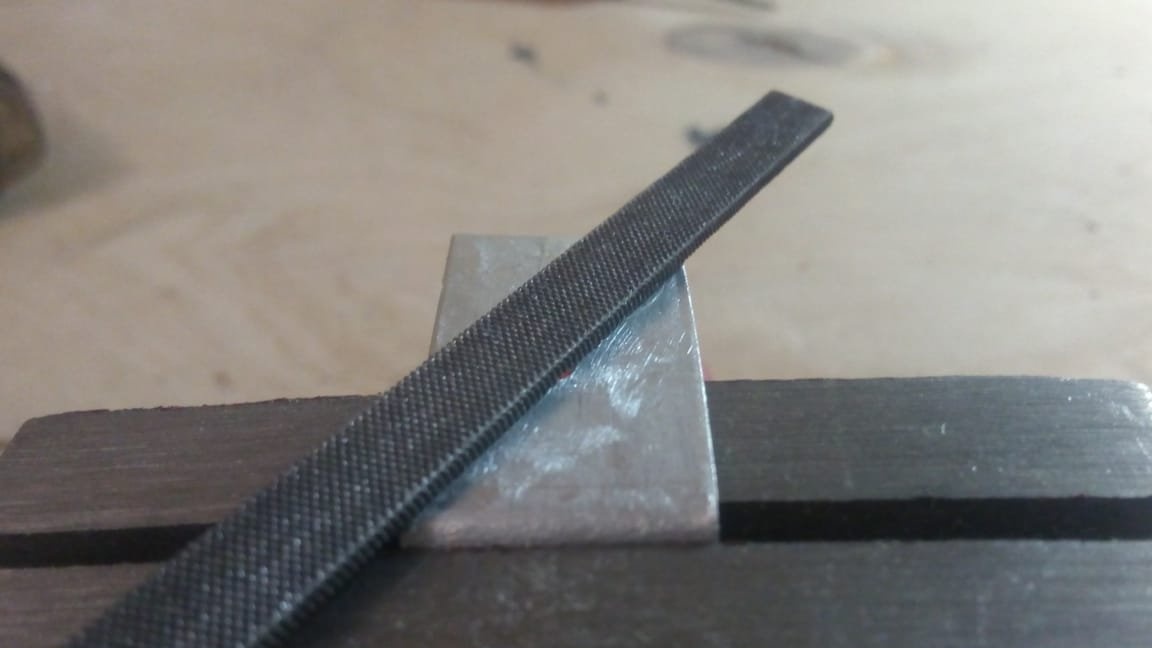
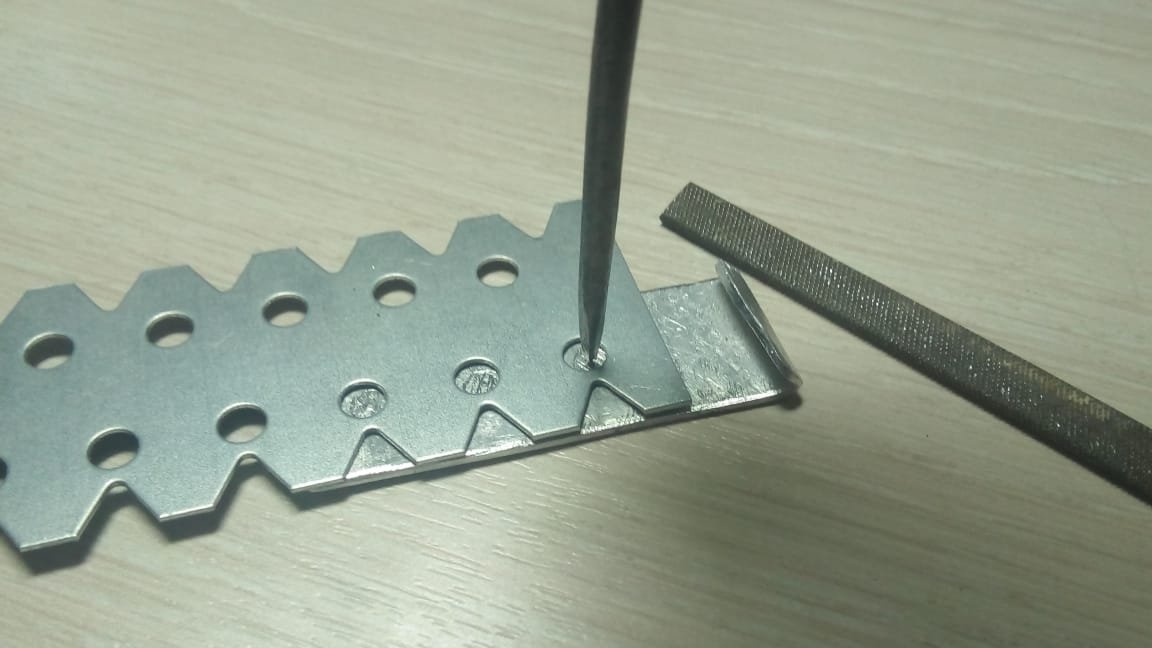
We process the part with a file.
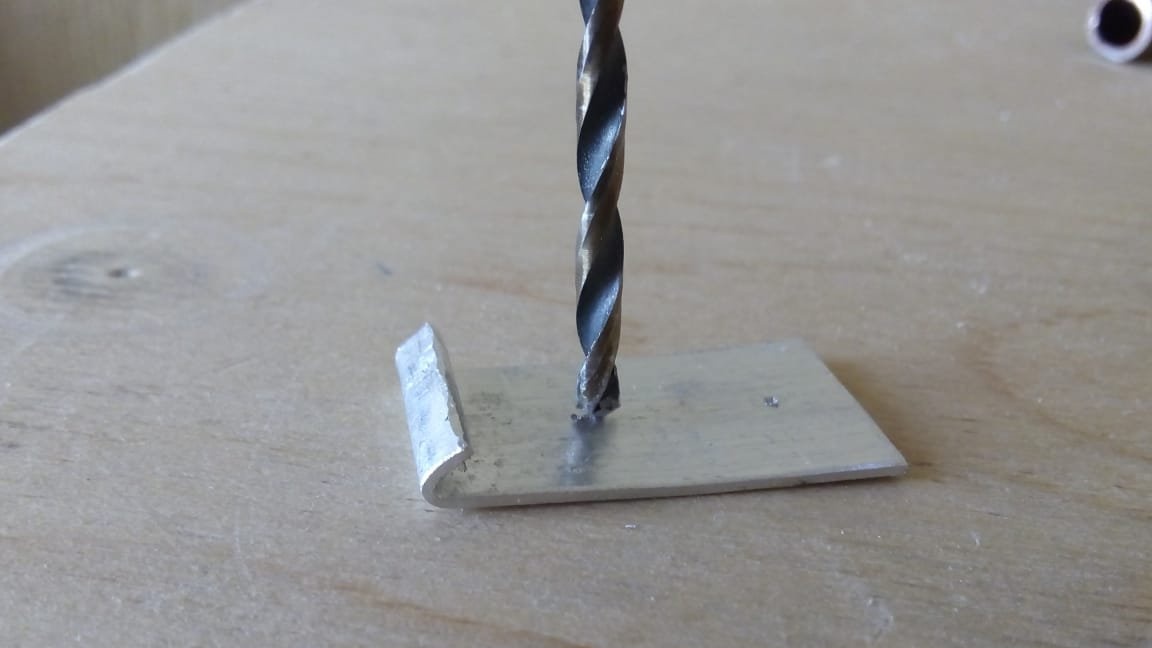
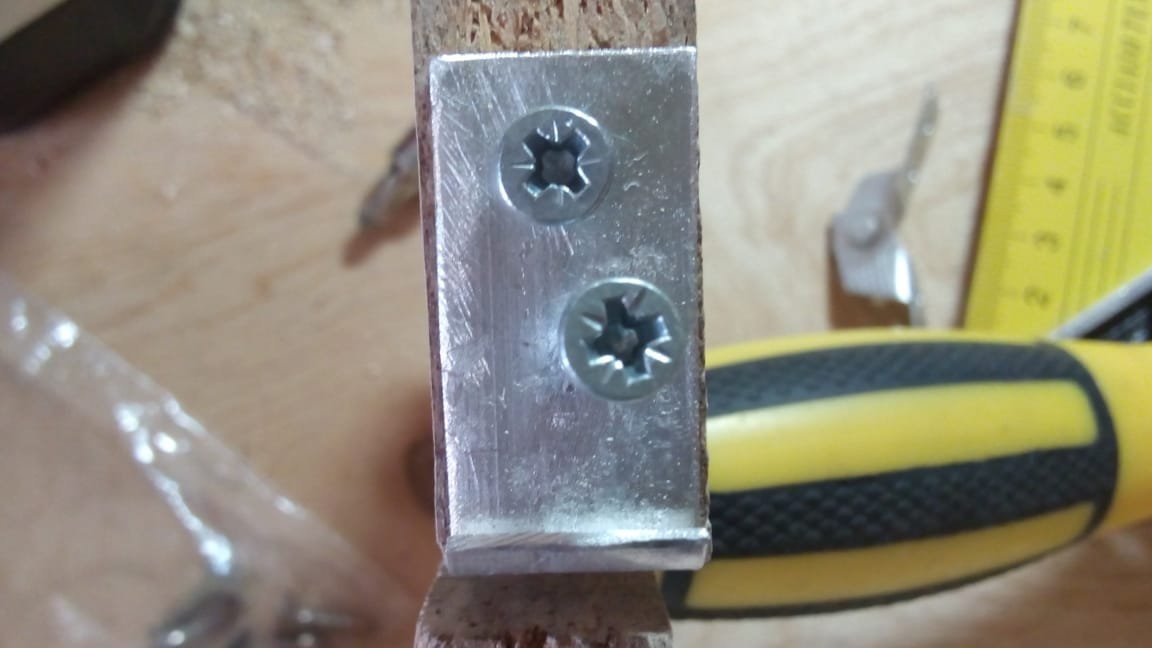
We mark with an awl two holes.
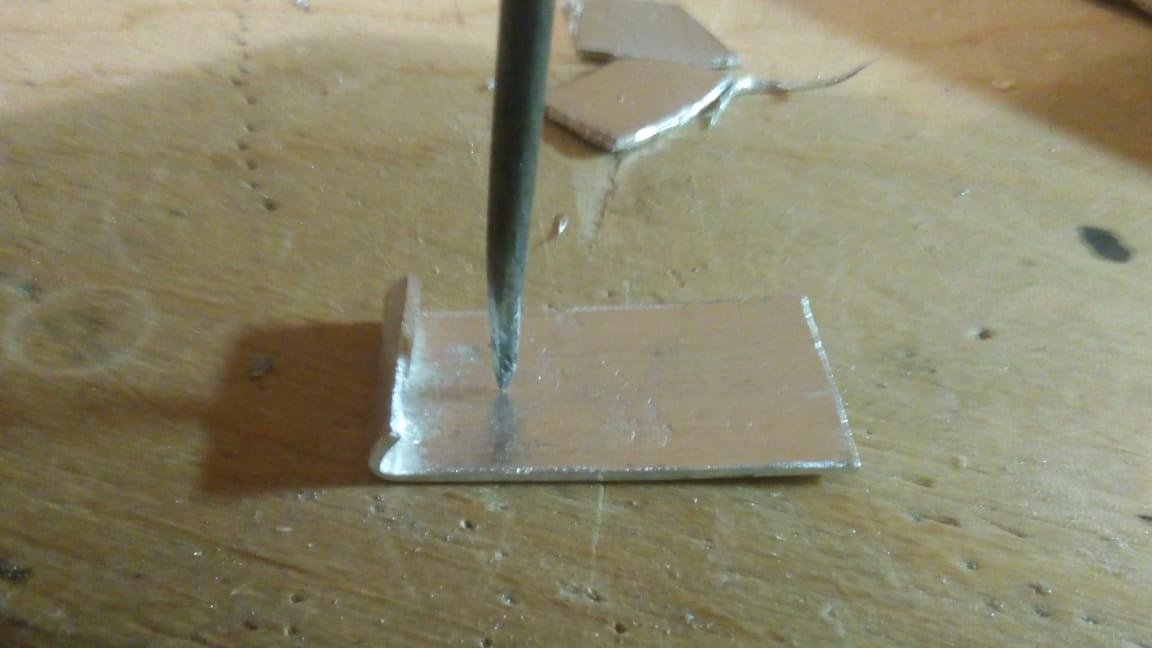
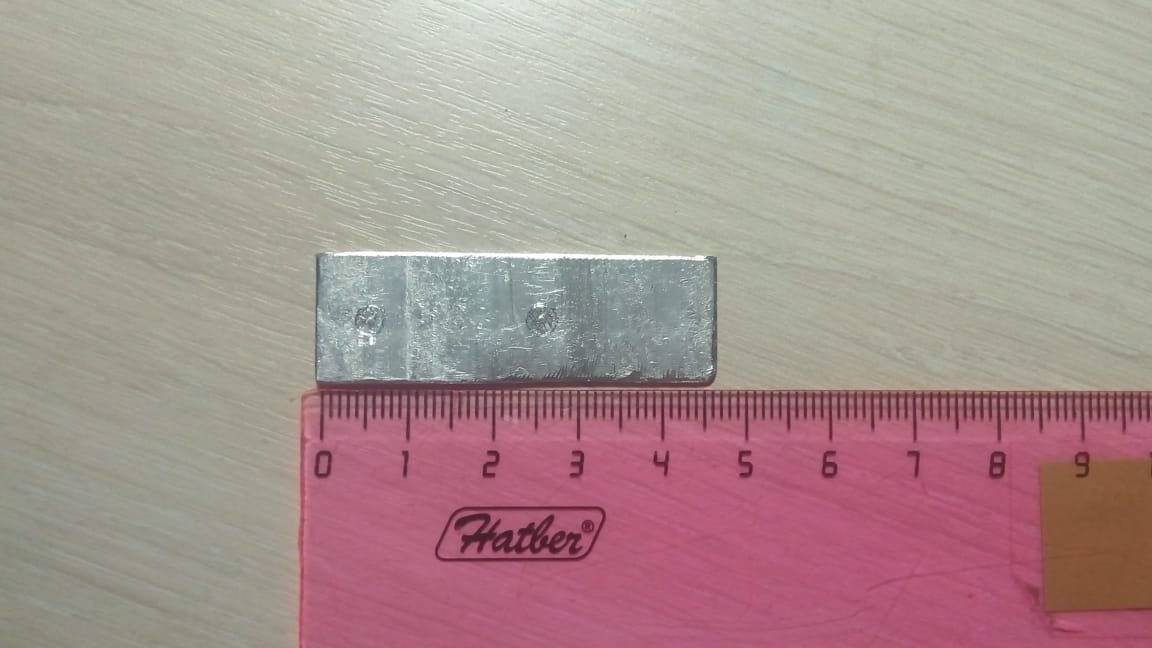
We drill.
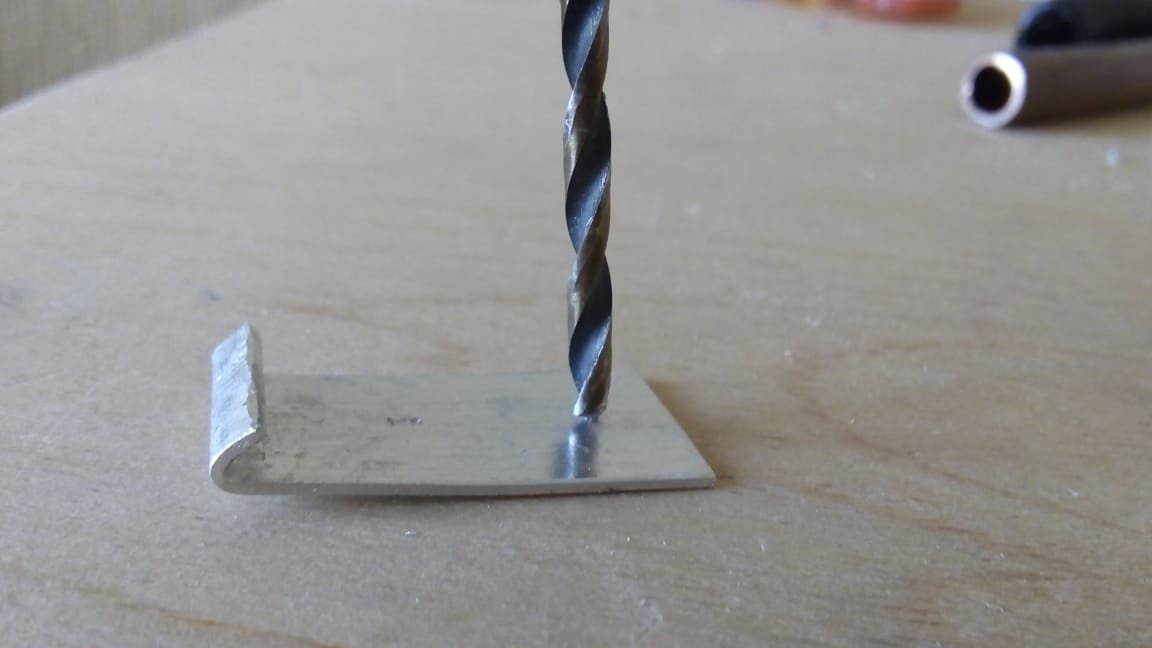
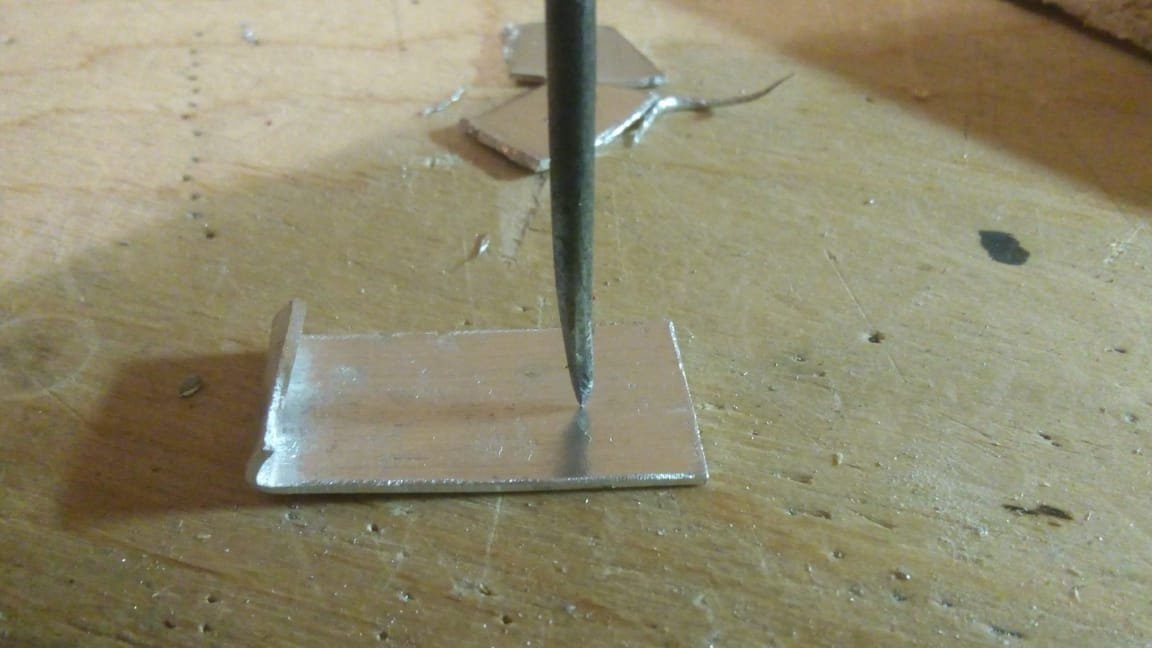
We process holes.
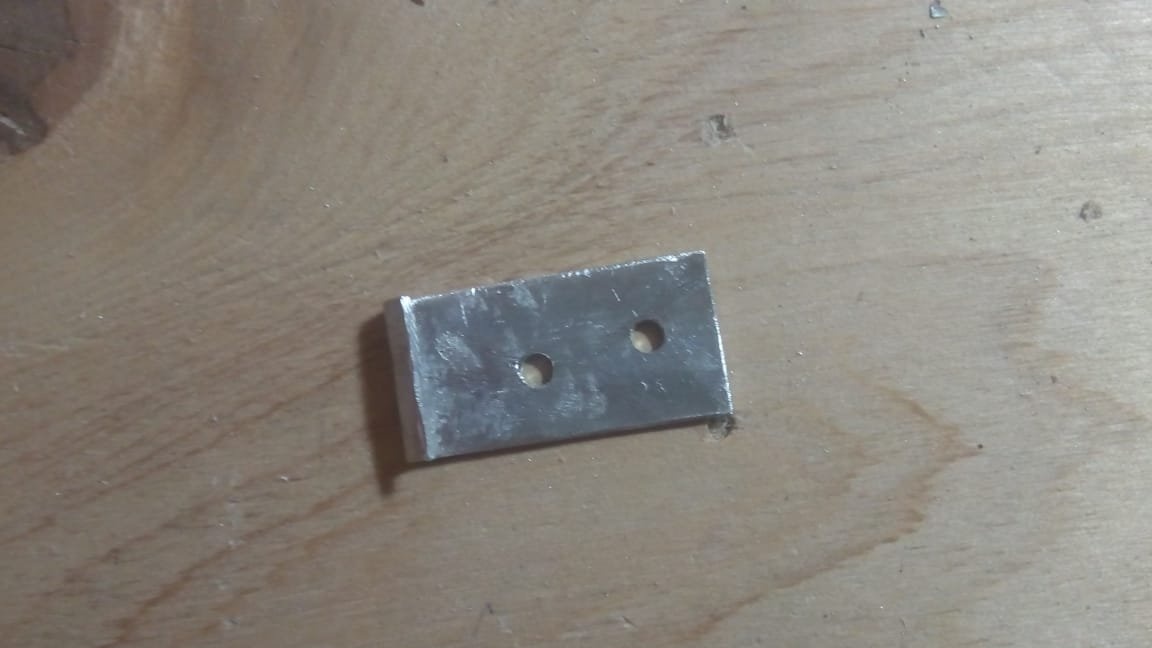
Finished part.
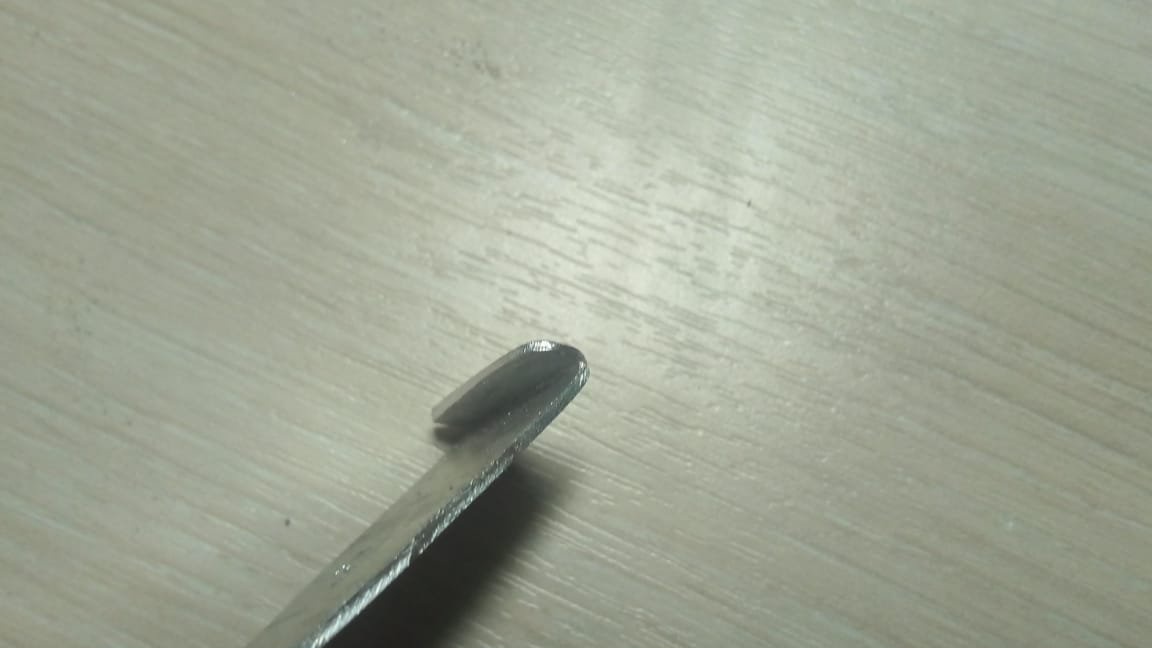
Now we will make another reciprocal part of the latch for attaching the body of the drill. Since I use a direct suspension as a drill clamp, the counterpart of the latch will be made specifically for it.
This part is made similarly to the previous one.
Bend the edge.
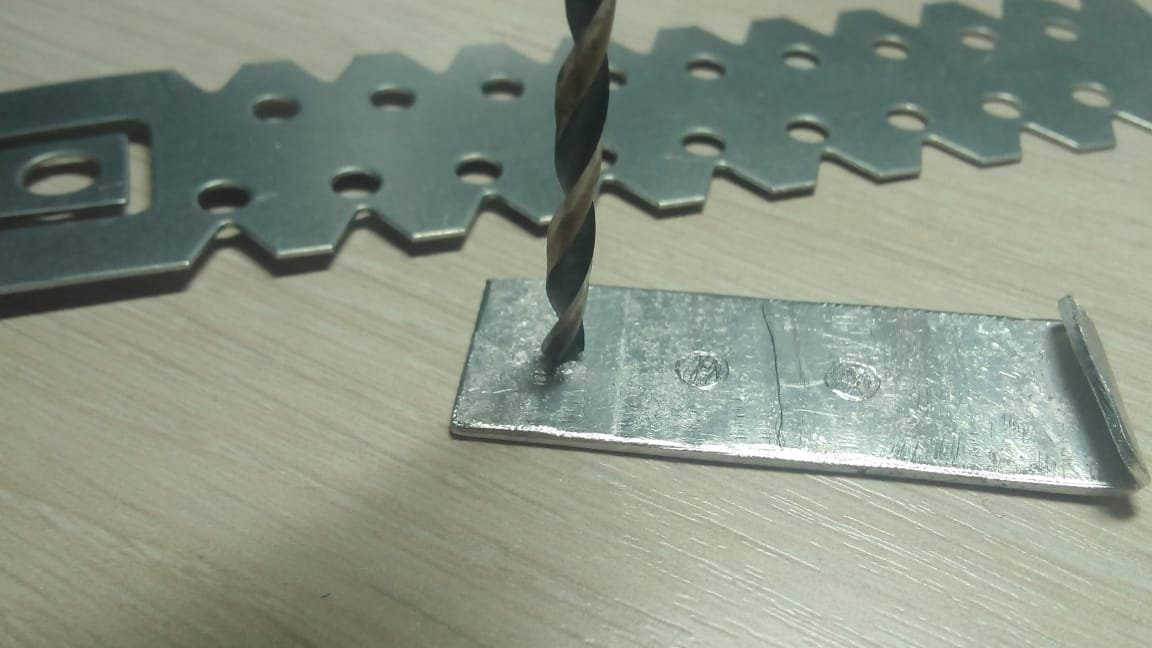
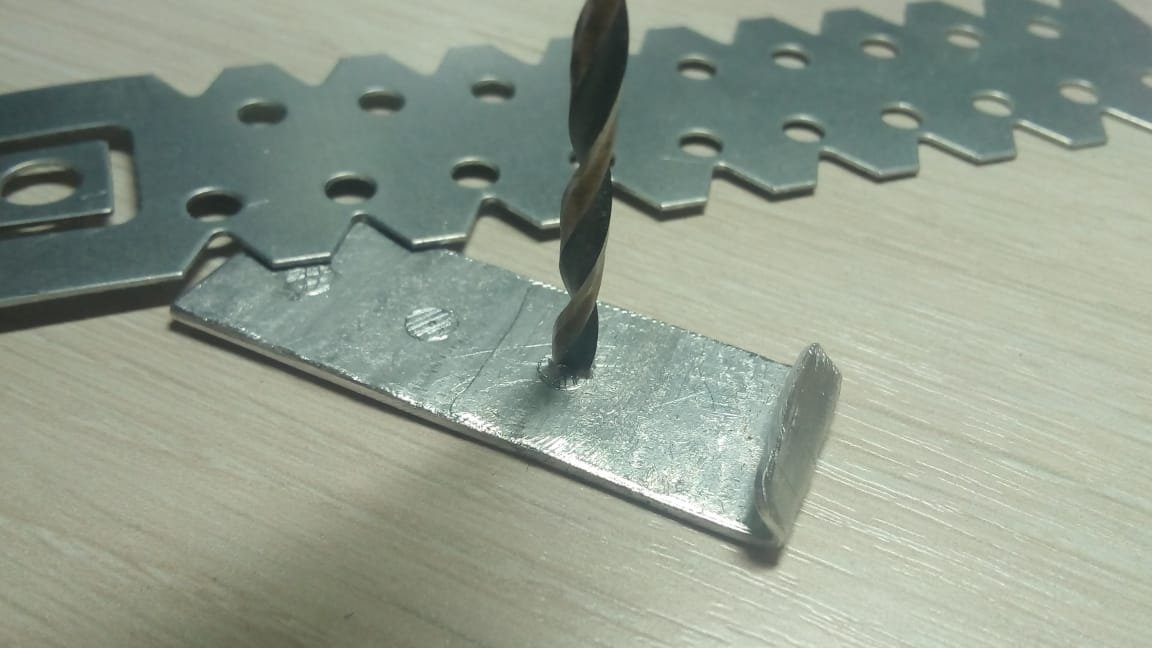
We process the part with a file, mark the holes in place.
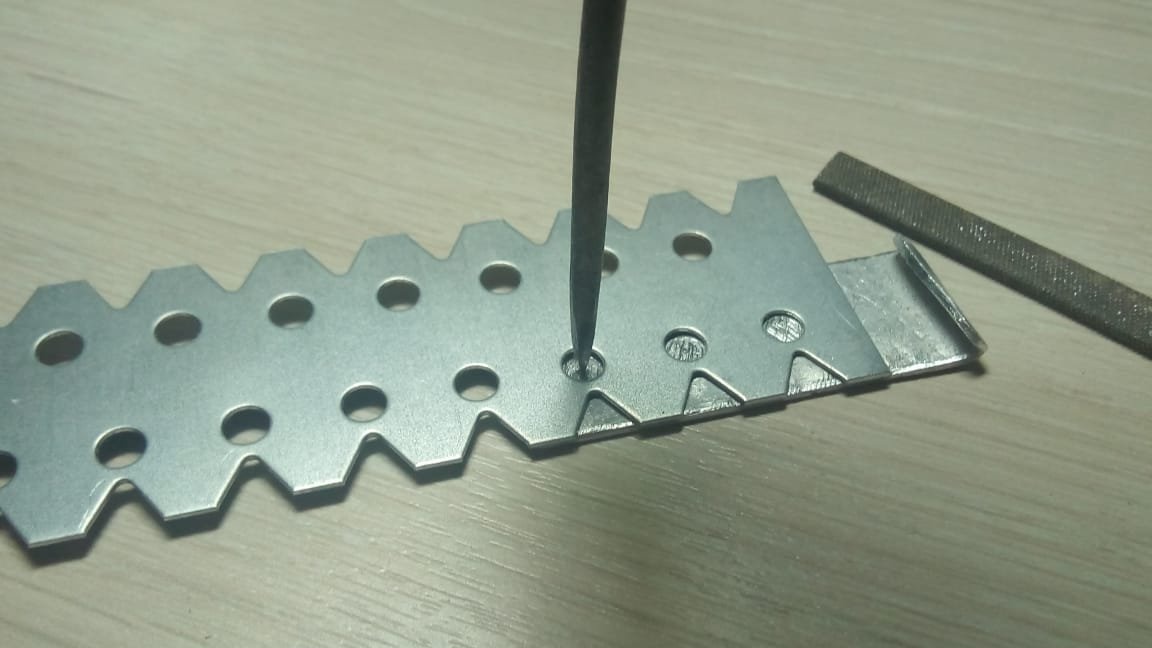
We drill.
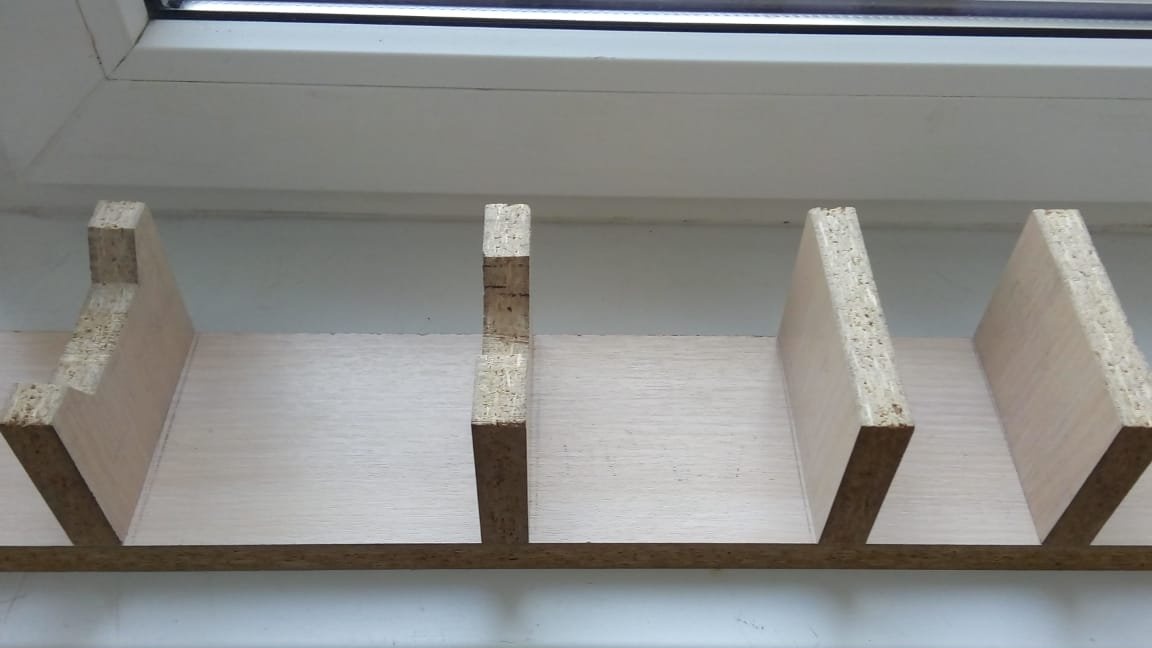
Step 5: partial assembly.
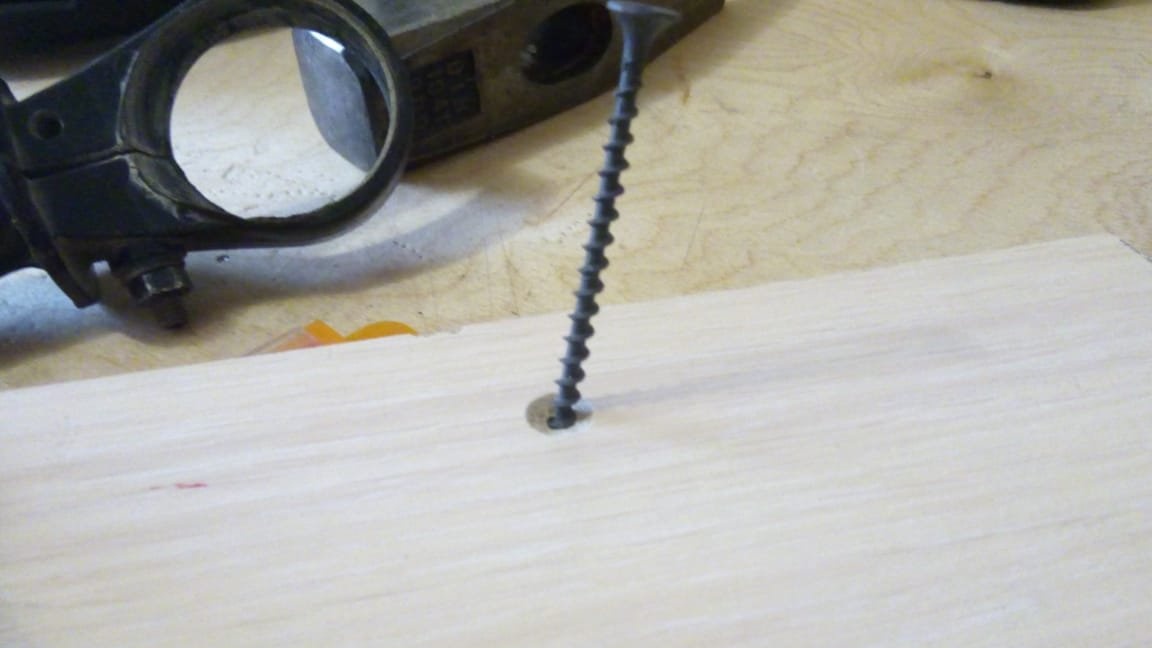
The main parts are ready, assemble the frame. I will assemble the structure for self-tapping screws.
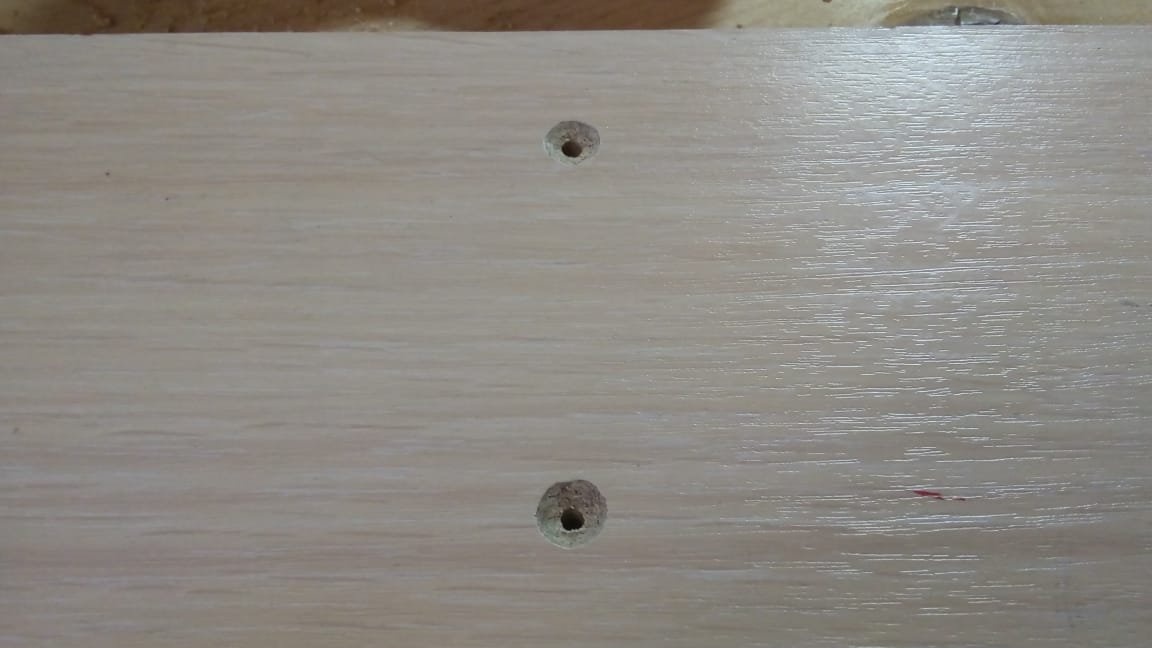
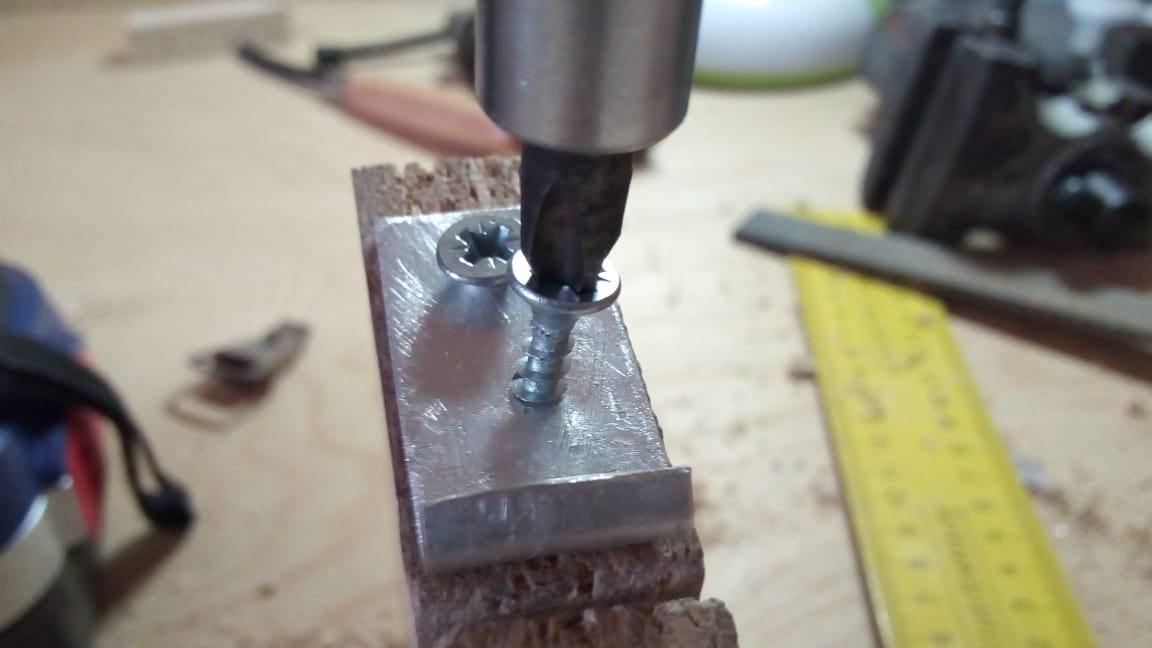
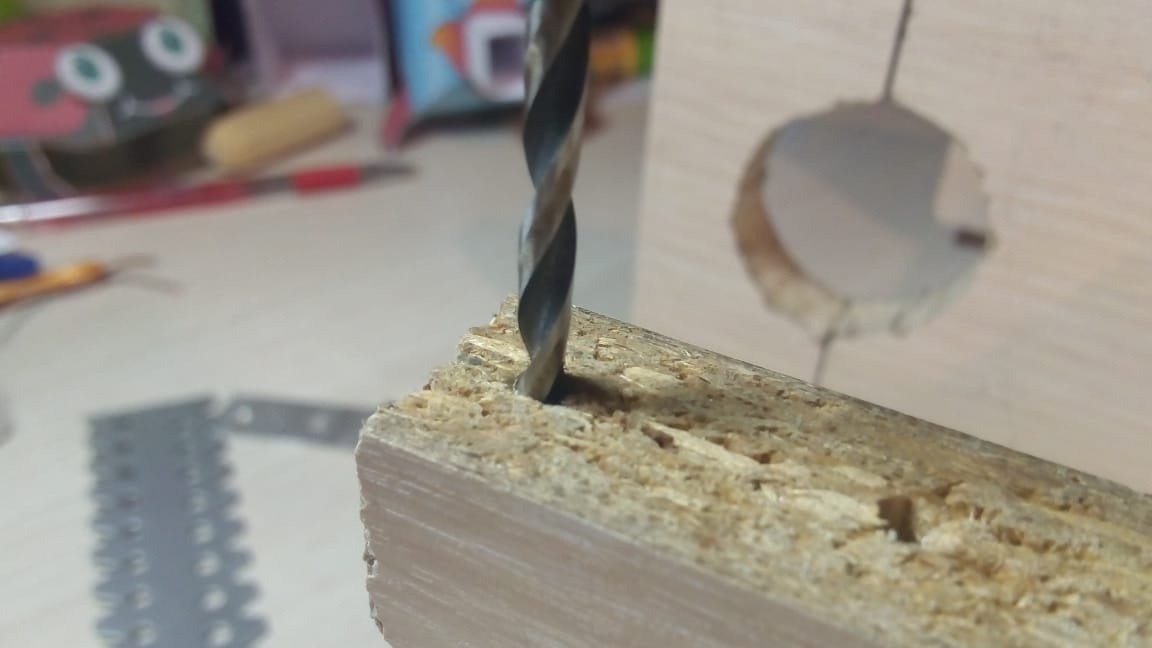
I installed the holders at a distance of 120 mm from each other and marked out the places for holes for self-tapping screws, drilled them.
We countersink holes that the screw head did not stick out.

I set the table at a distance of 105 mm from the front holder, and did the same with it as described above.
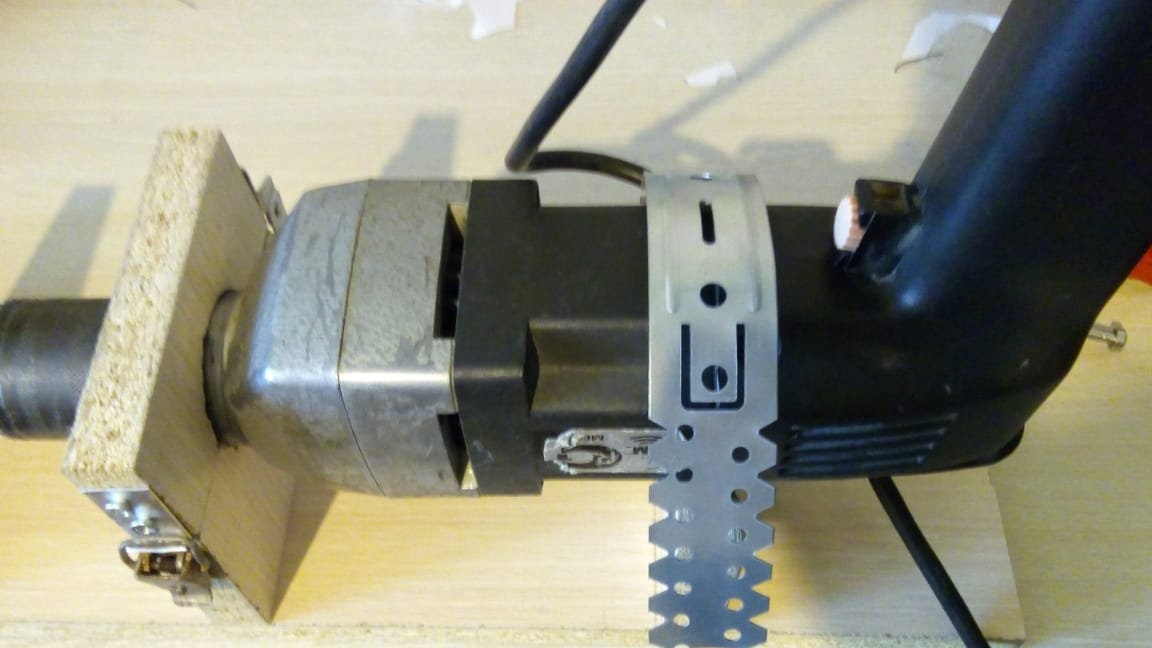
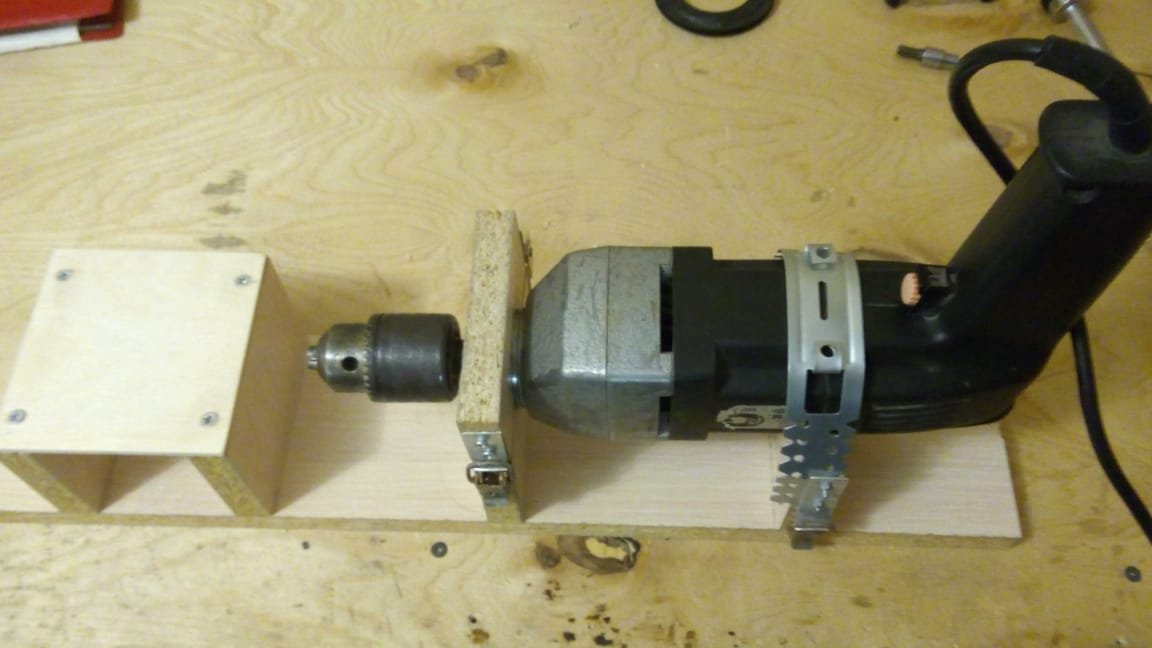
We collect.
Result.
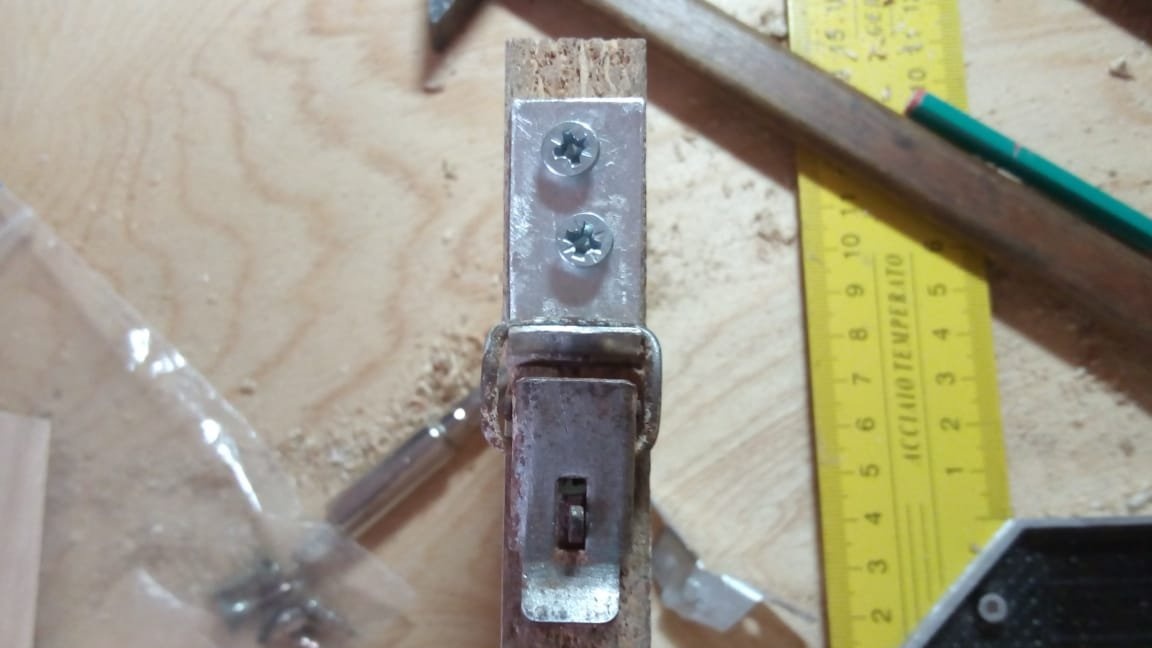
Step 6: fixing hardware, complete assembly.
On one side of the front holder we fasten the loop, on the other hand we fasten the latch to its counterpart.
Result.
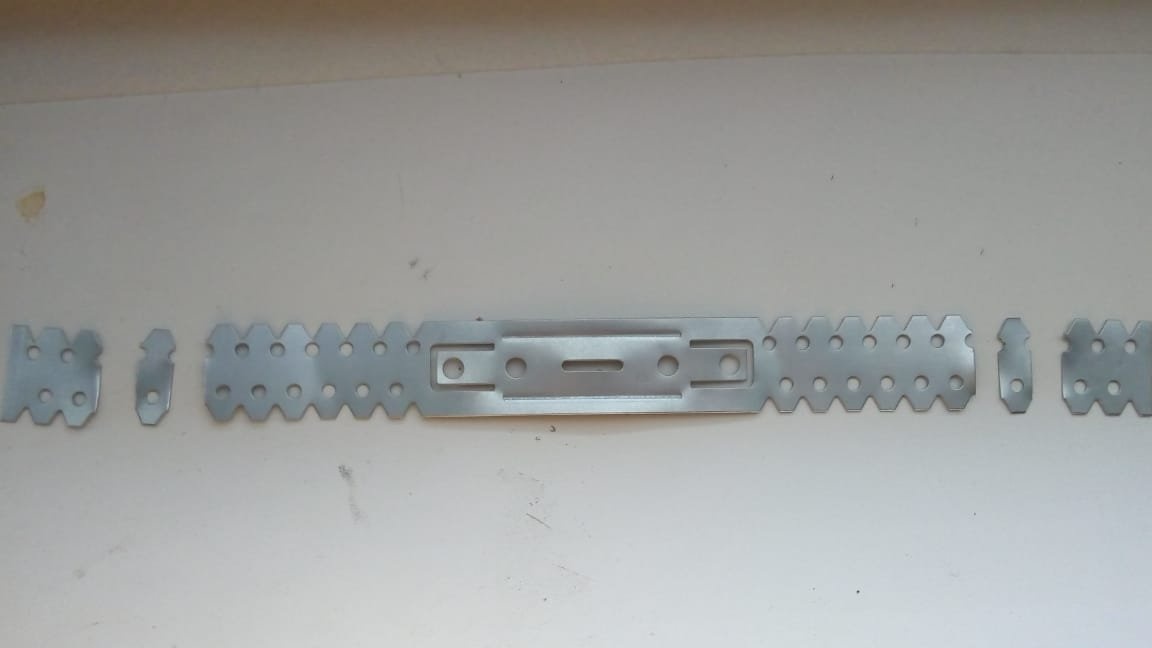
Now let's take care of the back holder.
Since the direct suspension has a sufficiently large length, we need to shorten it (my suspension had a length of 300 mm, I cut four sections on each side of it).
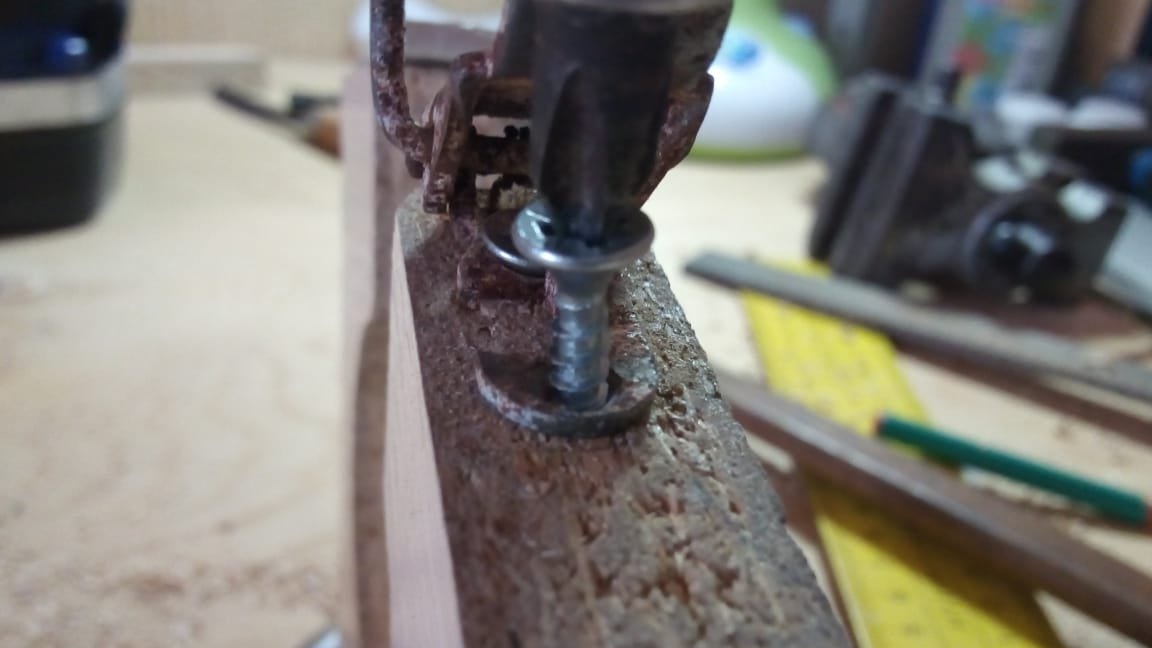
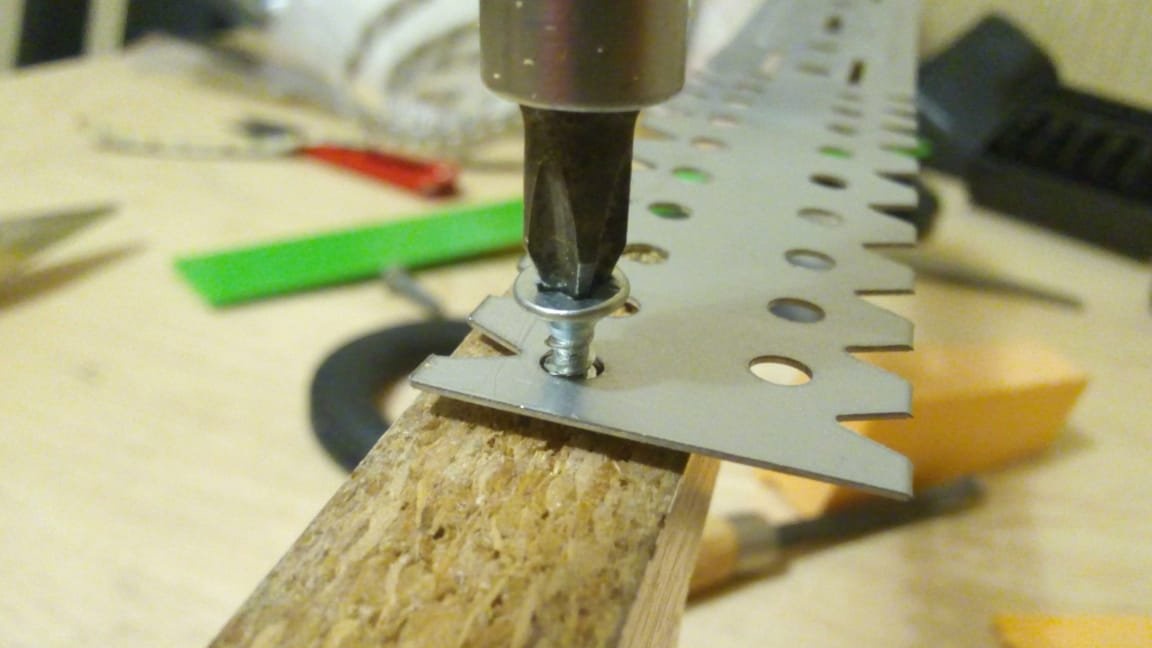
Fix the gimbal to the holder.
We drill holes for screws.
Screw the suspension.
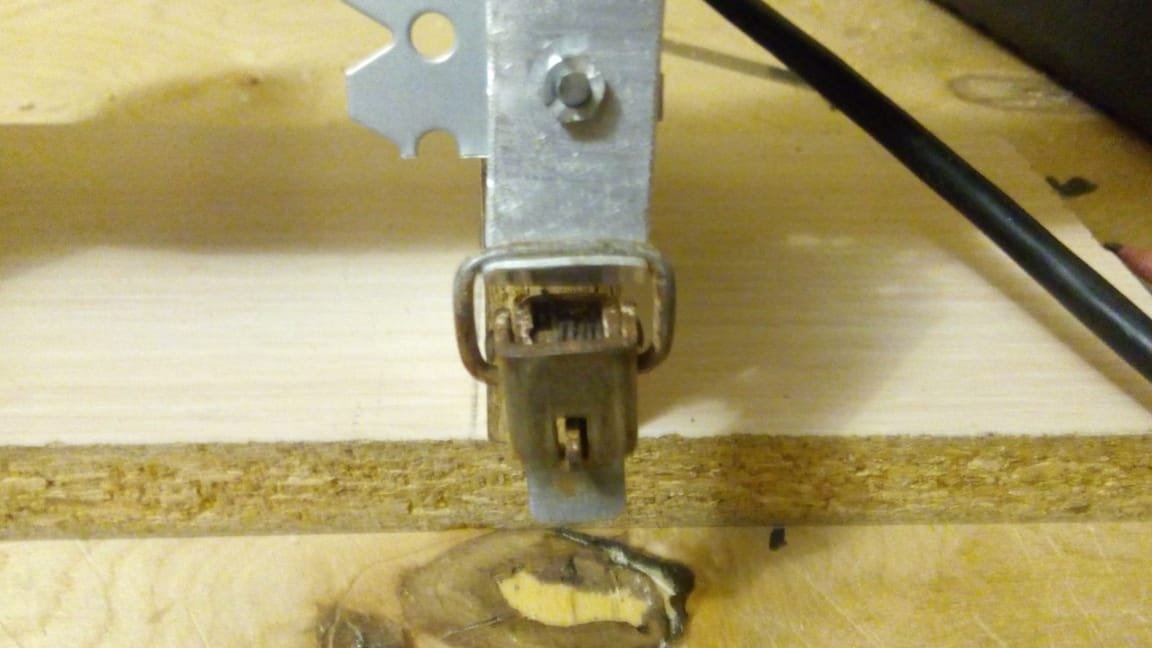
Now we fix the counterpart of the latch on the suspension (M3 * 10 screws were used).

Now fix the latch itself.
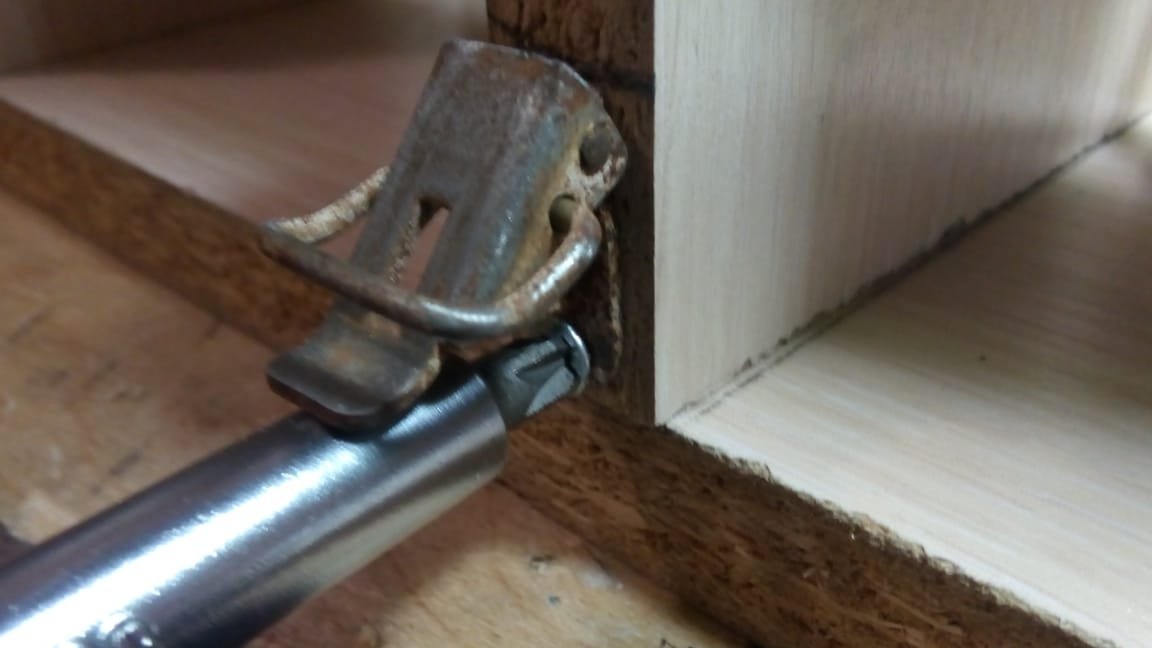
The accessories are installed, it remains to make a table.
We cut out a rectangle of plywood suitable for you from plywood (in my case it is 100 mm * 97 mm). We process the edges of the workpiece, drill and countersink holes (drill holes in place) and fasten the table.
Result.
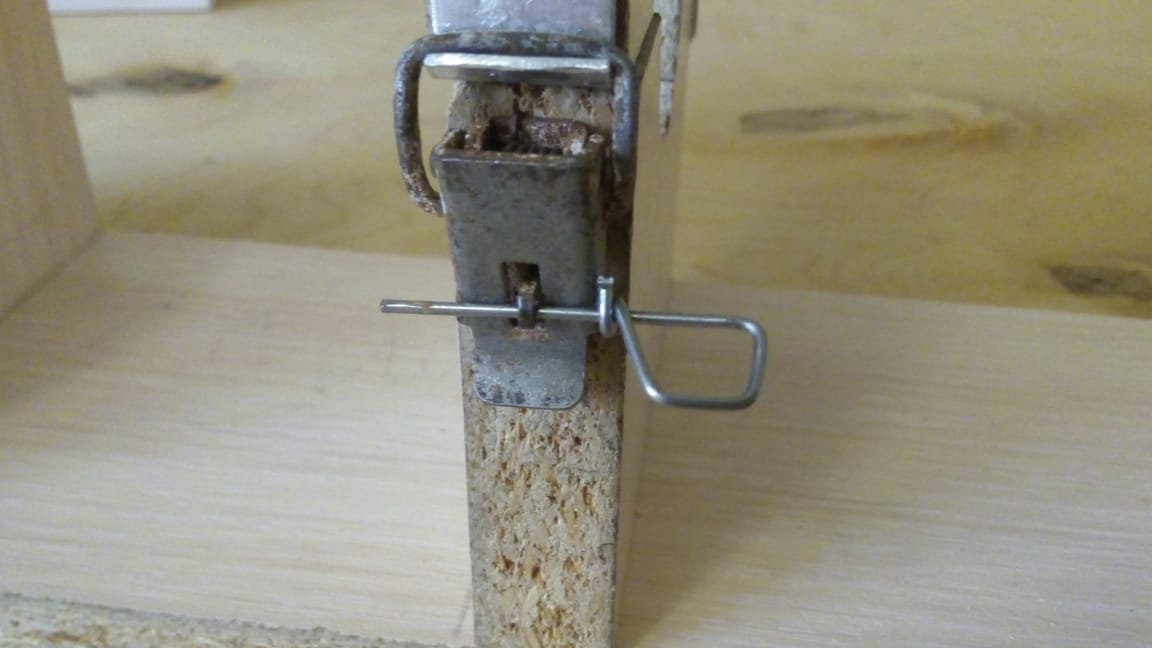
Also, if you are afraid that the latches will open spontaneously (although such an event is extremely unlikely, since the latches are quite reliable), you can make these "keys" that lock the latches:
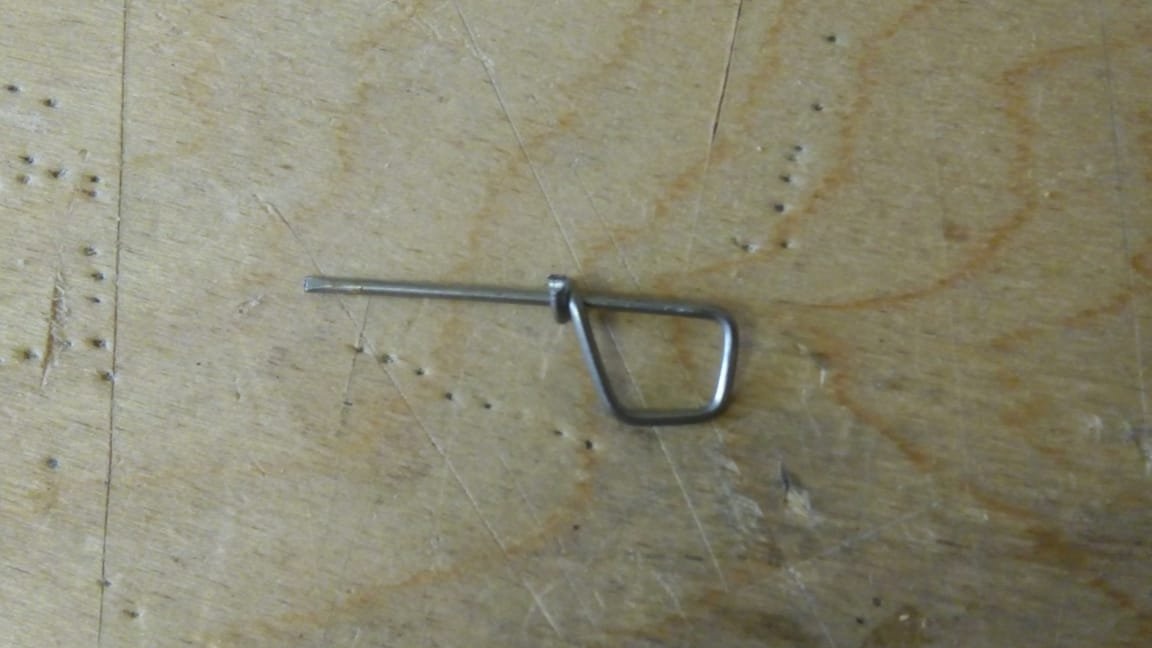
Homemade in work.
In conclusion, I will say that when working on this machine you do not need to forget about TB, work carefully and you will succeed!