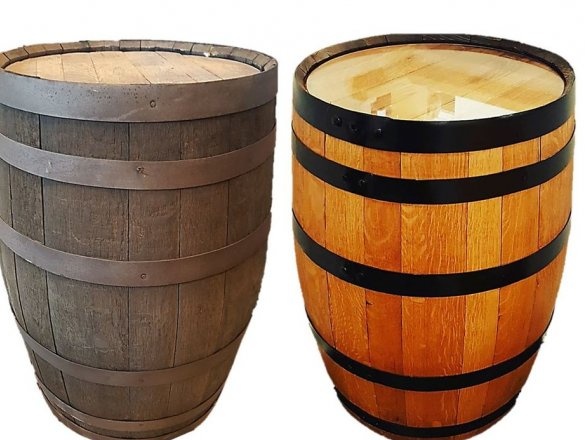
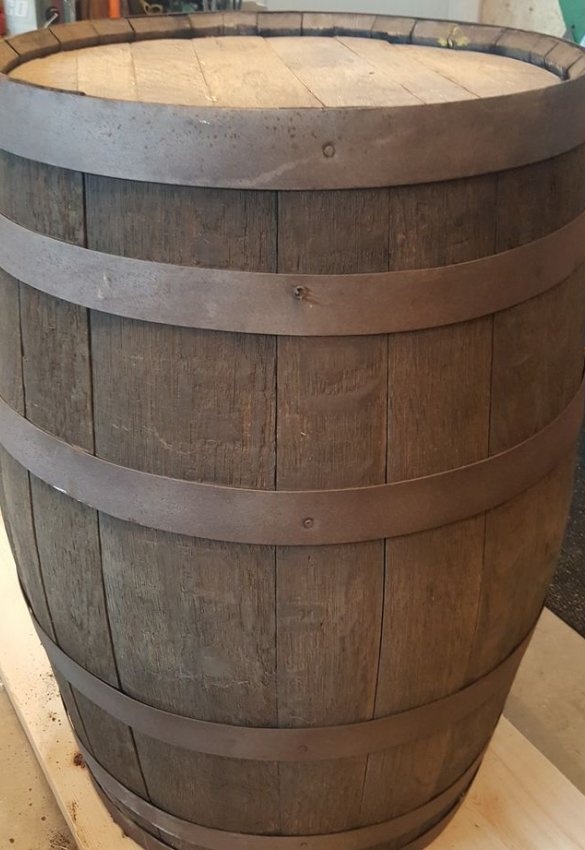
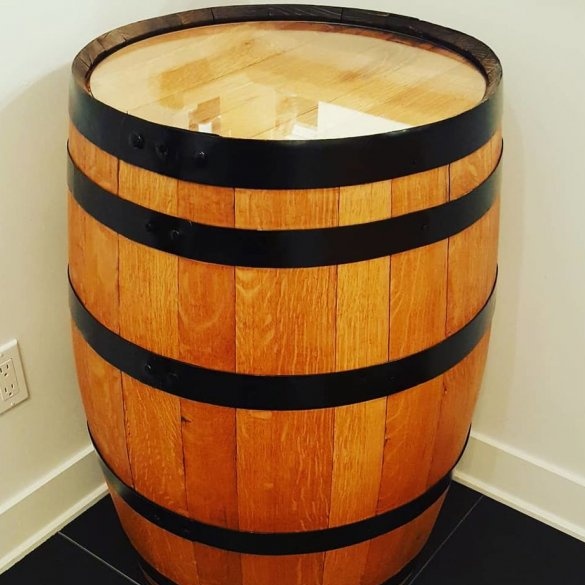
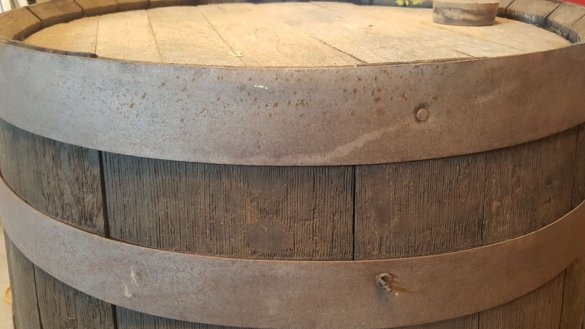
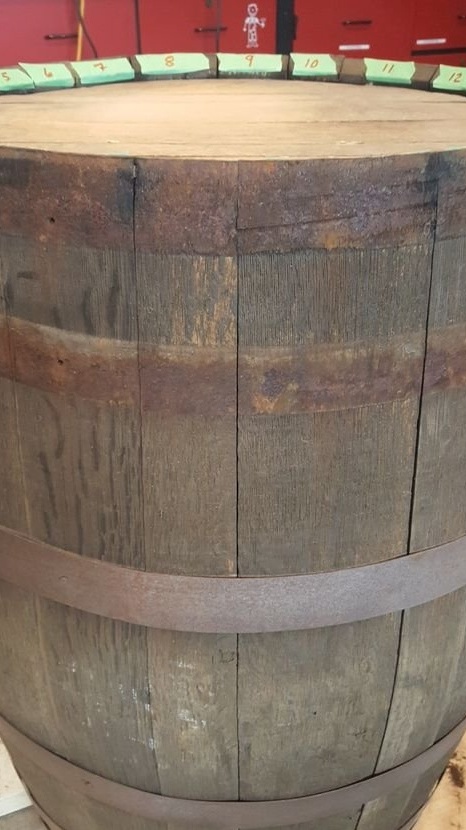
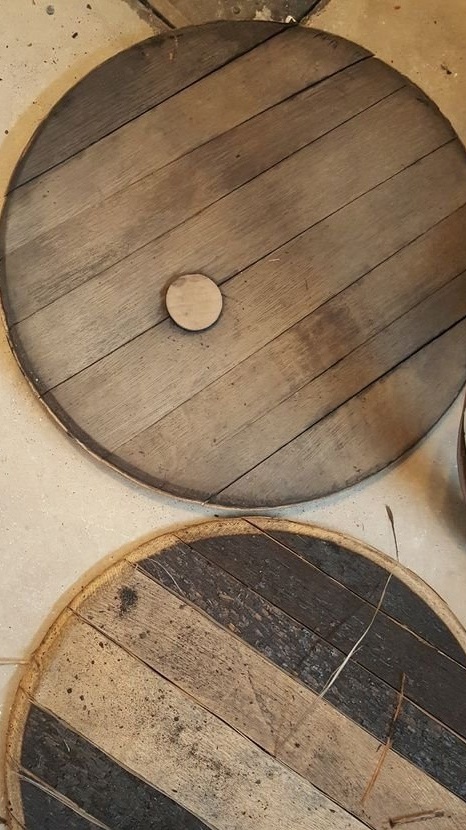
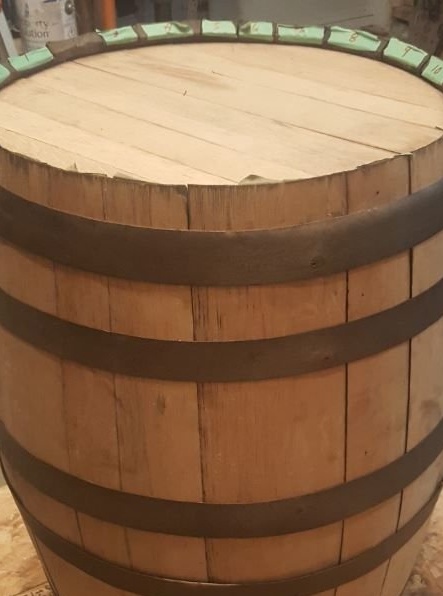
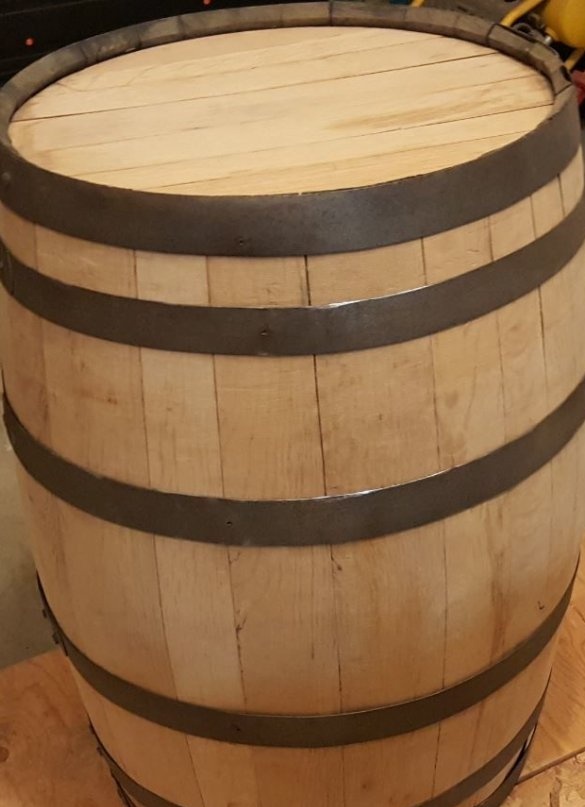
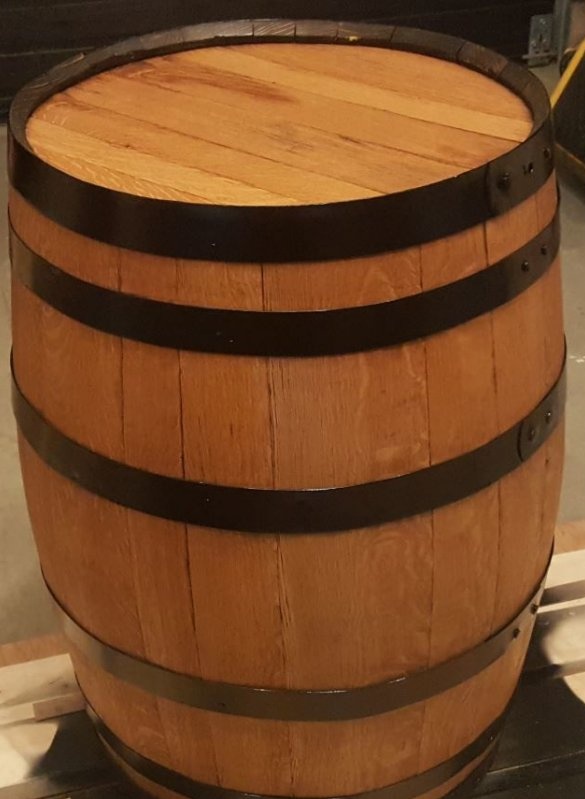
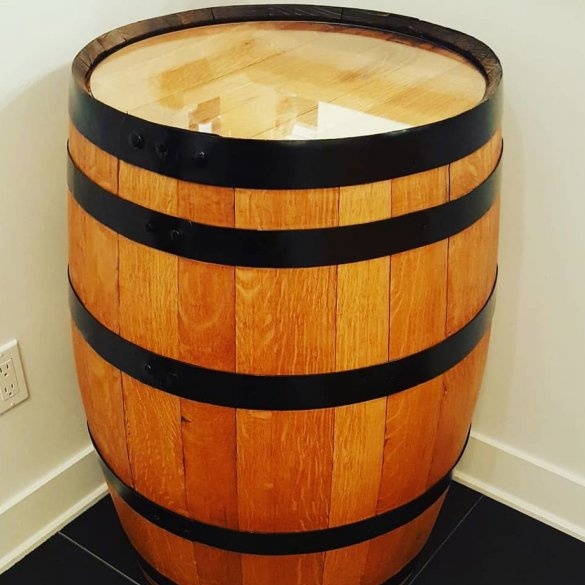
According to the estimates of the master, this barrel is about 100 years old. The barrel darkened, the boards dried out, and the hoops rusted. The master’s task was to restore the barrel, but at the same time leave it “antique”. In the future, the master plans to use it as a table.
Tools and materials:
-Hammer;
-Pliers;
-Marker;
- Paint tape;
-Band-grinding machine;
- Clamps;
-Drilling machine;
-Crown on wood;
-A screwdriver;
-Grinding disc;
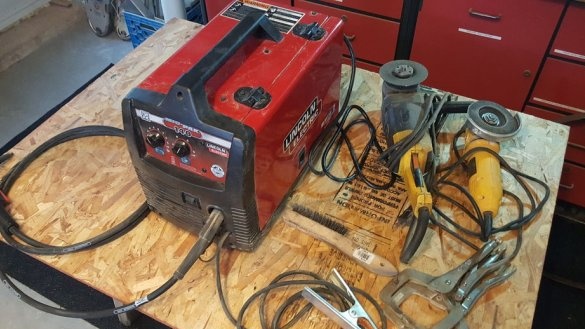
-Welding machine;
-USHM;
-Paint;
-Painting brush;
-Coating for wood;
Epoxy resin;
Step One: Dismantling the Barrel
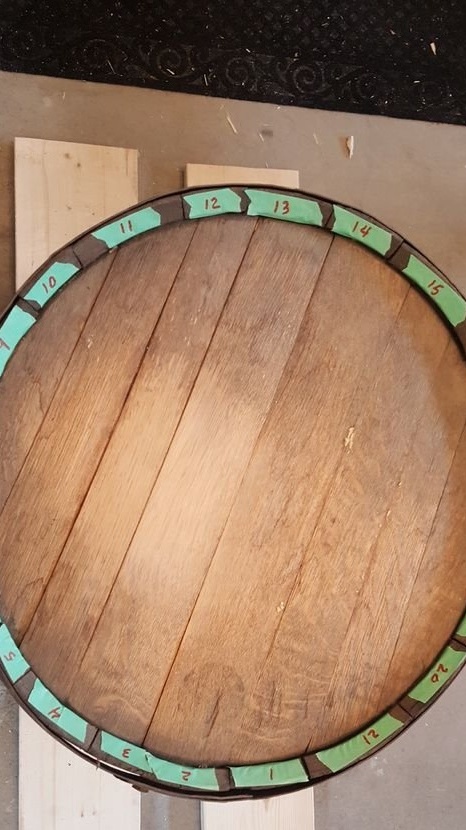
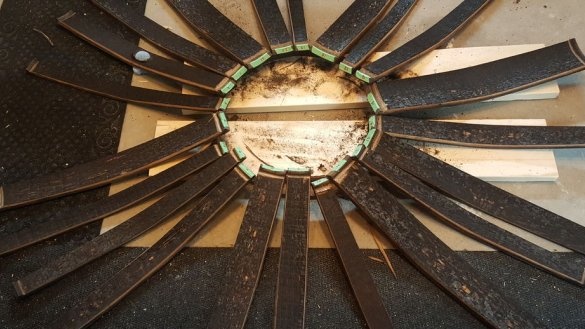
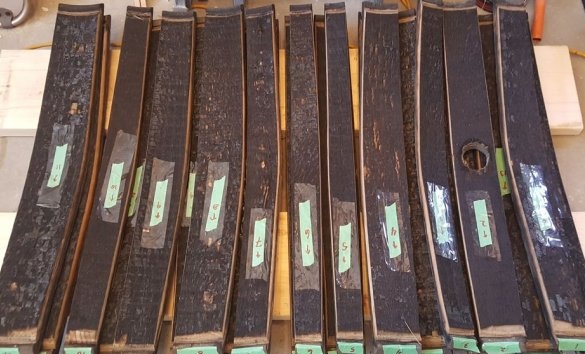
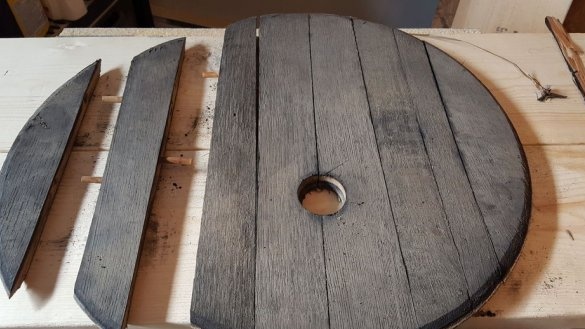
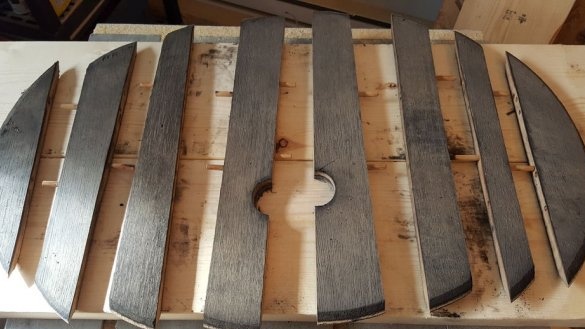
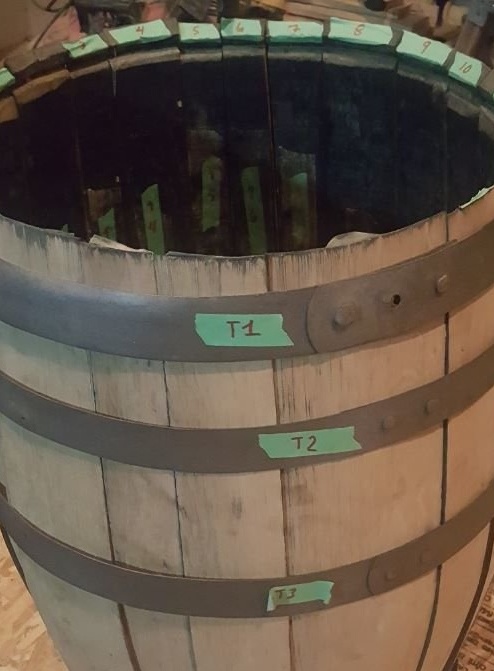
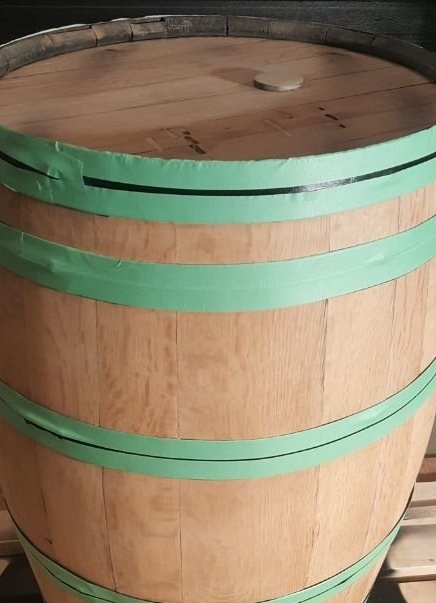
First you need to stick masking tape on each part of the barrel and write the part number. Then you can disassemble the barrel. Each hoop is fastened with two nails on opposite sides. The nails are pulled out and the hoops get off the barrel.
Step Two: Grinding
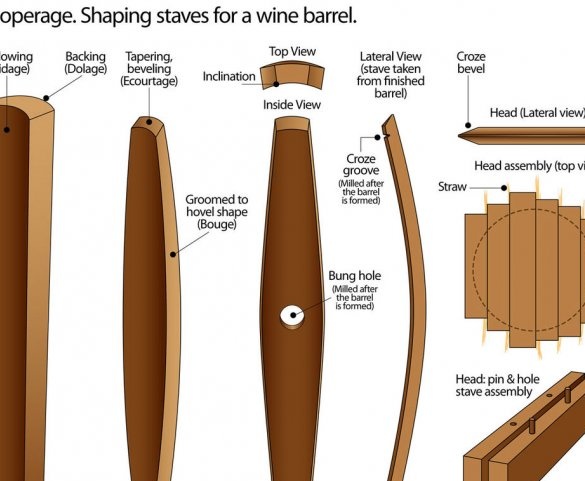
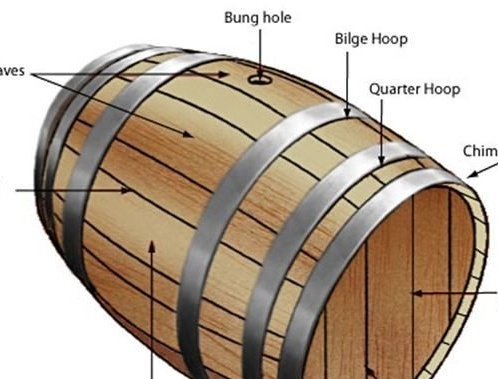
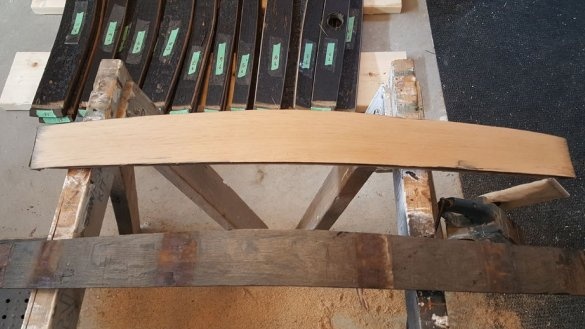
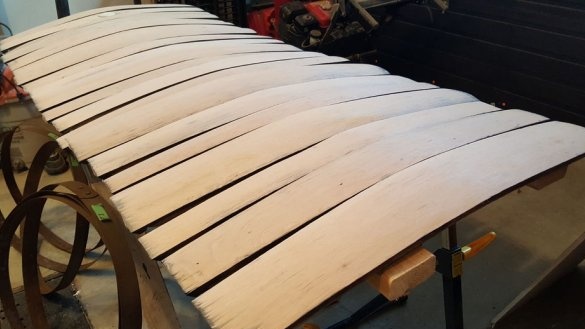
Vertical barrels are called rivets. The master rivets the rivets with a grinder.
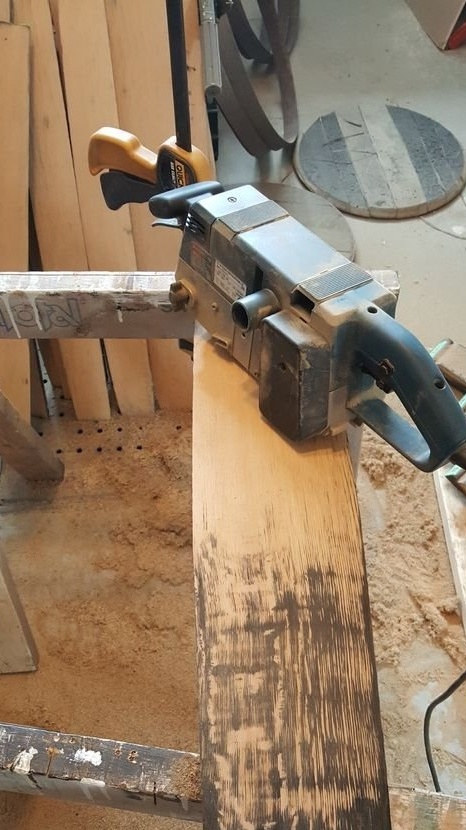
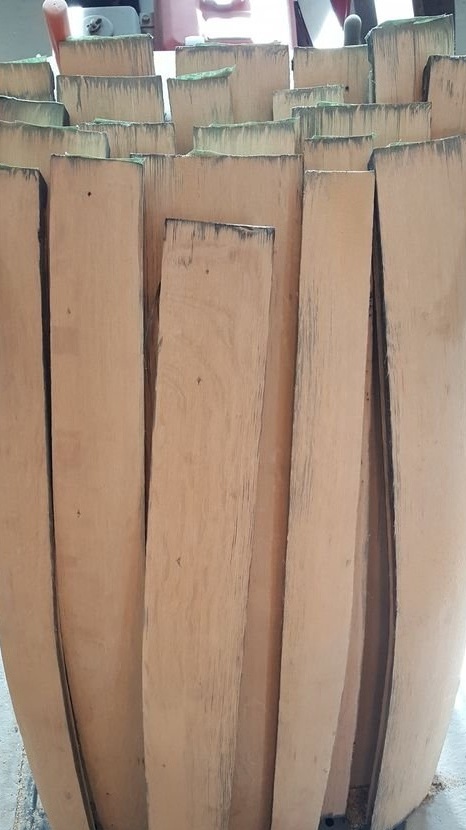
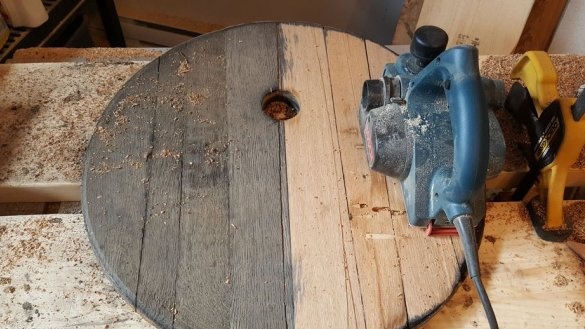
It also polishes the bottom of the barrel.
Step Three: Hole
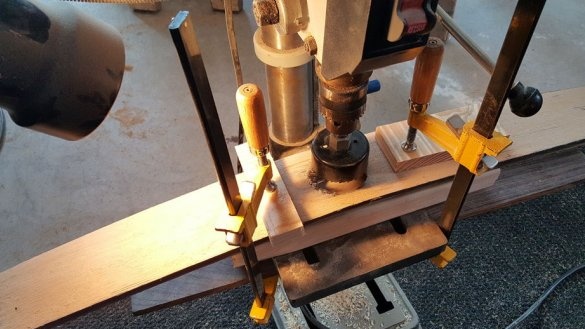
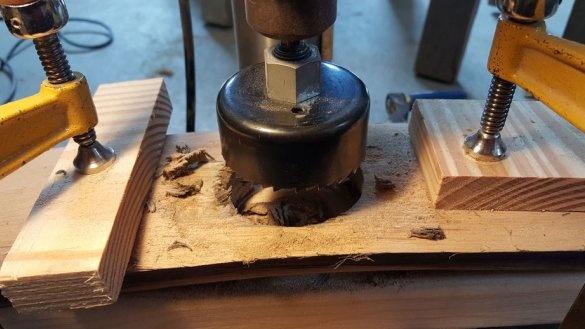
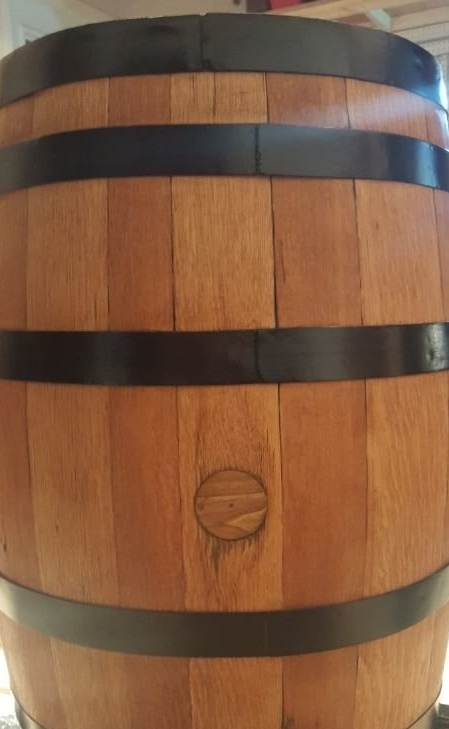
The hole on the barrel was oval and the master leveled it with a crown.
Step Four: Hoops
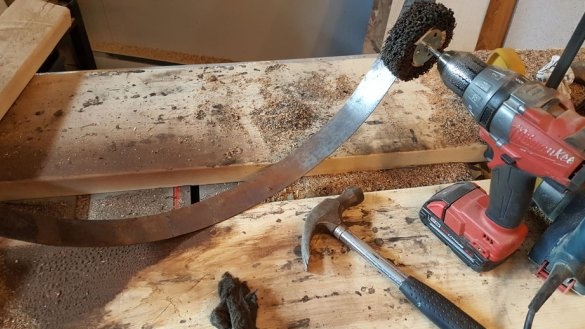
The hoops are first cleaned of rust.
Then the barrel needs to be assembled and fitted to the size of the hoops. It’s just that the barrel’s planks have dried out + grinding and as a result the hoops didn’t sit tightly on the barrel.
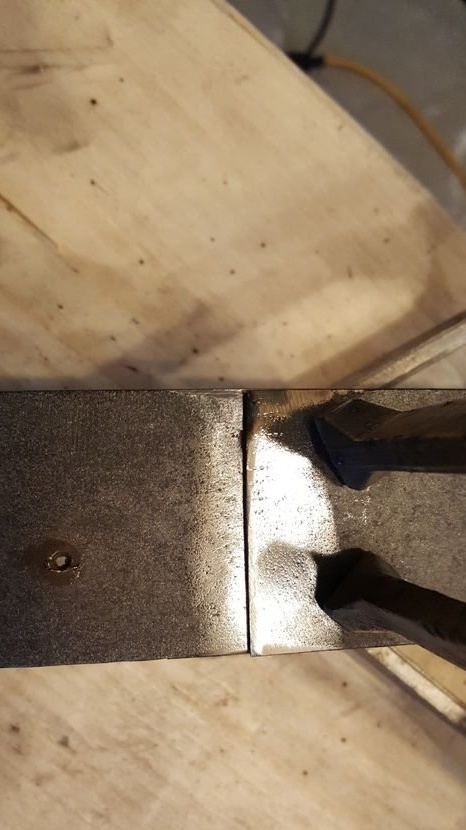
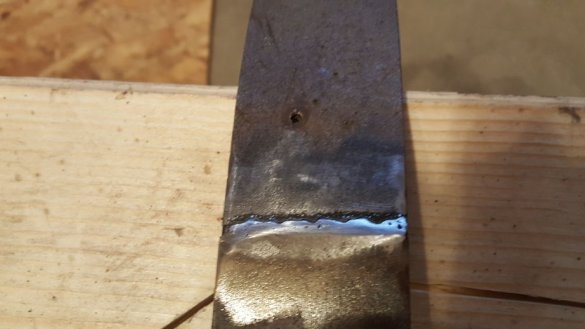
The master cuts the hoops, pulls together in size and welds.
Step Five: Painting
Next you need to color the hoops. The master seals the barrel and paints the hoops with black paint.
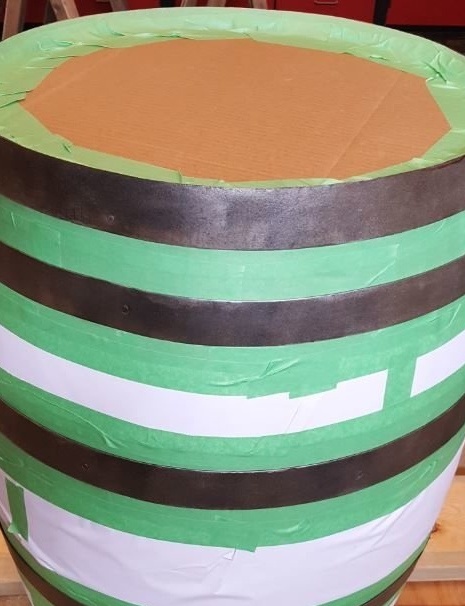
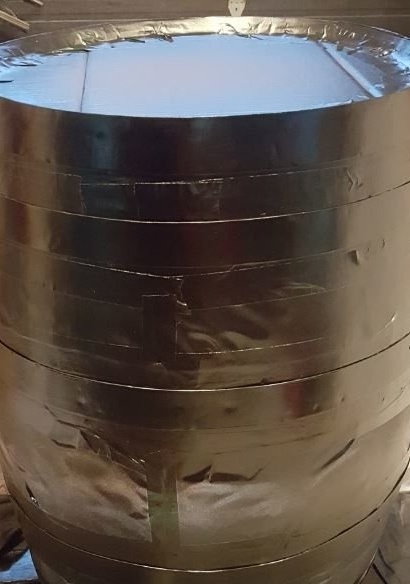
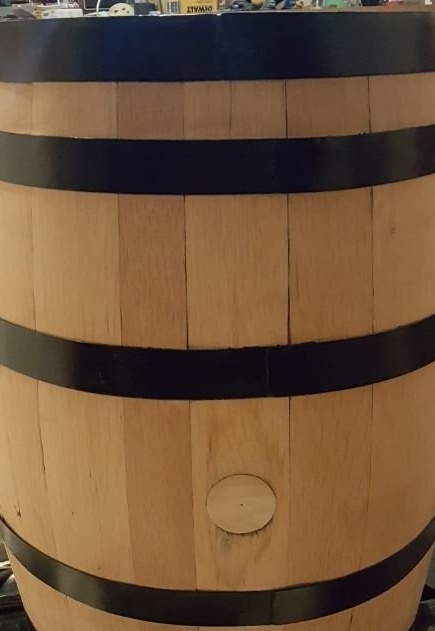
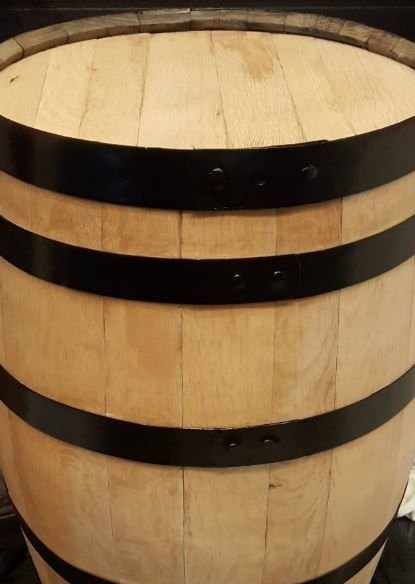
After the paint dries, it wraps the hoops around and puts a coating on the wooden parts of the barrel.
Step Six: Fill
The final touch is the filling of the end part with epoxy resin. The master plans to use the barrel as a table.

