I welcome all fans to craft, I propose to consider instructions for the manufacture of a simple and useful machine for creating fuel briquettes do it yourself. Such a device will be relevant for those who have access to paper waste or even sawdust. However, you can make such briquettes even from dead wood or reeds, if you make a crusher. The machine operates on manual human power, after drying with briquettes you can heat a different type of furnace or use it just like kindling. Everything is going quite simply from ferrous metal, if the project interests you, I propose to study it in more detail!
Materials and tools used by the author:
Material List:
- sheet steel about 3 mm thick;
- round and square pipes;
- bolts and nuts;
- steel rods;
- paint for metal.
Tool List:
- grinder;
- welding machine;
- a drilling machine or drill;
- roulette;
- marker;
- vernier caliper.
Manufacturing process homemade:
Step one. Box
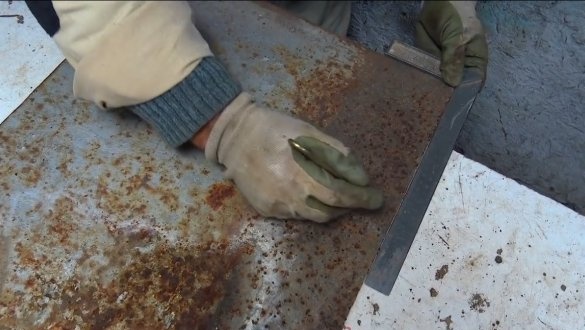
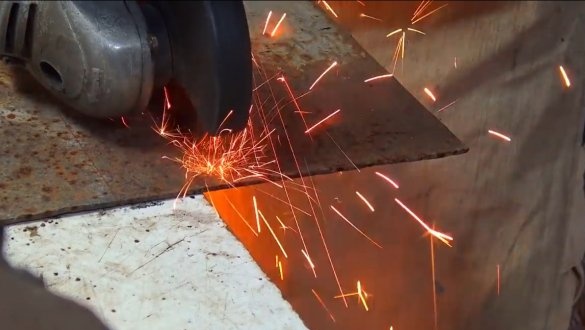
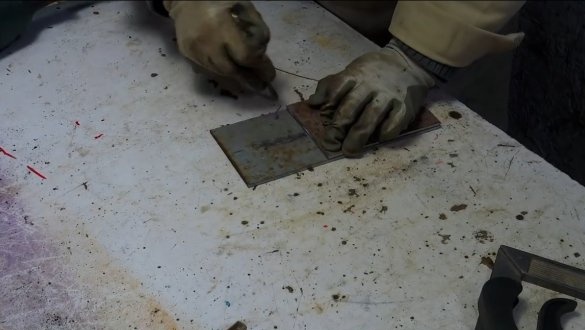
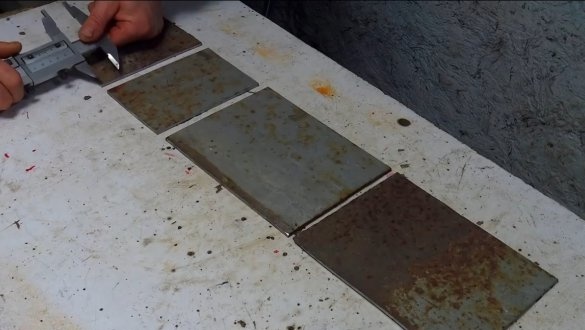
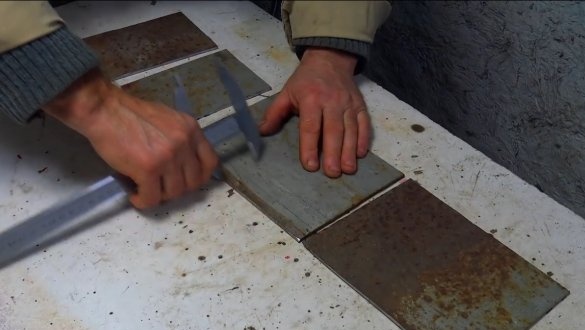
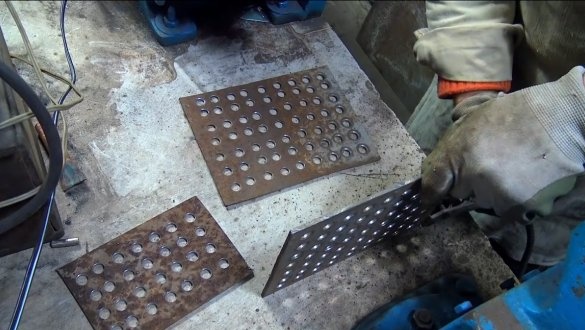
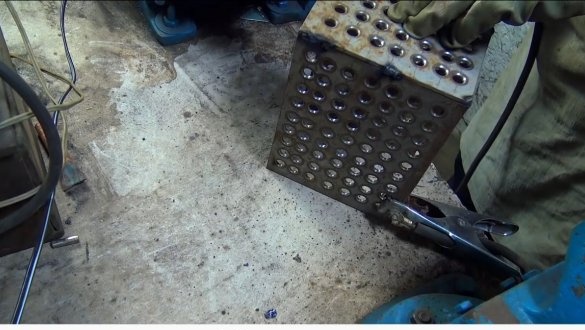
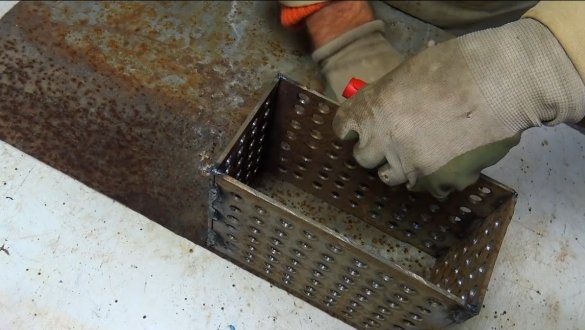
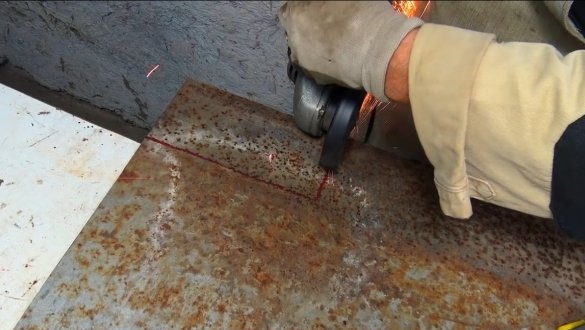
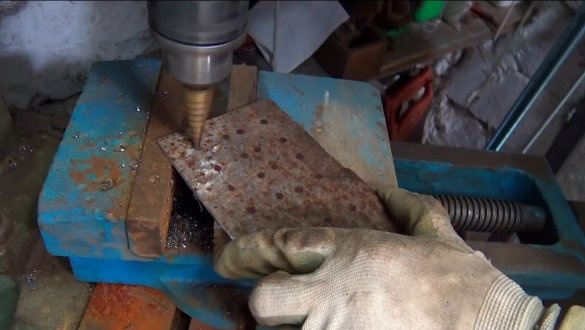
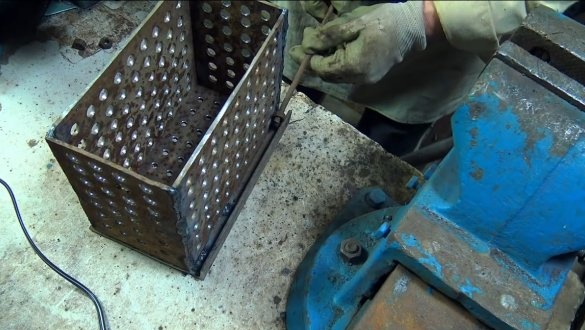
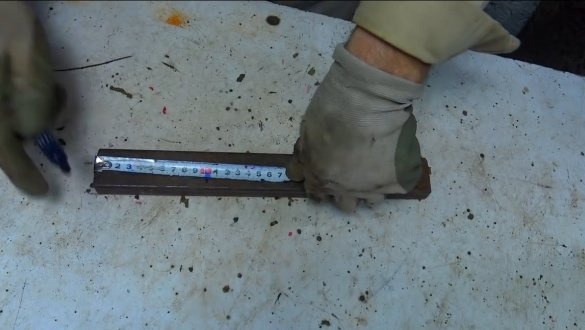
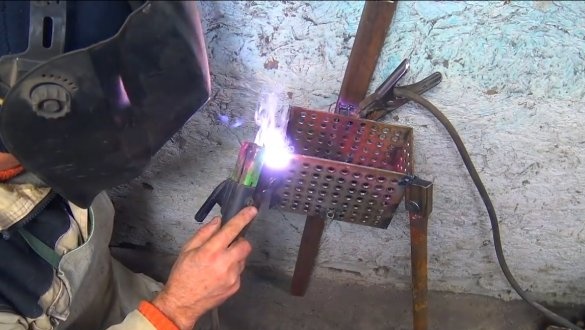
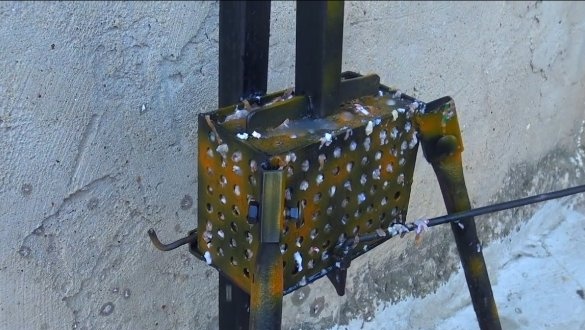
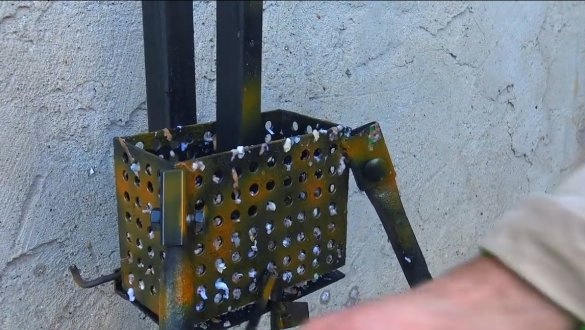
First of all, you need to assemble a strong box in which wet paper will compress. The box must withstand heavy loads, as the press will work in it. The box should also have openings through which water will flow. We use sheet steel about 3 mm thick, cut materials and weld a strong box. We choose the sizes you need, they will determine the size of the bricks, fuel briquettes. The larger the briquette, the faster it is done, but one must take into account the higher efforts in the press. So choose the best size for yourself.
Step Two Bottom
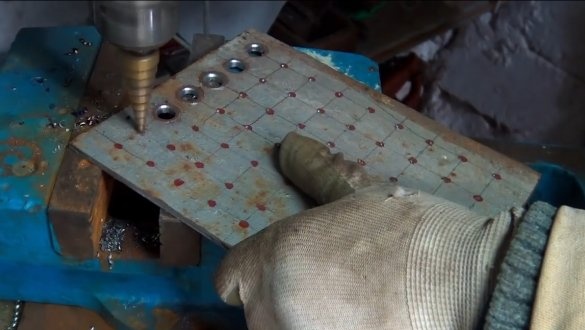
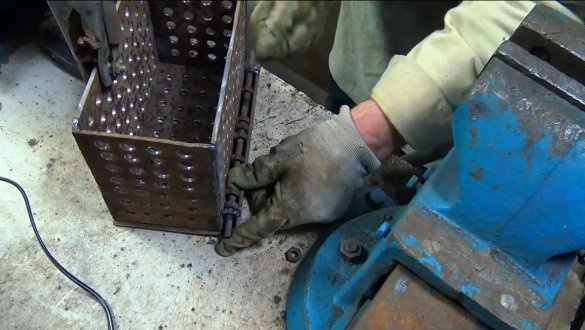
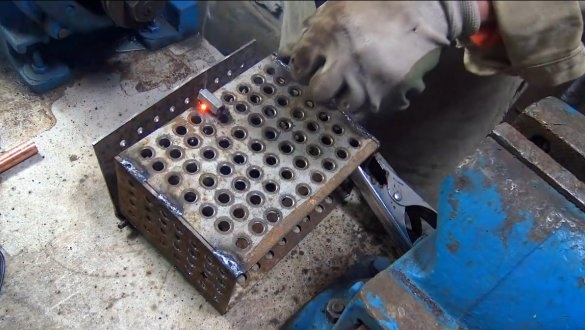
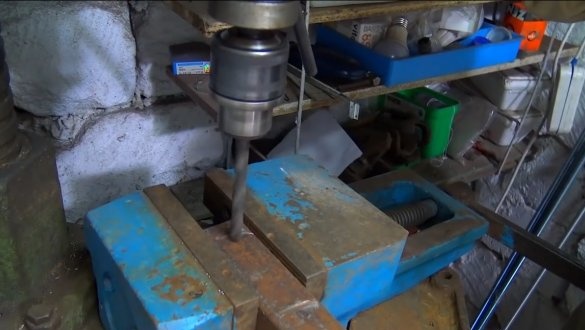
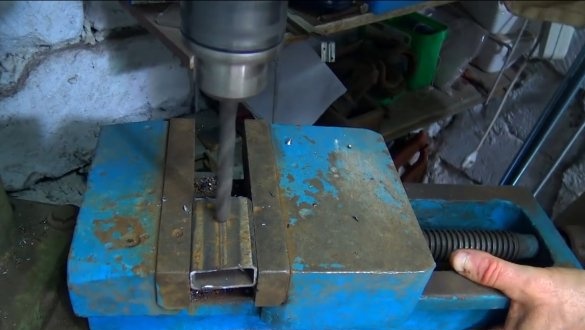
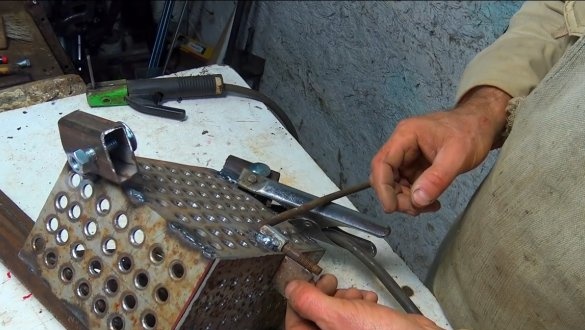
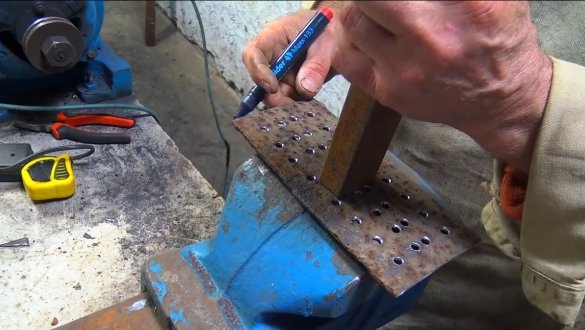
We make the bottom for the box, here you need to use the most thick steel, since the loads here will be the largest, but 3 mm steel should cope with the loads. We also drill rows of holes in the bottom, we need to hang it on tender loops, the author used ordinary nuts as such loops, and we use a steel rod as the axis. For reliability of nuts it is possible to weld more, they will not be superfluous. The author has welded a corner to a sheet of metal, he is already cooking nuts on it, this will allow everything to be welded tightly.
Step Three Legs
We make reliable legs for the machine, as conceived by the author, the legs should be removed, as a result, the assembled machine can be easily transported or stored. We use round pipes as legs, one of the legs will be long, above the box, it will be a rack. To which the lever will be attached.
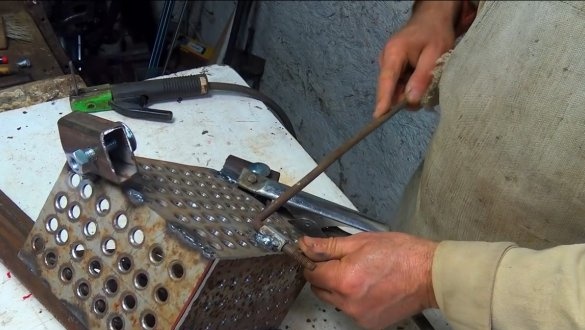
In order for the legs to be removed, the author welded pipes of a larger diameter to the box, the legs are bolted with nuts.
Step Four Locking mechanism
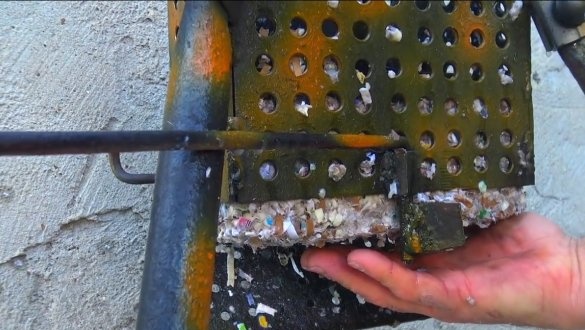
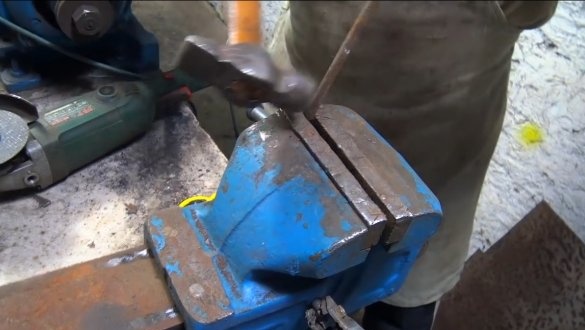
We make a locking mechanism for the bottom, the author simply bent the round in the form of the letter “G” and welded a piece of steel plate to the end. As a sleeve, a long nut was welded to the box.
Step Five Lever and pressure plate
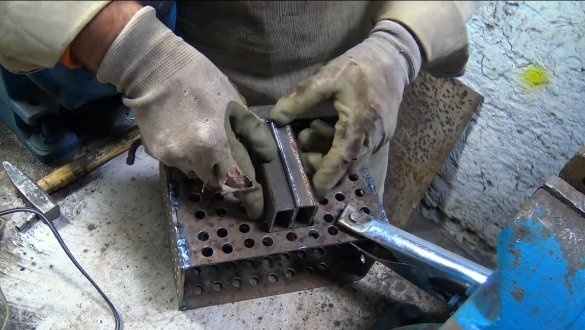
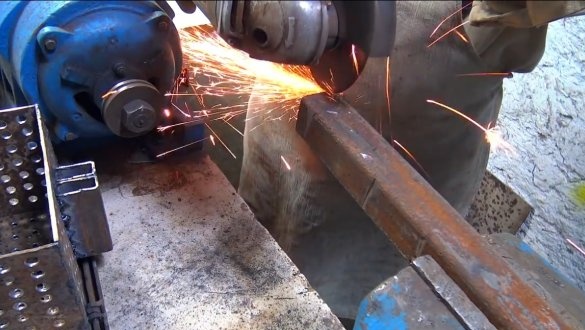
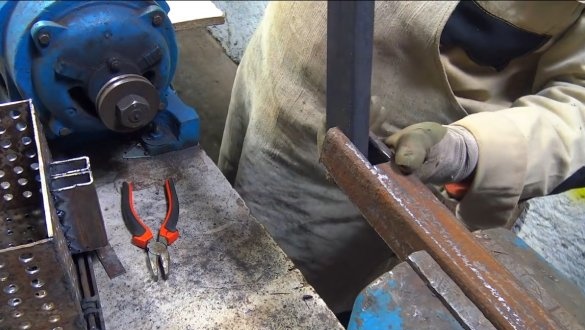
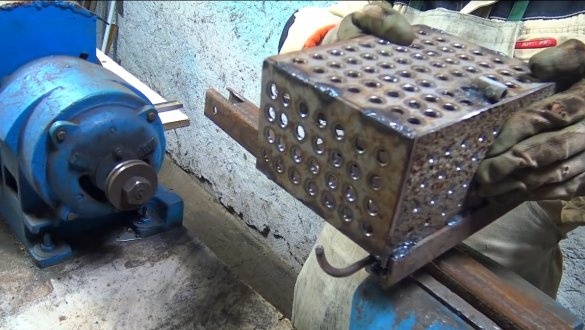
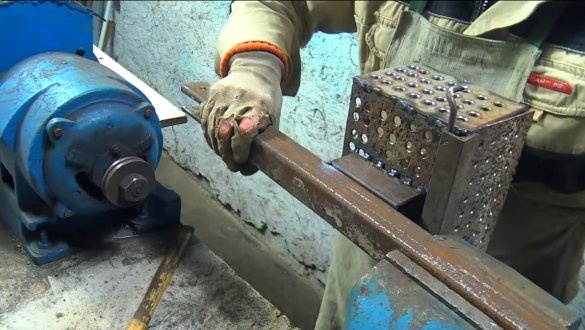
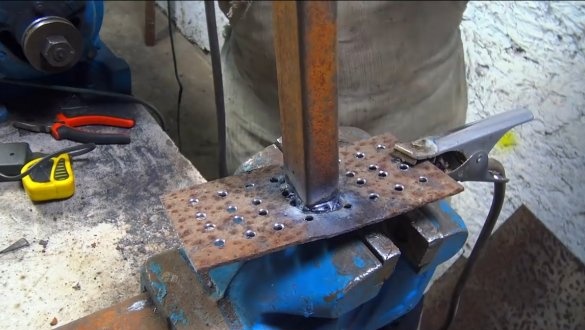
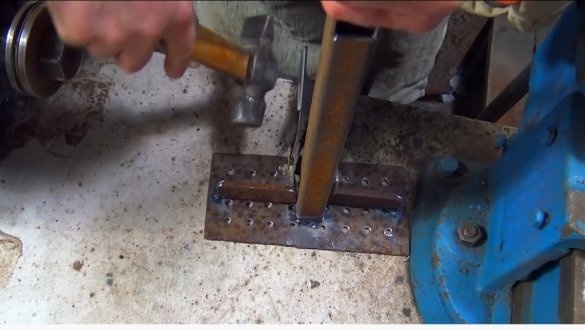
We make a pressure plate that will compress the paper. The author used the same sheet steel of which the box is made. We weld a profile pipe to the plate, and so that the plate does not bend, we weld stiffeners to it from pieces of steel plates.
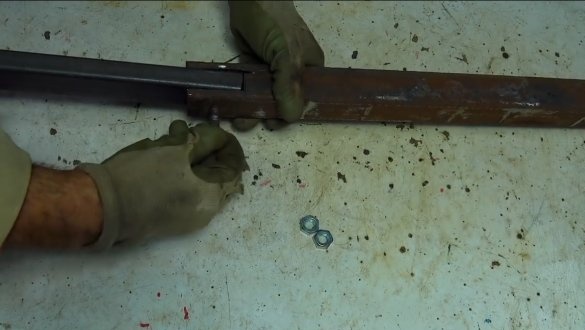
On the back of the pipe we cut a fork, which allows you to pivotally attach the pressure lever. The lever itself is attached to the rack also pivotally. As axles, you can use bolts with nuts.
Step Six Painting and testing
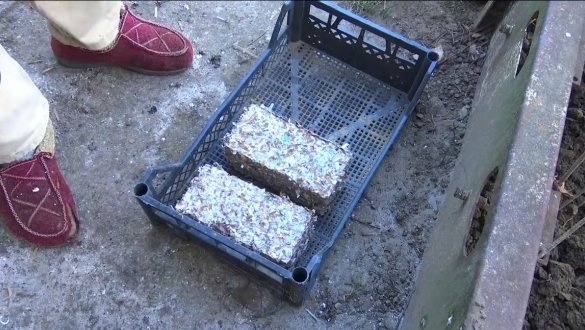
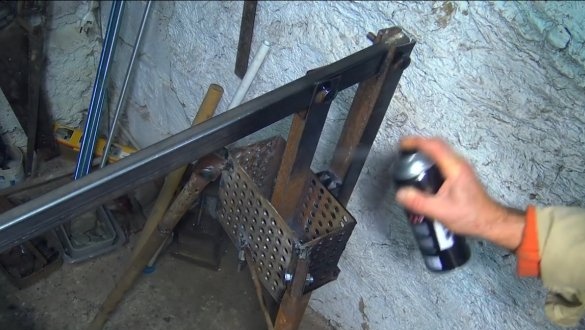
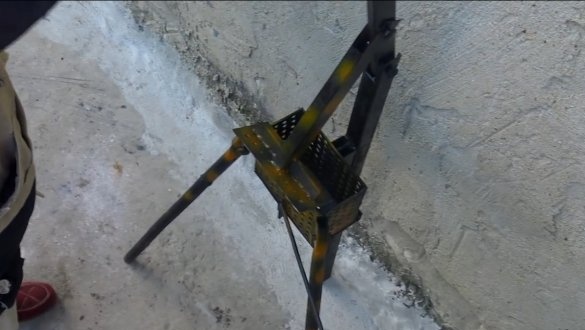
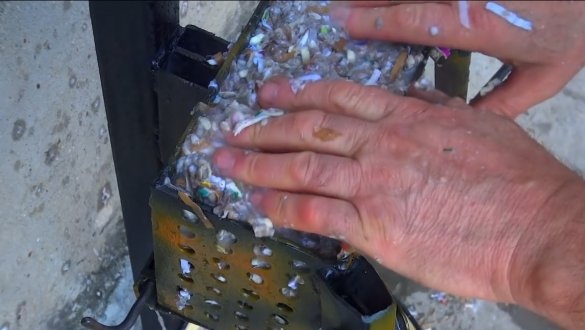
After a thorough cleaning of the machine with a grinder, we paint everything from a spray can, otherwise the metal from the water will rust intensively. The machine is ready, you can test. We load wet paper into the box and compress it with a press. When the water drains, you can open the bottom and squeeze the finished brick. At the end, the briquette will have to dry, so do not forget that the bricks must be done in advance before the heating season to dry.
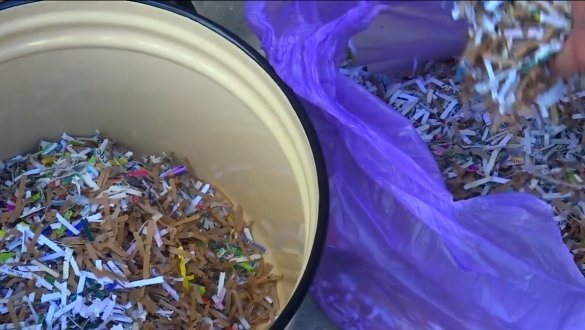
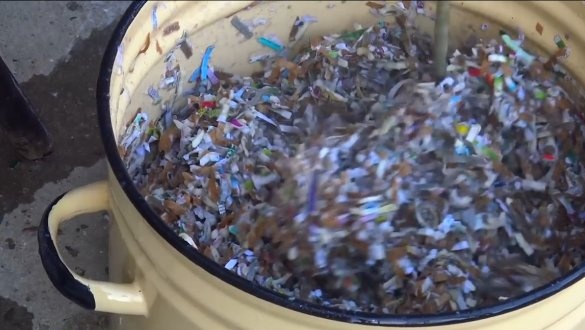
So that the paper sticks together well, you can soak it for a while or fill it with hot water. Over time, the paper itself becomes sticky from water and no other adhesives are required.
The project is completed on this, I hope you liked the homemade work, and you found useful thoughts for yourself. Good luck and creative inspiration, if you decide to repeat this. Do not forget to share your ideas and homemade things with us!

