
In this article, the author of the YouTube channel “Rag 'n' Bone Brown” will tell you how to make a hand sanding block. Previously, the author rubbed wooden surfaces by hand. But after manufacturing this simple tool, the work went much faster, and the quality of processing increased markedly.
Materials
- Sheet plywood, wooden beam
- Screws, wing nuts
- Two-component epoxy adhesive
- Foamed rubber
- PVA glue
- Clear spray lacquer
- masking tape
- Sandpaper.
Instruments, used by the author.
— Clampsclamps
— A circular saw
- Drilling machine
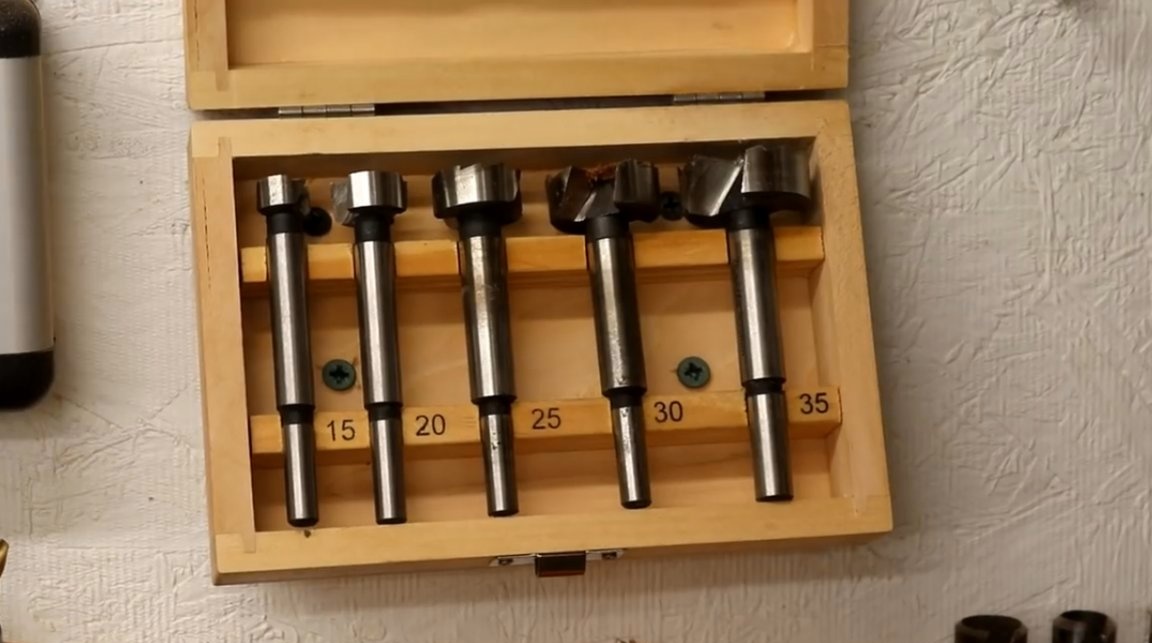
— Forstner Drills
- Hacksaw, vice, file
— Screwdriver
- Roulette, square, pencil, knife.
Manufacturing process.
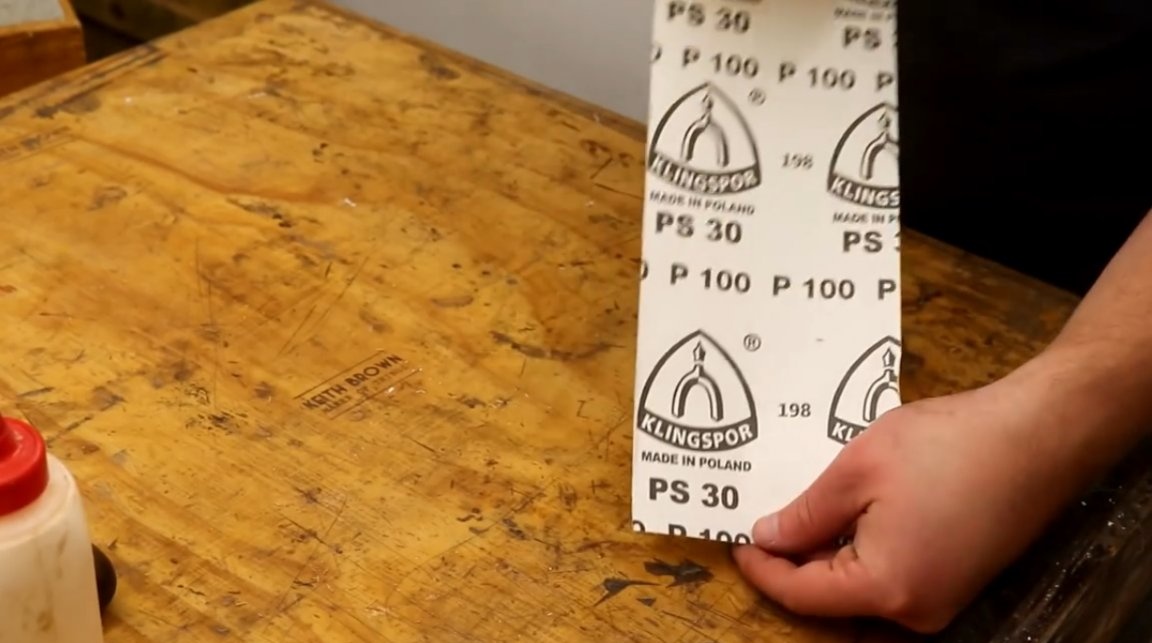
For his project, the author found a 100 grit roll of abrasive paper from the Polish manufacturer klingspor, which, in his opinion, is the best choice. The author does not recommend saving on paper quality, because bad paper can leave deep scratches on surfaces.
The master stops the choice on the hundredth abrasive paper, because he most often uses it. This roll is 115 mm wide.
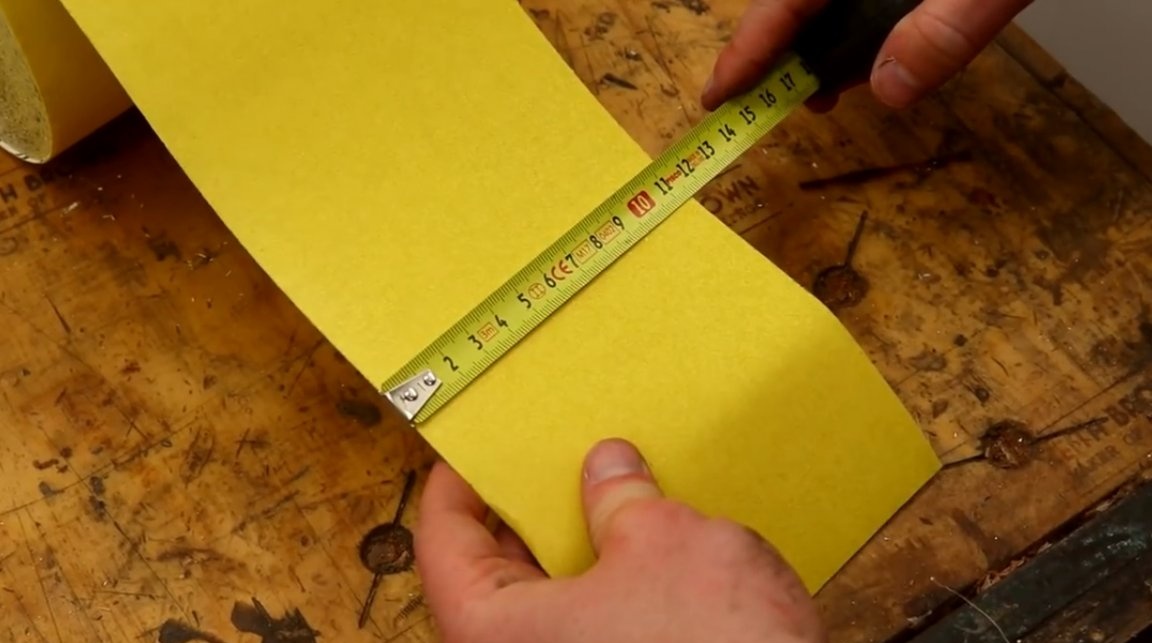
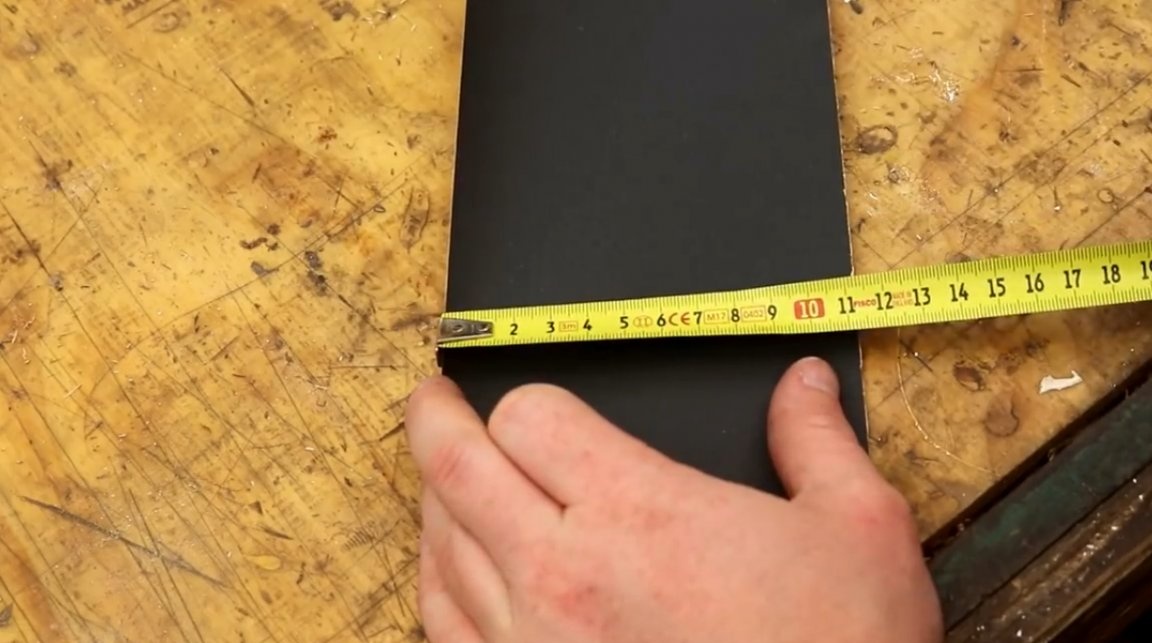
Another abrasive paper, most often used by the author, is paper for wet and dry processing of various degrees of gritness. It also has a width of 115 mm. So, the length of the grinding block will also be 115 mm.
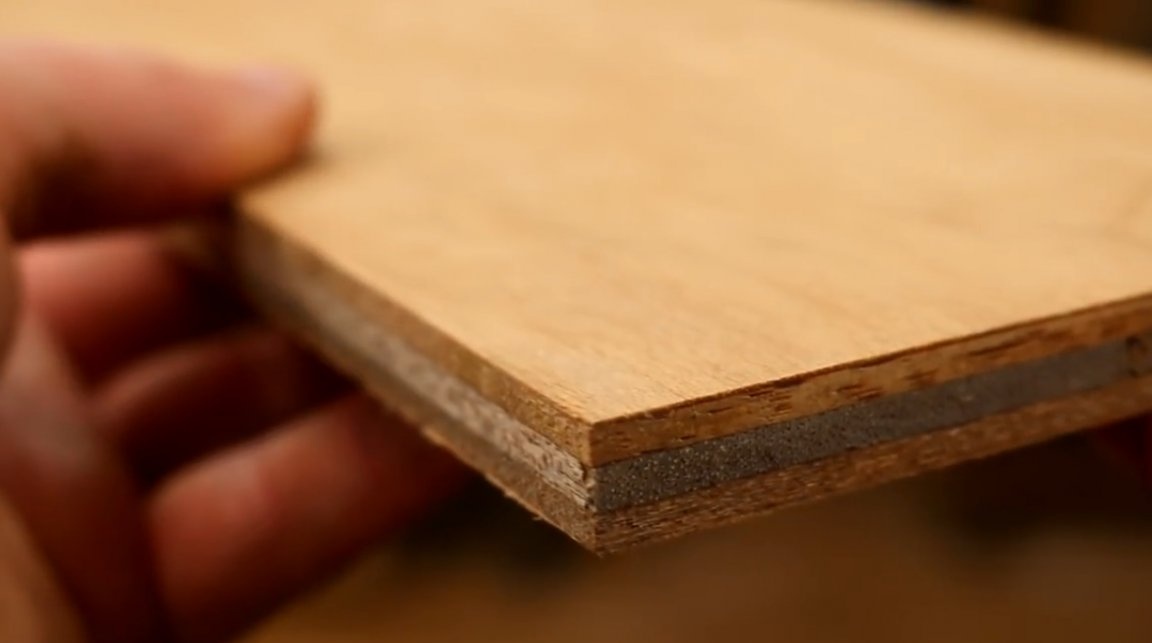
For the project body, the master selects several cuts of 12 mm plywood. On a circular machine, he cuts it into a width of 85 mm.
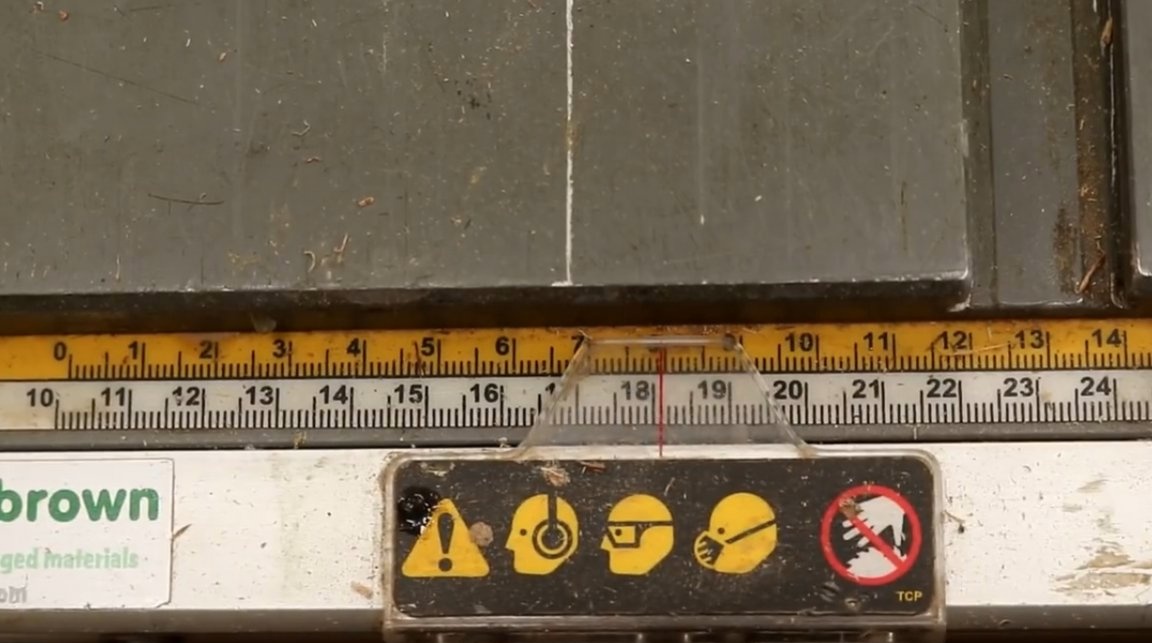
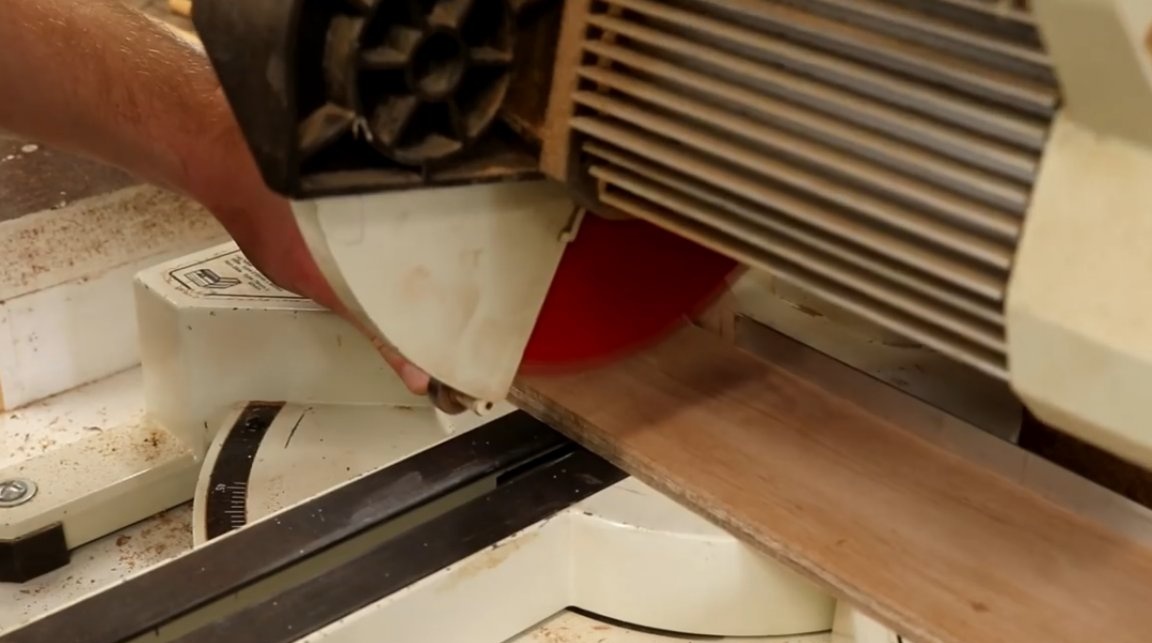
Then he sets the miter saw restriction block to a mark of 150 mm and cuts off the required length.
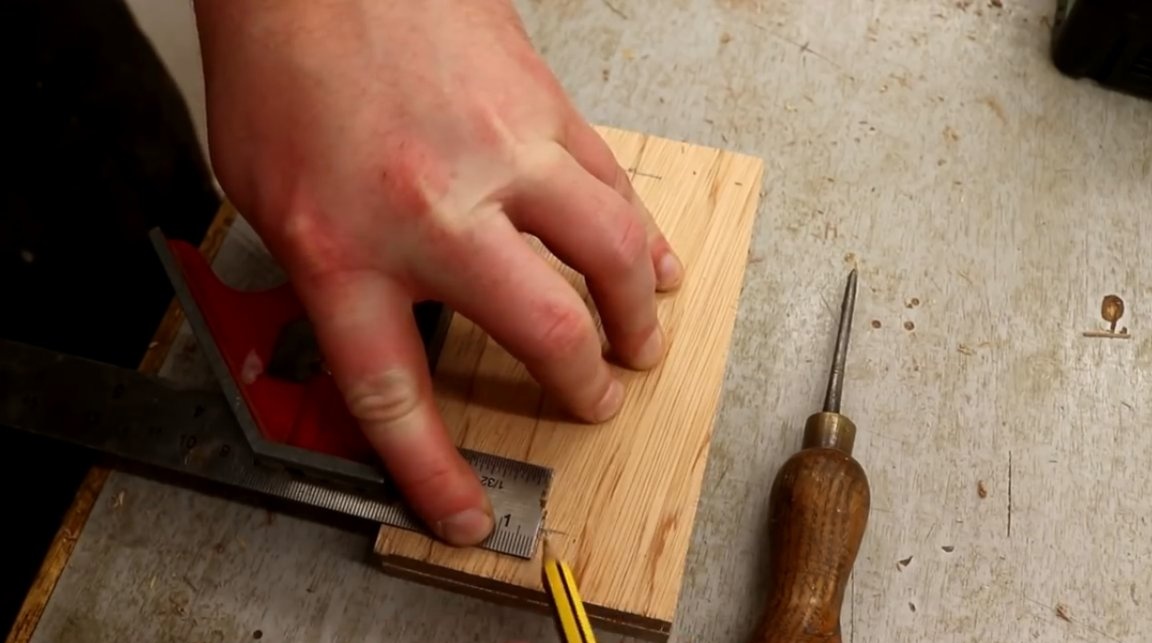
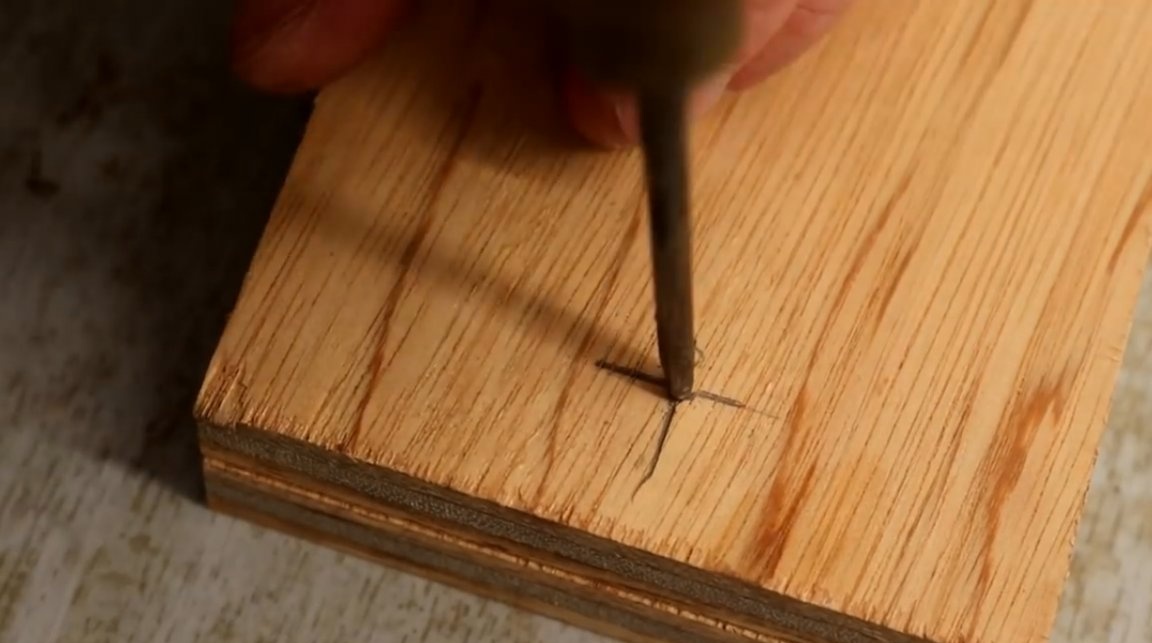
Next, the master applies a marking square to the plywood cut, laying 15 mm from each edge of the plank, and draws a line that he turns into an axial one. With an awl, he outlines the central points.
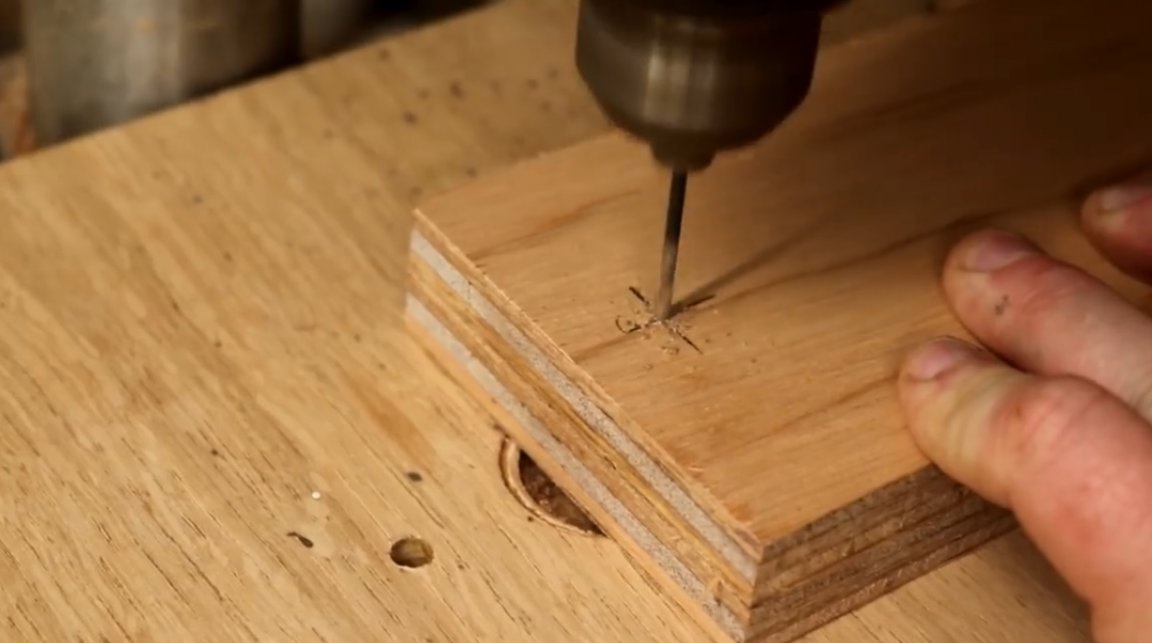
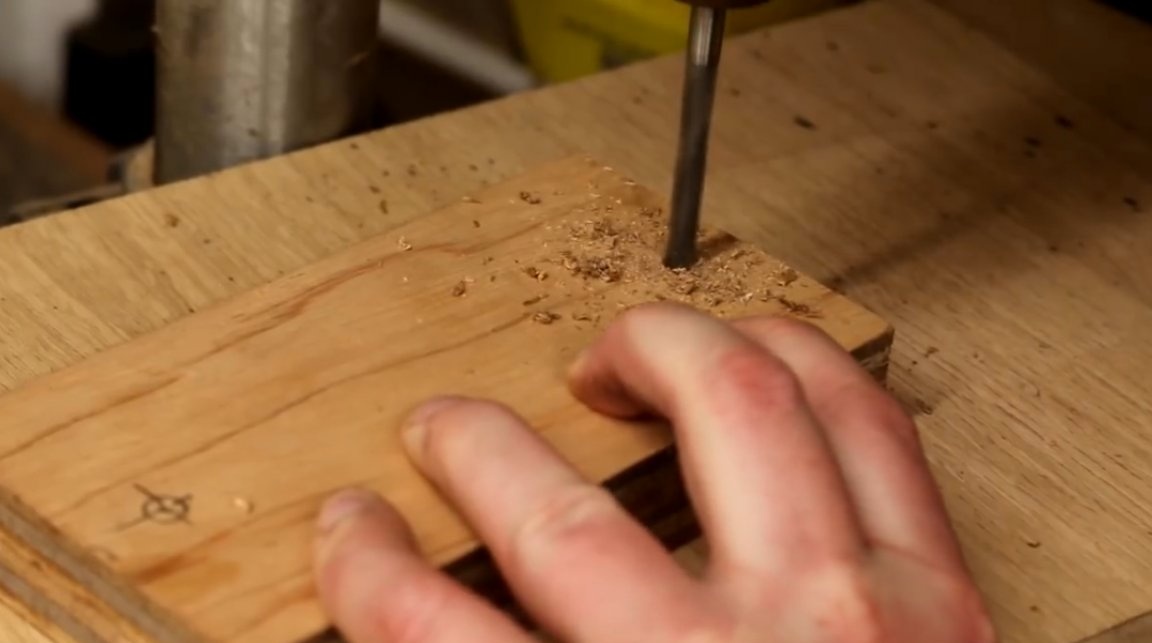
Now, with a 2 mm drill on a drilling machine, the master makes a pair of pilot holes simultaneously through both planks.
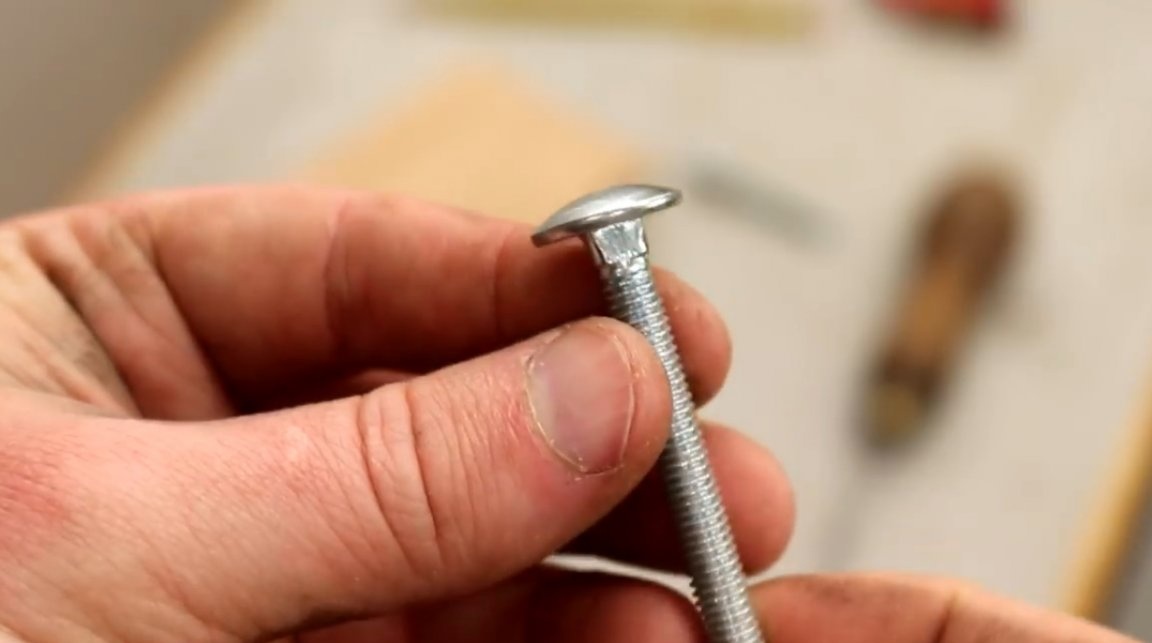
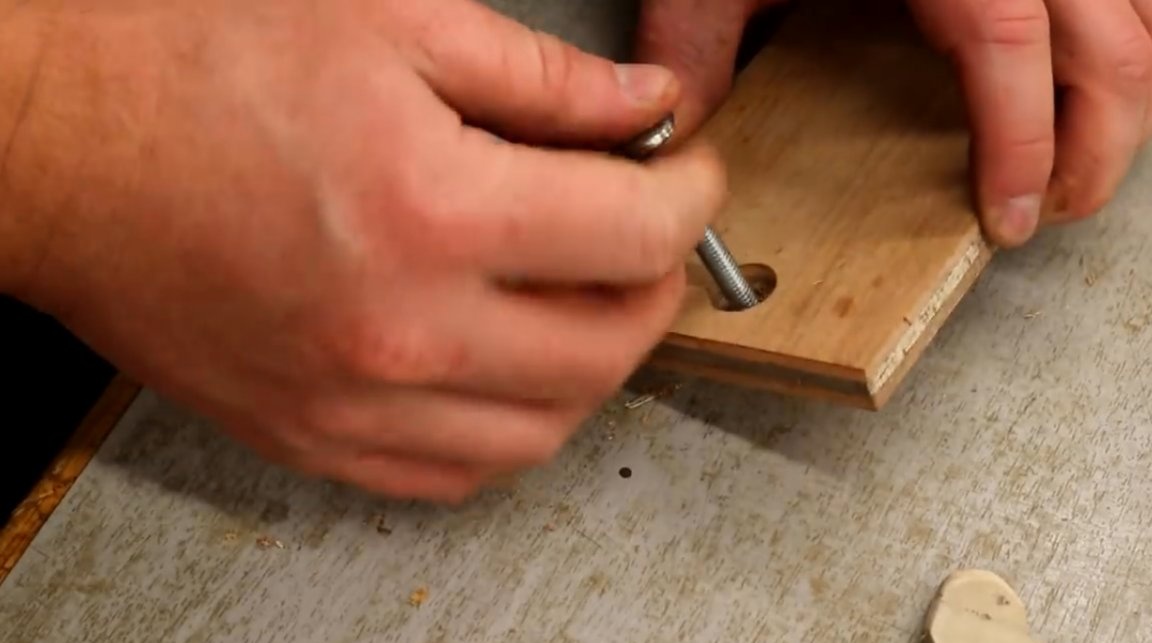
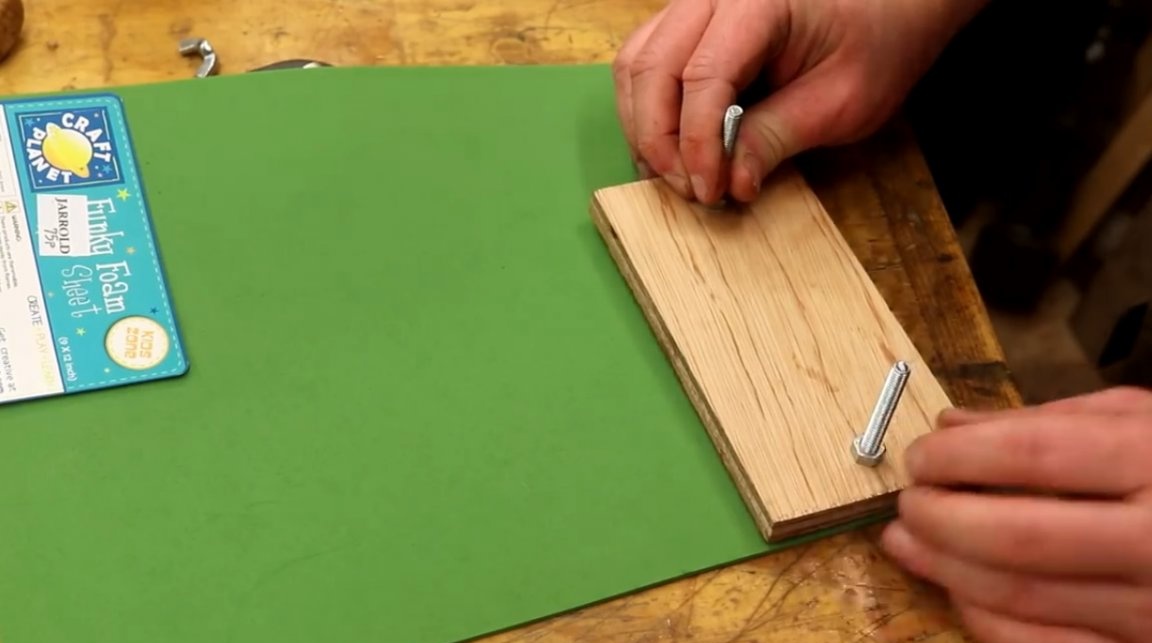
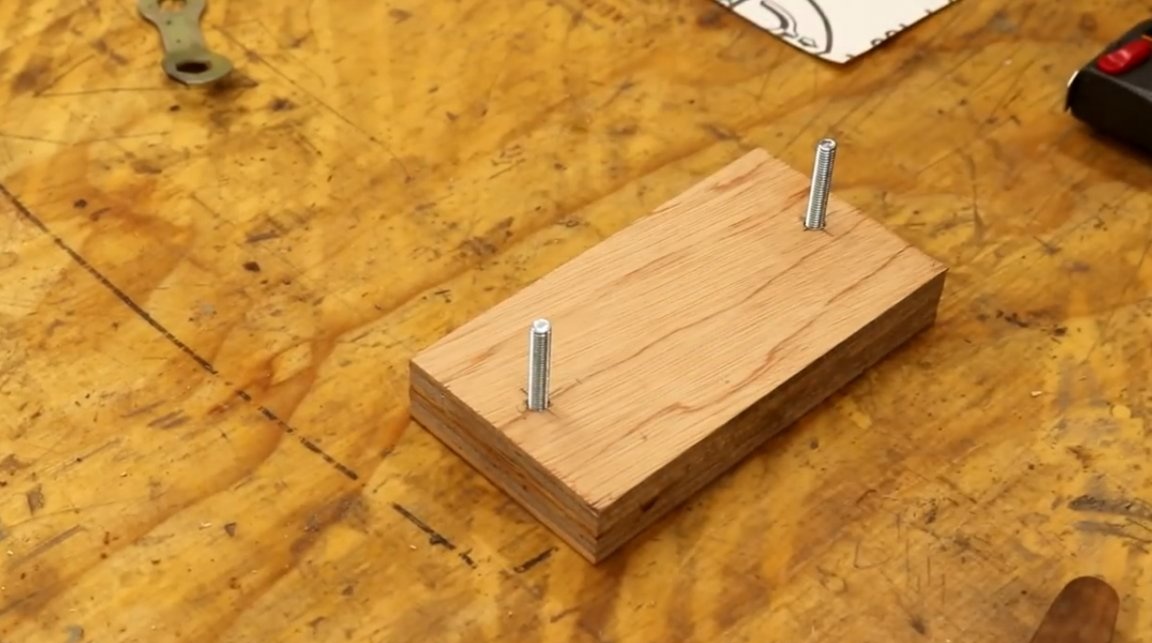
To connect both plywood boards, these M6 bolts will be used.
The author measures the distance from the bolt head to the start of the thread - it is about 8 mm - and also the width of the bolt head itself is 15 mm.
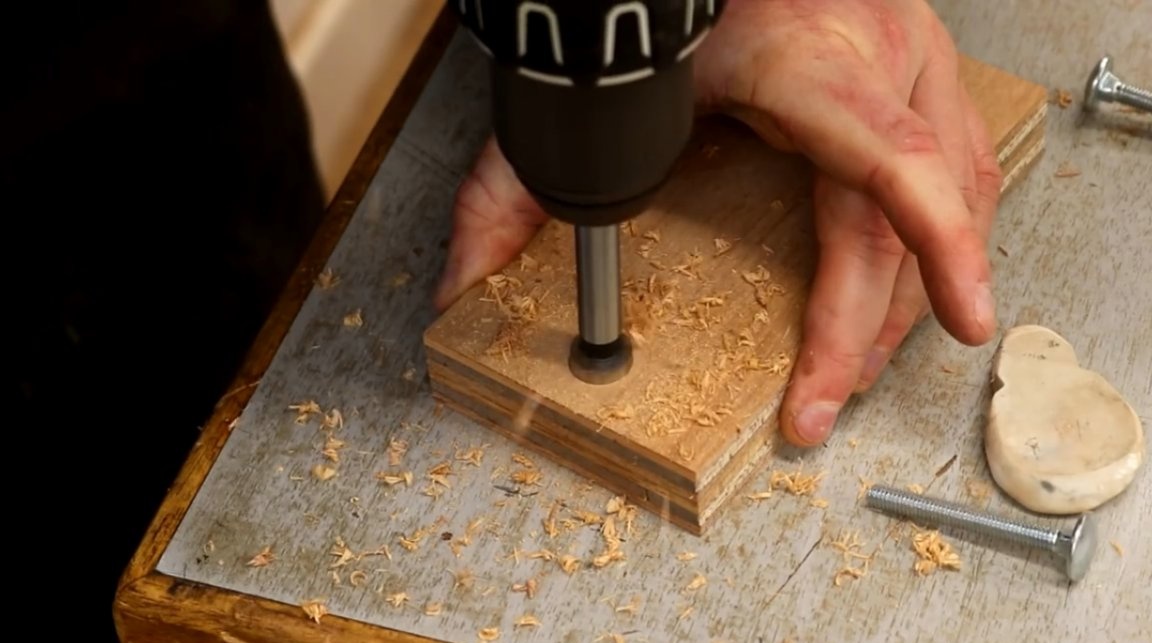
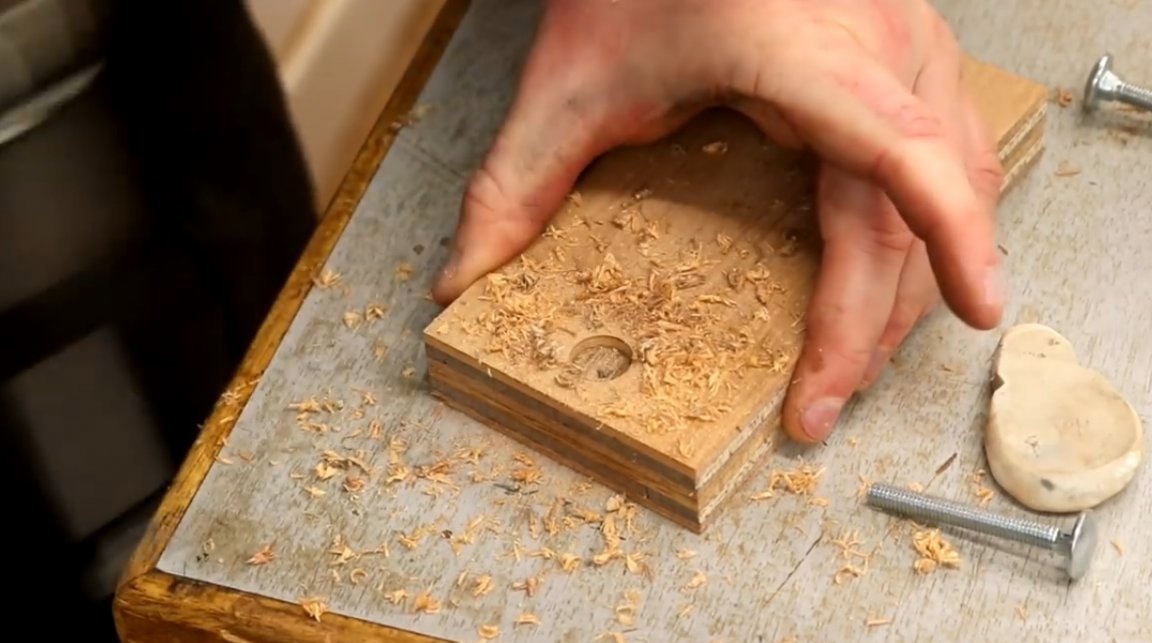
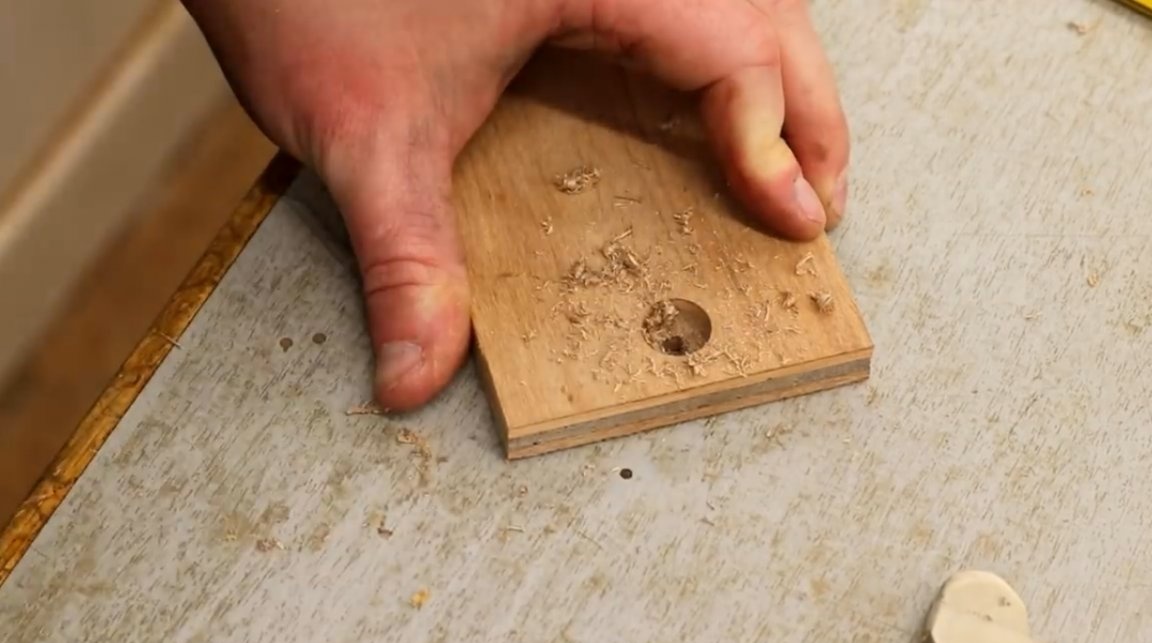
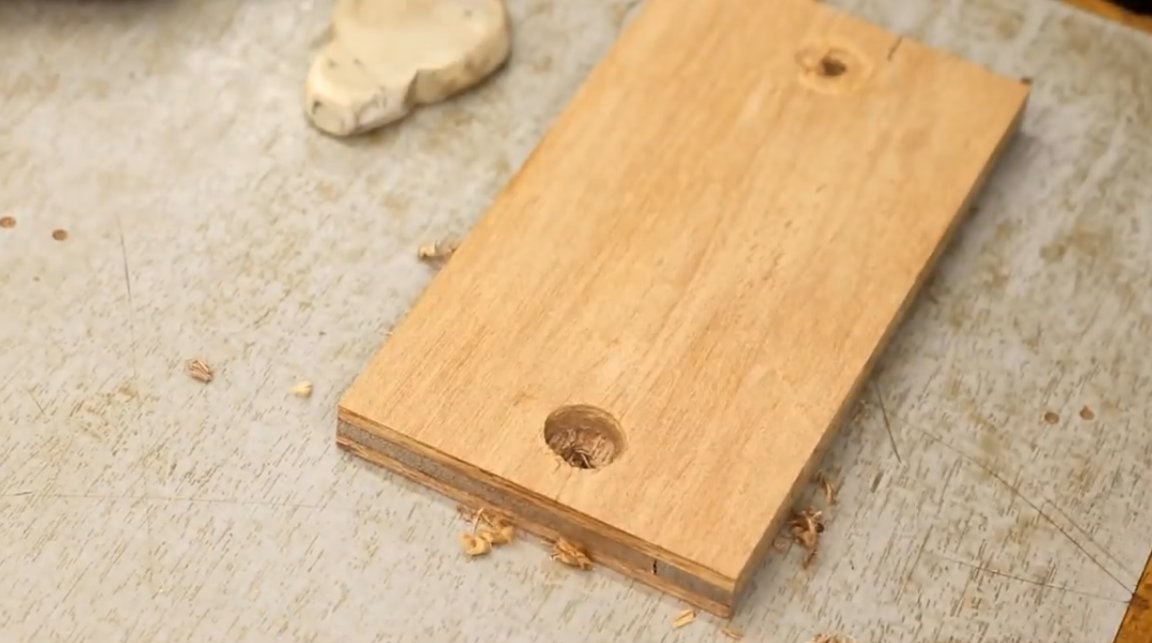
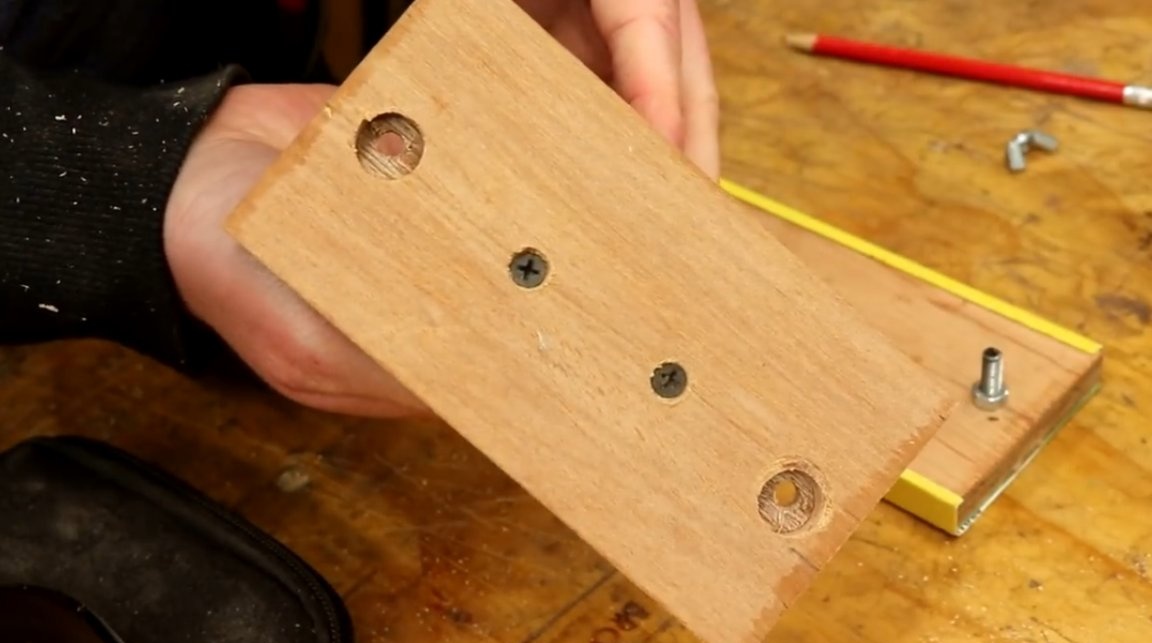
After that, he takes a 15 mm Forstner drill and drills pilot holes with it to create holes for the gap into which the bolt caps will later plunge.
At the same time, he drills deep enough, but so that the drill does not pass through both planks.
Then the craftsman takes a 6 mm drill and drills through narrow holes through both planks to create a cavity for the bolt shaft.
The first time the holes turned out not deep enough, I had to repeat the operation.
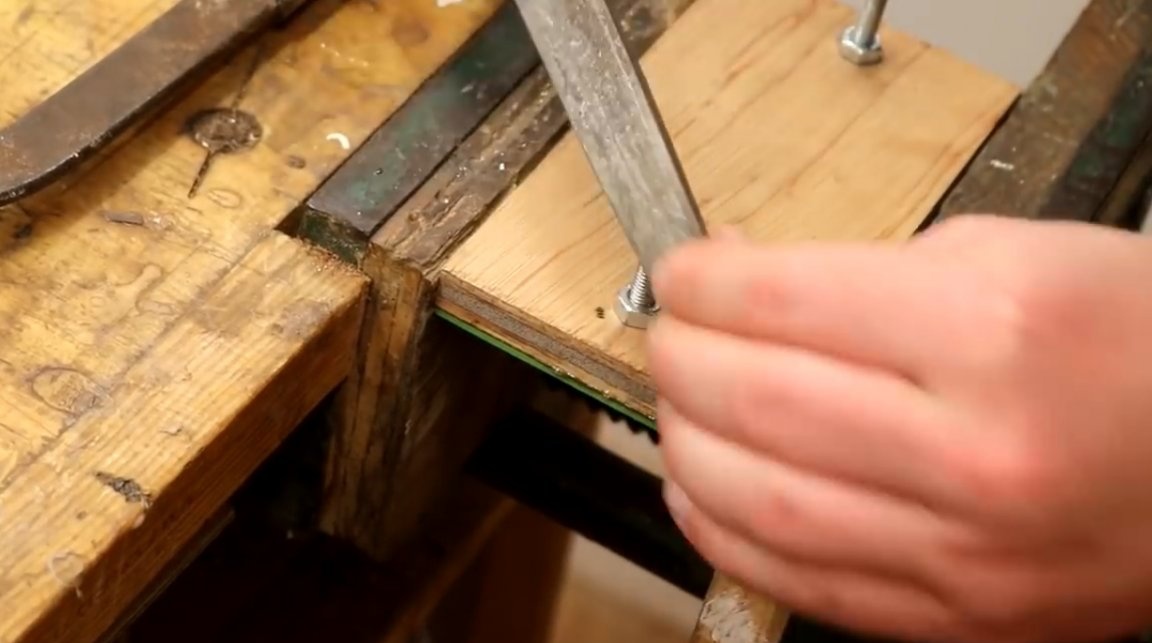
Next, the author tightens the nuts to fix the bolts on the board.

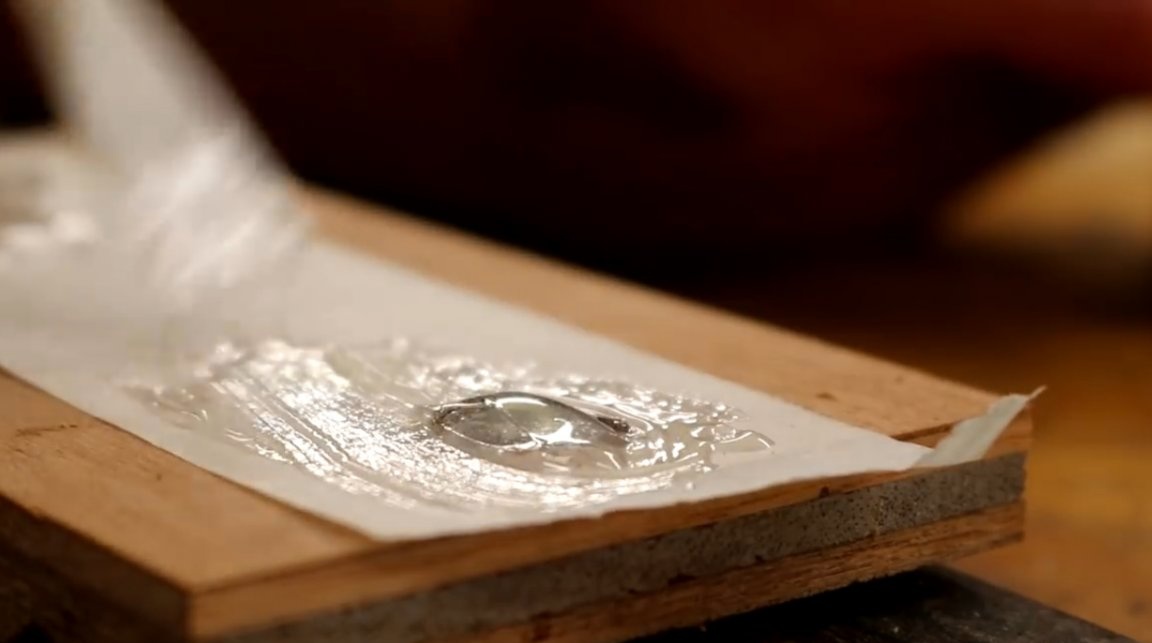
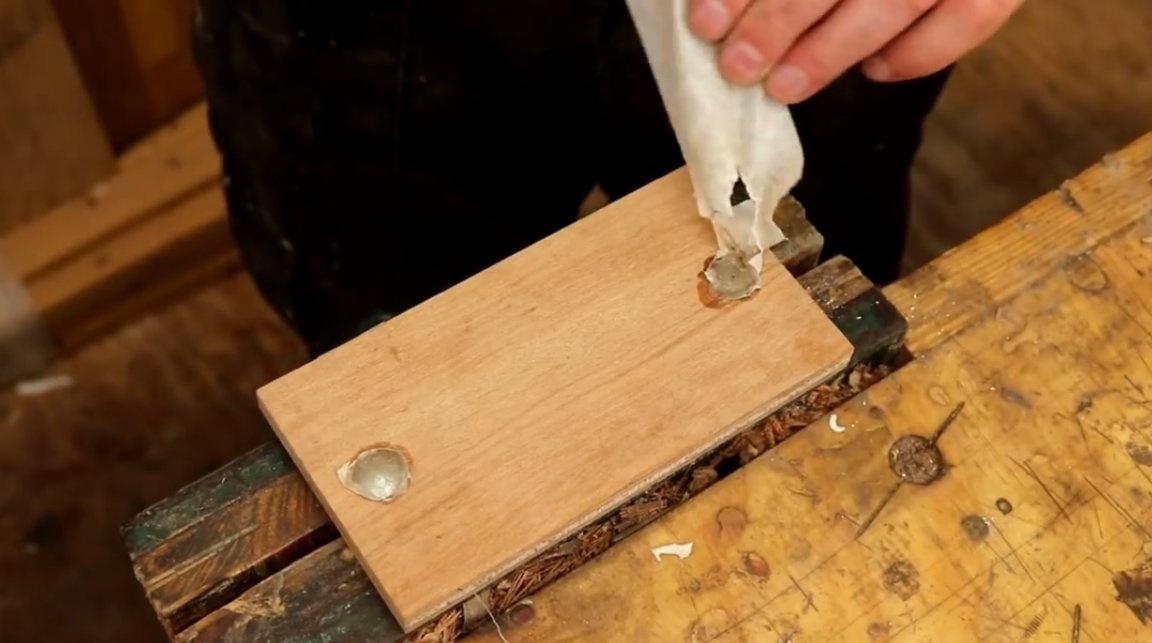
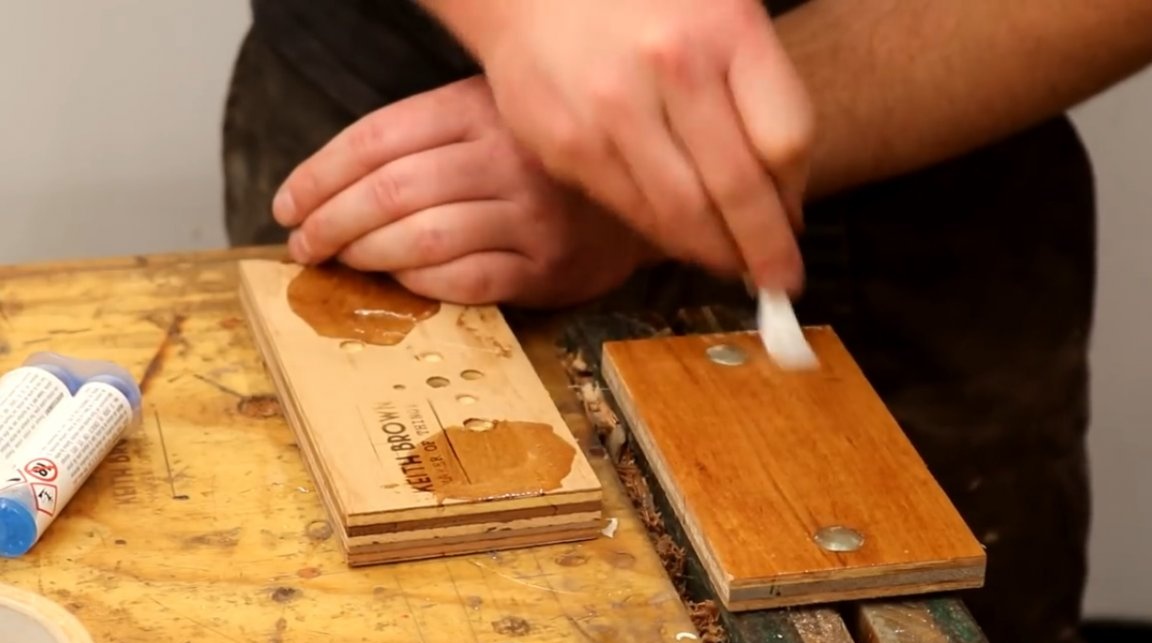
After that, he kneads a small amount of two-component epoxy glue, sticks the masking tape on the plywood to minimize its contamination, and cuts holes in it in the places where the bolts sit.
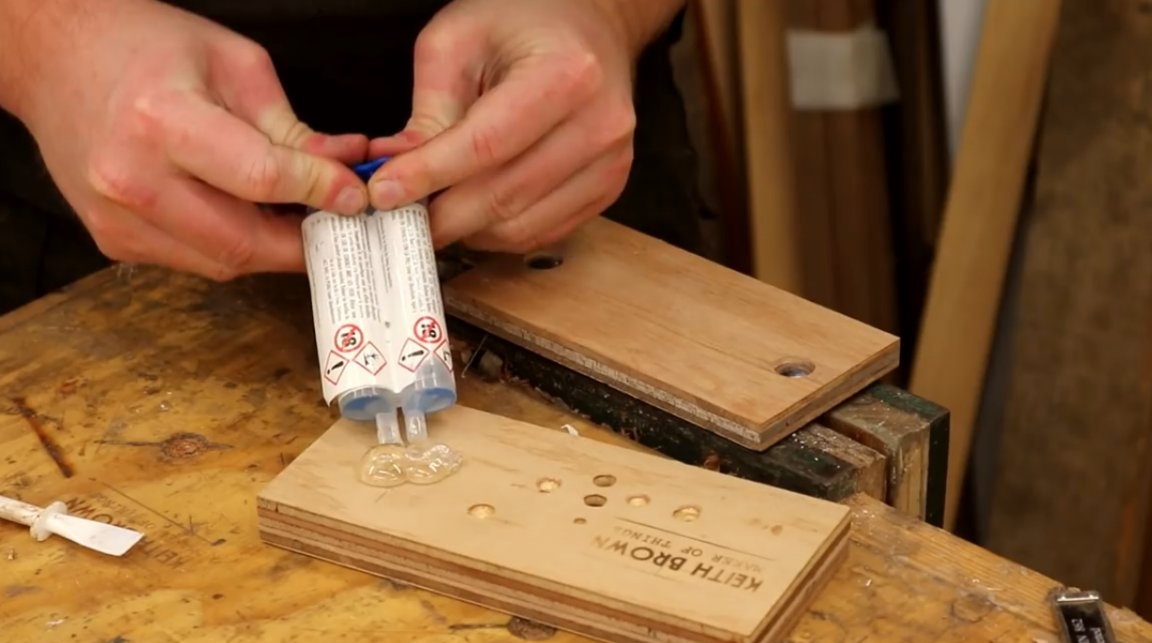
After that, he fills the wells with an epoxy mass, which should serve two purposes: on the one hand, it will fix the caps of the bolts, on the other hand, it will fill the voids, thereby leveling the working surface fixtures.
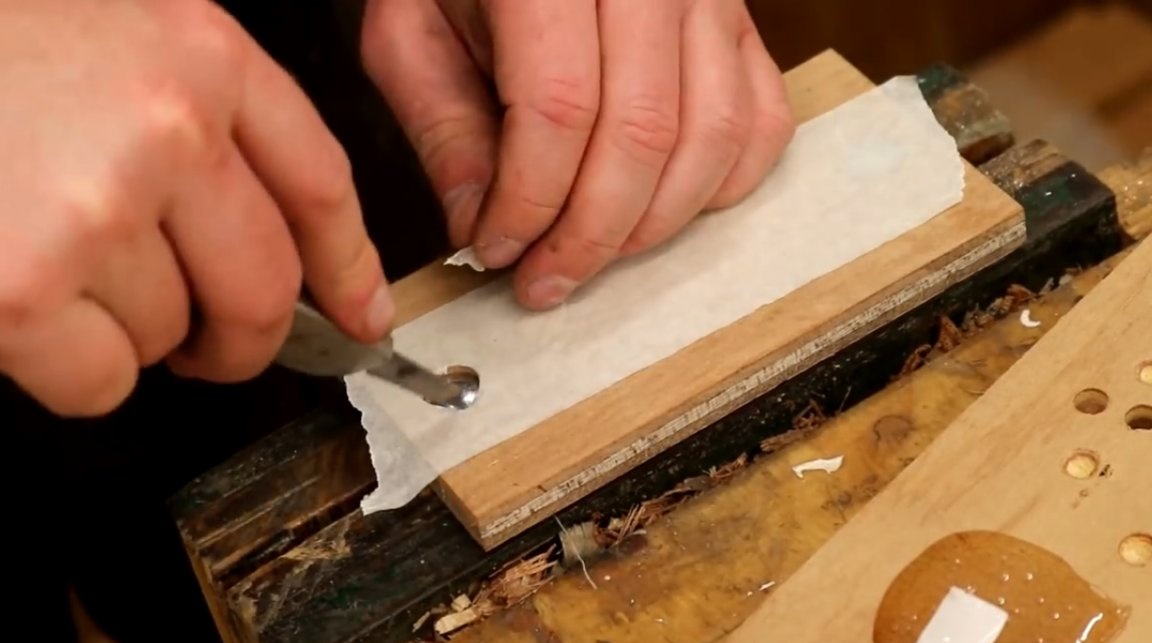
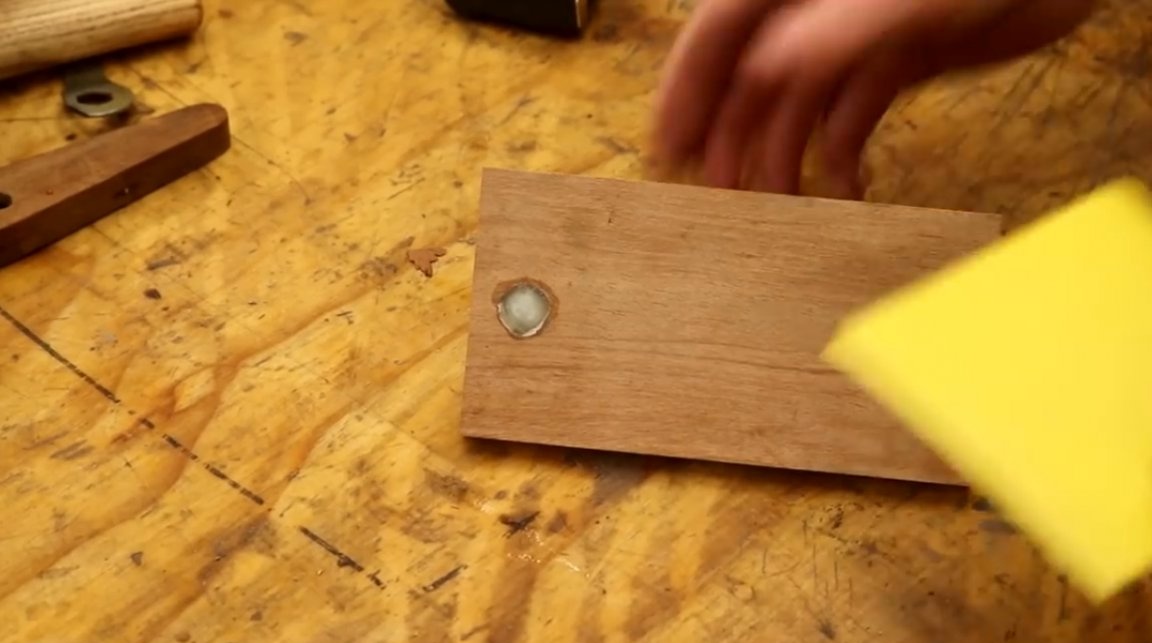
After drying the resin, the master removes masking tape and polishes the surface of the plywood.
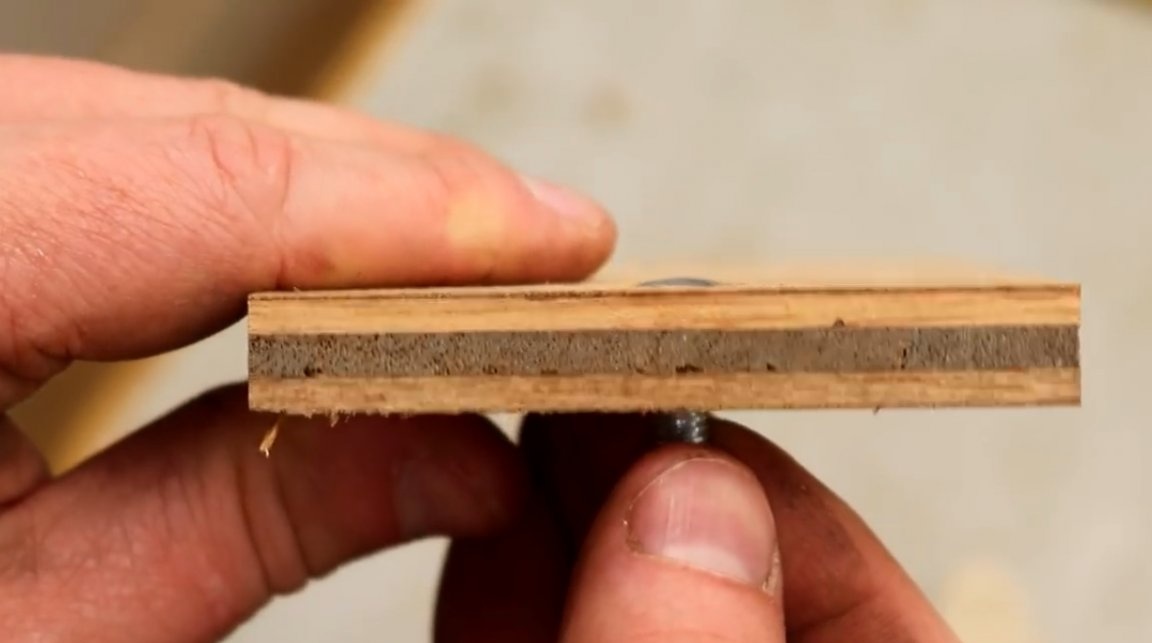
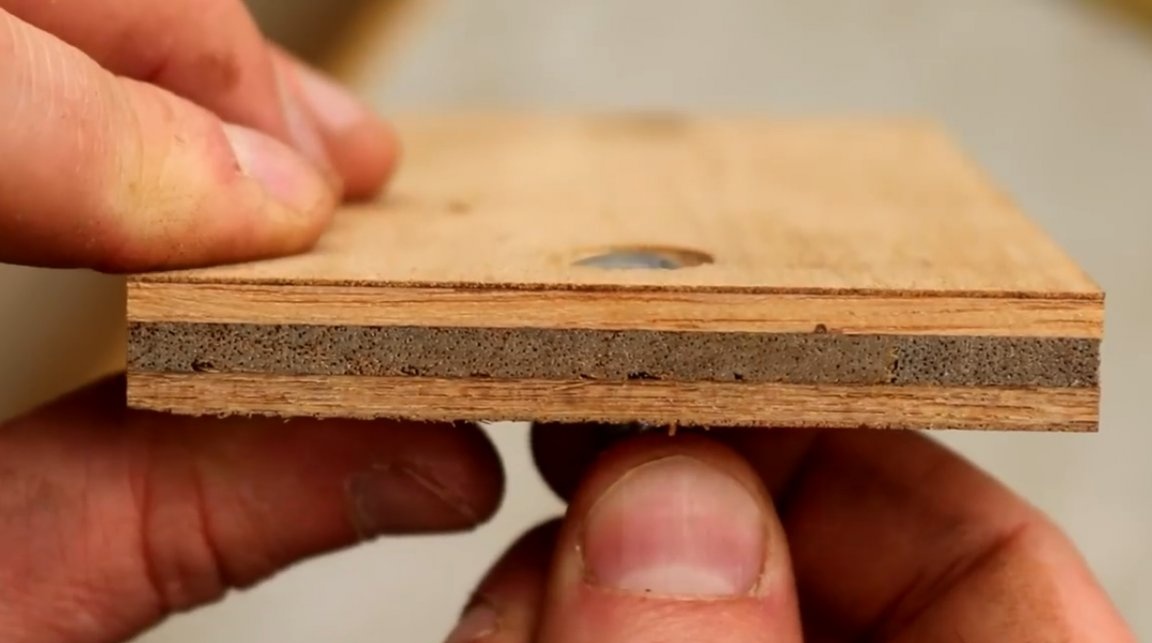
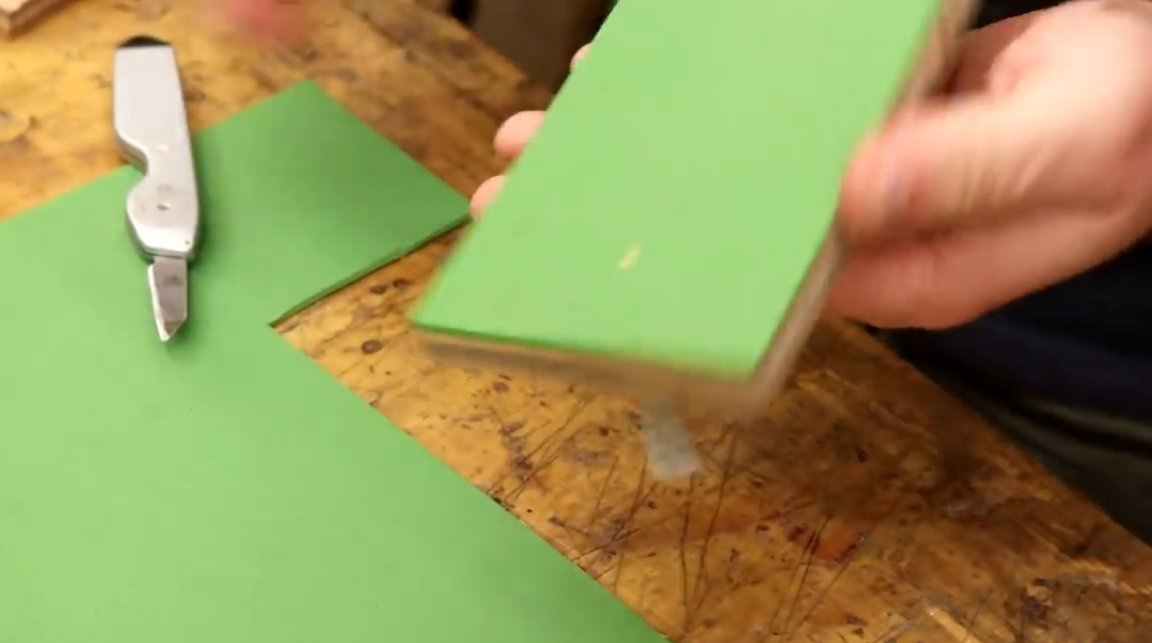
Now you can add such foamed rubber to the working surface, having a thickness of not more than two millimeters.
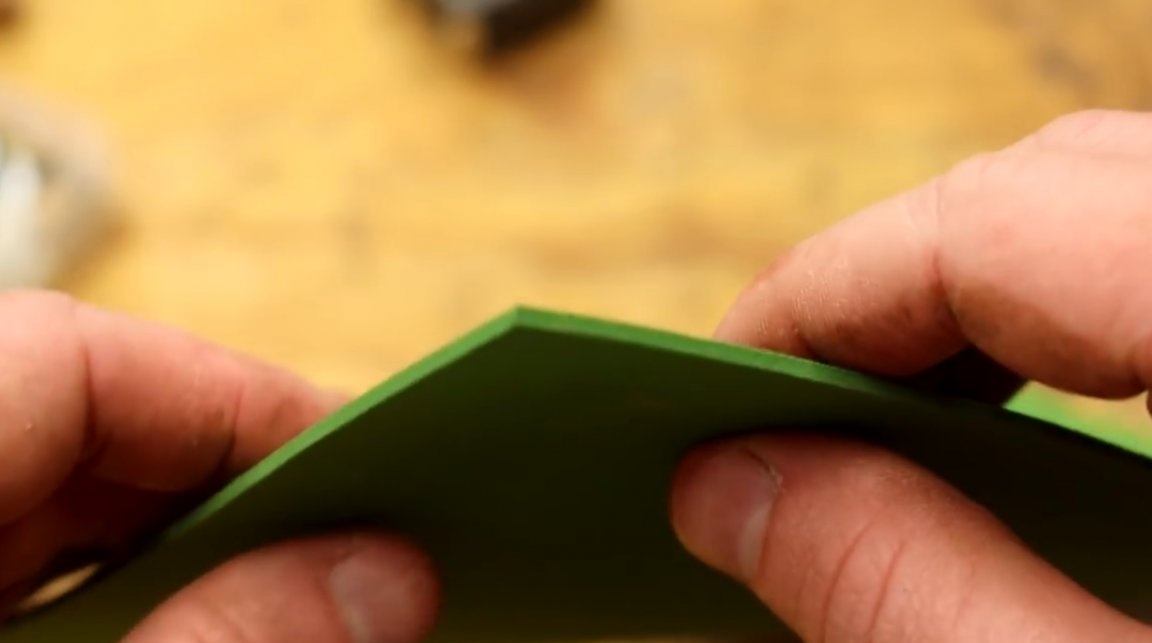
The author puts a layer of epoxy resin on the base of the future grinding block, and puts it on the foam rubber, additionally crushing it with a load. After 15 minutes, the author cuts off the excess material.


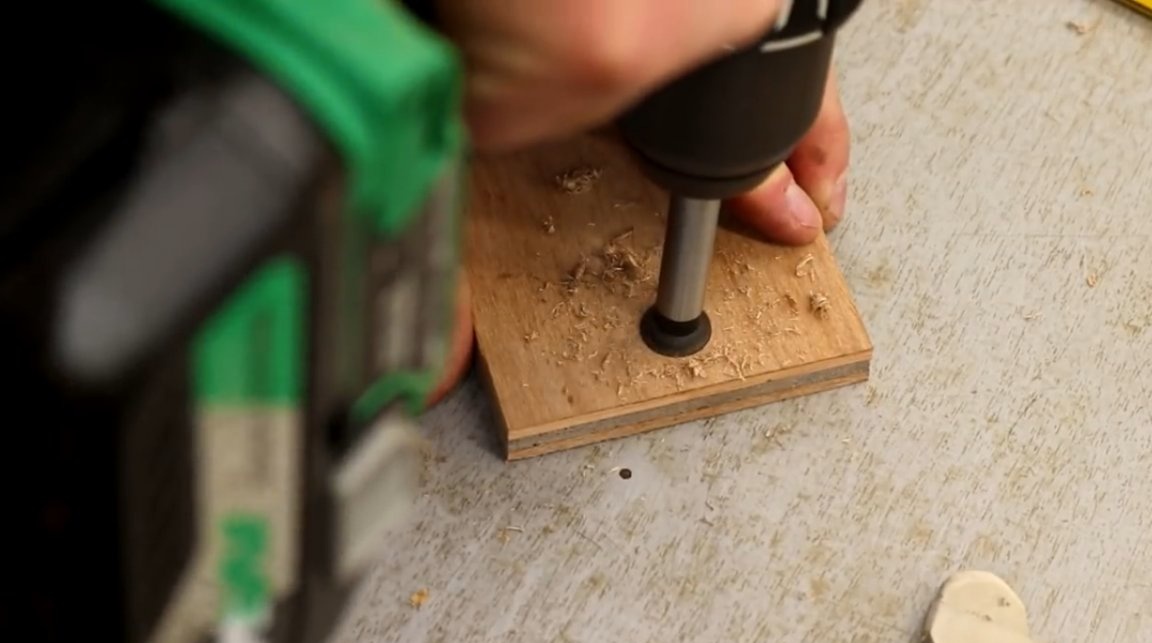
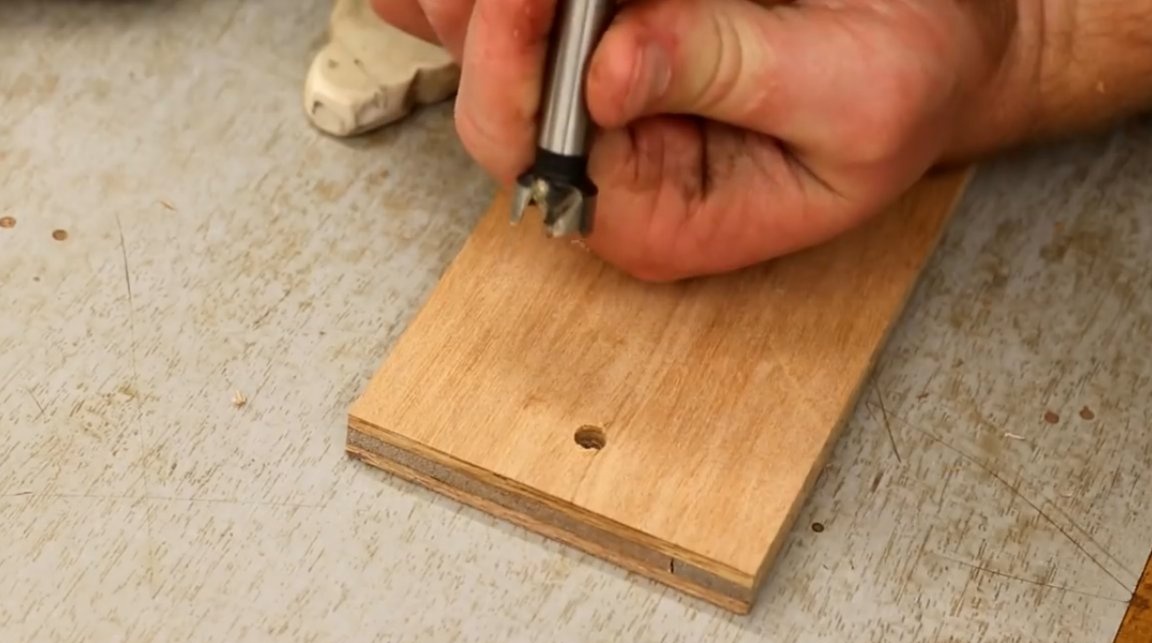
Now he switches to the second clamping plate and drills holes in it for the nuts to fit into. According to the master’s fair remark, these holes should have been made earlier, before six mm recesses were drilled. Because of this omission, the Forstner drill bit “walks”.
Now both boards sit tight and are adjacent to each other.

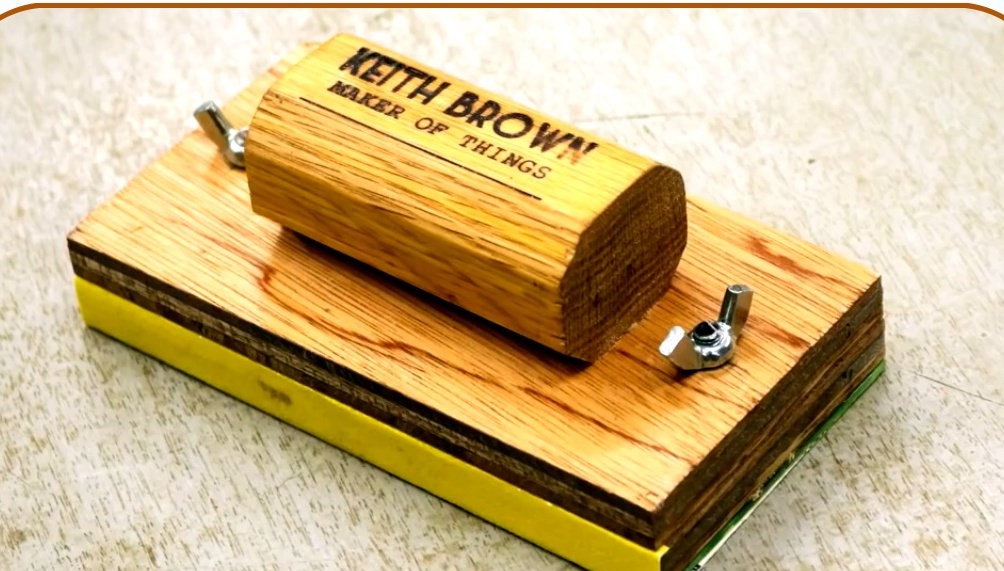
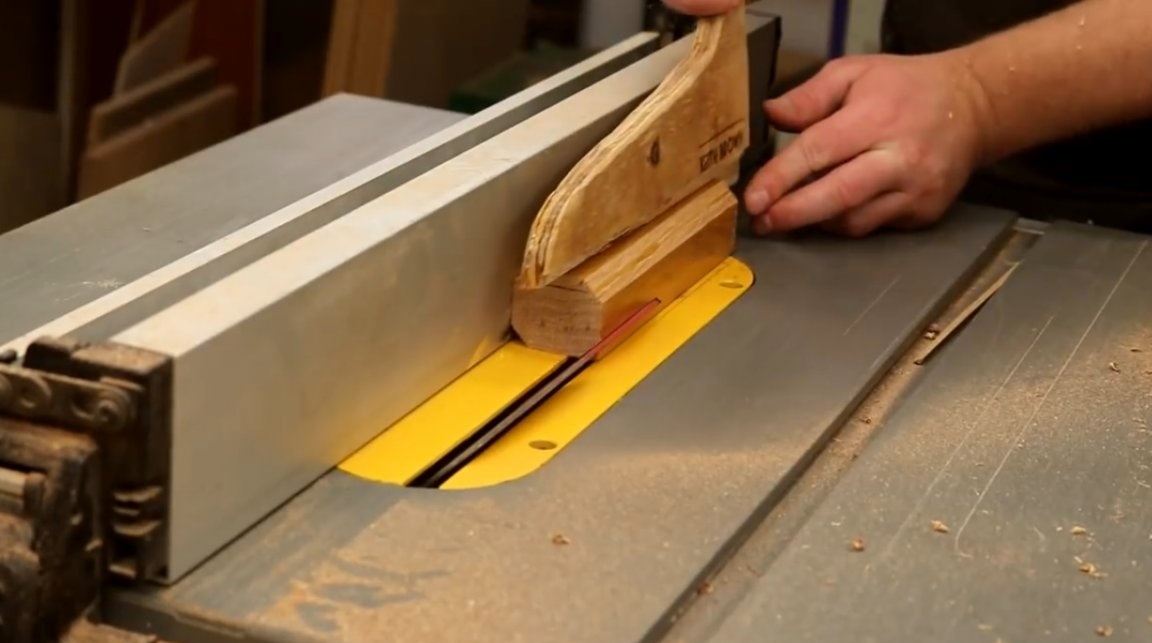
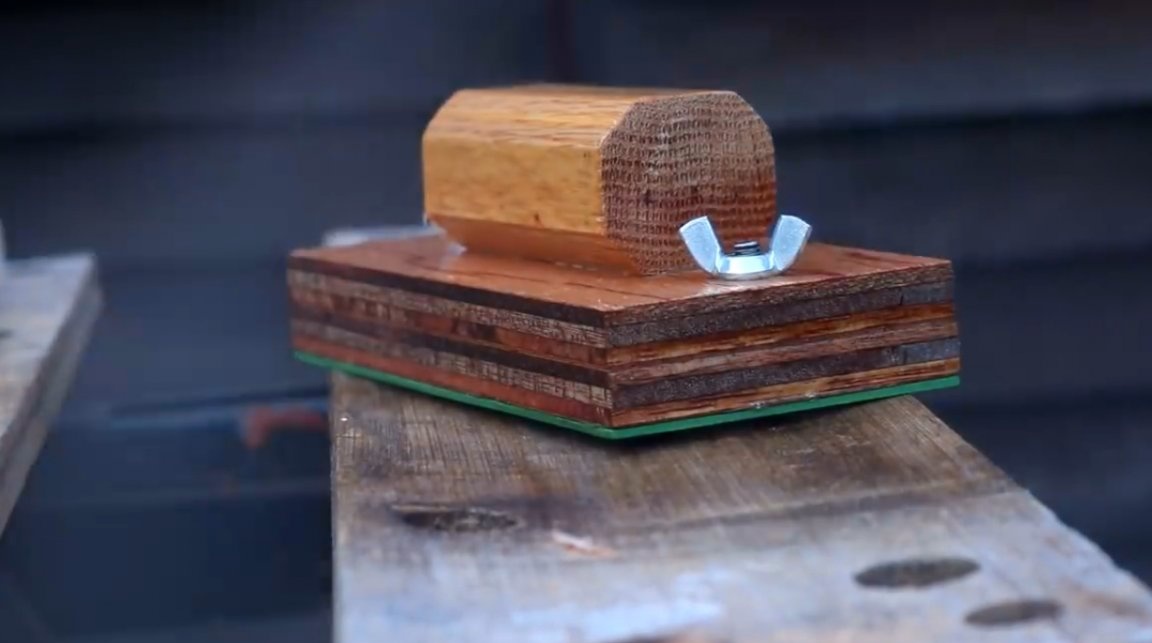
The last element of this tool is the handle.
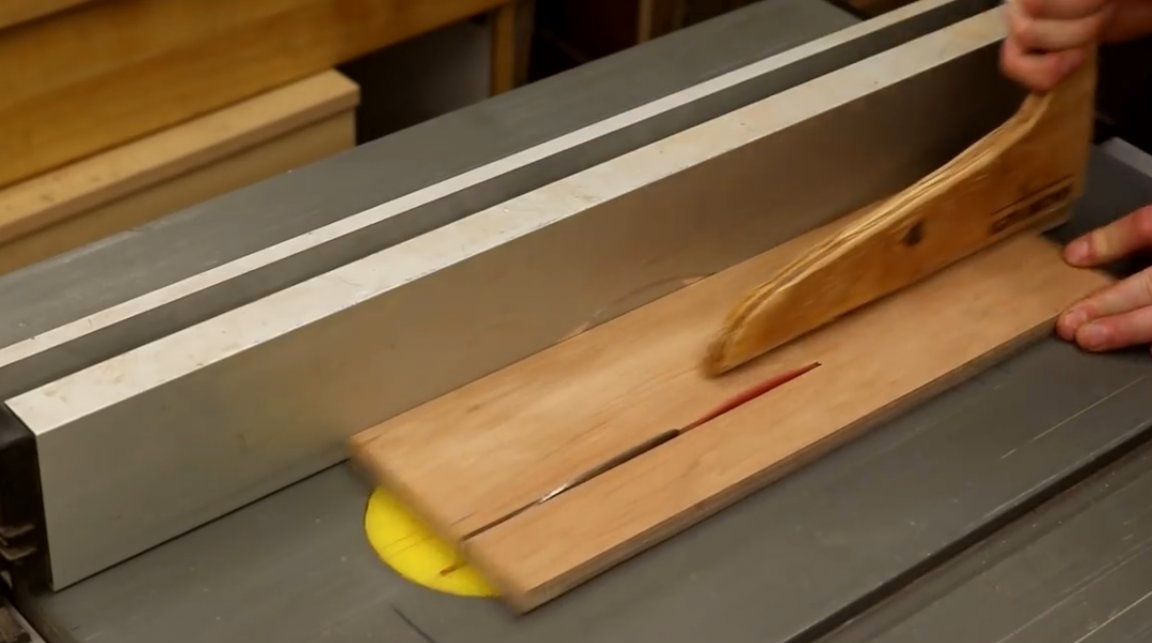
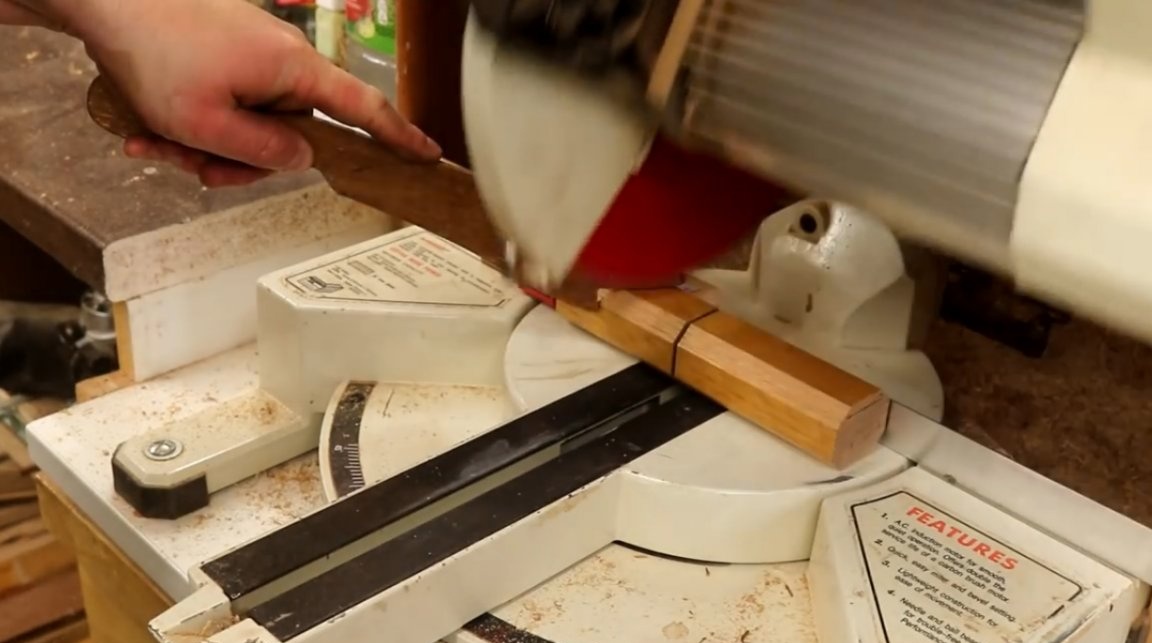
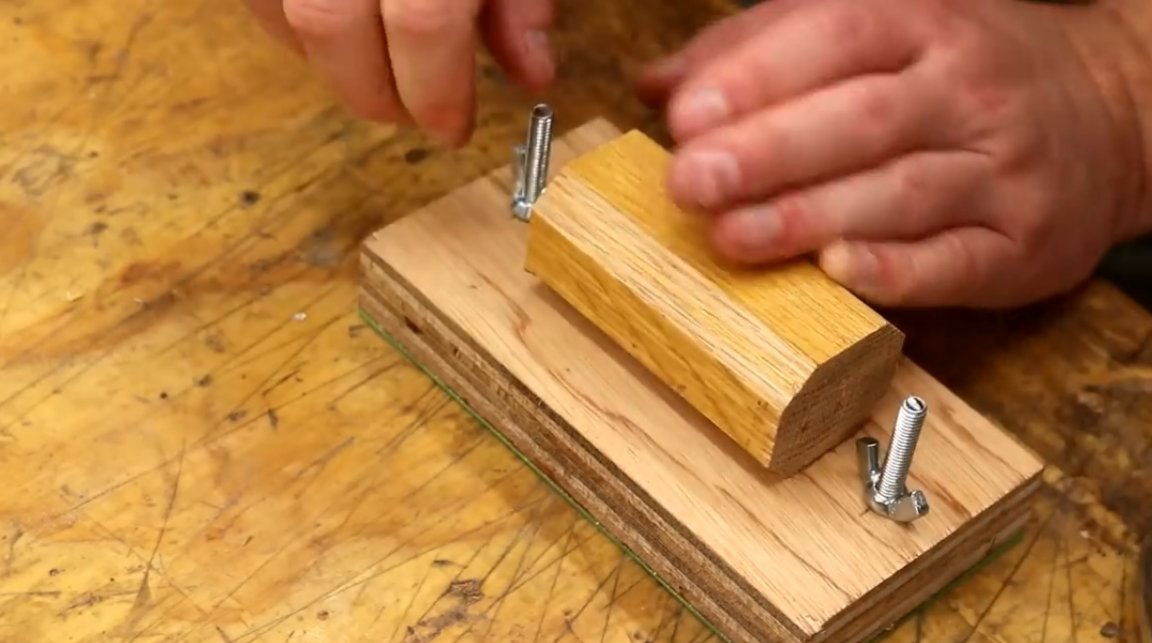
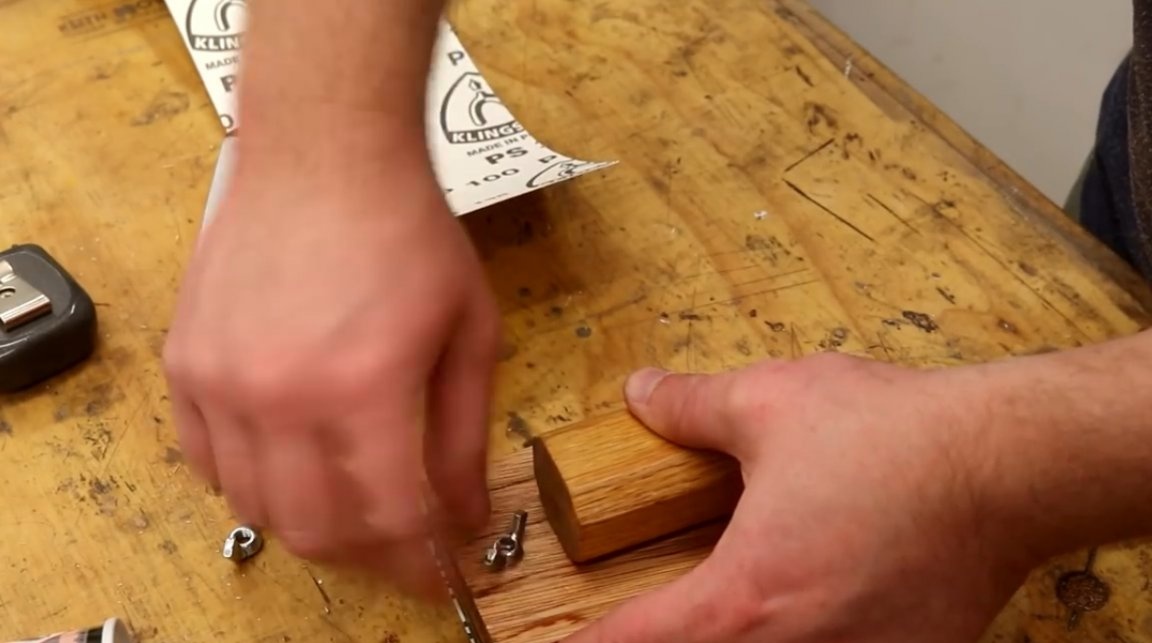
It will be a small piece of oak wood. First, on a circular machine at the bar, all 4 corners are cut at an angle of 45 degrees.
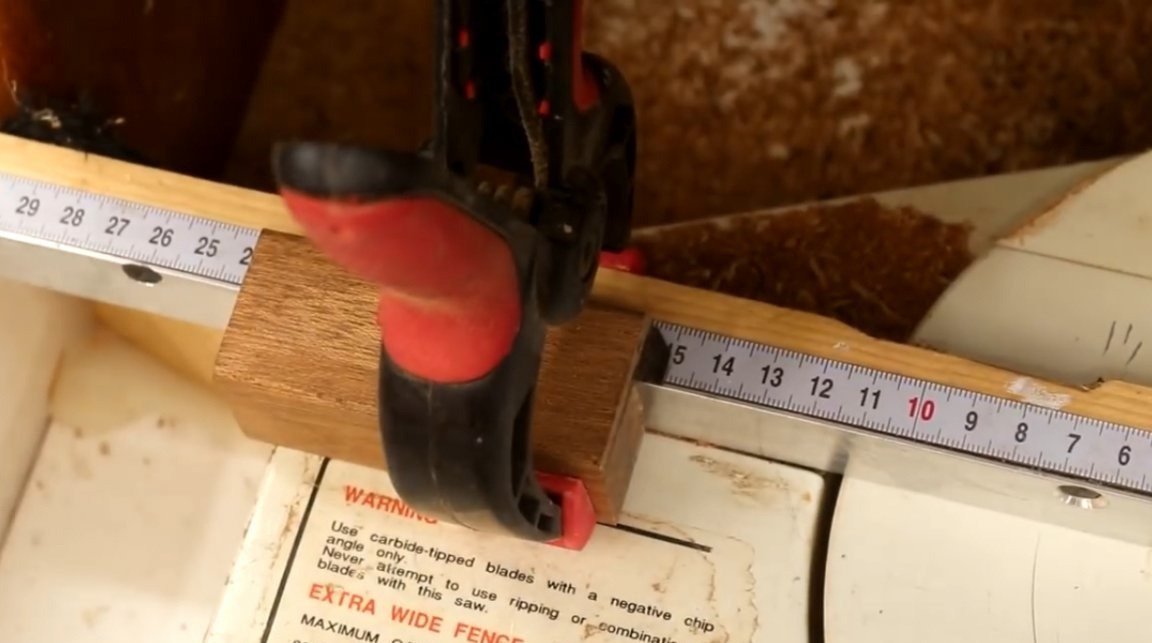
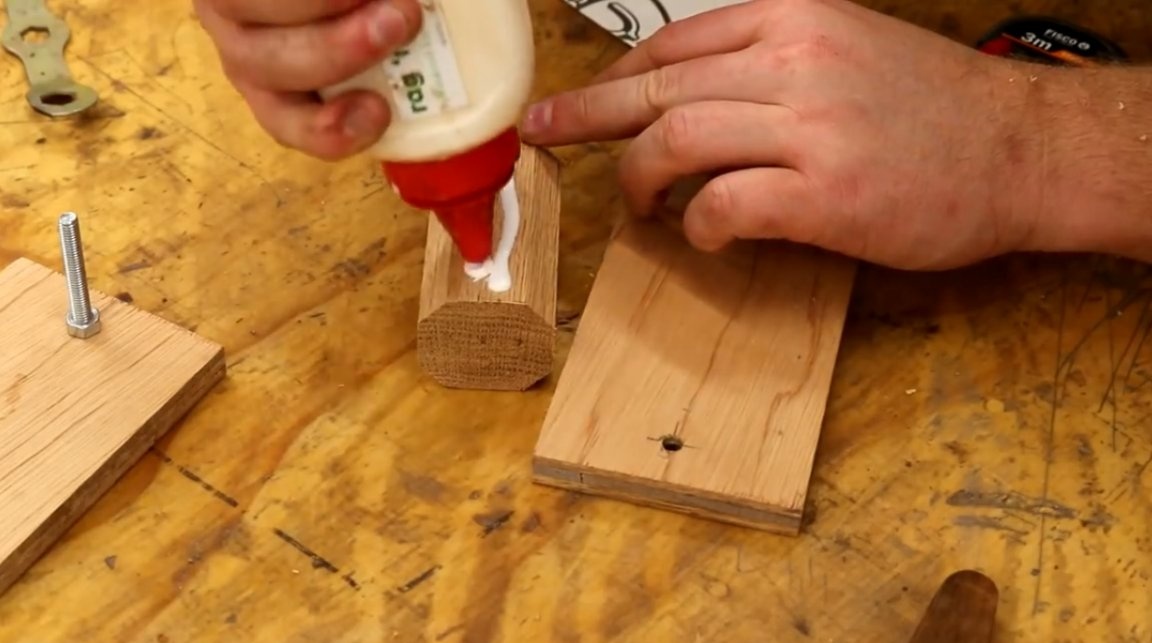
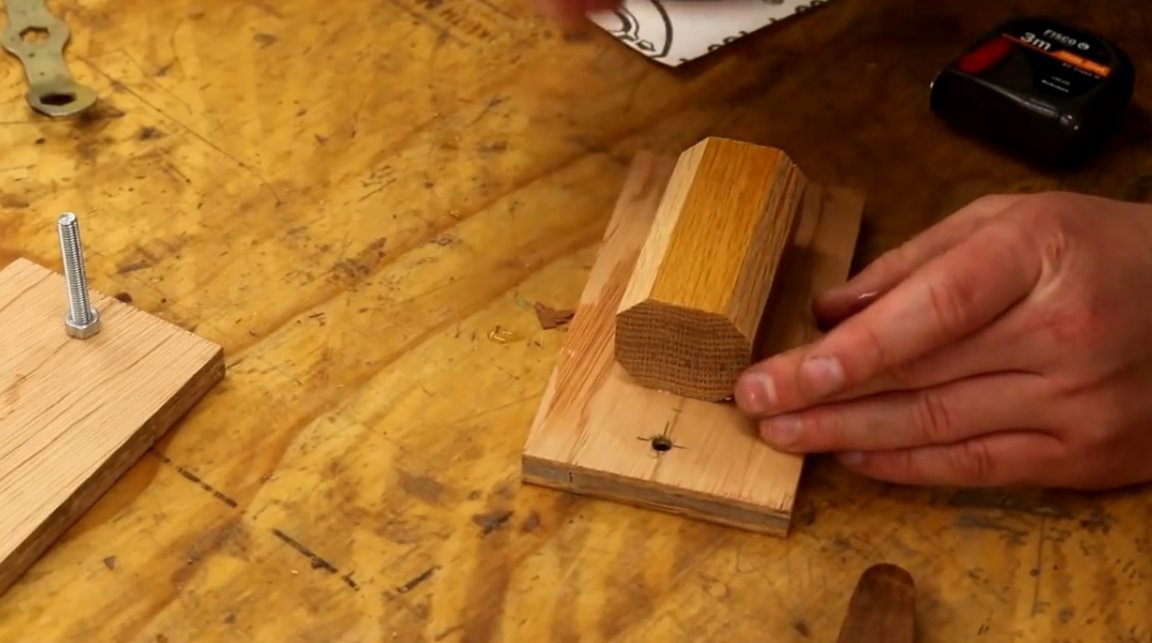
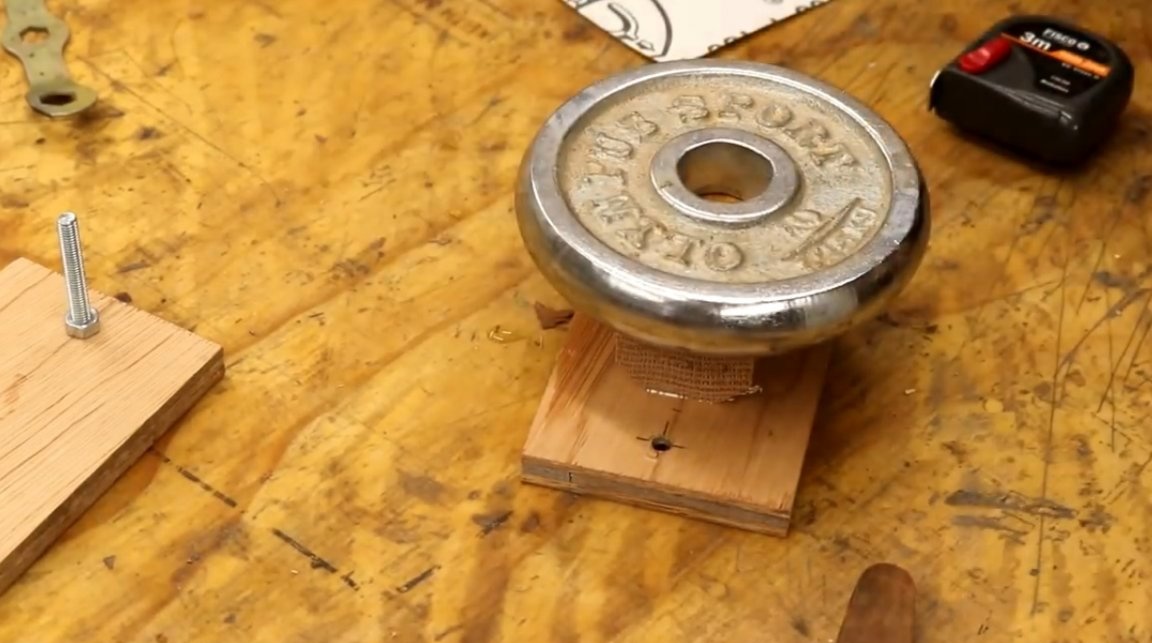
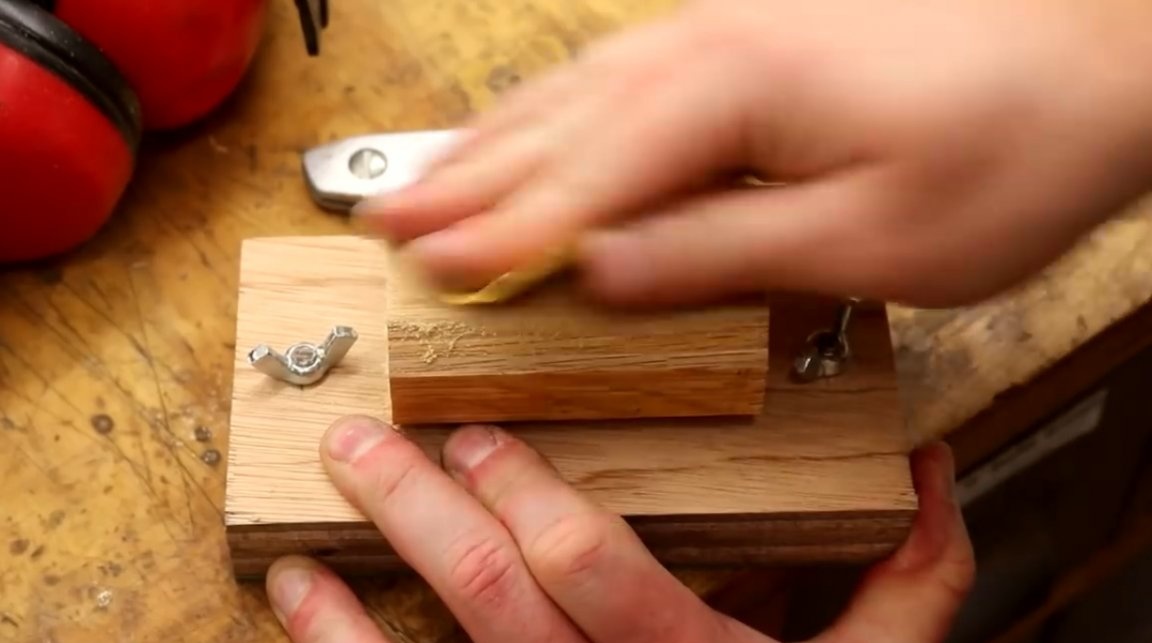
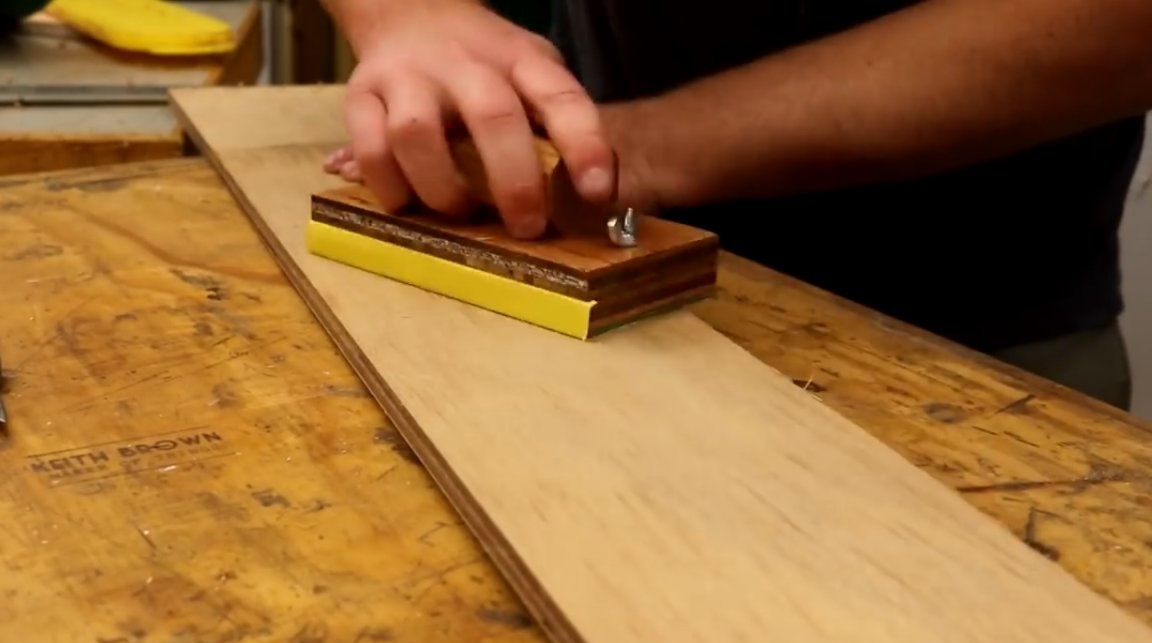
Then the master cuts the handle up to 80 mm in length on the miter saw, lubricates it with glue, places it on the sole of the grinding unit exactly in the center and presses it with weight.
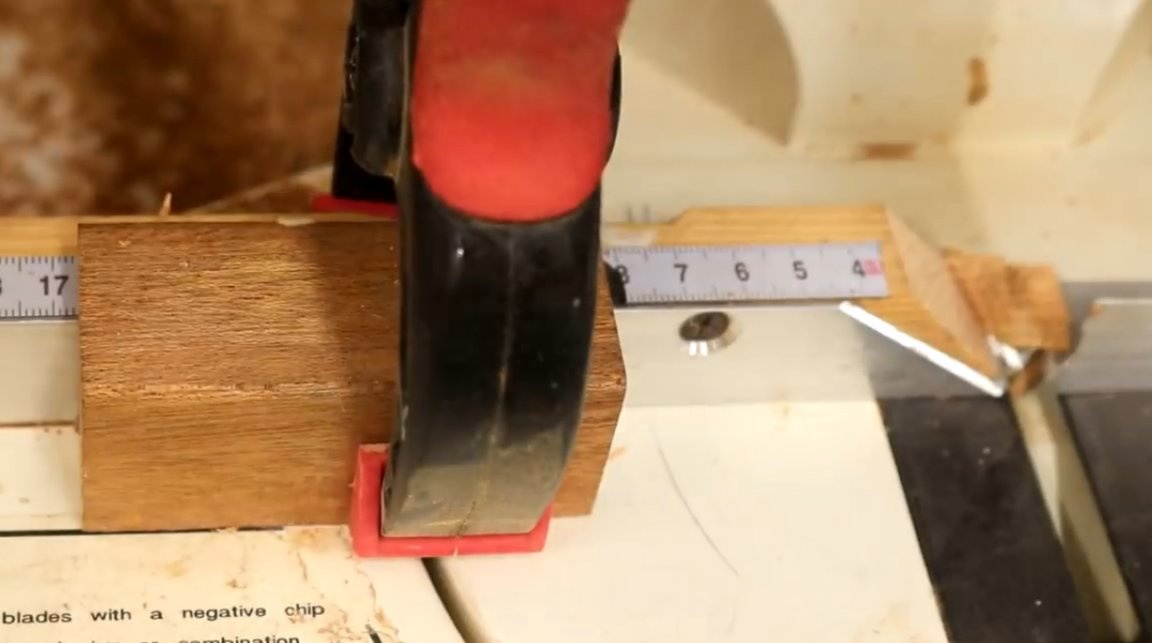
After the glue dries, the connection of the handle with the upper part is strengthened by a pair of self-tapping screws.
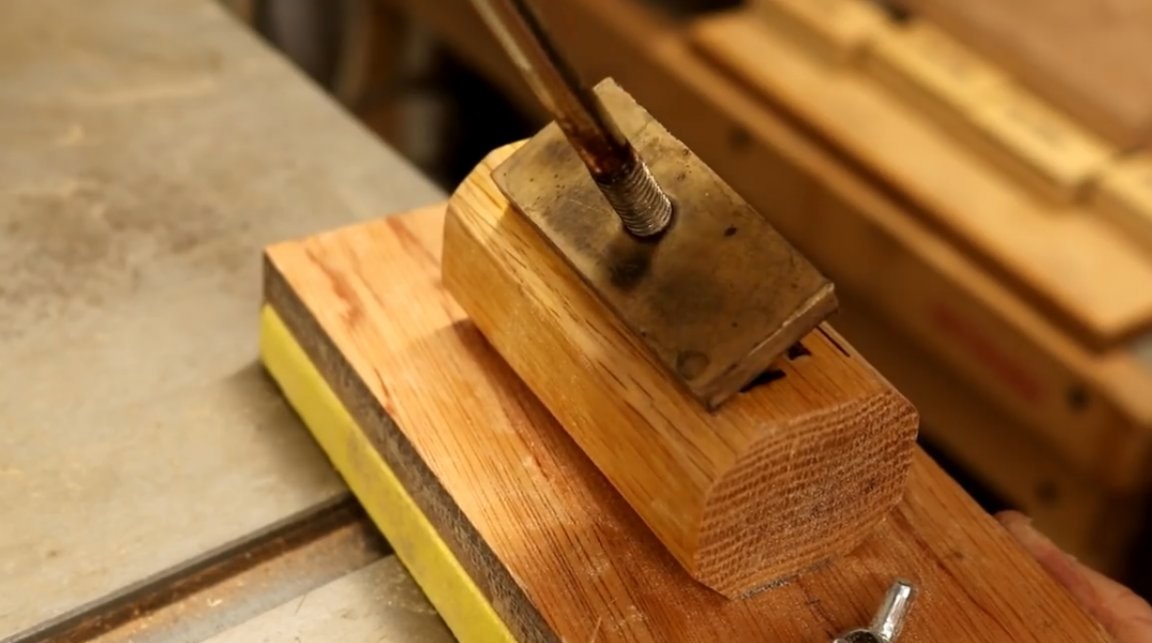
Further, the author connects both planks and tightens them with the wing nuts M6.
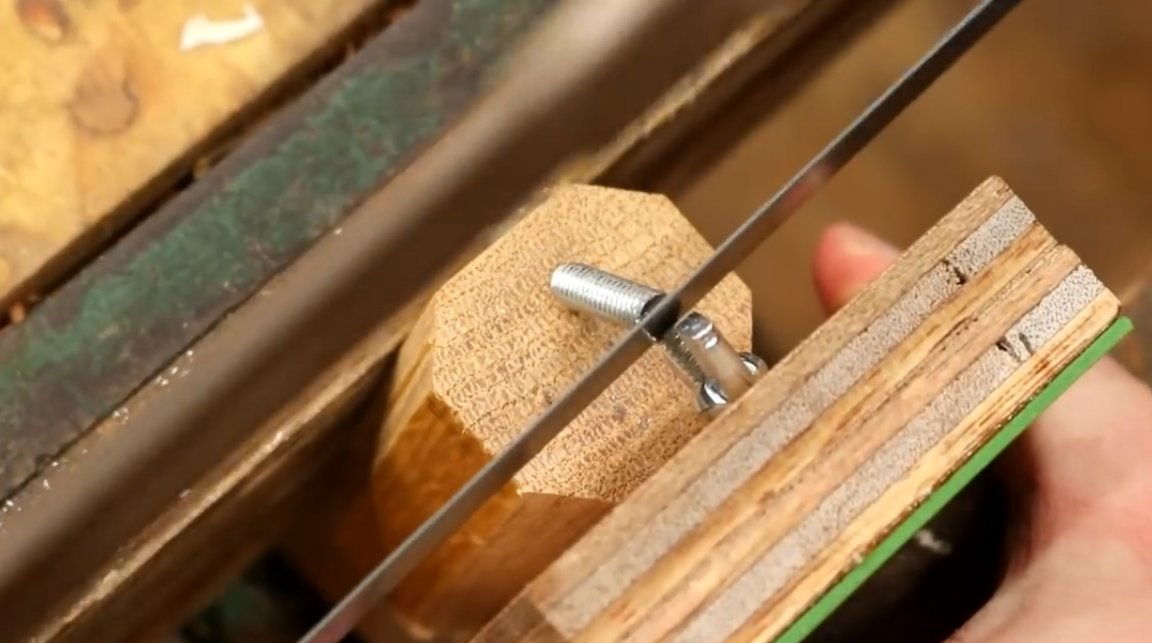
After assembling the entire structure, it became clear to what length bolt rods should be cut. The procedure is carried out with a conventional hacksaw. Sharp corners are filed.
After finishing grouting, the author applies a couple of layers of transparent aerosol varnish to protect the wood from moisture.

Now the abrasive paper is cut lengthwise, and its edges are bent around the base of the grinding block, which contributes to the formation of clear and even folds.
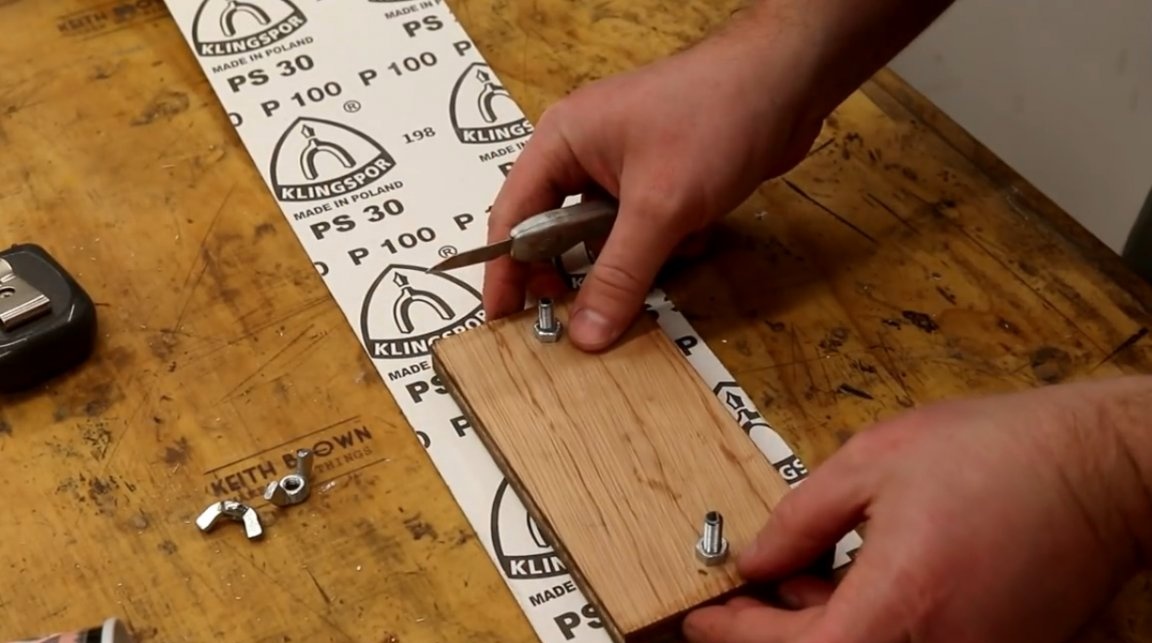
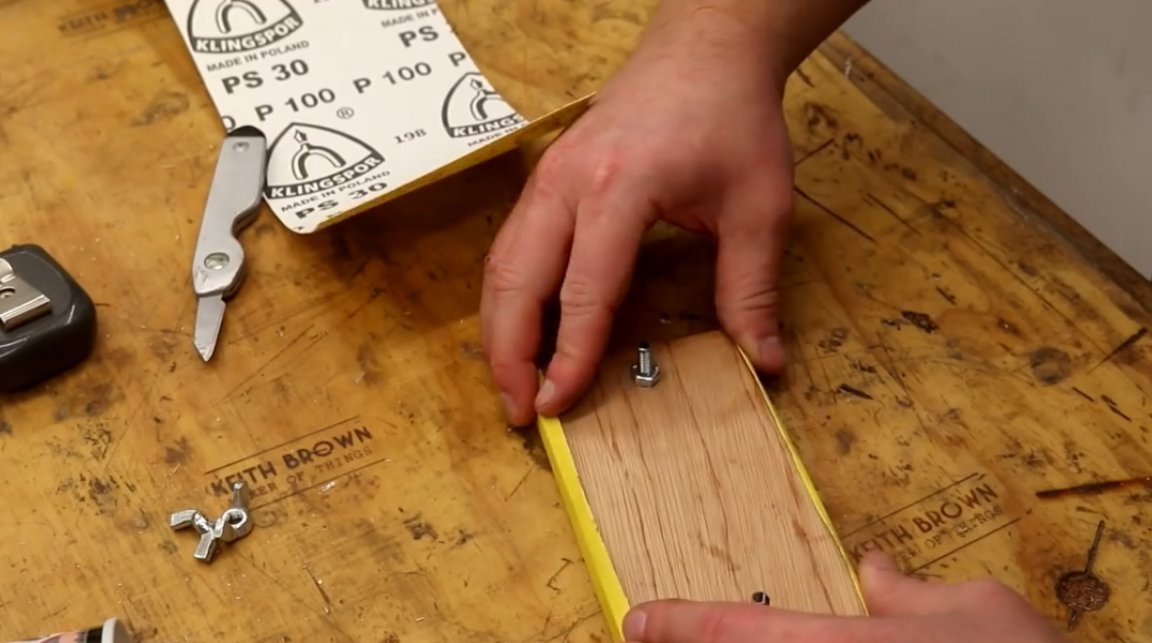
Next, the master strung on the bolt rods the second part of the block and presses the wrapped edges of the paper with it, tightening the wing nuts tightly.
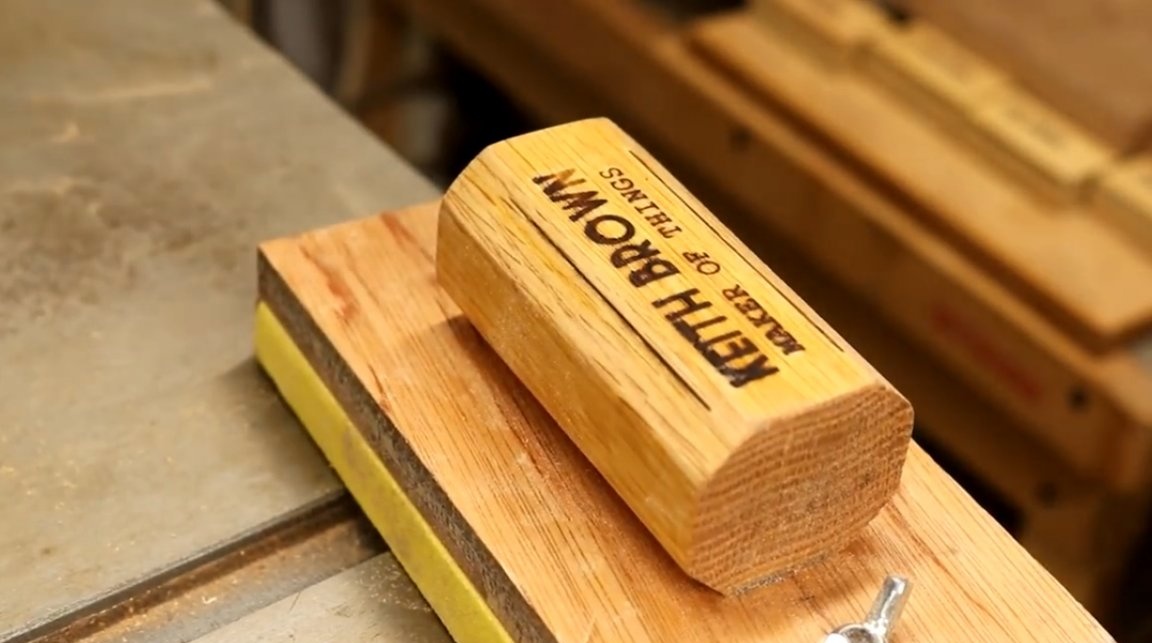
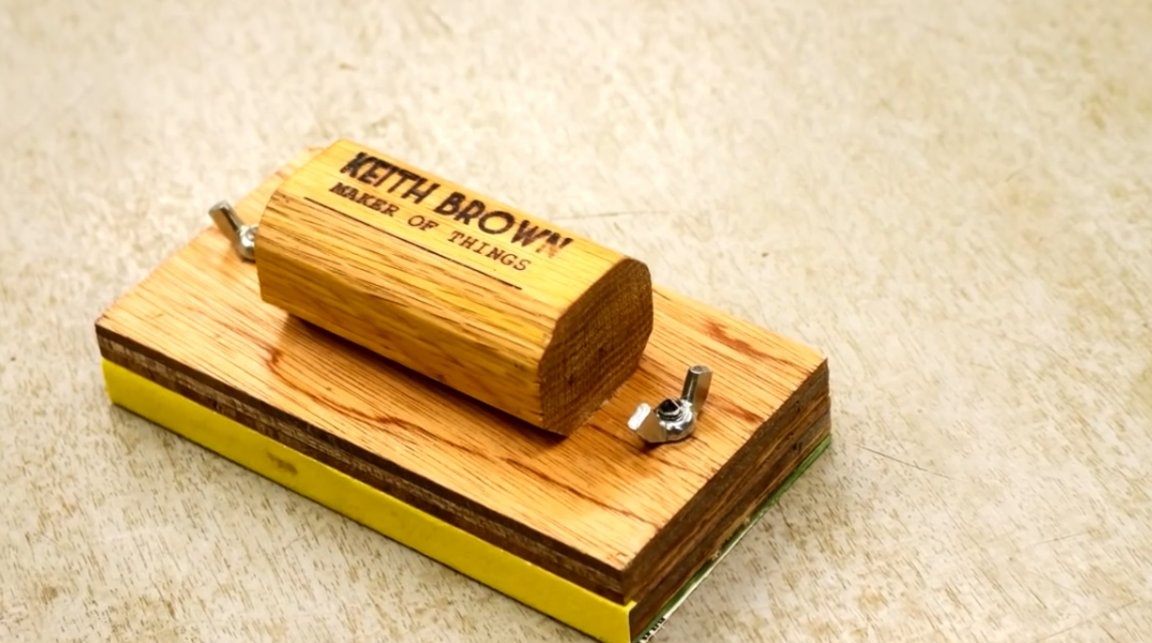
The tool is ready!
The author puts the brand mark on the handle with the finishing touch.
I thank the author for the idea of a simple but useful tool for the workshop!
All good mood, good luck, and interesting ideas!
Author video can be found here.