

Hello dear the inhabitants of our site and guests of this site!
In this article I will tell you about how I made a shelf in the kitchen for a microwave and breadbox.
The shelf will be made of chipboard.
For this, I used the following tools:
Electric jigsaw
screwdriver
-drill,
grinding machine
-hammer,
-key for euroscrews,
- iron, as well as marking fixtures.
Fixing parts mainly on wood screws, with the exception of the shelf on which the microwave stands. It is fixed to the rear wall on the euro screws.
The work is not difficult. Anyone who has the desire to repeat the same product or make something new in its design will be able to cope, depending on their needs.
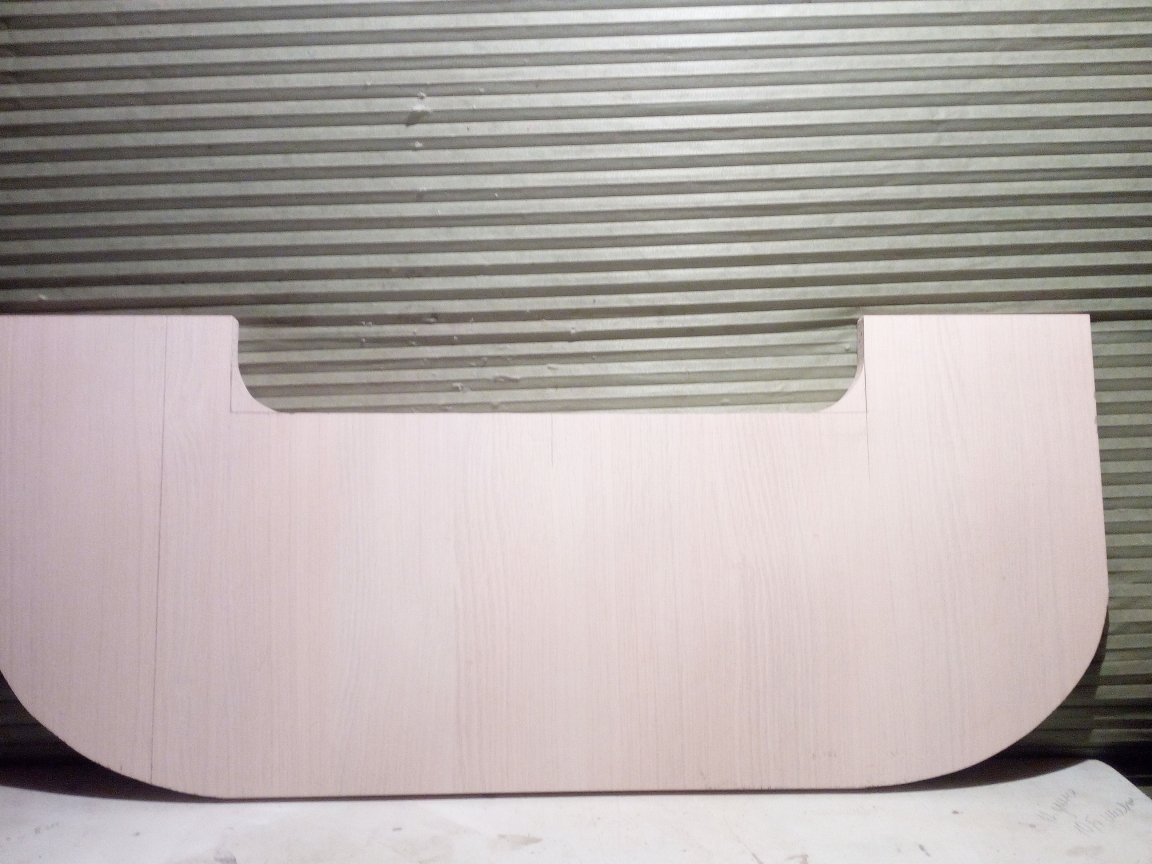
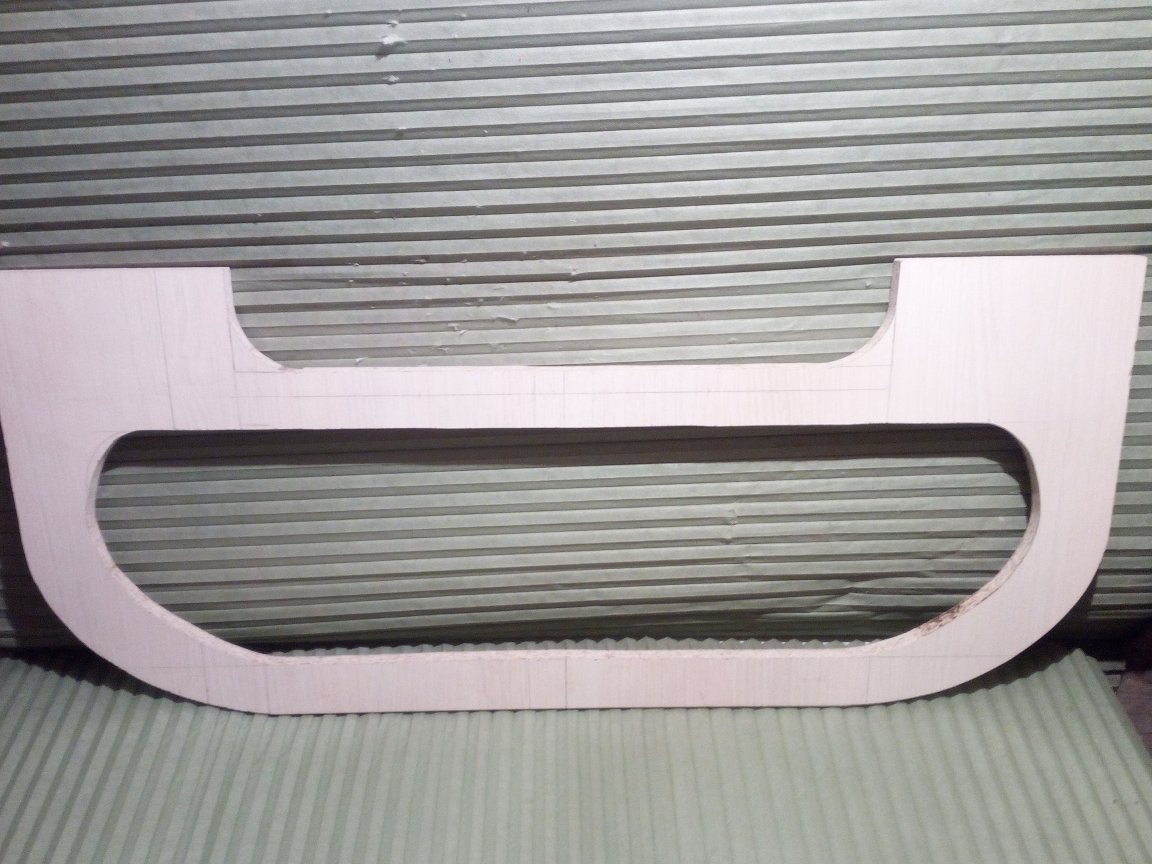
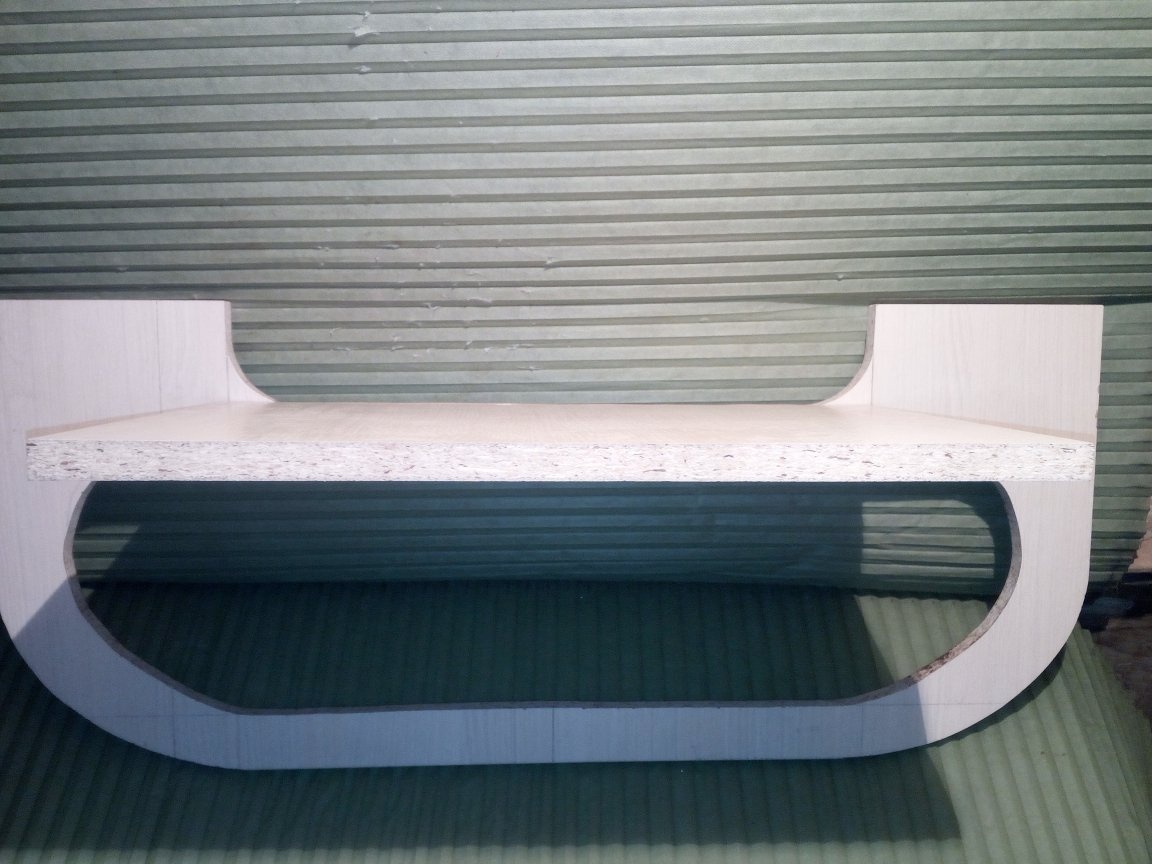
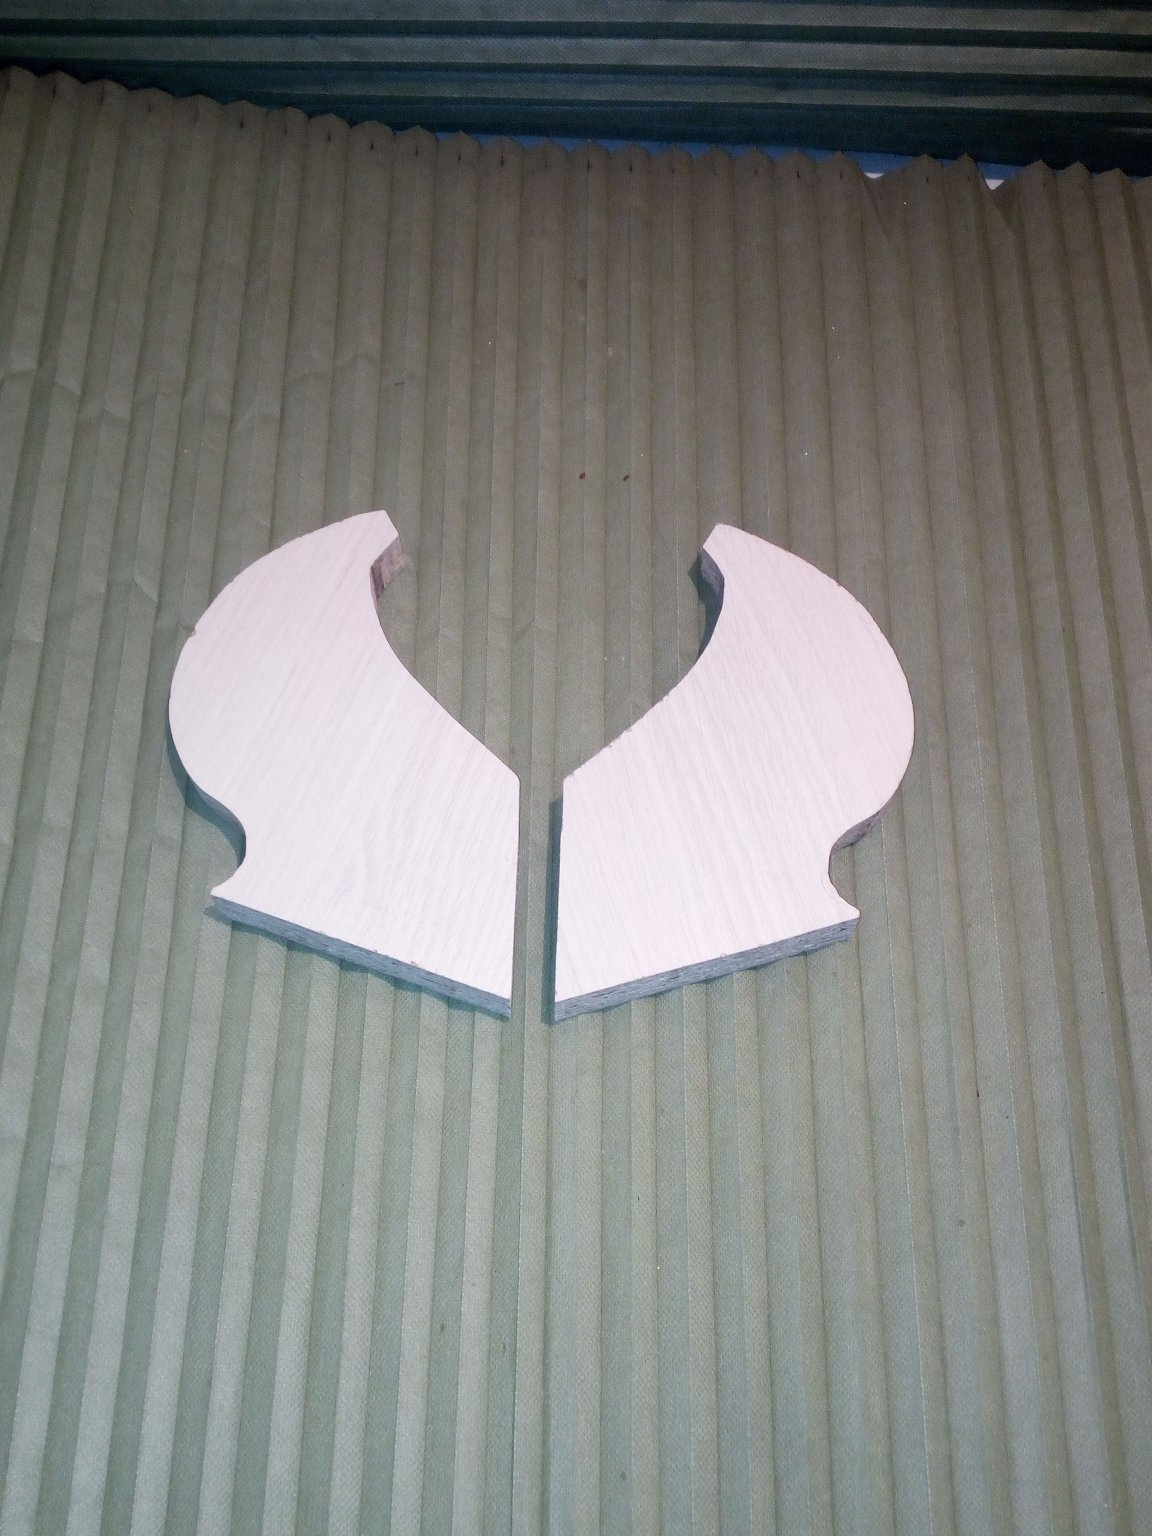
In my stores from last year there are several chipboards from old cigarette shelves, the dimensions of which are 120x60x1.5 cm. So I decided to use several of them for this homemade product. Having decided on the size of the back of the shelf, which I calculated based on the length / width / height of the microwave and the bread box, I drew a chipboard. Next, he sawed and removed everything that was not needed from the workpiece by a jigsaw along a contoured contour. It turned out here is such a part of the shelf - the back wall. A recess from above and an oval cut in the body of the wall was made to reduce the weight of the structure and for beauty (although, looking ahead I will say that after the objects for which it was created were installed on this shelf, this recess and oval became practically invisible).
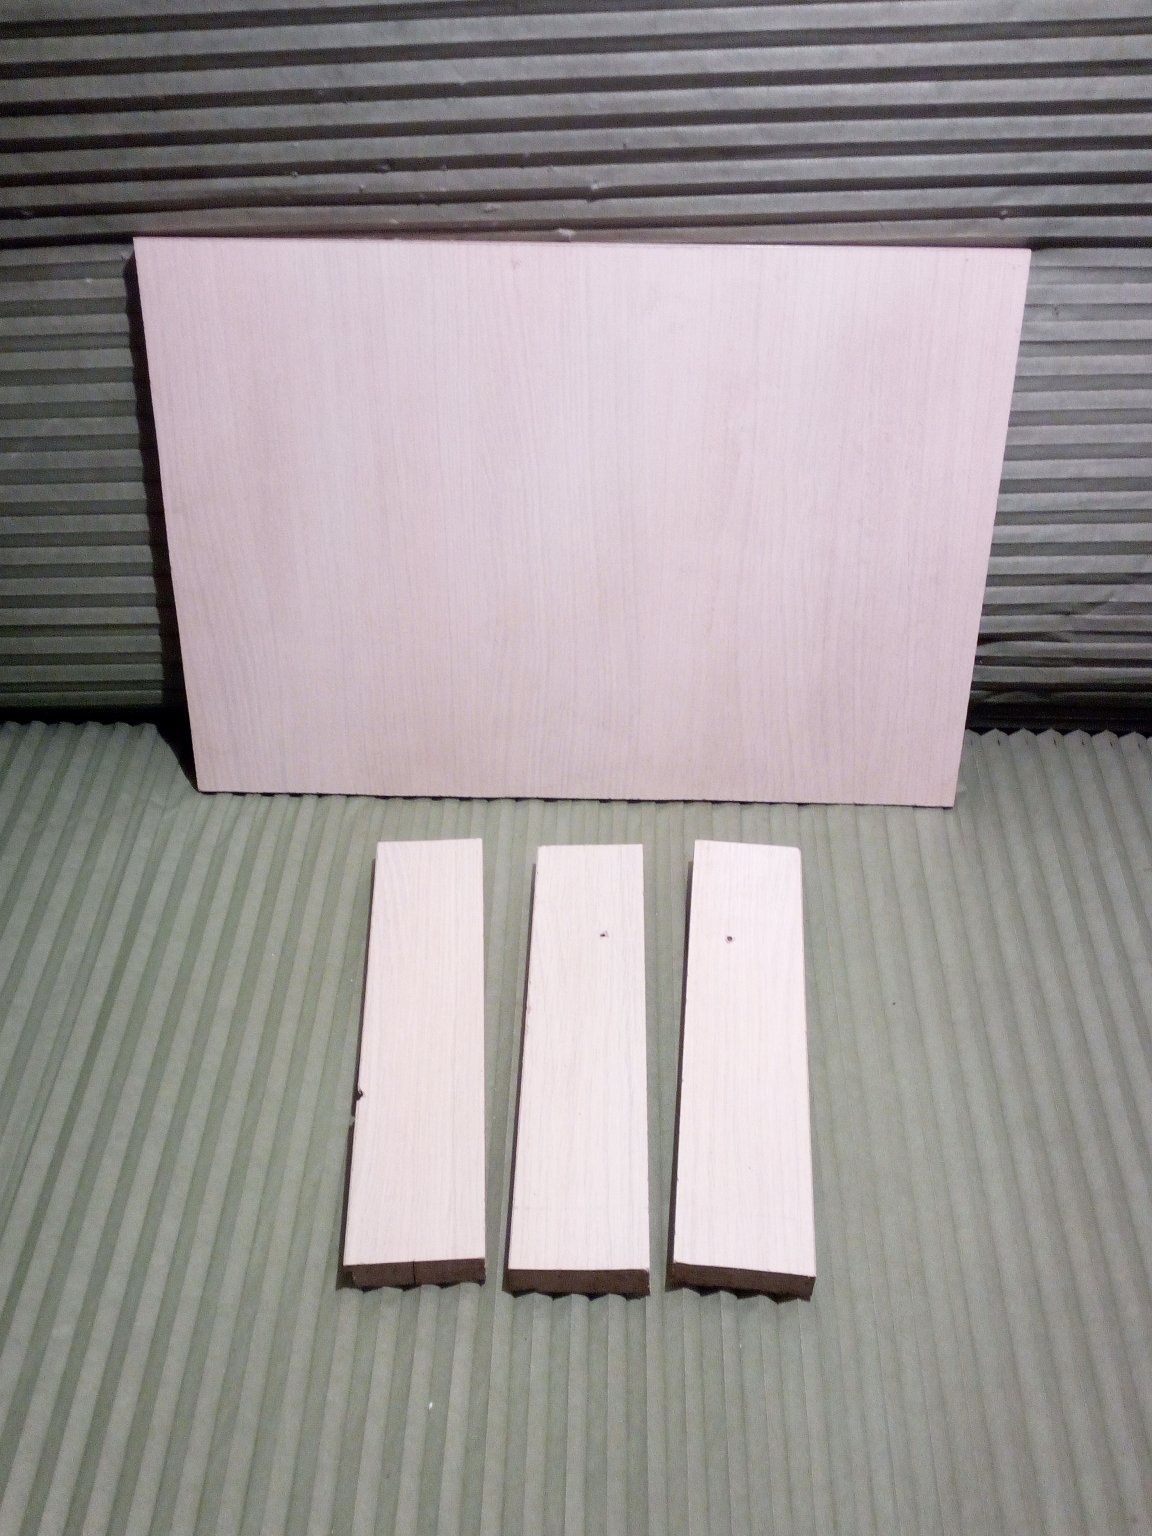
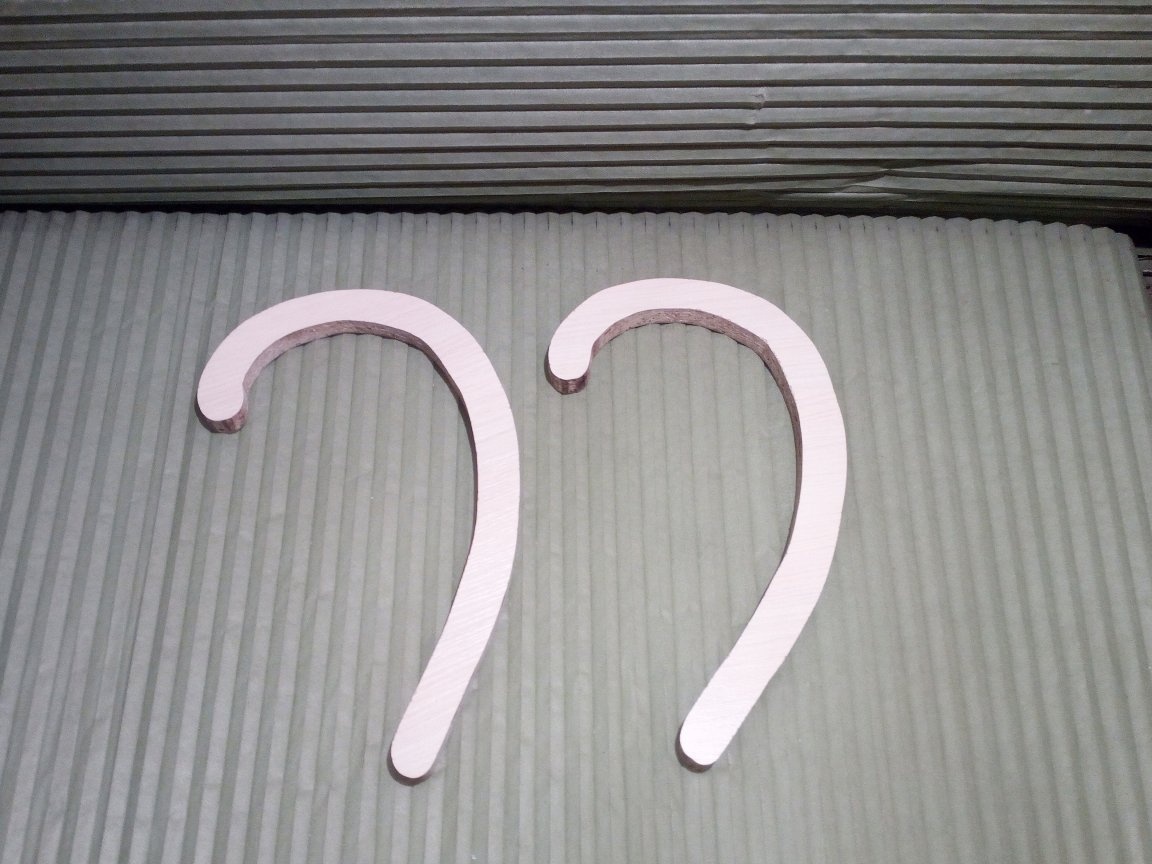
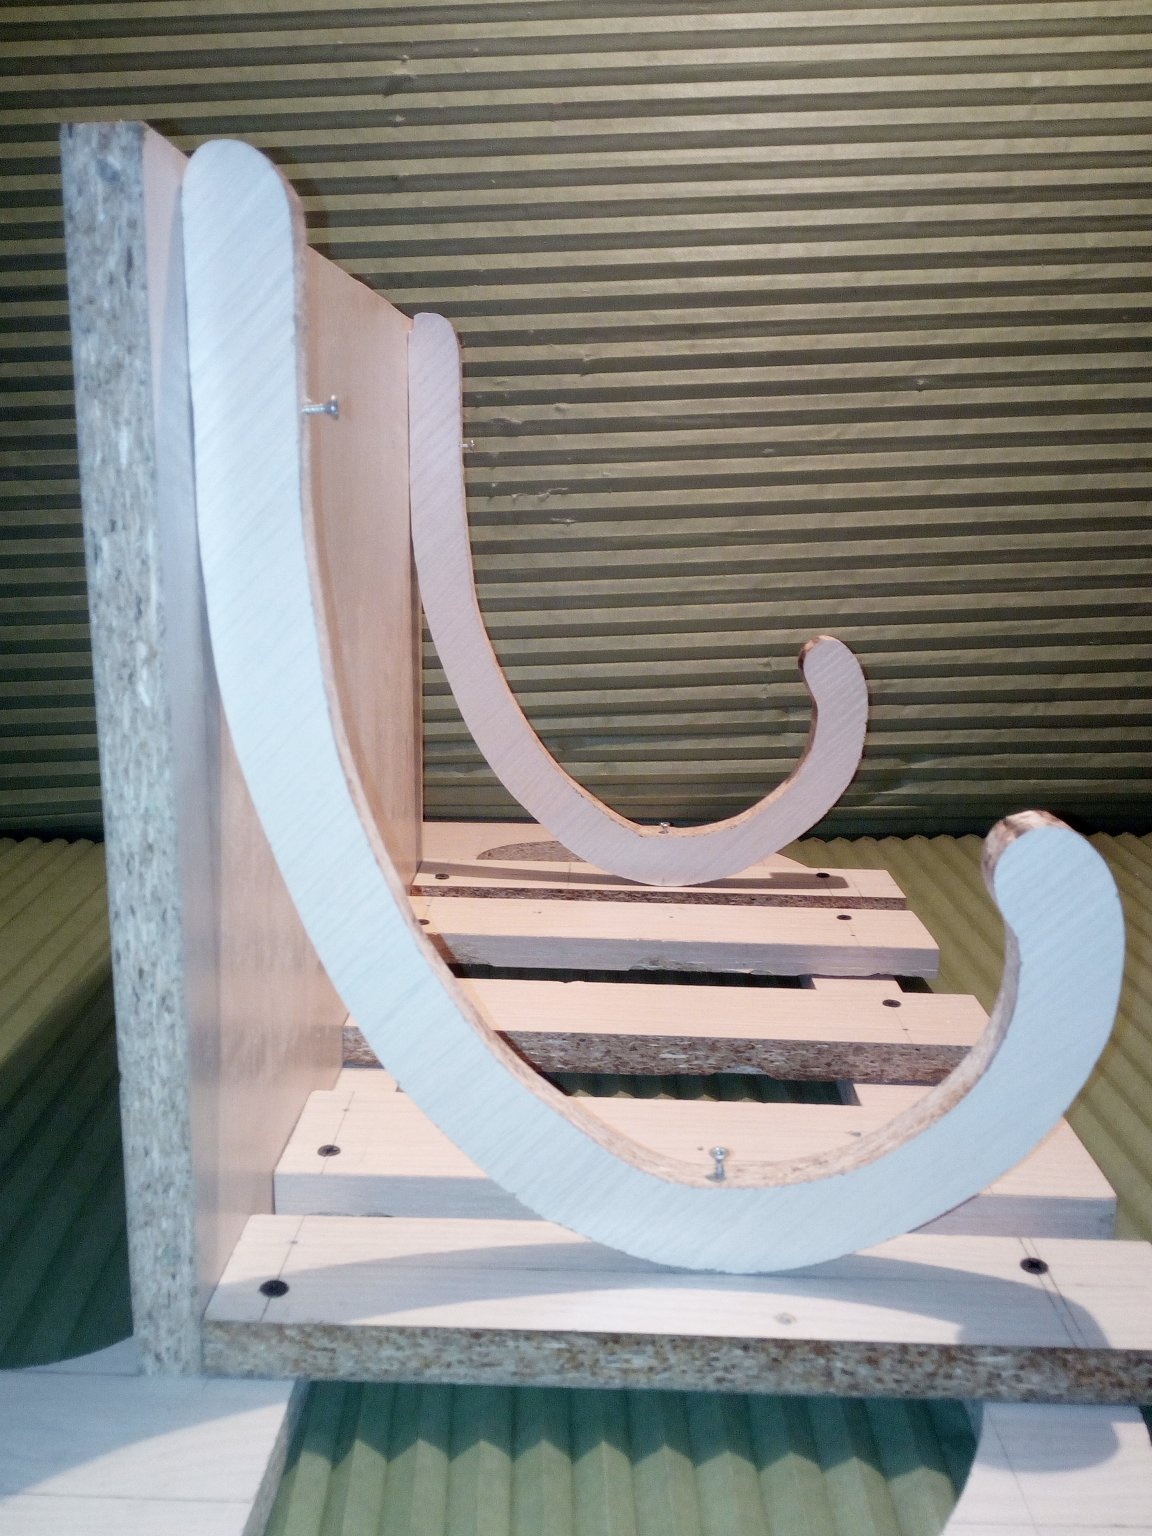
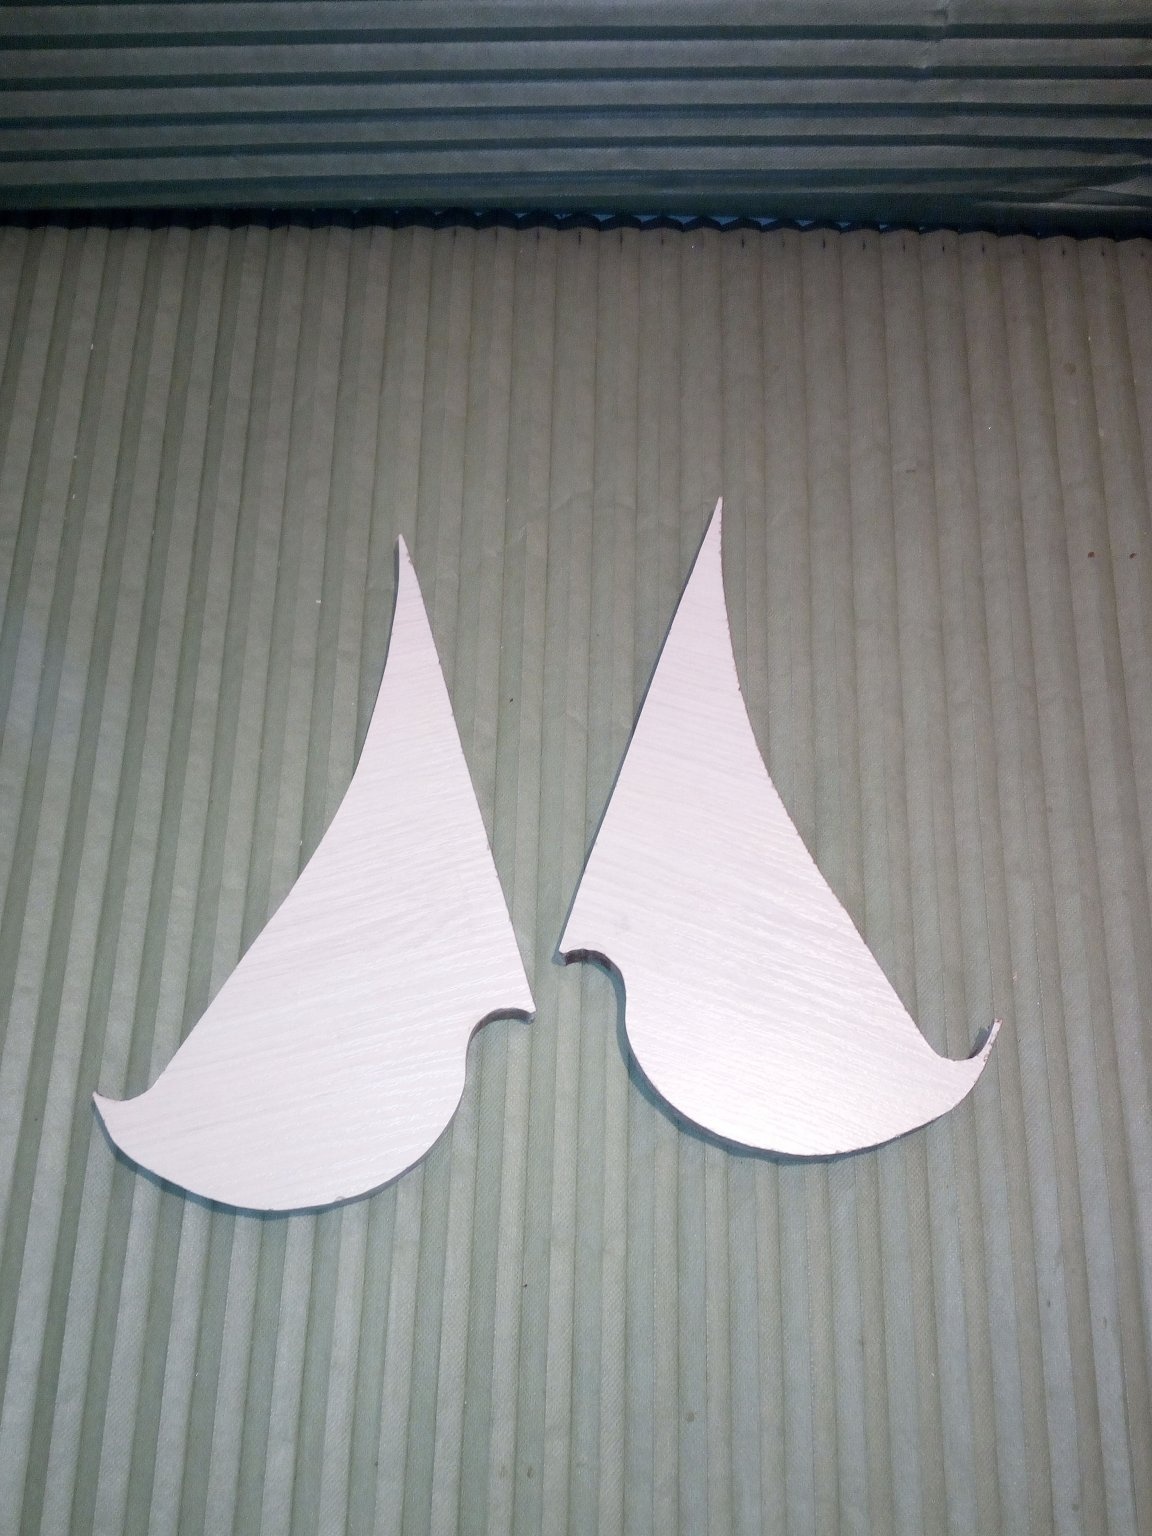
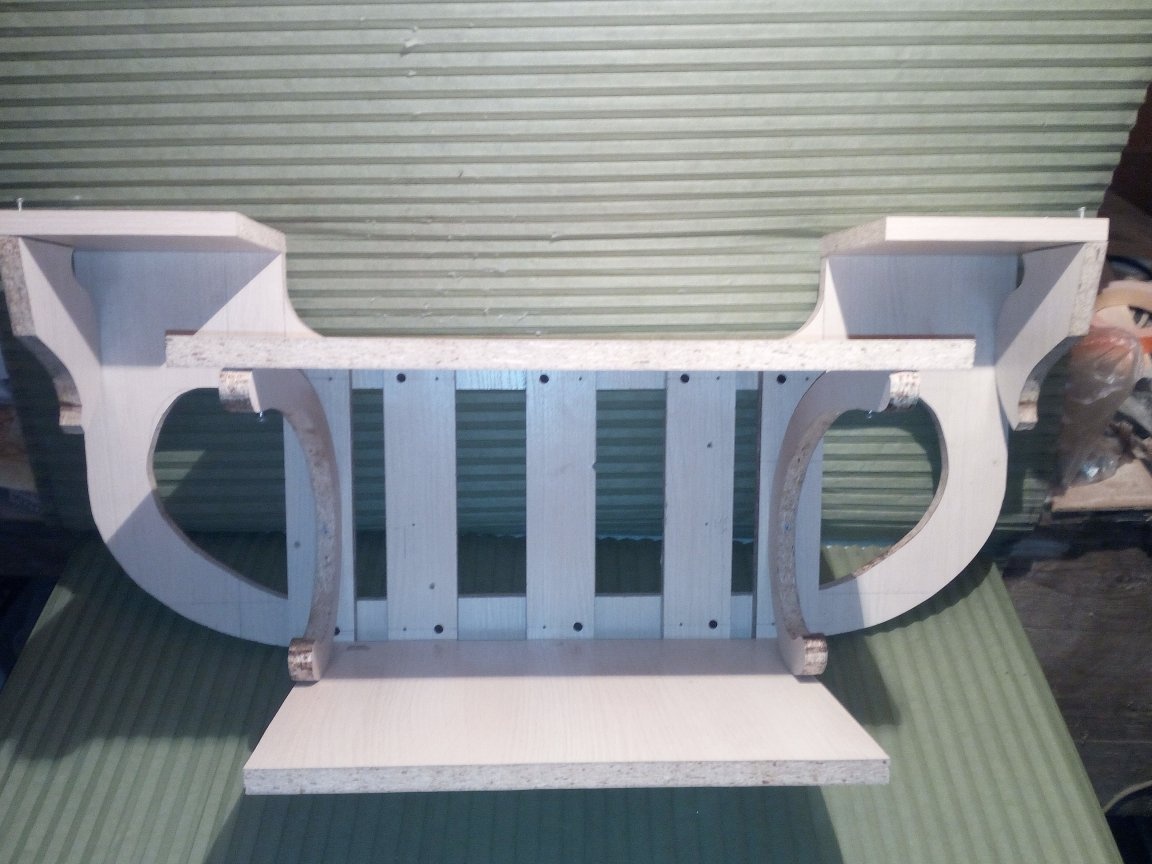
After the work with the back wall has been completed, I proceed to the rest of the details, namely, I cut out a rectangular blank on which the furnace and vertical support strips will be installed. They will not only give strength to the product, but also serve as supports for the oven shelf. Next, cut out the arches. They will be the main support for the shelf, it will not be superfluous, because the microwave is quite heavy.
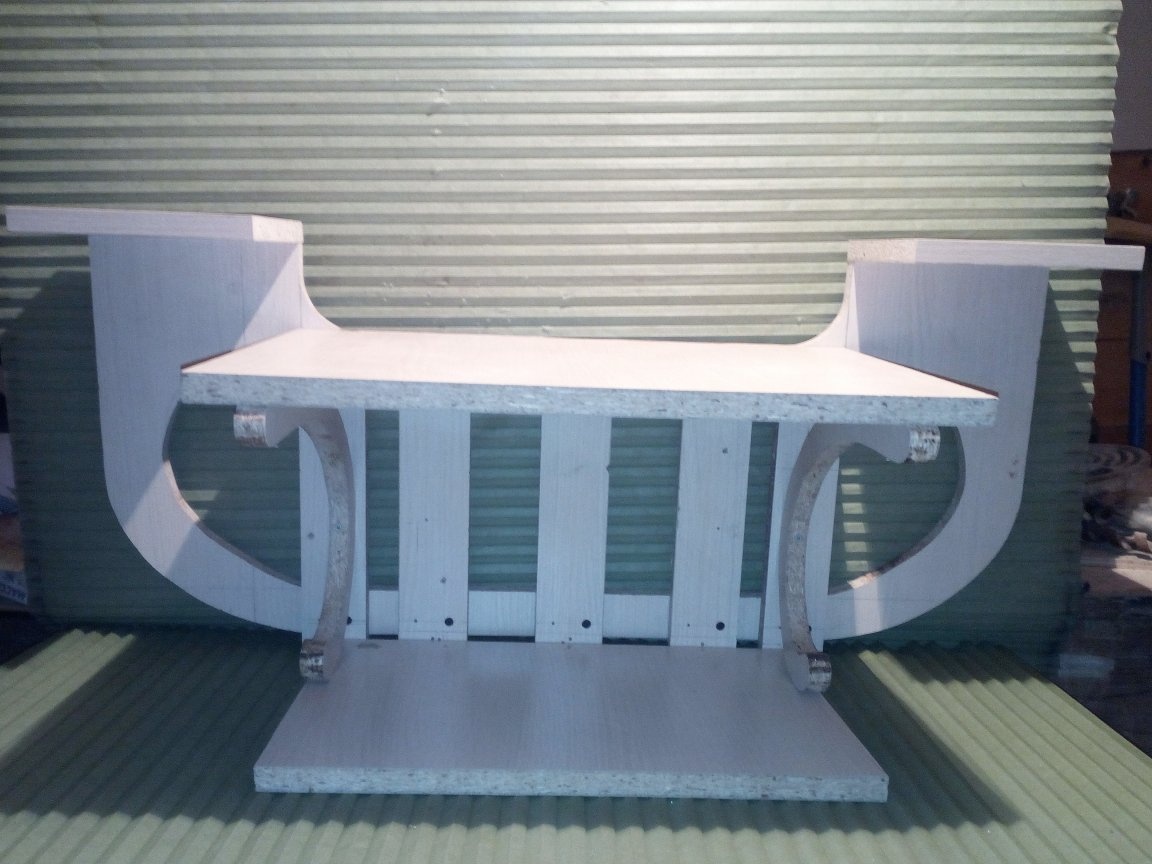
I am starting to assemble the available parts. Having marked shelves on the wall of the attachment point to it, I drill holes for Euroscrews.I decided to use them because this shelf will take on the largest weight, therefore, the mounts should be more thorough. I made holes in all the details in advance. Next, set the bar. I fasten them with ordinary wood screws. As you can see in the photo, the edge of the shelf fixed to the wall just lies on the ends of these slats, so the load on the fasteners after the furnace is installed will be evenly distributed over all the slats. At the same stage of the work, I fasten the main supporting arches. I did not fully tighten the screws, and I did not install them everywhere. This is due to the fact that after all the home-made will be assembled, I will take it back to grind the ends, paint some parts and sticker the end tape.


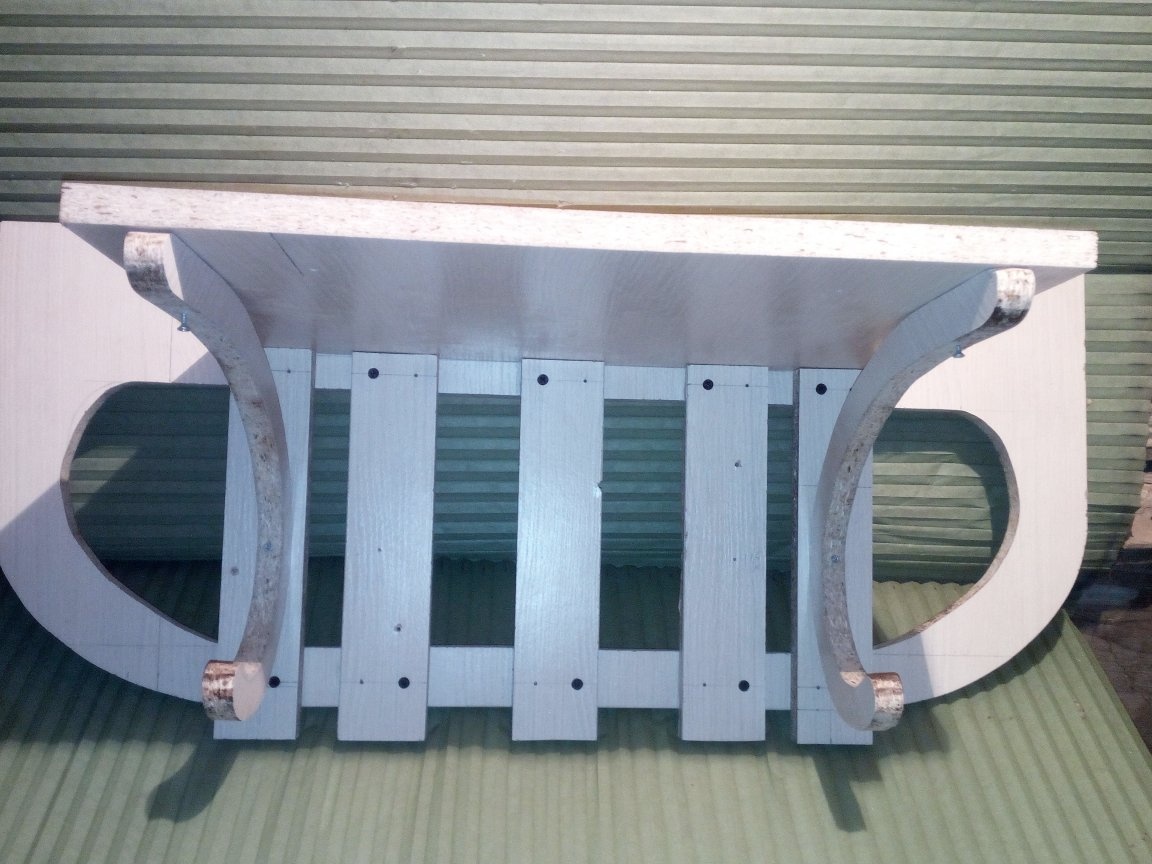
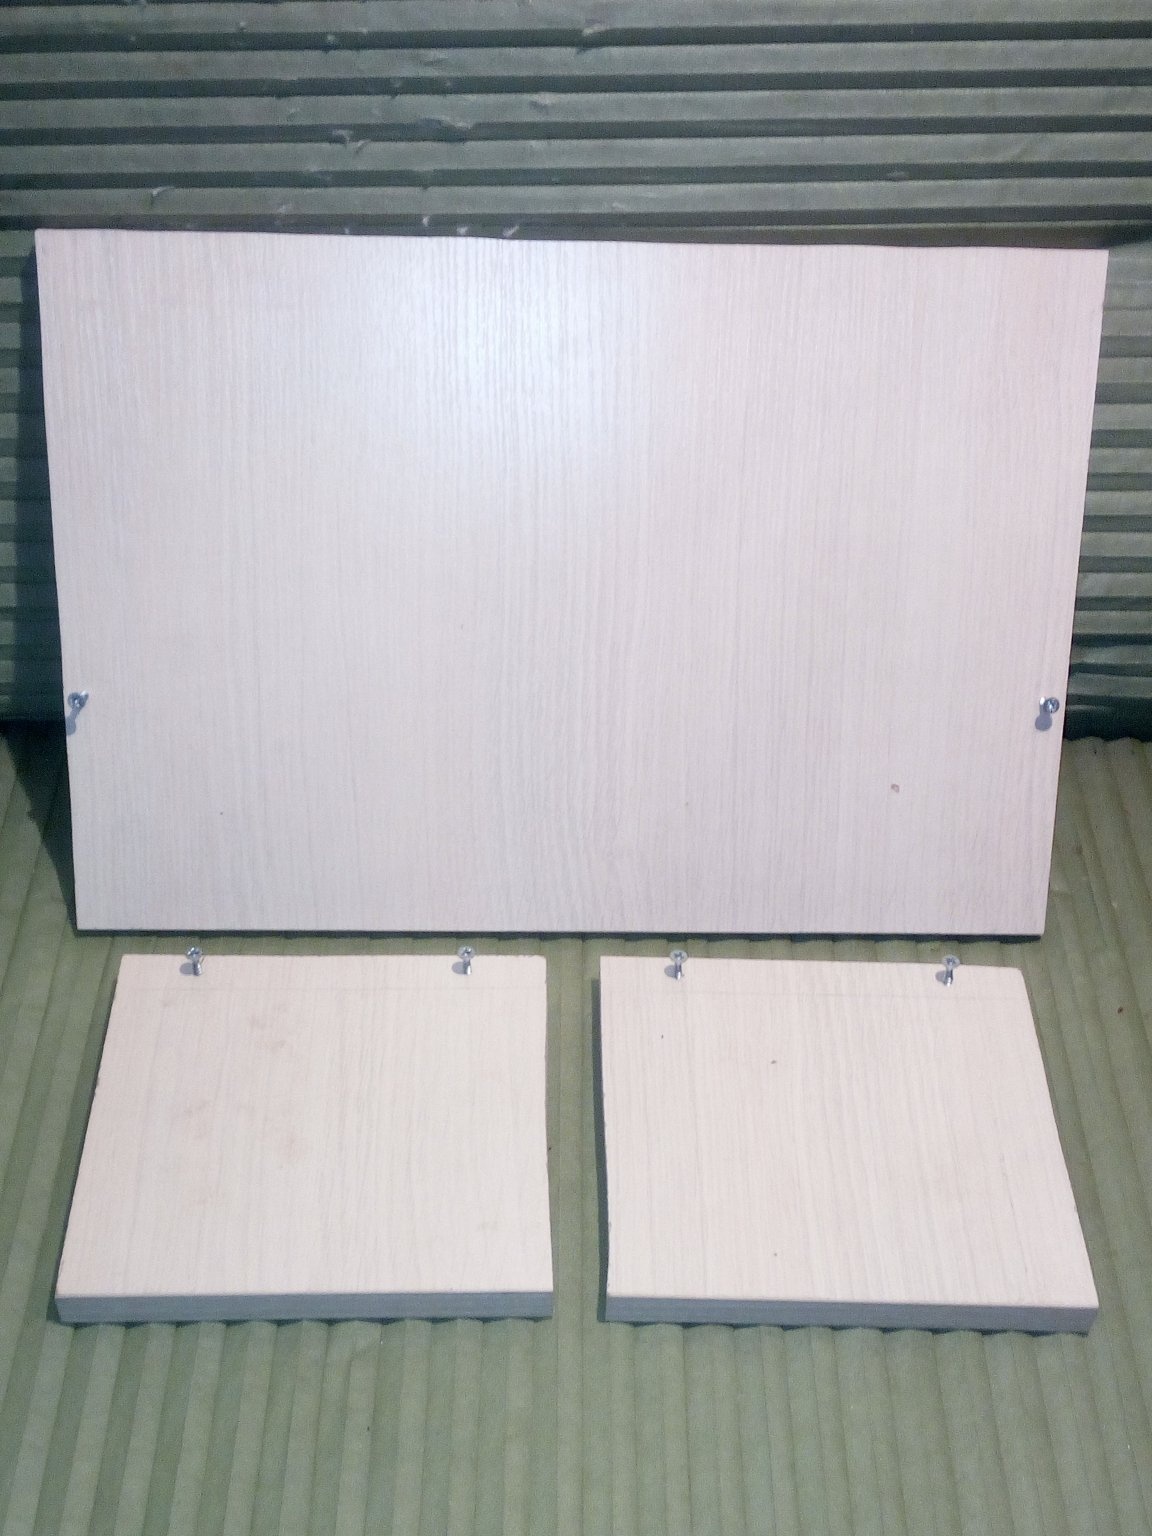
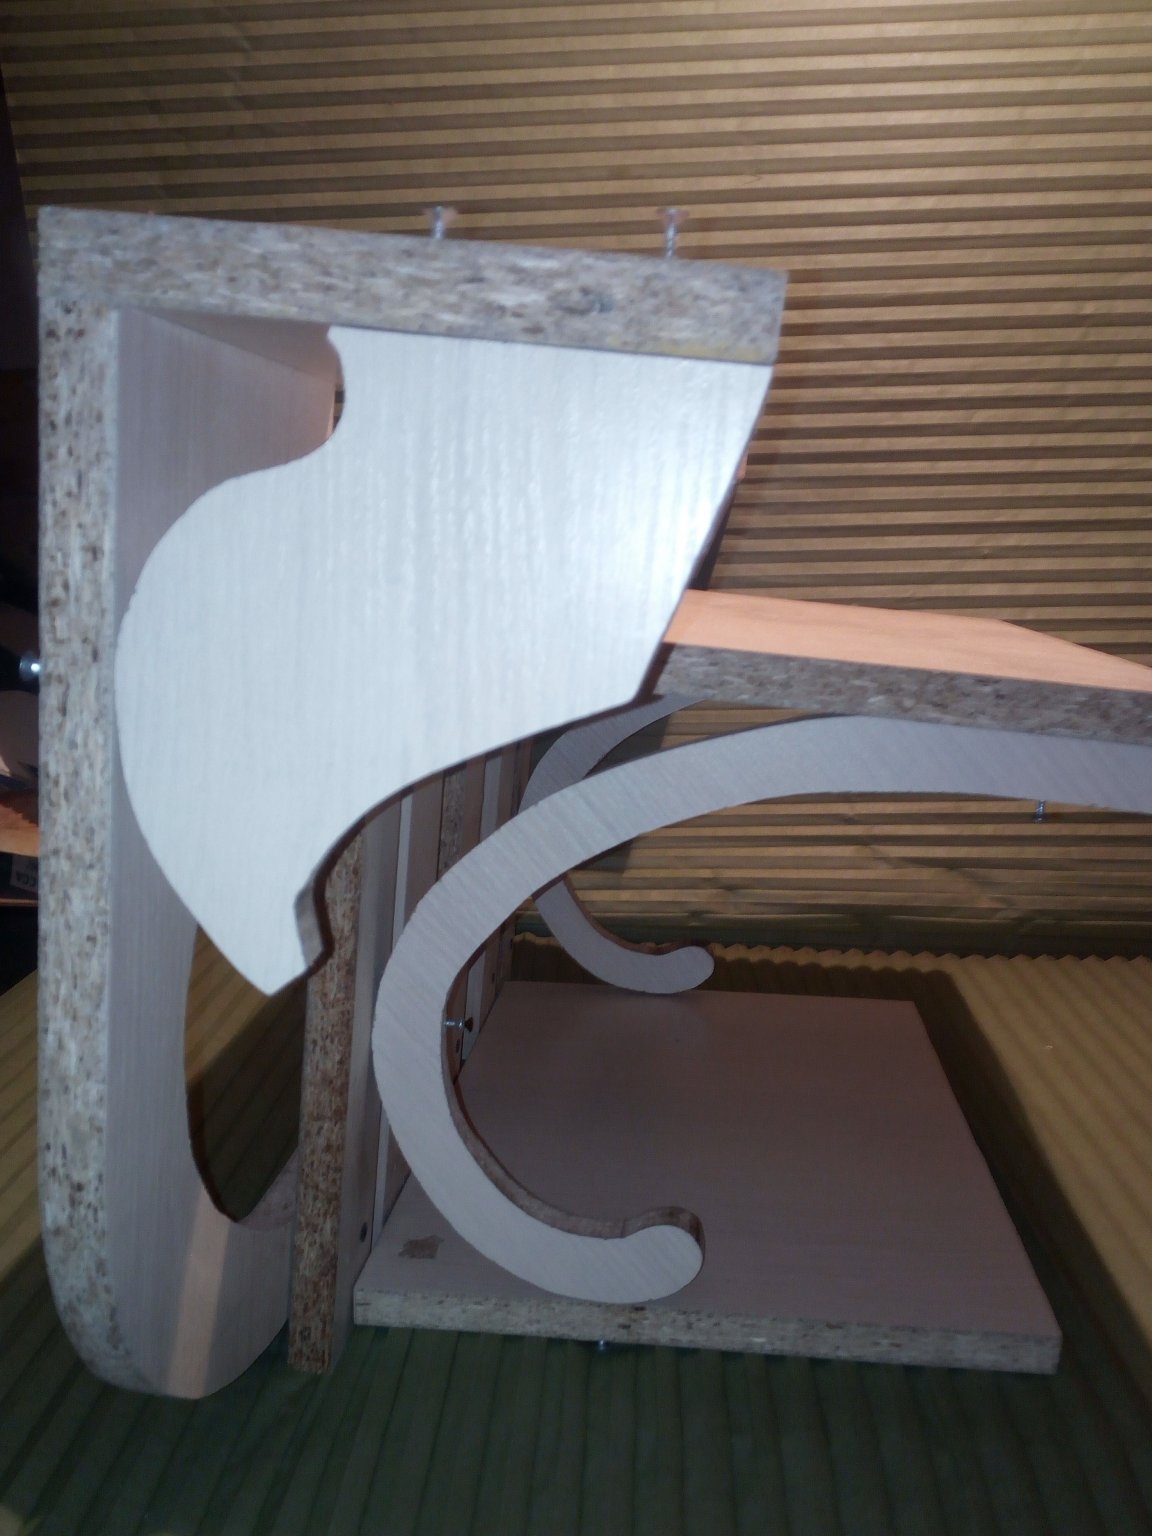
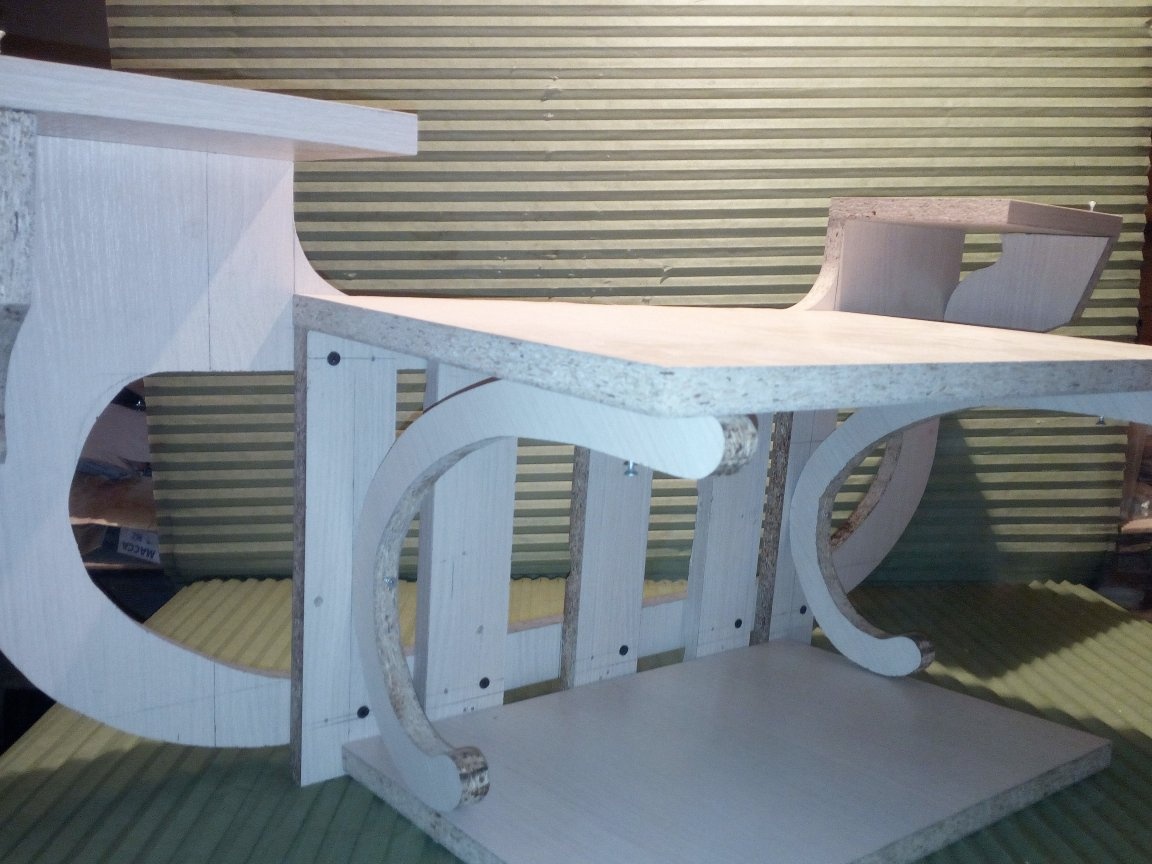
After installation, I make the rest of the shelves. One under the breadbox and two small ones, which I will install on the sides. I fix the received elements on the structure. I also screw the shelf for the breadbox to the lower parts of the arch.
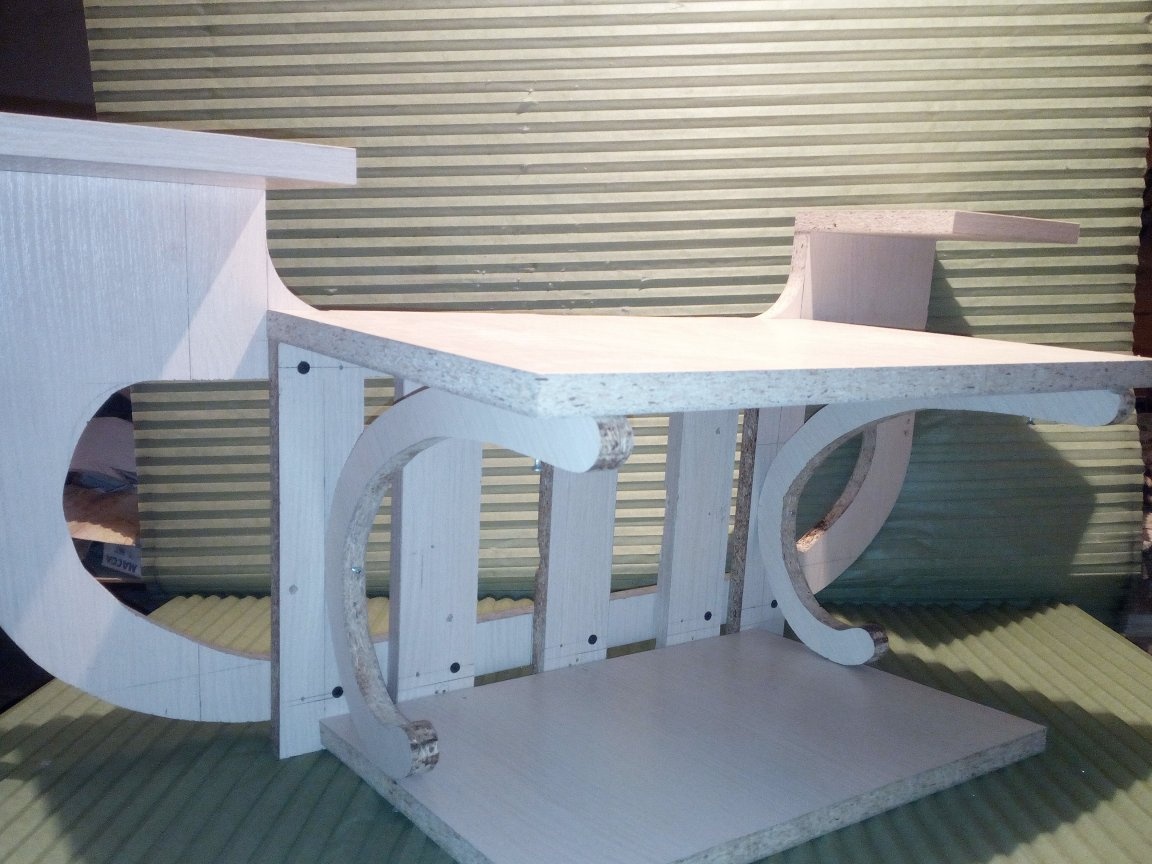
On small upper shelves, the load will not be too big, but I still decide to make additional lateral stiffeners for them. To do this, I use the remnants of chipboard obtained after cutting arches. Everything is moving.

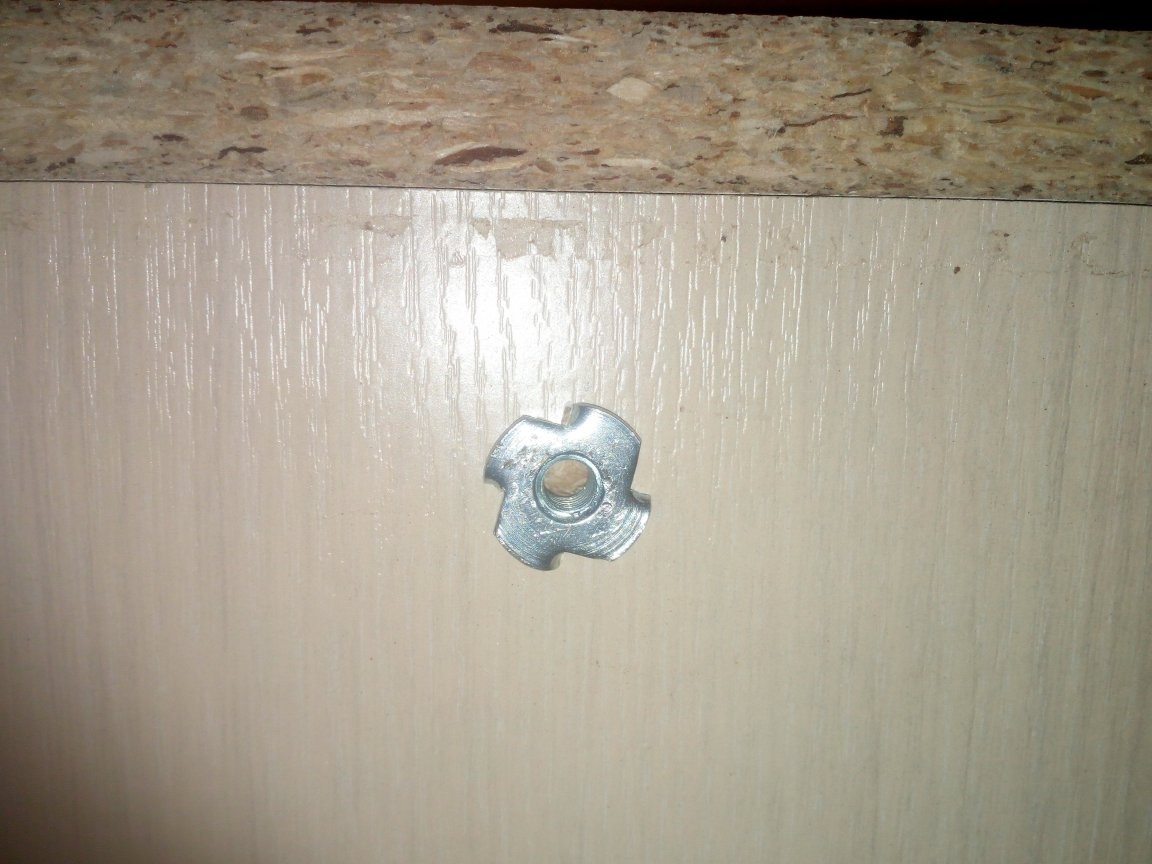
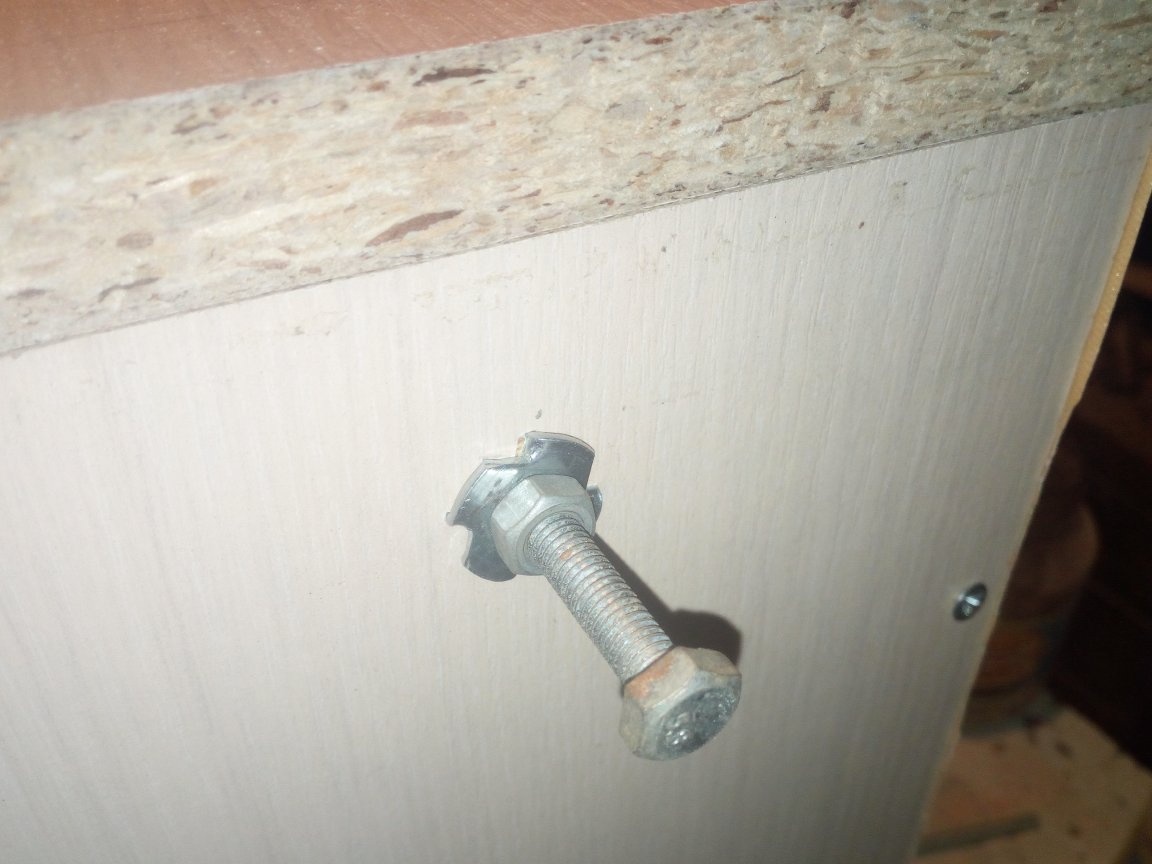
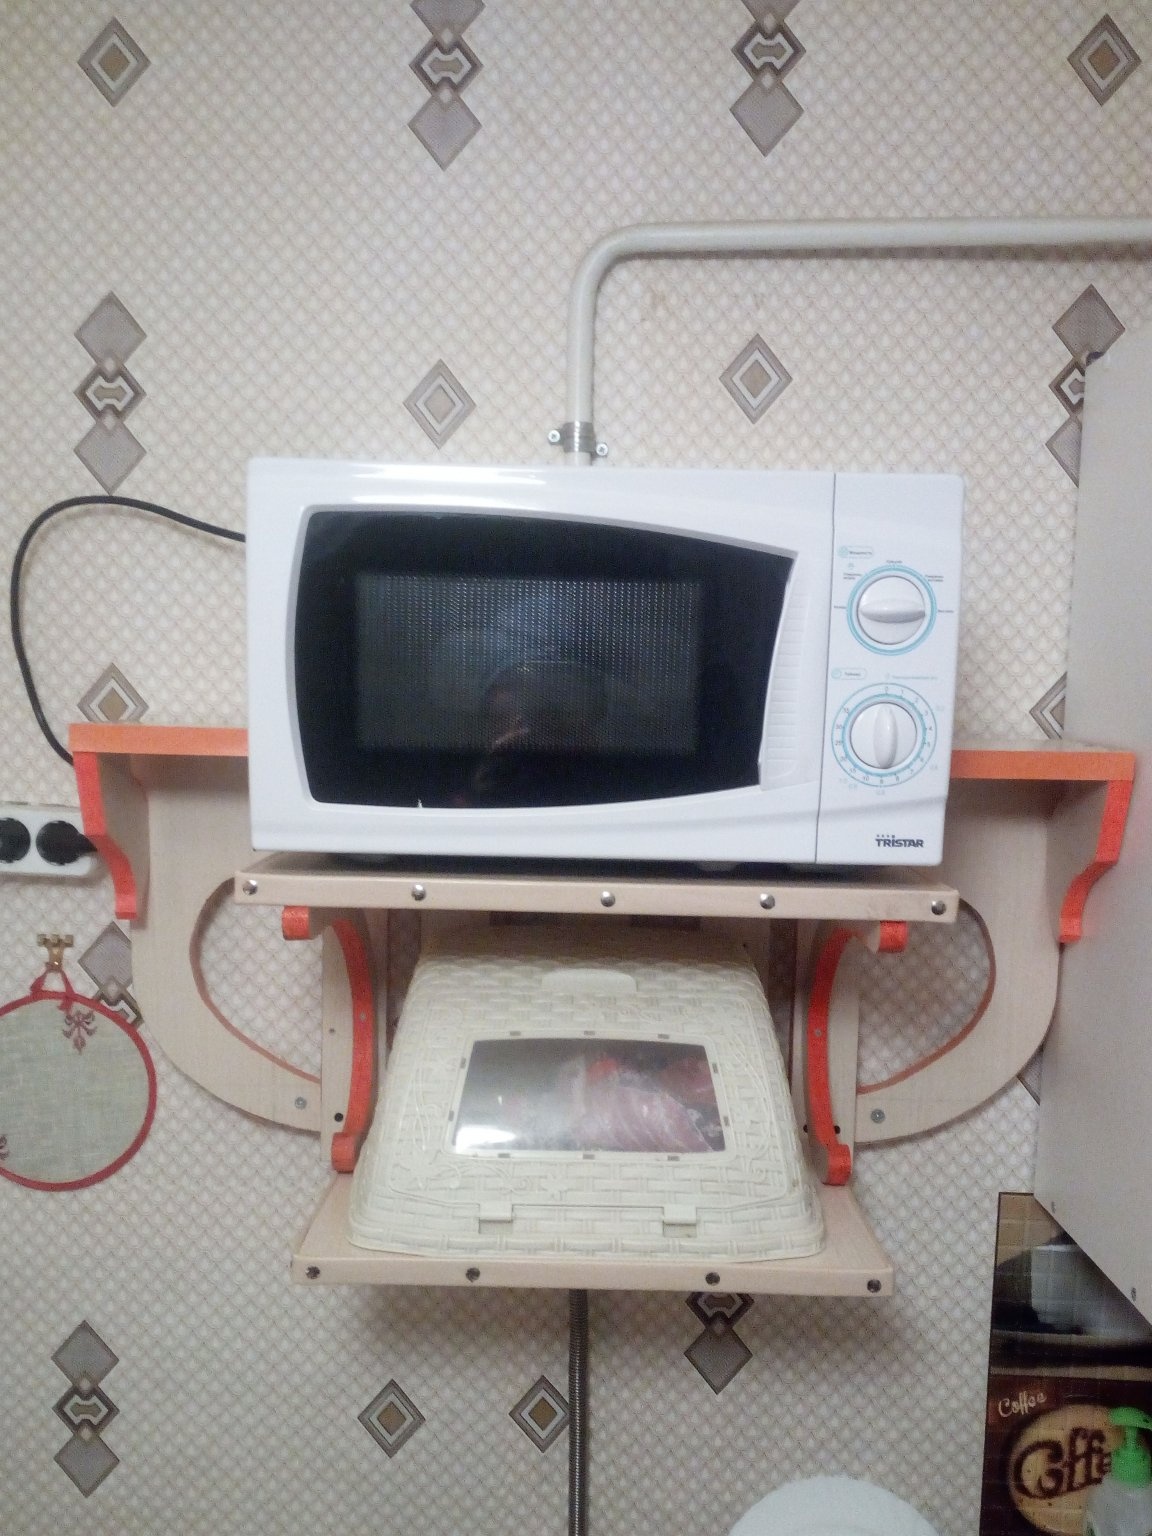
The shelf is almost ready. I disassemble, polish all the end parts and stick a tape on them. The shelf supports were painted with bright acrylic paint. There remains one important detail in my case: the installation of driven furniture nuts on the back of the shelf. A pipe passes in the place where I will hang the shelf. Therefore, there is no way to close the shelf against the wall. These nuts will just solve this problem. After installing them, I screwed the bolts into them. They pushed the shelf away from the pipe and I was able to calmly hang it. Also, these bolts serve to align the entire structure relative to the wall: you just need to twist-screw them to achieve the desired result.
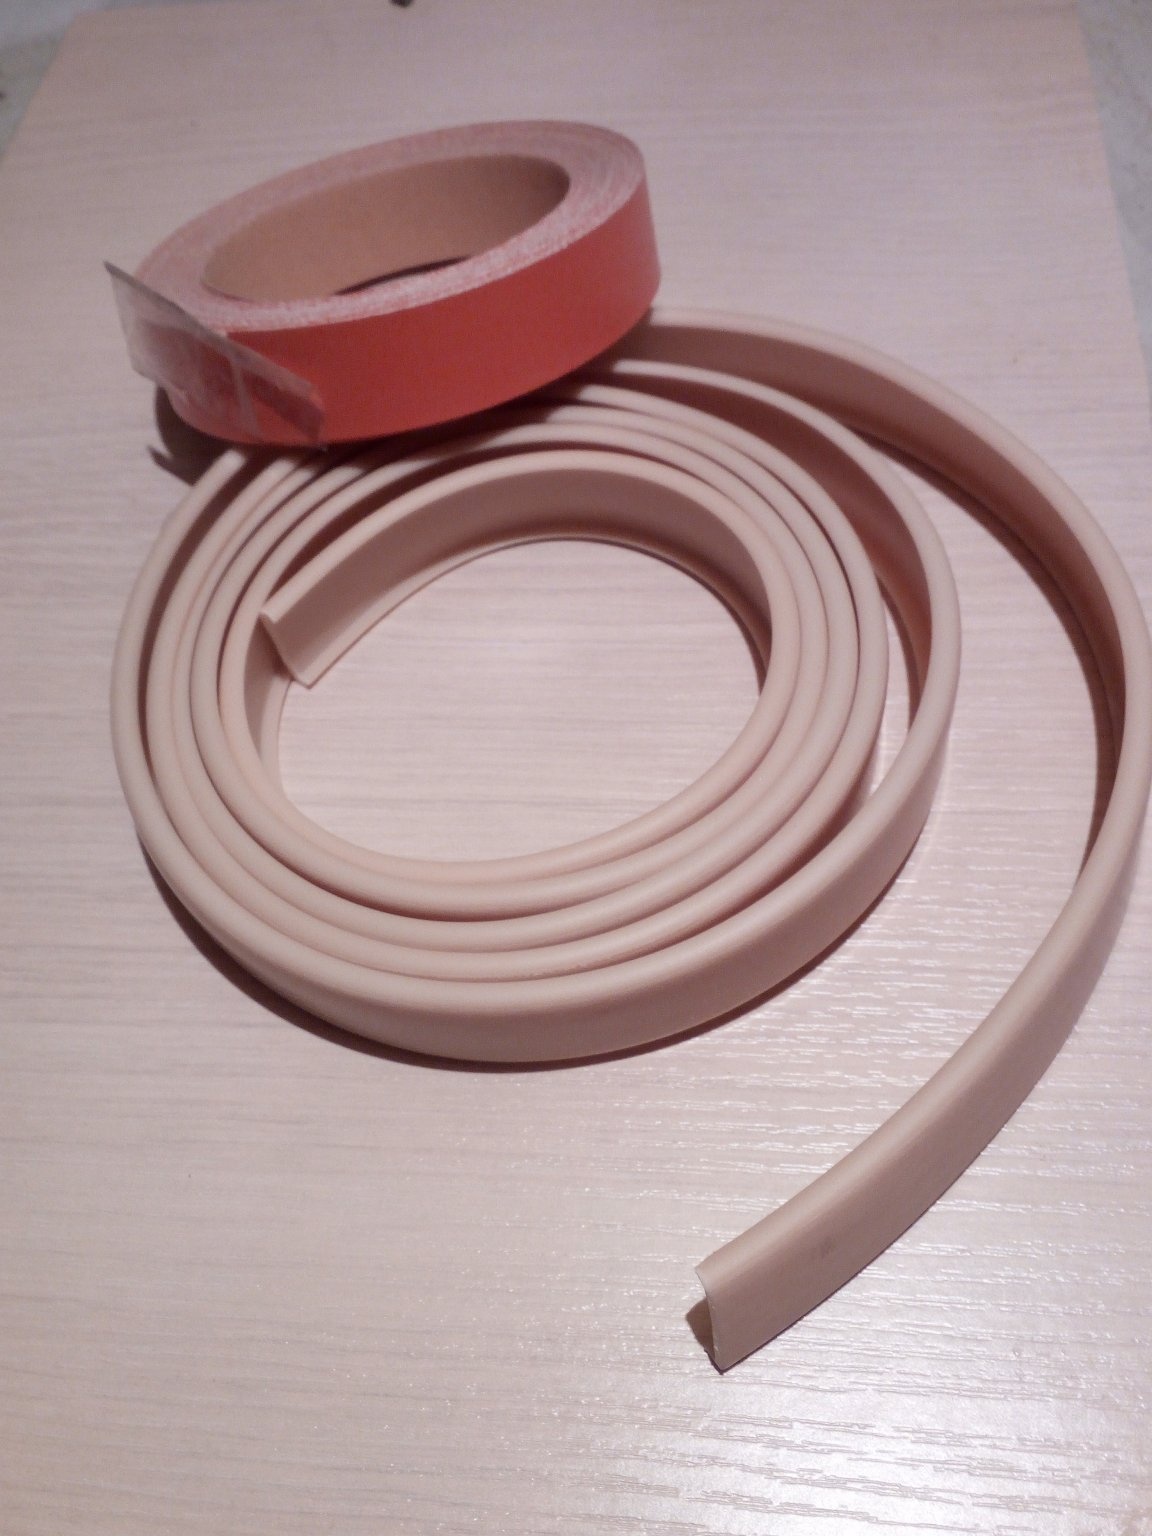

I put a U-shaped tape on the ends of the shelves for microwave and bread box, putting it on the sealant. For greater strength, I drove in decorative carnations.
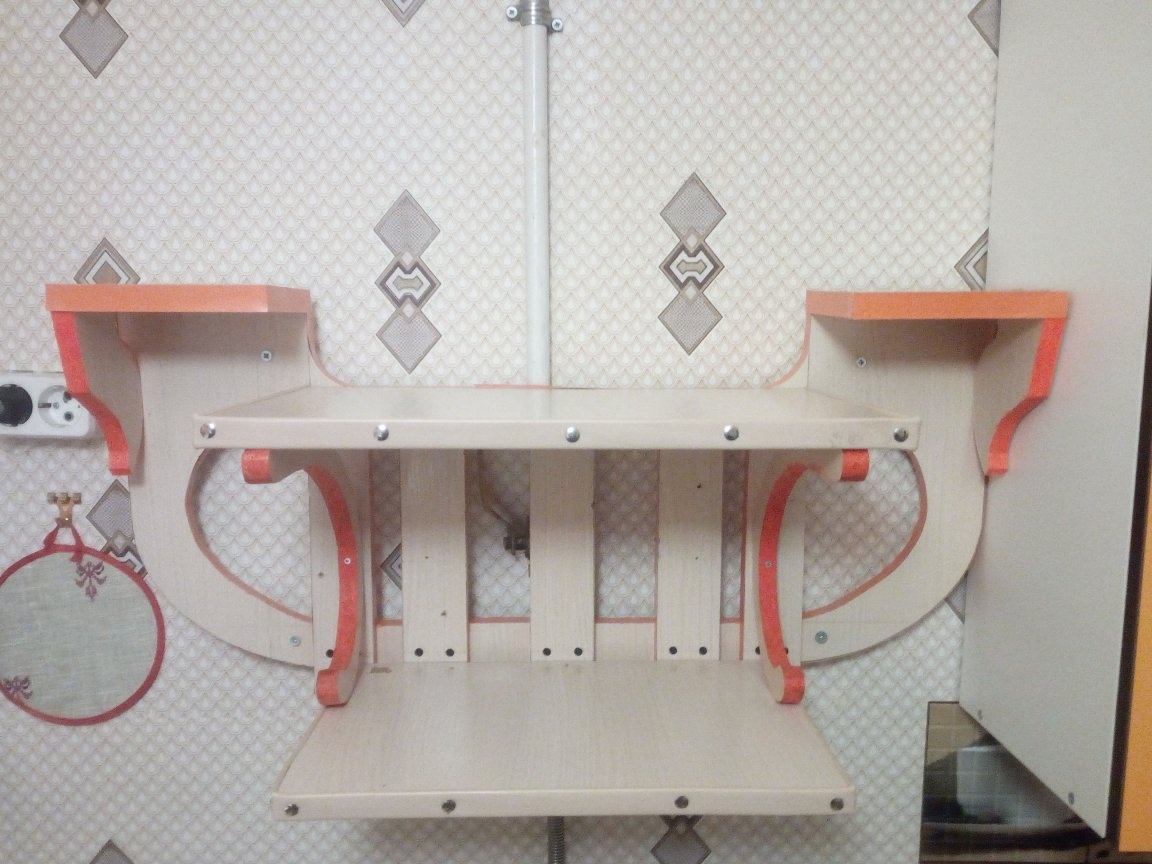
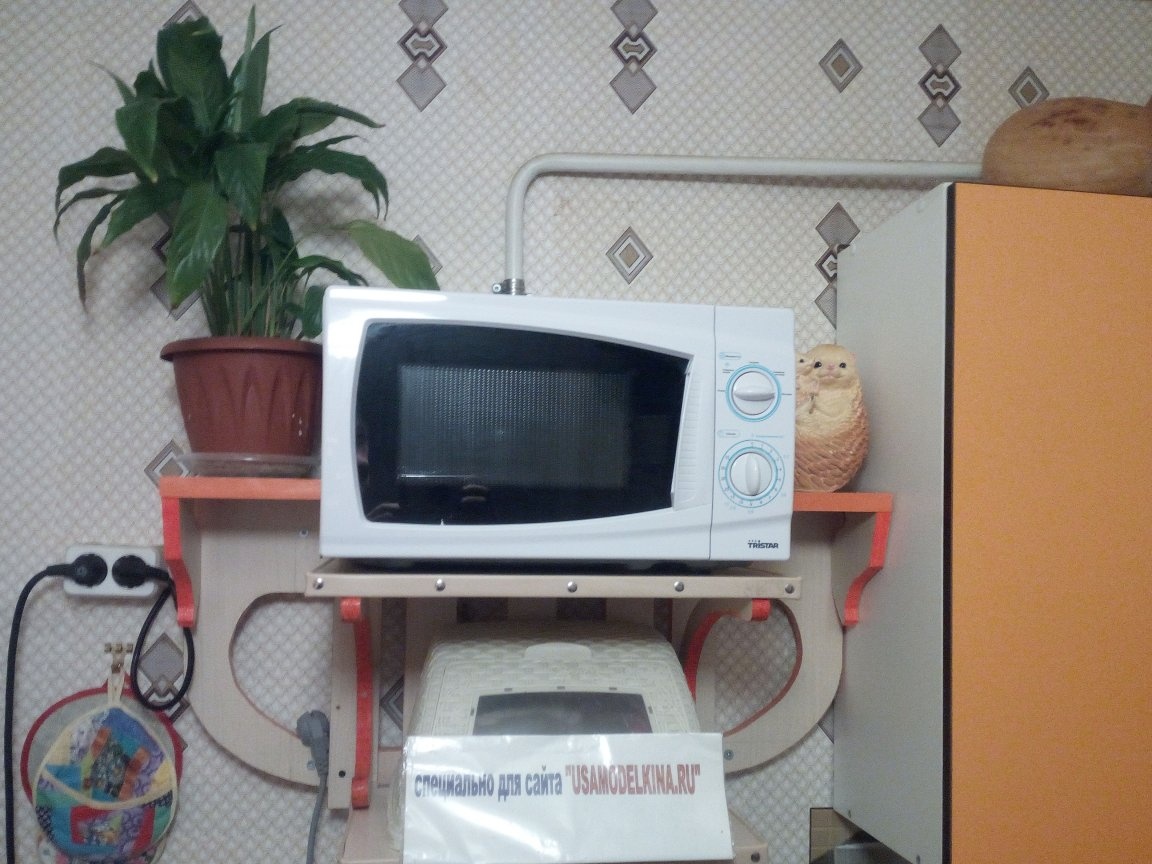
In the end, this product turned out here:
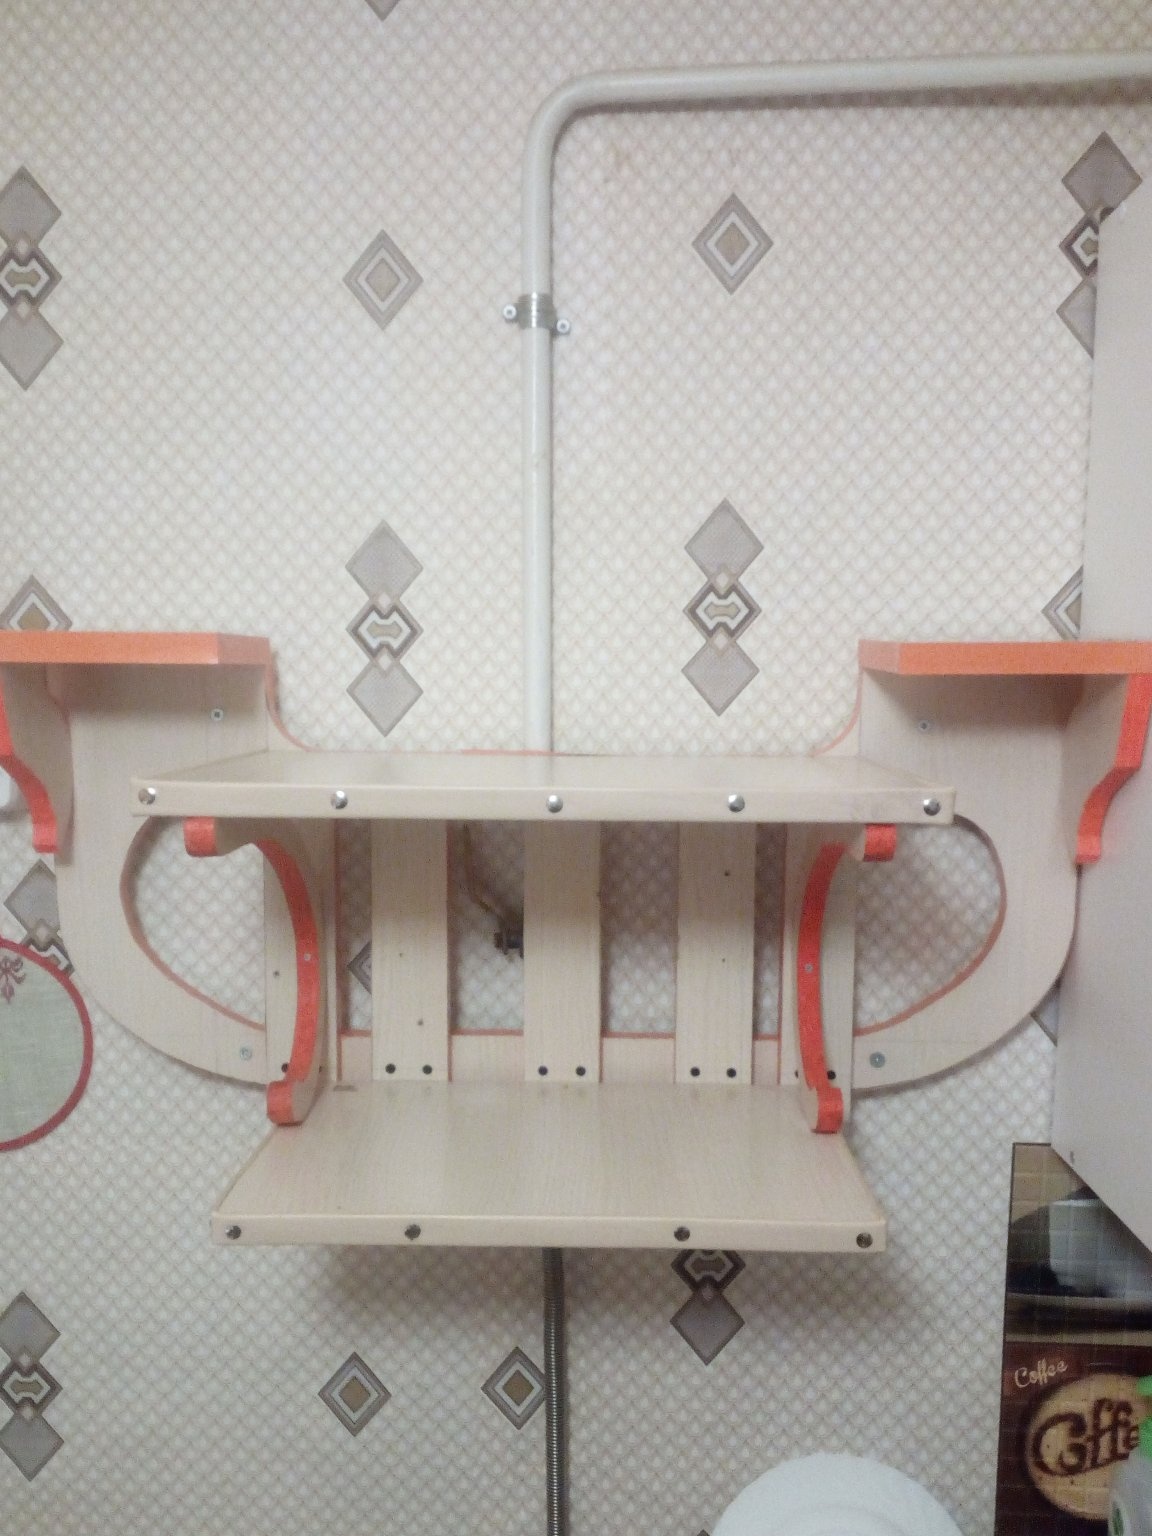

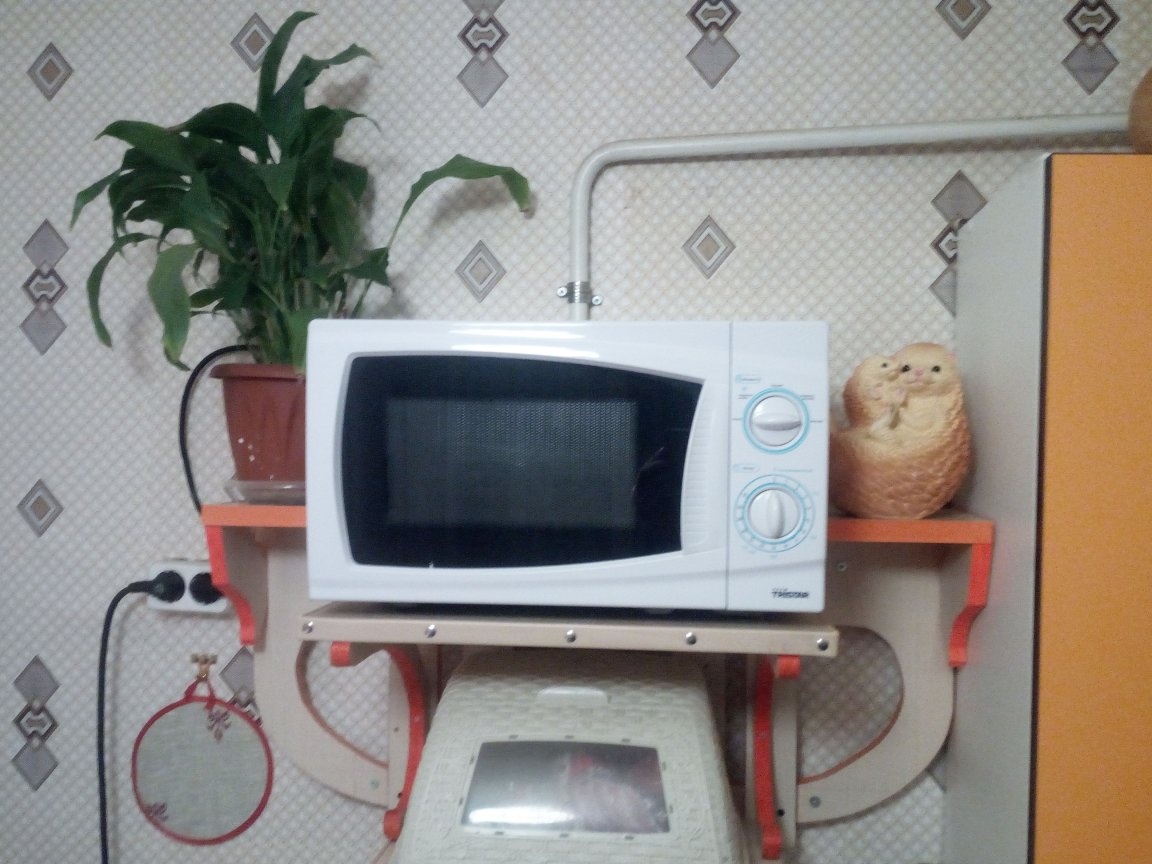
It remains to insert decorative caps into the caps of the screws and then the look will be much better.
The wife was satisfied. Sort of...)))
P.S. I didn’t intentionally bind to sizes, because for each, they will be different, depending on what you want to install on the shelf. If you need dimensions specifically for this particular design - write me an email at www.bgm.imdmyself.com