
Surely many of you often use the manual router, but you can seriously expand its functionality by making it special device.
In this article, Zach, the author of the YouTube channel Workshop Edits, will tell you how to make a slide carriage for this common tool, which allows you to align surfaces of a sufficiently large area.
This home-made fixture is quite simple to manufacture with a circular saw, and if one is not available, then all the elements can be ordered at any furniture factory.
Materials
- Sheet MDF
- Wood screws
Instruments, used by the author.
— Manual frezer
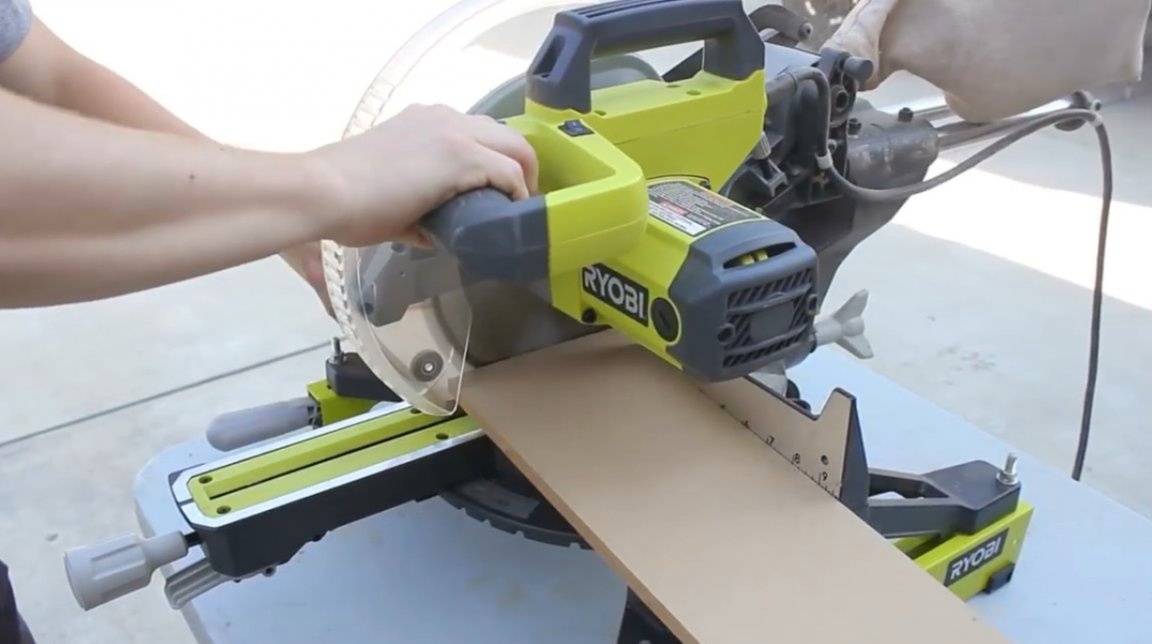
— A circular saw
— Miter saw
— Clamps
— Screwdriver, drill
— Svenson Square
- Roulette, pencil, ruler.
Manufacturing process.
Reflecting on the size of the sled, Zack tries to adapt them as much as possible to his needs. In particular, the author never has to align the surface with a milling cutter more than 60 cm wide. This means that the width of the slide will be approximately the same.
The main dimensions of the parts that will need to be cut to the author are provided in the drawing.
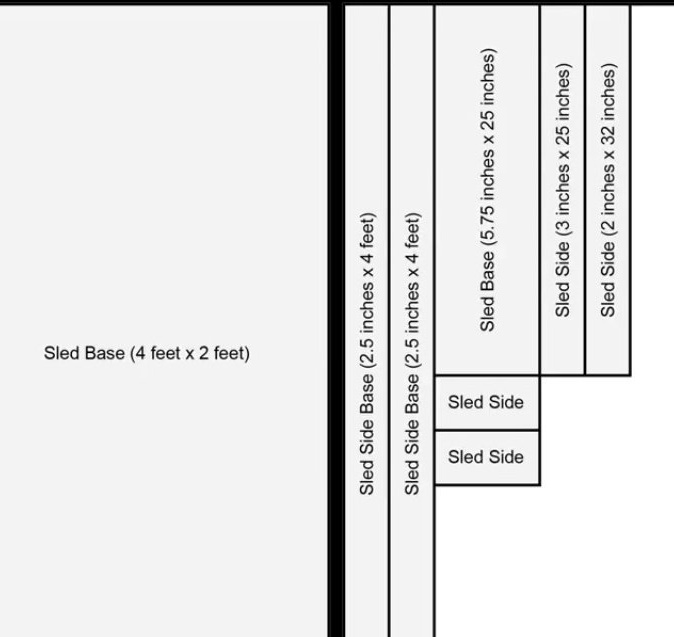
If you use MDF panels of exactly this size - 2x4 feet (30X60 cm), then the base of the slide will already be the right size.
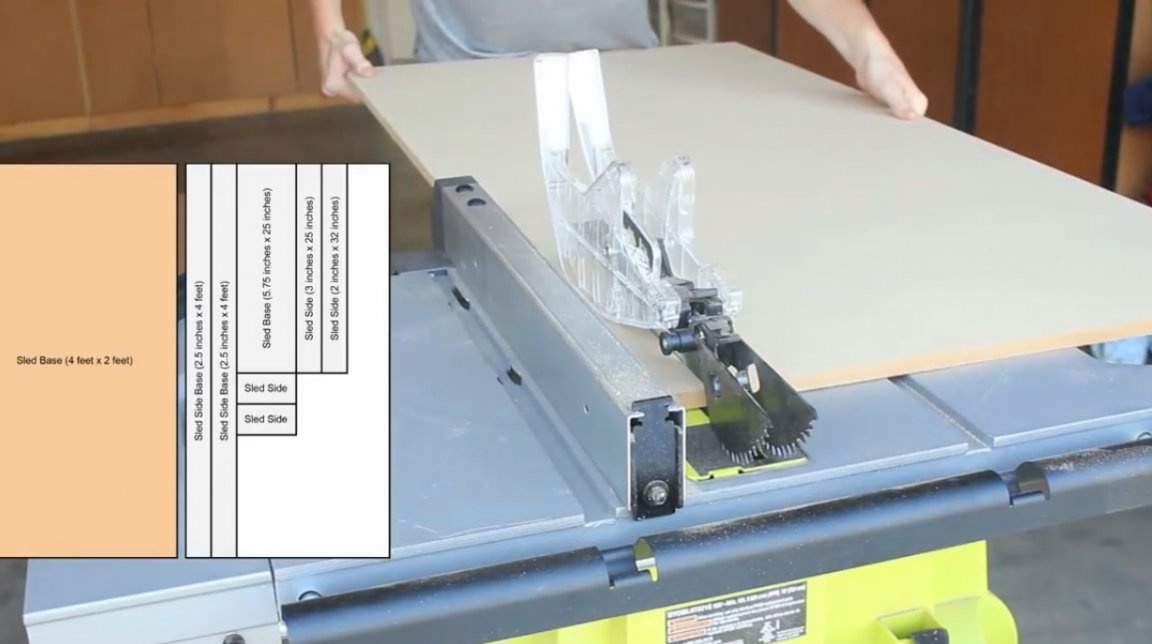
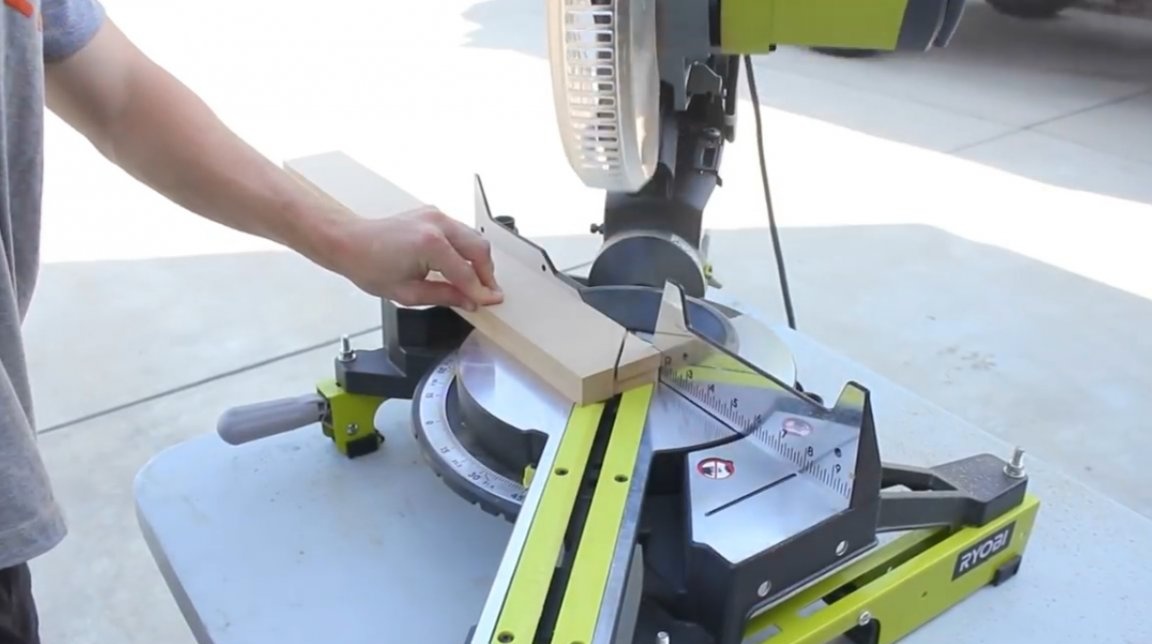
From the second panel of MDF, the author cuts strips 2.5 inches wide. These will be the walls of the sled.
Zack chooses such a width of strips, as he believes that while working on the milling cutter it will be the safest and optimal height of the sides of the slide.

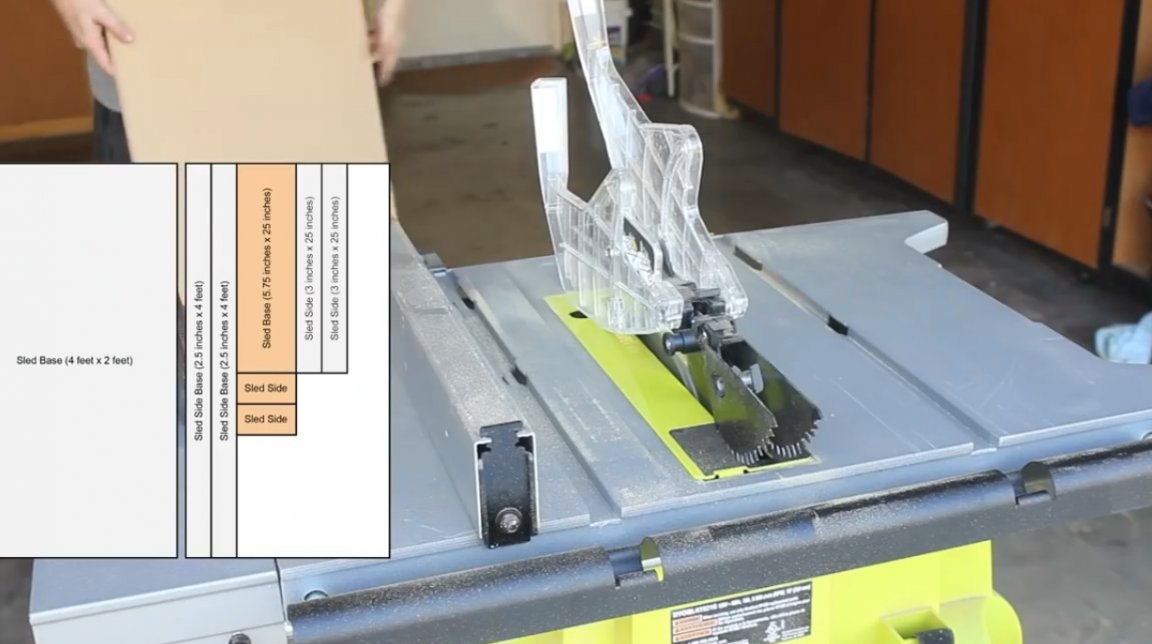
Next, the master proceeds, in fact, to the sled itself. It measures the width of the mill base, which is 5.5 inches, and returns to the circular machine. It cuts another wide strip (5.5 and 1/8 inch) of material. This stock will subsequently give the master additional space for maneuvers when he will work with the router.
And finally, he cuts two strips three inches wide for the sides of the sled. According to the author, such a height of the sides of the slide should fix the milling cutter in one position.

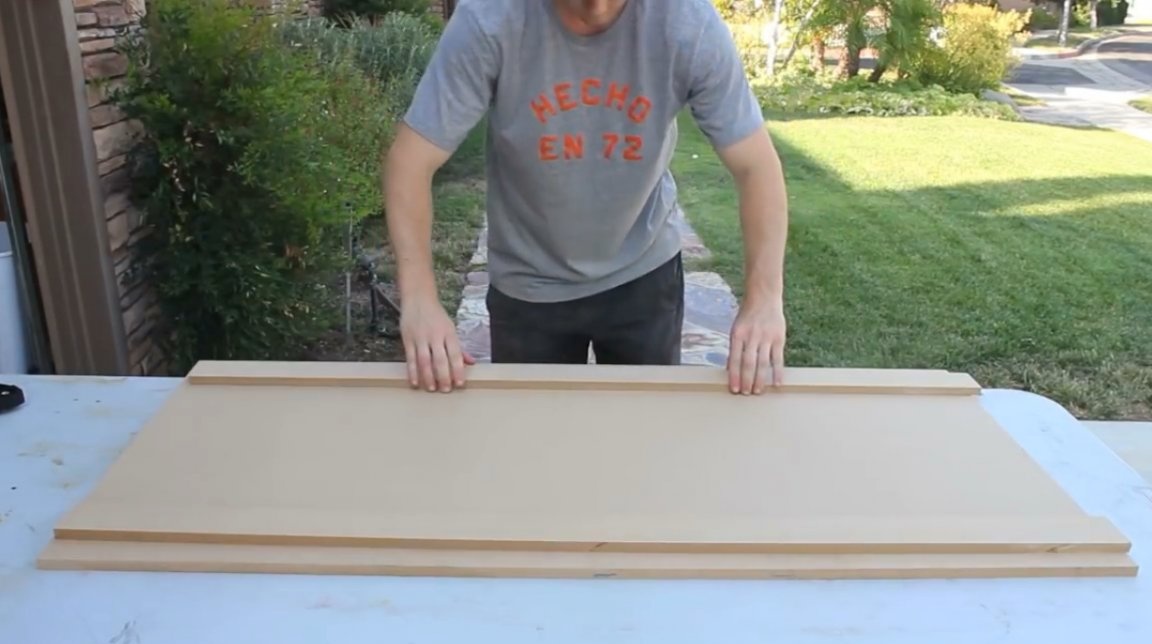
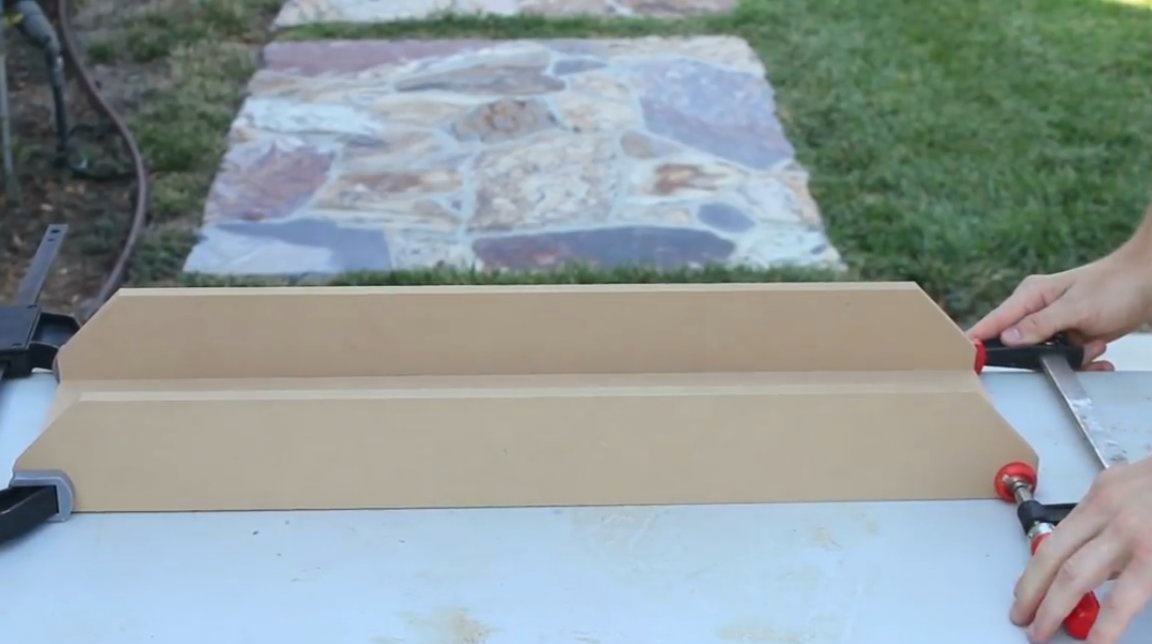
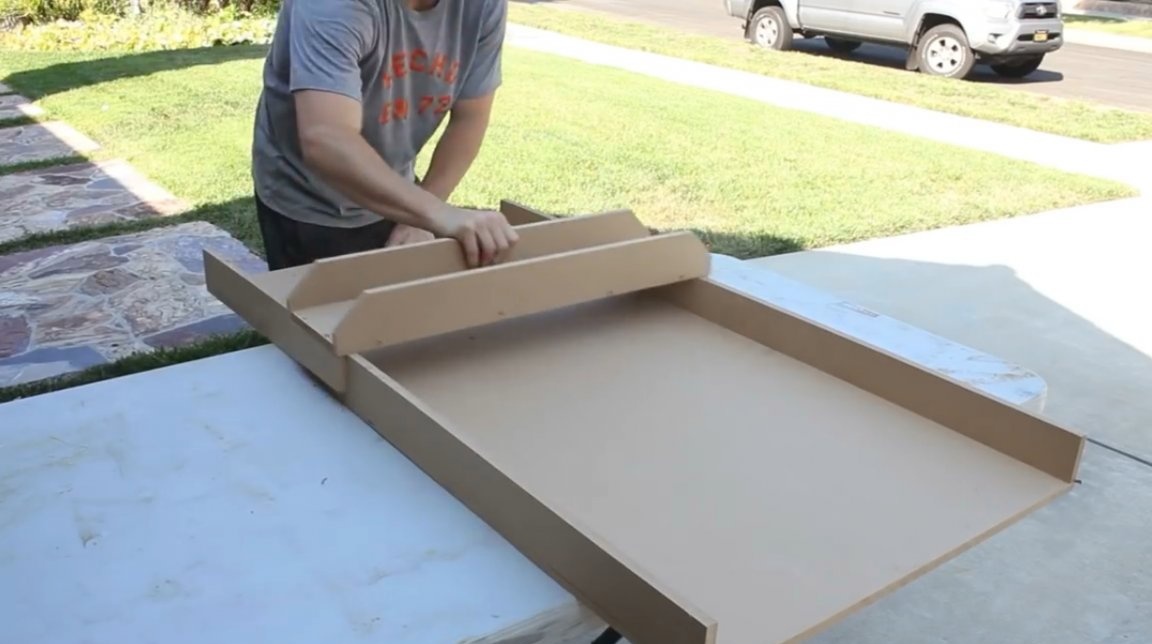
Zack is now starting to mount the base of the slide.
He attracts the side walls with clamps, making sure that all angles are perfectly fitted to each other.
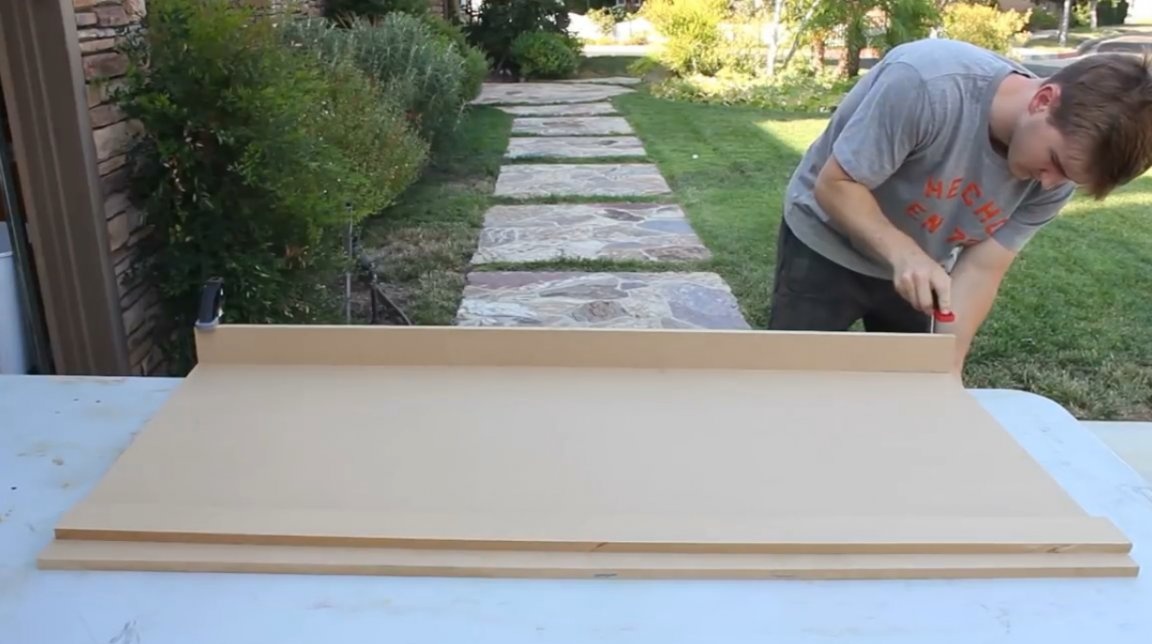
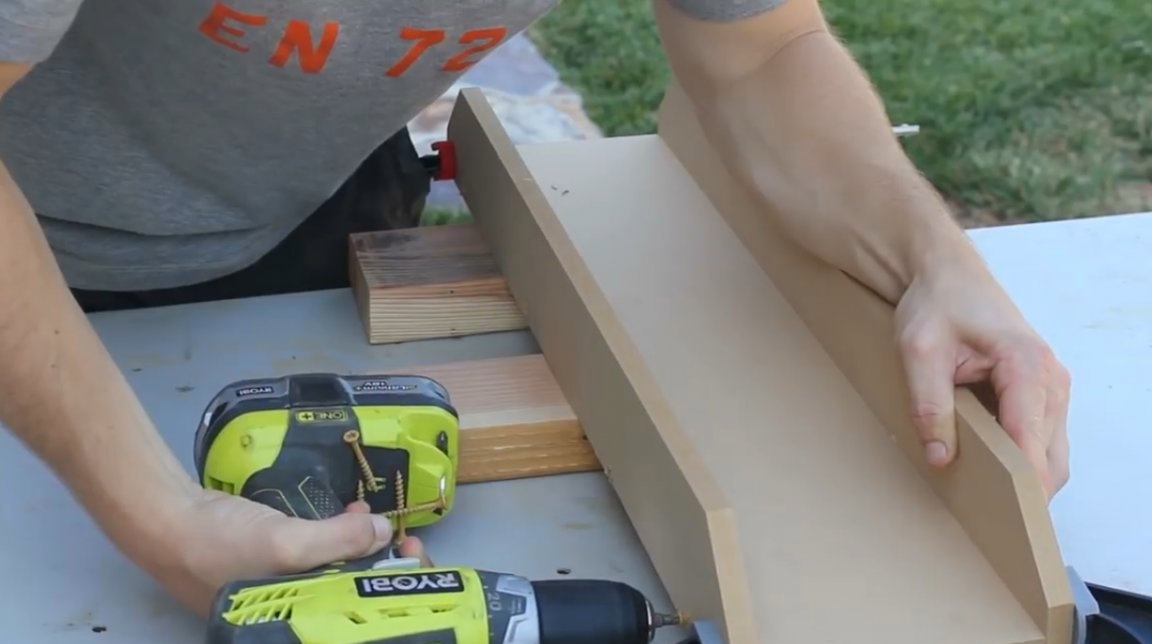
Then he drills the pilot holes for the screws.These are necessary steps, for the reason that MDF is a rather fragile material. After that, the sides are attached to the base with 50 mm wood screws from the bottom.

Then he cuts the panel for the carriage in length. Zak uses MDF trimmings to postpone another 0.5 inches from the intended length on each side (postponed from the outer edge of the rim), since the skids will go slightly beyond the sides of the base. This design feature is needed in order to then install the guides on the outside.

Then, from the same panel from which the base of the slide was made, the master cuts out the side walls of the carriage. They have the same length - 25 inches. The result is two parts, two inches wide each. These will be the slide rails.
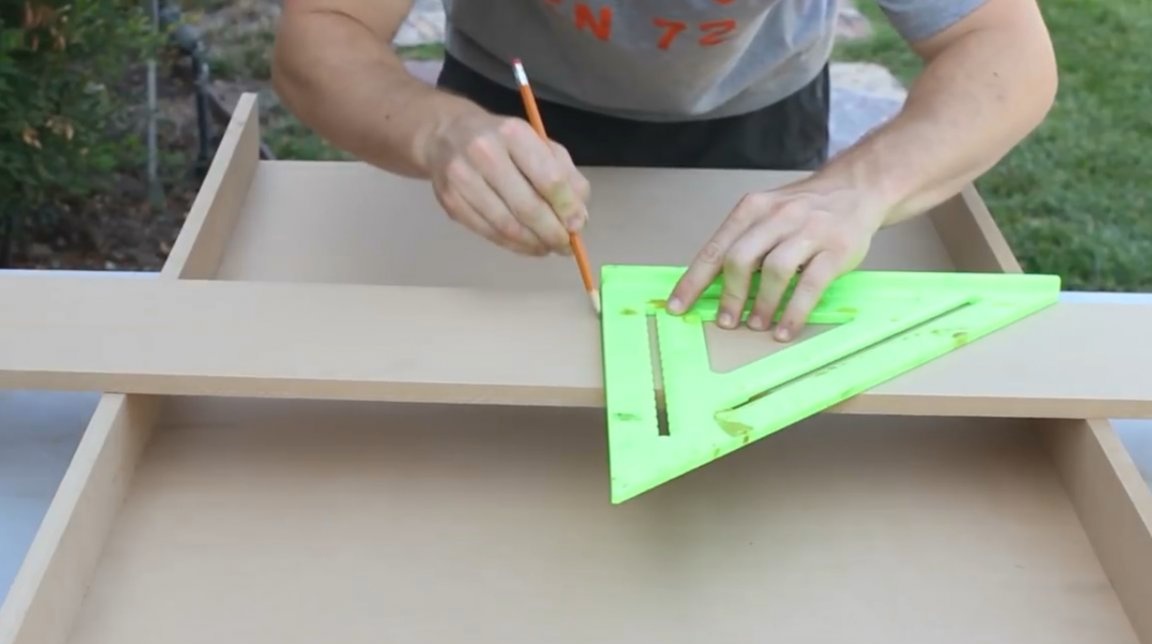
With an exclusively aesthetic purpose, the author cuts off the edges of the walls of the device at an angle of 45 degrees.
The result is just such a set of parts for the carriage. All sharp edges after cuts are ground with fine sandpaper.

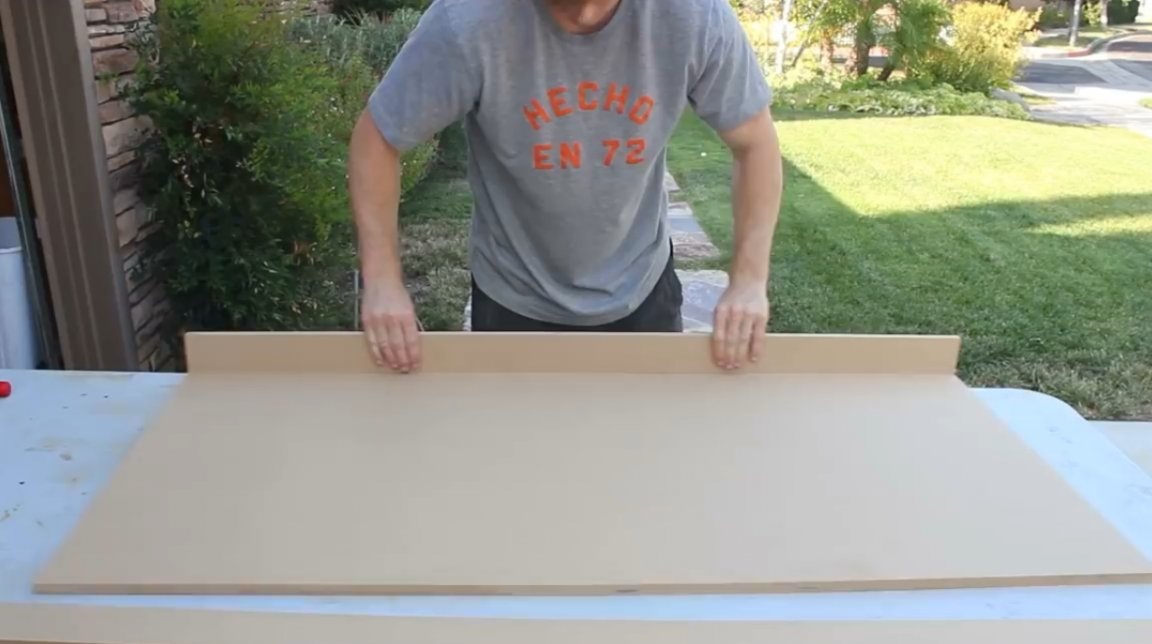
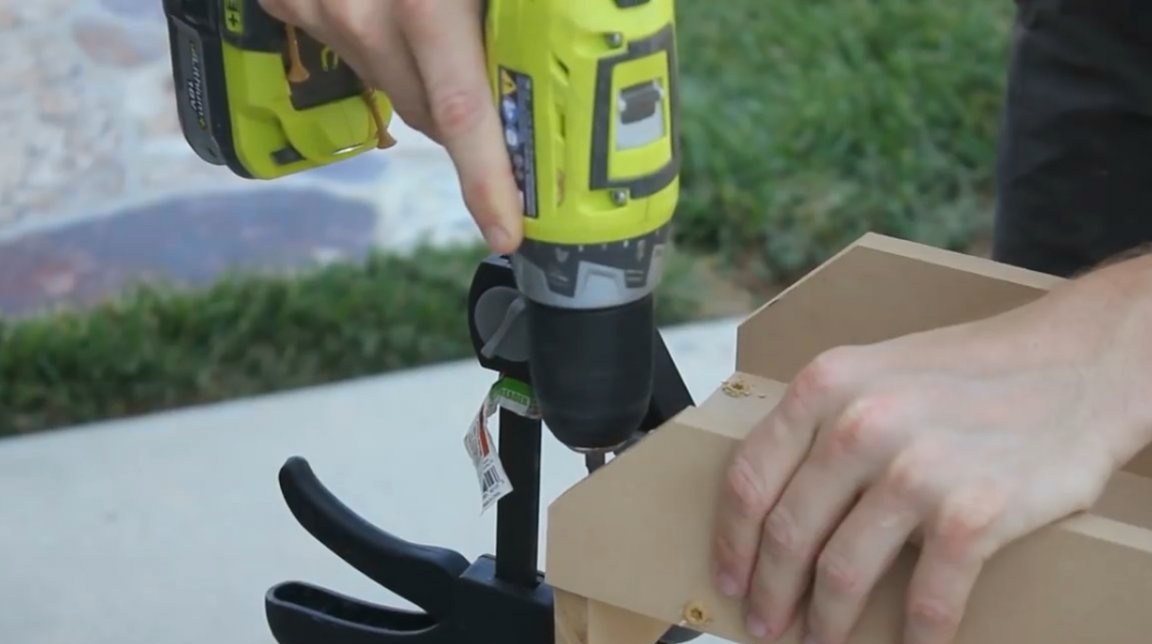
The assembly of the carriage itself proceeds according to the same algorithm as the assembly of their base: again fixing the sides with clamps, drilling pilot holes, fixing them together with self-tapping screws.

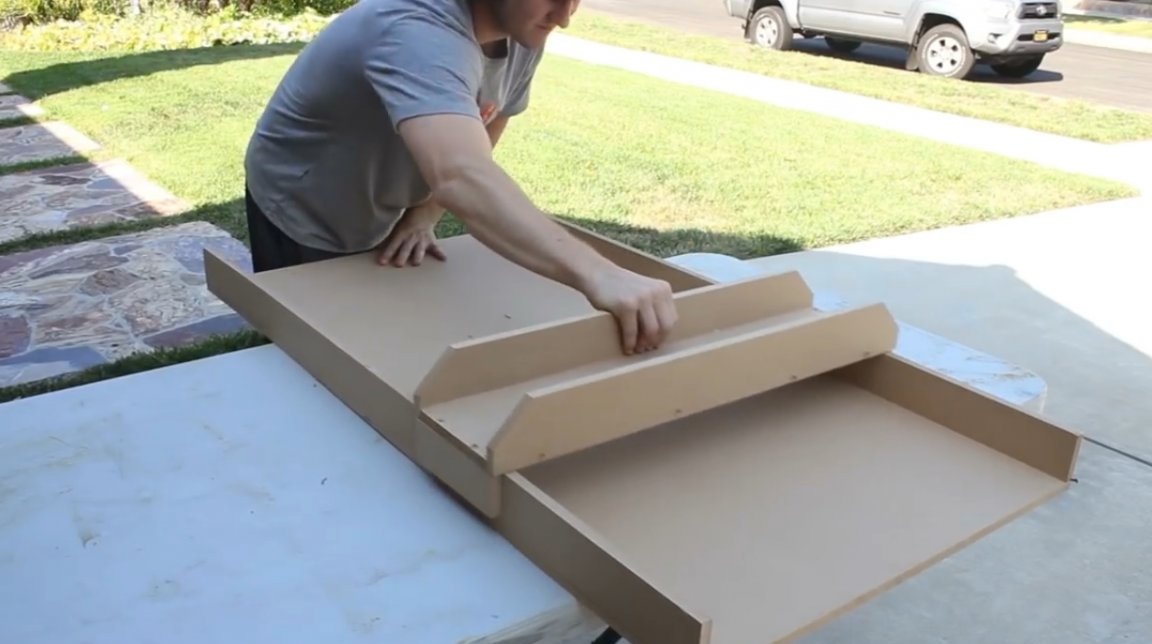
The author attaches the guides to the outer sides of the carriage (not everything works on the first try).

Actually, both parts of the structure are ready, and the carriage moves freely enough along the base. Due to the lack of bearings, rubbing surfaces should be lubricated with either ordinary laundry soap or paraffin.

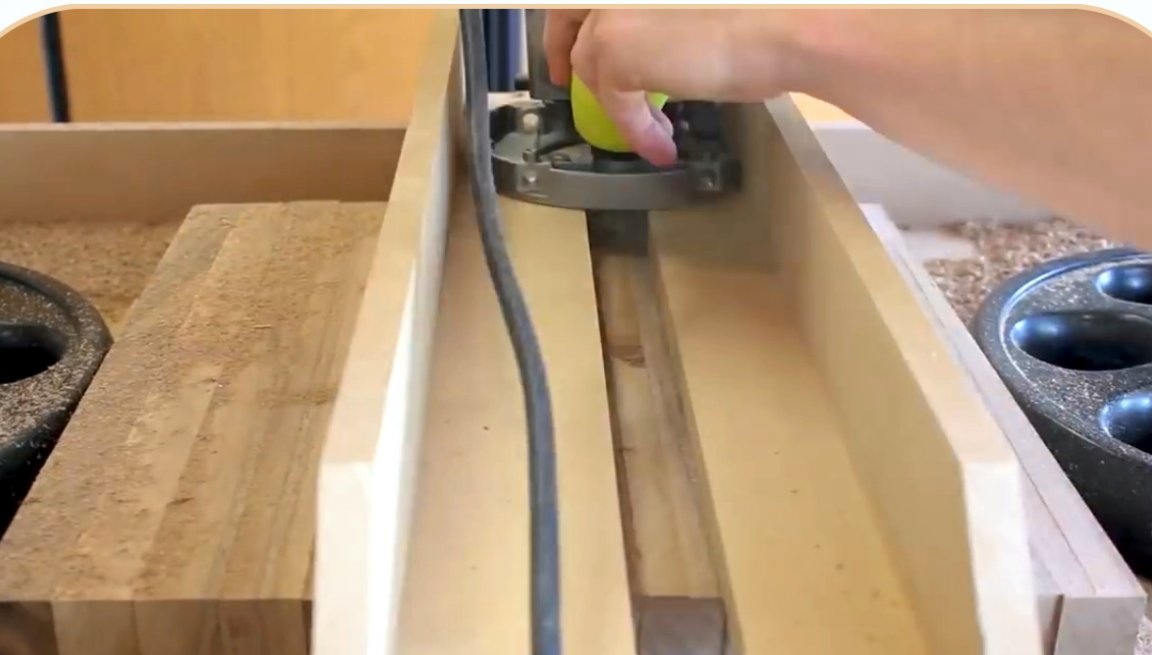
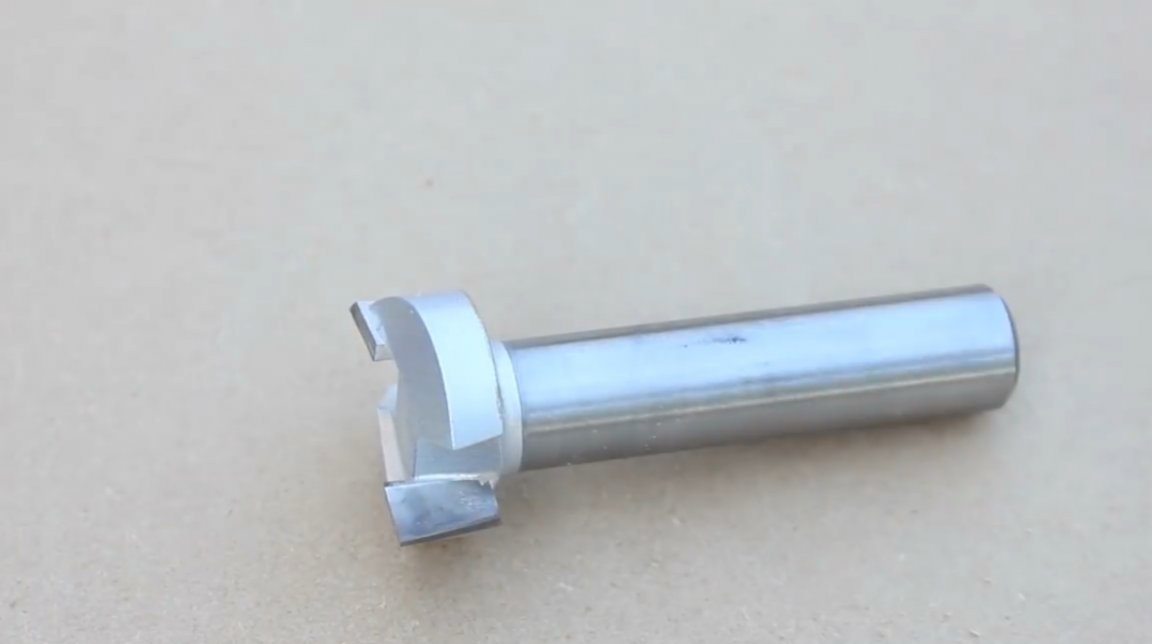
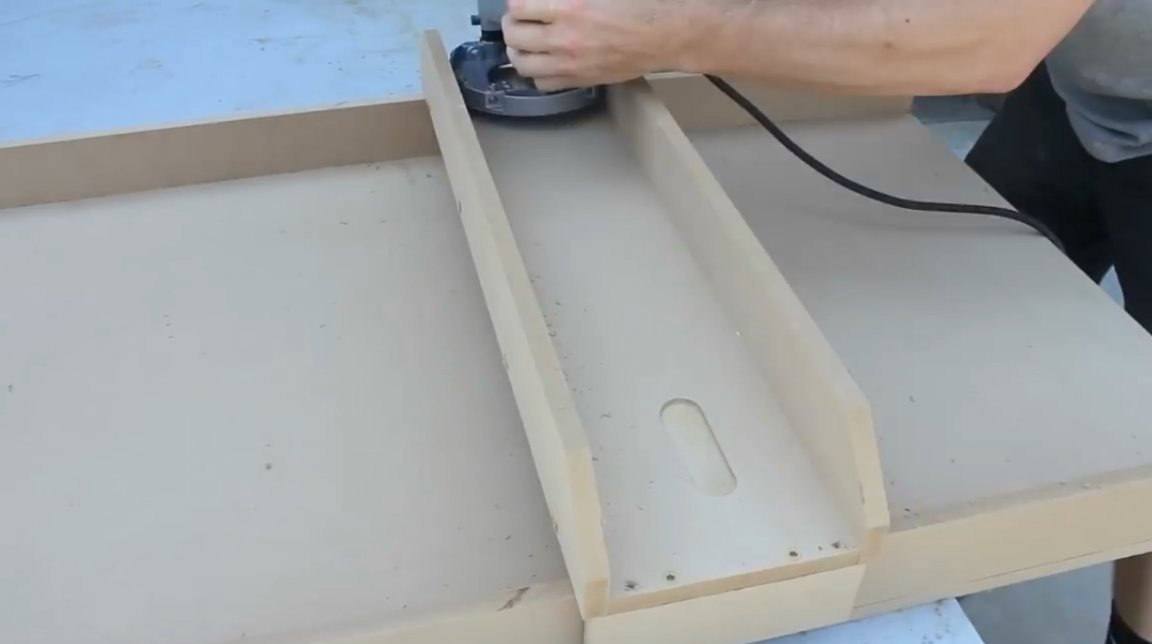
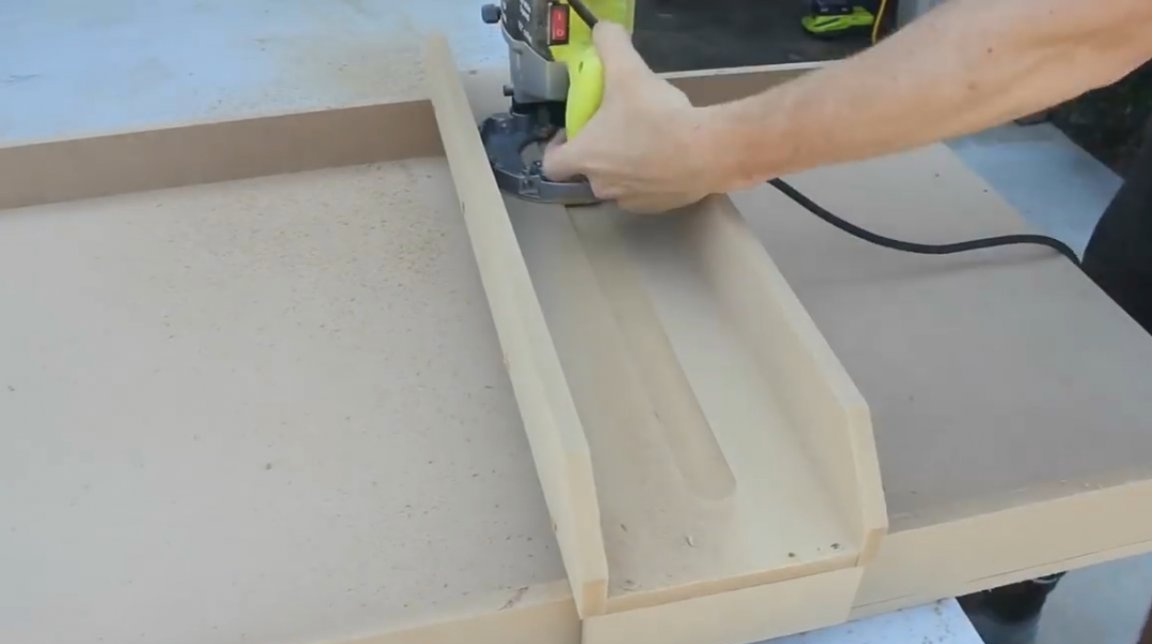
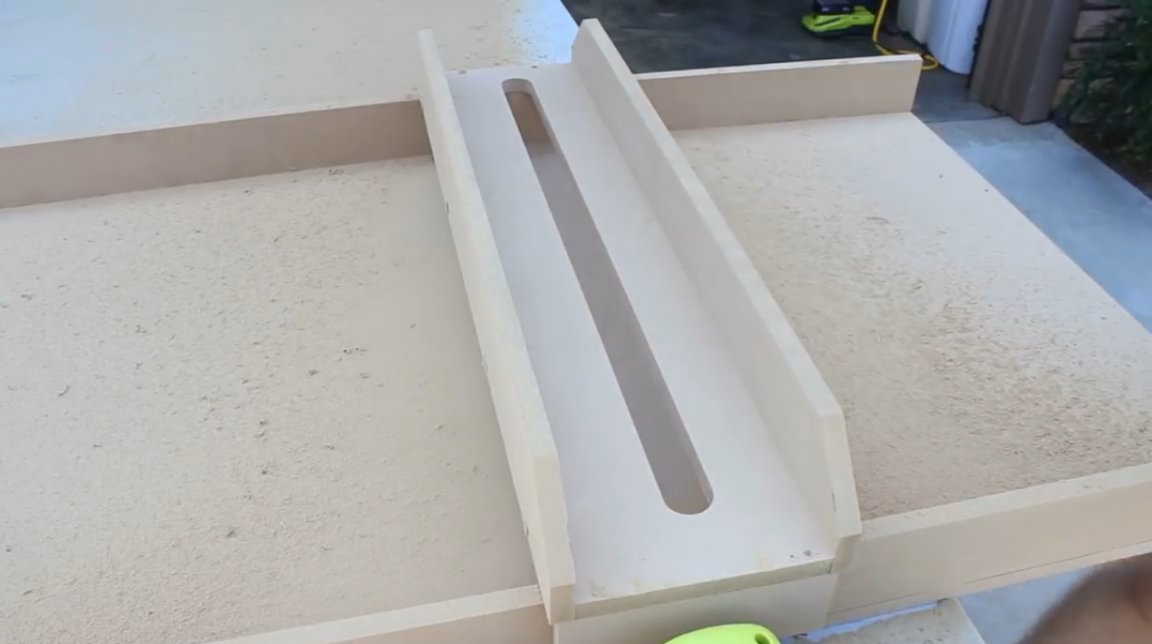
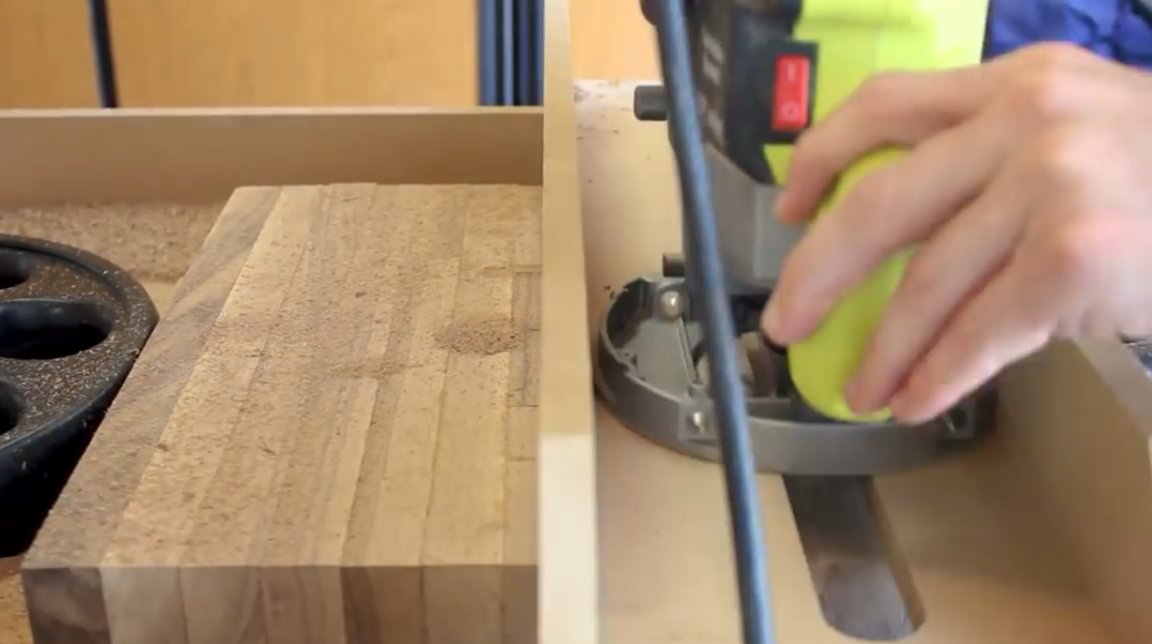
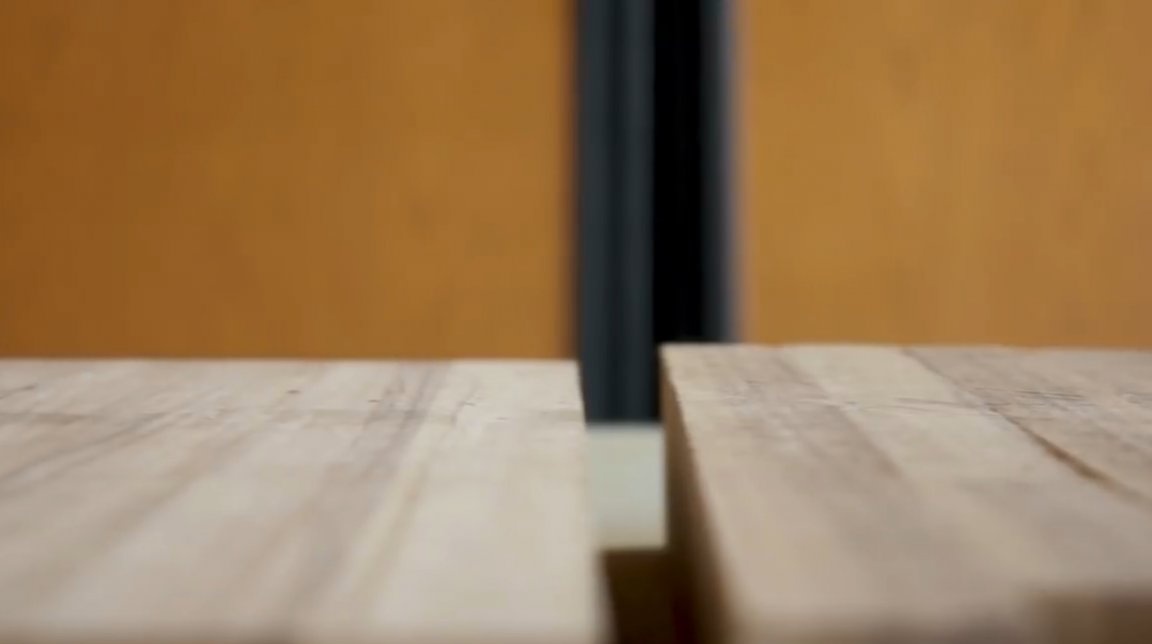
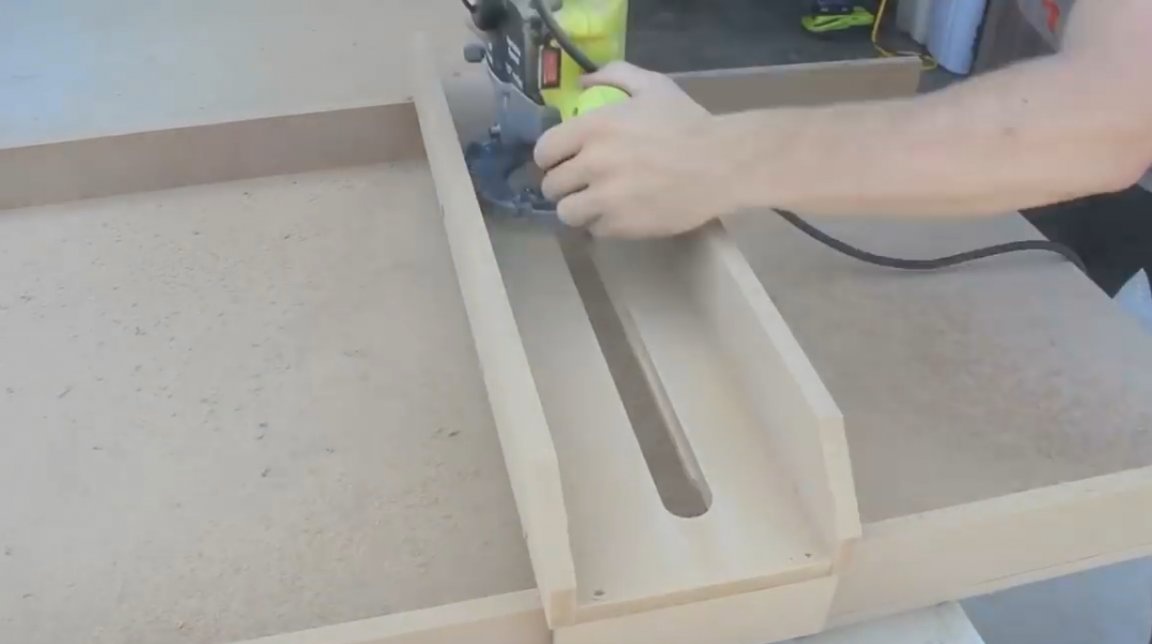
At the final stage, the master mills the groove in the slide. To do this, he uses an inch mill. Everything turned out to be quite simple: the master made several passes, each time increasing the overhang of the cutter by a small amount, so that as a result a neat cut with rounded edges, which were additionally processed with sandpaper, was obtained.
Through this slot in the slide, the author will work the cutter on the surface of the material that is located below. This method of processing will resemble parquet hitching.

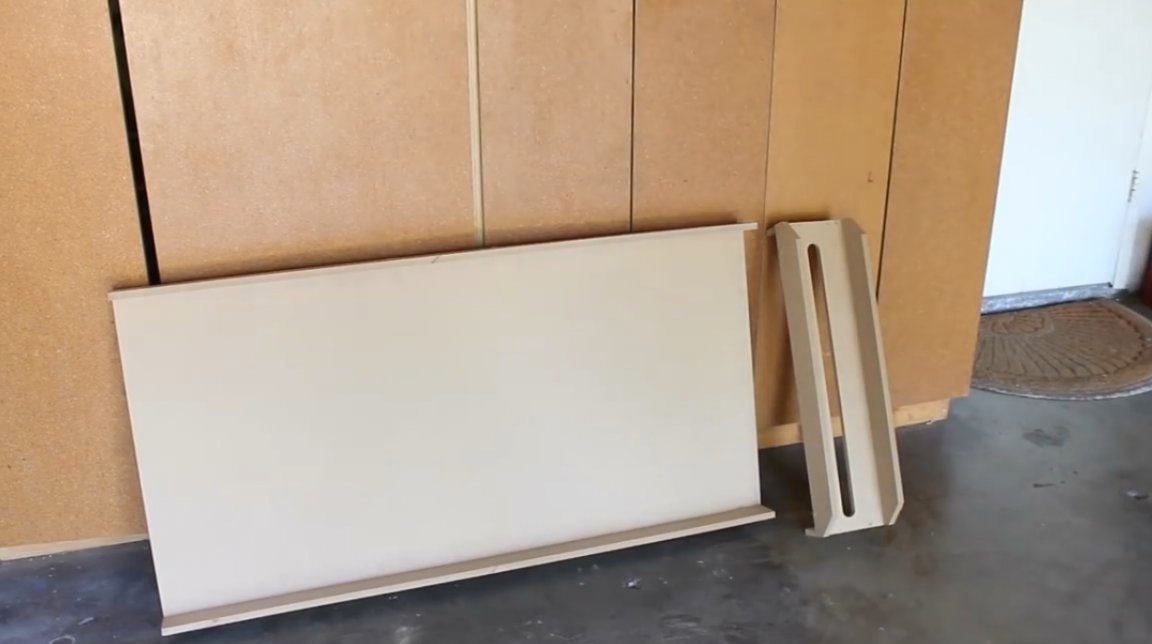
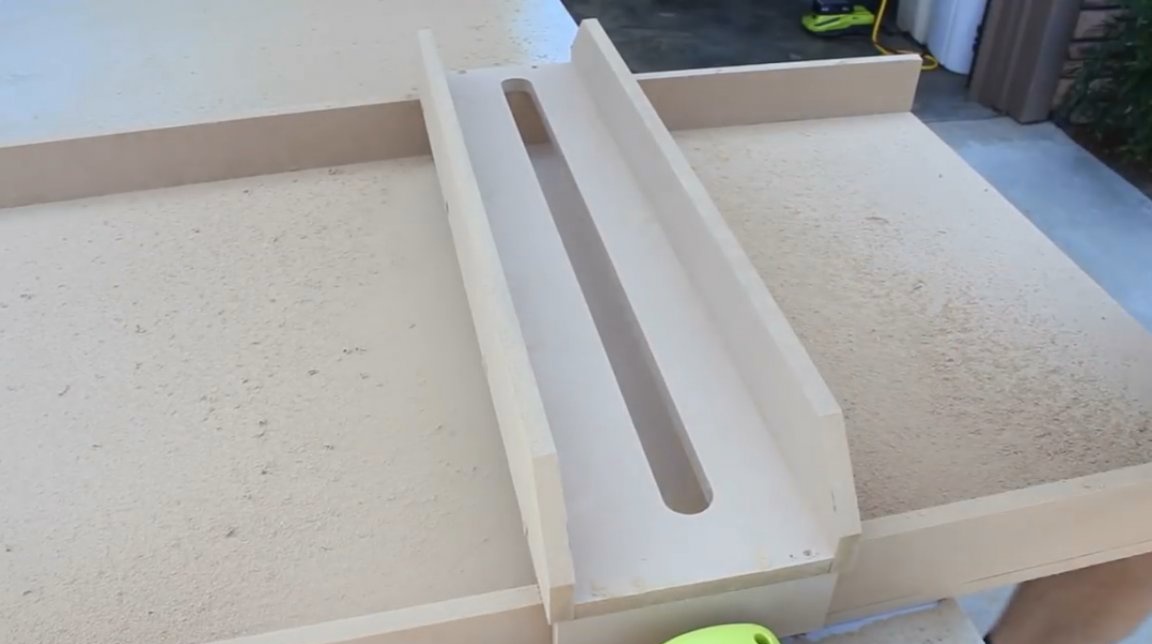
And here are both finished parts of the device.
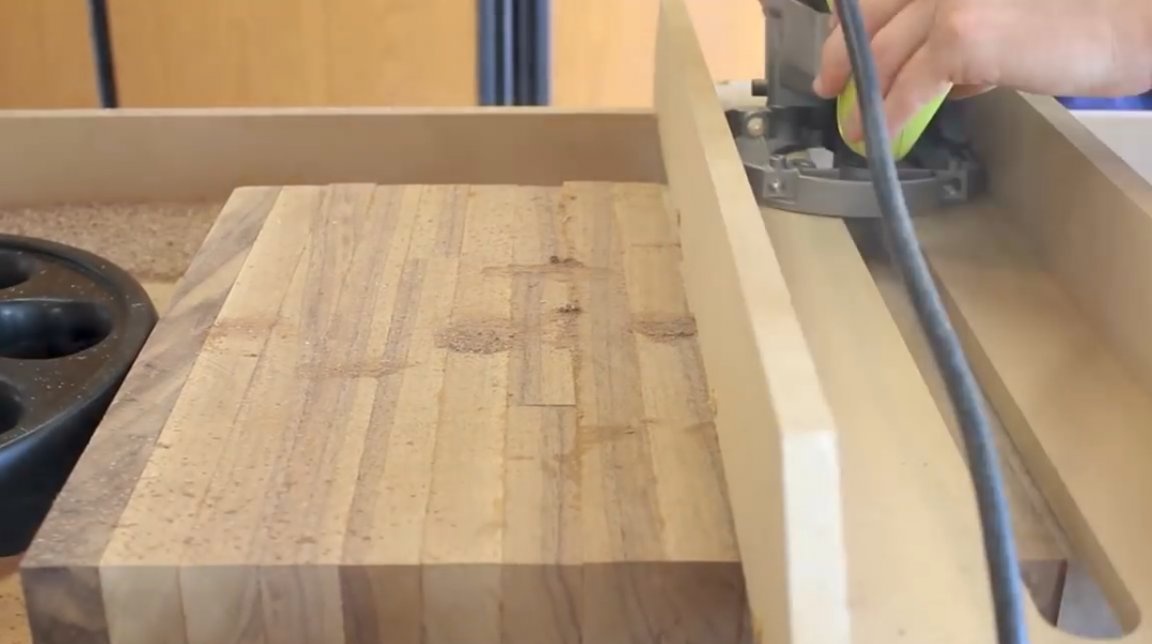
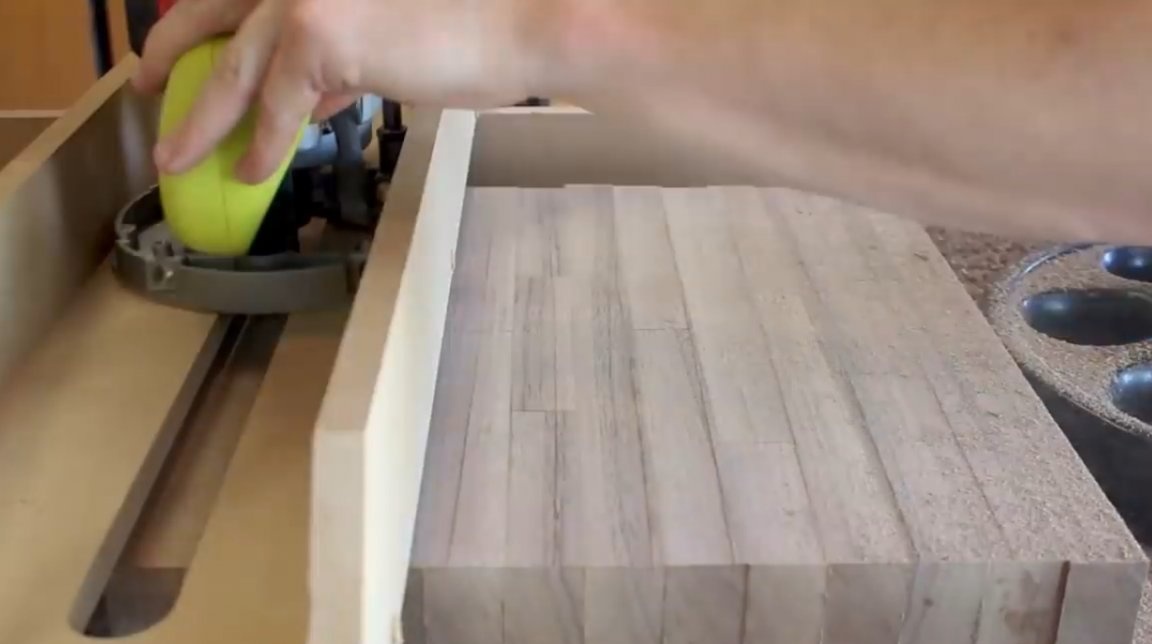
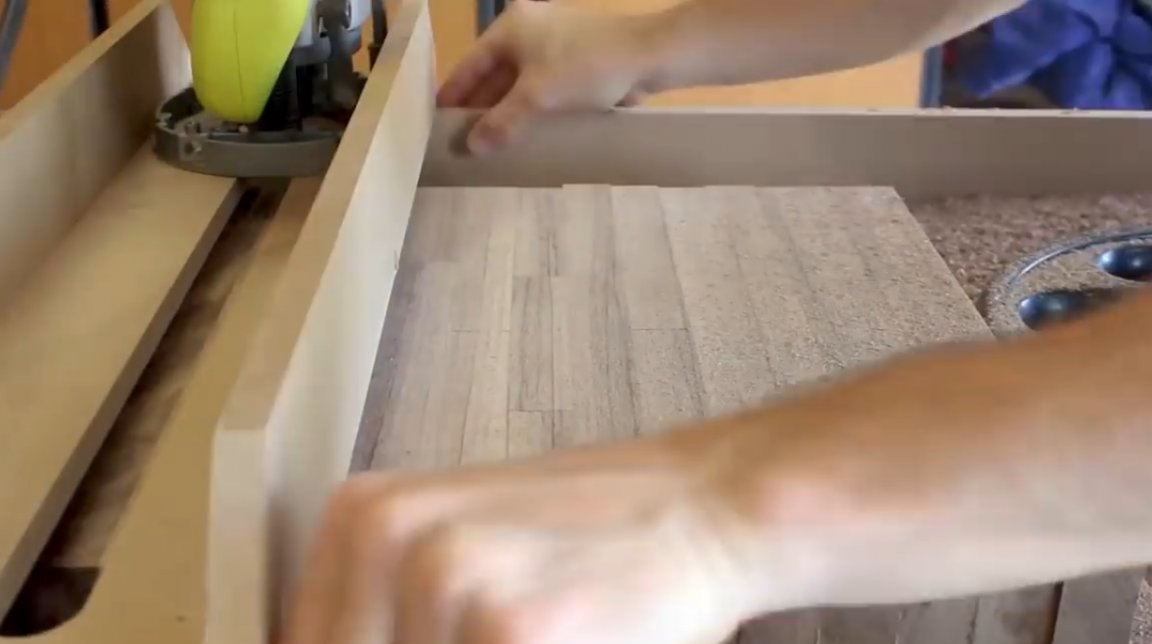
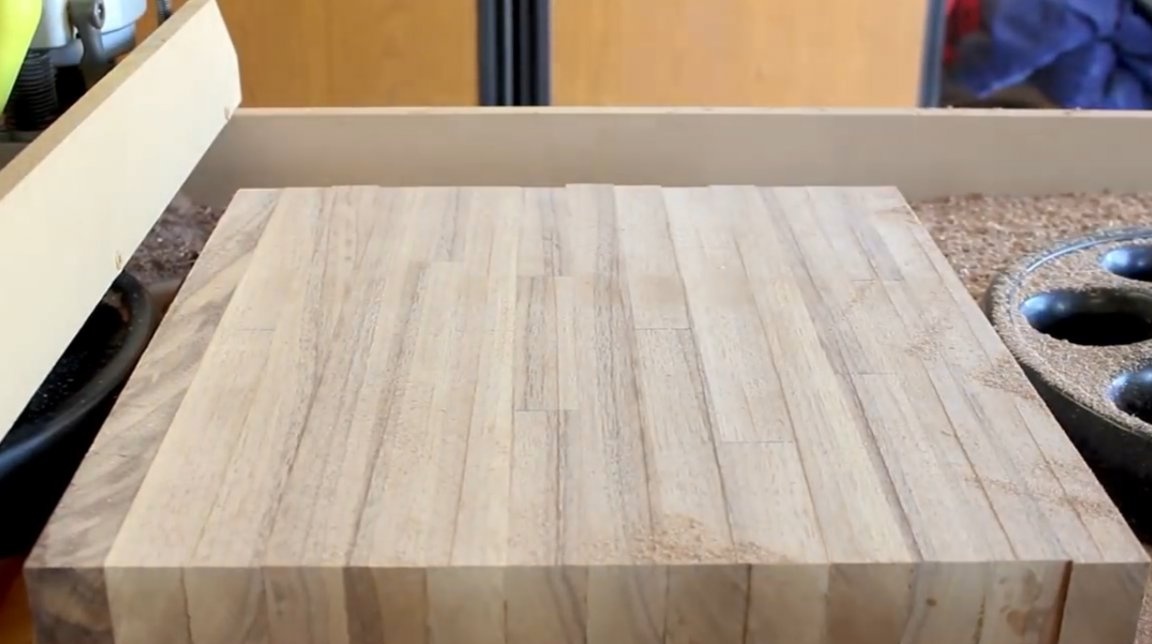
Now trial processing and alignment of a conventional composite wooden board. To improve the sliding of the milling cutter along the carriage, silicone automotive grease should already be used. It is also recommended to use laminated MDF or particleboard, they have a stronger and smoother surface, and will last you much longer.

I thank the author for a simple but useful tool for a carpentry workshop!
All good mood, good luck, and interesting ideas!
Author video can be found here.