How I wanted to make my office, where you can not only work, but also relax. My wife offered to buy some cabinets and a sofa (I already had a computer desk). But I replied that we won’t find cabinets of the required size (I wanted to do everything locally), and decided to make a multifunctional book wall myself from pine furniture panels (it’s more difficult to work than with chipboard, but it’s environmentally friendly). It took all-pro-all more than 3 months, and about 40,000 rubles were spent.
They pulled out of the room where the study was supposed to be furniture. After that, accurately (using the rangefinder, which I was given for a while) measured the entire room, especially carefully the wall where the main cabinet was supposed to be located.
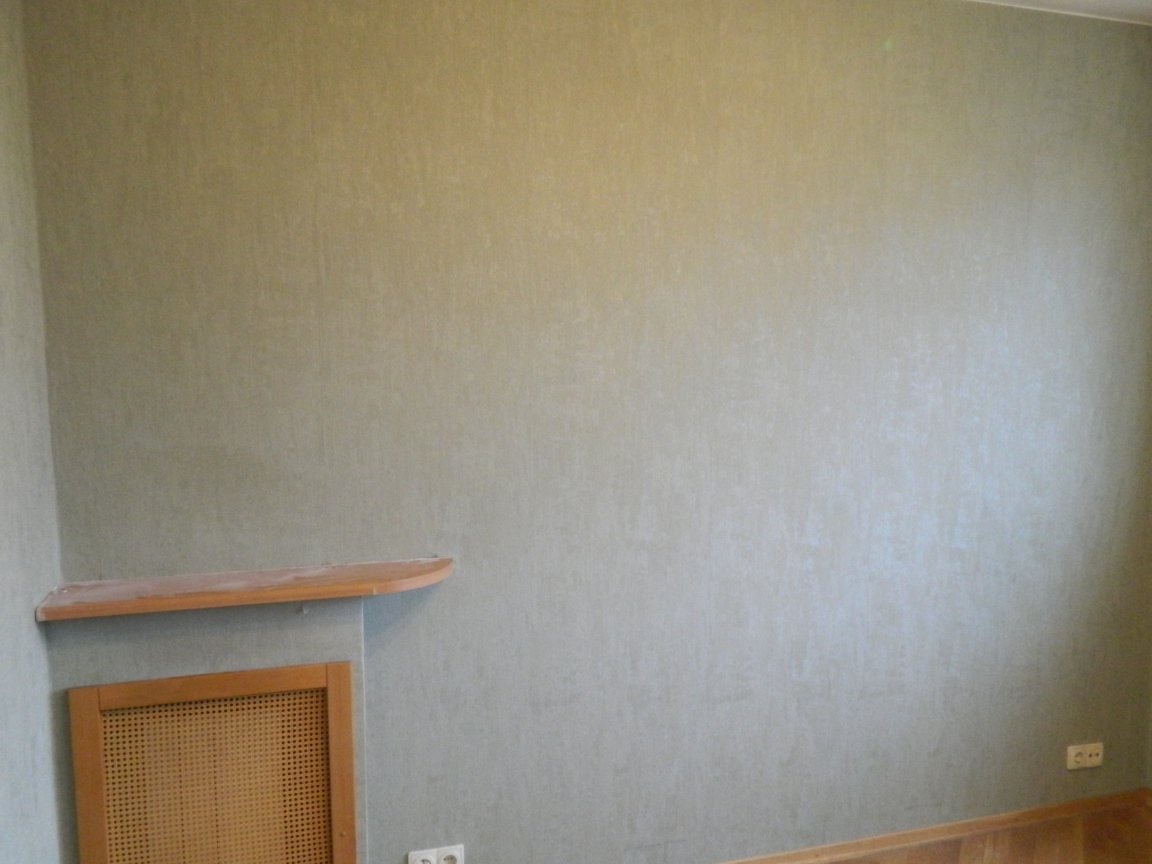
The shelf only interfered with the battery, and I decided to remove it.

The obtained data formed the basis of the drawings of the book wall, which was located almost to the ceiling and consisted of 5 sections - the podium and the upper sections, which are attached to the podium during the finish installation.
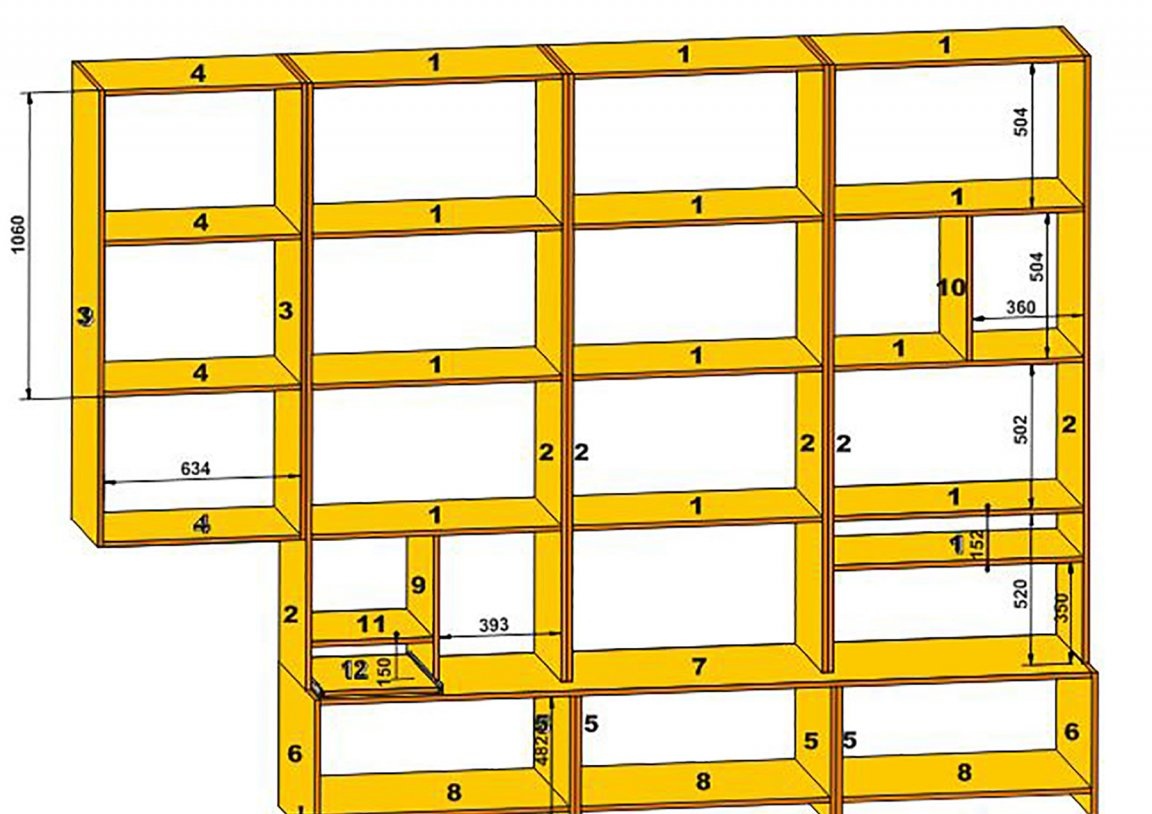
The depth of the podium - 400 mm, sections - 300 mm. In addition to compartments for books, in the wall were provided compartments for a TV, speakers from the audio center, and actually under the equipment itself. On the perpendicular wall opposite the window are three interconnected shelves.
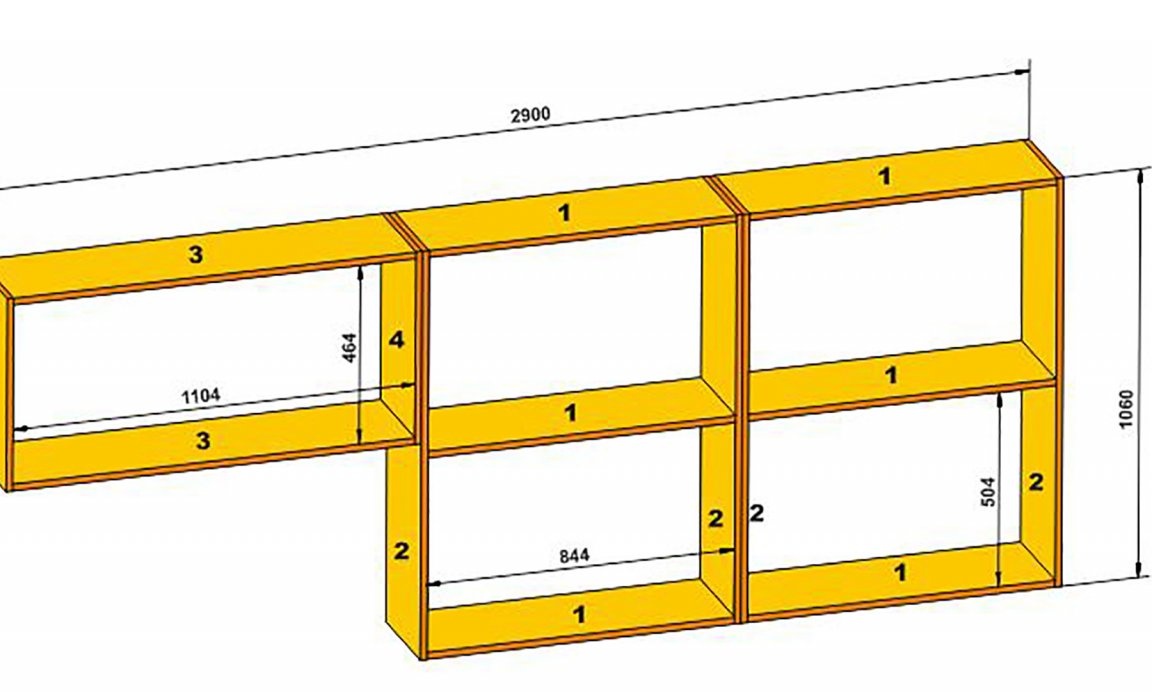
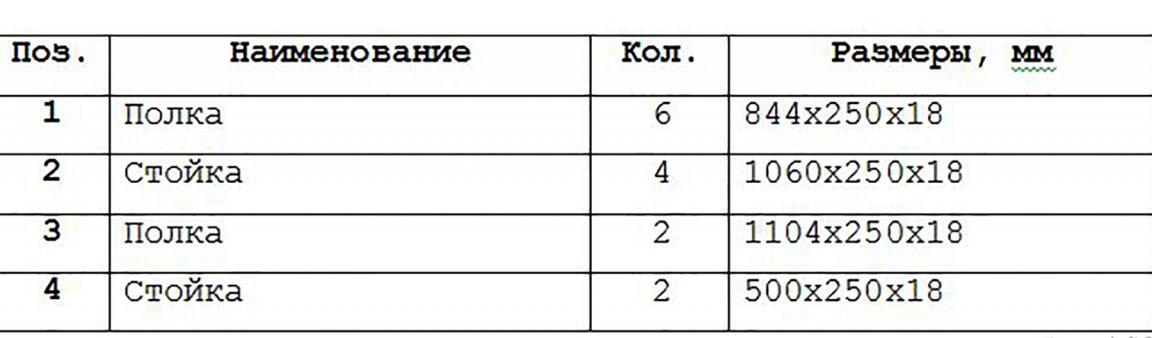
All dimensions of parts are given in tables 1 and 2 respectively.
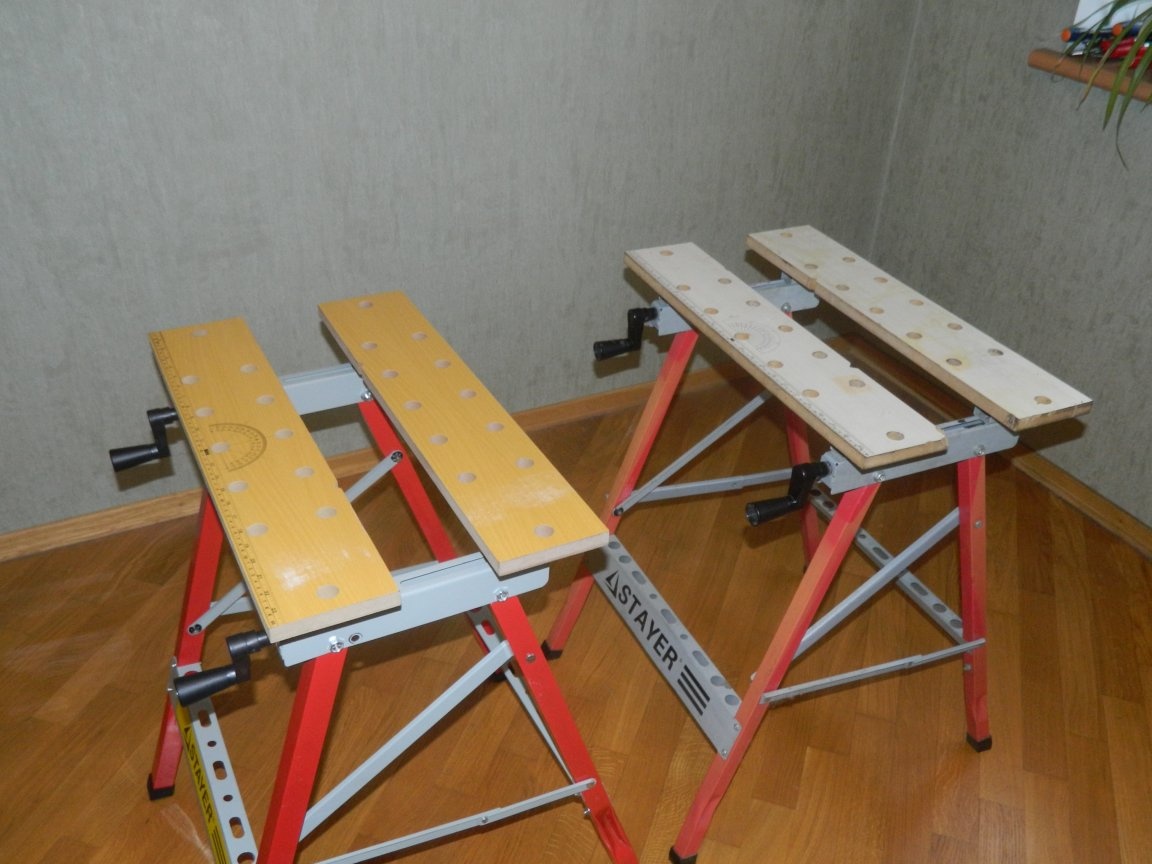
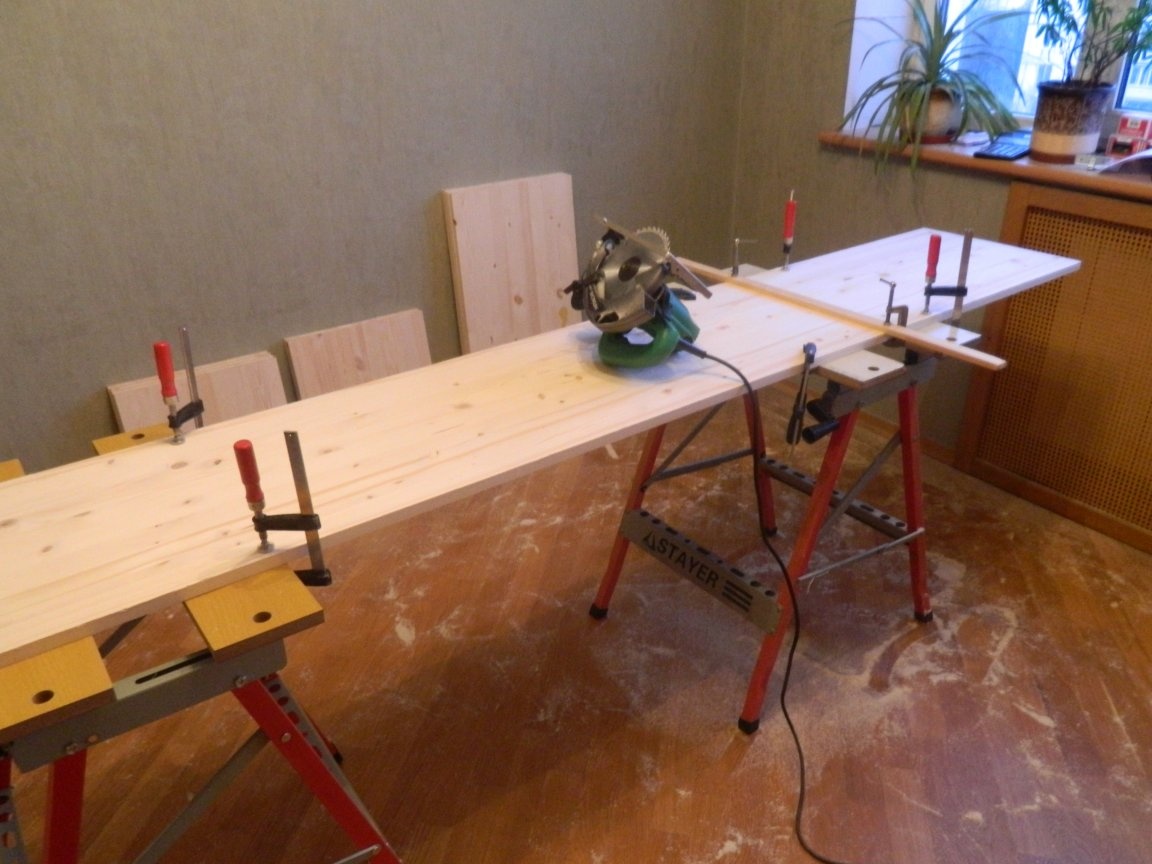
Bearing in mind that I have to work with long furniture panels, I bought another of the same workbench as I had.
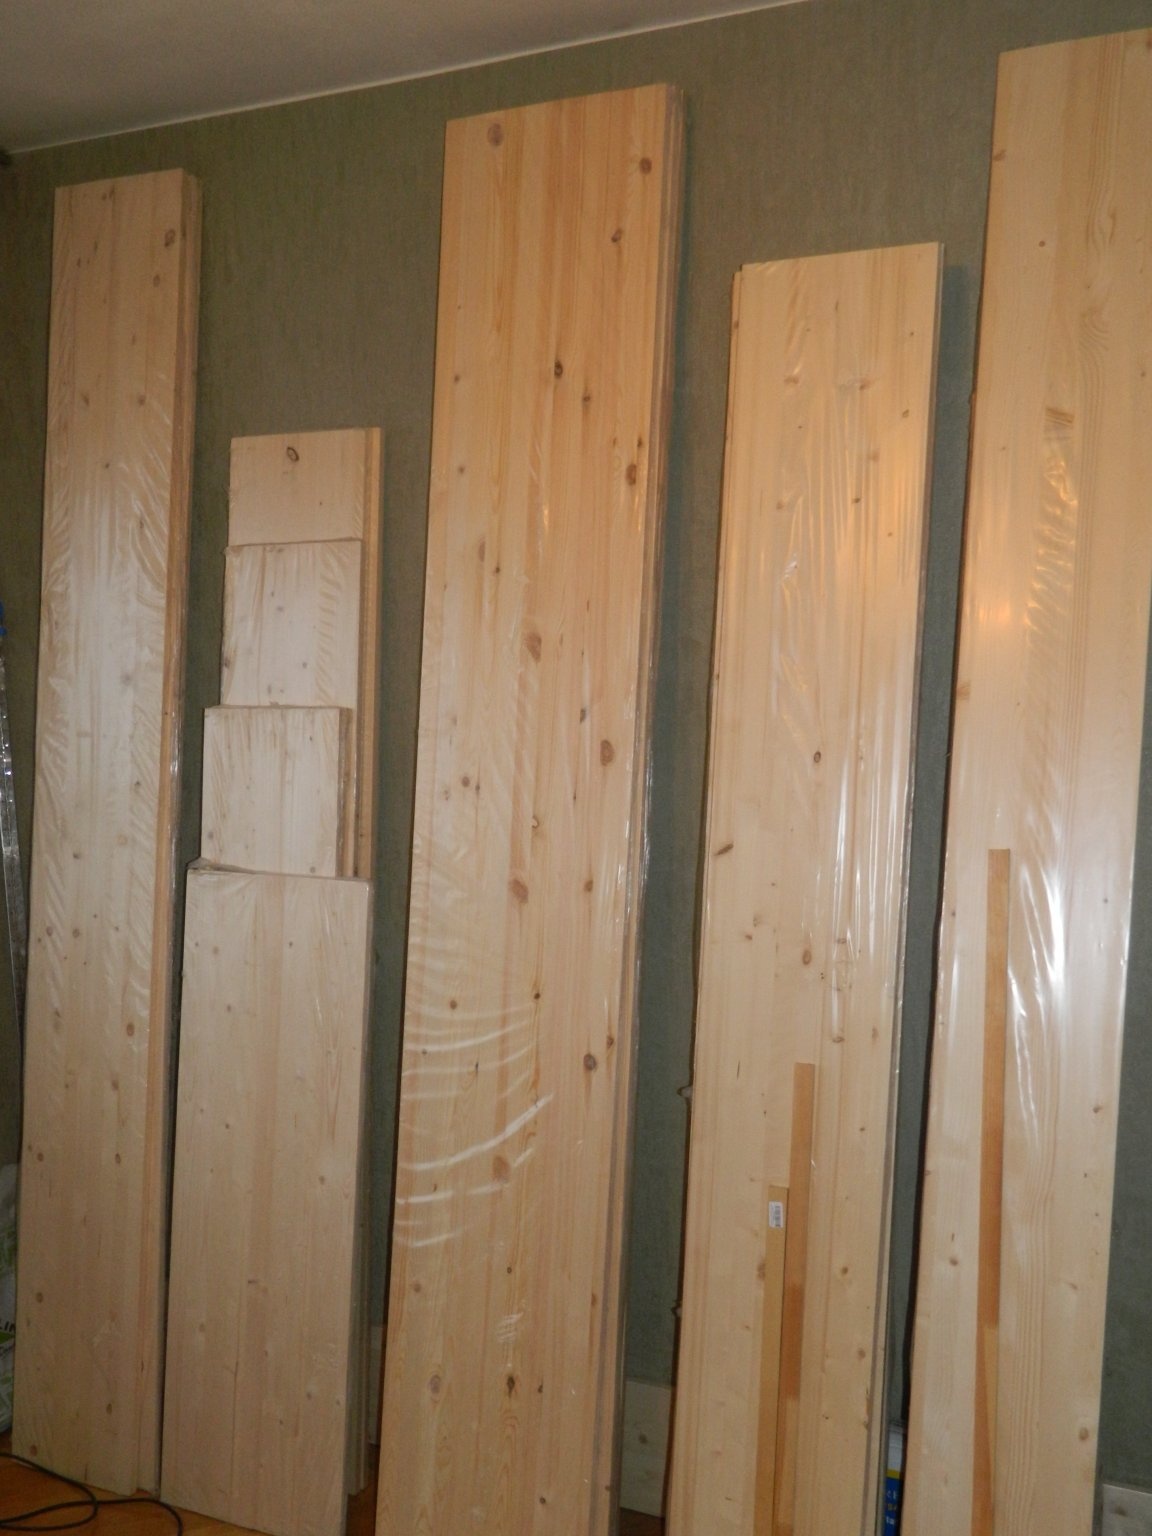
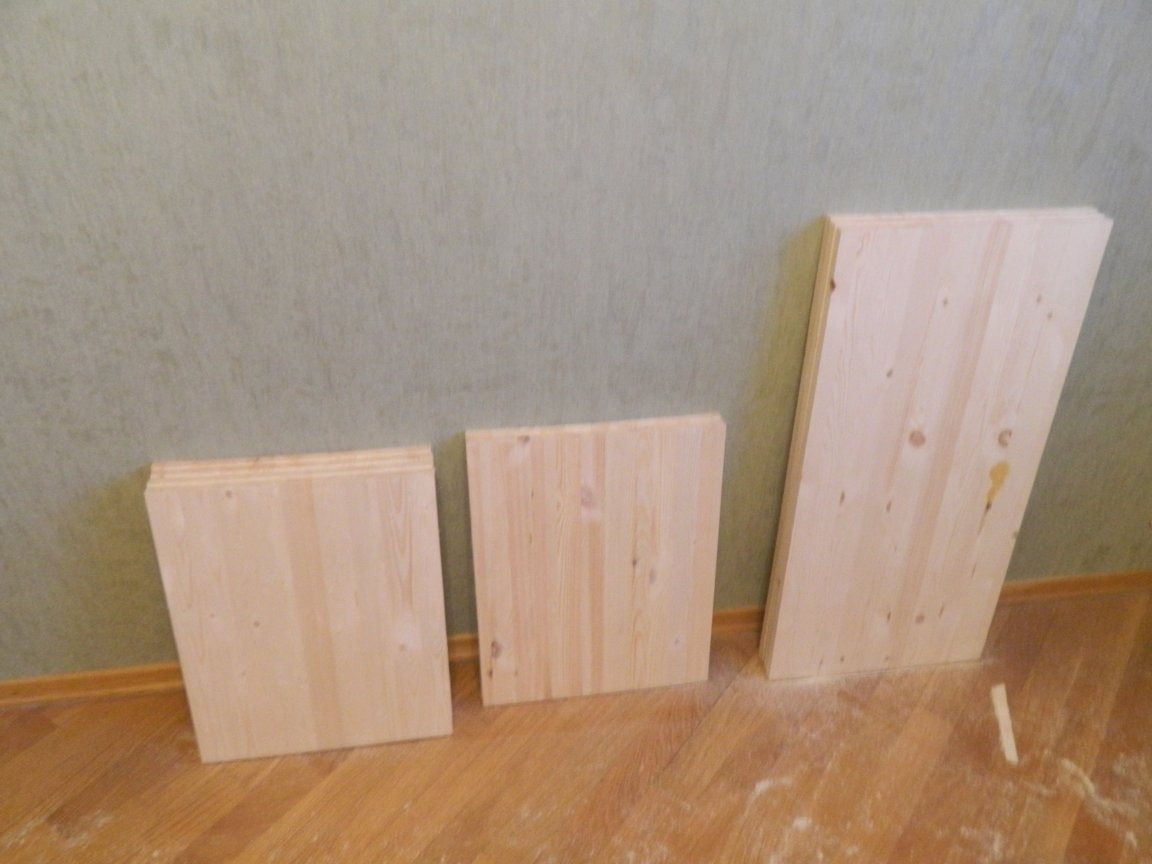
A calculation was made of the number of panels to purchase furniture panels in size: 400, 300, and 250 mm wide, and 4 mm plywood was purchased for the rear walls.

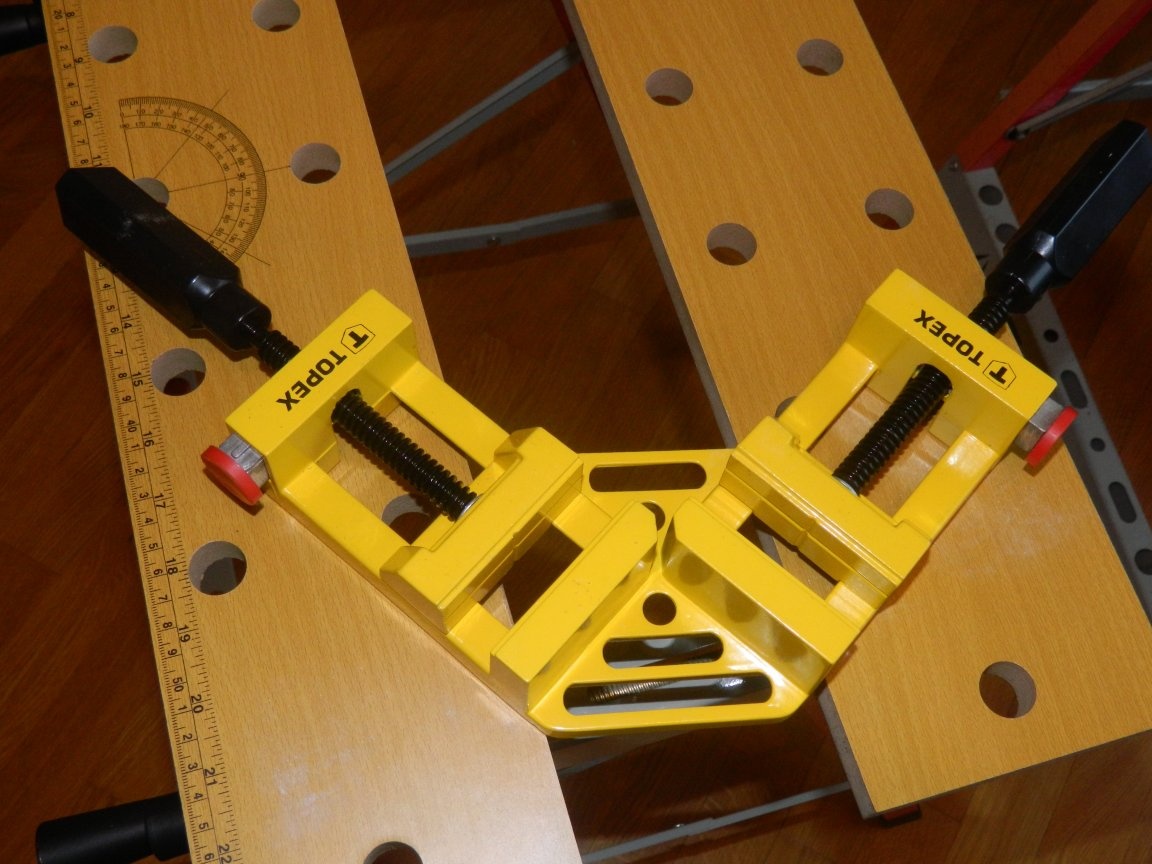
An expensive special angle clamp was also purchased for assembling panels perpendicular to each other.
All designs were assembled using specialized self-tapping screws confirmat ø5x50 mm.
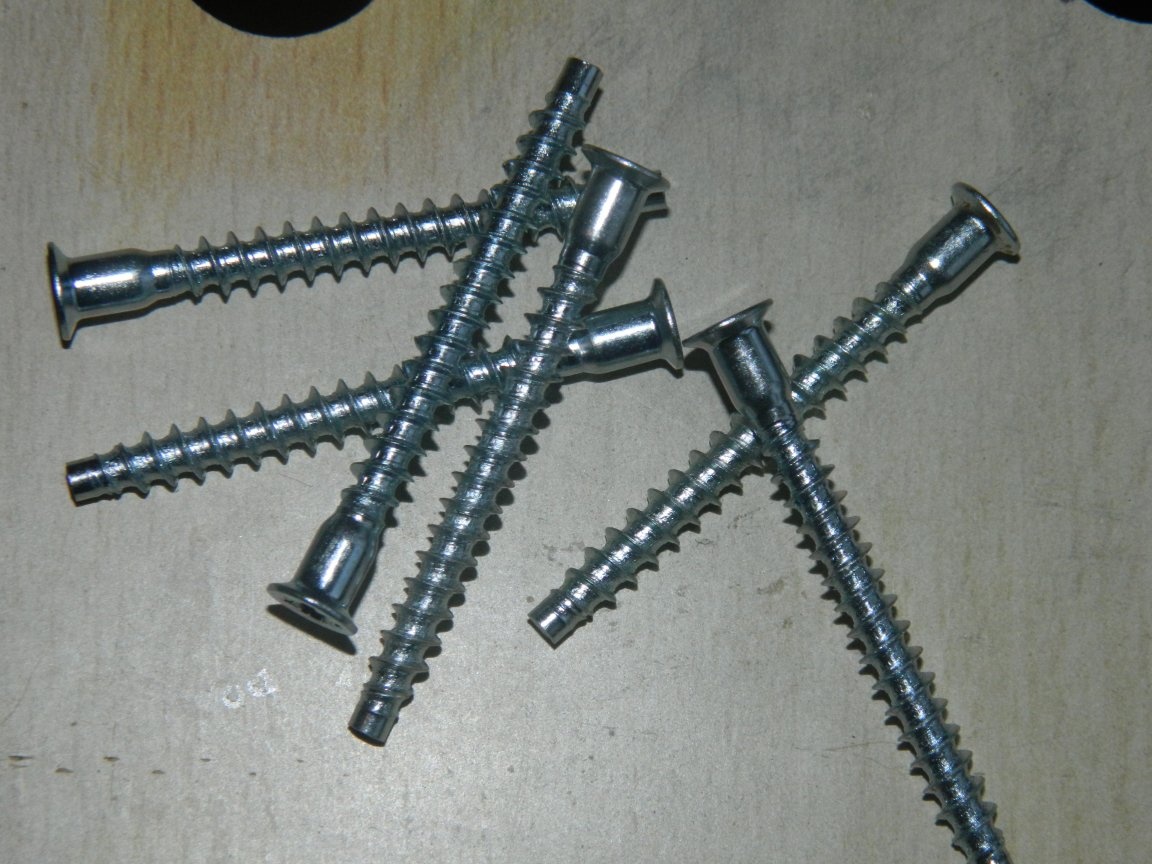
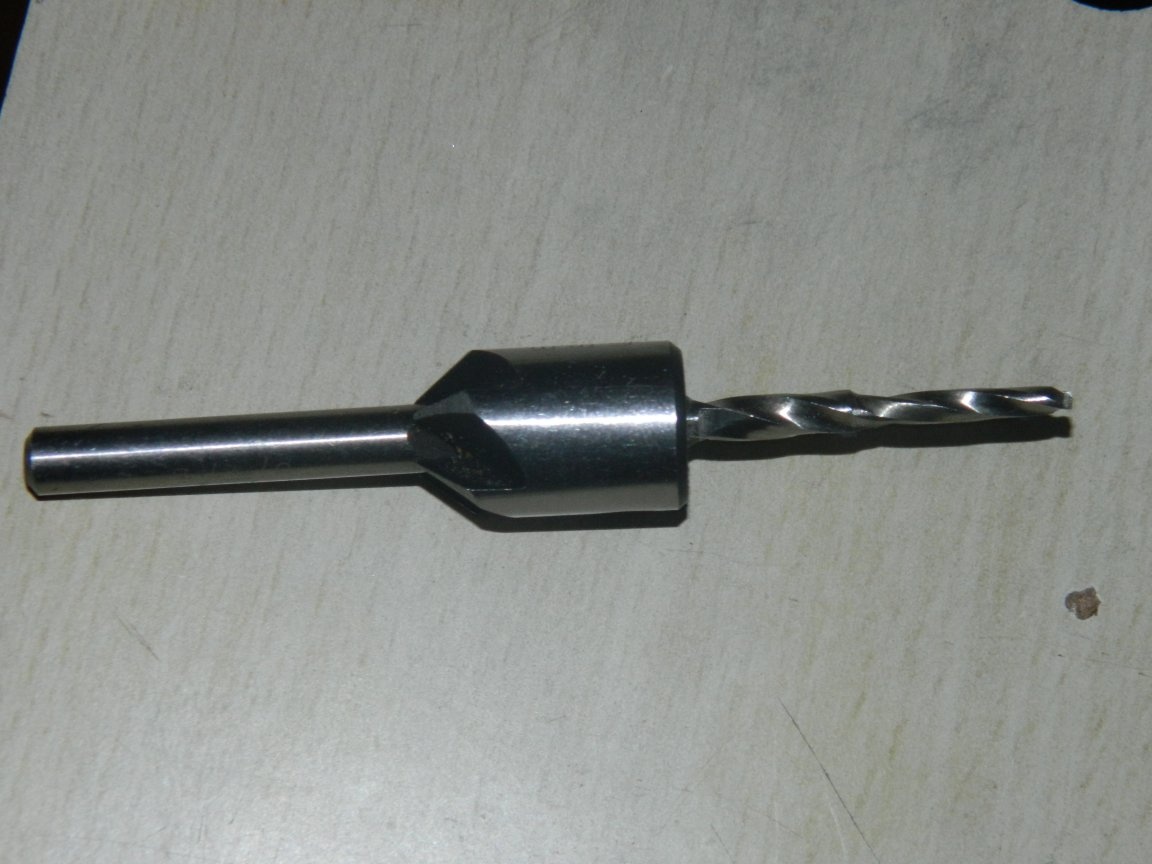
A special step drill ø3xø4.5 mm was purchased for installing the confirm. Wood is a soft material, so the countersink head was turned in the opposite direction.
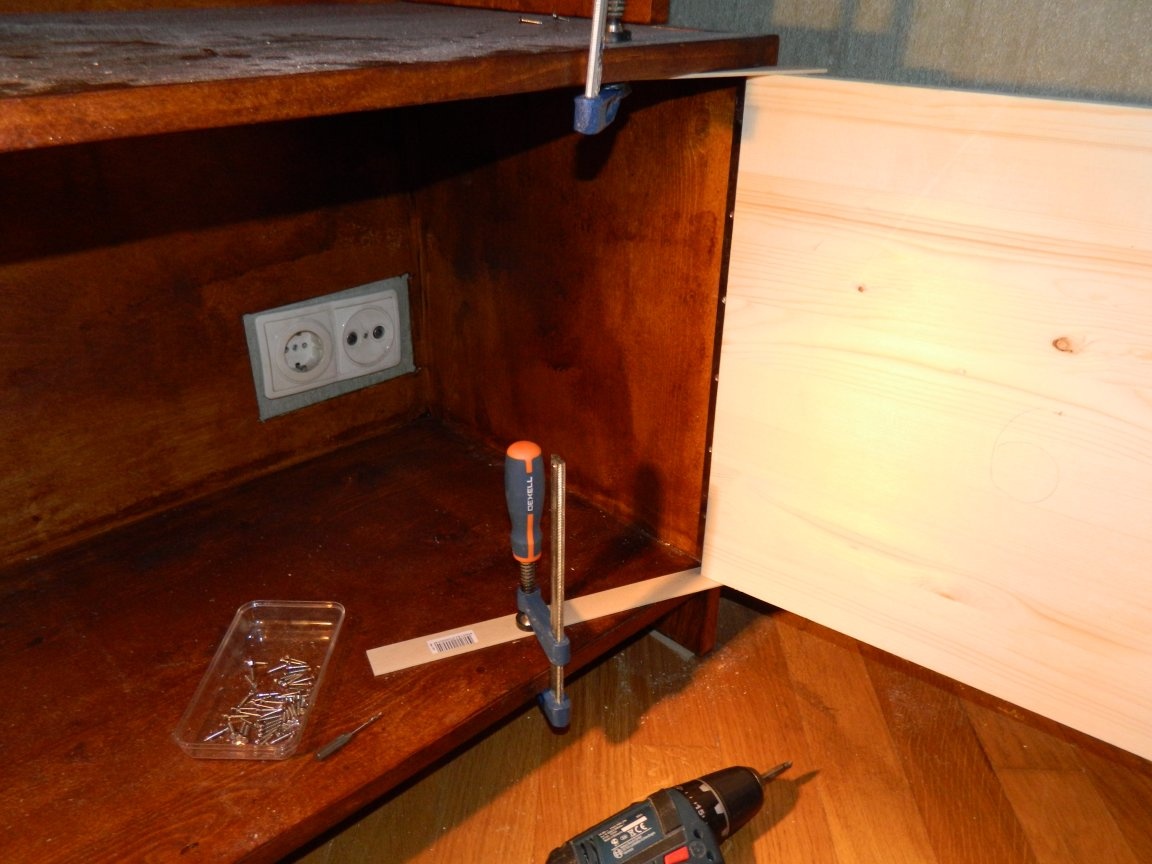
So, let's get started. Started with making a podium. Furniture panels were fixed with clamps on workbenches and sawed exactly to the size of the circular.
Then, sections of the podium were assembled from the obtained parts using a special clamp with the use of coffee beans. Then the individual sections of the podium were fastened together by intersection ties ø8x30 mm. In addition, an integral shield was fixed on top, which firmly connected the sections together.
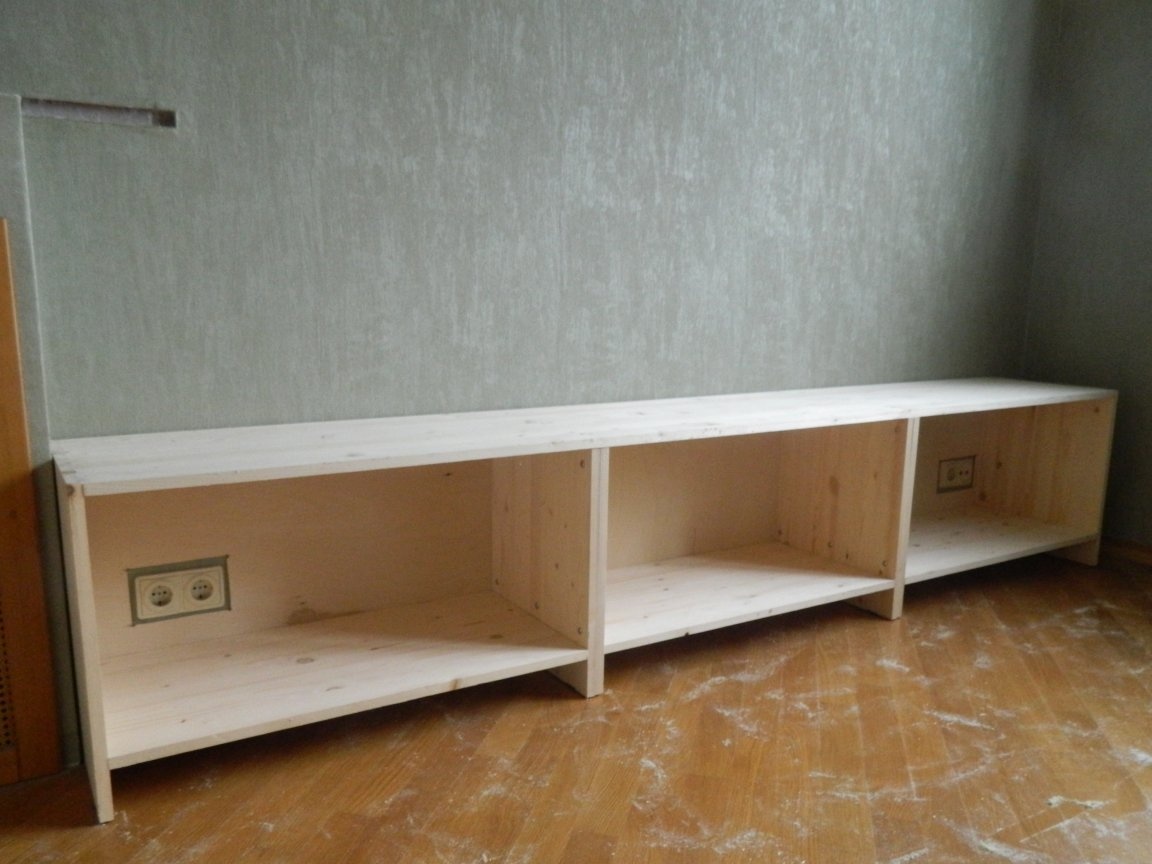
Plastic thrust bearings were also installed, which were attached to the bottom of the structure. The back wall was placed on self-tapping screws ø2.5x20 mm, deviating from the upper edge of 9 mm, so that the rear walls of the upper sections (after installing them on the podium) additionally connected the entire structure. Cutouts were made in advance in the back of the podium where the sockets were.
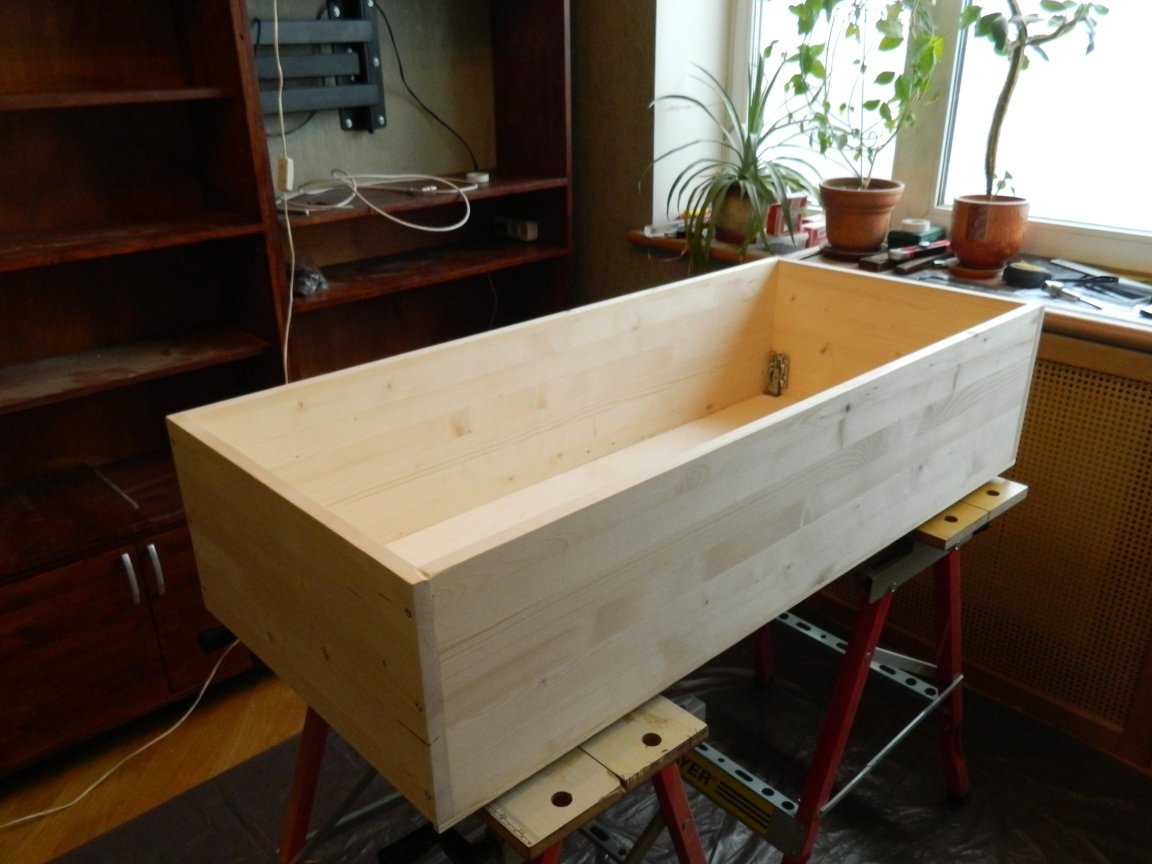
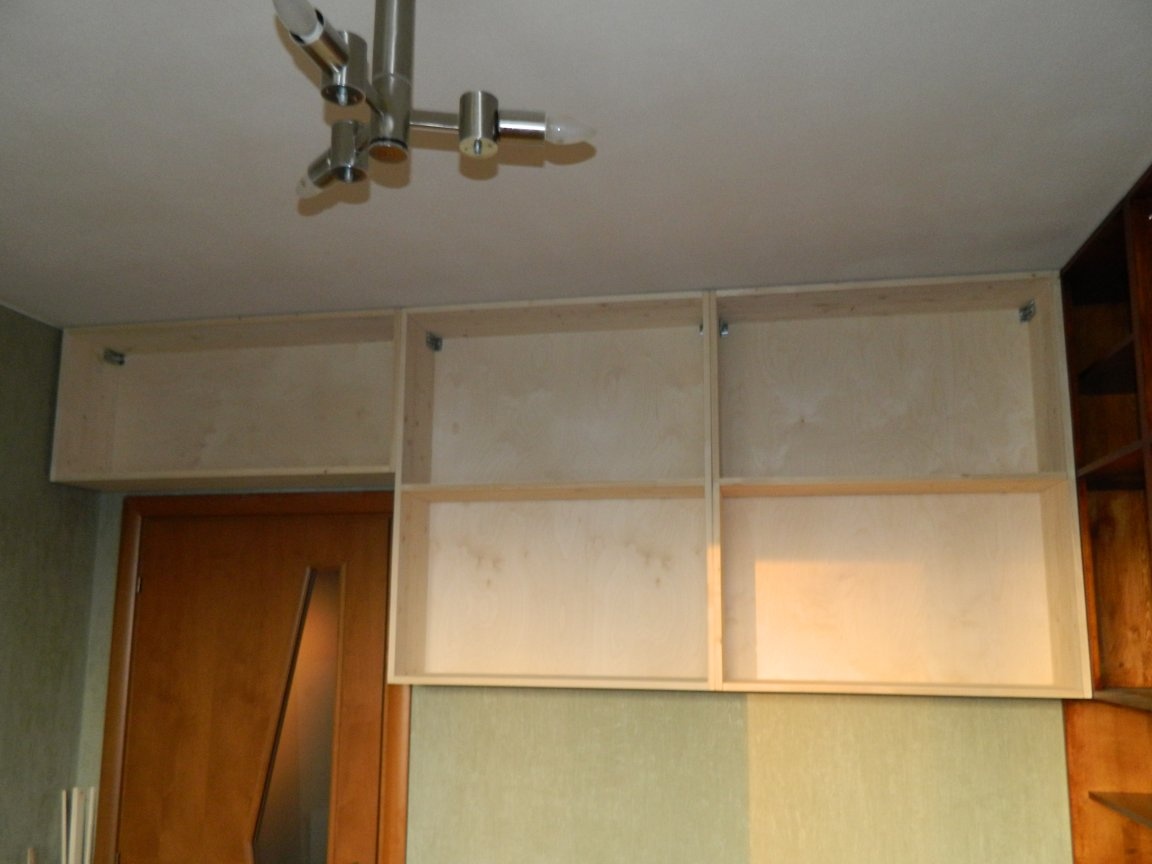
The upper sections were assembled similarly. But here such a problem arose - the shields, especially the long ones, after removing the packaging from them, were distorted (low humidity in the house). I got out of the situation as follows - I pulled the shields in pairs through spacers with clamps and turned on the humidifier.
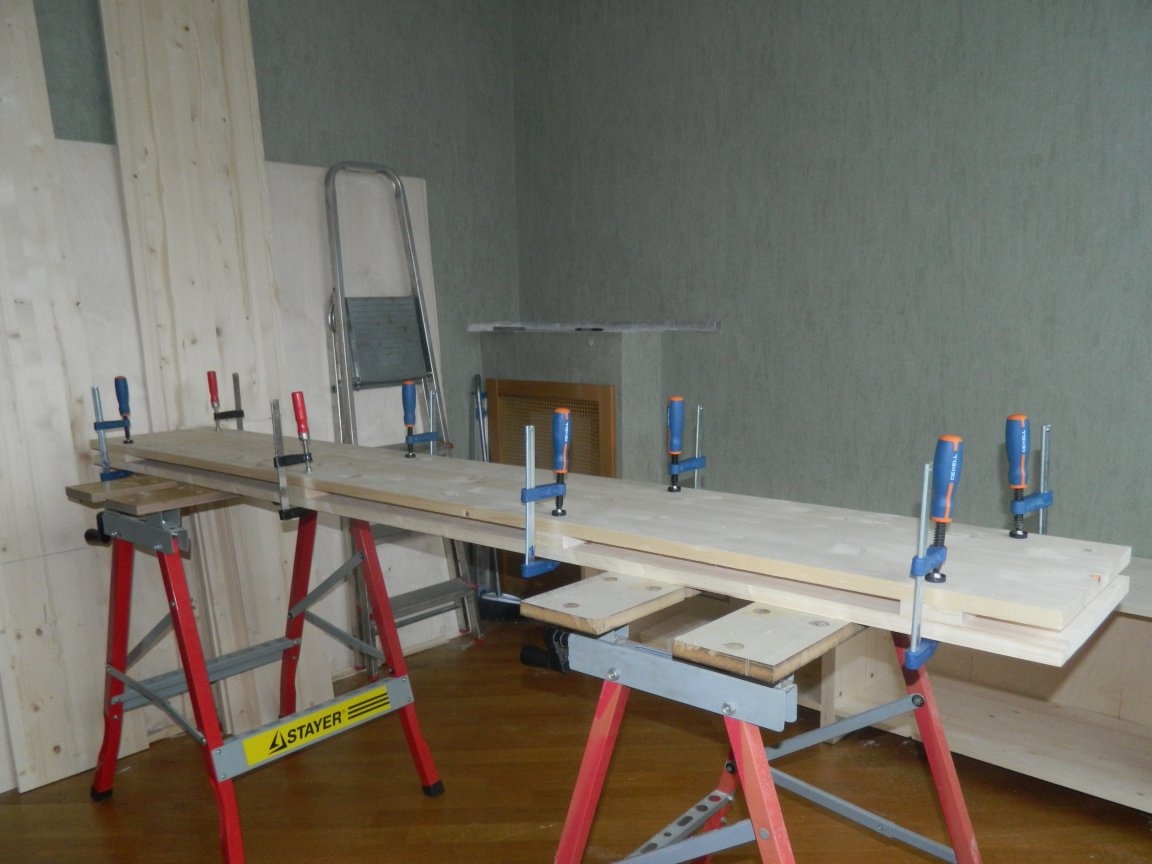
The boards were straightened for several days and from them it was possible to quickly assemble a section. Therefore, this stage of work lasted quite a long time. He worked with the cabinet door closed at a humidity of 80% (and drowned well - it was in December - he steamed, as in a bath).
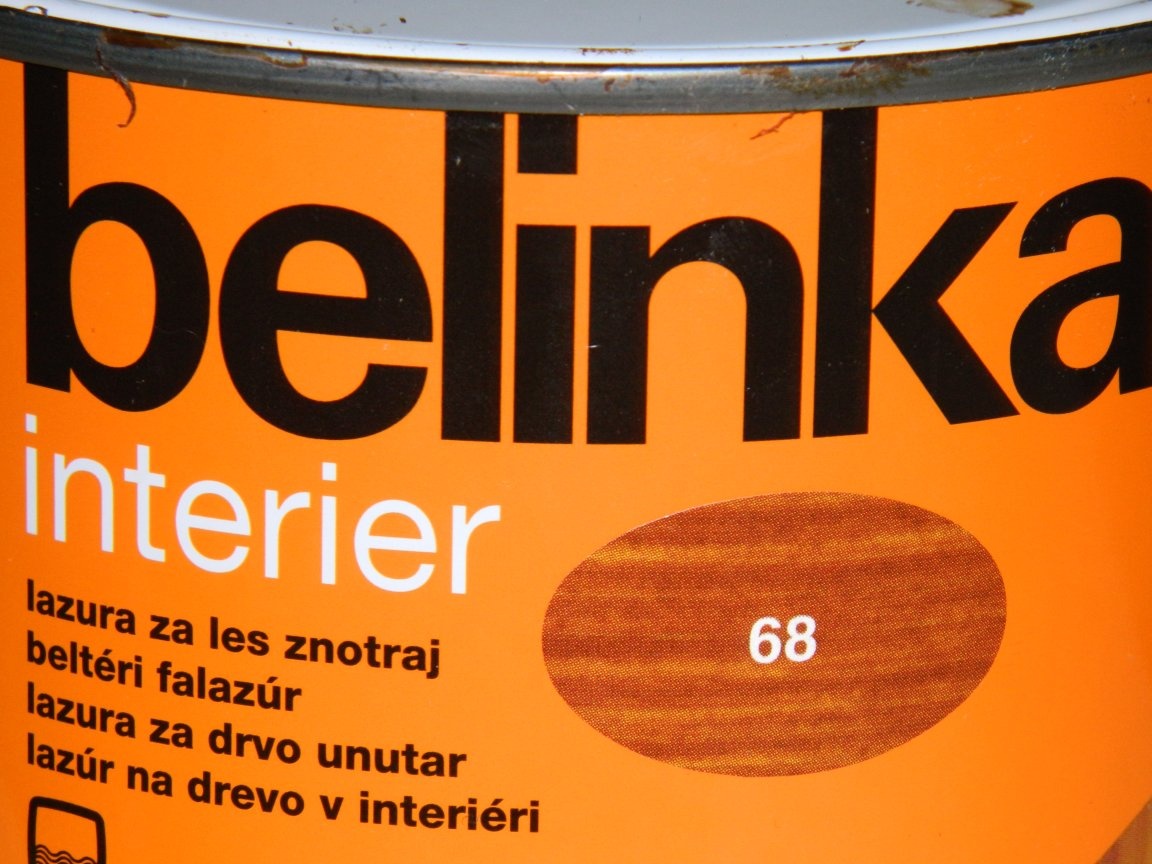
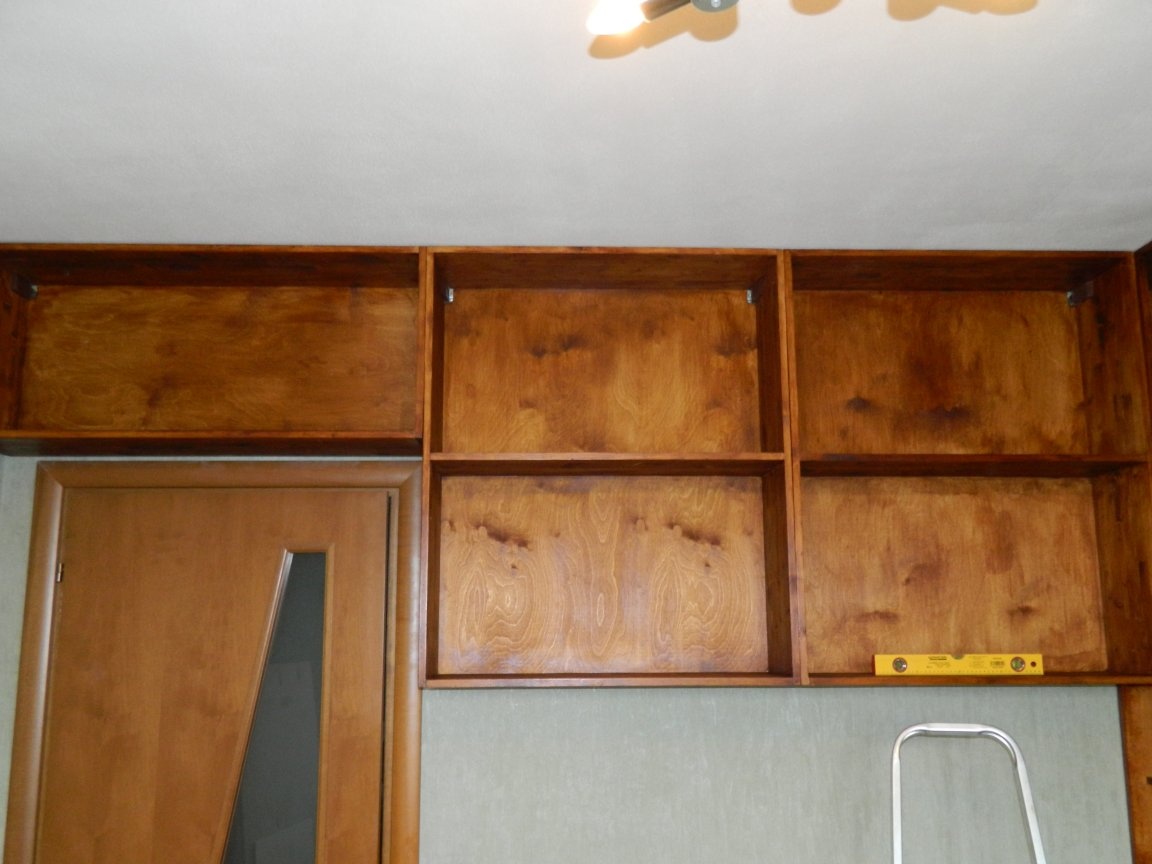
Finally, the sections were assembled, the floor was covered with plastic wrap, and I started painting. Previously, all surfaces were passed by a grinder. The sections were covered with Belinka-interior azure in several layers with sanding with a grain of 120 grit between the layers after drying for 4-5 hours. With a soft brush and a roller, azure was applied to the surface of the parts. Day cox finish layer. While the azure was drying, I installed (pre-marking it) a television bracket with a large offset of about 710 mm (made in Germany).

When the azure was dry, he began to assemble all the structures. He pushed the podium from the wall and put the upper sections on it. Connected with the mounting plates 120x240 mm on the sides, the upper sections with the podium.

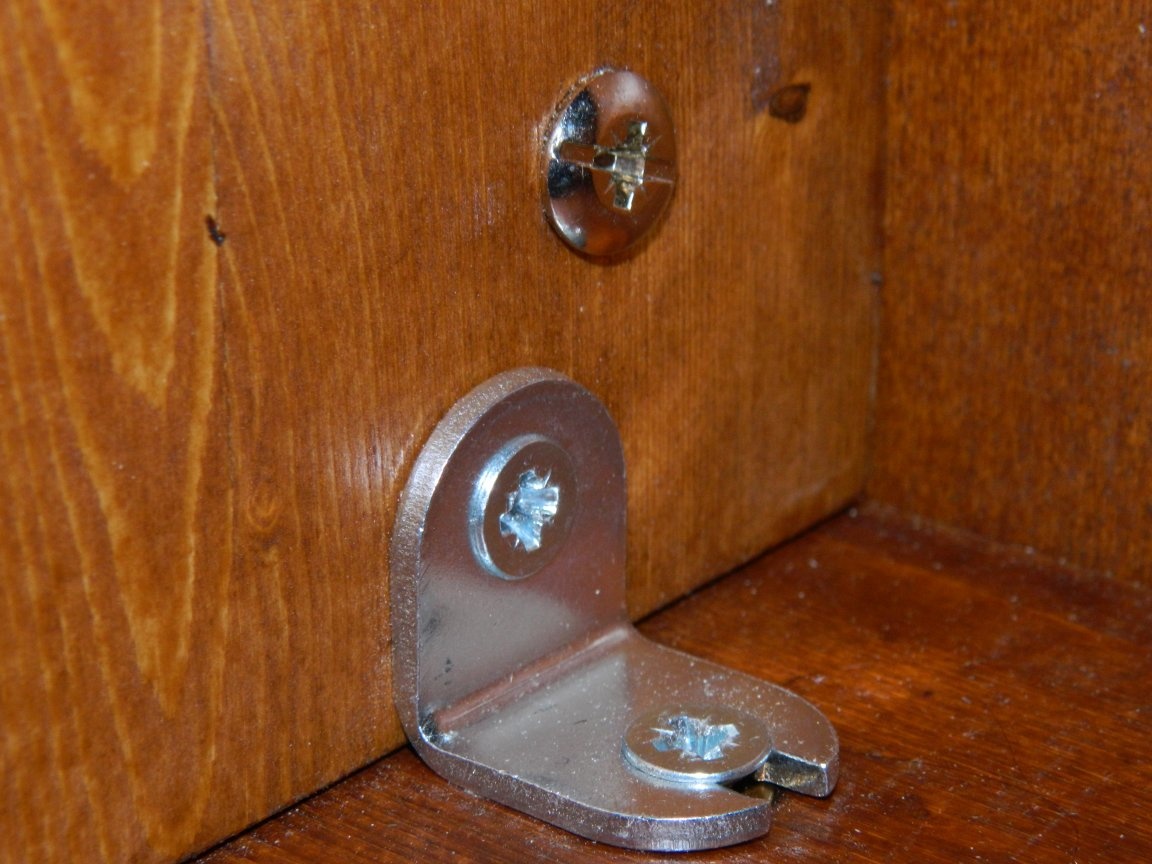
Between each other sections are pulled together with furniture ties (10 pieces per coupler of two sections; 8 pieces per section above the battery). In addition, the central section is attached to the podium by corners that are mounted on furniture steel dowels M6 with external thread.
Strength was also added by the rear wall, fixed with self-tapping screws ø2.5x20 mm, which went into the podium just by 9 mm. When I moved the wall into place, the section that is located above the heating battery was attached to the wall with self-tapping screws Ø5x70 mm.
Then I set about installing the doors on the podium. He fastened the doors on the piano hinges. Wooden spacers were used as spacers. They just have a thickness of 2 mm, which was the necessary clearance around the perimeter.
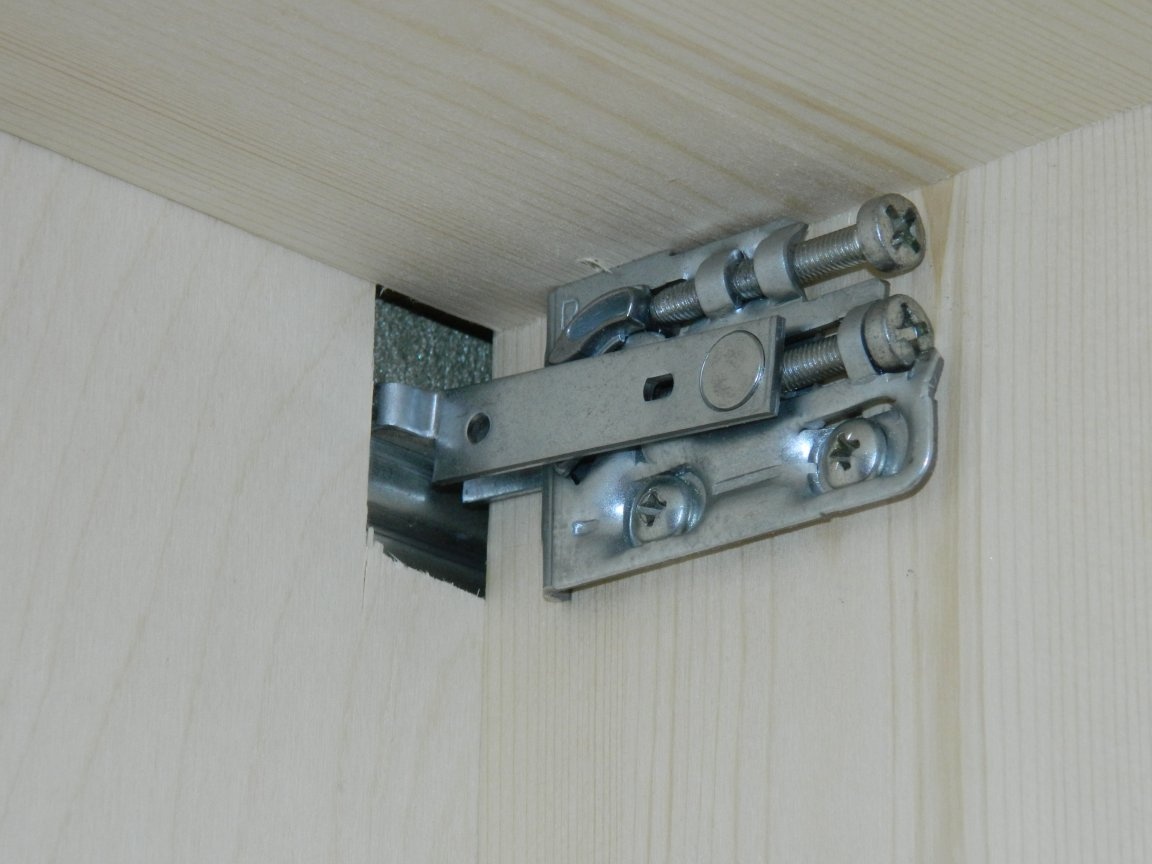
Then he began to collect bookshelves. It was easy to assemble them (the experience was already good) - it’s difficult to find the necessary suspensions with adjustment for them (I read on the Internet how kitchen shelves fall and got moody). Then he decided and called the company that installed the kitchen for me in 2004 (after all, they hang!). The manager secretly told me that McMart supplies suspensions. I called the company and arranged to drive up to them. I won’t tell you what nerves it cost me (they trade only with wholesalers), but I returned home with three pairs of wonderful steel suspensions that could withstand up to 150 kg per pair (a pocket doesn’t pull)!
Shelves are assembled, suspensions are installed.
Along the rear walls were stuffed around the perimeter of the shelves of the rail with a cross section of 9x9 mm.

In place, a ø5x50 mm rail for canopies was attached with self-tapping screws (made in Germany).
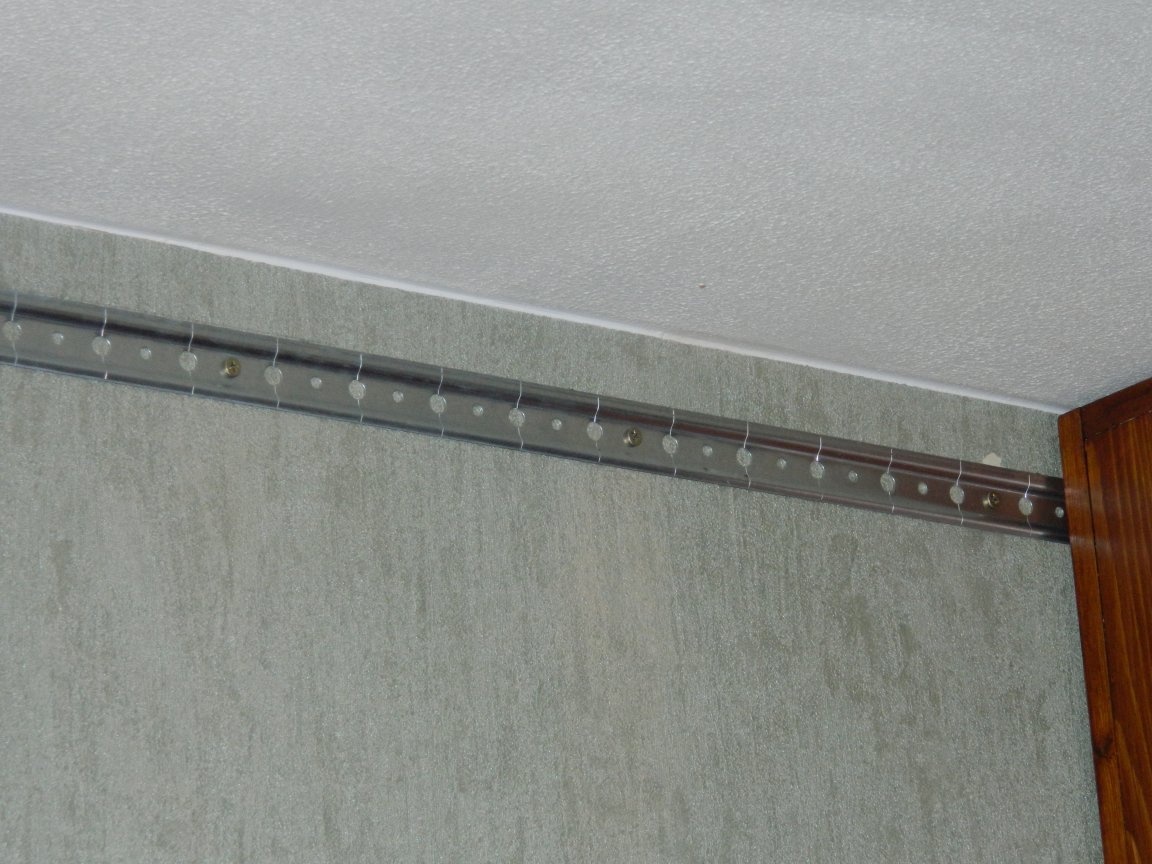
Shelves were hung on the rail and tested for durability.
(clumsy hanging on a shelf - 110 kg of my weight!). They passed the test with flying colors.
The shelves were removed, painted according to the technology already described, and hung back already with the installation of the level. Between themselves, the shelves were pulled together by intersection ties, but not tied to the main book wall.
The issue of intermediate bookshelves was resolved very simply. They were made of chipboard and installed in place on the shelf holders ø5x17 mm. The width of the shelves in the bookcase is 250 mm, in the shelves - 200 mm.
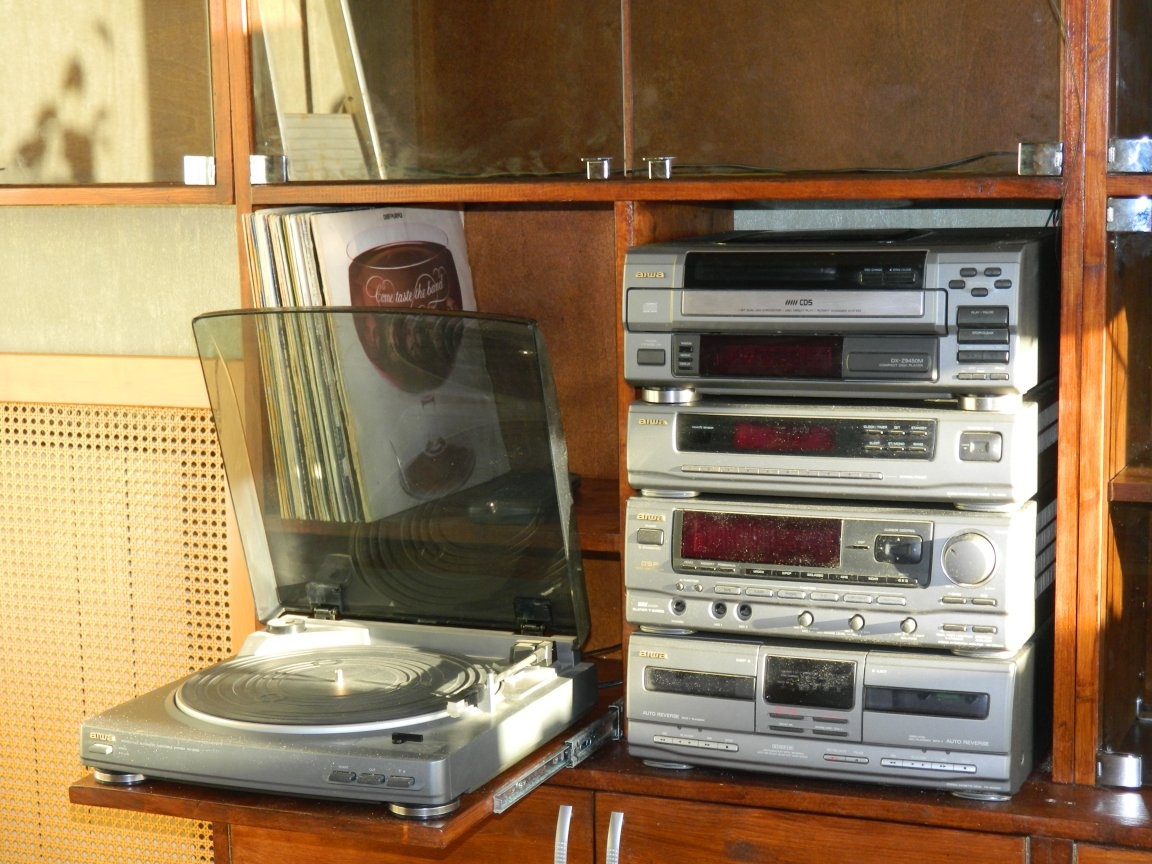
The partitions drilled the necessary holes for wiring from the speakers to the audio center. Under the turntable was made a fully retractable shelf on ball mechanisms.
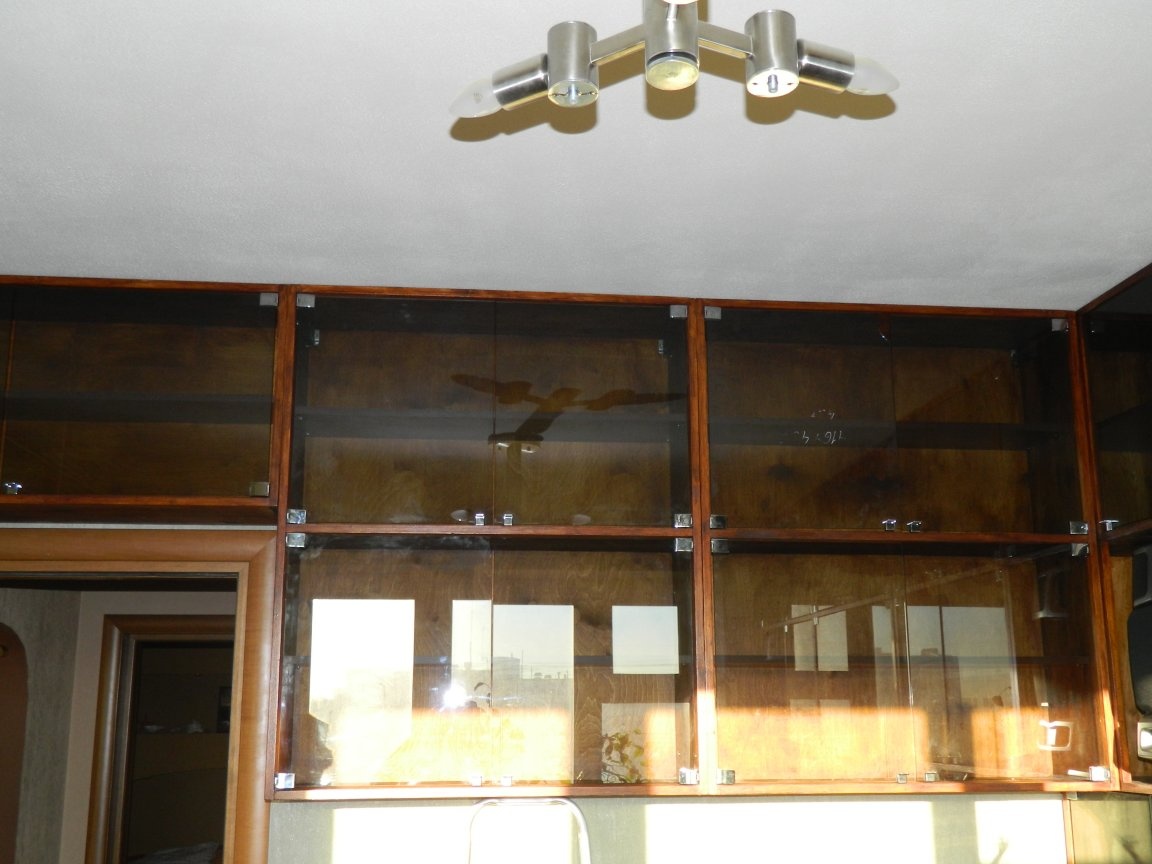
Installing glass doors (without any edging), I consider responsible and difficult work. Doors with fittings cost me more than 20,000 rubles.
At a glass company, I ordered doors made of tinted gray transparent 4 mm glass.Firstly, it’s nice, and secondly, the books don’t fade (sunny side). The gaps between the glass and the structure were taken at 4 mm. The accessories were bought in advance at a wholesale company and cost me (China!) Not very big money, but the quality was lame. When I opened the package, I understood that there was such an outbreak that the glass could break when it was clamped in a loop, and the plastic latches worked so that they tried to break the glass when closing.
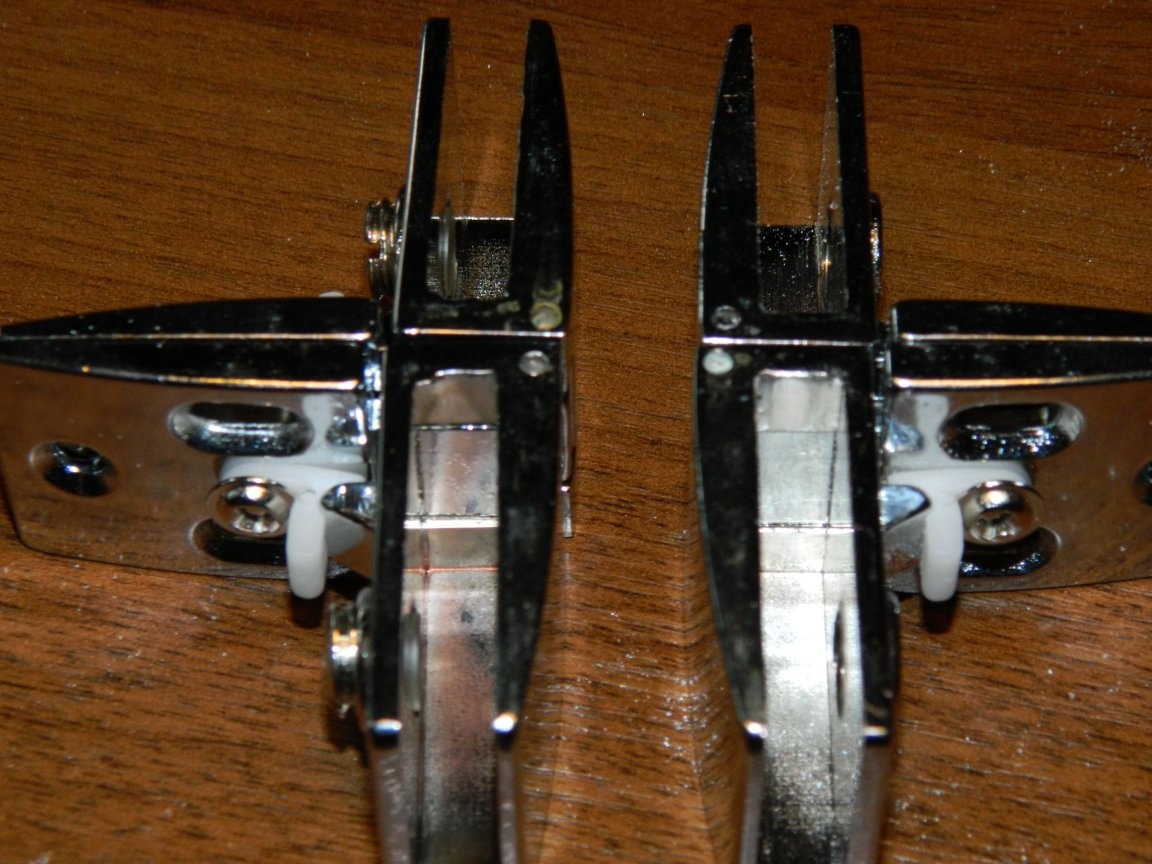
I had to take the files and fix the flaws (64 loops !!!). When all the loops were brought into proper form, I took up the installation.
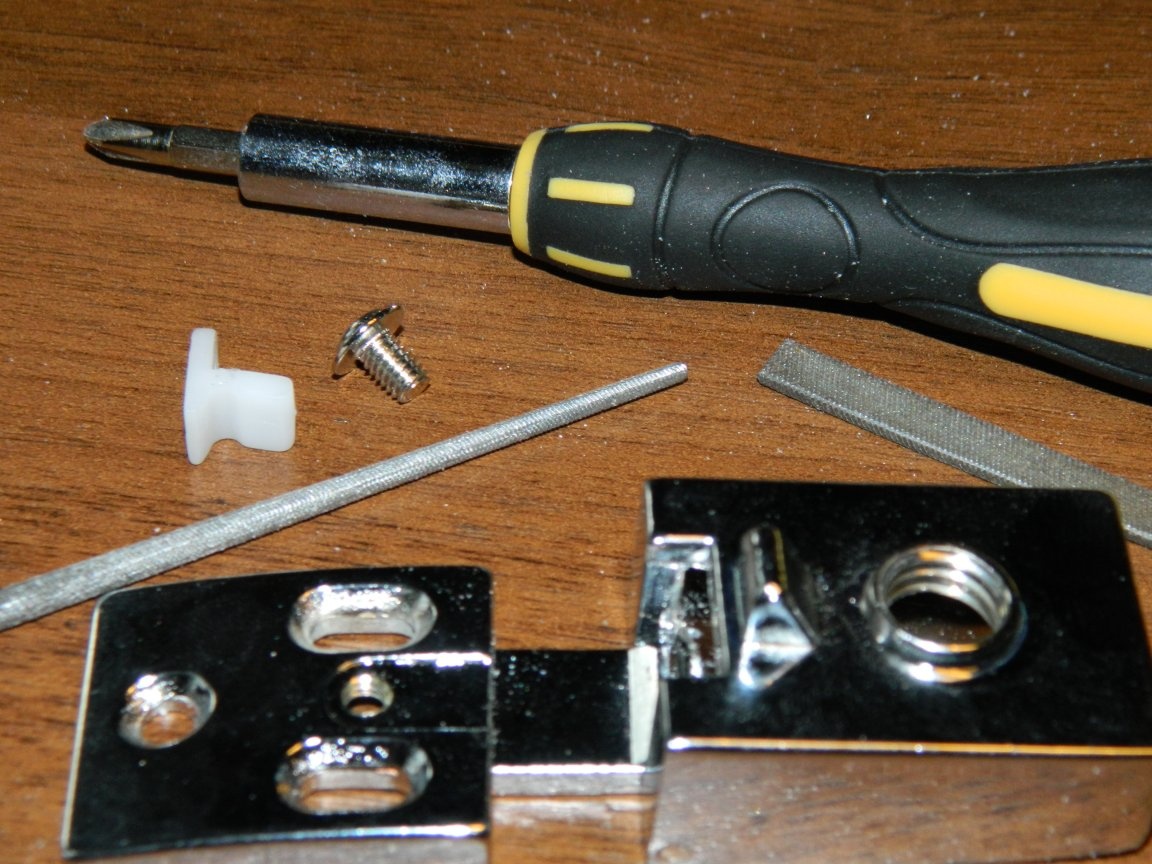
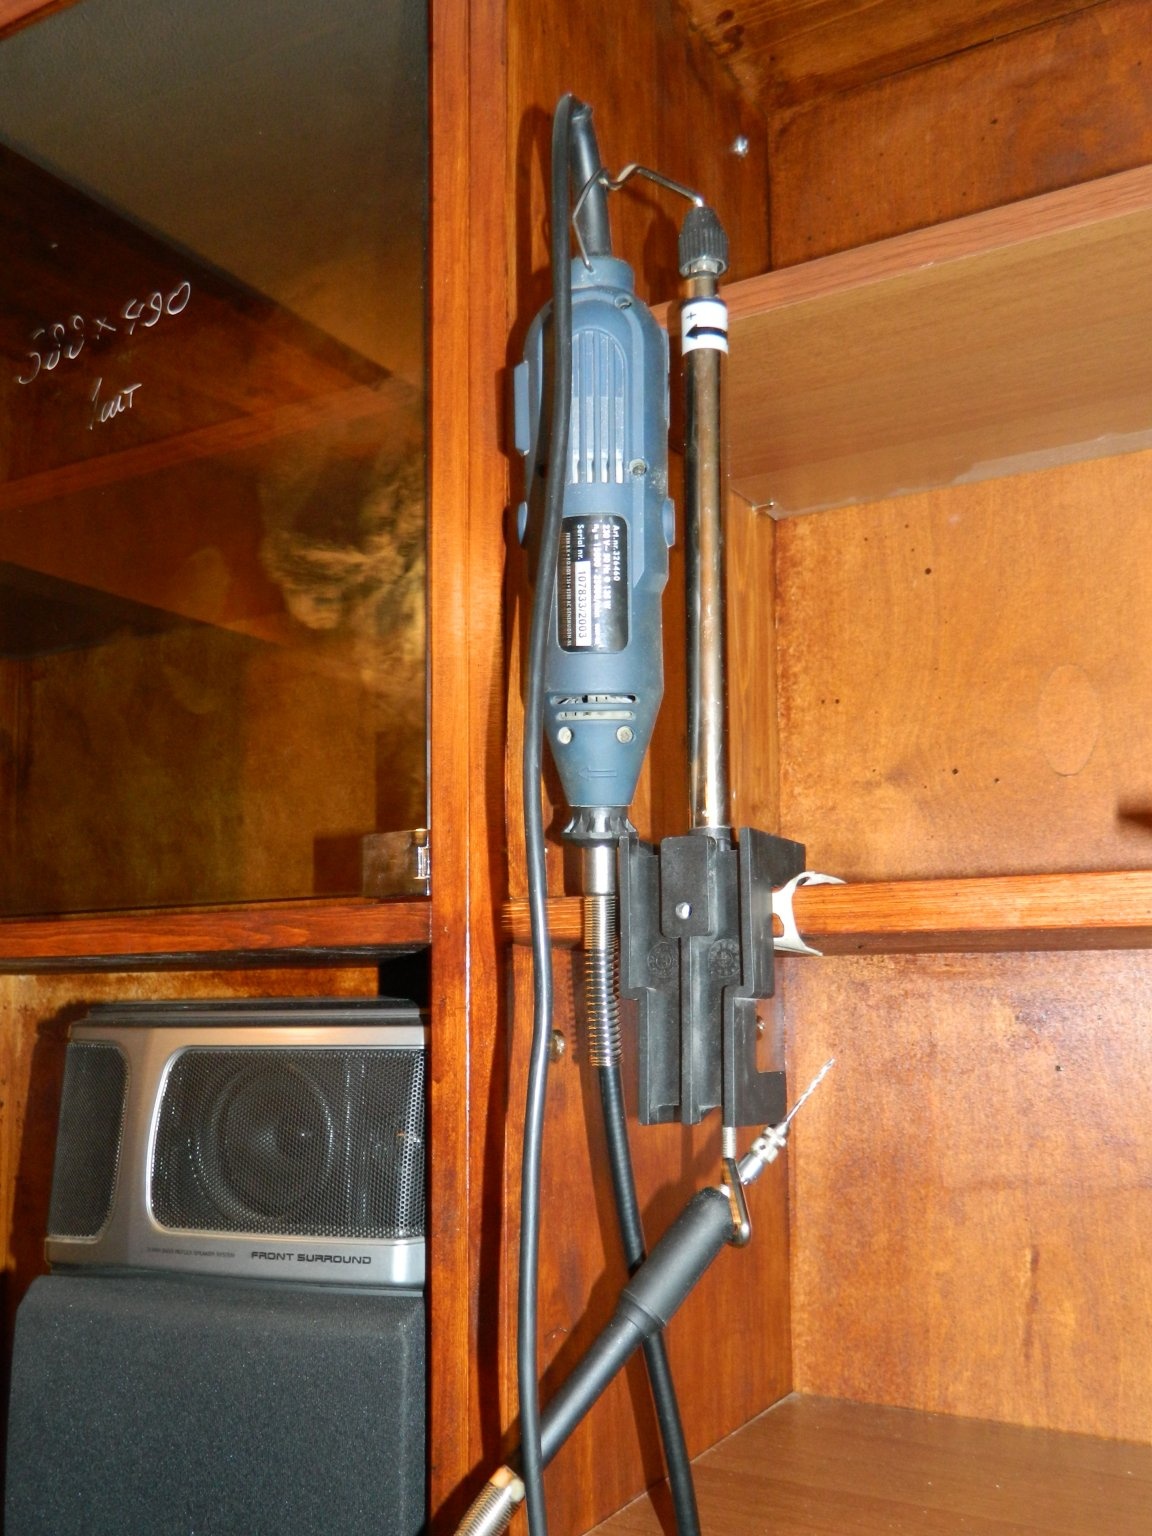
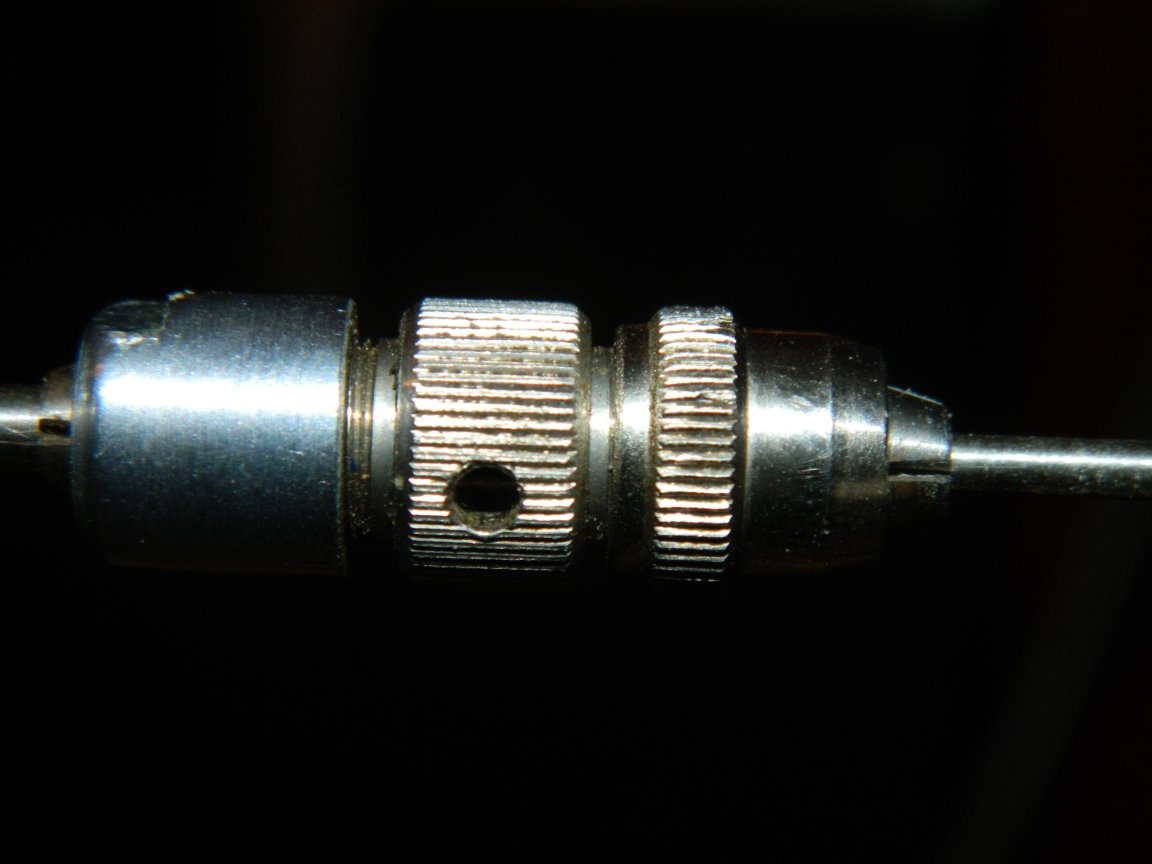
But with the drilling of holes there was a breakdown - not a single device came up. I had to put a flexible shaft with a collet chuck on the drill and work with it.
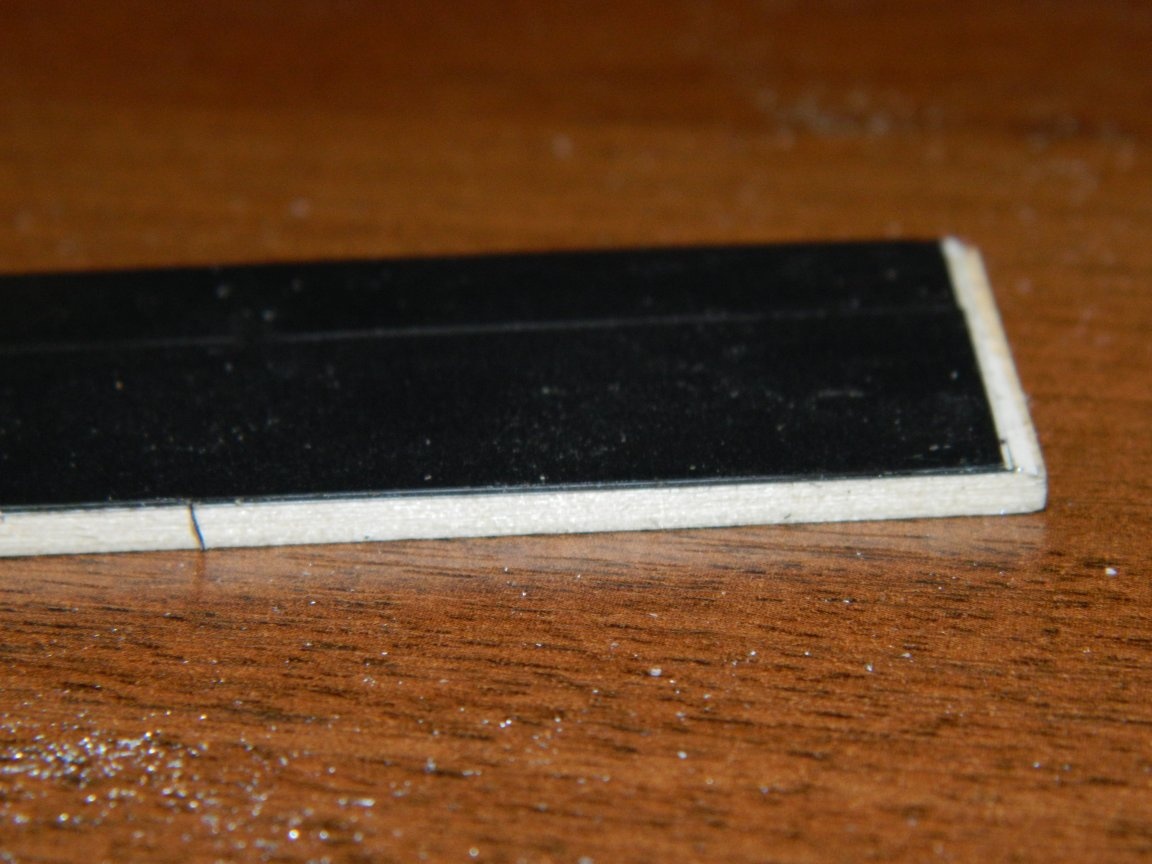
Drilled at low speeds very carefully so as not to drill through the tree. He brought the thickness of the wooden ruler with a sticker in several layers of electrical tape to 4 mm and used it as a spacer.
China is China - the hinges at the hinges were skewed and, when opened, they rubbed against the shelf. The issue was decided by installing M4 washers under the loop, which were glued to the moment after the holes were drilled.
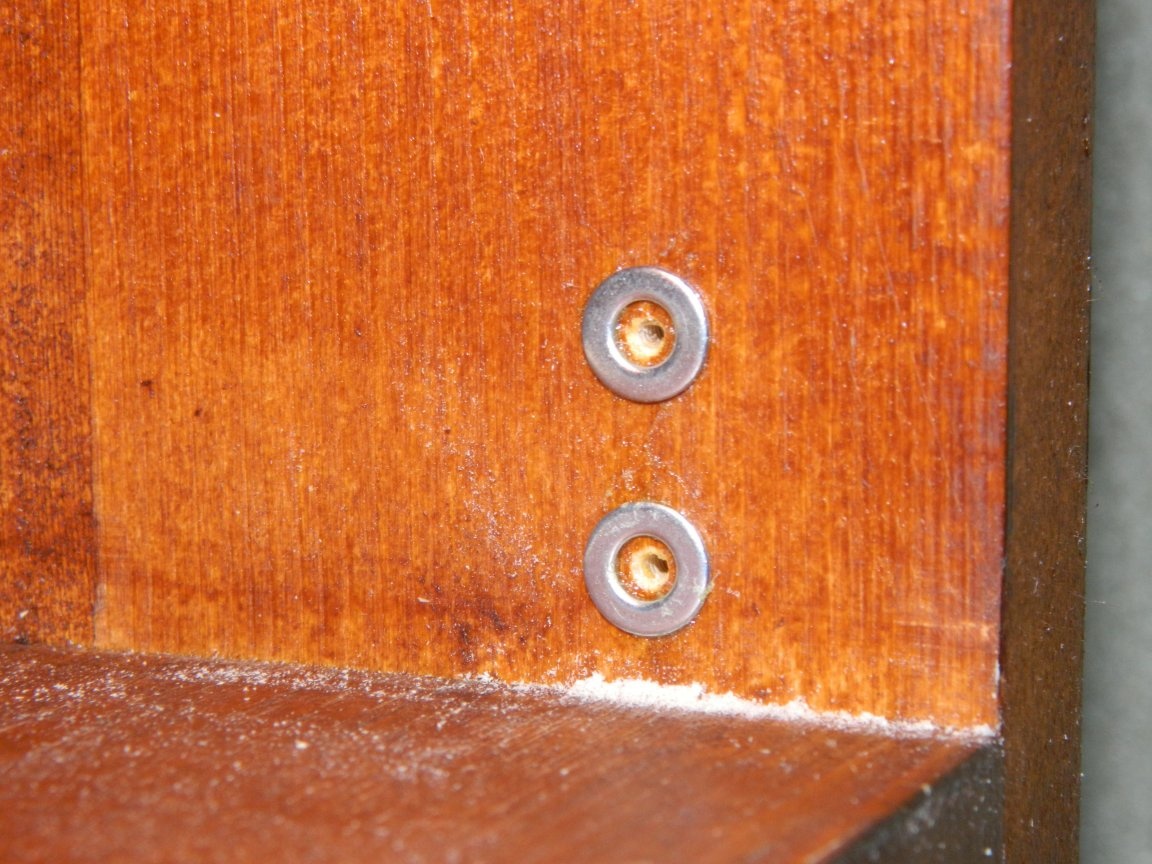
The hinges were initially fixed on two self-tapping screws, then installed the glass, adjusted the position of the door and finally fixed the hinge with a third self-tapping screw. Thus, on the day I managed to put 5-6 doors. Then he installed special pens.
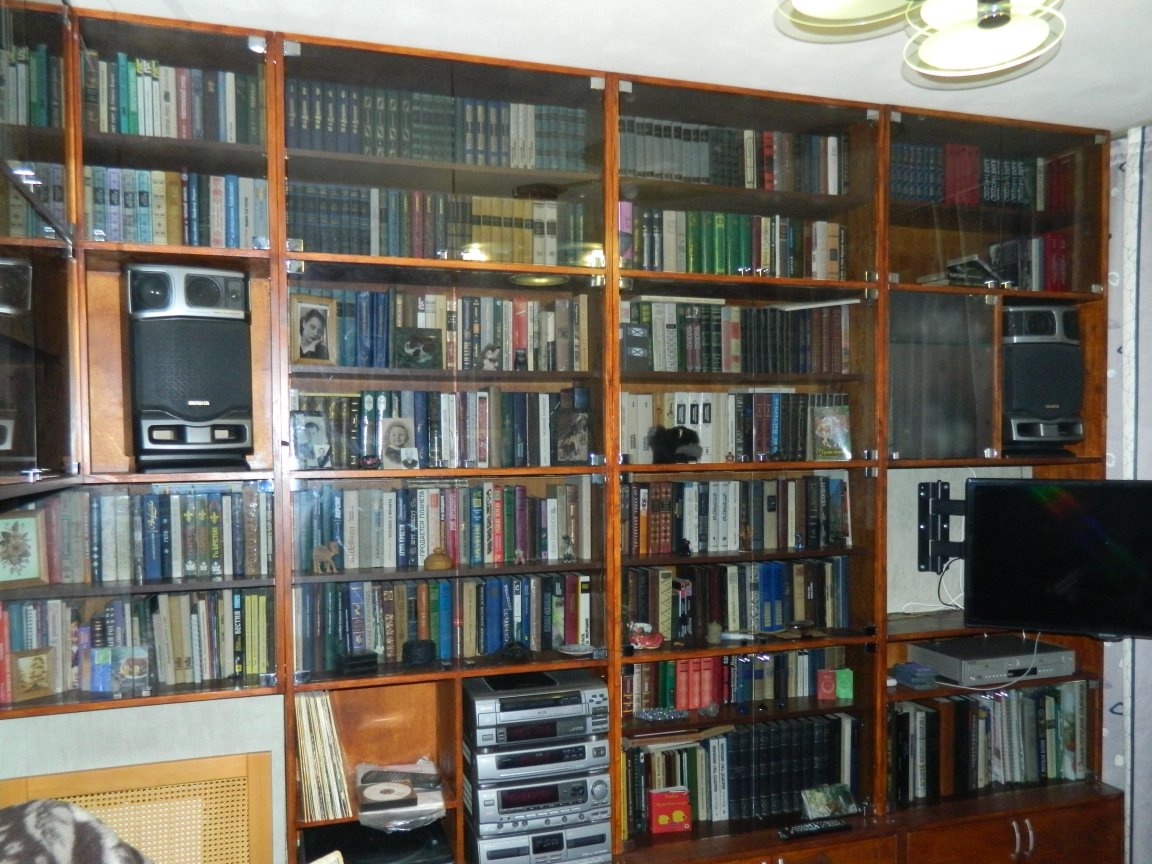
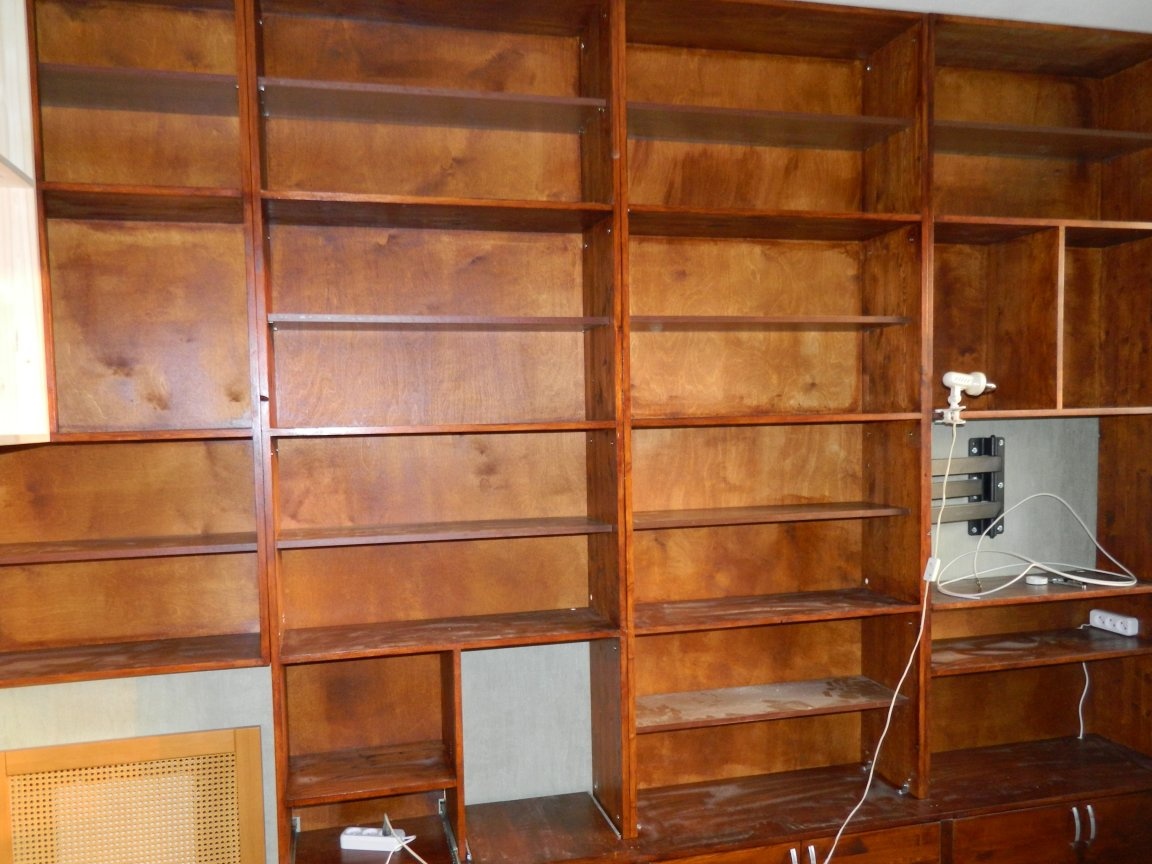
The exterior of the bookcase with shelves more than paid for my efforts.

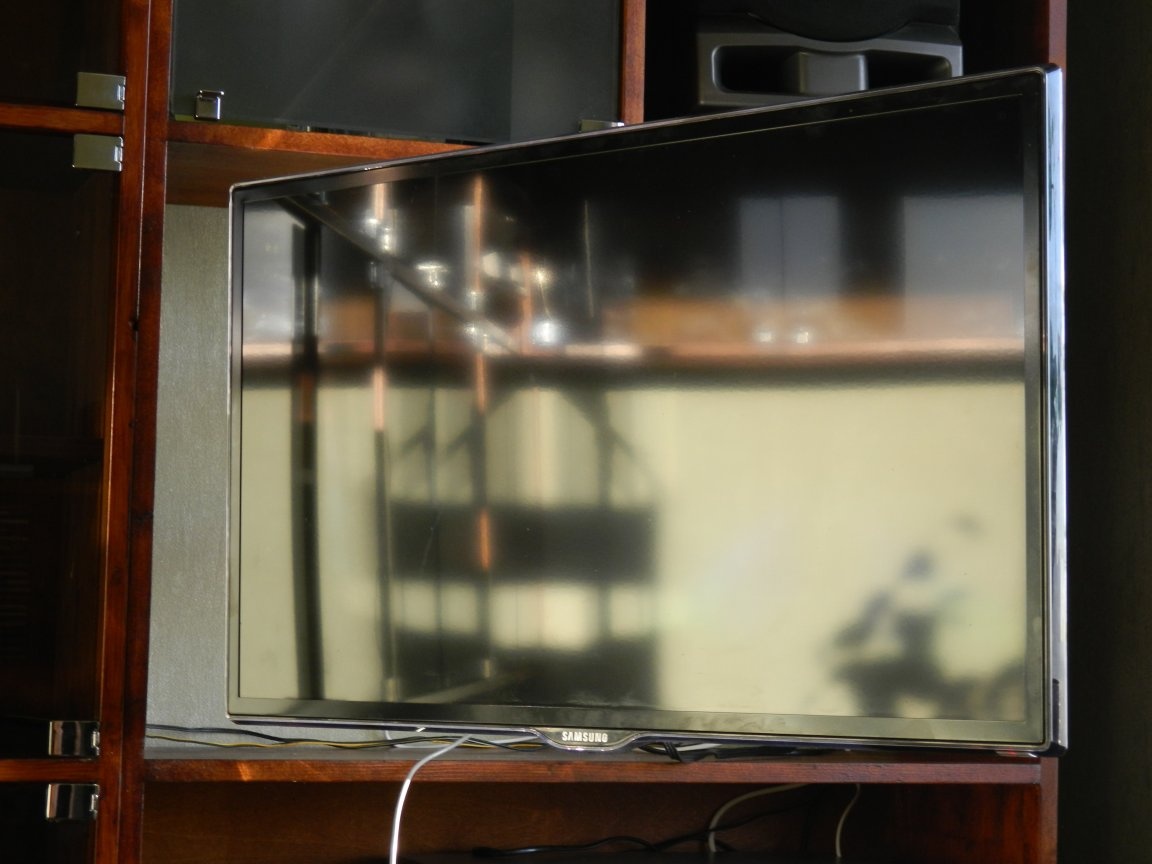
Everything was done at the highest level: the doors opened easily, the TV entered its niche like a native, the player quietly rolled out. As the wife later said: “The closet looks at all 100!”. I am very pleased with my work!
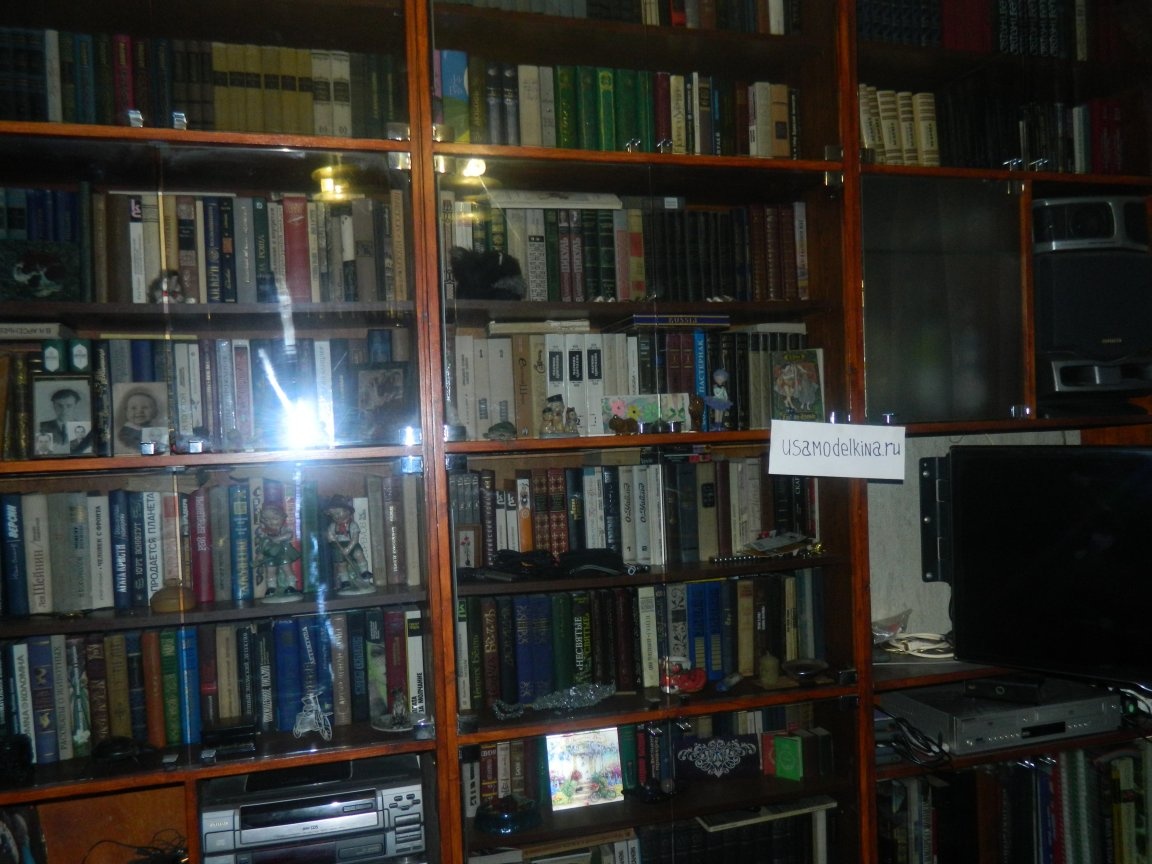
Table 1. Details of the main wall.
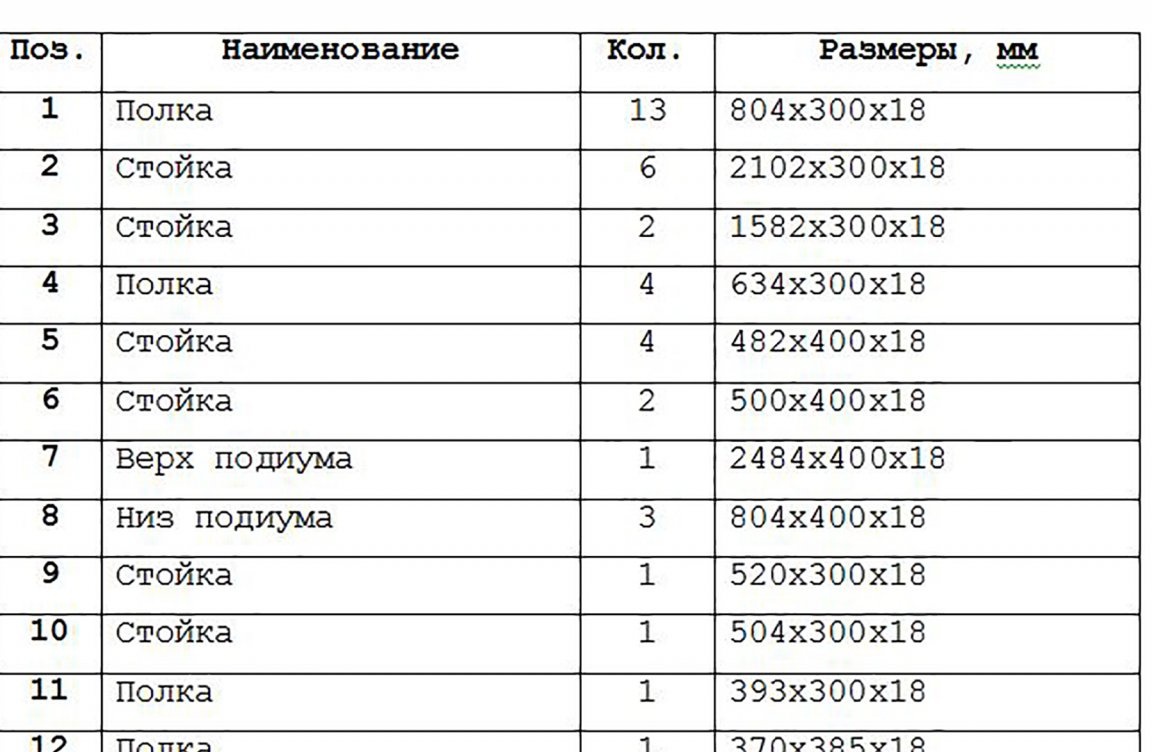
Table 2. Details of shelves.