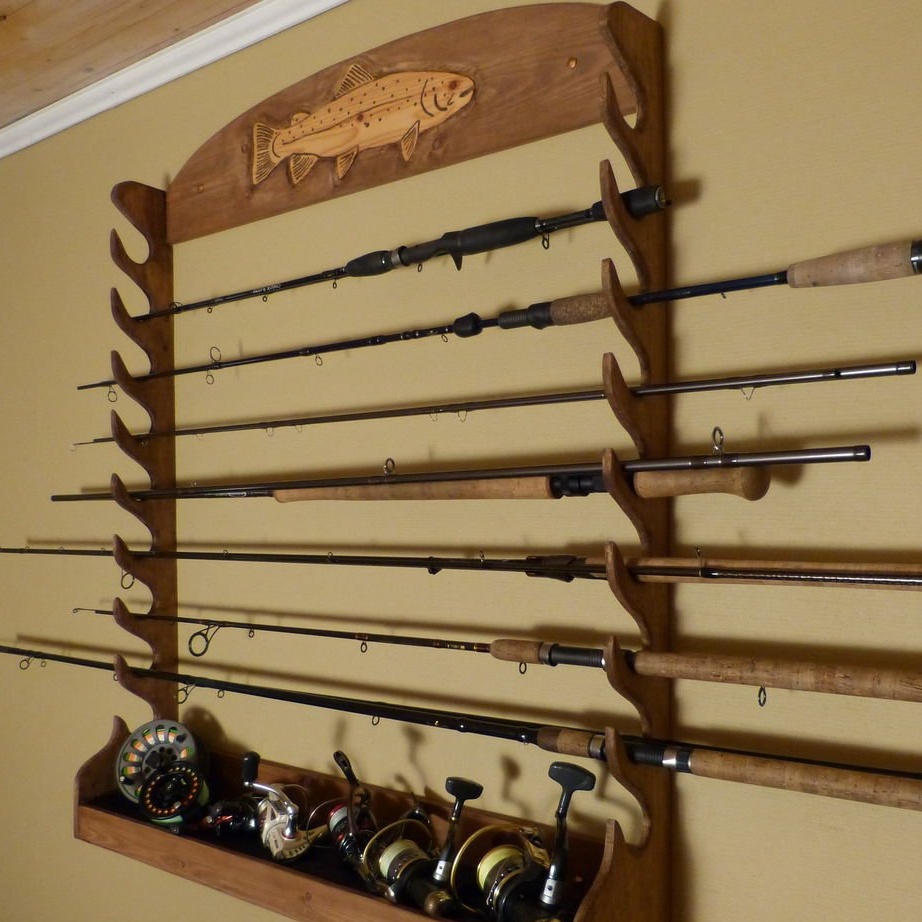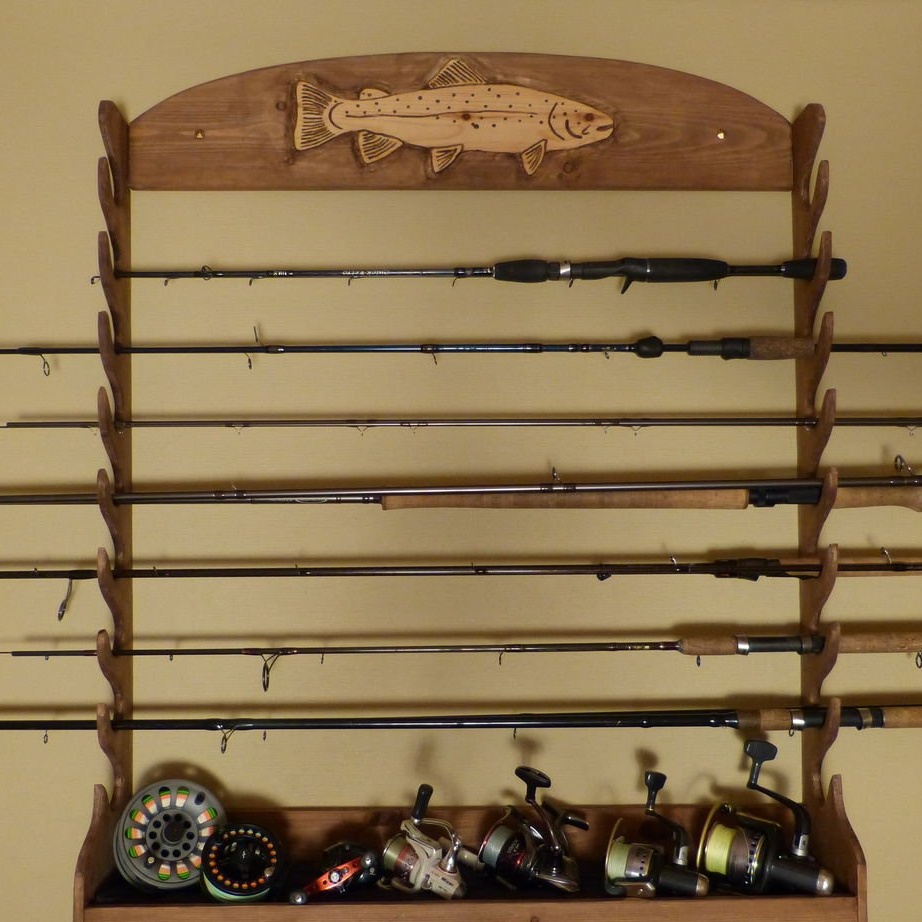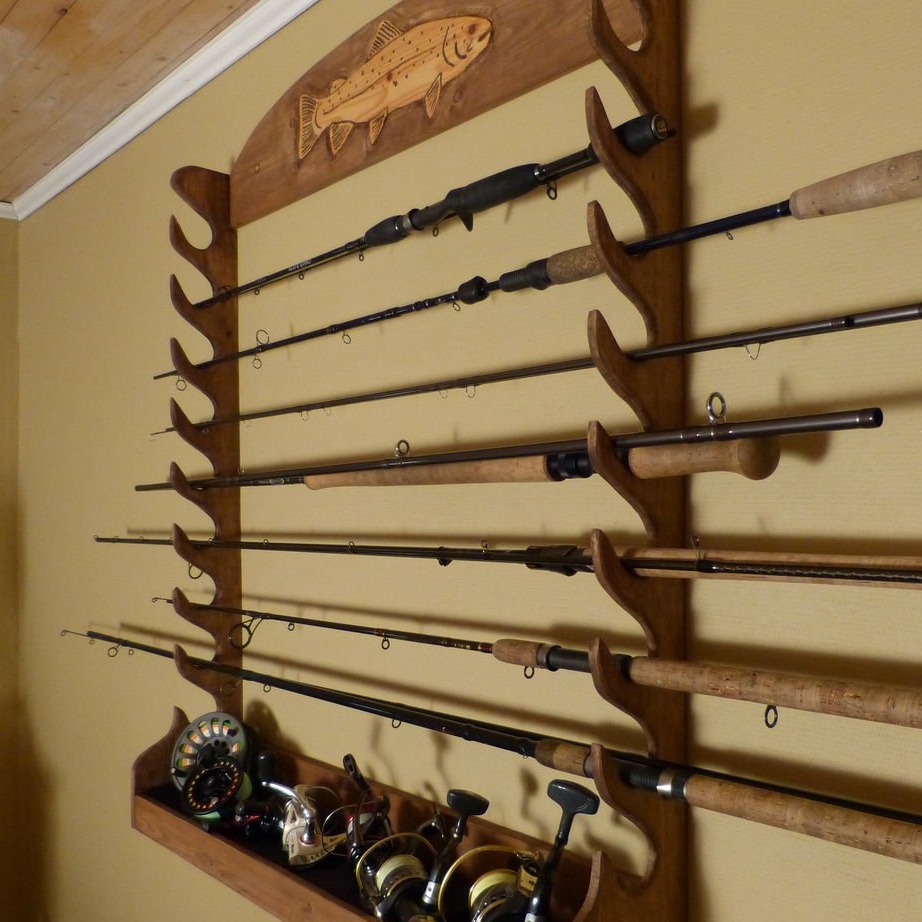

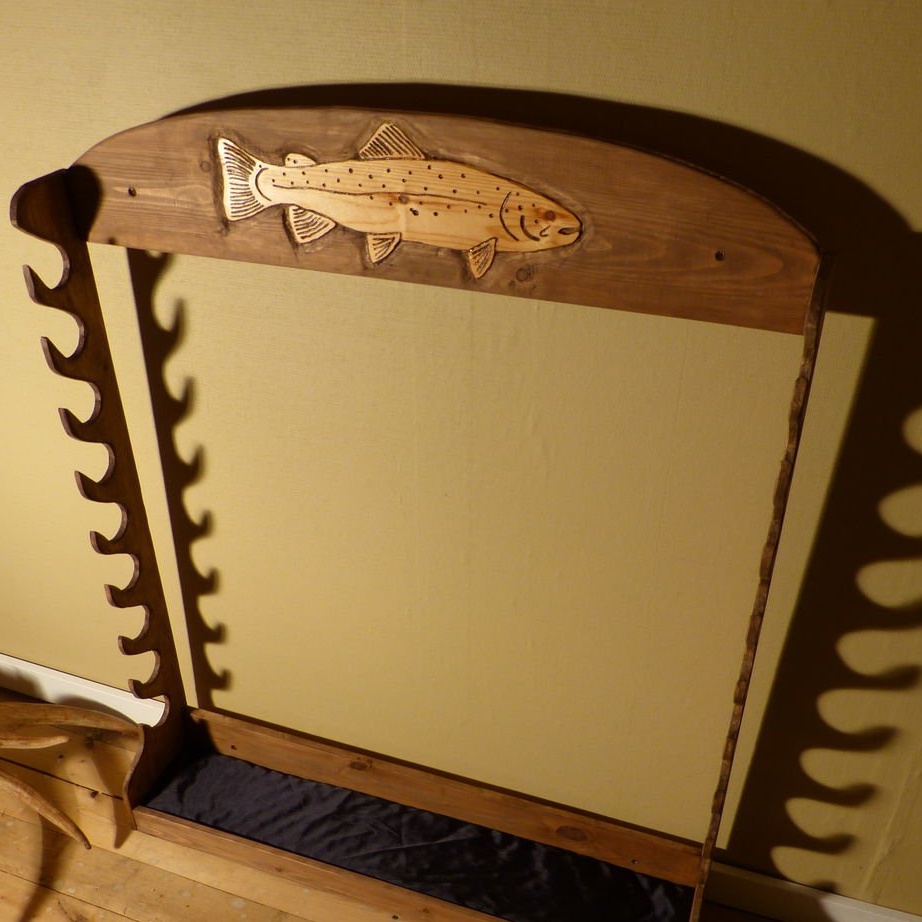
This rack for storing fishing rods and reels was made by the wife as a Christmas present to her husband. Despite the assurances of the master that "My woodworking skills are not very developed," in my opinion, the rack turned out to be excellent.

Tools and materials:
-Boards;
- dowels;
- Joiner's glue;
-Finishing wood;
-Linseed oil;
-Porolon;
-Black fabric;
-Template;
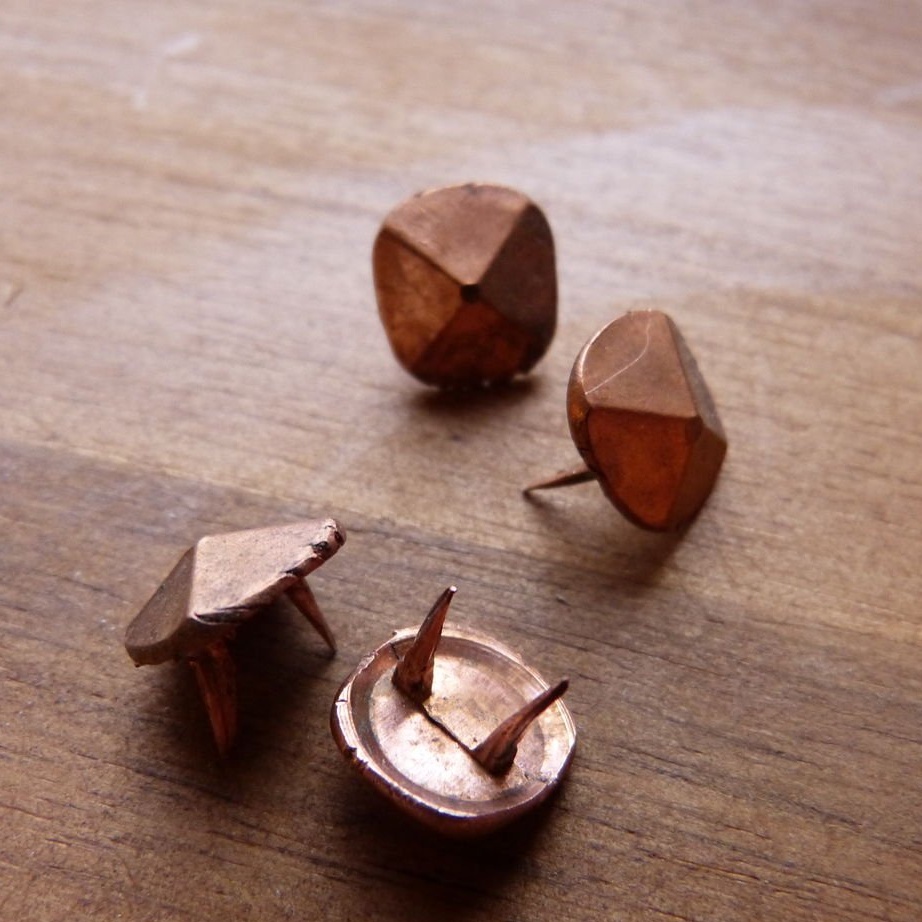
-Fasteners;
- Electric jigsaw;
-Circular Saw;
-Drill;
-Grinder;
-Engraver;
-Rule;
-Pencil;
-Gloves;
-Brush;
-Copy paper;
-Glue gun;
-Clips;


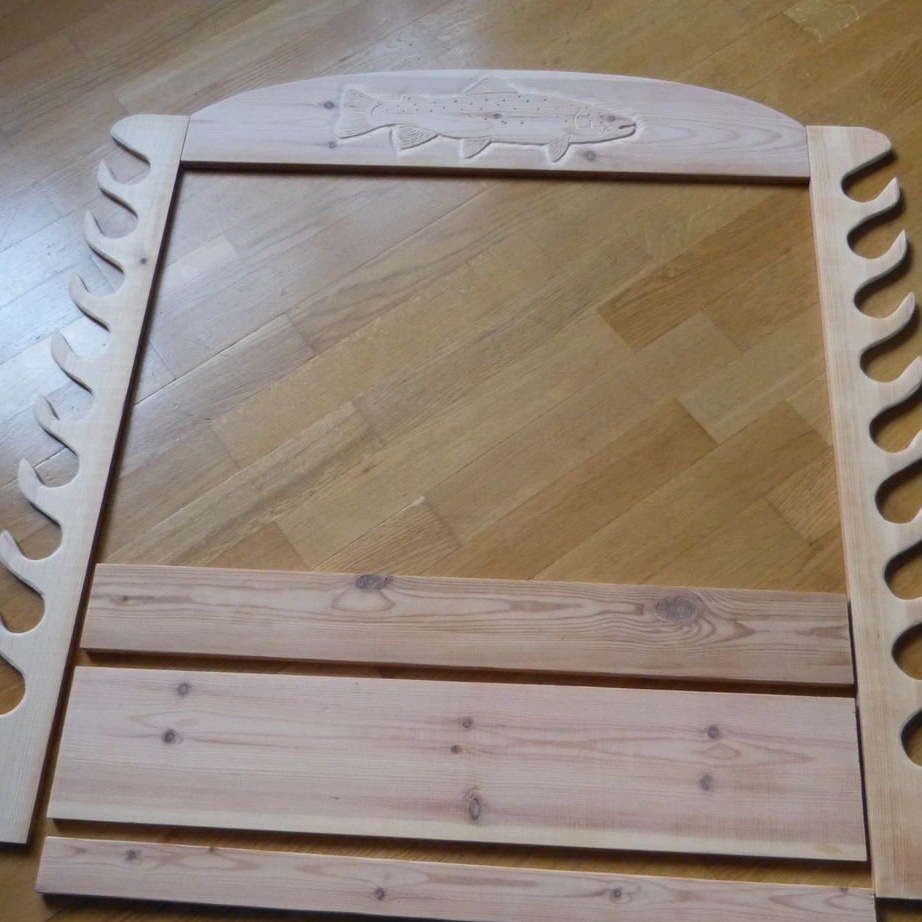
Step One: Sawing
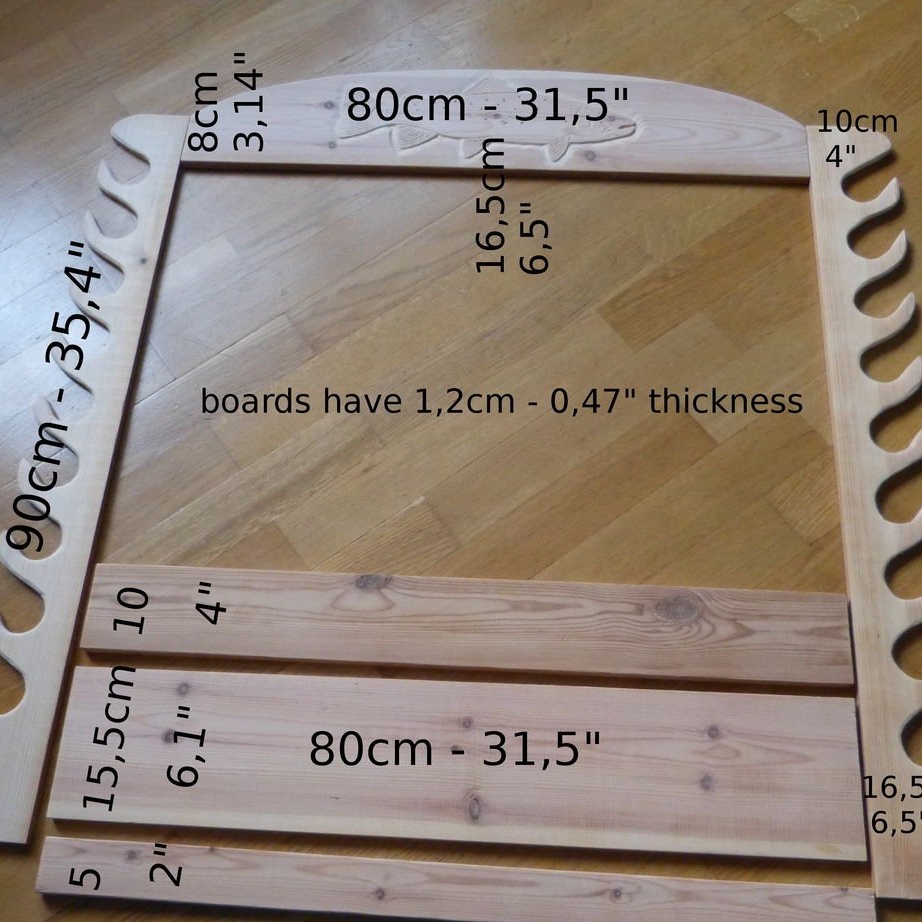
In the photo below, you can see the dimensions of the details of the rack in centimeters and inches. With the help of a saw, the master cuts the boards in size.
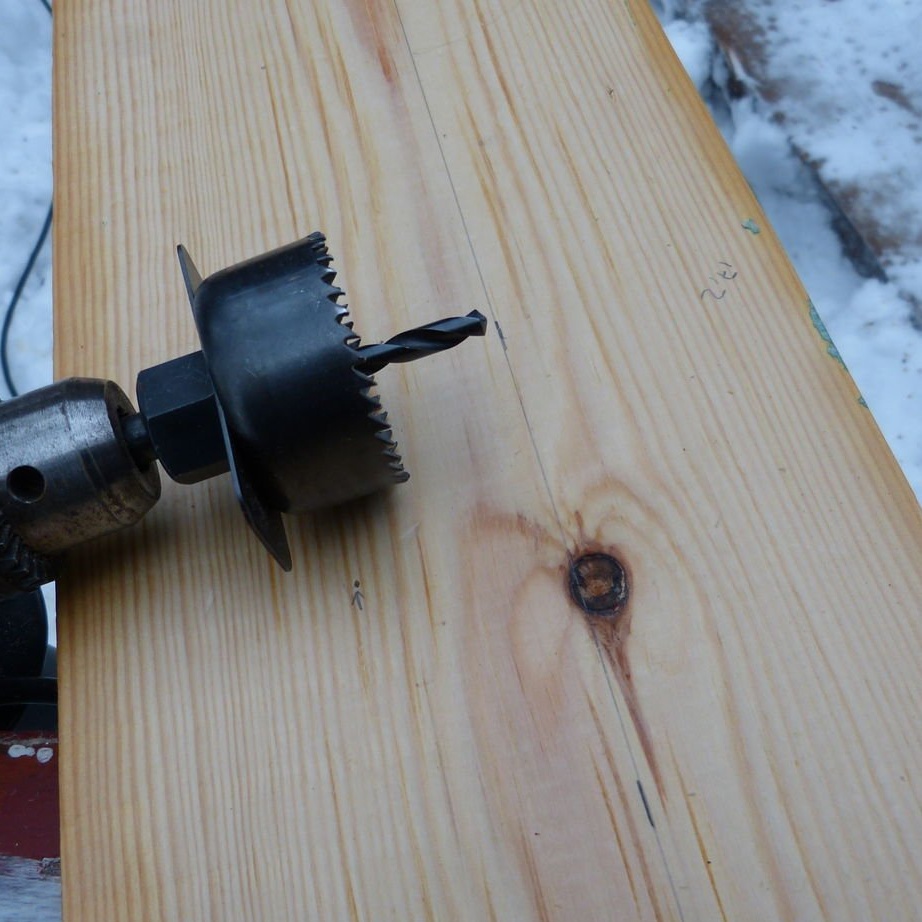
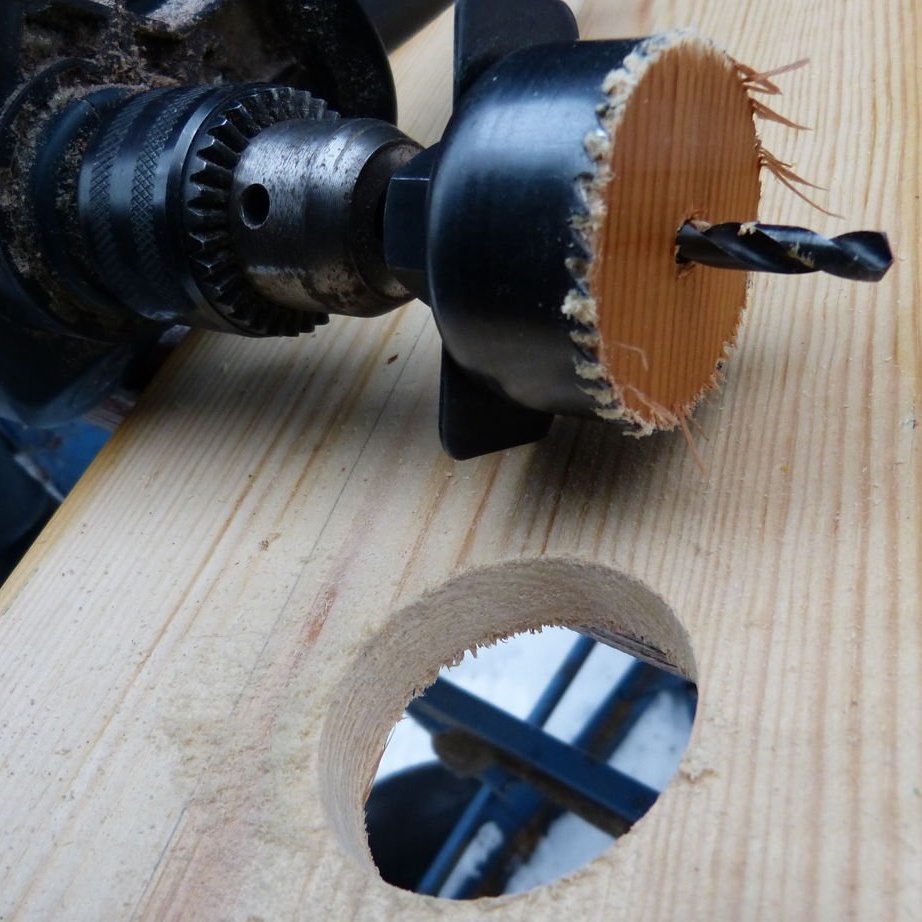
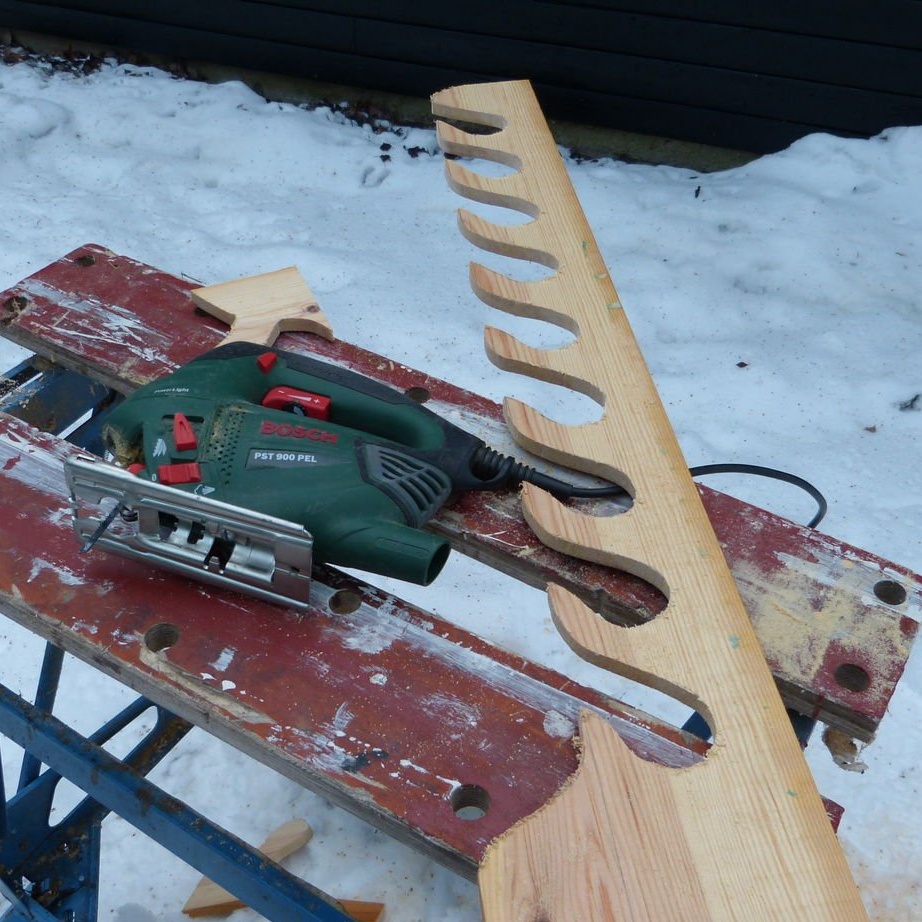
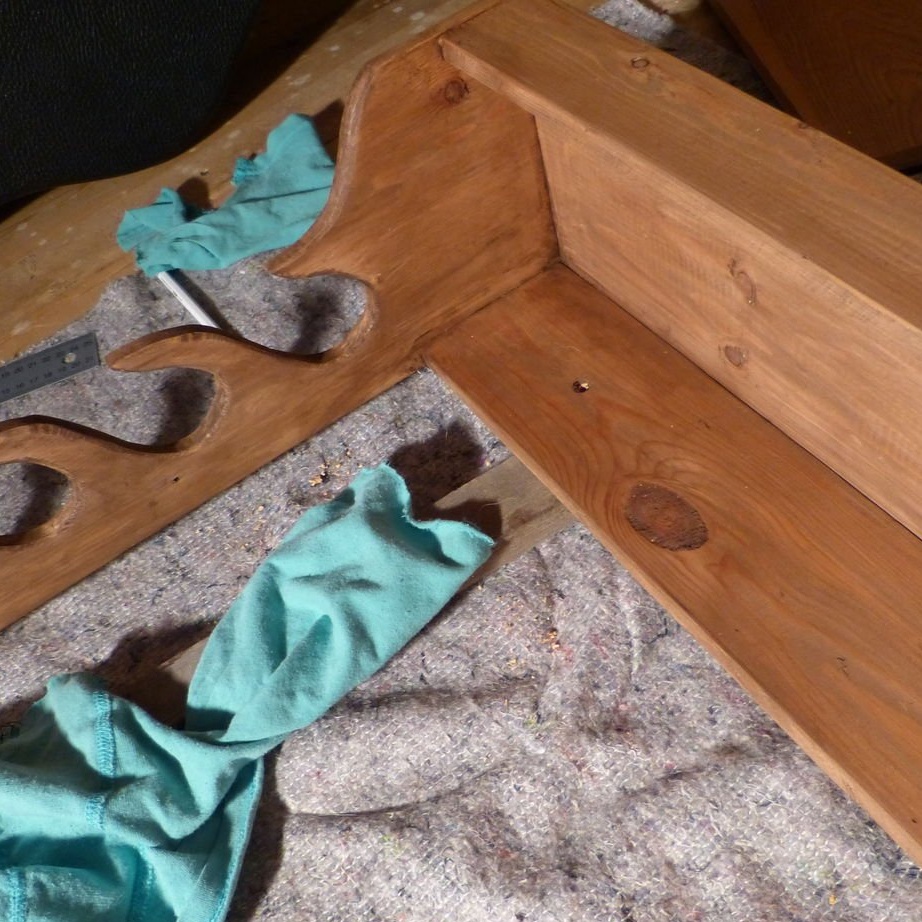
Step Two: Side Racks
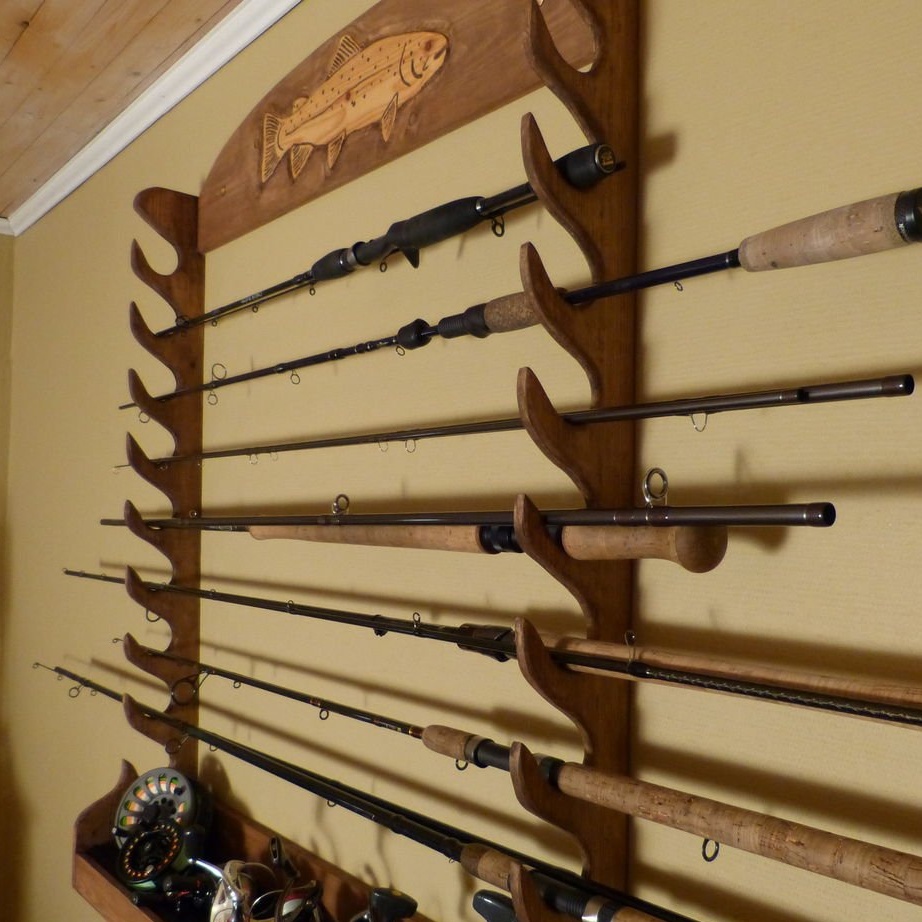
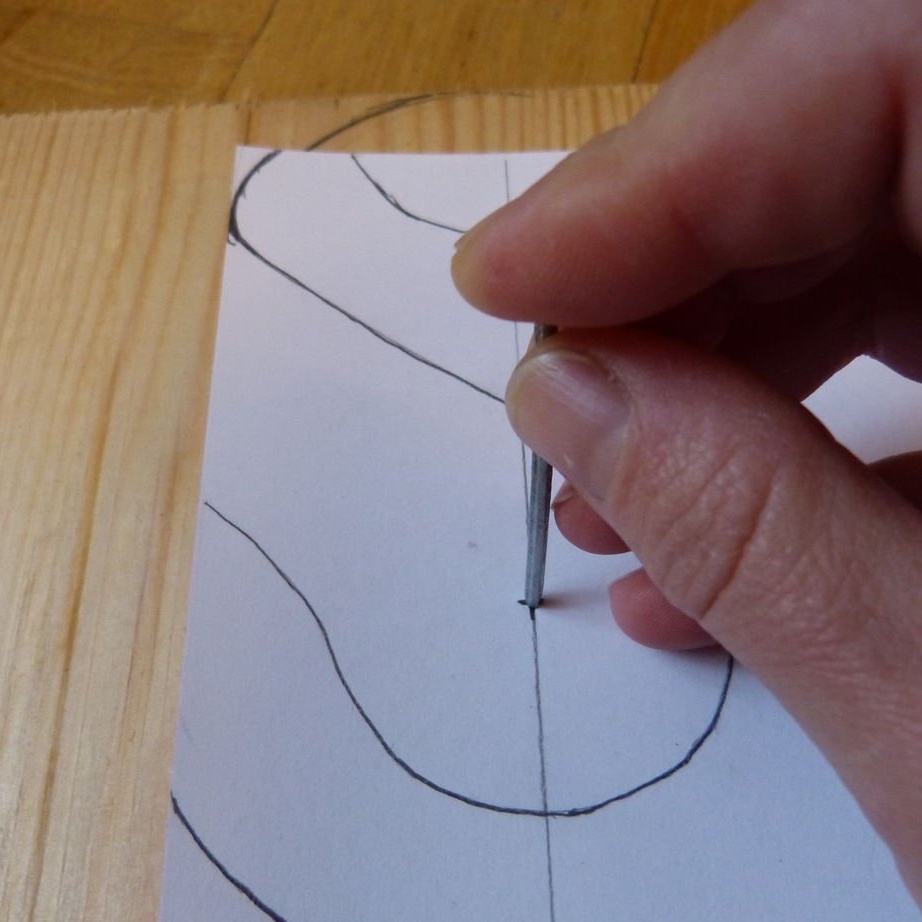
In the side racks you need to make a series of cutouts. There are two ways to do this. First, the master, on paper, prints a template. Carries the template to the rack. A crown cuts holes. An electric jigsaw cuts off excess material.


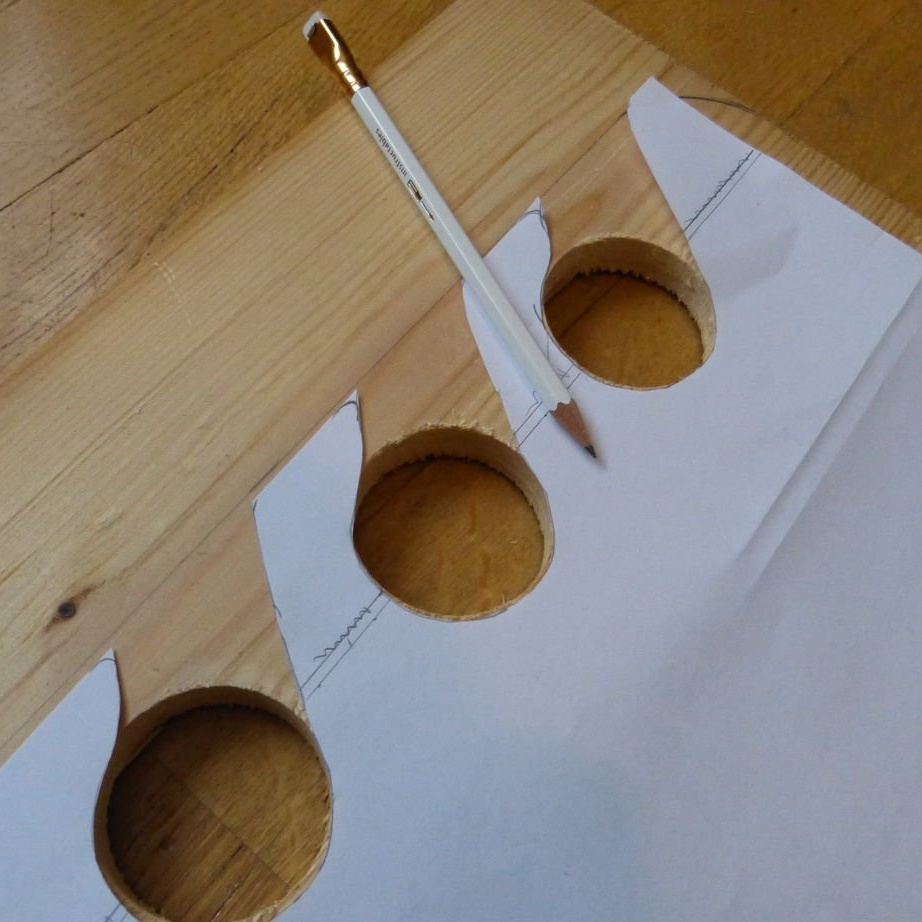


In the second method, the master uses only a jigsaw.
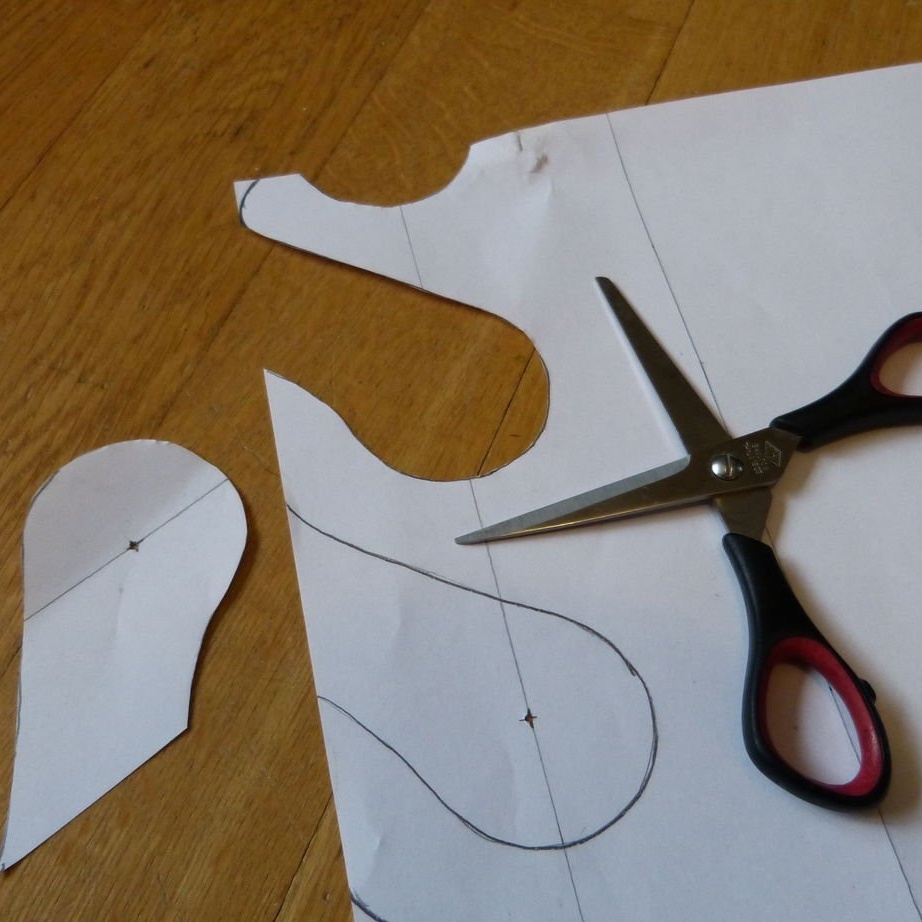
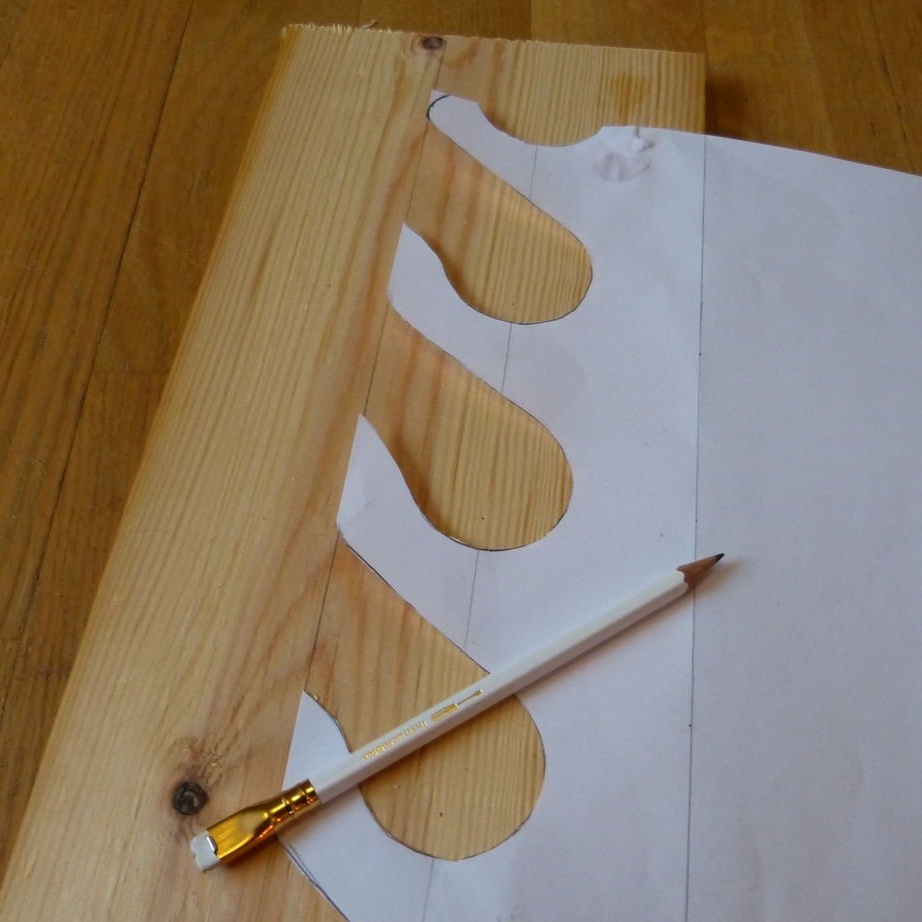


The template can be downloaded below.
A4 pattern.pdf
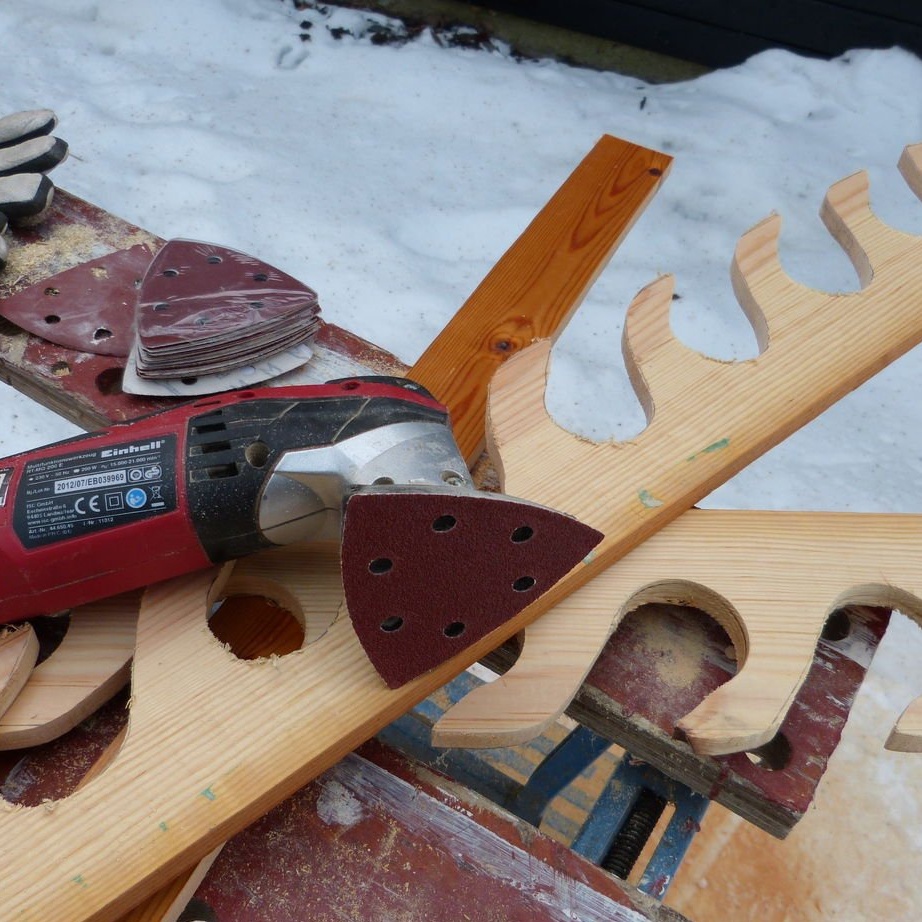
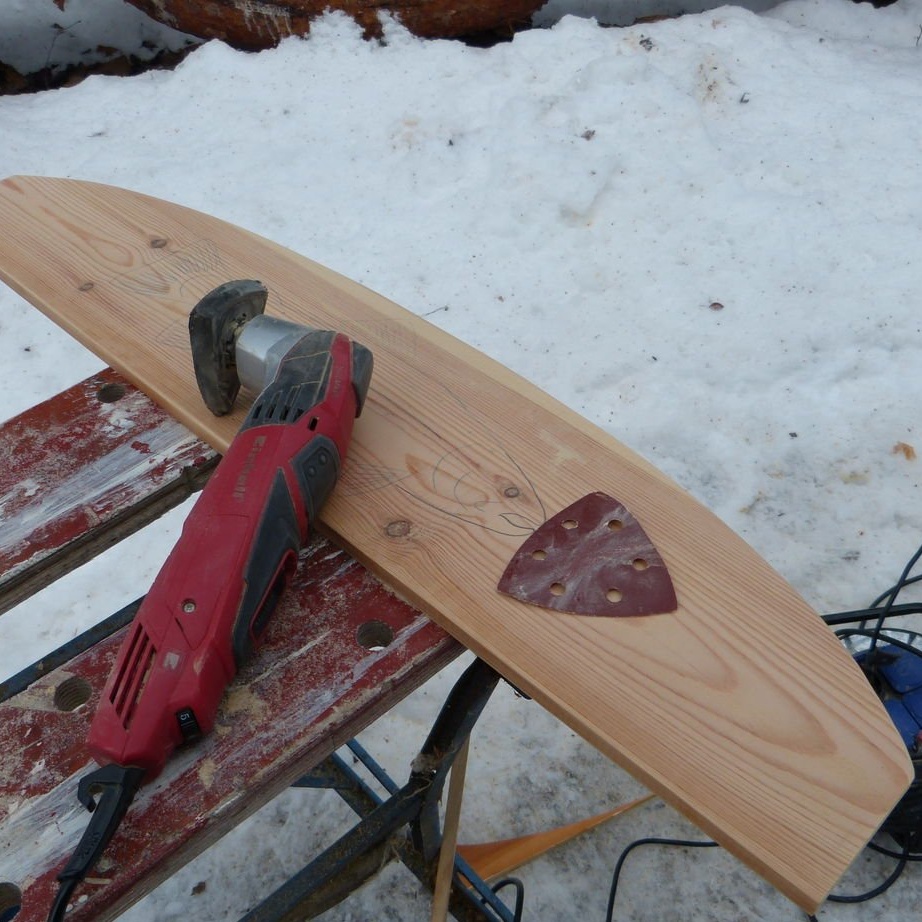
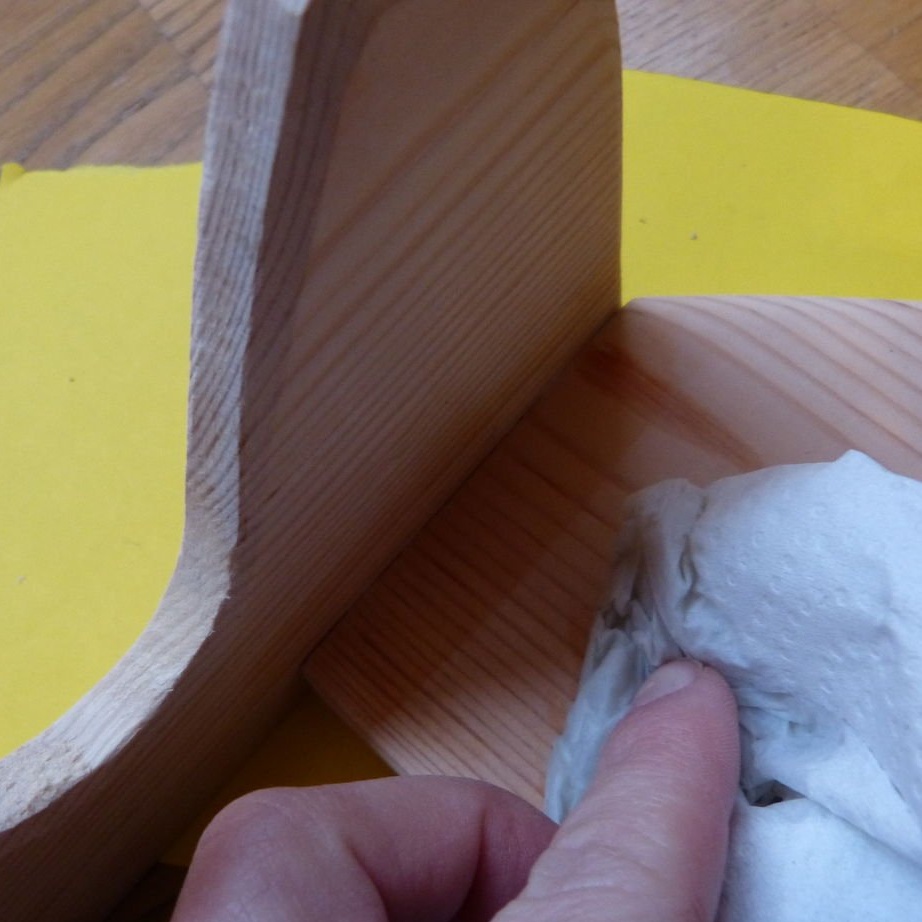
Step Three: Grinding
Then the master polishes the racks.

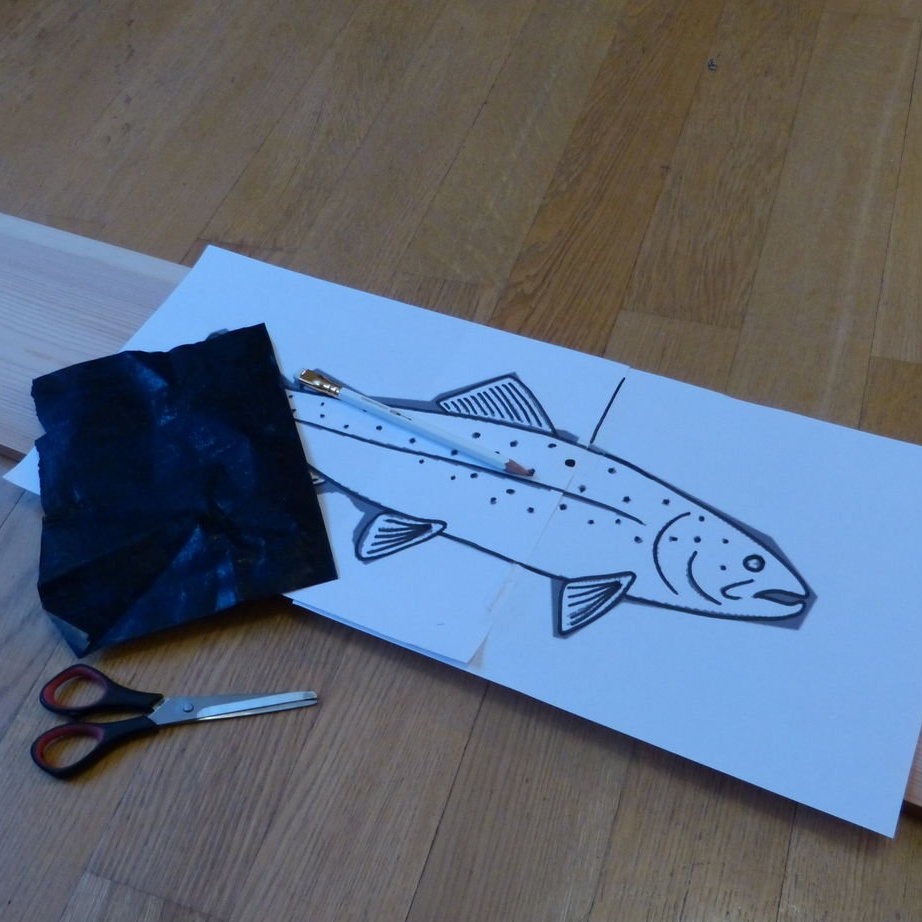
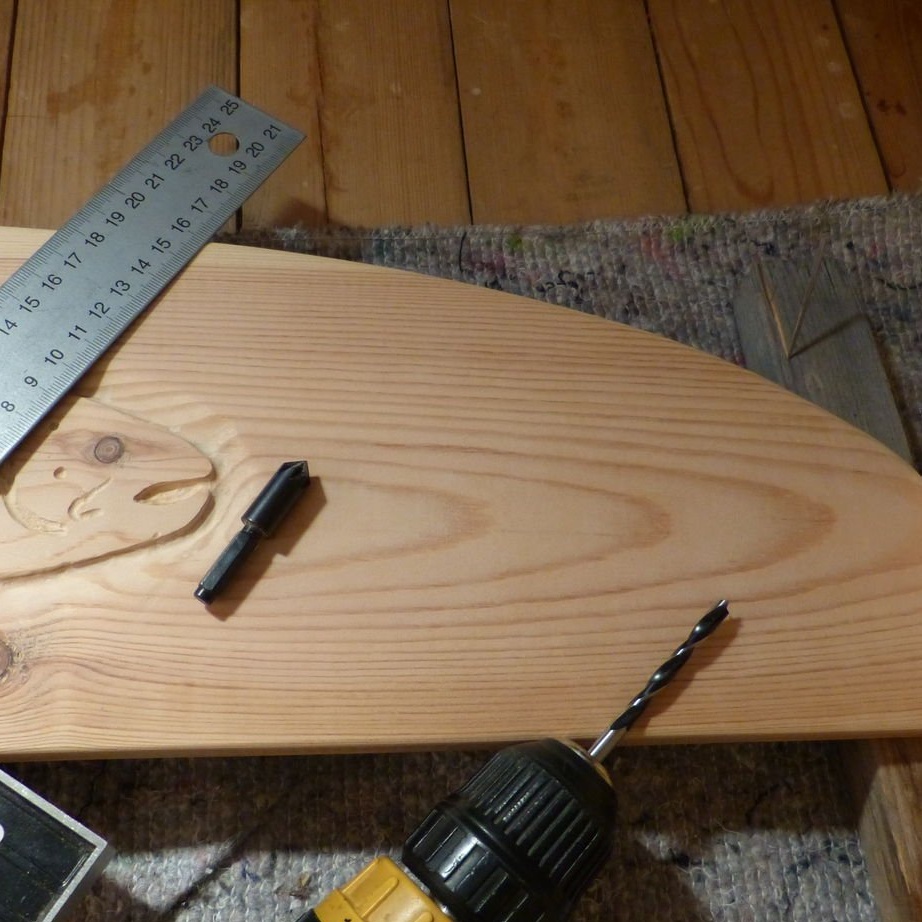
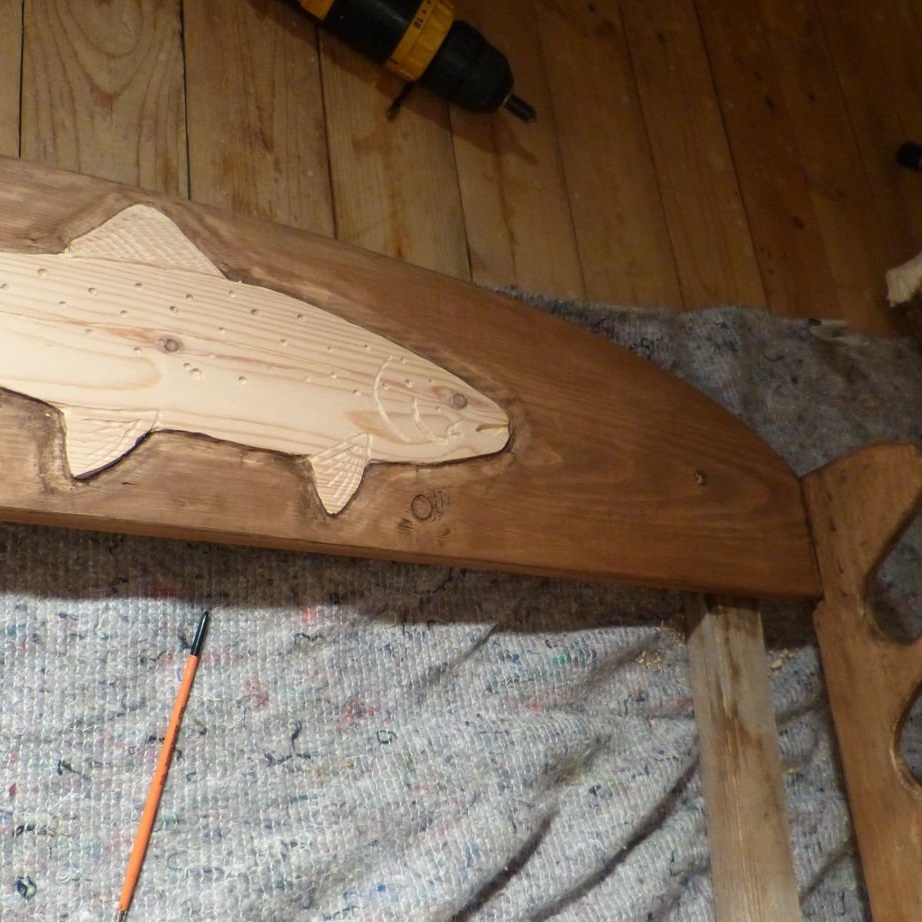
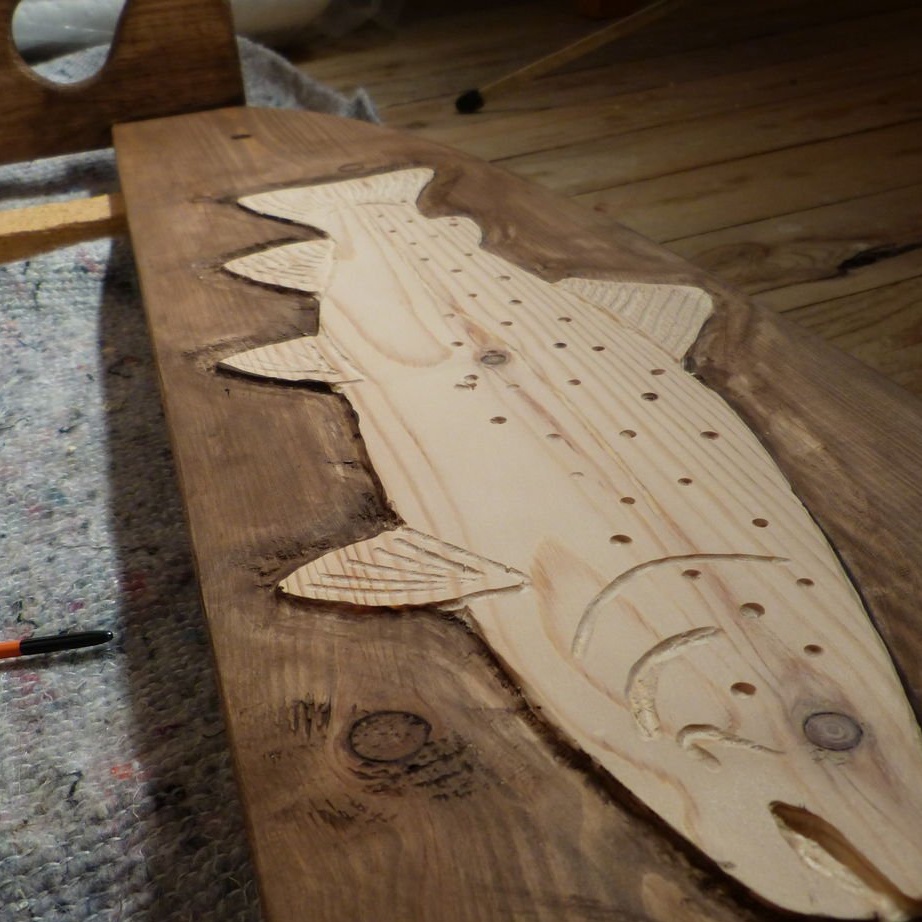
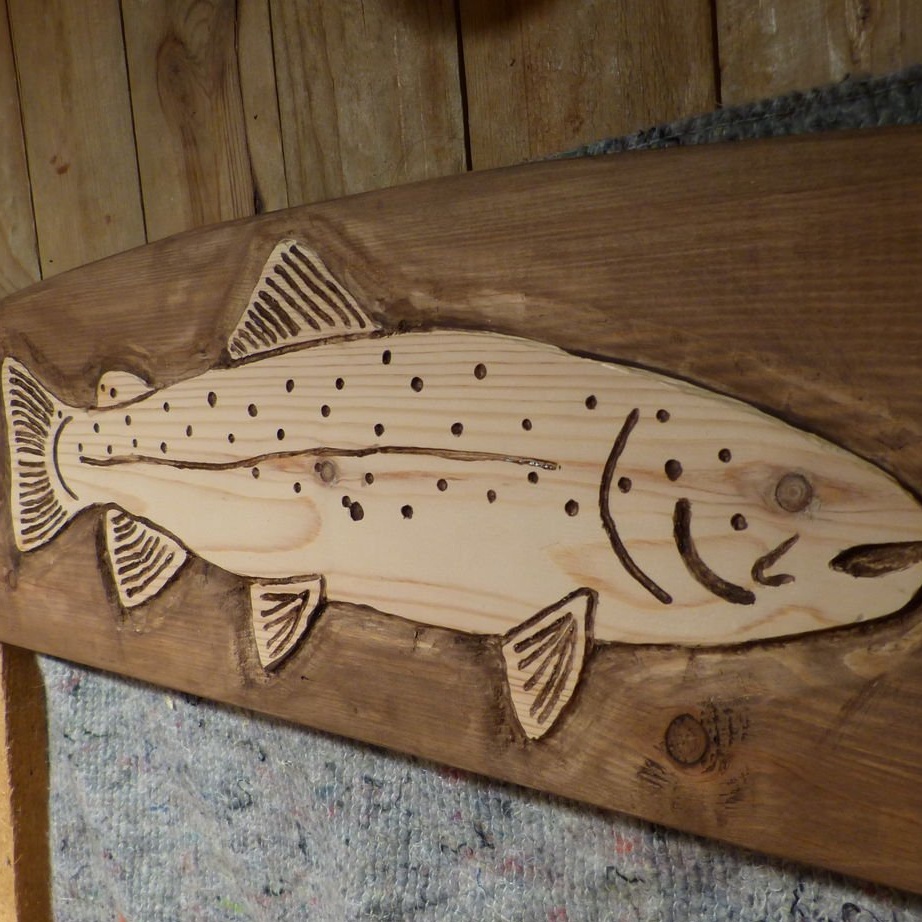
Step Four: Upper Crossbeam
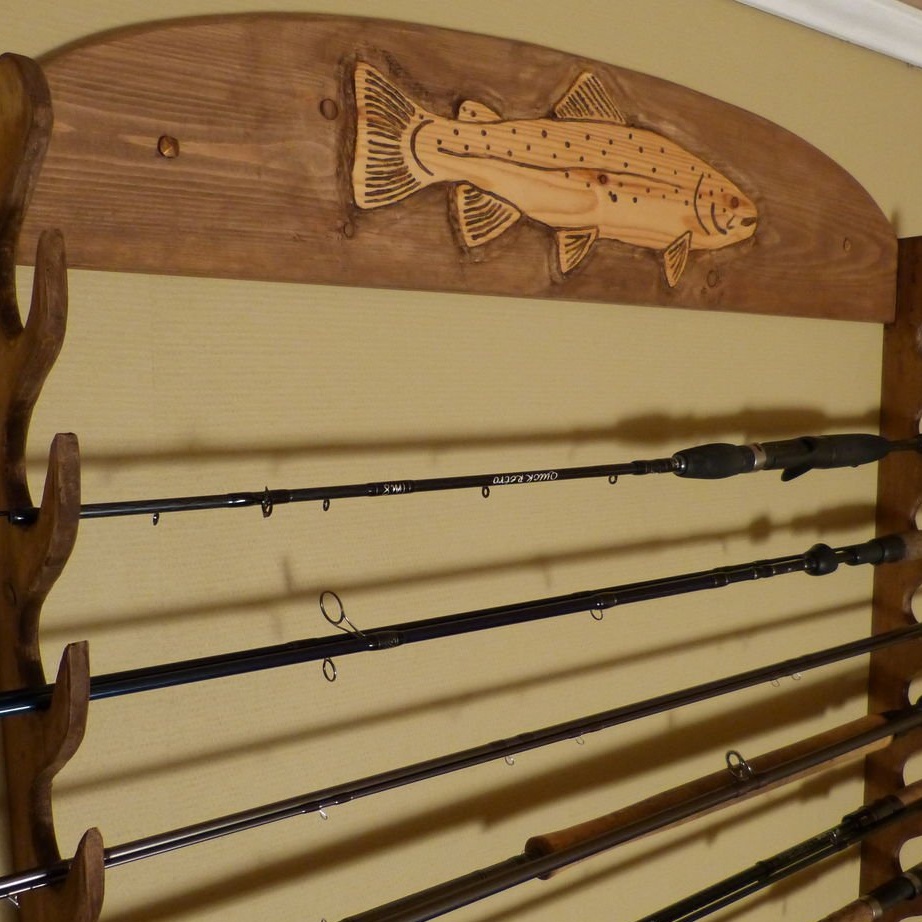
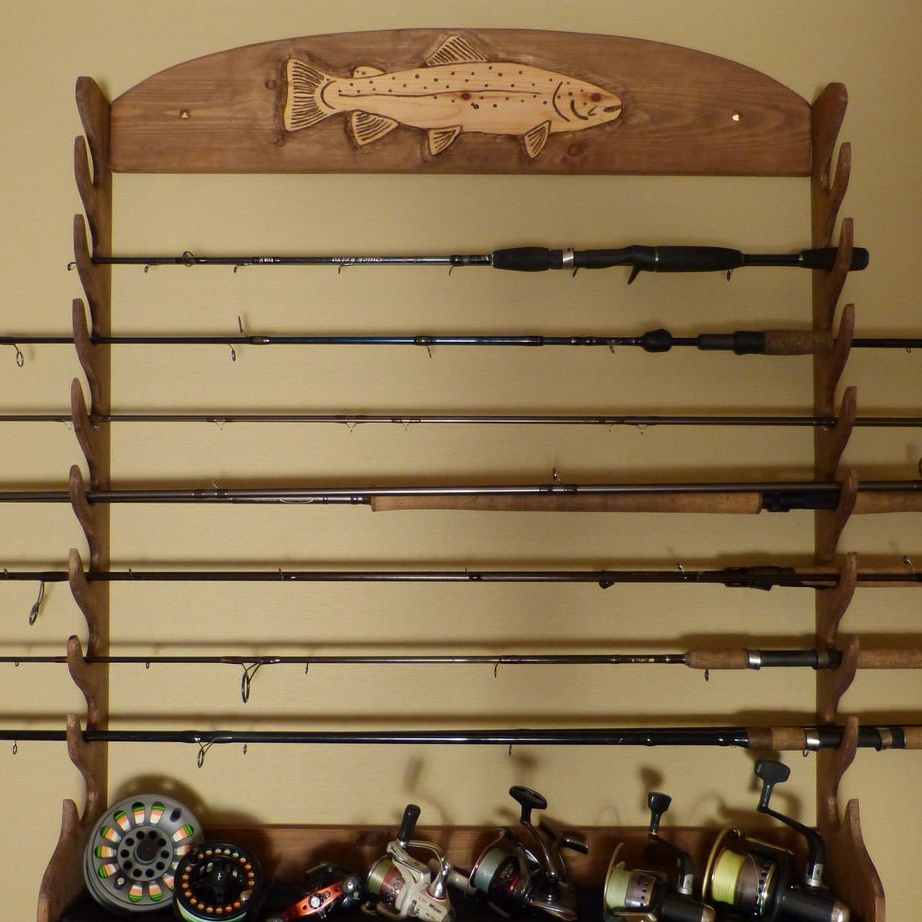
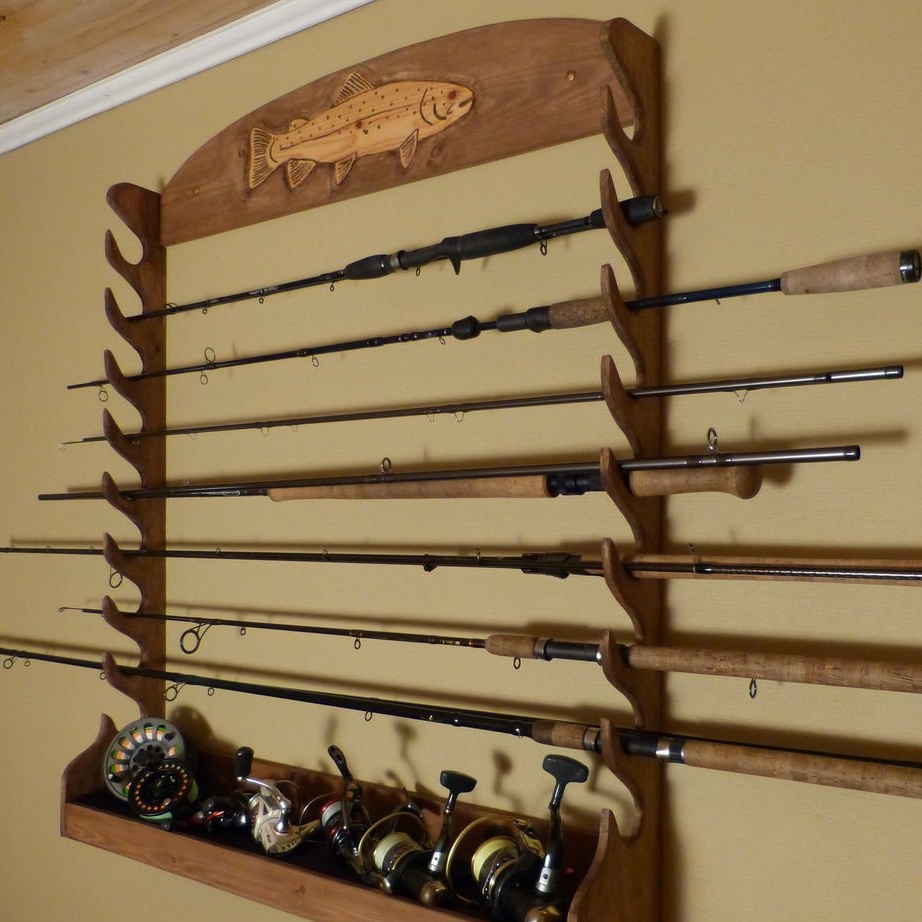
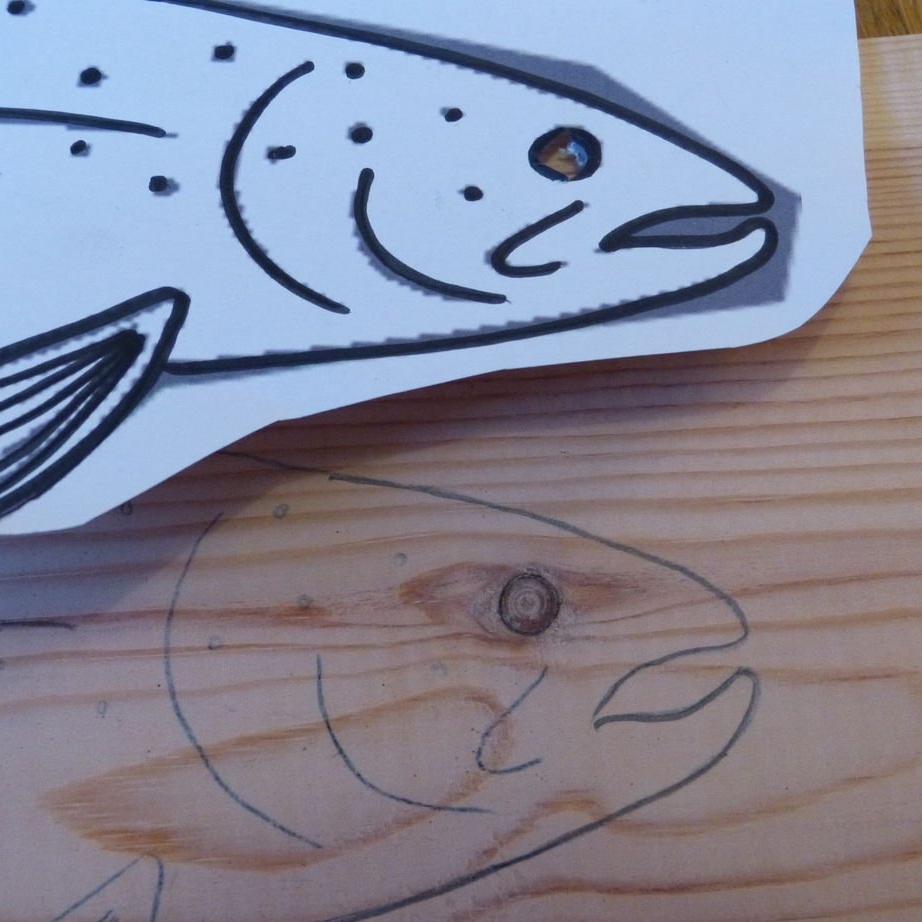
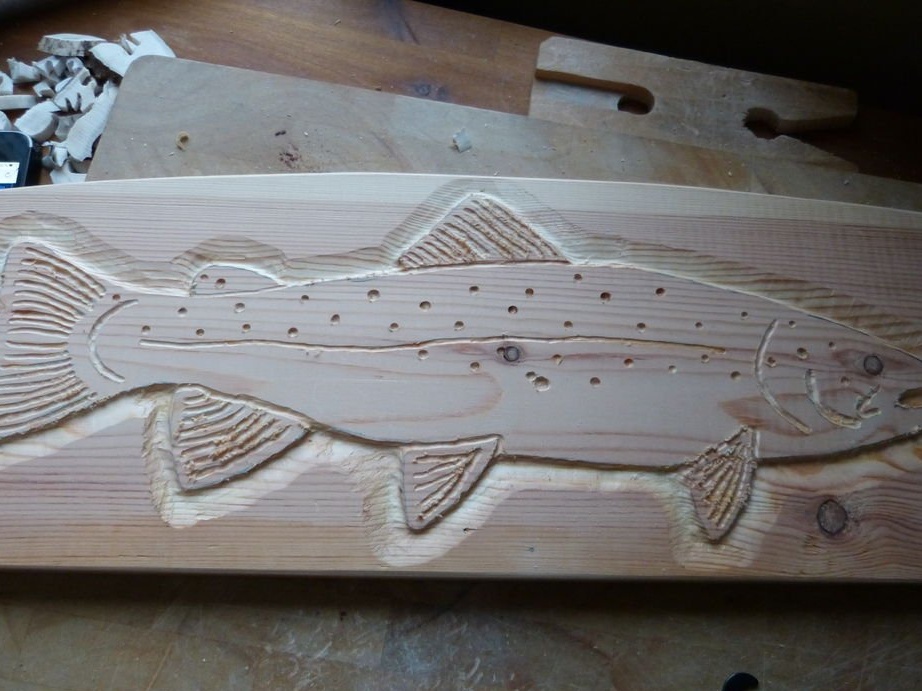
The length of the upper cross member is 80 centimeters. On it, the master will cut fish. The master prints the front and back of the fish on paper and glues them together.
trout1.pdf
trout2.pdf
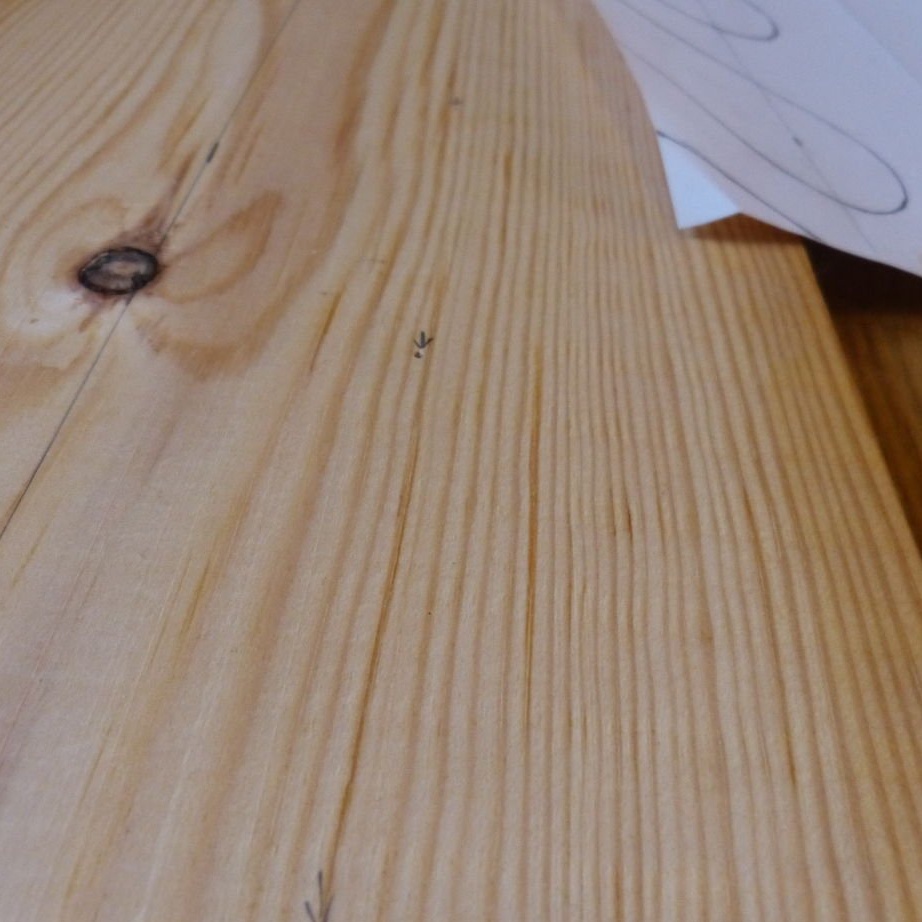
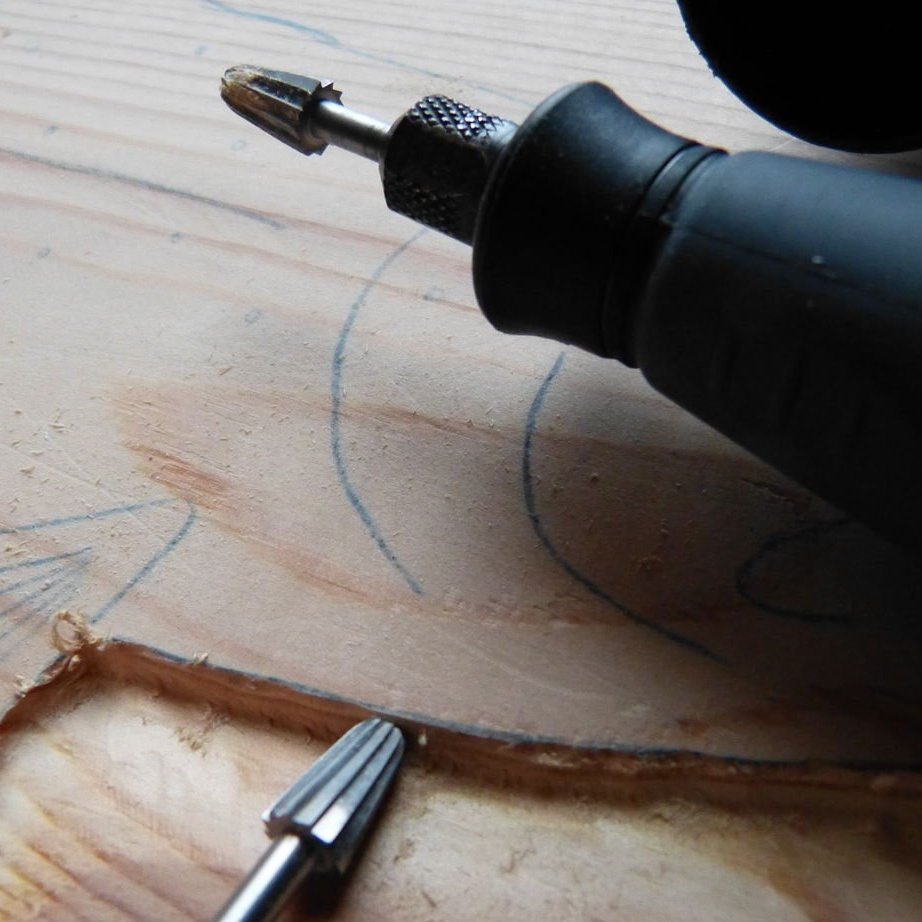
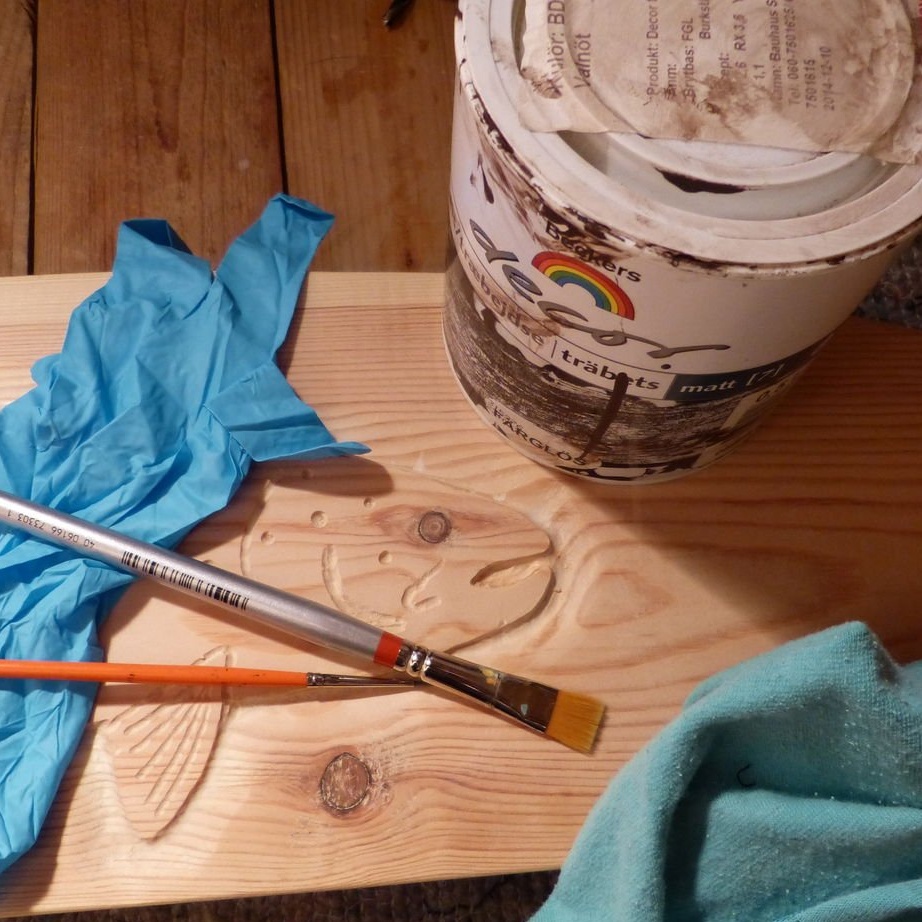
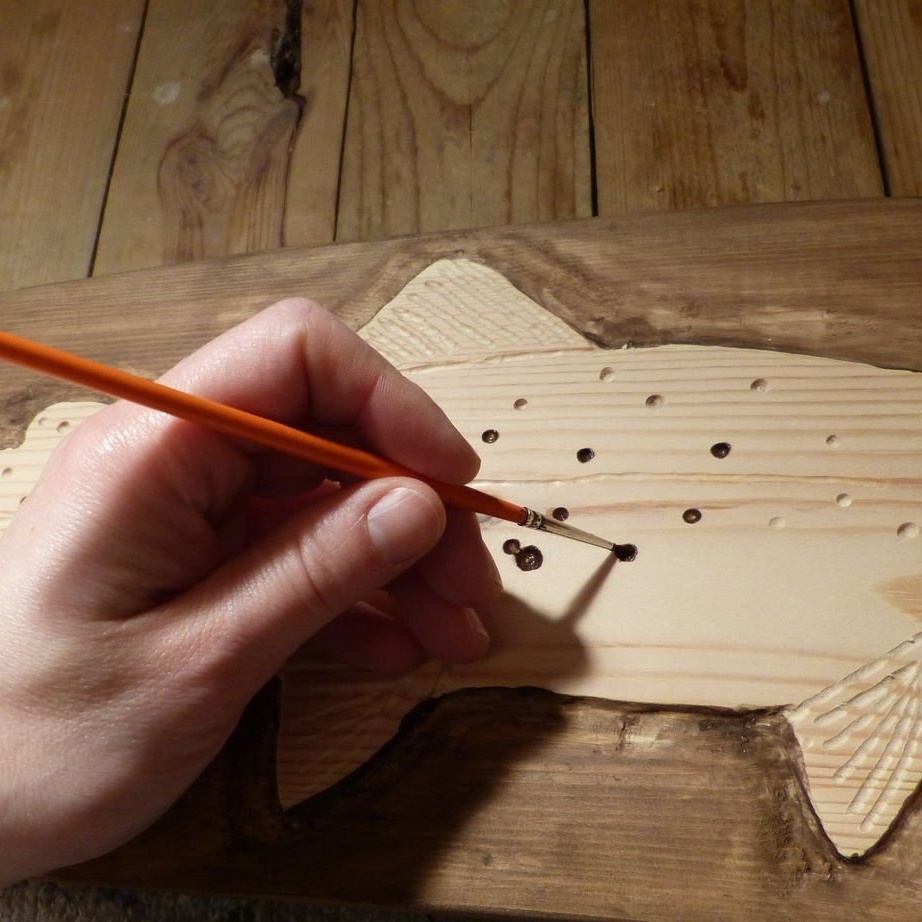
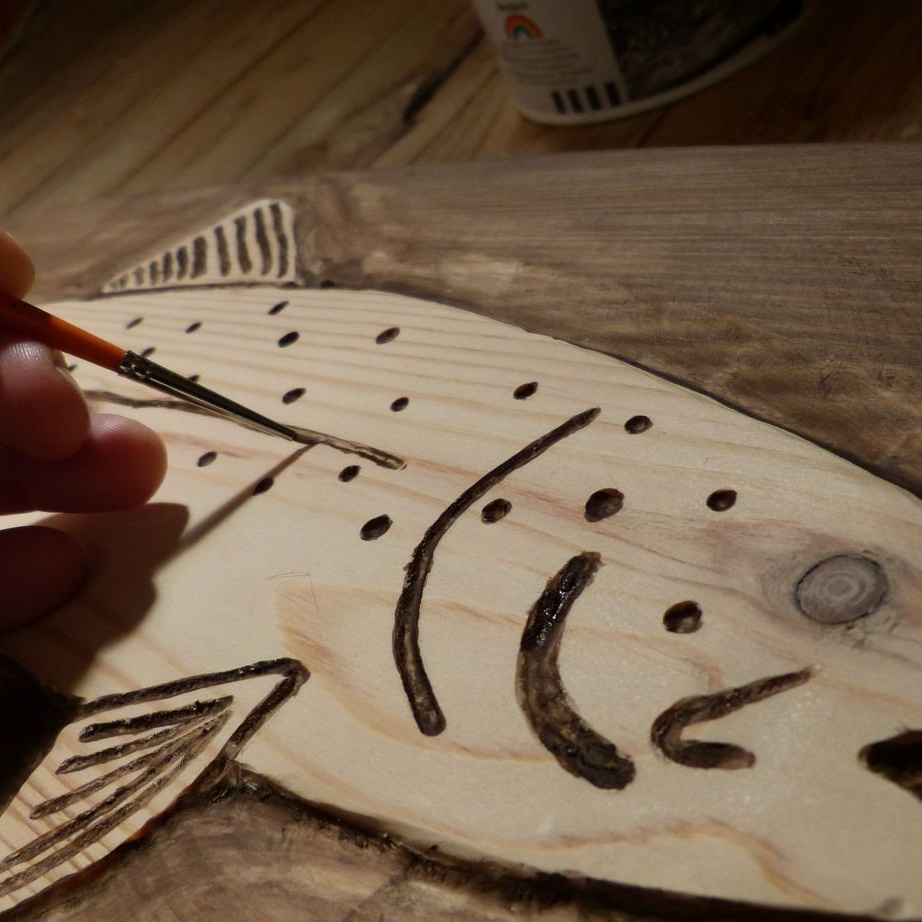
Further on a cross-beam fixes a carbon paper and from above drawing. Pencil outline. Now there is a fish outline on the workpiece.
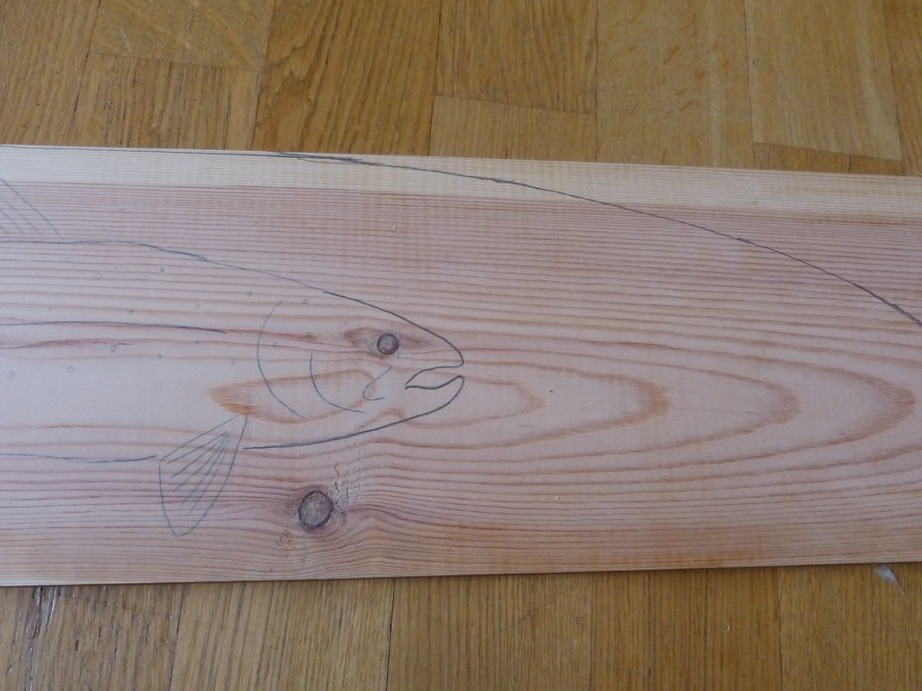
Trims the workpiece with an arc. Grinds.
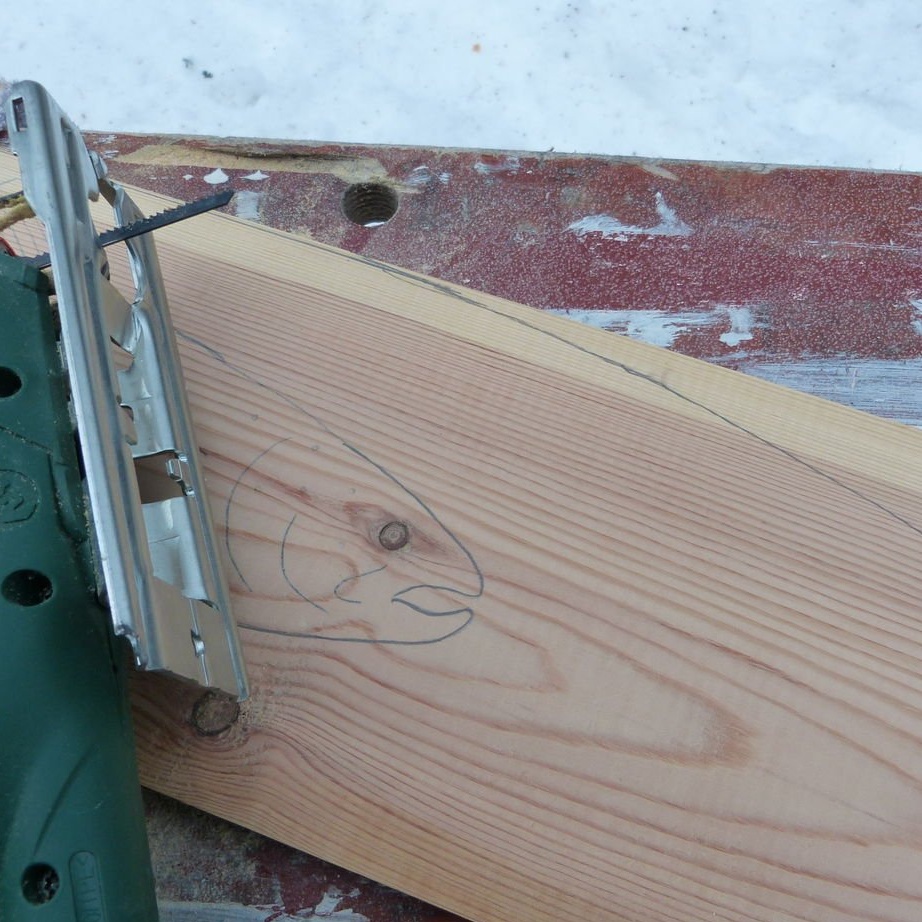
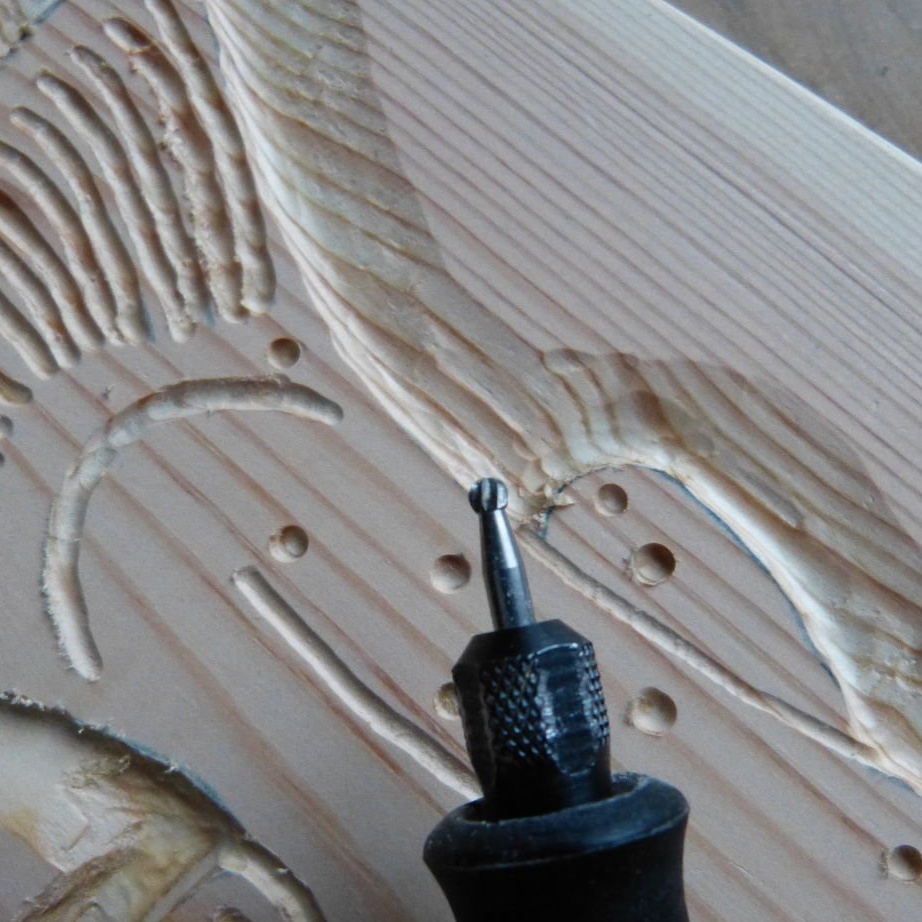
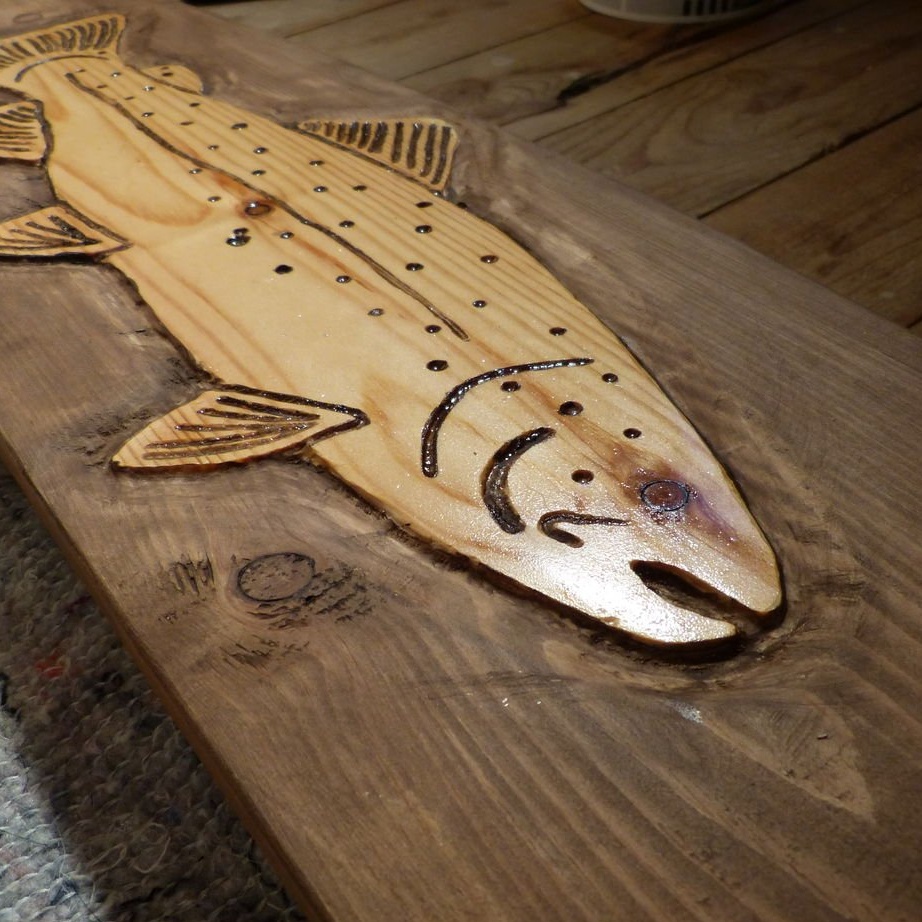
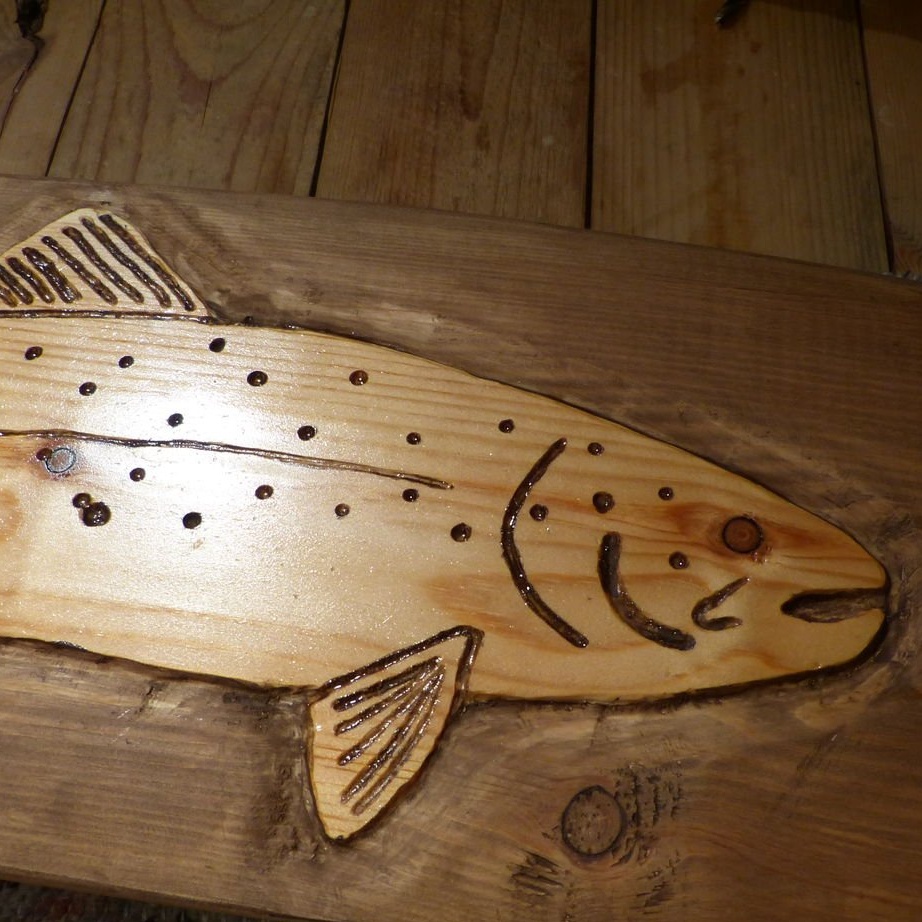
With the help of an engraver cuts fish.


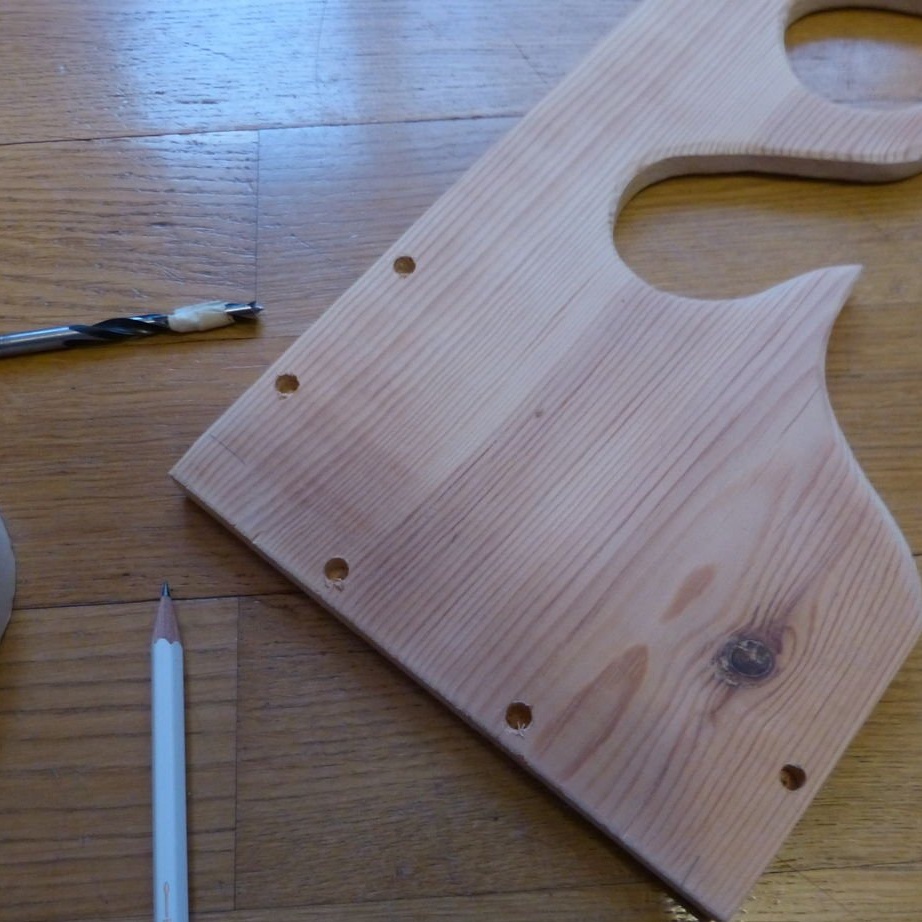
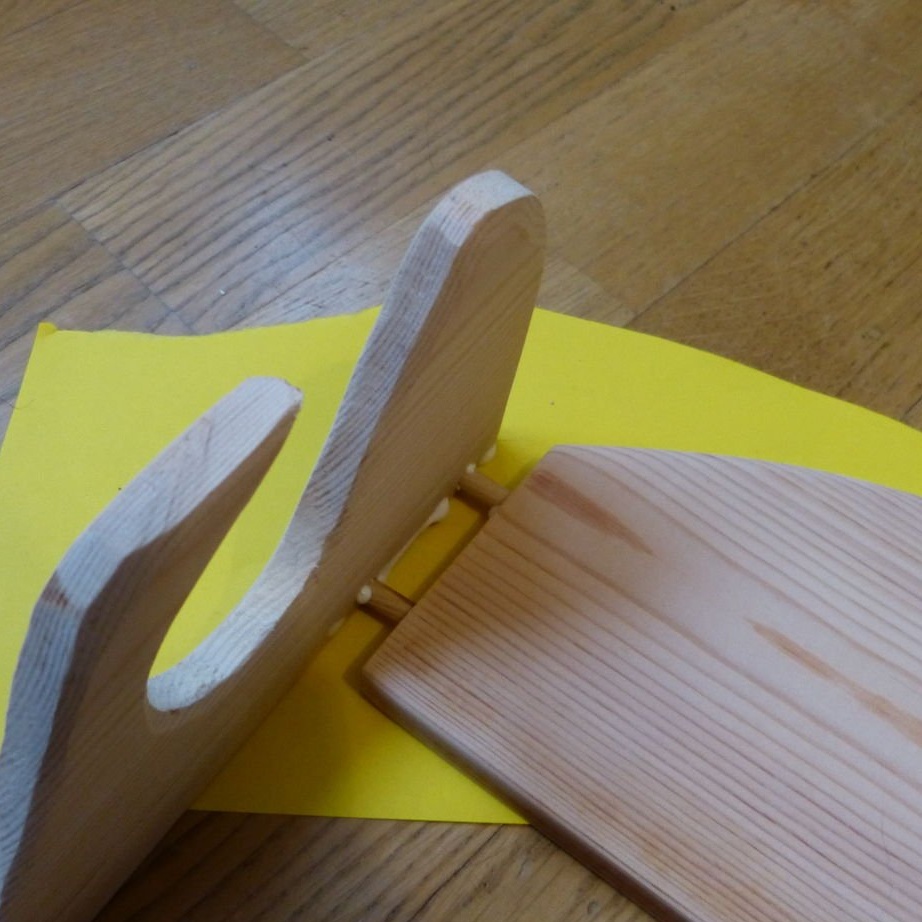
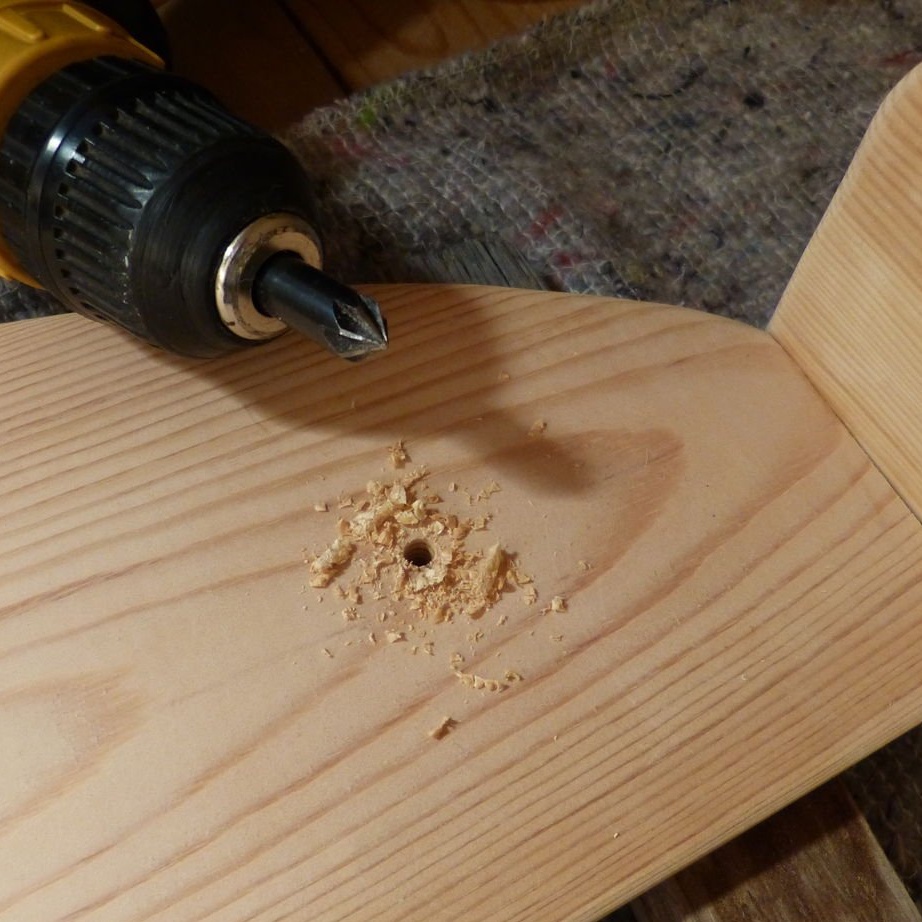
Step Five: Build
Next, the master drills holes for dowels. Applies glue, installs pins in holes.
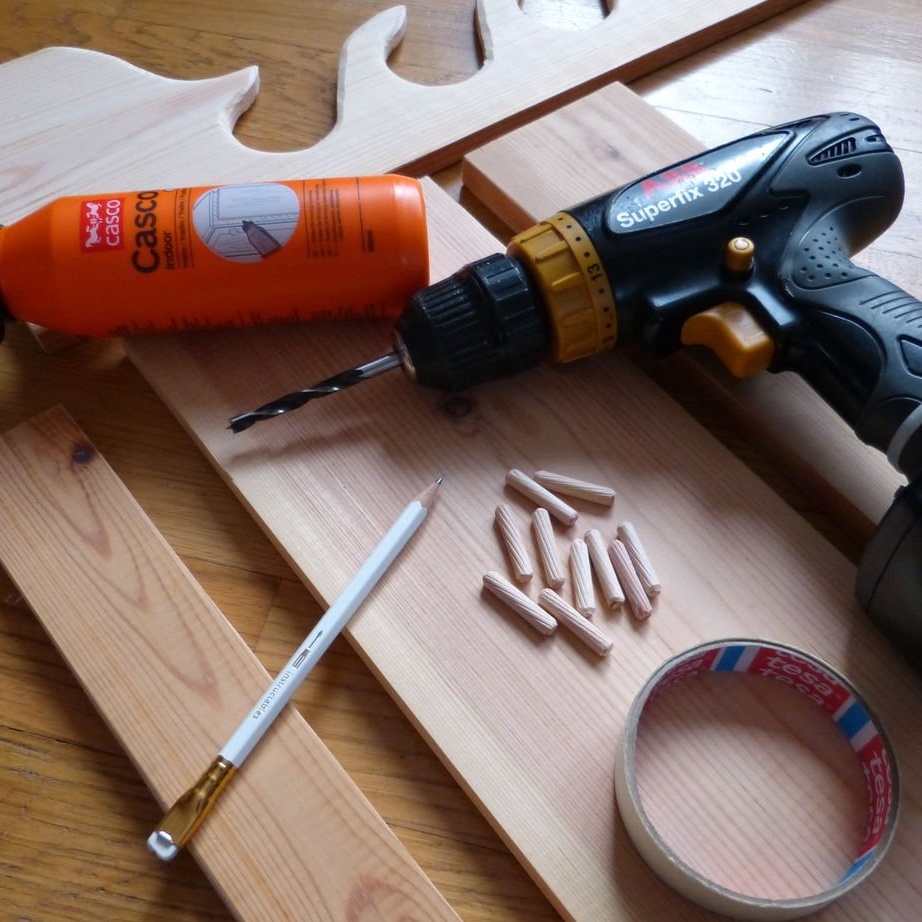


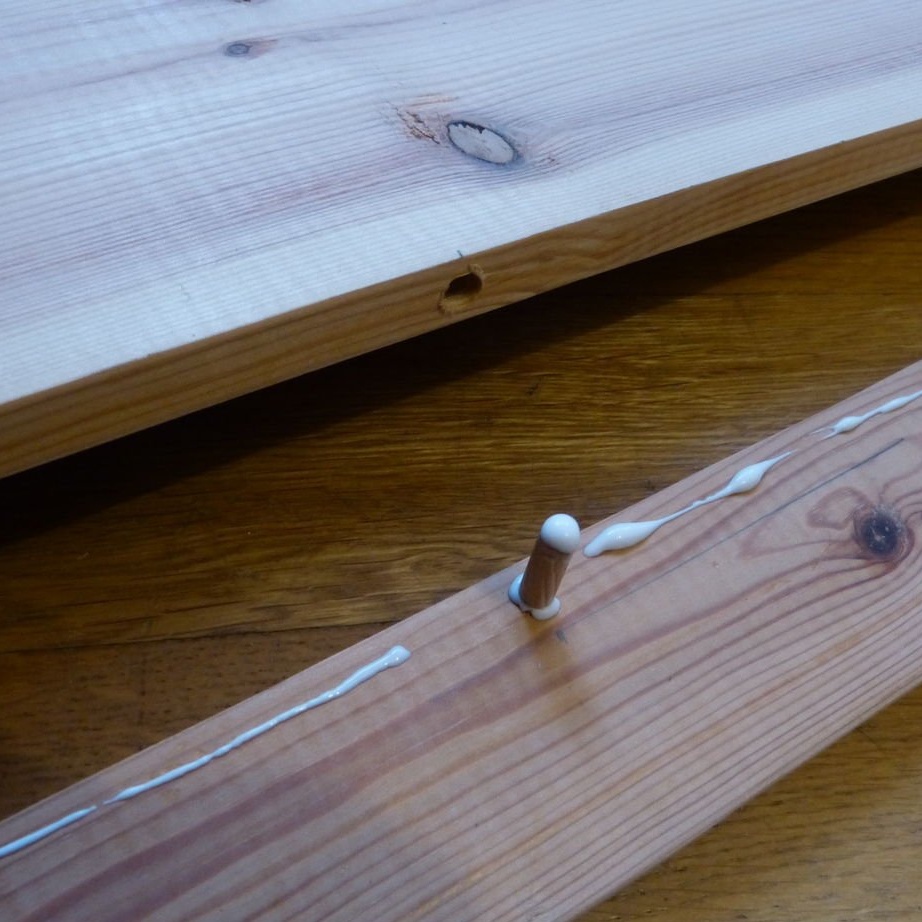
Collects a rack. Before the glue dries, fix it with screeds.

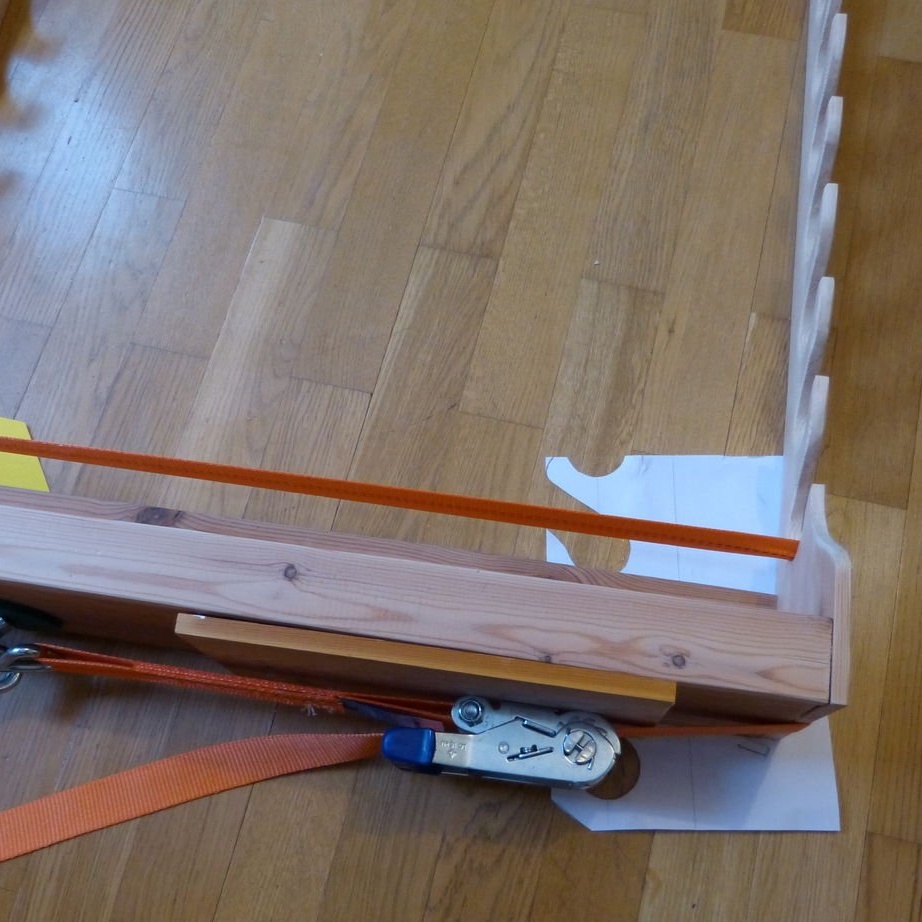


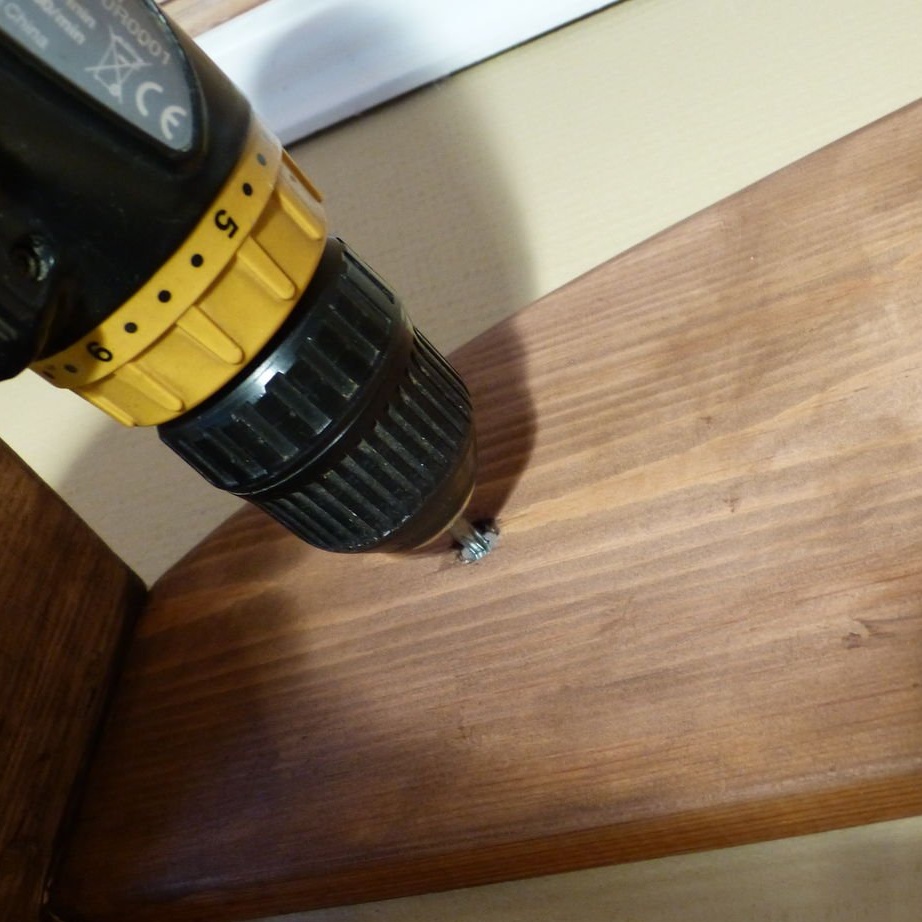
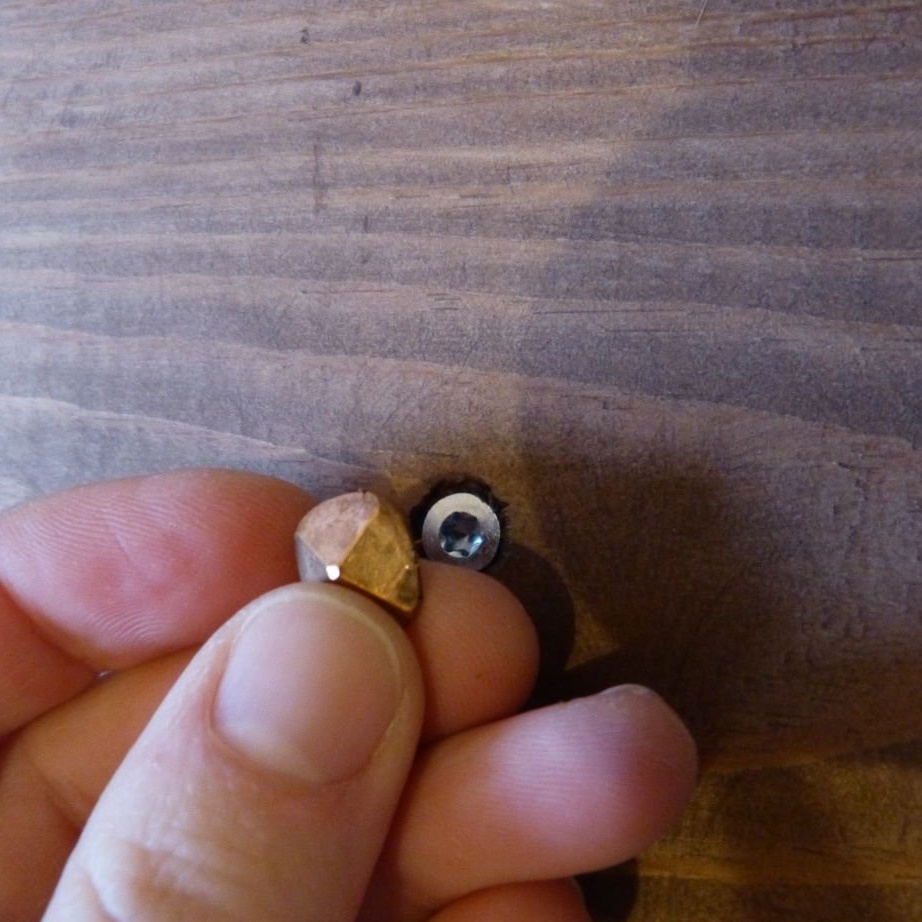
Then drills the mounting holes.

Step Six: Cover
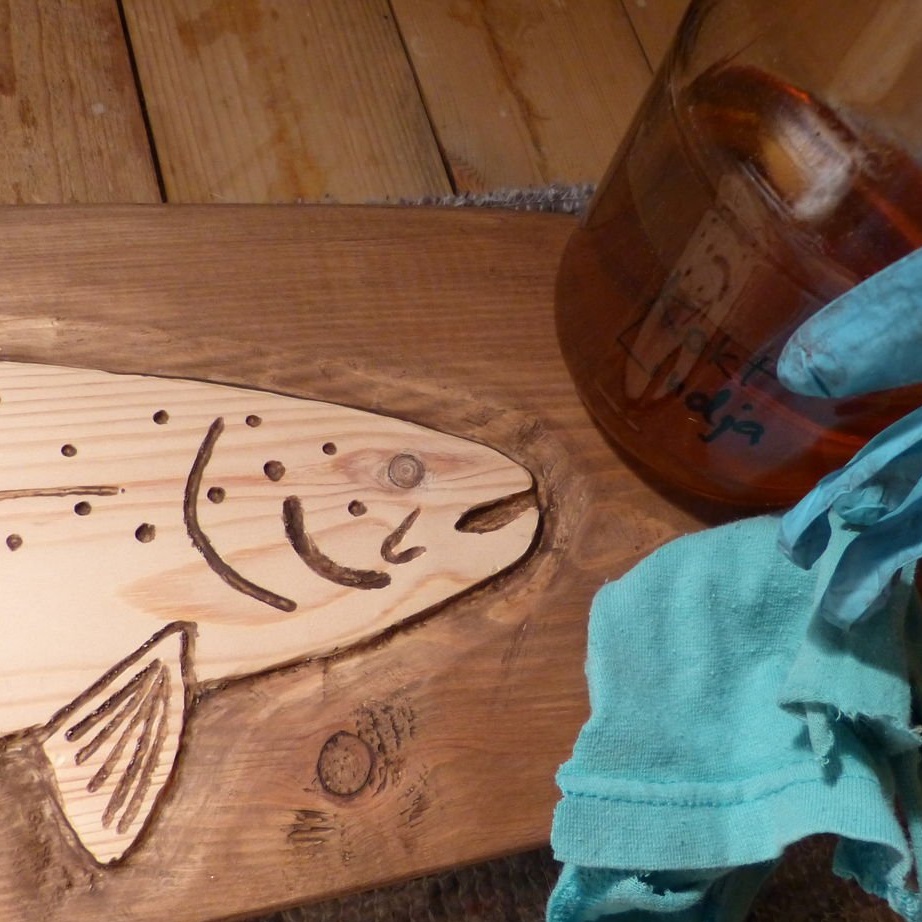
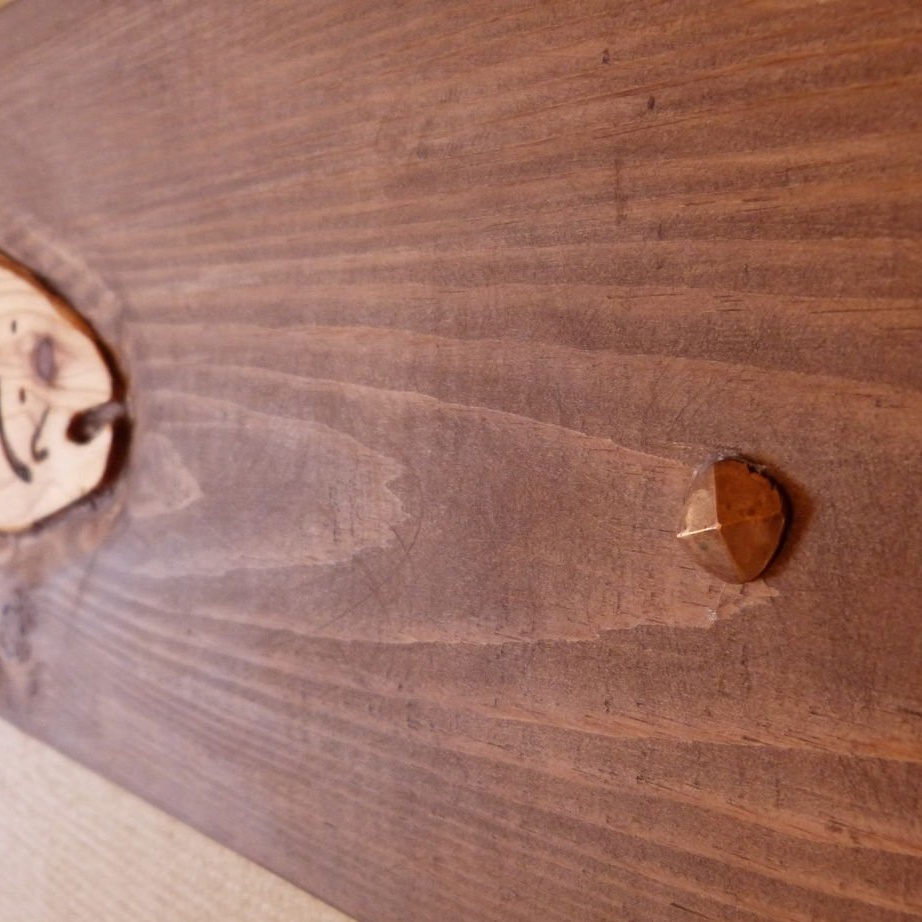
The finished rack is covered with a stain under a nut (except for fish).
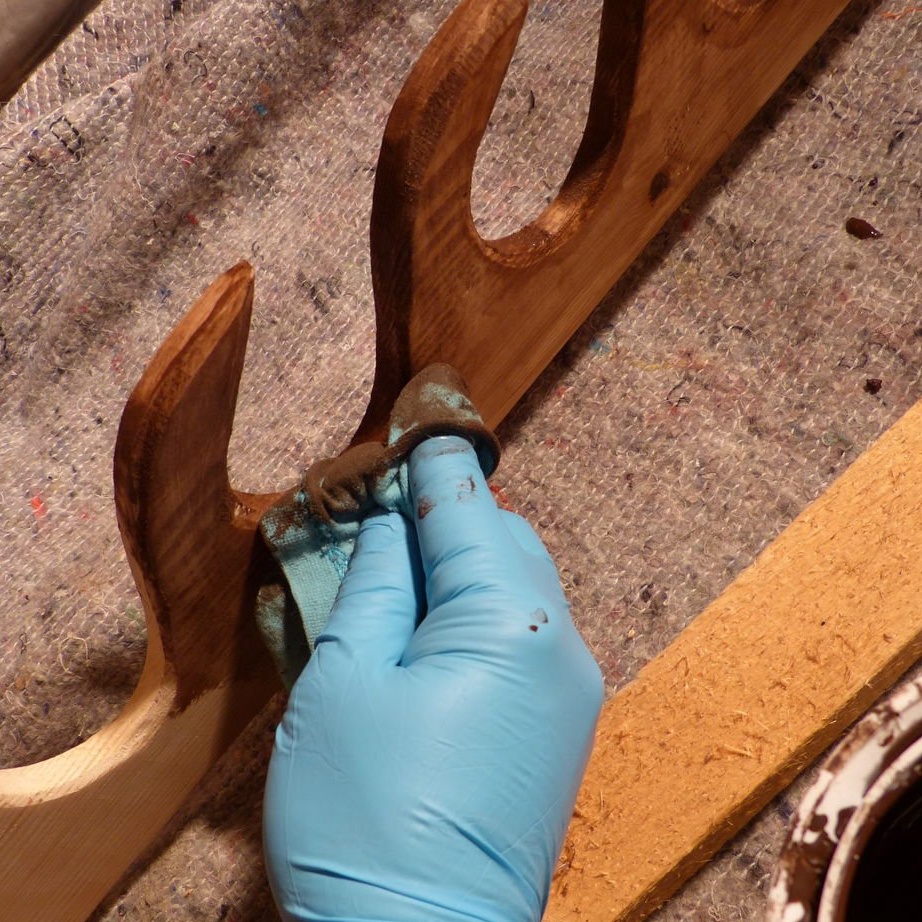
The texture details of the fish are also covered with stain. And then all the fish with linseed oil.


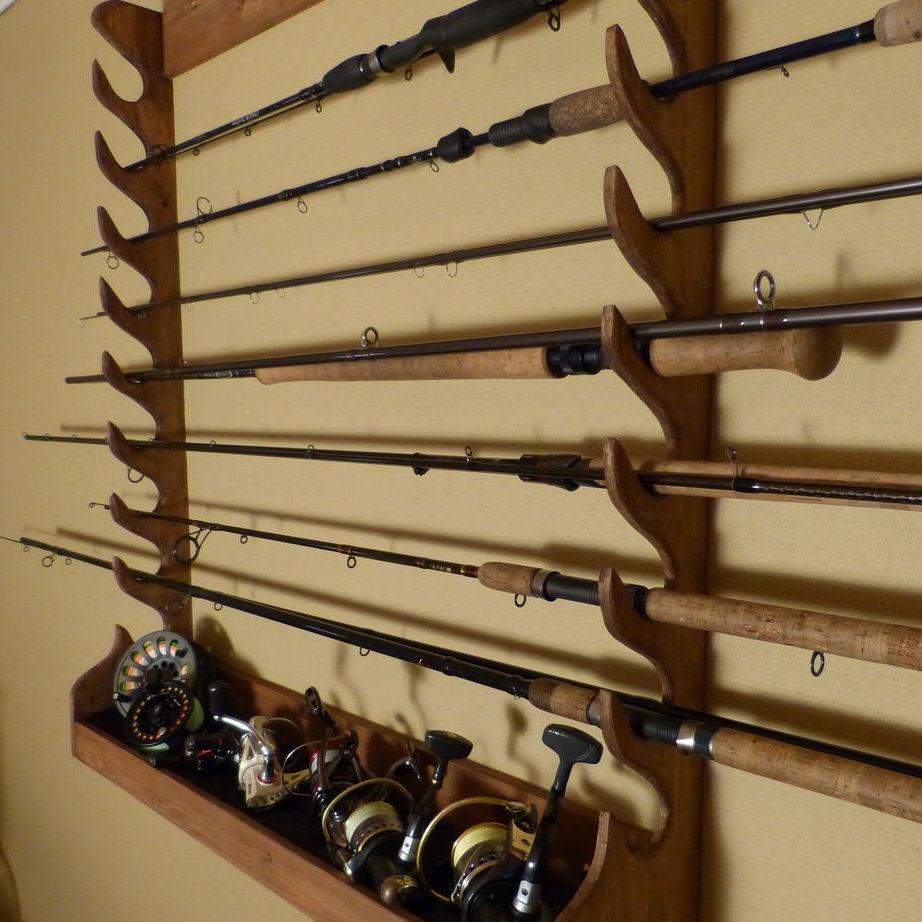
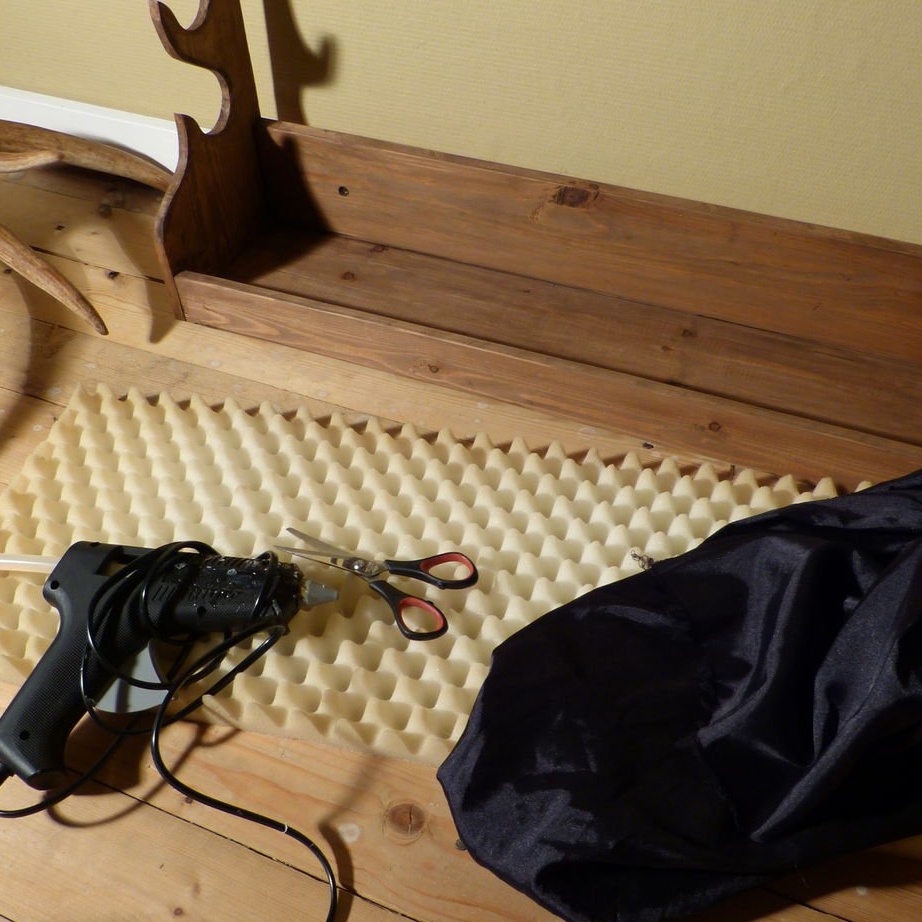
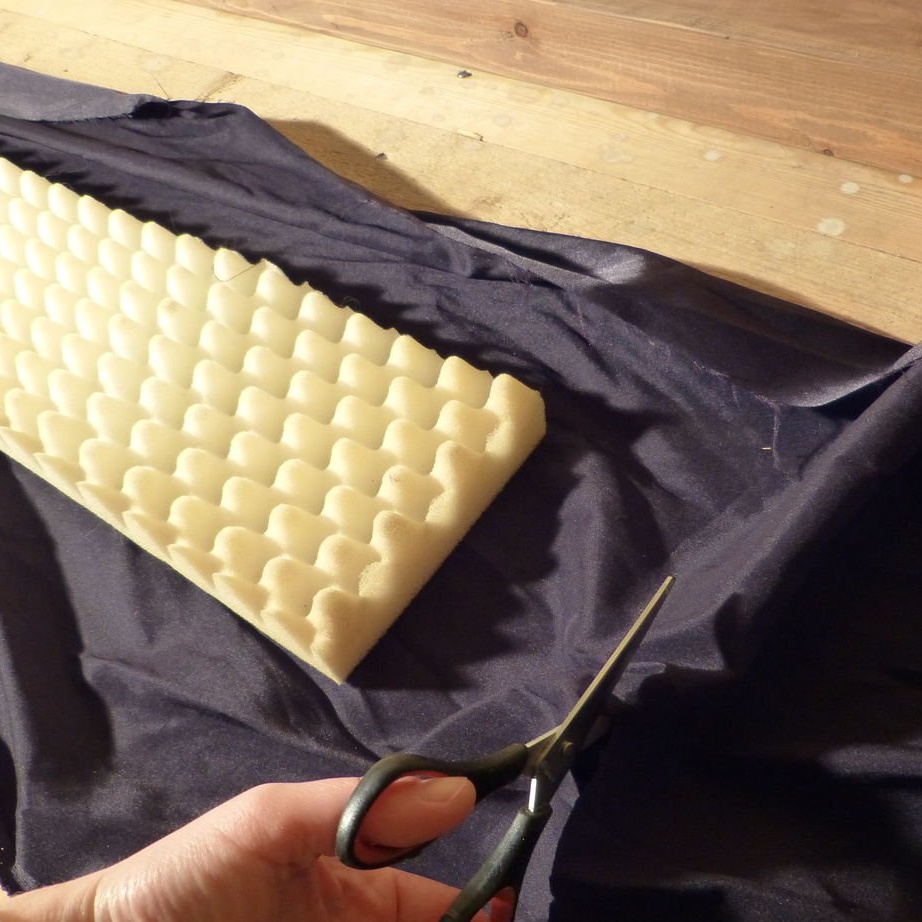
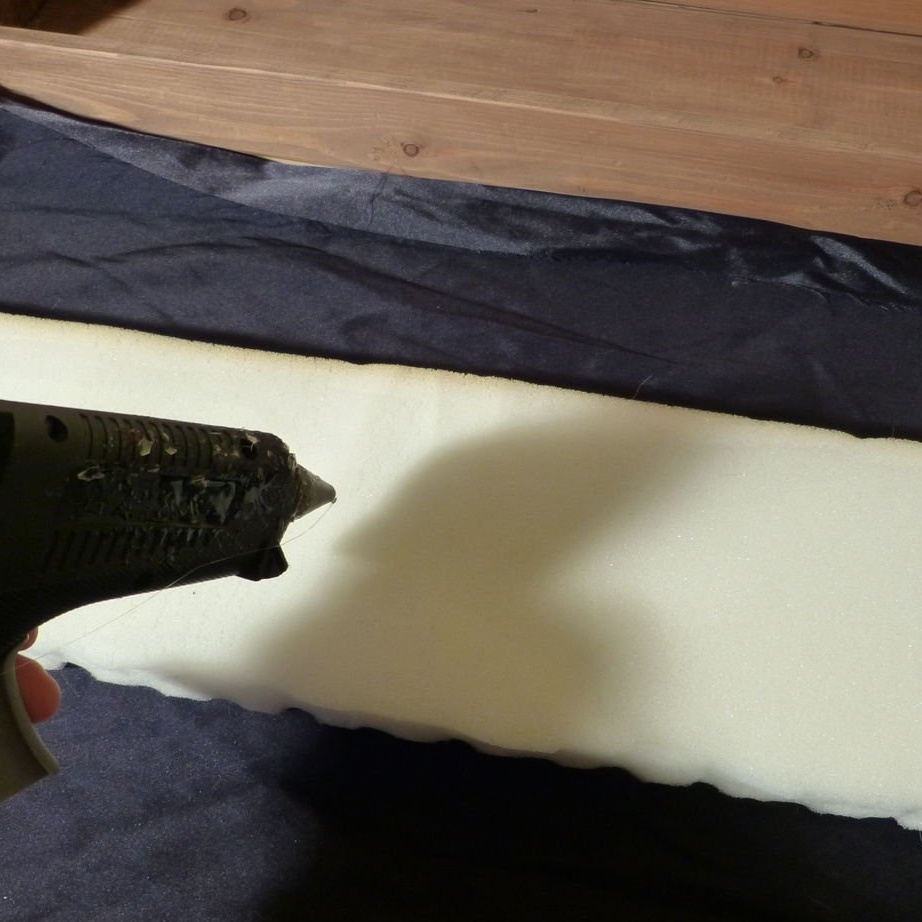
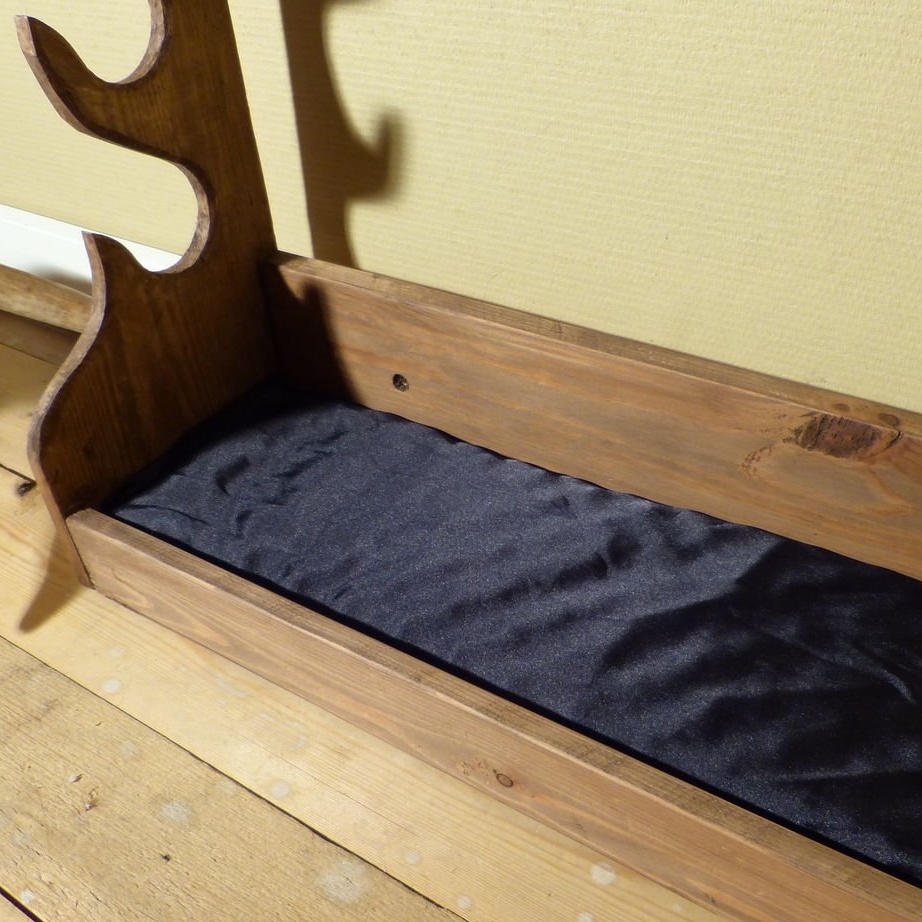
Step Six: Coil Shelf
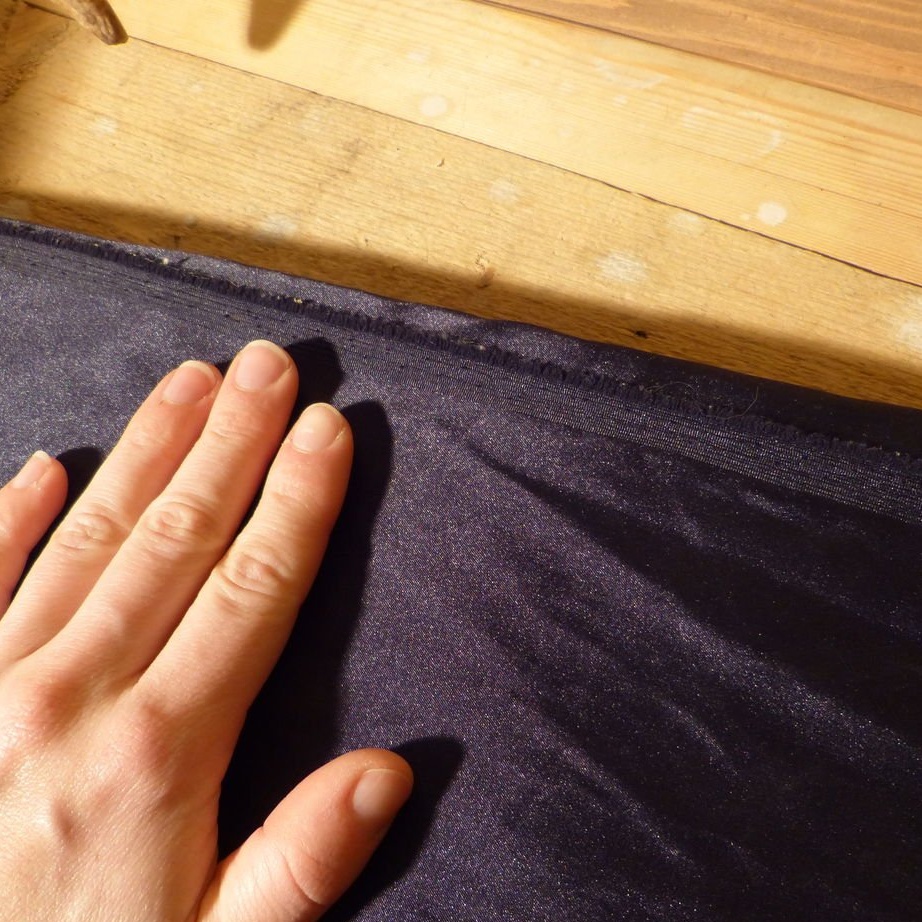
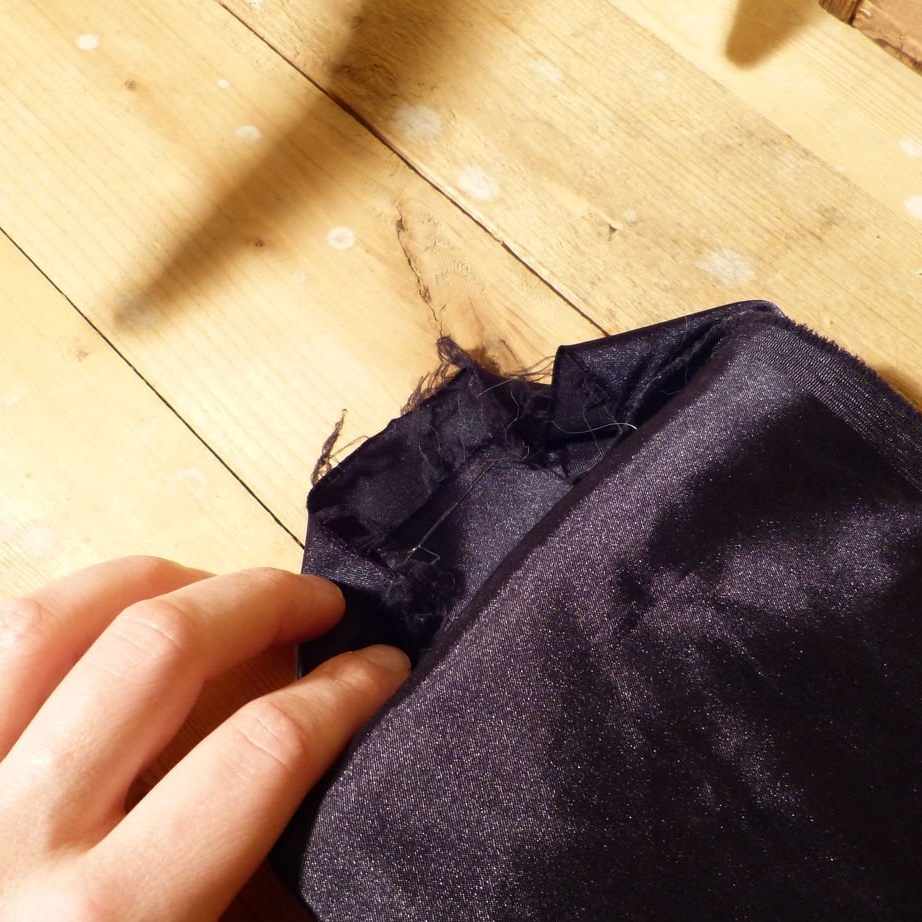
The bottom shelf is for storing coils. The master decided to cover it with foam rubber. Cuts foam rubber to size. Glues fabric. From the wrong side, the fabric sews.


Seventh step: installation
That the rack does not fall fastens it against a wall. Closes mounting holes with decorative plugs.
Everything is ready, it remains to fill the rack with fishing rods and reels.