
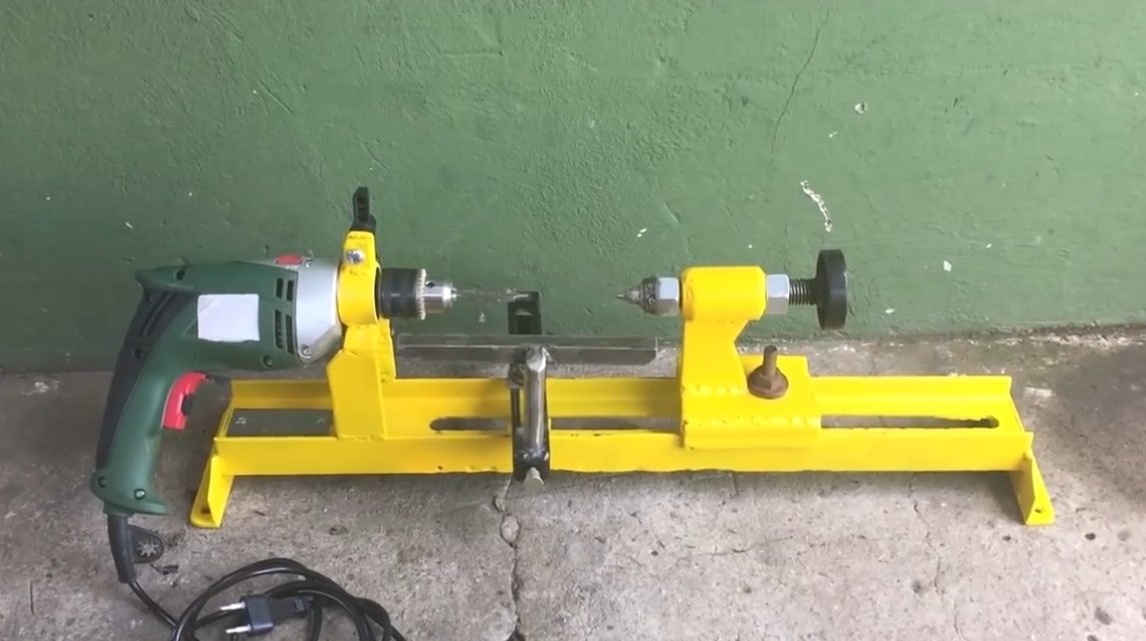
I welcome all fans to craft, I propose to consider instructions for the manufacture of a simple lathe do it yourself. Works homemade based on a drill, with it you can perform various small jobs, grind handles for a tool as an example. All steel is assembled, which means that the homemade product is durable. The main material for the machine is a channel and an I-beam, both of these profiles are very strong and do not bend, which is important for a lathe. If the project interests you, I propose to study it in more detail!
Materials and tools used by the author:
Material List:
- I-beam;
- Sheet steel;
- square pipe;
- profile pipe;
- bolts, nuts, round timber;
- A small radial bearing for the tailstock.
Tool List:
- grinder;
- welding machine;
- drill;
- files;
- roulette;
- marker;
- paint for metal.
Homemade manufacturing process:
Step one. Base manufacture
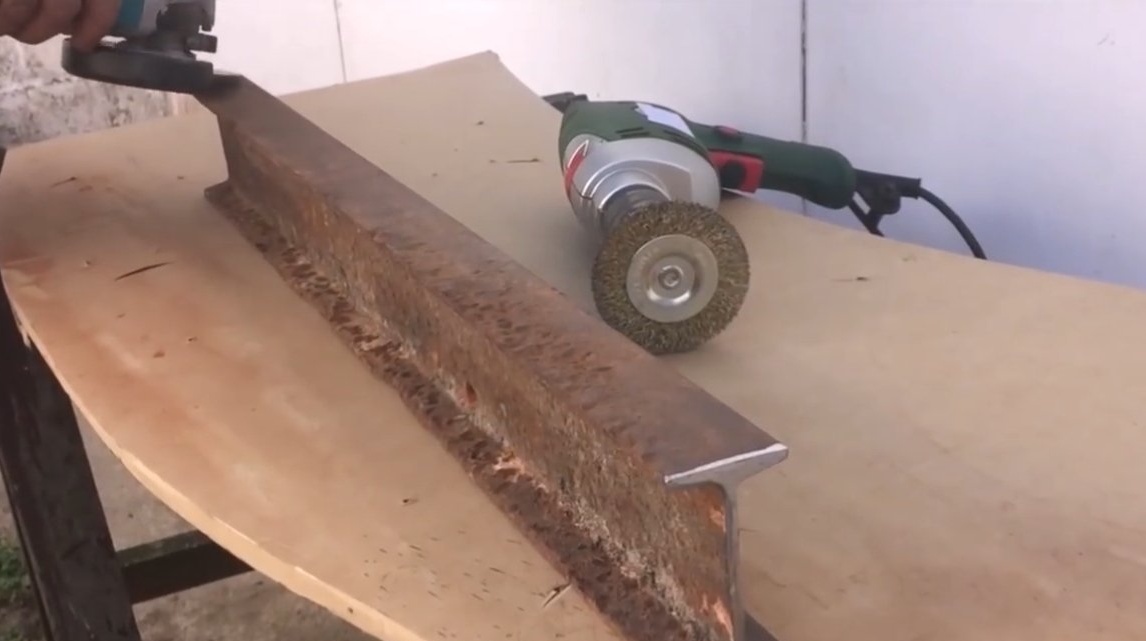
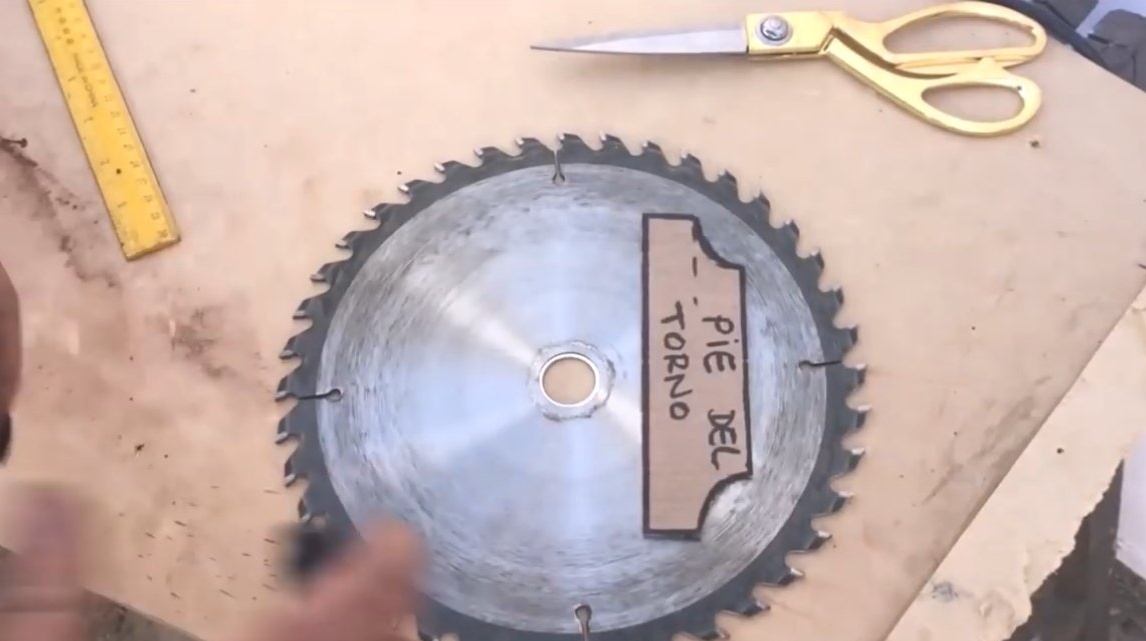
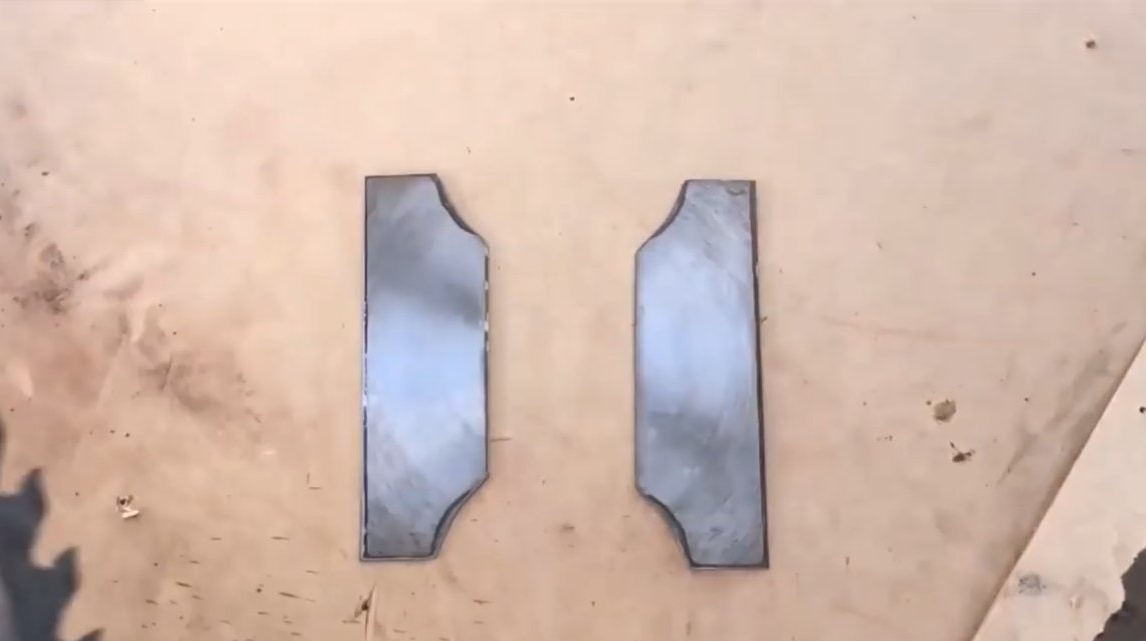
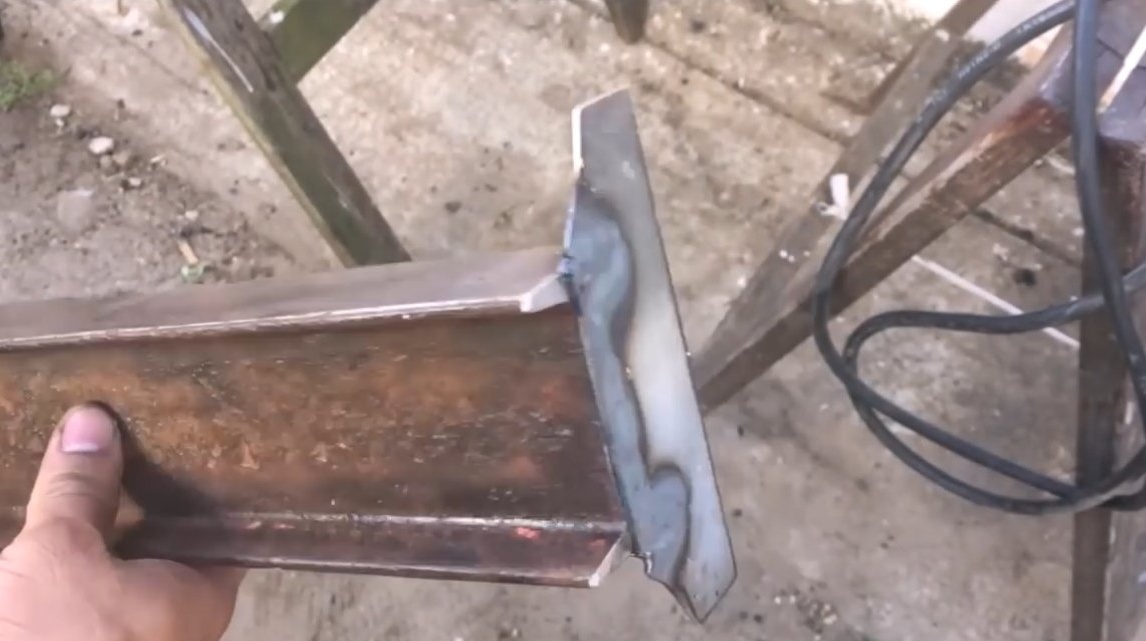
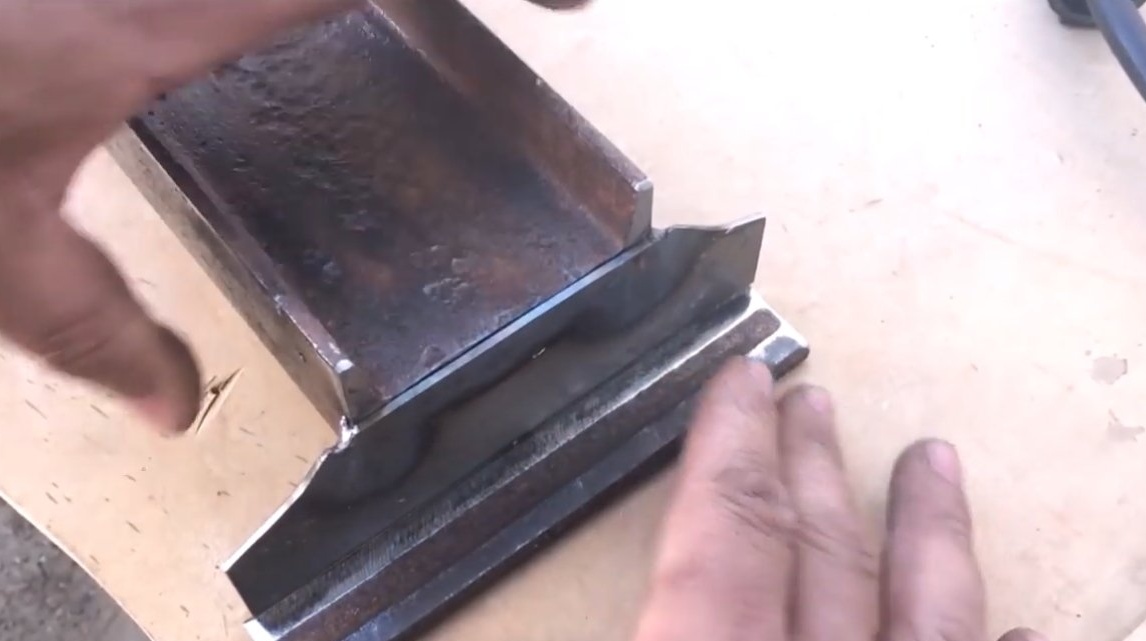
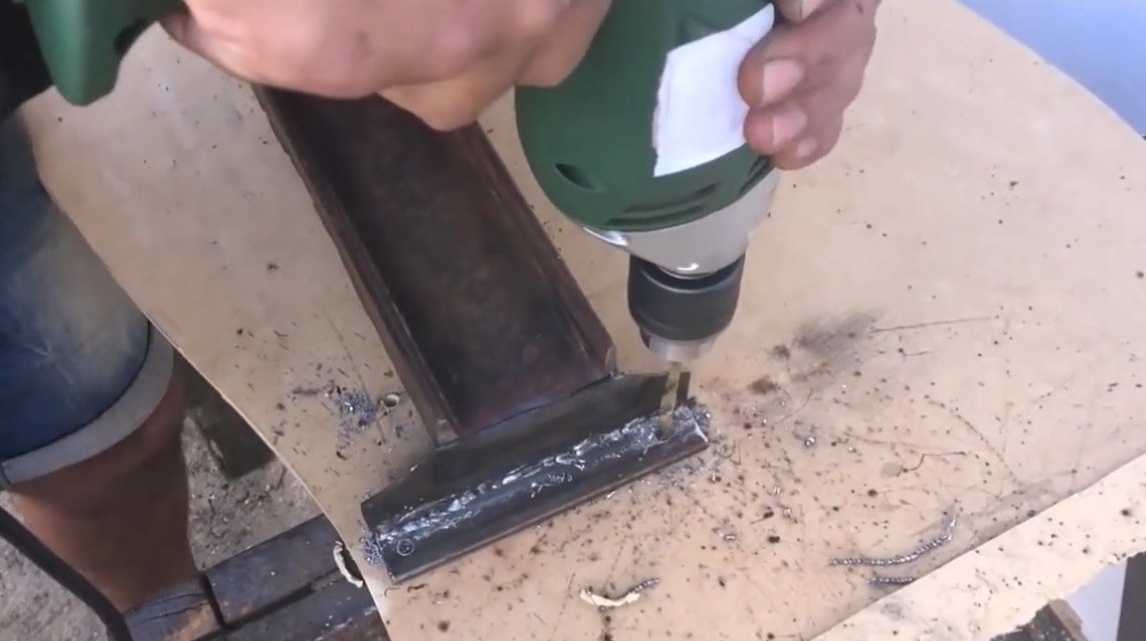
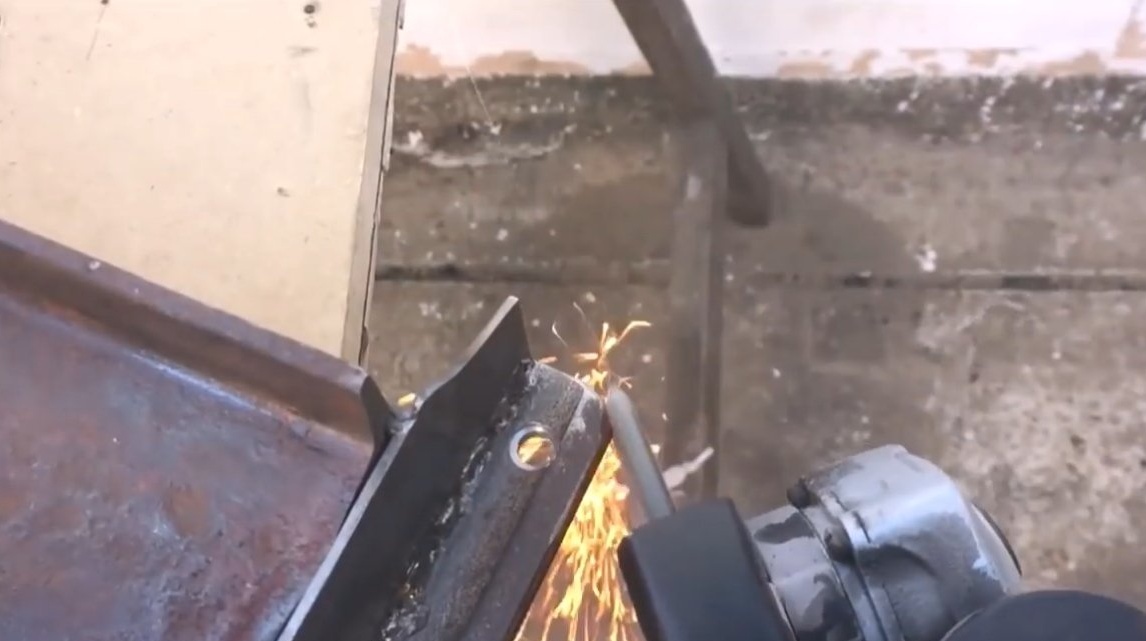
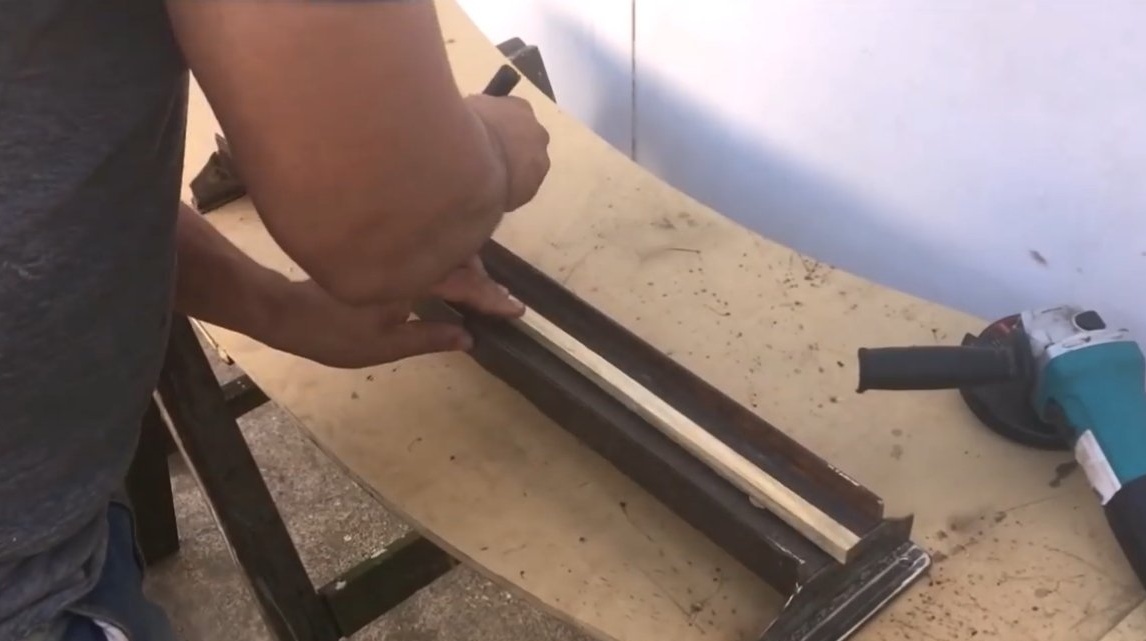
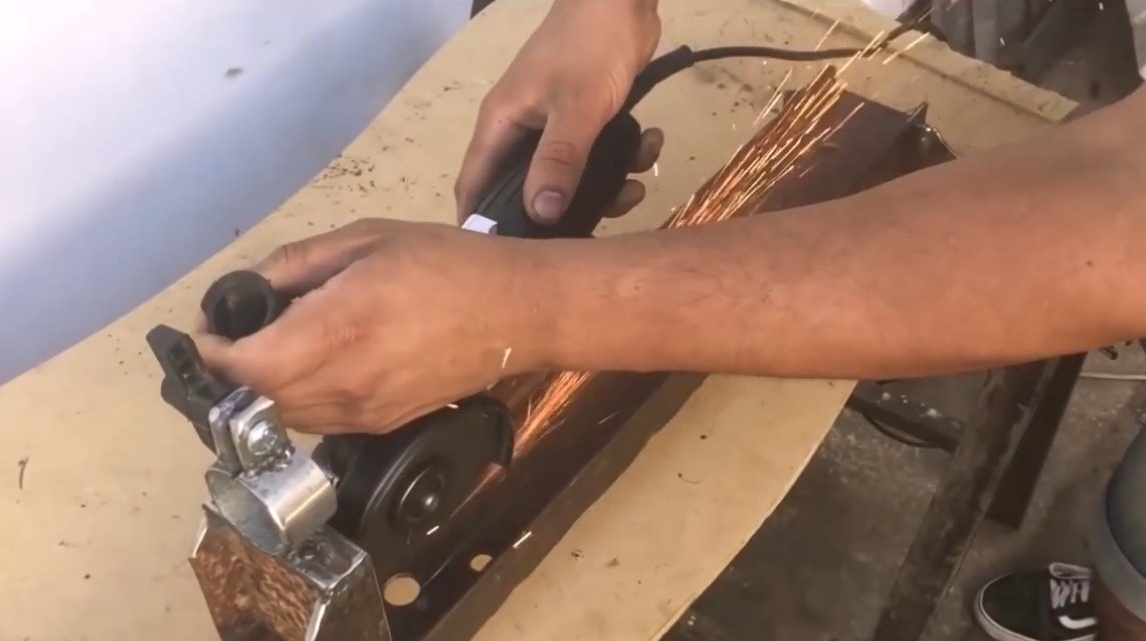
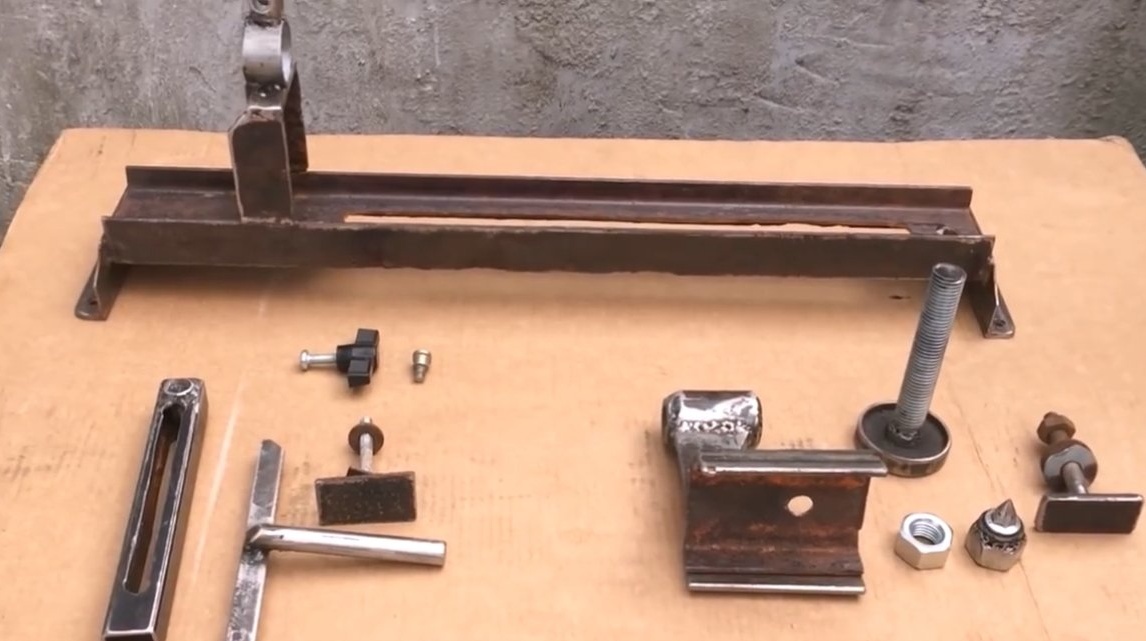
First of all, we will make the base, then the author decided to use such a design as an I-beam, it looks like a channel, it only has sides on the reverse side as well. The material is well cleaned from rust with a wire brush. We need to weld the supports with which the homemade product will be attached to the table. The easiest way is to weld pieces of the corner to the ends, but the author welded the plates cut from the saw blade, used what was at hand.
We grind sharp corners and drill holes for fixing bolts or screws.

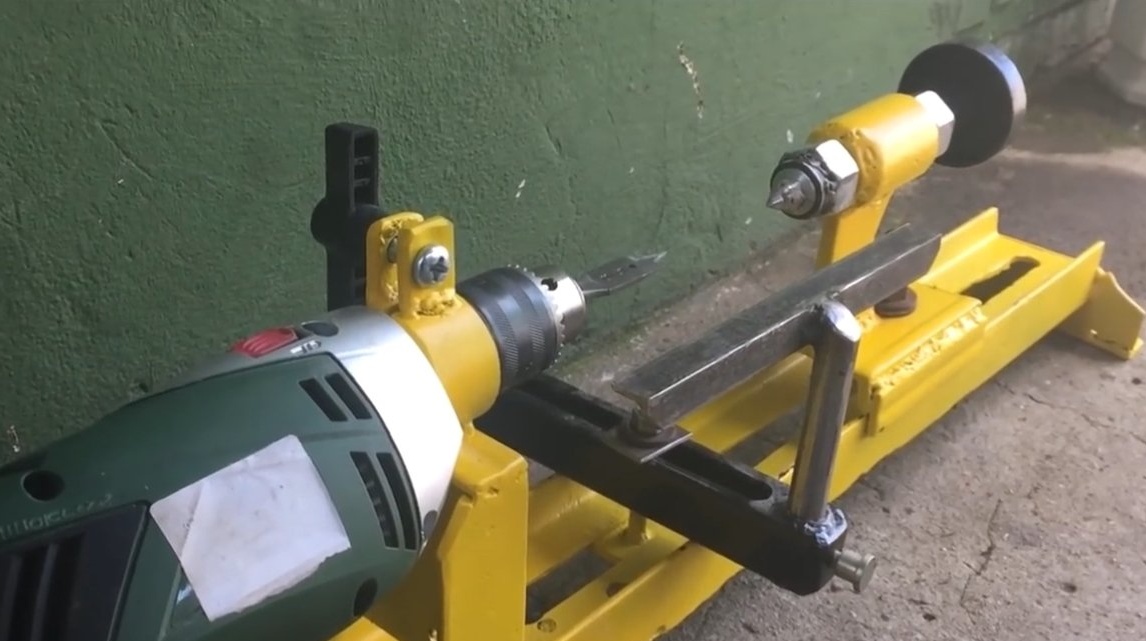
Step Two Front headstock
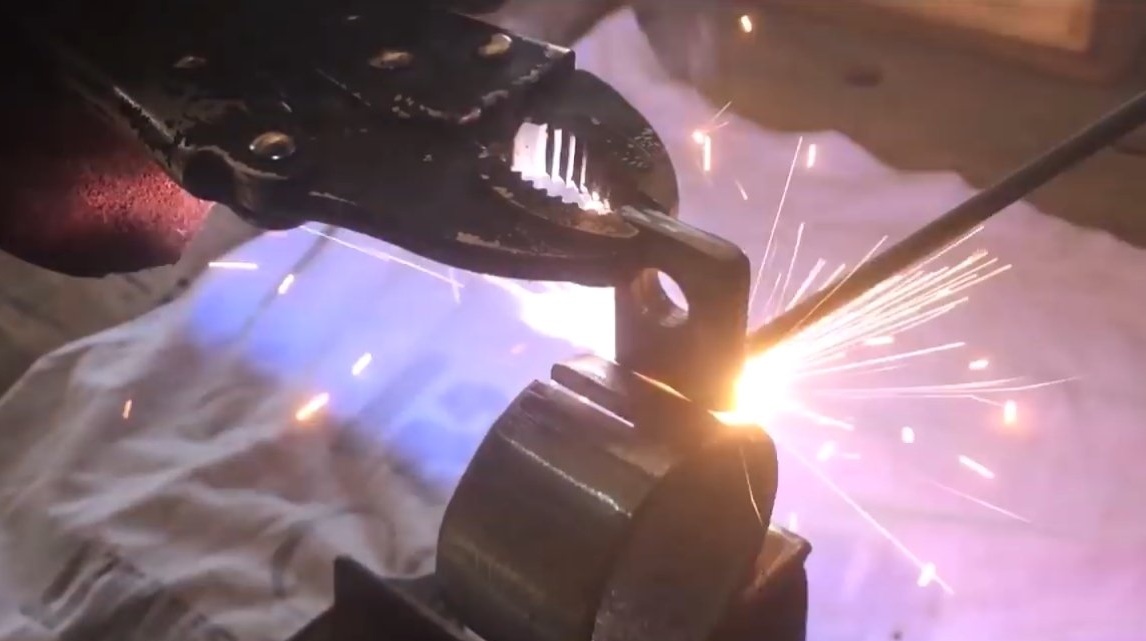
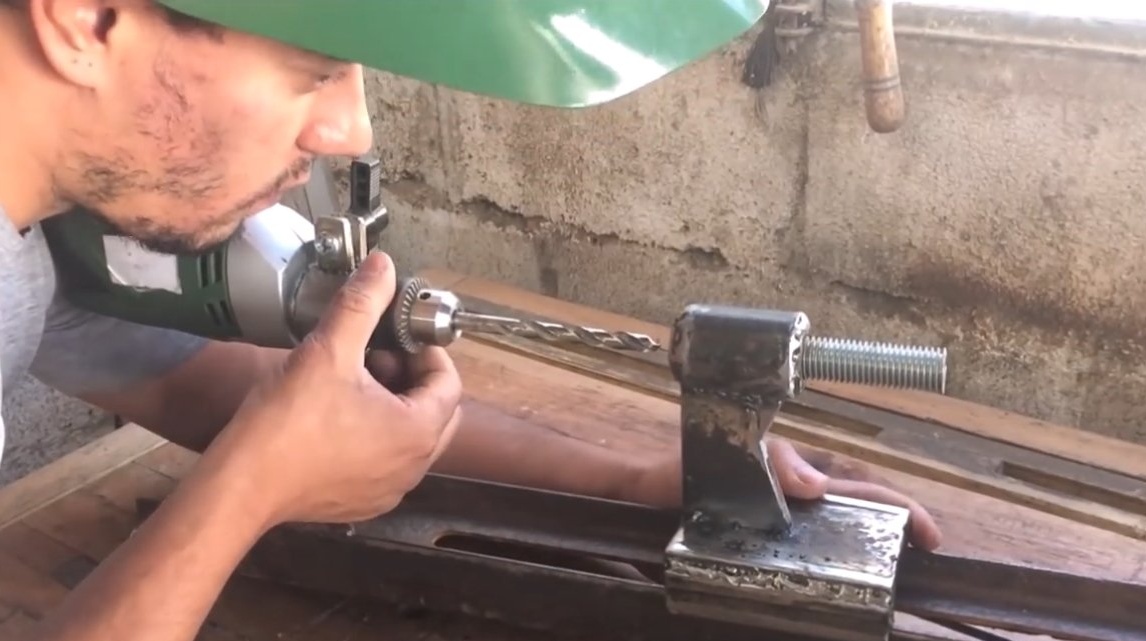
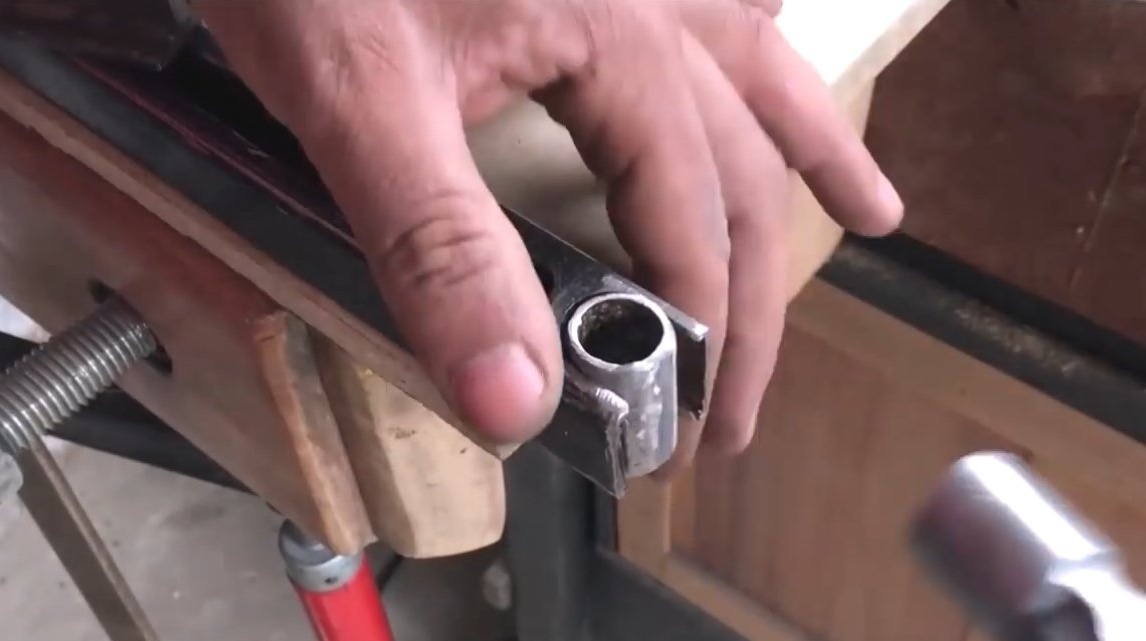
We mount the front headstock on which the drill will be fixed. As a material, we use a piece of an I-beam, weld a plate to it and make a clamp. For the clamp, you need a piece of a round pipe, cut it lengthwise and weld the ears under the bolt and nut. The drill will be clamped in the part where the front handle is attached.
We weld the clamp to the headstock, check the angles, the drill chuck should be parallel to the base, this will allow alignment with the tailstock.

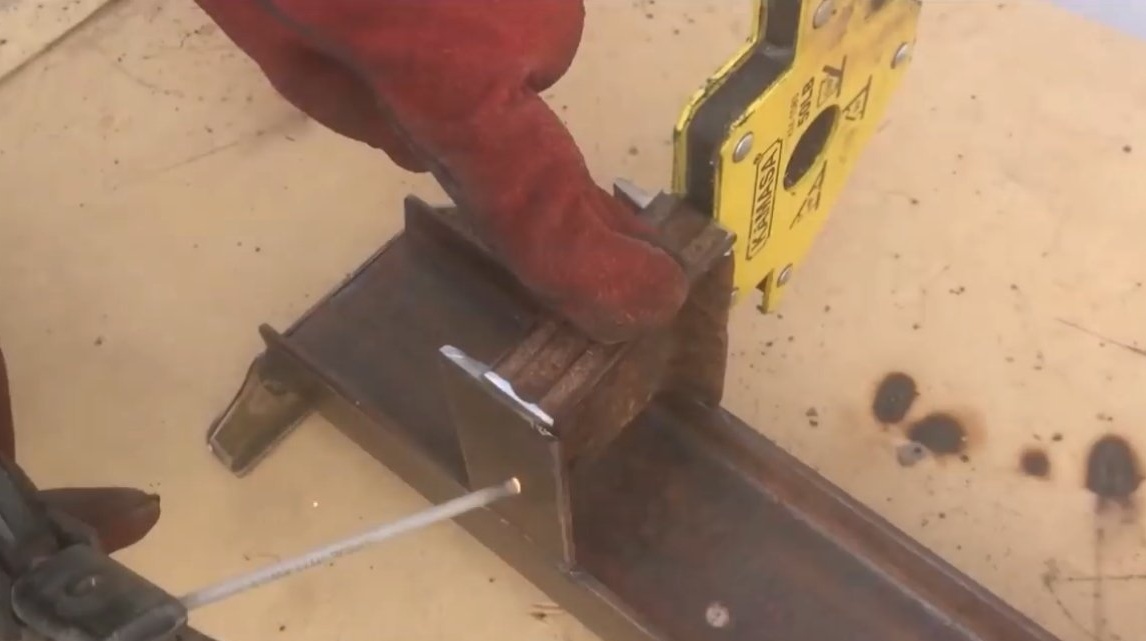
Step Three Putting the tailstock
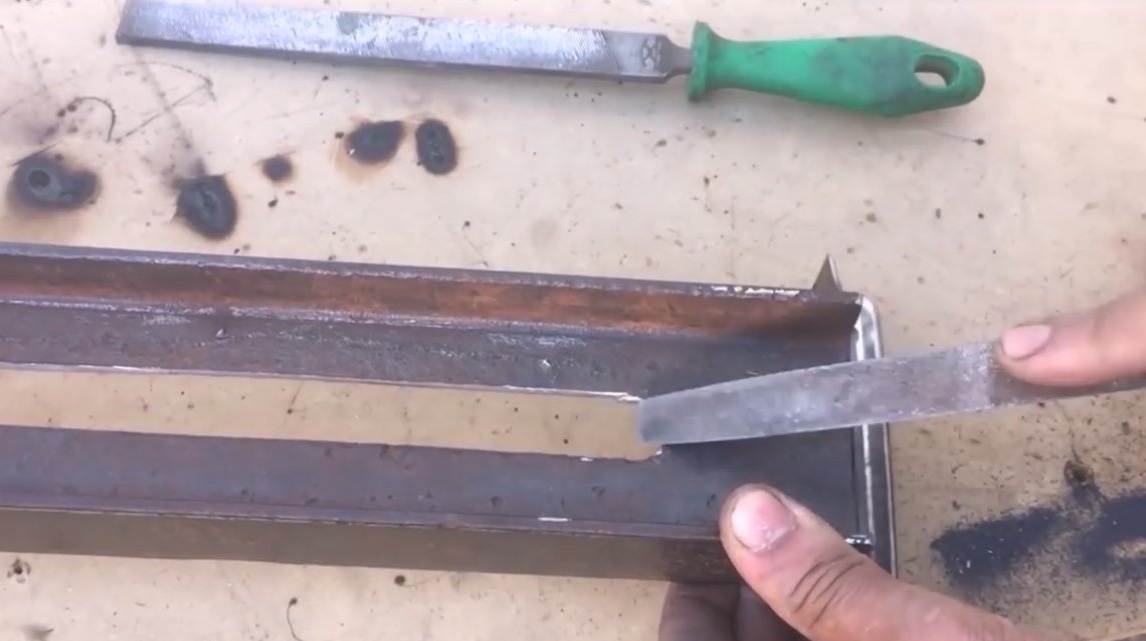
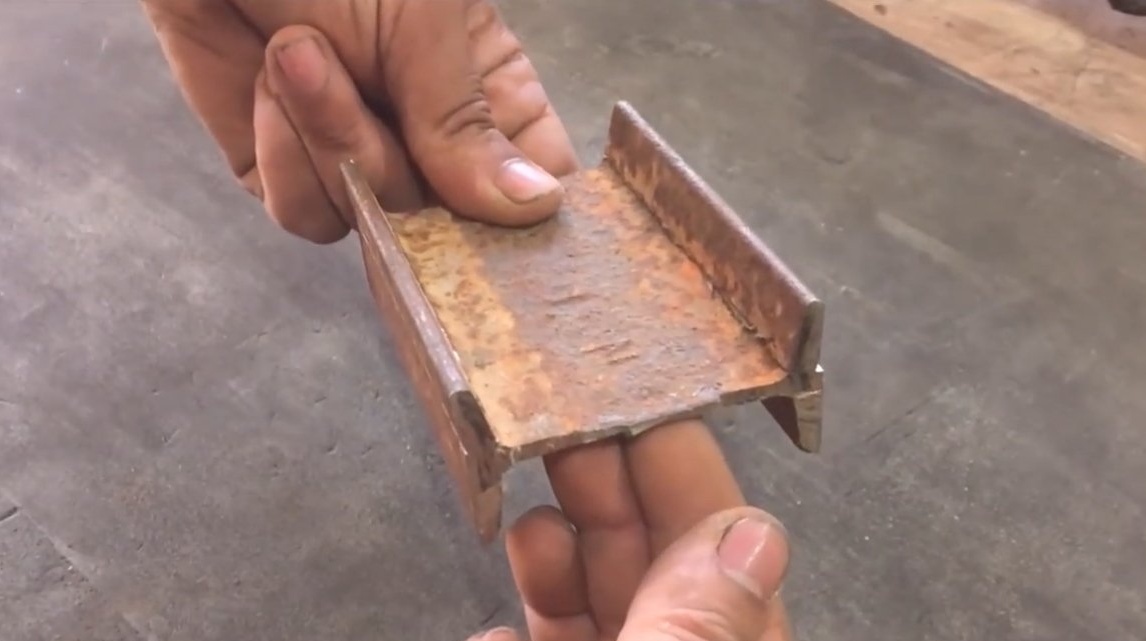
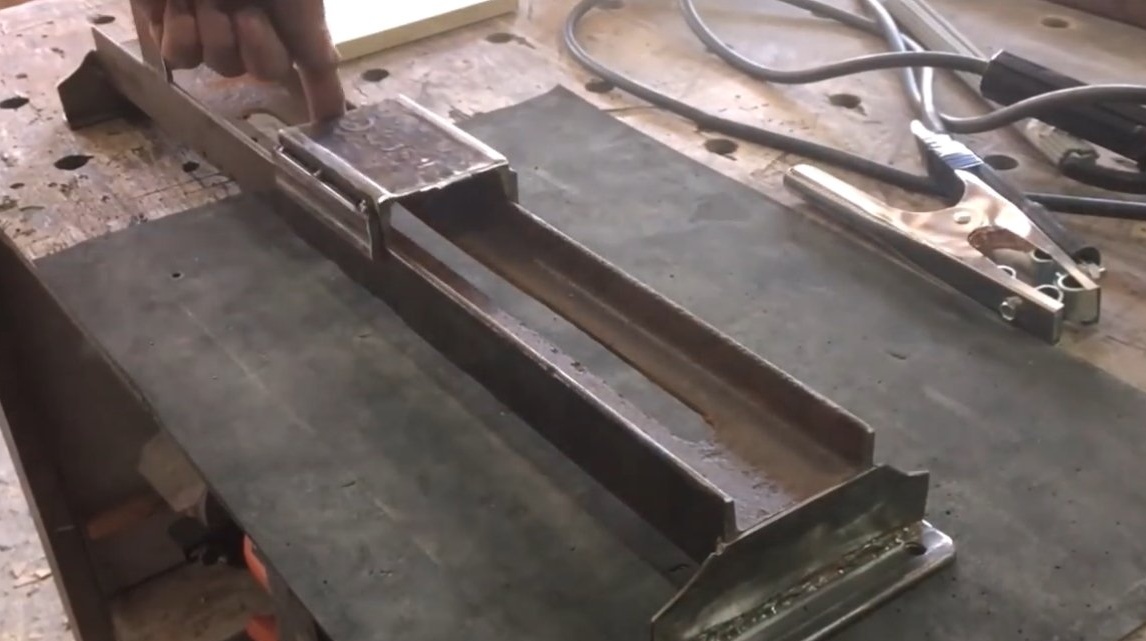
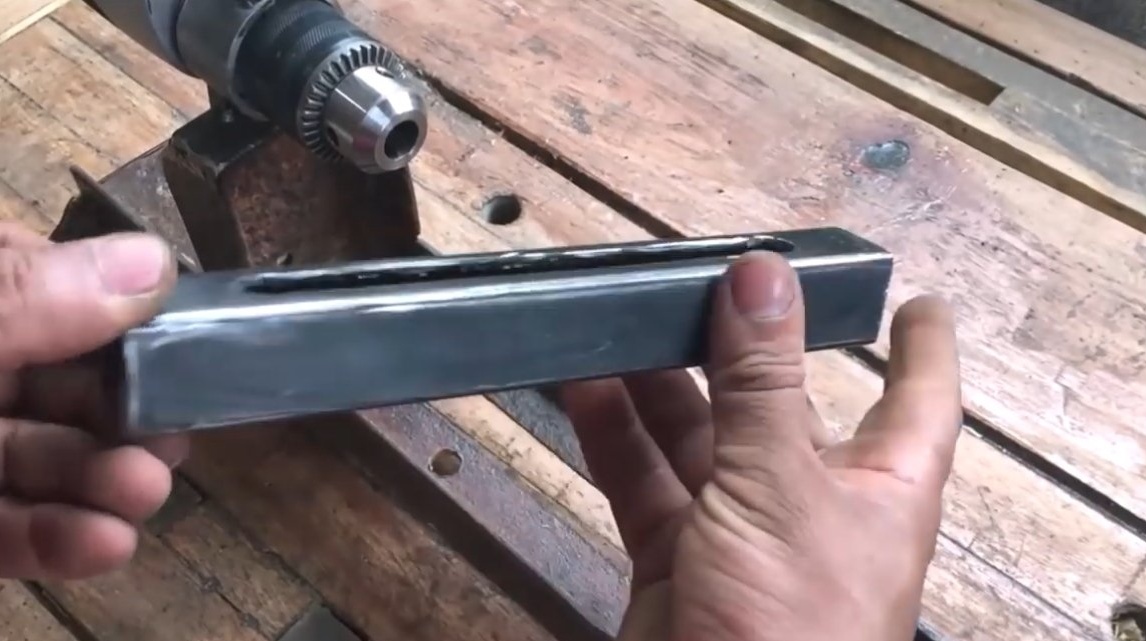
For the tailstock we make the basis of a piece of an I-beam.It is necessary to cut the ribs from the I-beam on one side and weld from the overlap to the ribs on the other side. As a result, you get a piece of the channel with guides, this part will ride on the base like a train on rails. At the end, the author will drill a hole and fix the headstock with a bolt and nut. At the base, we cut a slotted hole with a grinder, we clean everything with a file so that nothing interferes with the movement of the headstock.
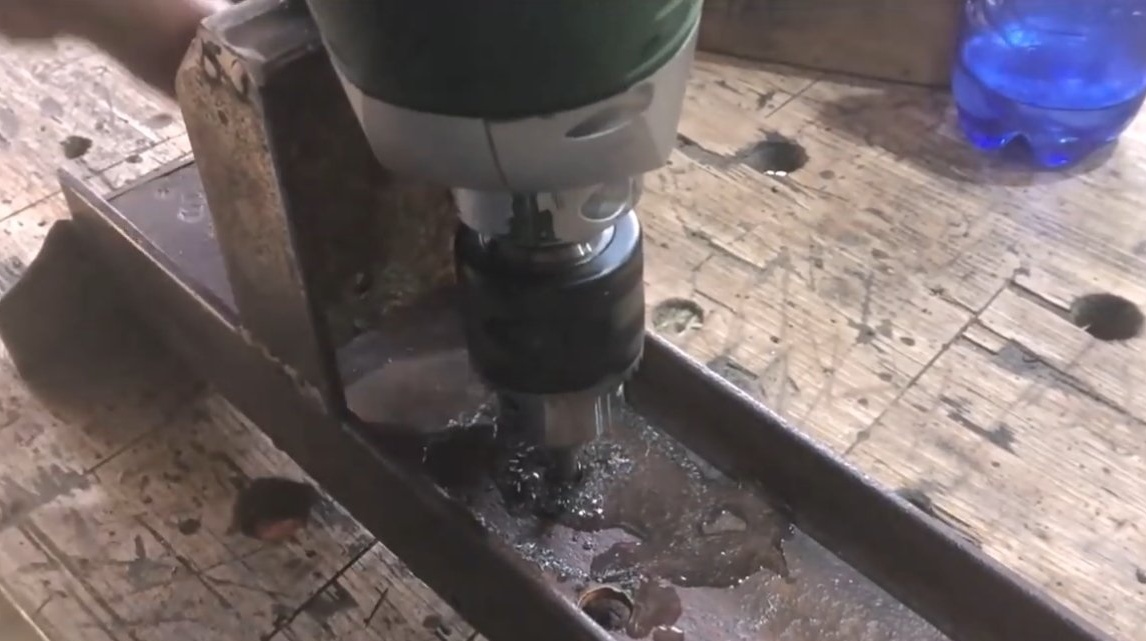
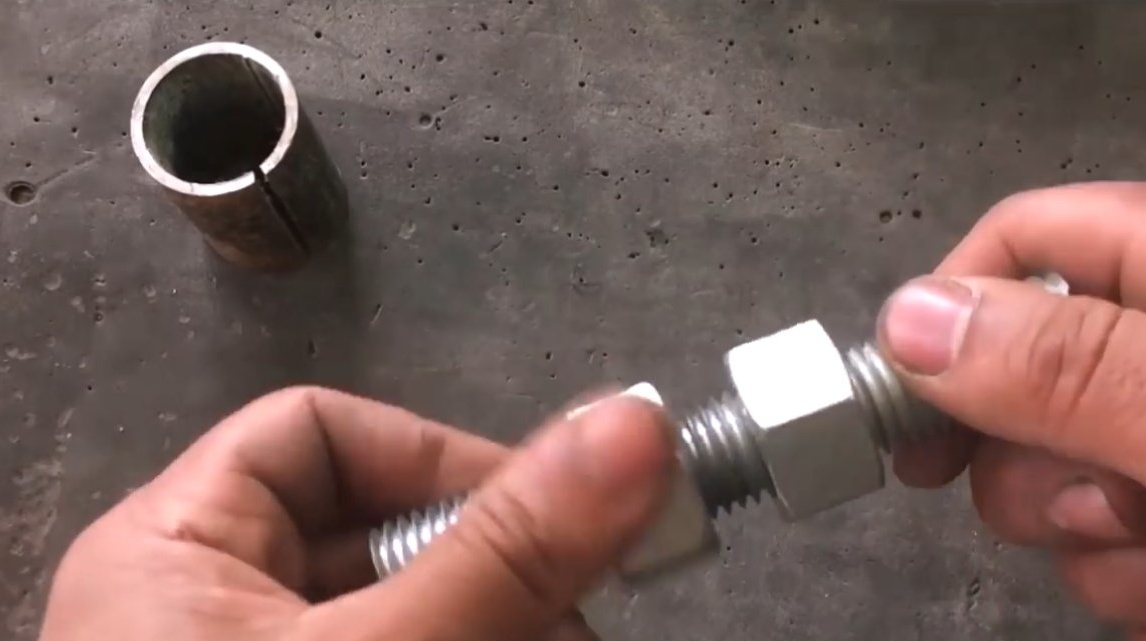
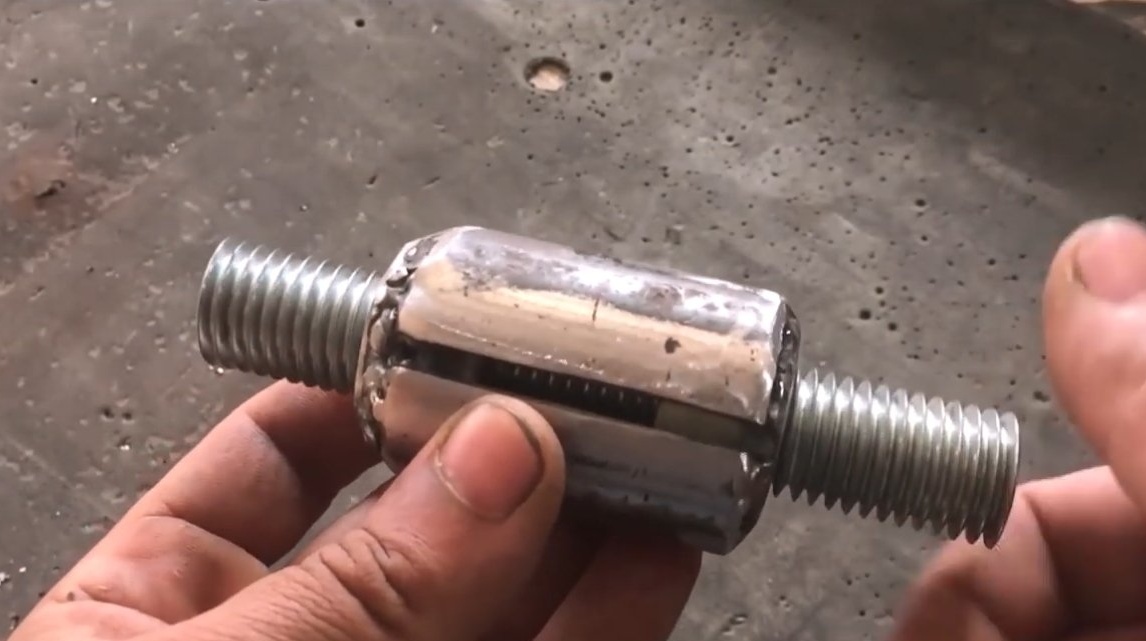
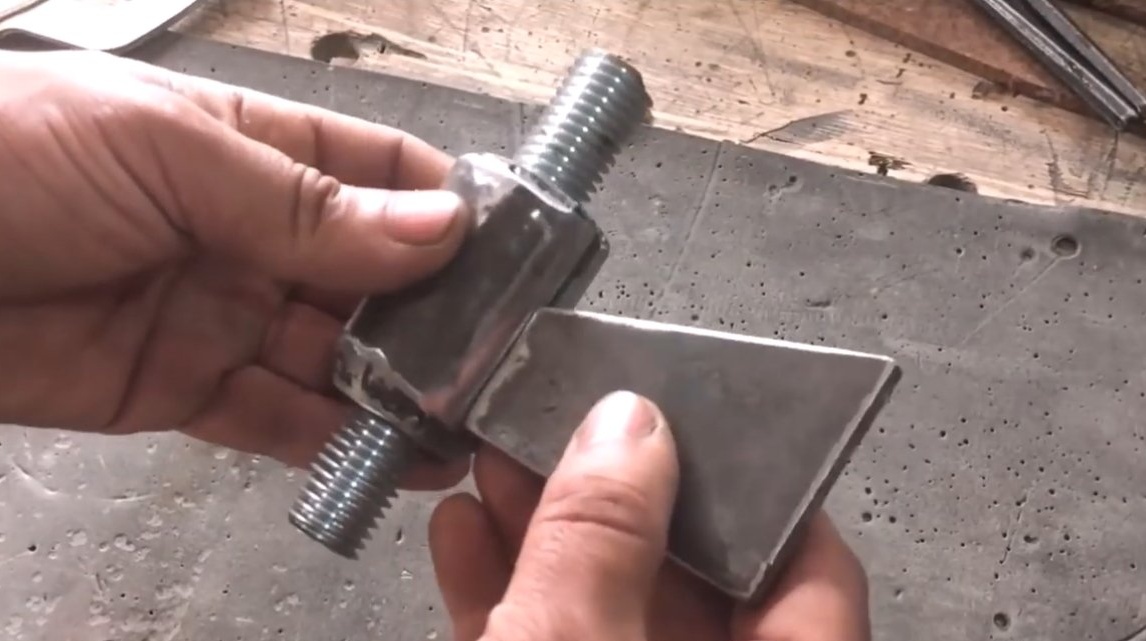
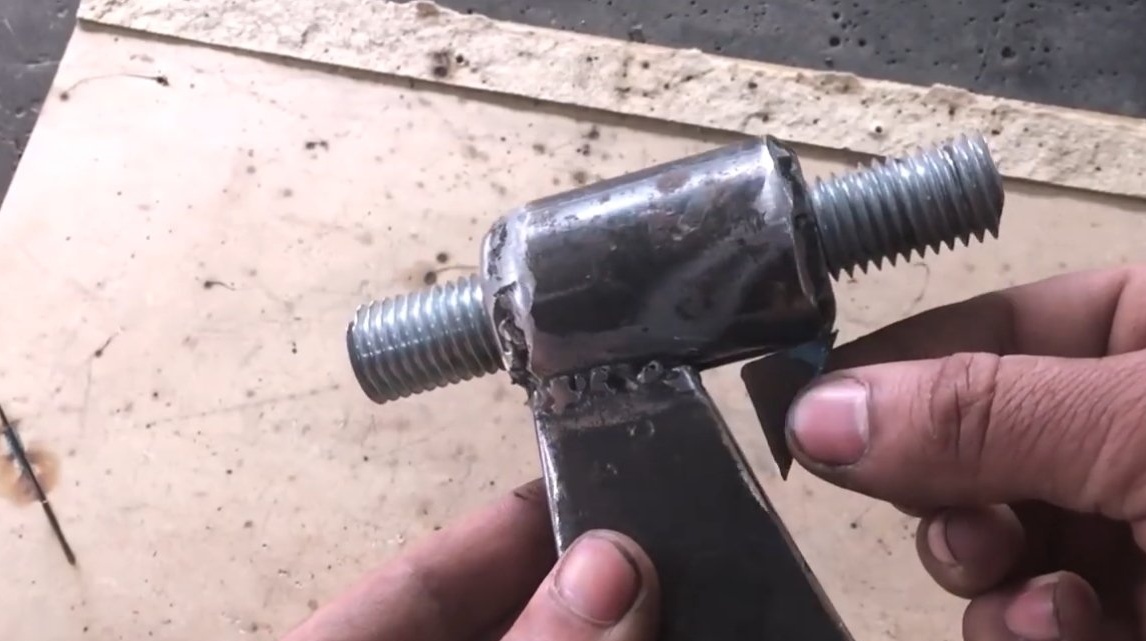
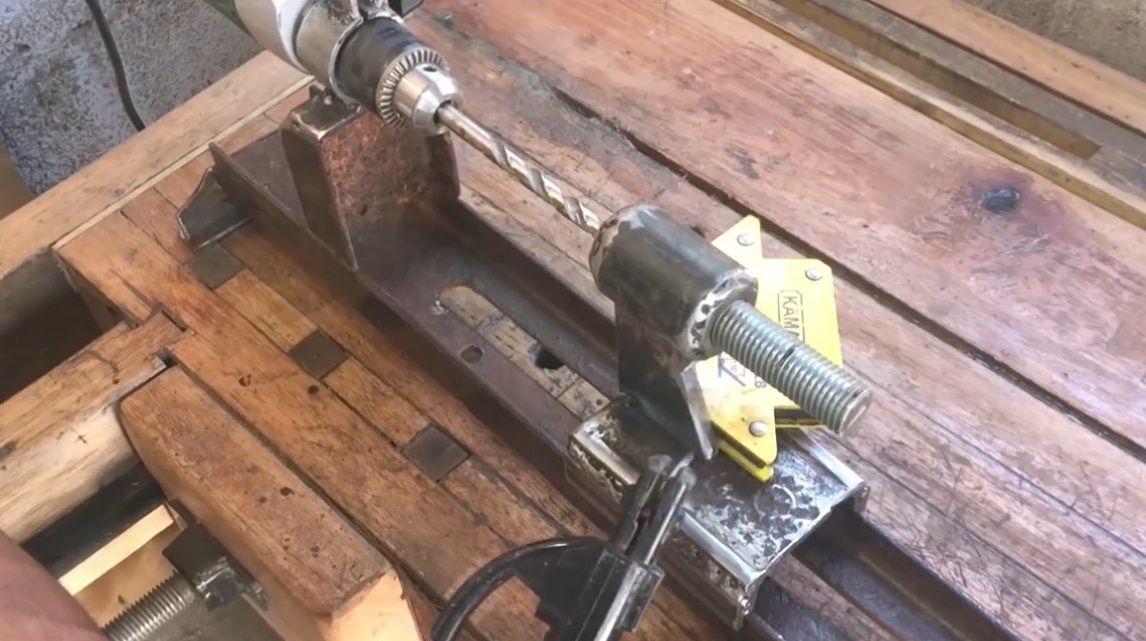
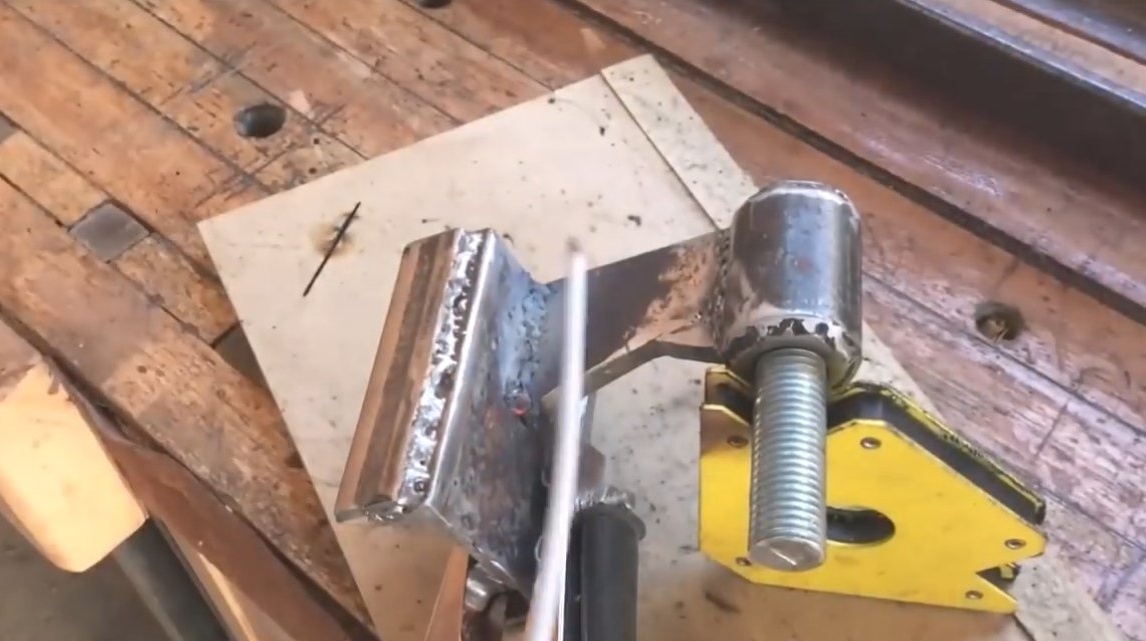


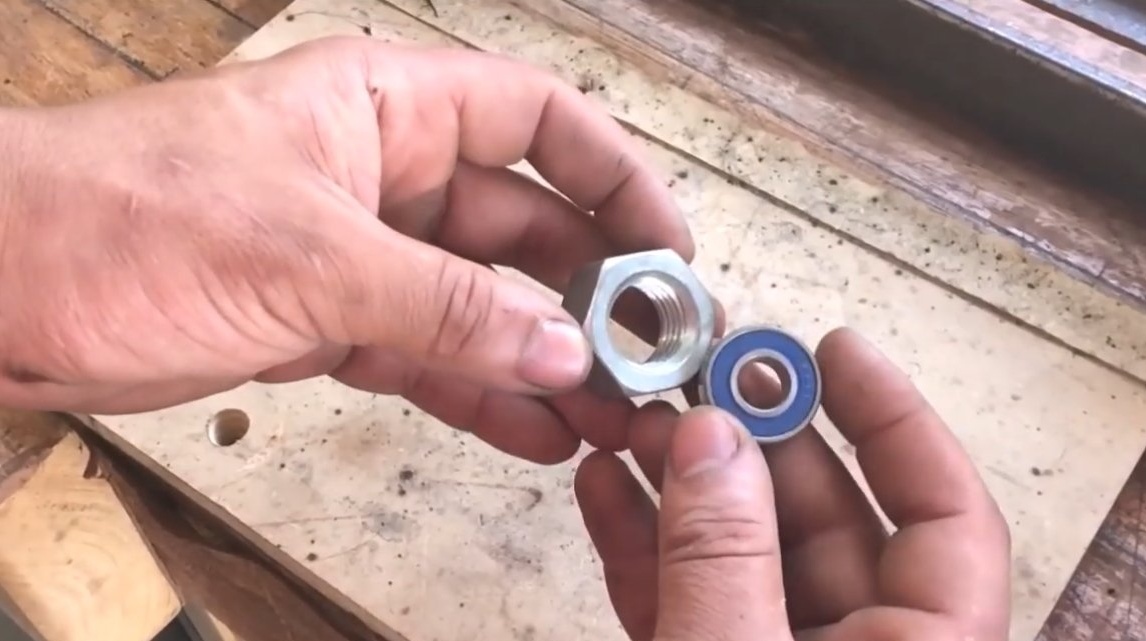
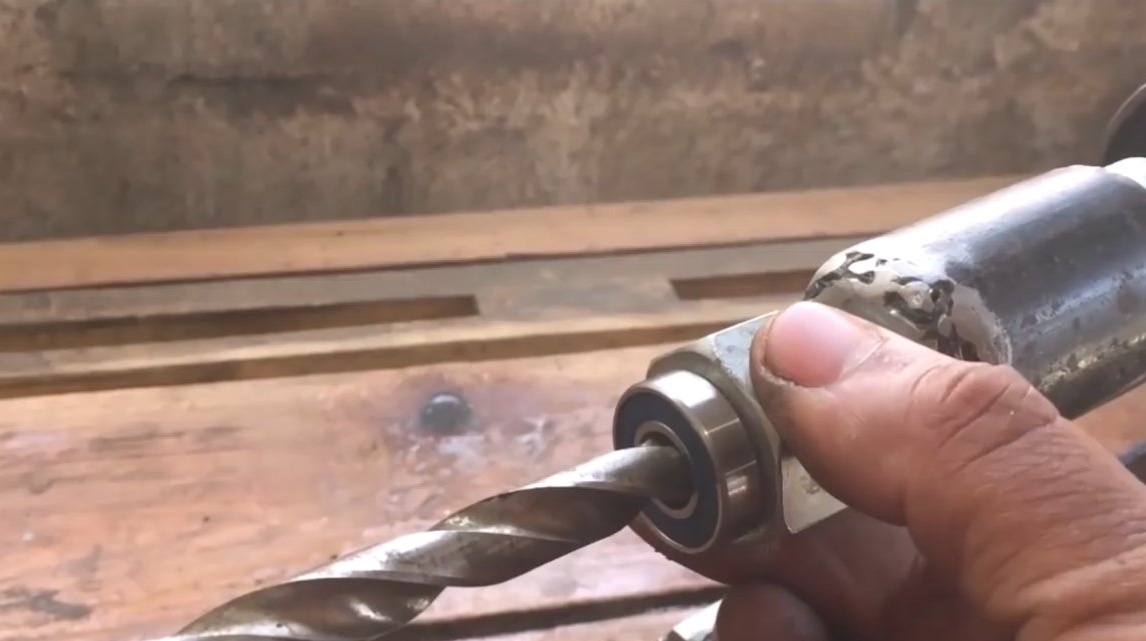
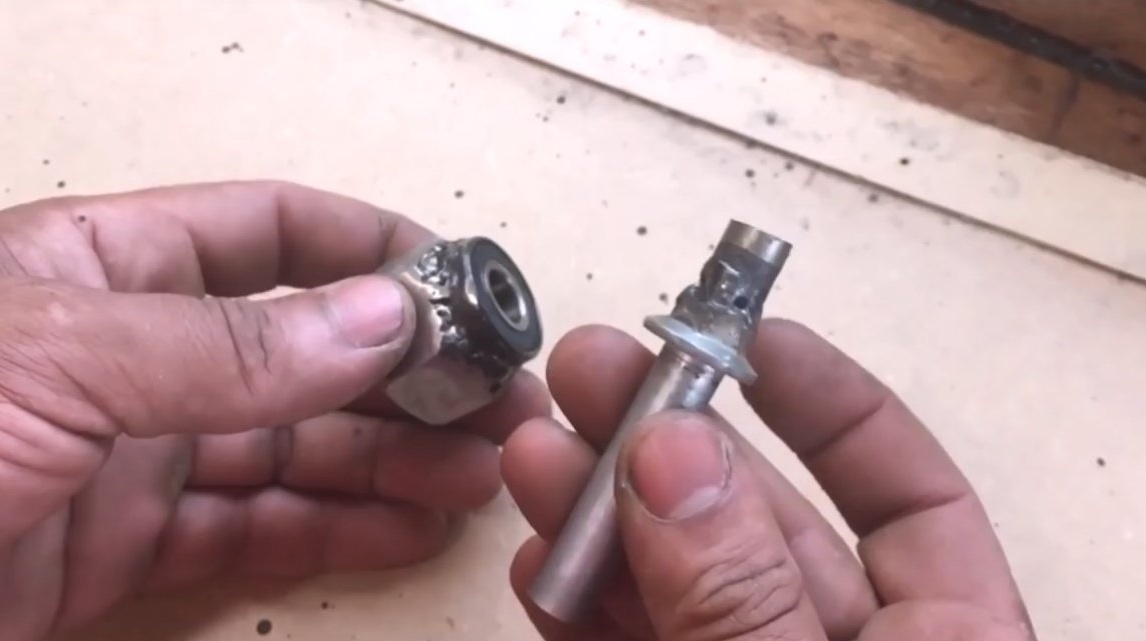
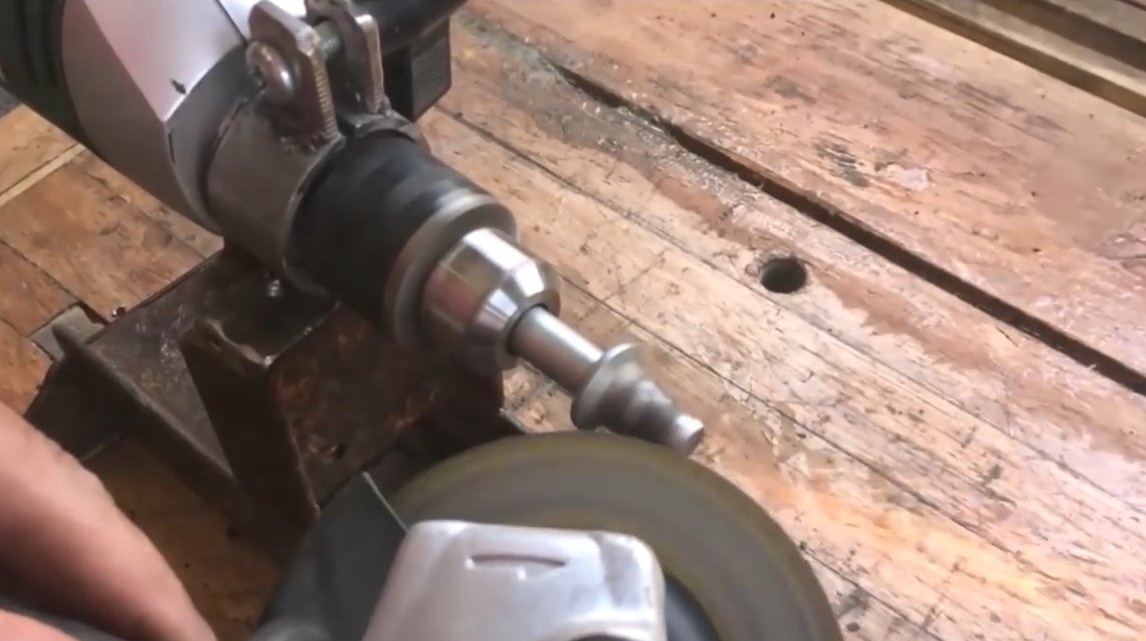
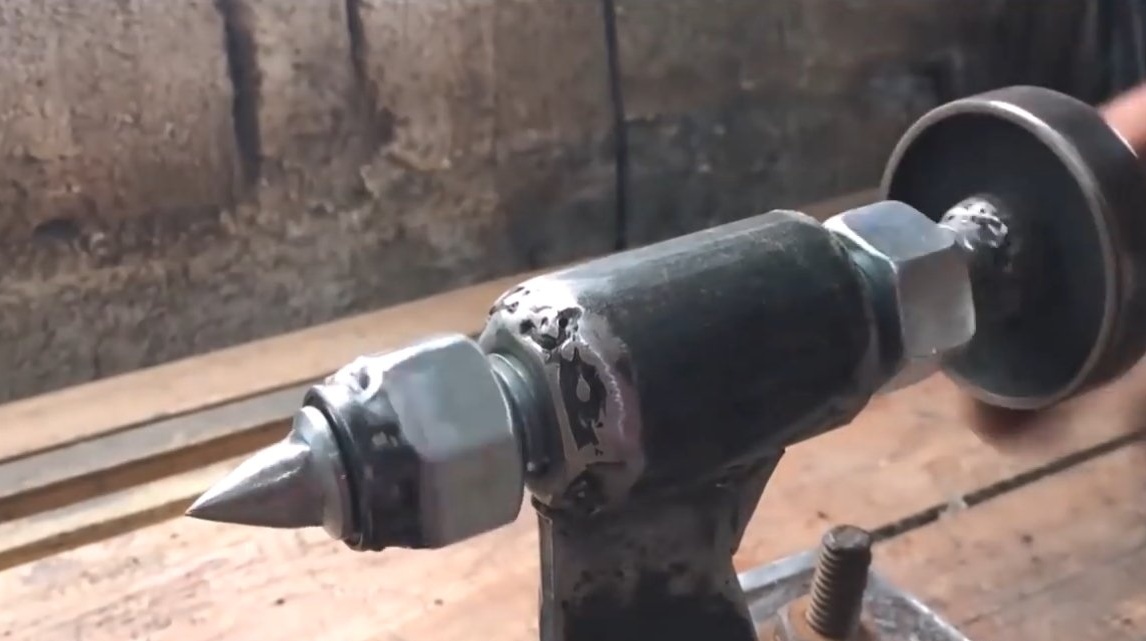
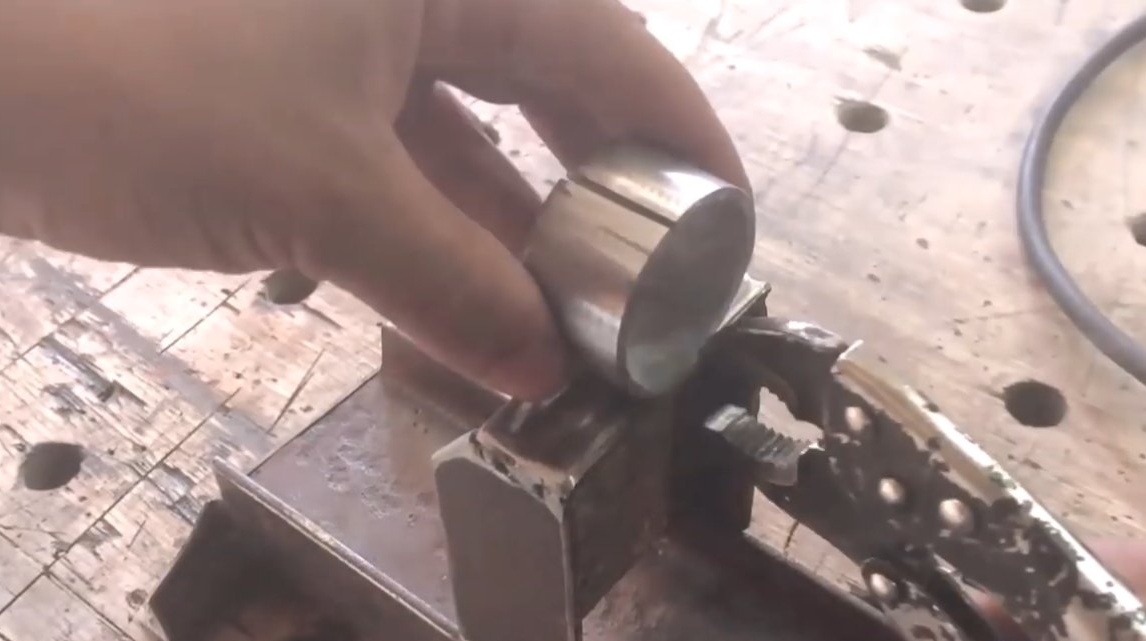
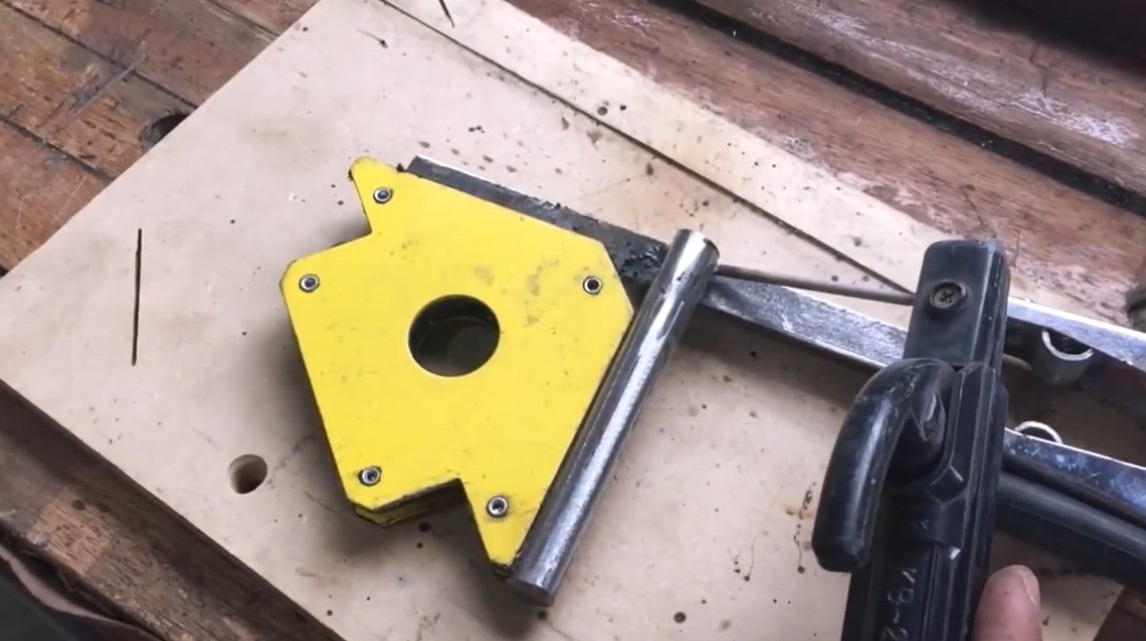
We weld the headstock itself to the platform, which is assembled from a piece of pipe and two bearings, a piece of a bolt or a threaded rod is wrapped in the headstock. We fix the headstock with thick steel plates, setting the alignment with the drill drill.
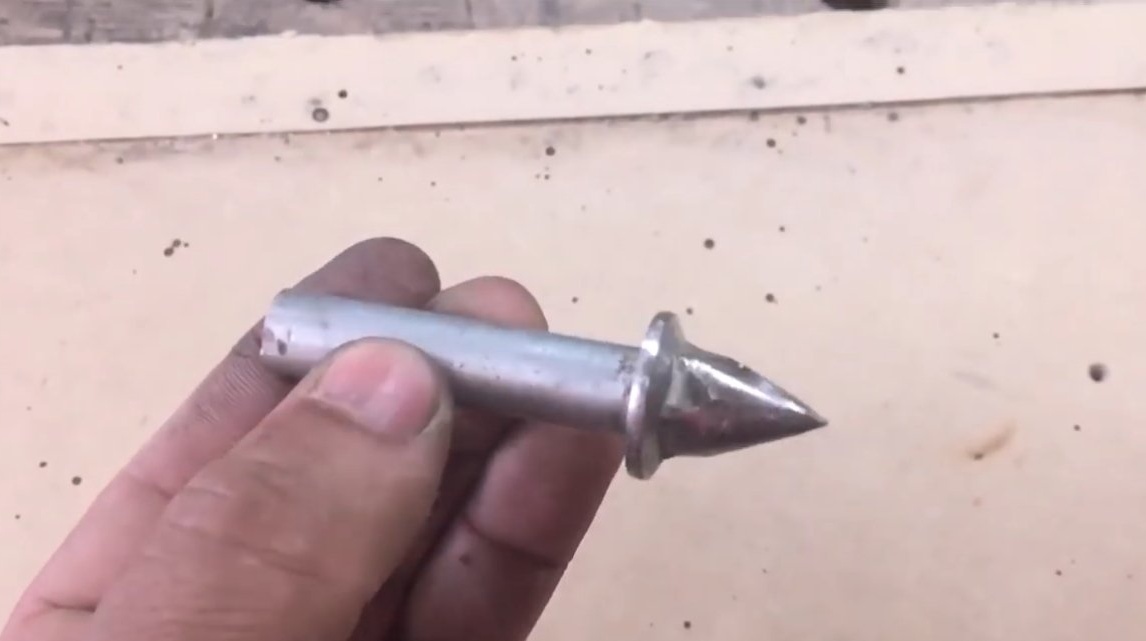
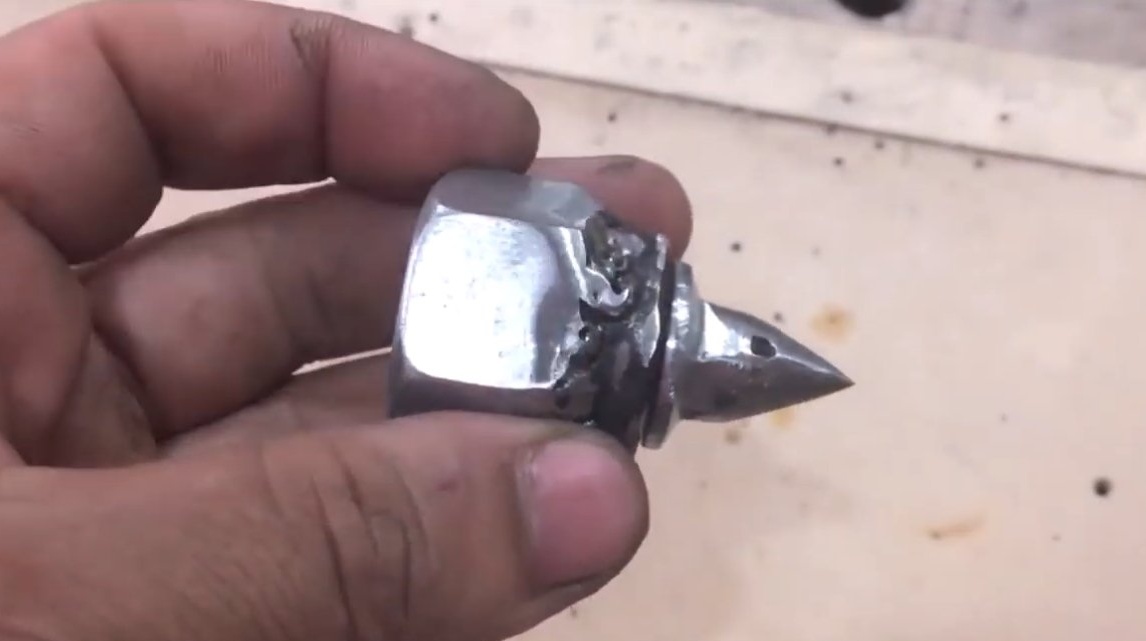
We fix the handle on one side of the threaded rod, and on the other hand we put a stop in the form of a spear. The author has an emphasis on the bearing, but rotation is not necessary for such an emphasis profile.
Step Four The hand
We make a handy, in which we will rest the working tool. A piece of a square pipe is used as the basis, the pipe is fixed on the base with a bolt with a nut and washers. We weld a piece of a round pipe into the pipe, a round will go into it, the round should be fixed by clamping with a bolt. Well, already on the round we weld the stop itself, in which a piece of the corner is suitable. As a result, such a handyman can be adjusted in height and angle.
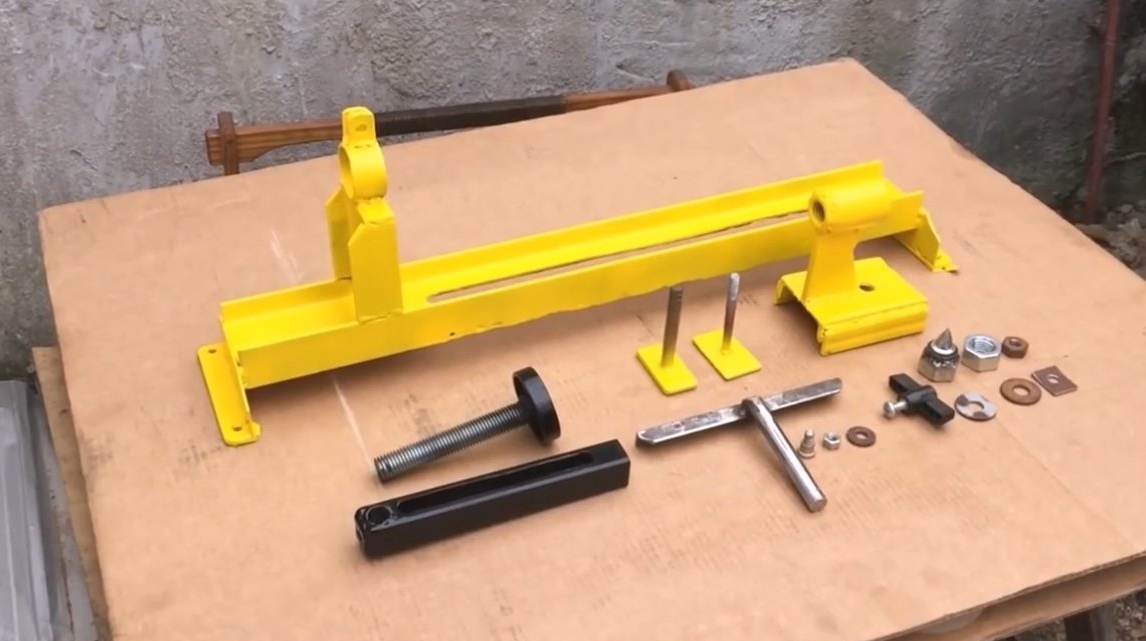
Step Five Painting, assembly, testing
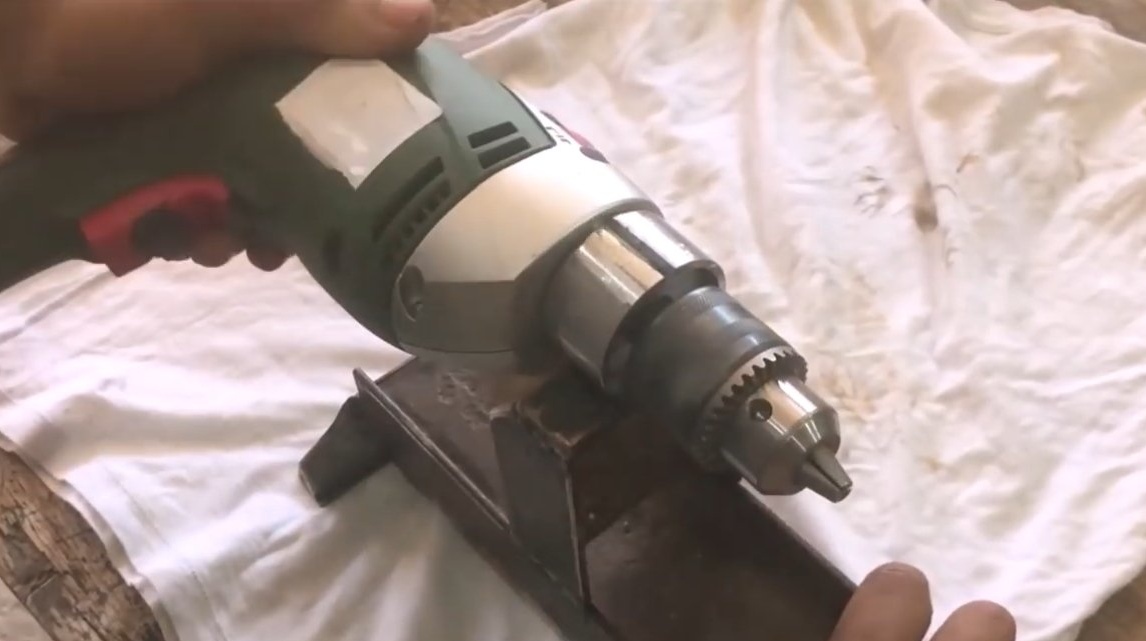
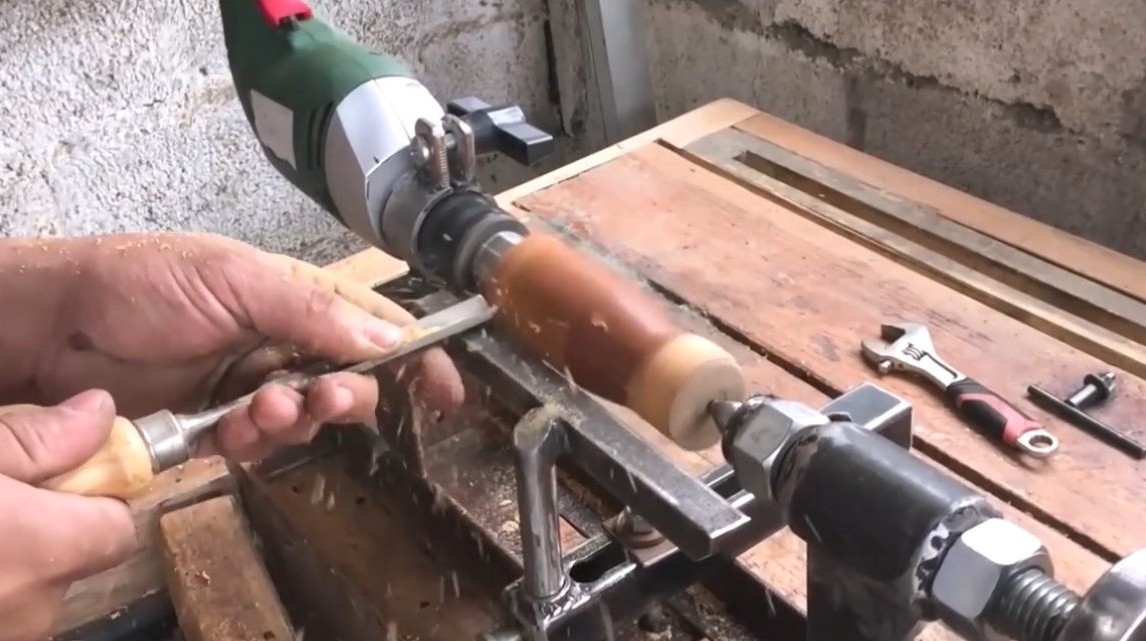
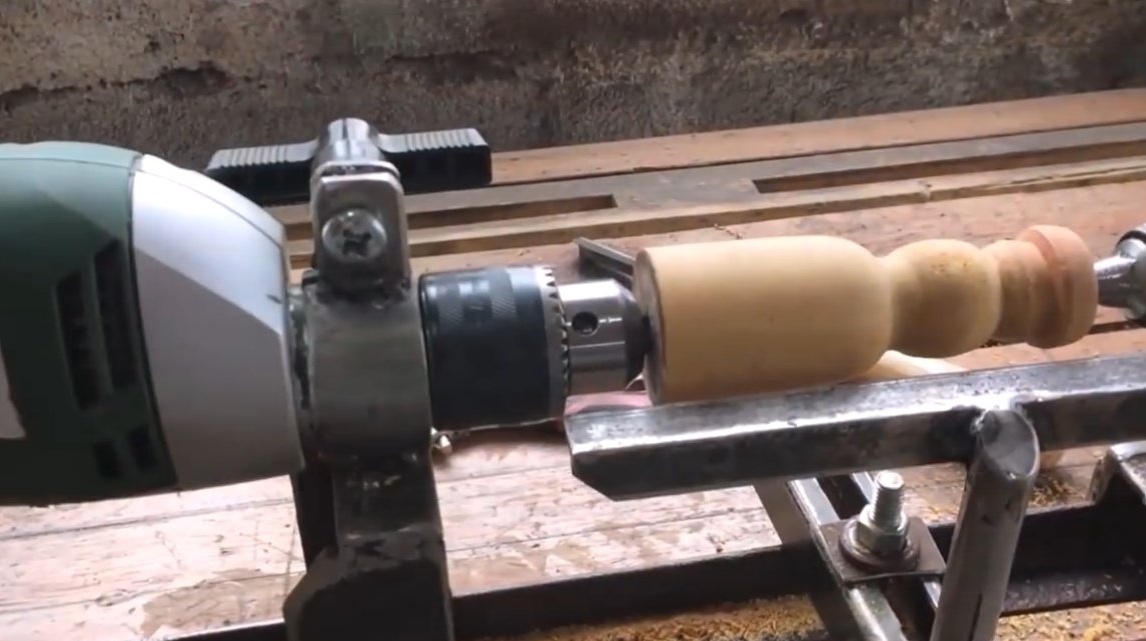
We paint all the details of the homemade product, now everything looks great, the machine will be easy to wash, and will not rust, it will be a pleasure to work with it. We collect homemade, clamp the drill. In the drill chuck, the author installs a pen drill, it will hold and rotate a wooden block or other material.
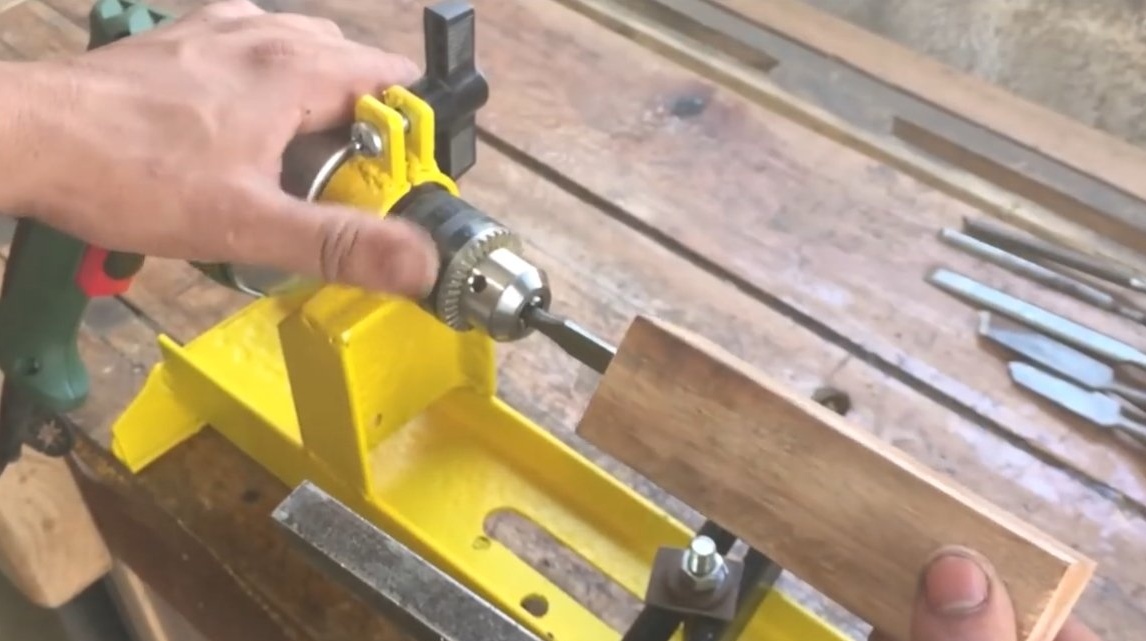
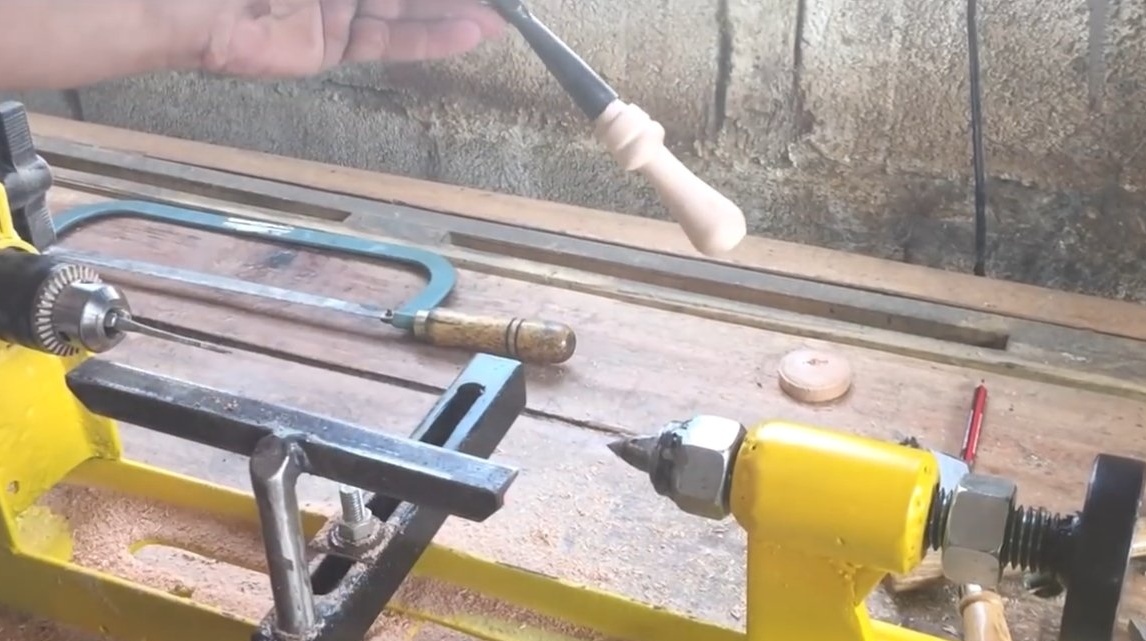
As a material, the author decided to try to make a handle out of a wooden bar. Homemade did an excellent job. In general, the characteristics and accuracy of the machine will largely depend on the selected drill.
The project is completed on this, I hope you liked the homemade work, and you found useful thoughts for yourself. Good luck and creative inspiration, if you decide to repeat this. Do not forget to share your ideas and homemade things with us!