
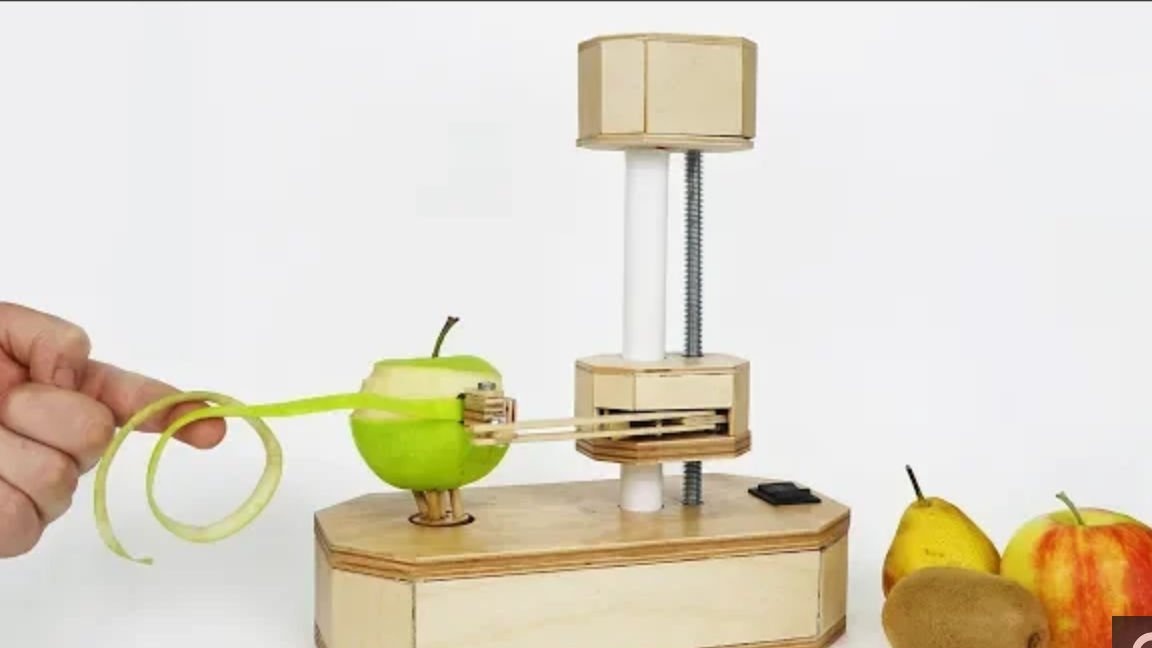
Good day to all dear friends! In today's article, I would like to show you a rather interesting idea homemade. Namely, in today's article we will look at how to make a very useful thing, which certainly can be useful to everyone, and this is a kitchen electric cleaner of vegetables and fruits. This automatic cleaning can be useful to someone who, for example, loves to eat apples without a peel, but peeling a peel by hand is a rather time-consuming process and it is often easy to just do it laziness. Or simply this device can be used for peeling ordinary potatoes, which in turn will significantly speed up the cooking process. In general, the homemade product is very interesting, so let's not pull with a long introduction, let's go!
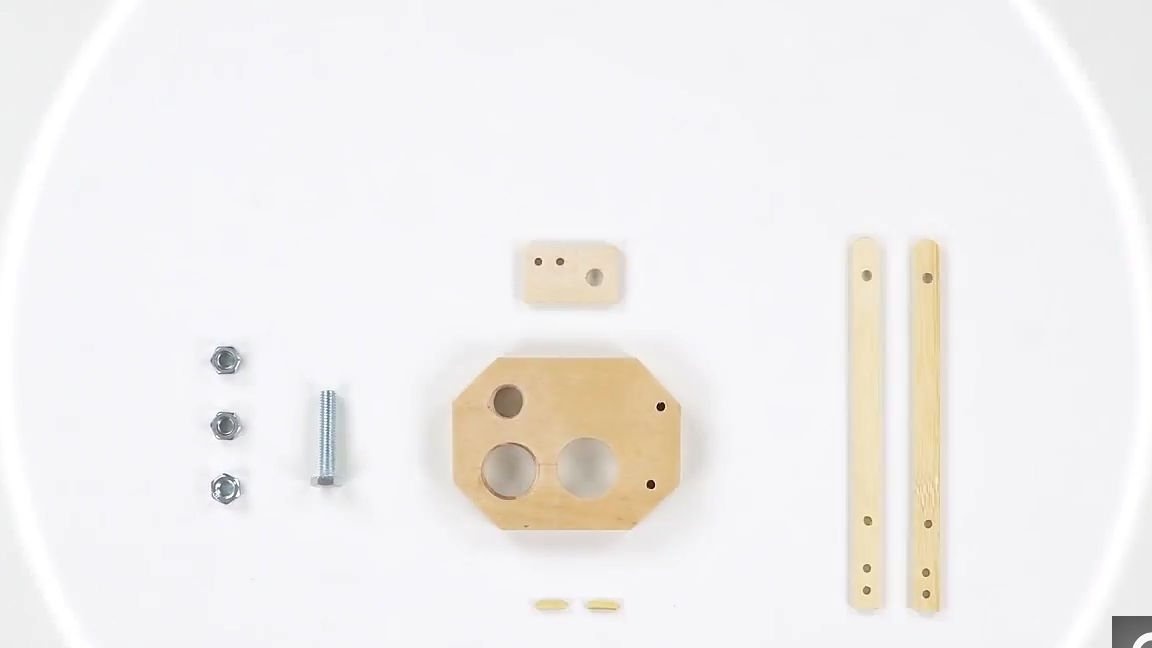
For this homemade product we need:
- A small sheet of plywood (1m * 1m will be more than enough)
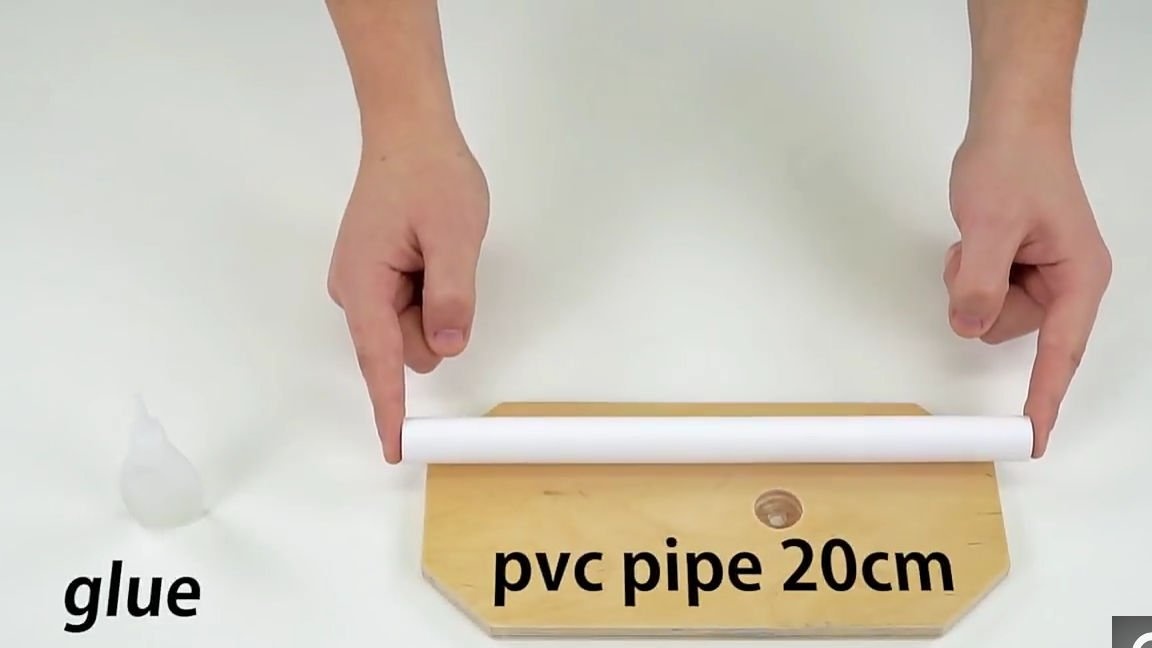
- PVC tube about 20 cm long
- Electric motor with gearbox 2 pcs. (with plastic gear)
- Electric motor with metal gear
- Switch - reverse
- Batteries format "crown" 2 pcs
- Connectors for batteries in the "crown" format 2 pcs
- wires
- Threaded stud
- Terminals for switch - reverse (optional)
- Screws and nuts
- Ice cream sticks
- Barbecue skewer
- Retractable spring
- Blade
- Protective coating for wood.
Of the tools we will also need:
- Ruler
- pencil
- Electric fret saw (you can do it manually)
- Drill and set of ordinary drills
- Feather drill
- Super glue
- Hot glue
- Soldering iron and solder
- Drill for drilling large circles (not necessarily how you can do with one of the types of jigsaws)
- Hacksaw
- scissors
- Fine sandpaper.
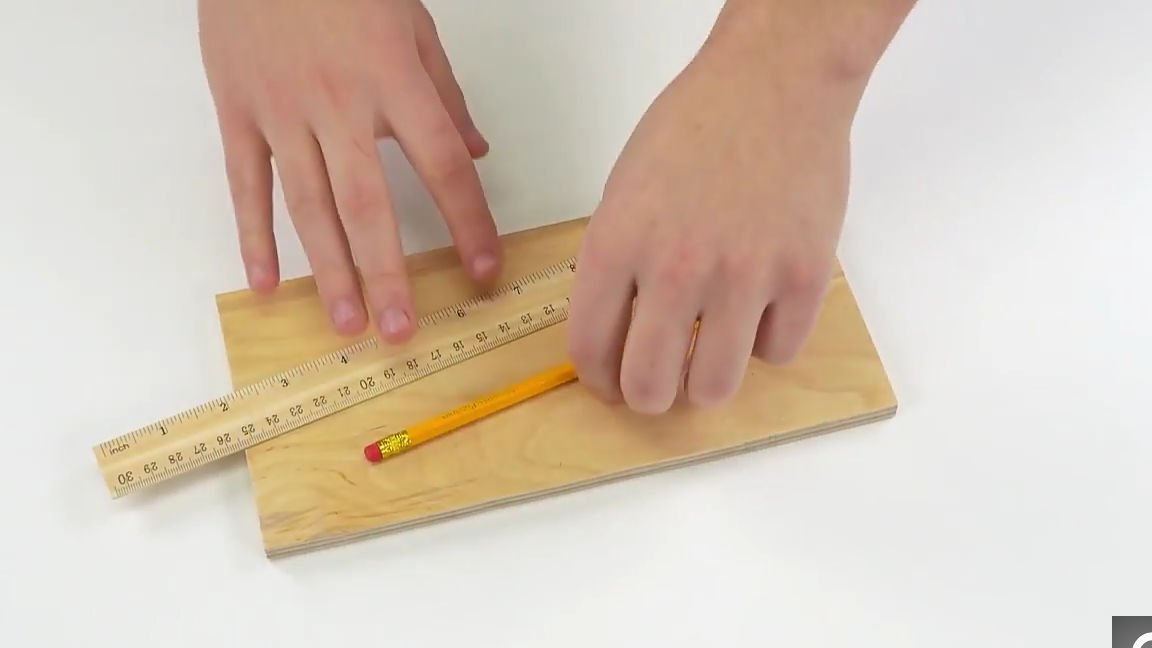
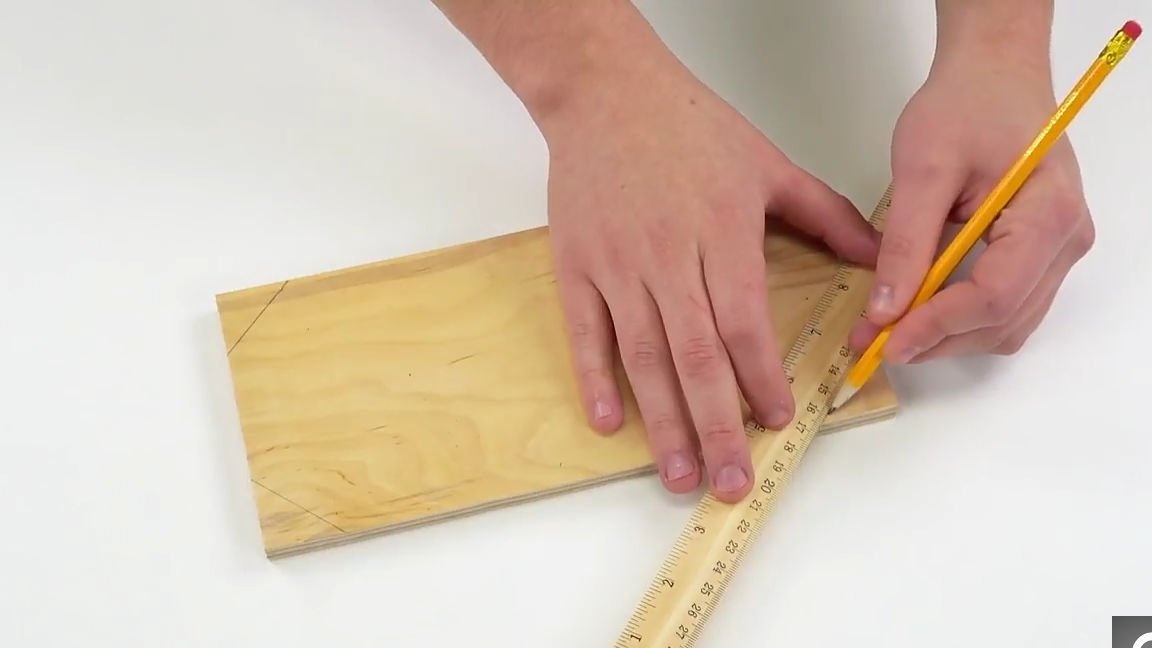
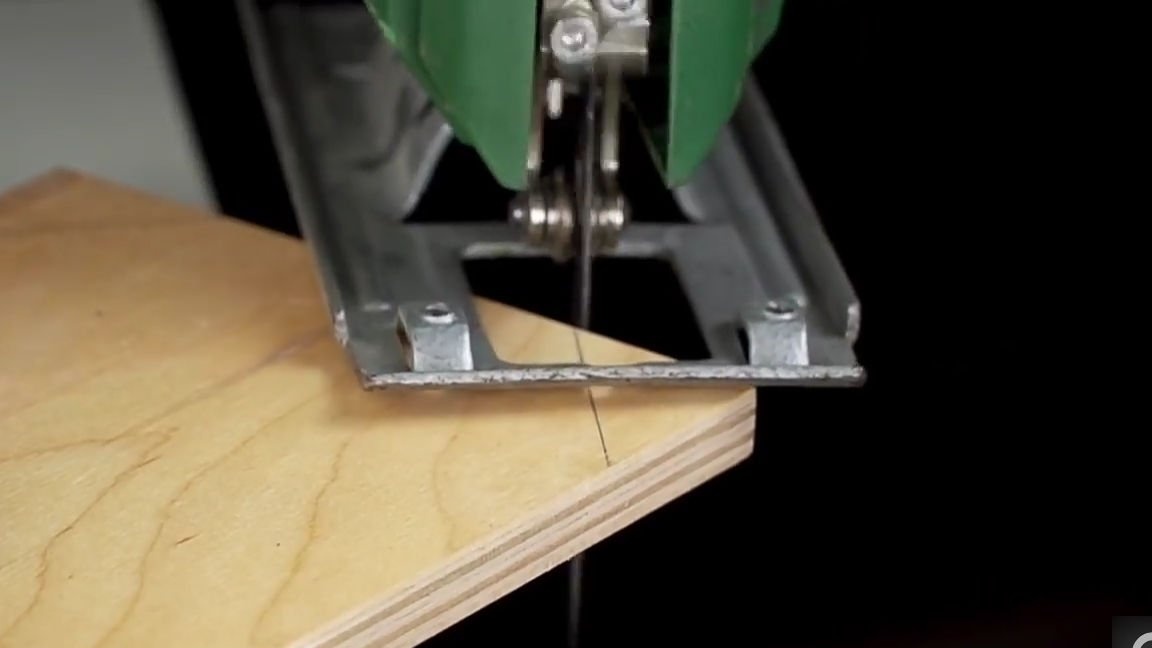
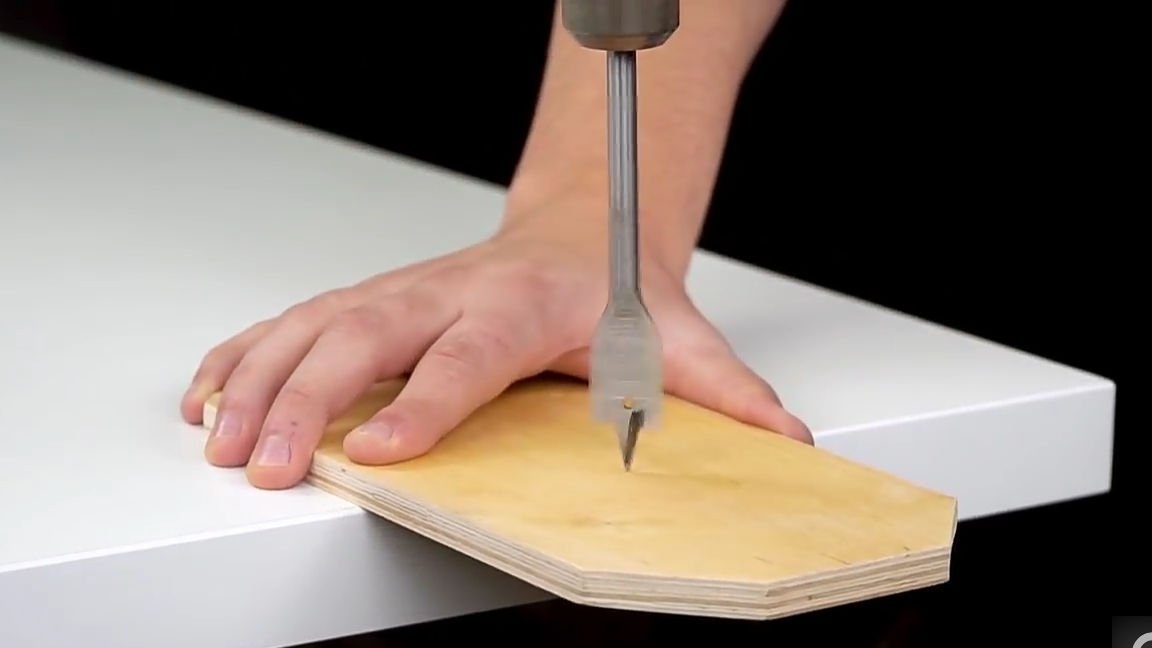
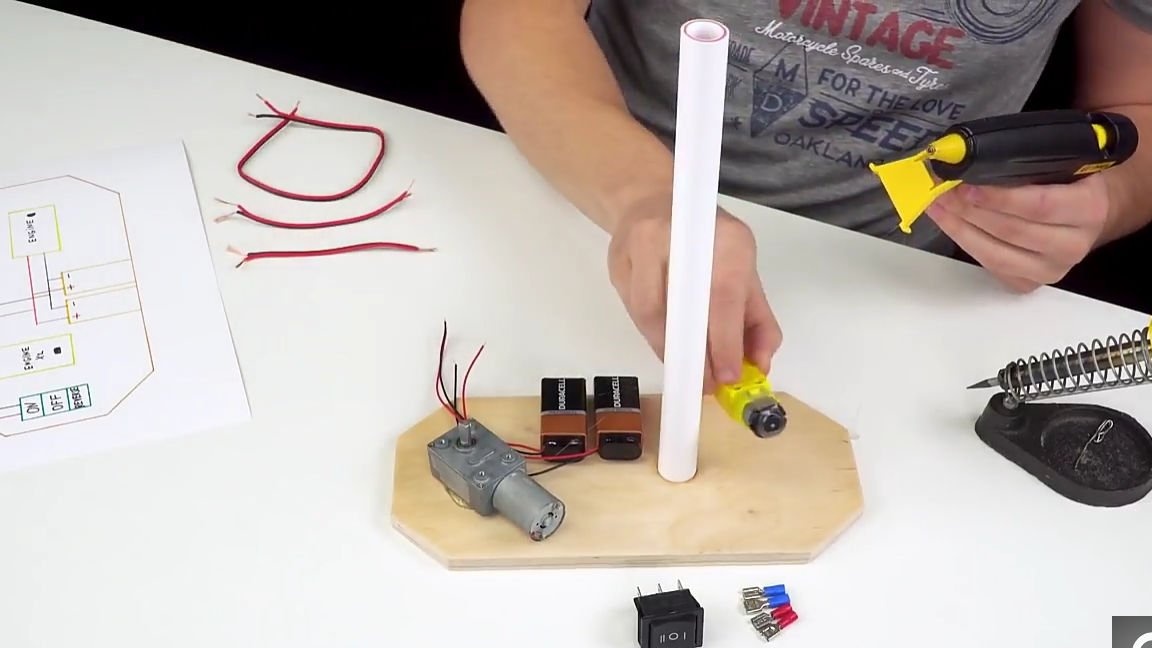
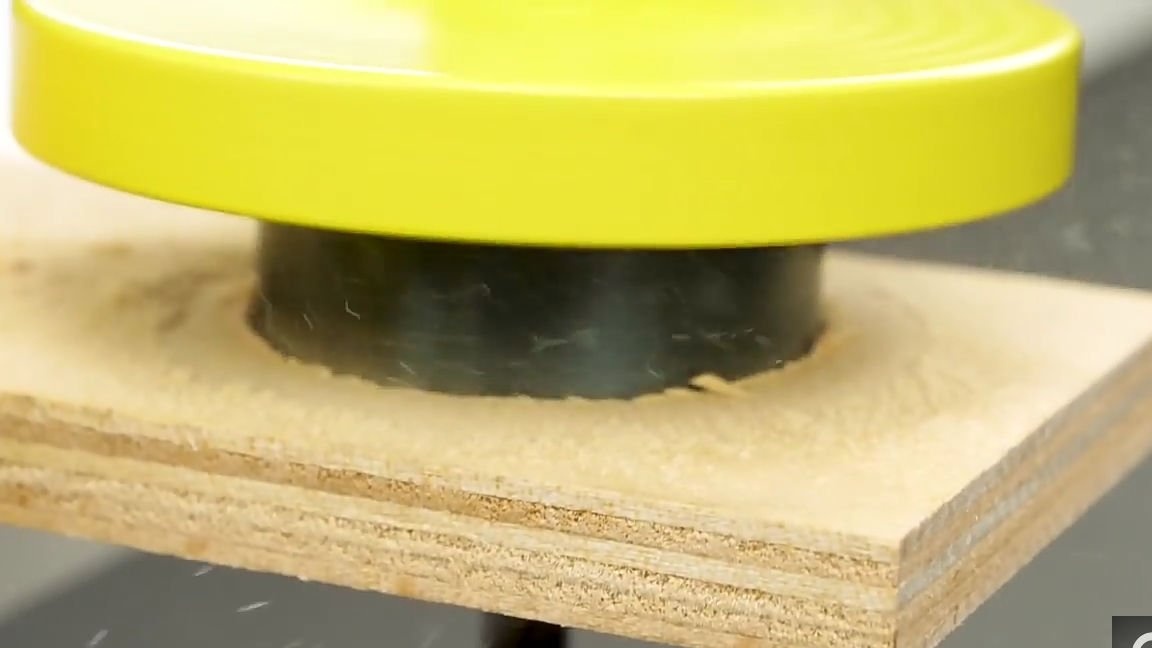
To begin with, we’ll make a platform on which we will assemble the entire structure. For her, you need a small rectangle of plywood with dimensions of about 25 by 15 cm. In order for the finished homemade product not to look rough and angular, for this we cut off the corners of the previously taken rectangle, just use a ruler and a simple pencil on all four sides to mark equal angles that should be cut. Sawing is easiest with a jigsaw, and if you don’t have one, you can use a hacksaw for metal.We continue actions with the base, the next step is to make a hole using a pen drill (make a hole in the place indicated in the photo), but not through. The diameter of the hole should be equal to the outer diameter of the PVC pipe you have taken.
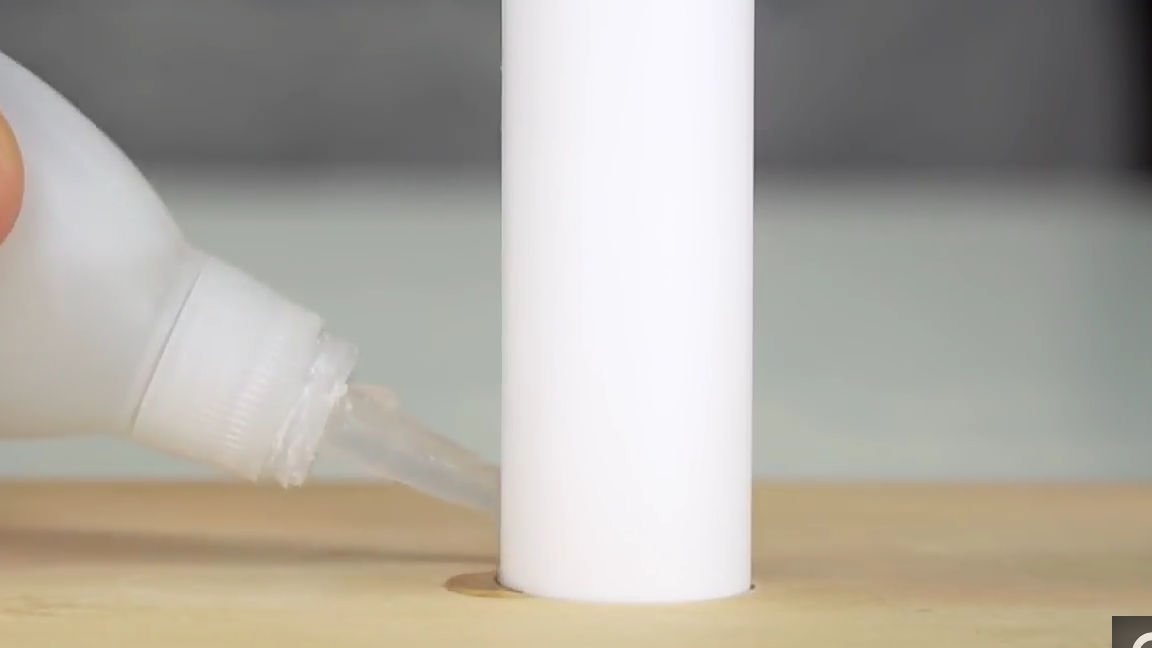
After it, you should take a PVC pipe length, which should be equal to 20cm. The PVC pipe just taken should be connected to the base, simply by inserting it into the previously made hole and fixing with superglue.
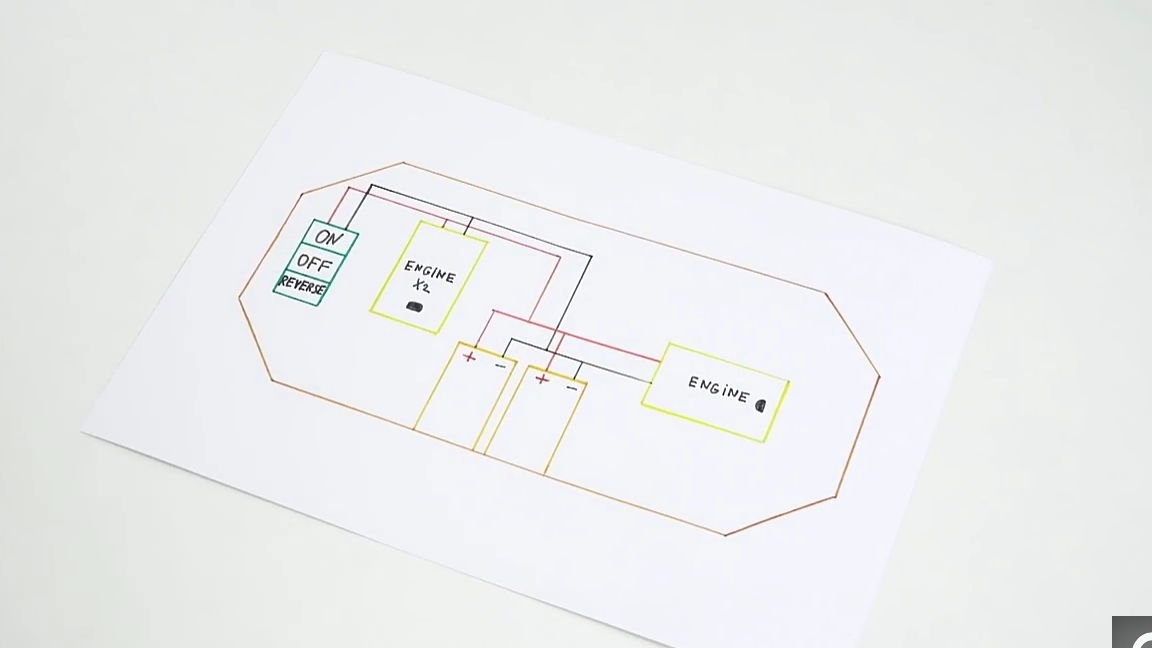
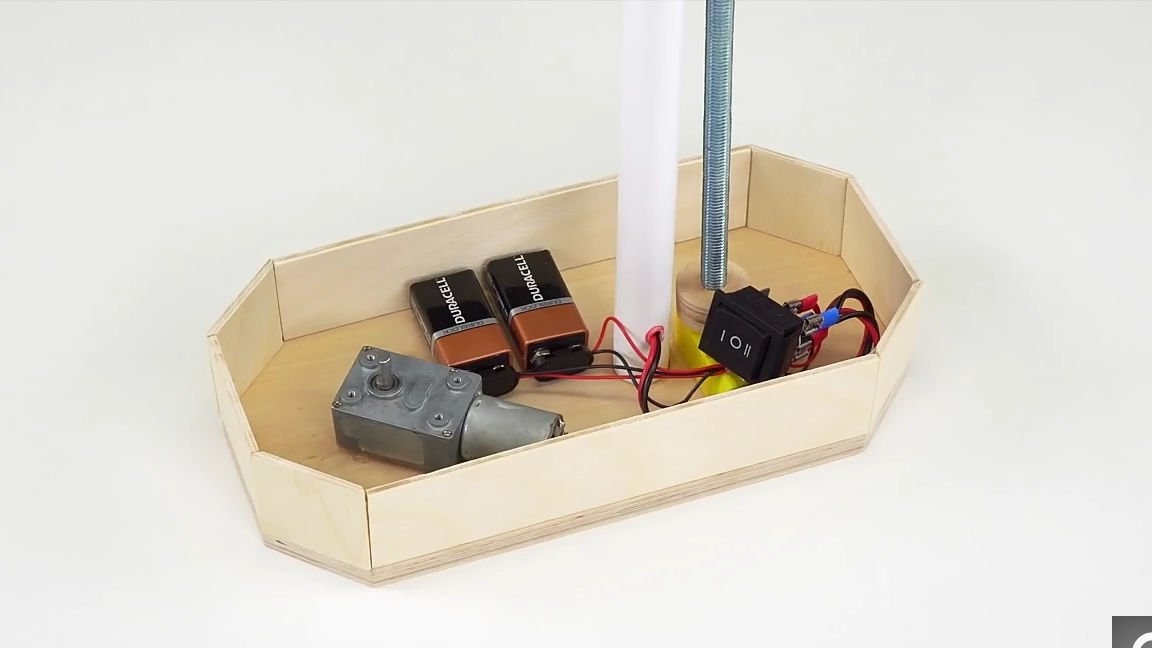
We continue the assembly, but before continuing it, for a better understanding of what is happening, I advise you to consider the scheme by which we will connect the whole electronic part of the homemade product. Having carefully examined the scheme given below, we continue the assembly, namely the next step is to place everything you need on a plywood basis. Using hot-melt adhesive, we fix the batteries, an electric motor with a metal gearbox and one electric motor with a plastic gearbox, as indicated in the diagram and exactly as shown in the photo below. Having fixed all the above listed elements, they should be interconnected according to the scheme below (we do not install the switch at this stage).

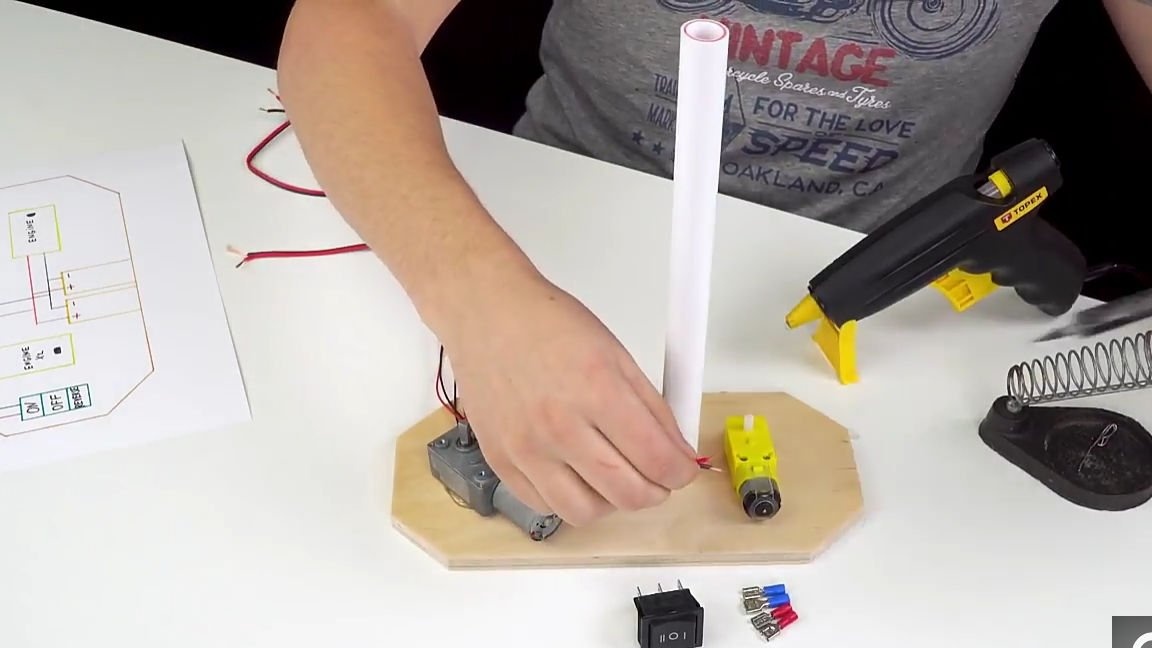
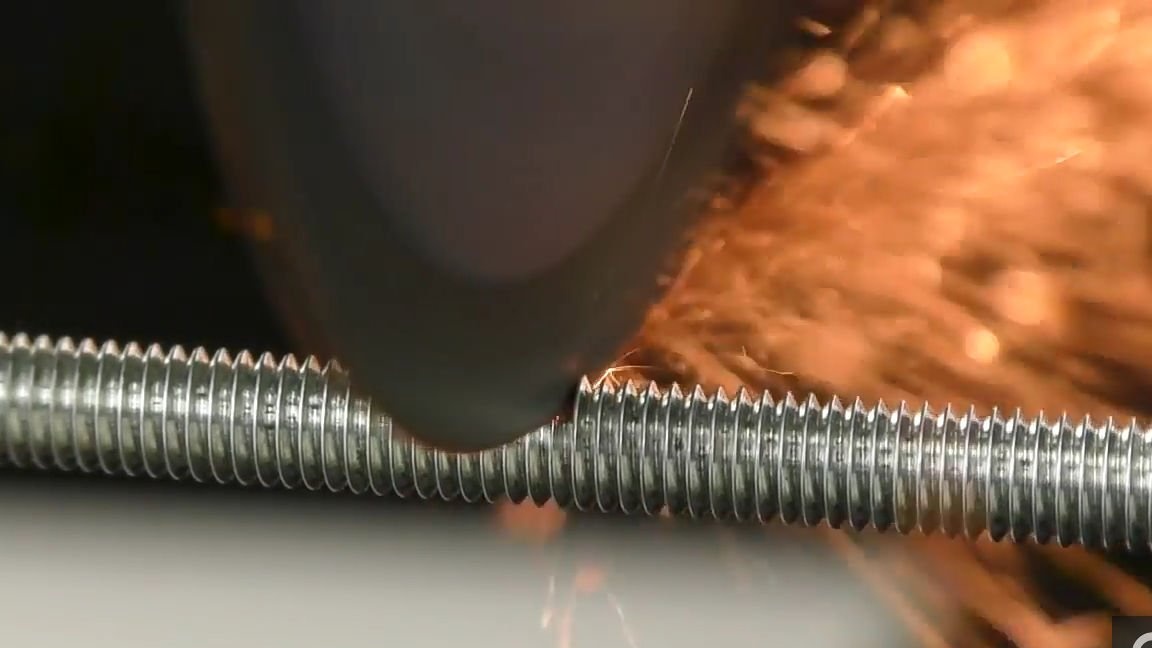
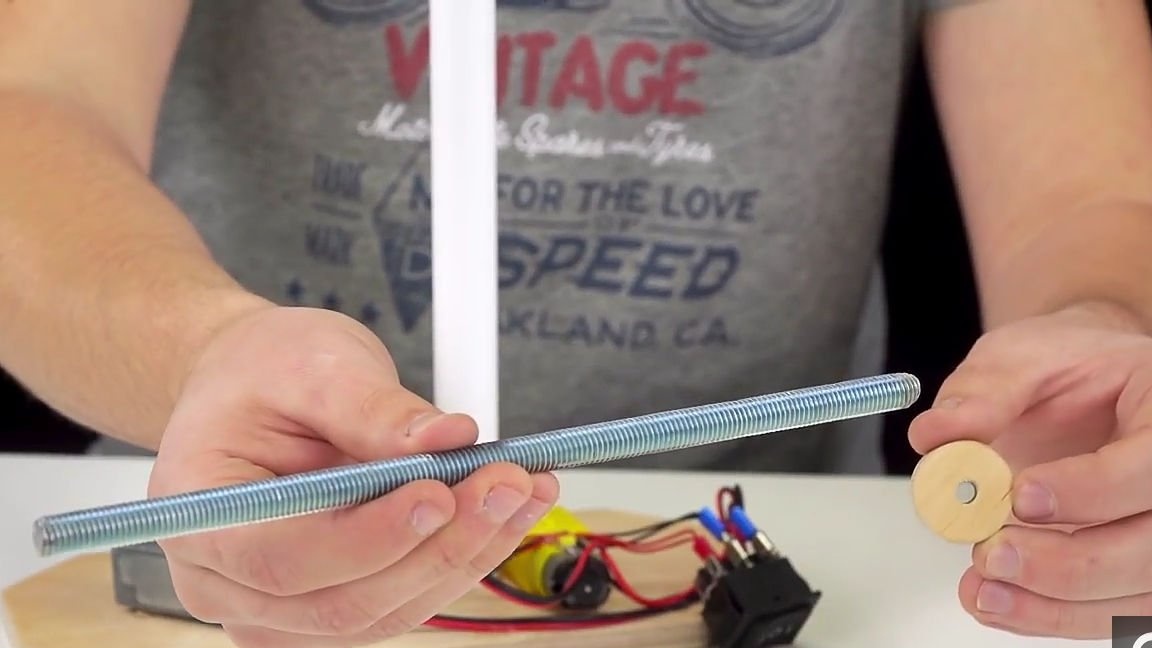
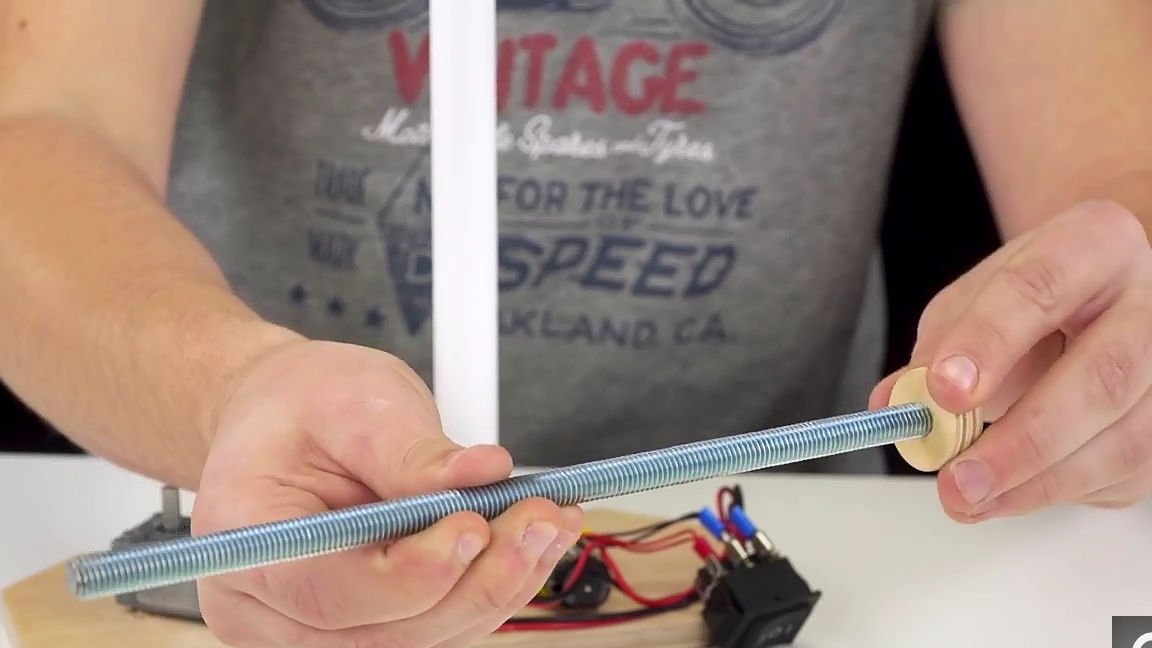
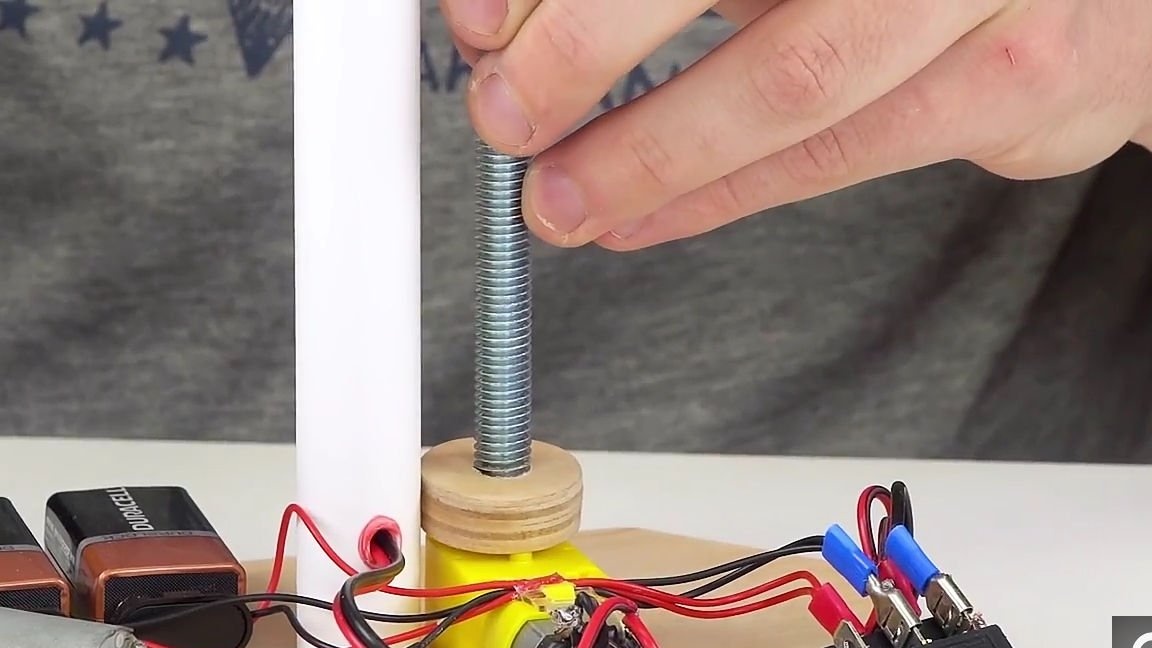
Then we make a hole in the pipe wall with a hot soldering iron in order to conduct wires inside the pipe for connecting the second engine with a plastic gearbox. Then, a stud should be installed on the motor shaft, the length of the stud should be such that when it is installed, it should be flush with the PVC pipe. To install the studs on the shaft, an adapter should be made, the adapter will be made of plywood, simply by taking a small piece of plywood and cutting out a circle with a diameter of no more than 2 cm, we will make a through hole on one side. The diameter of the hole made must be such that a stud can be screwed into it. And on the other hand, we’ll make a hole for the motor shaft so that the shaft itself does not scroll in it.
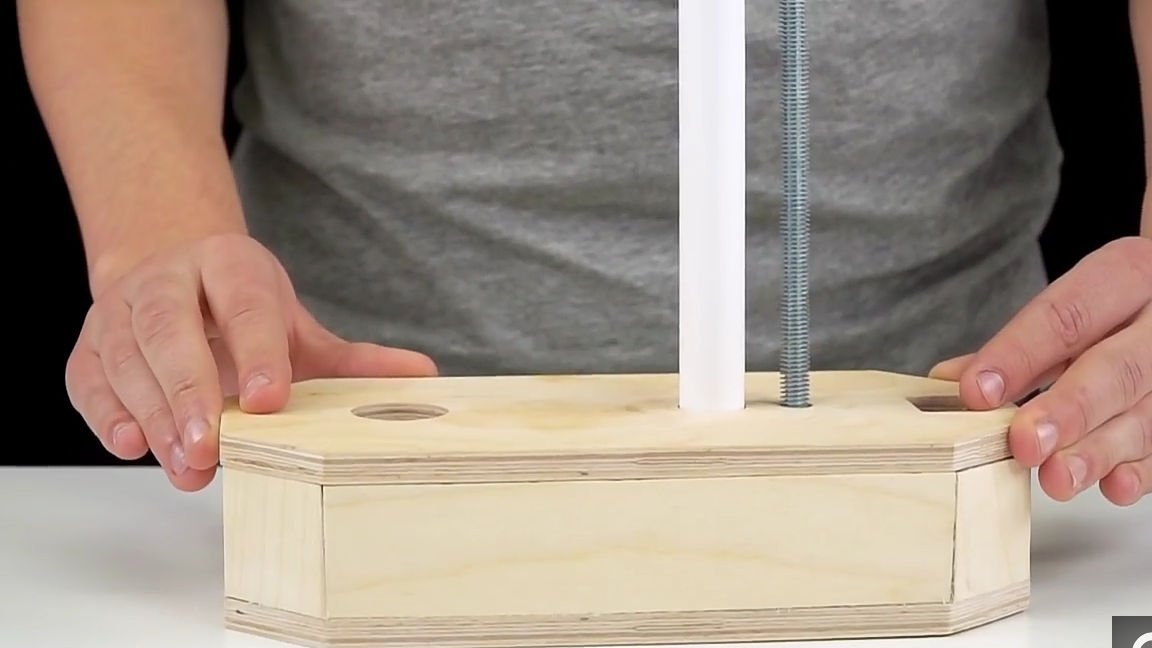
Well, actually install the pin through the adapter just manufactured in its place, as shown in the photo below. The next step is to make the walls of the lower part of the structure so high that all components remain inside the case. To do this, take a sheet of plywood and cut out of it eight necessary rectangles and set them in the place indicated in the photo, fixing with superglue.
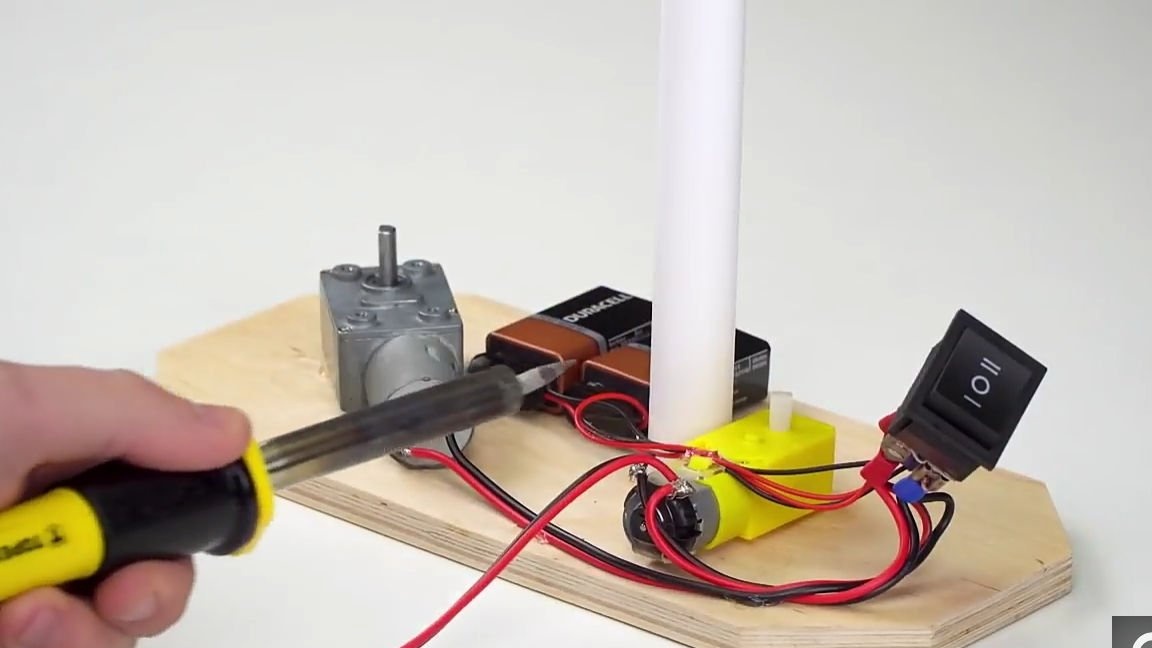
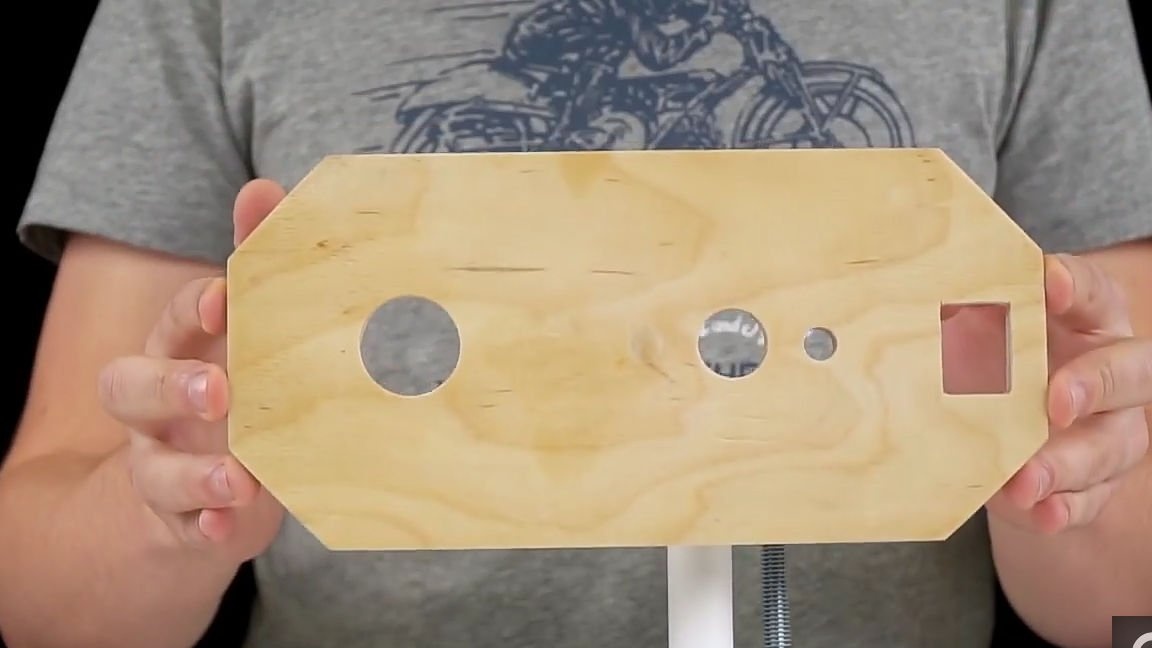
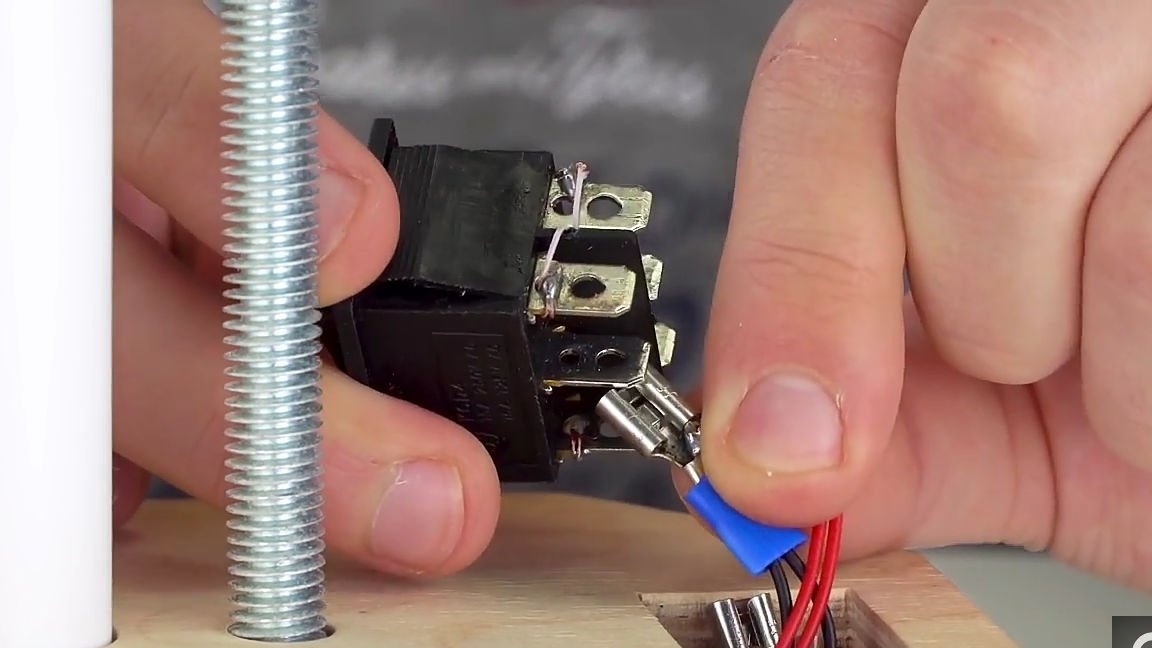
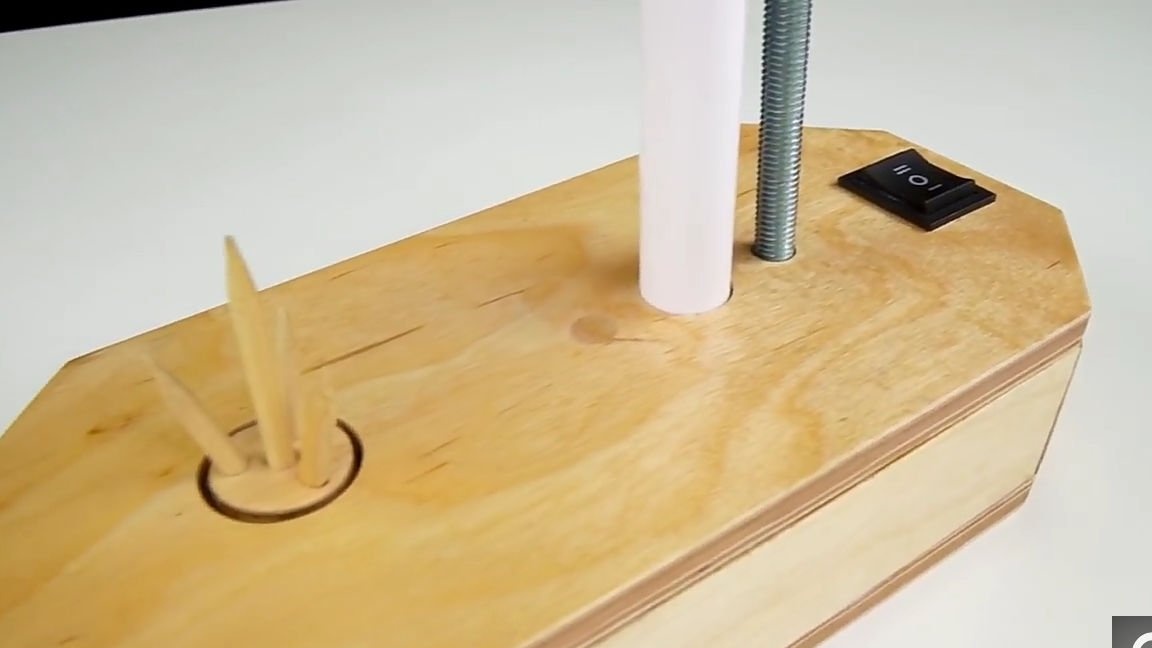
Then we will make a cover. For it, you will also need a sheet of plywood, from which we cut out a part similar to the first. Three round holes and one square should be made on the lid itself. The square hole is gentle for the switch - reverse, round for PVC pipe, stud and for further installation of the adapter on the motor shaft with a metal gearbox (see photo). We install the cover in its place and fix it with superglue. We connect the reverse switch and install it on the case as shown in the photo below.
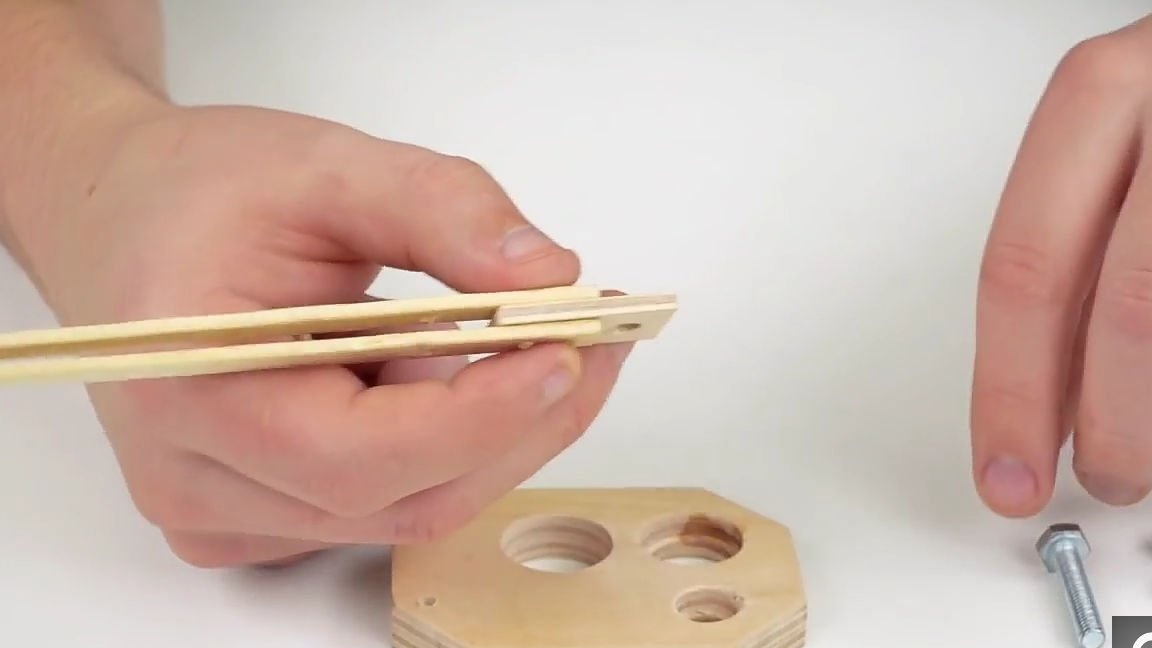
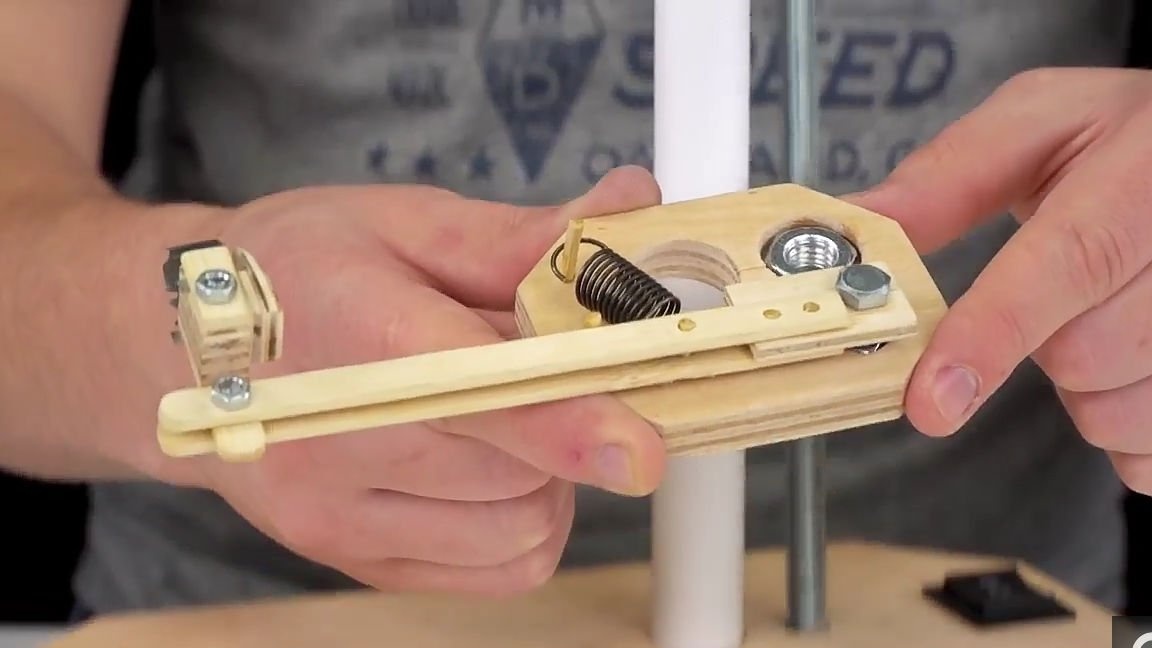
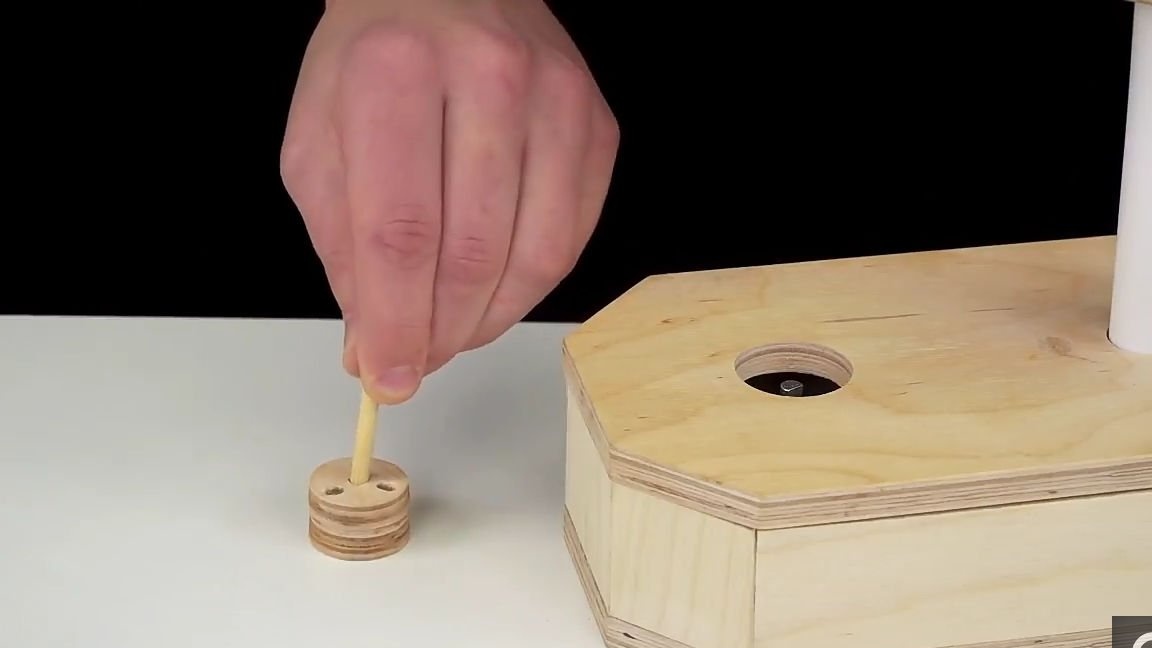
Then we proceed to the manufacture of the cleaning mechanism, it will require a small plywood rectangle, two ice cream sticks, a screw and three nuts for it, a skewer skewer. With the above components, you should do the same actions as the author did (see photo). Take a small wooden rectangle and connect it with two wooden sticks so that we get a kind of sandwich. Insert small pieces of barbecue skewers into the holes in the stick and in the rectangle and soak all this with superglue.
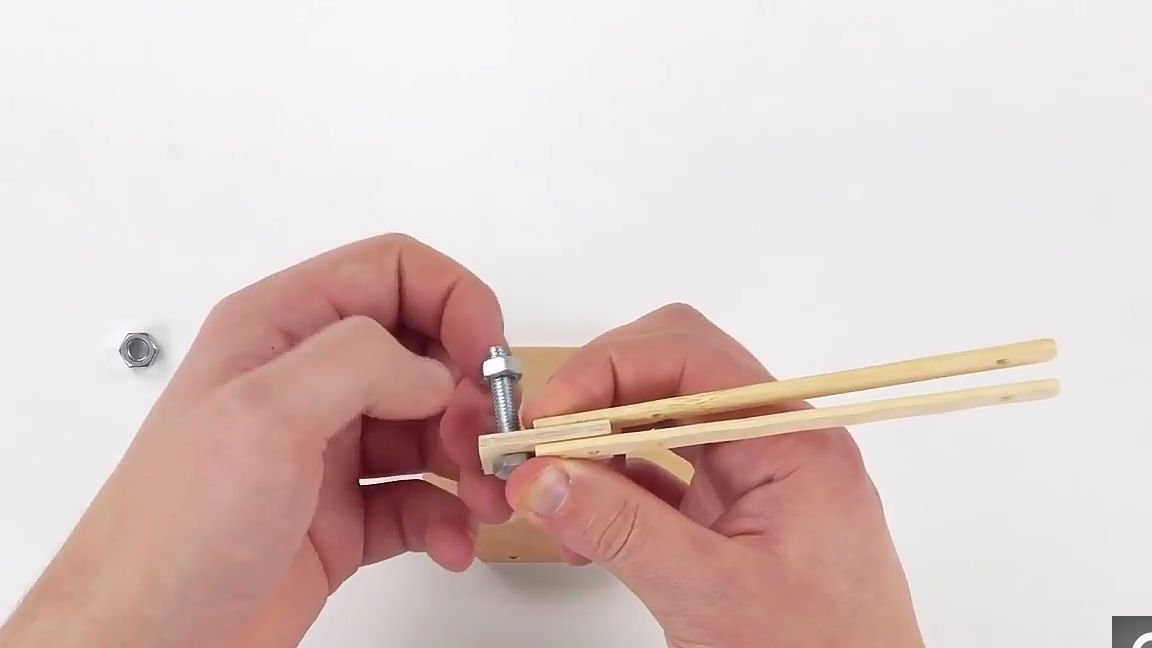
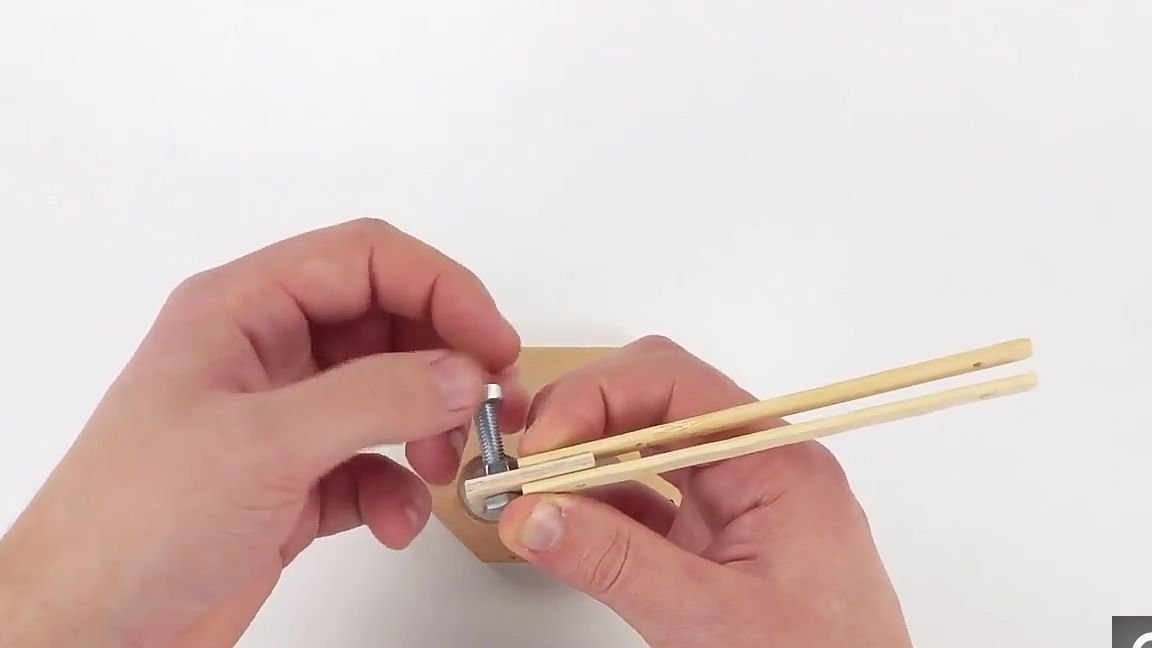
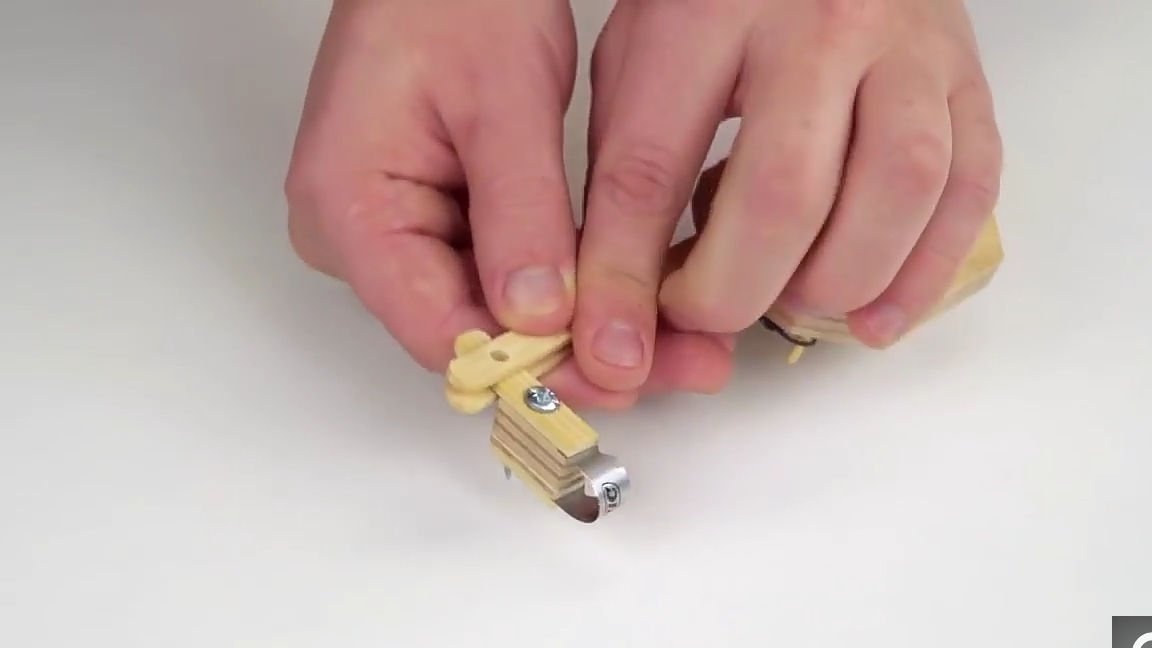
Then we insert a screw into the workpiece just made and we do not fully tighten one nut (so that the wooden workpiece can rotate) and so that the first nut does not loosen, we fix it with the second. We connect the two specified blanks and fix them together with a third nut.
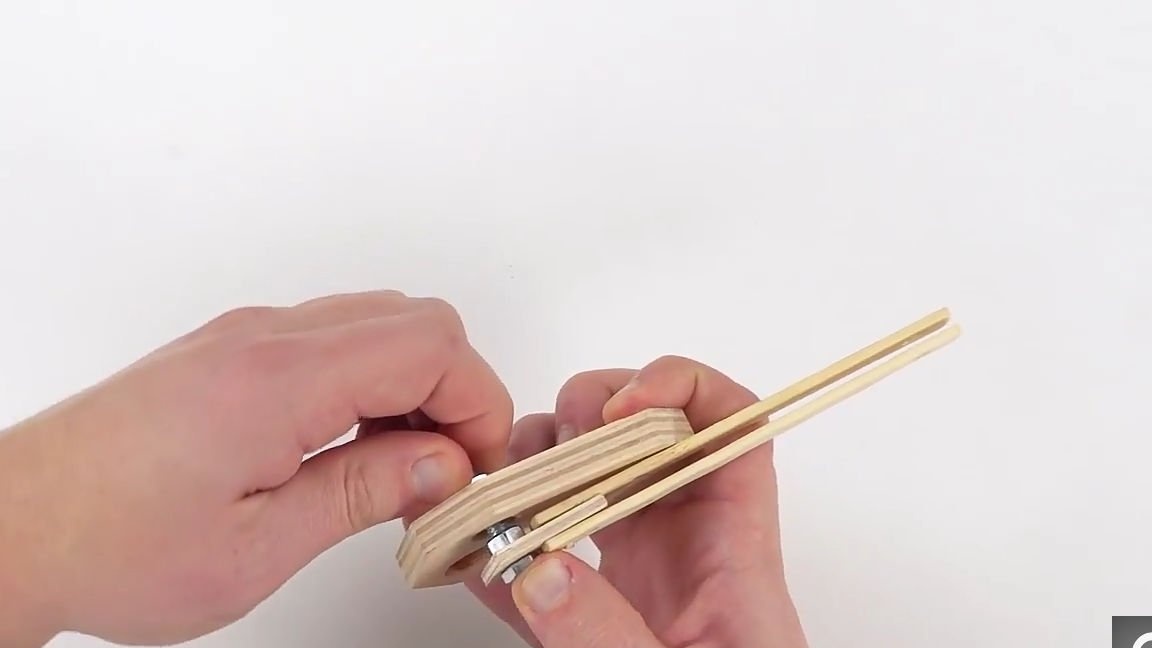
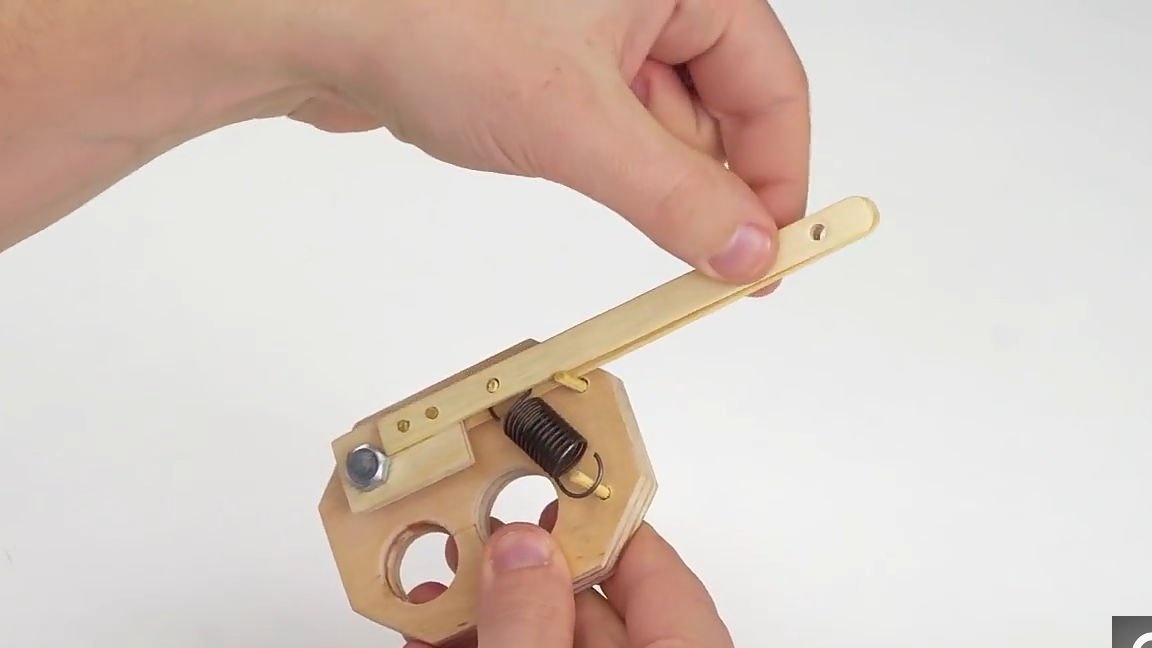
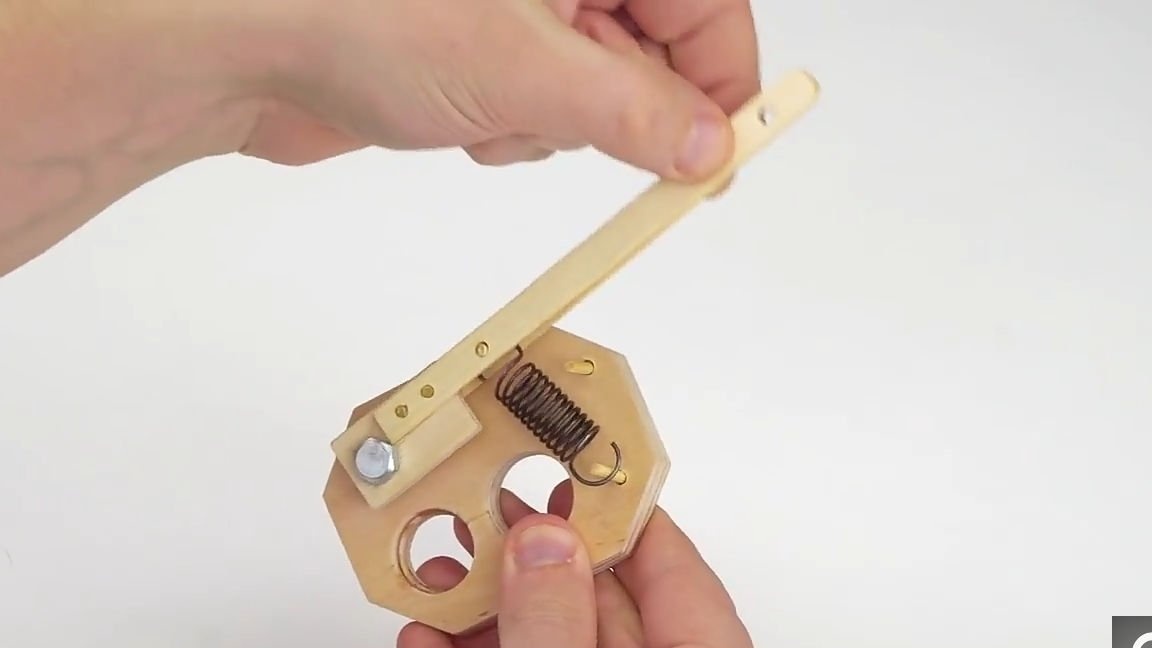
The next step is to take a small tightening spring as in the photo below and two small pieces of skewer skewers. We put kebab skewers into place and pull the spring. As a result, we should get a design similar to the one in the photo below.
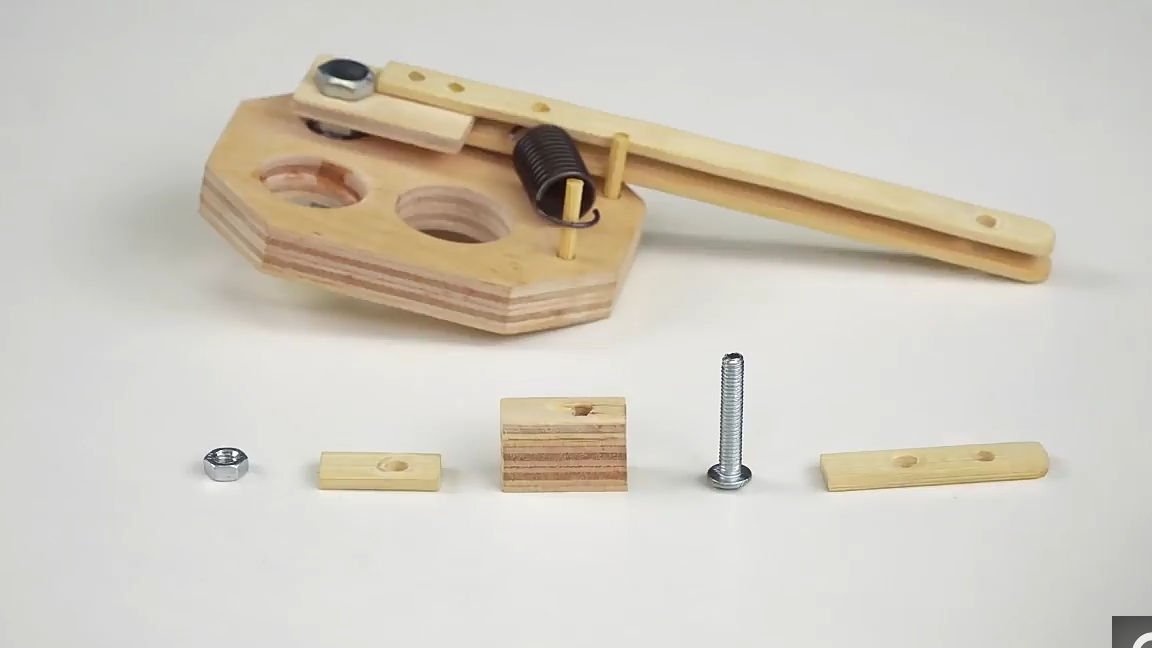
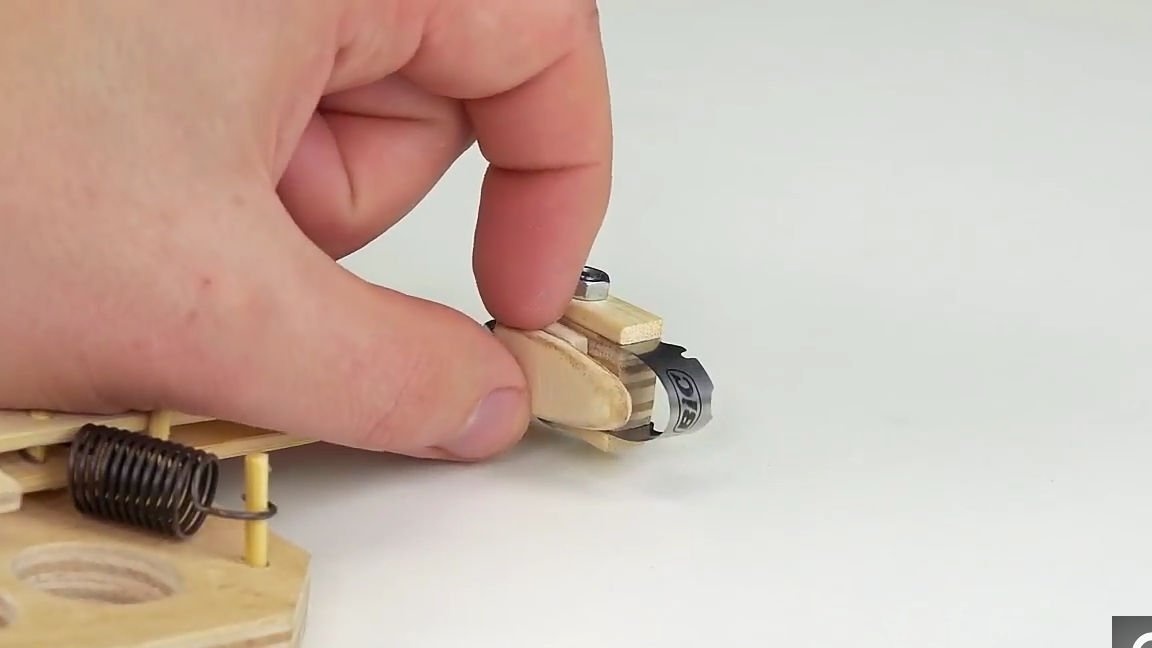
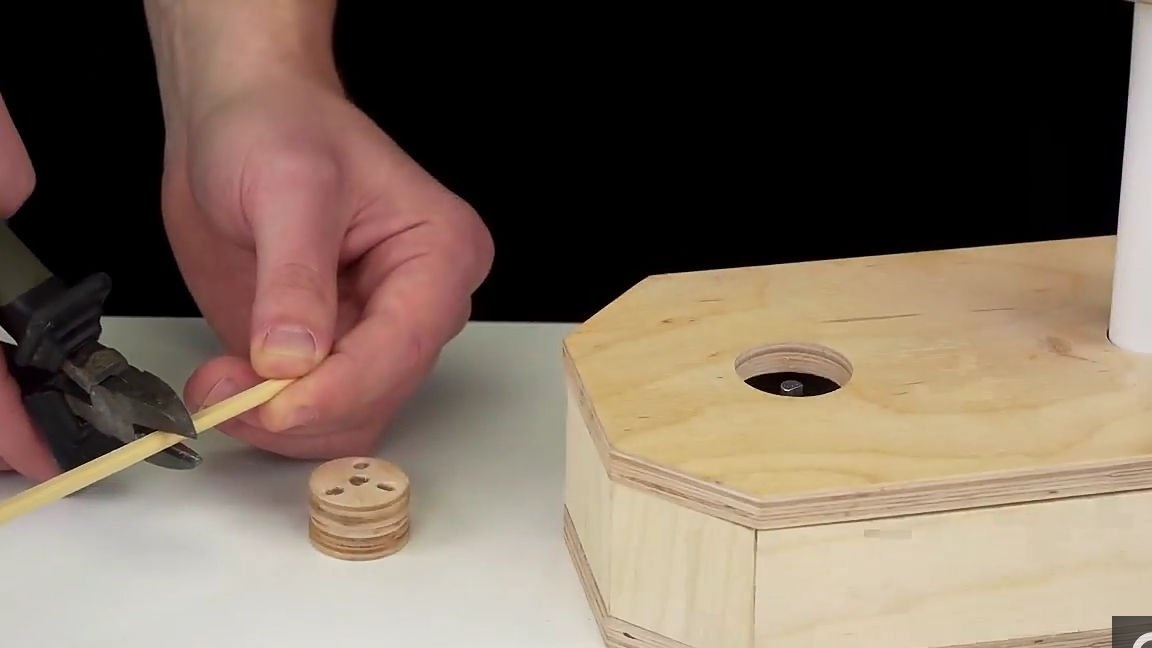
Next, take a long screw and a small diameter and a nut to it, ice cream sticks. The parts just listed should be prepared so that we get a set of components as in the photo below. Then we connect them first to the screw, put on one piece of the stick, then glue it from the sticks, and then the second piece of the stick. Fix the sandwich with a nut.
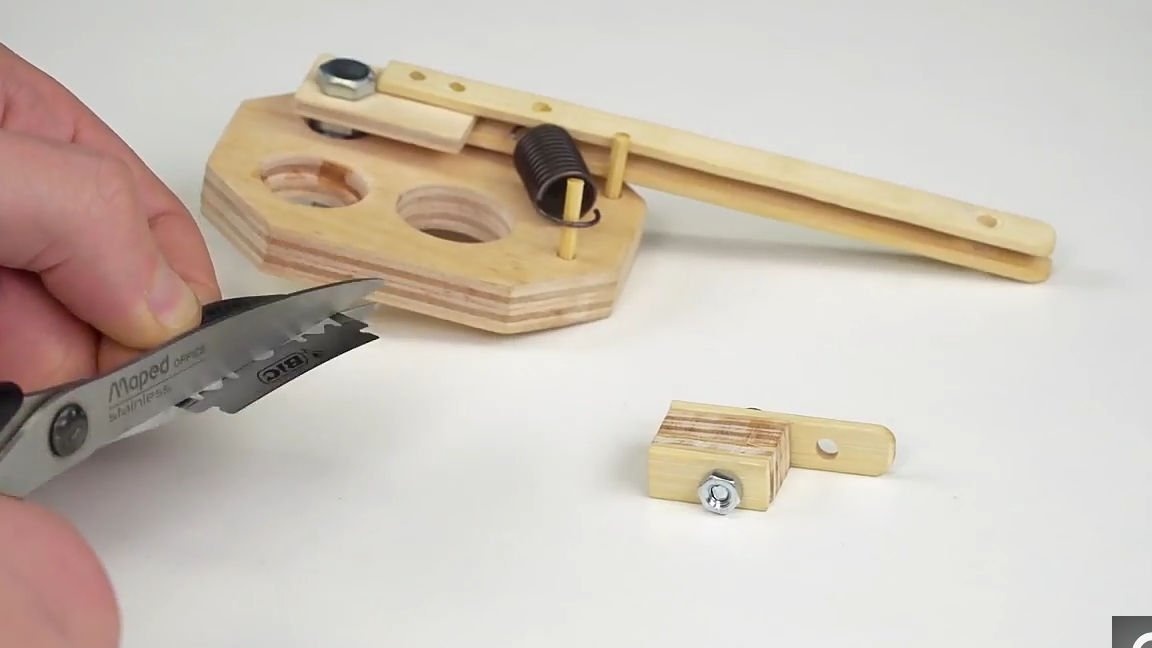
Then we take an ordinary blade, which in turn should be cut in half, this can be done if you use ordinary scissors. Gently bend one of the halves and insert it into the workpiece just done and finally tighten the nut.

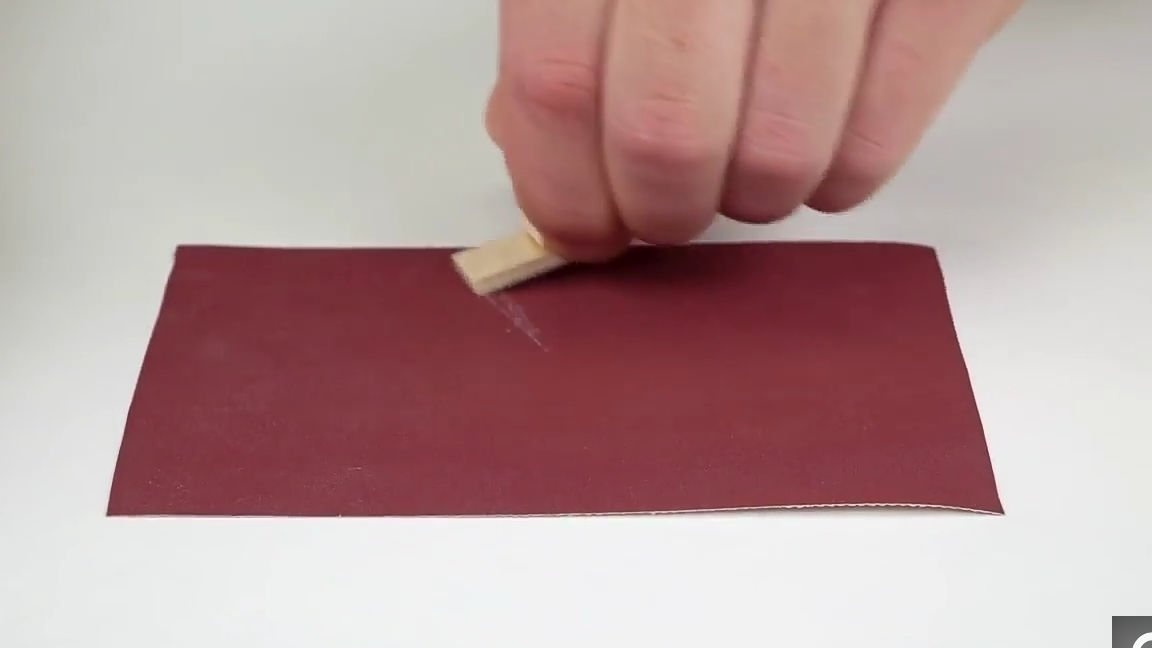
Next, we connect two segments of ice cream strips as shown in the photo below, and give a similar shape with fine sandpaper, and glue with super glue. In the remaining hole in the mechanism, insert a nut suitable for the stud, and also fix it with superglue.
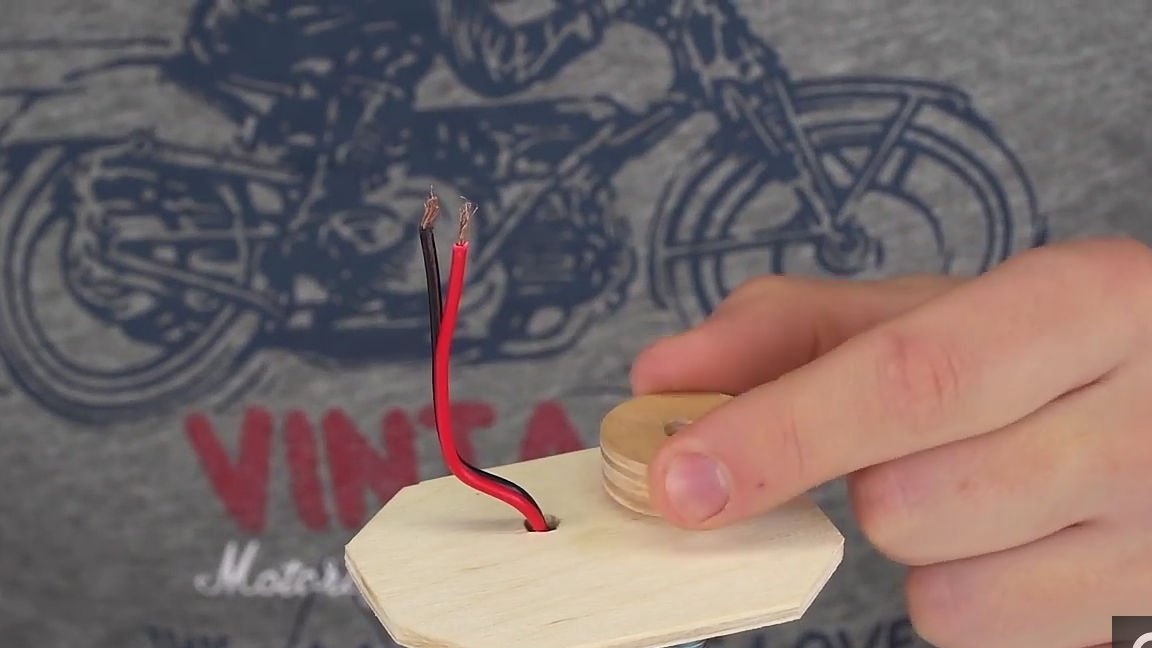
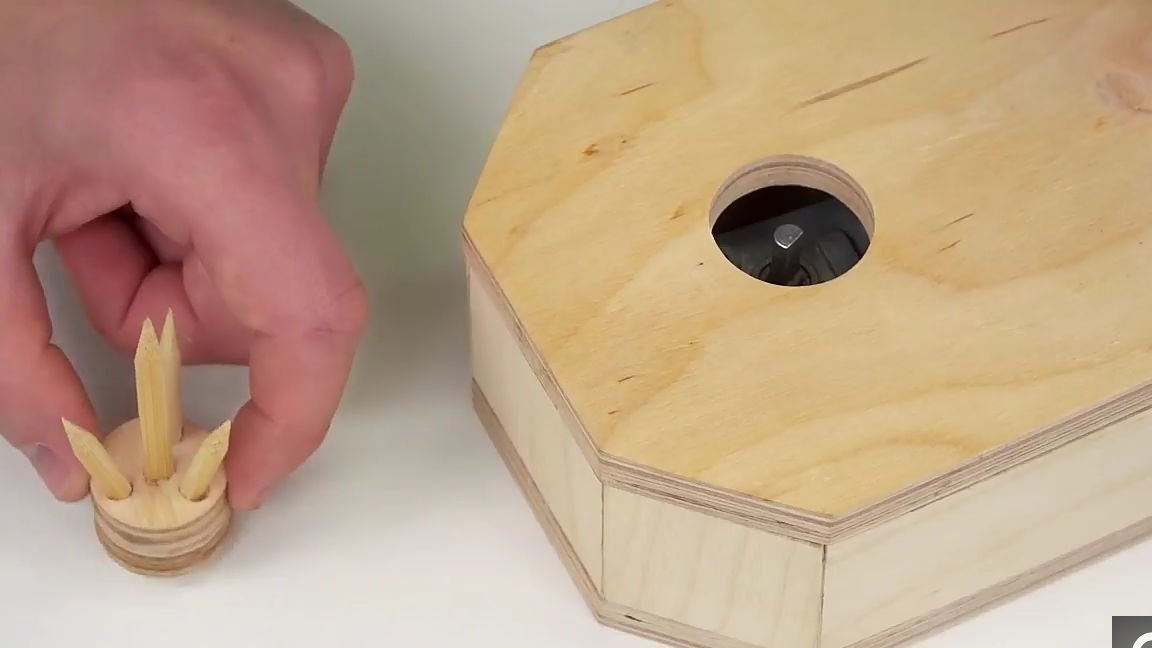
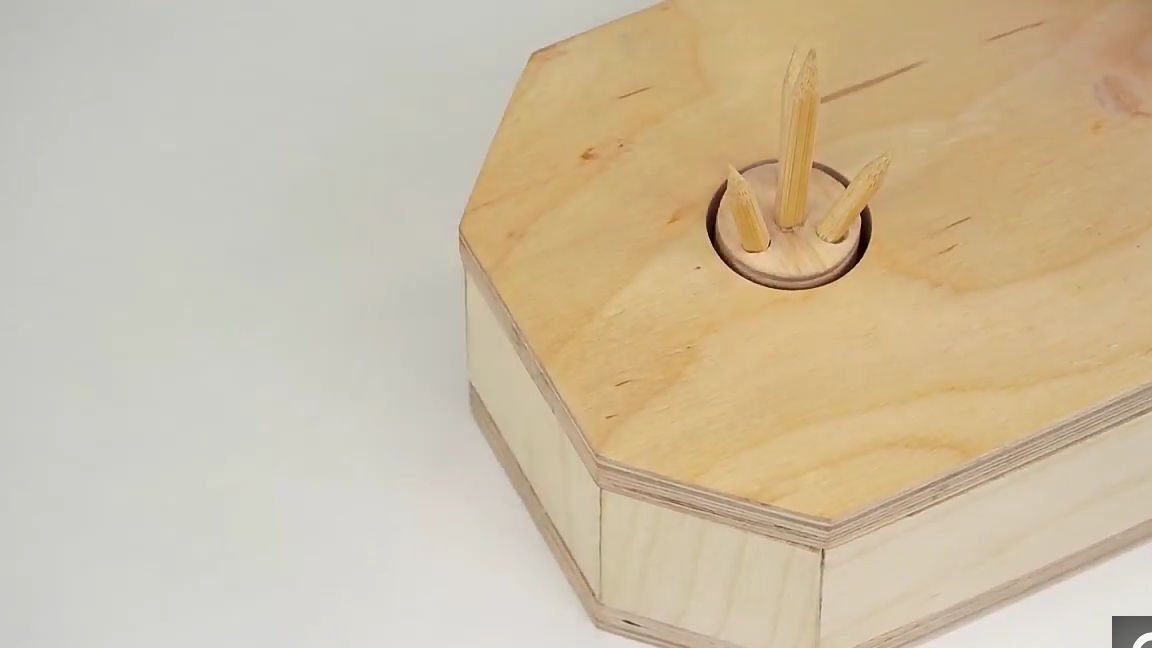
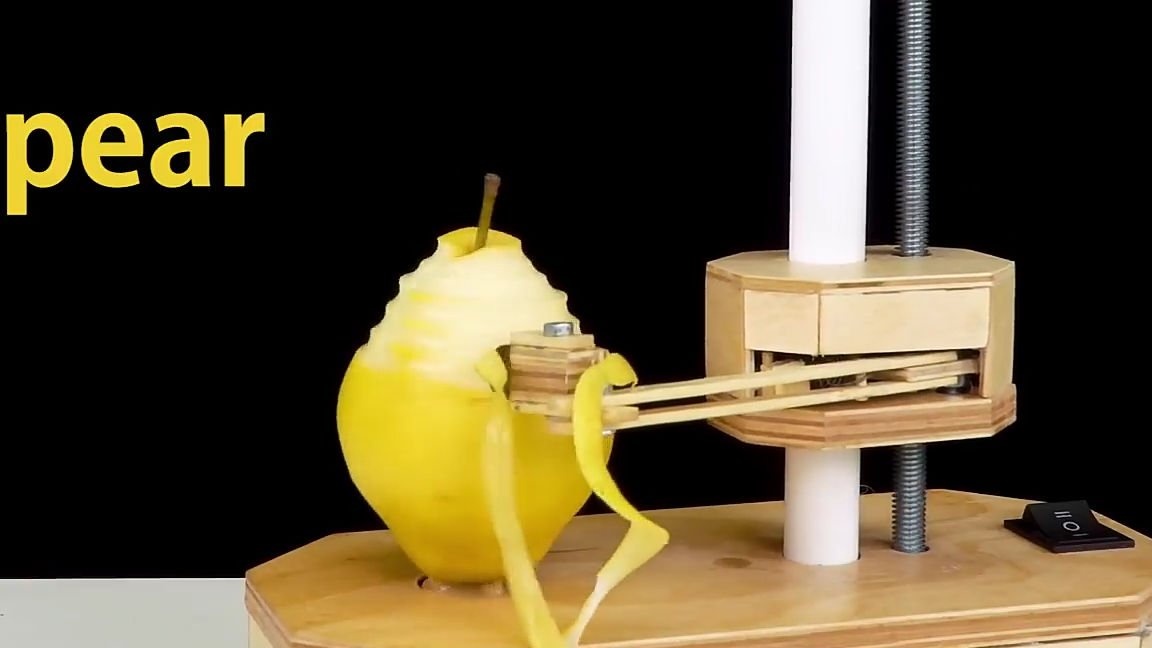
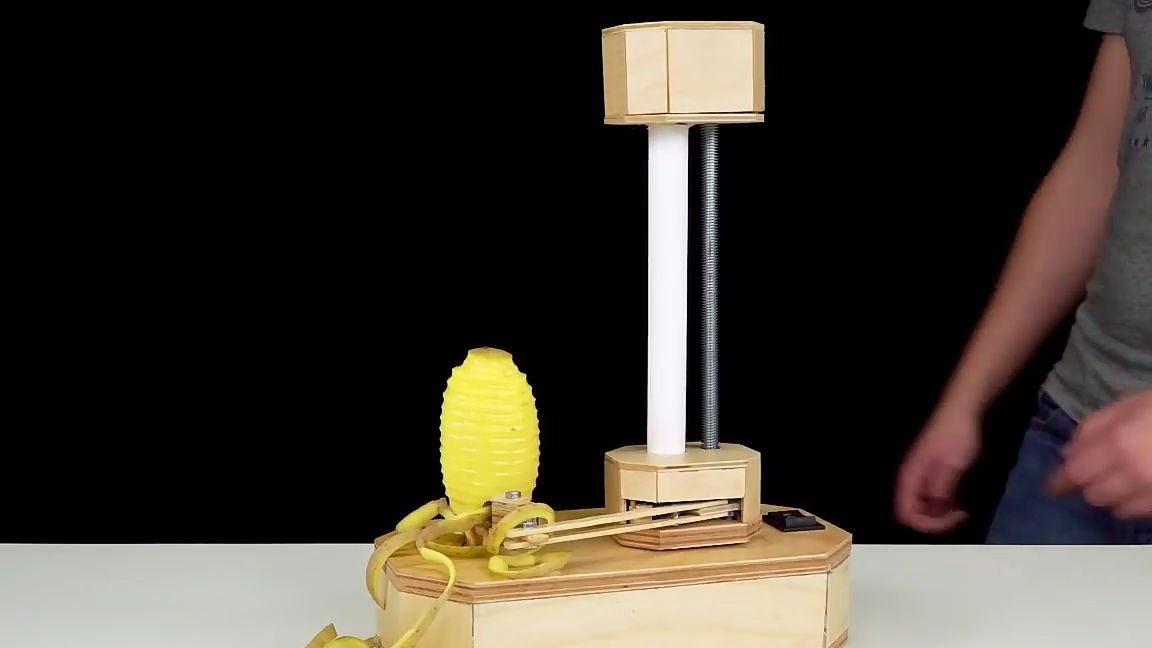
We put our newly made mechanism on the hairpin by turning on the electric motor. On the mechanism itself, you can make a case if you wish. Then we cut a small platform out of plywood to fit the remaining engine. We glue the platform and connect the engine to the wires removed from the wound, and connect it to the hairpin with the adapter, exactly the same as we made earlier. And also, if desired, you can make a case (see photo).

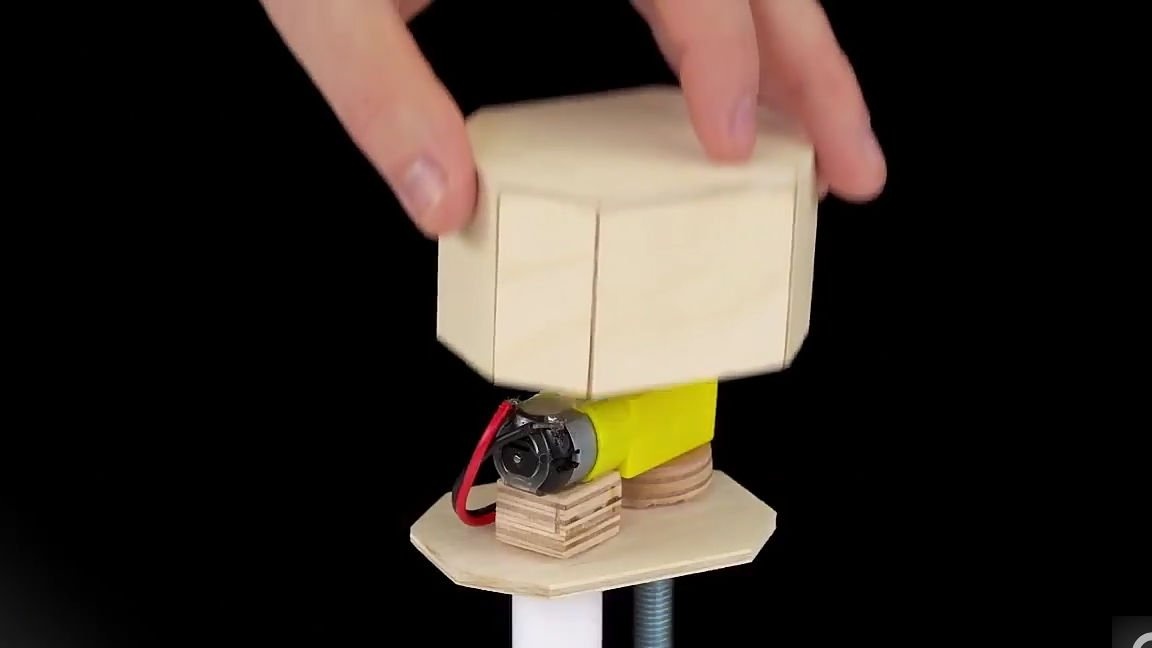
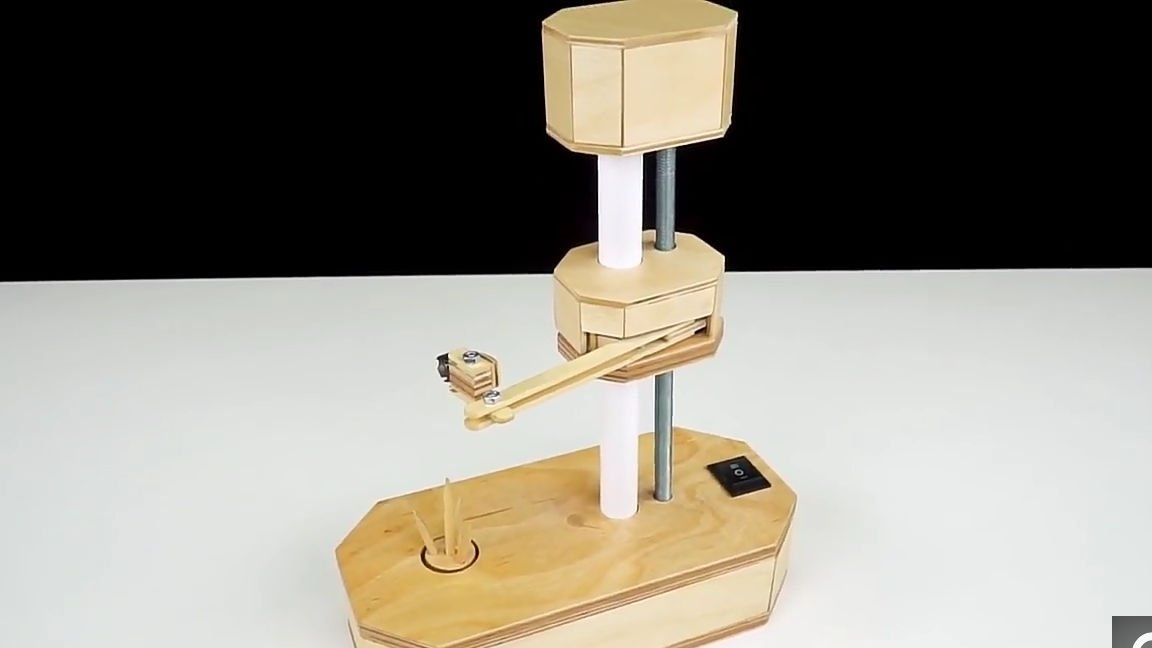
At the end, we will make an adapter for the motor shaft repeating step-by-step actions below. Install the adapter and you're done!
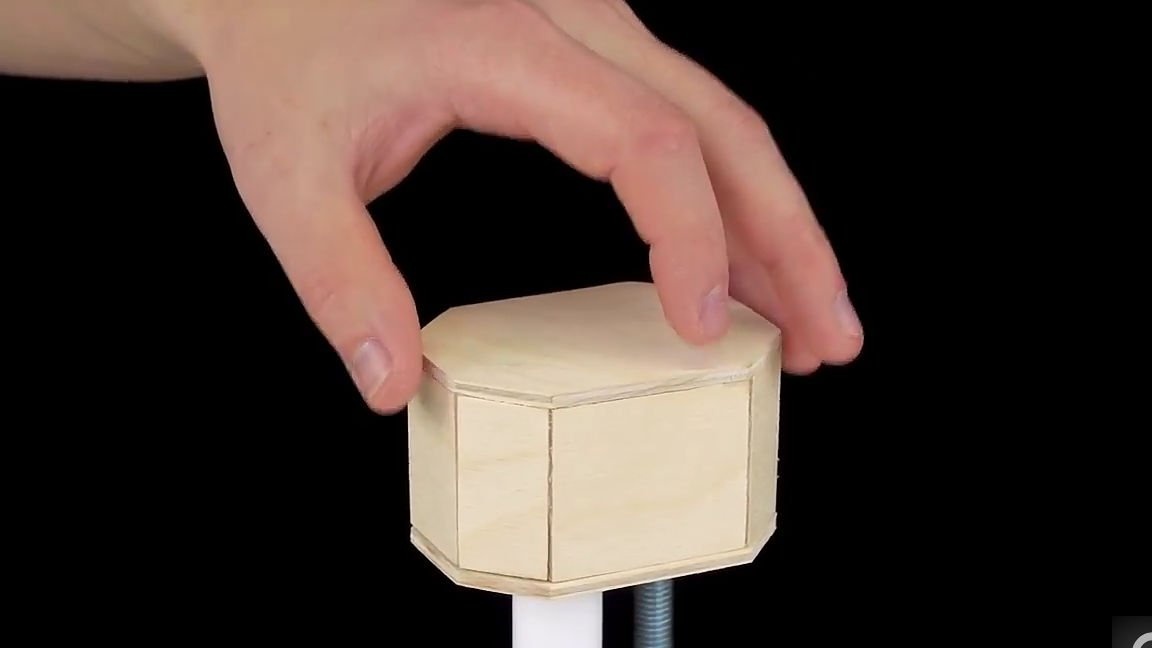
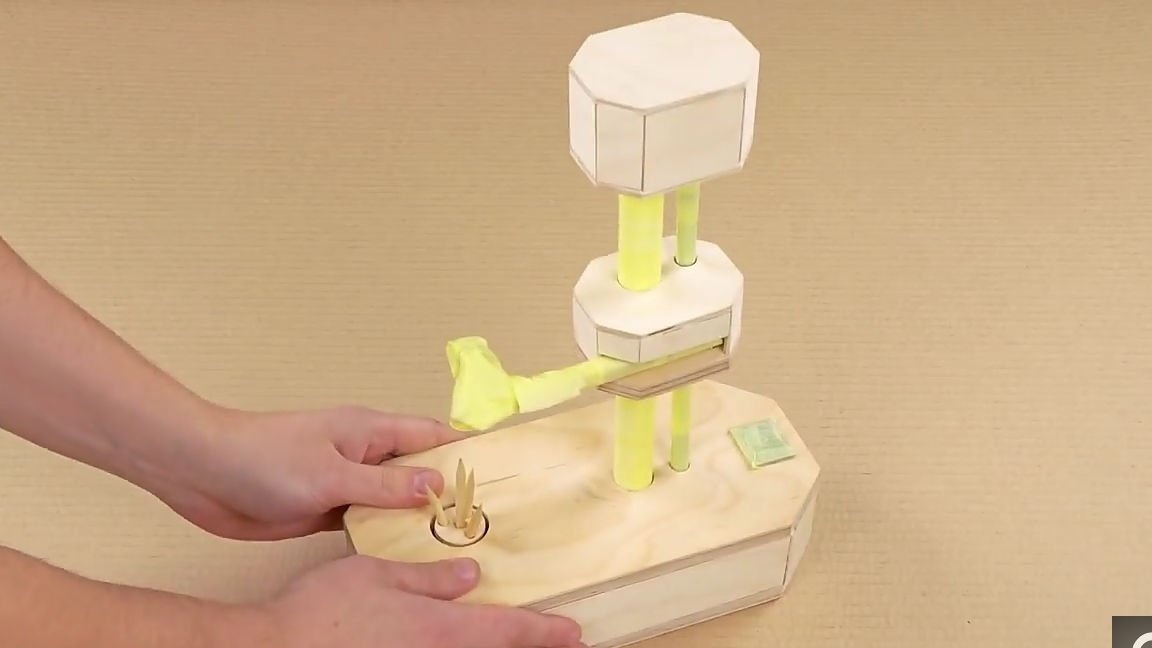
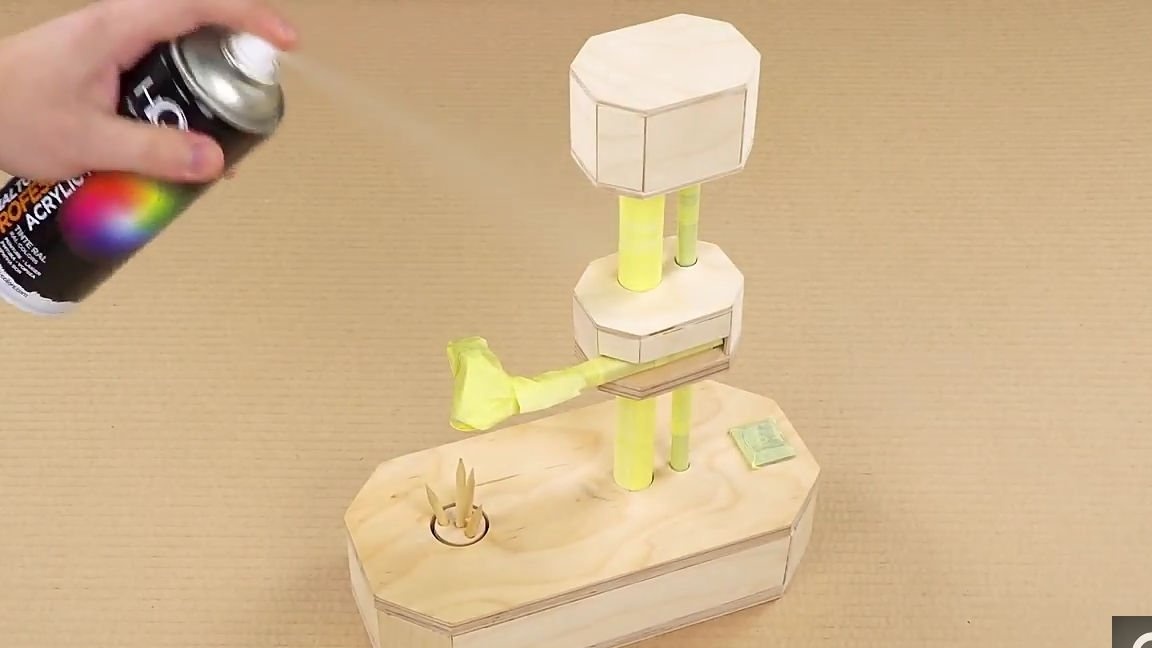
As a result, we got a rather interesting homemade product that can be useful to you in the kitchen. And for its preservation and so that it does not absorb moisture from vegetables and fruits, it should be covered with some kind of protective coating for the tree.

Here is a video from the author with a detailed assembly and testing of this homemade product:
Well, thank you all for your attention and good luck in future projects, friends!