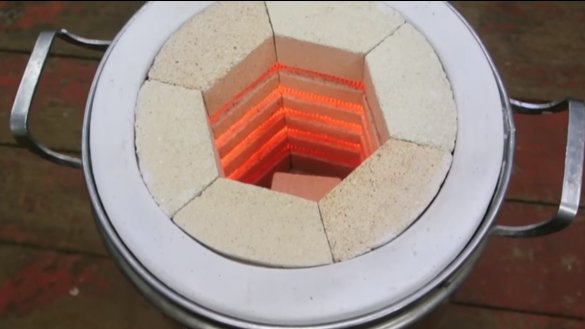
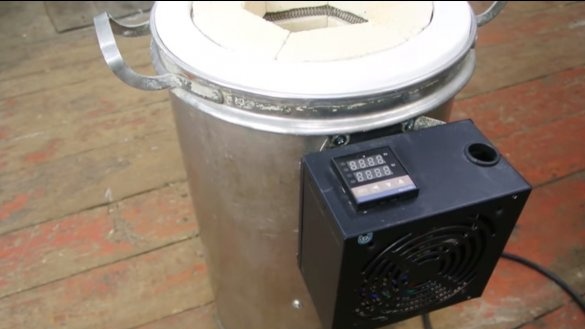
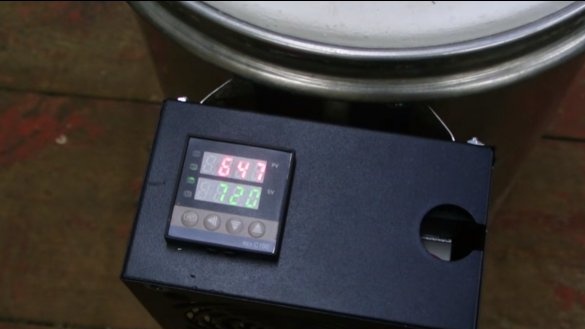
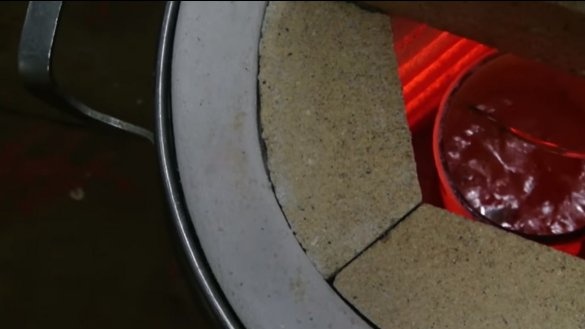
In this manual, we will discuss how do it yourself make a simple muffle furnace for melting metals. In 3 hours, the oven is able to warm up to a temperature of about 800 ° C and this is not the limit. It is easy to melt aluminum in it. The stove is going to be installed quite easily, all the materials can be obtained and they are inexpensive. As an insulator, kiln brick and glass wool are used, and a stainless steel pan acts as the body. To control the temperature, the furnace is equipped with special electronics, which the author ordered from China, it is inexpensive. Let's consider in more detail how such an oven works and how to assemble it!
Materials and tools used by the author:
Material List:
- stove brick (fireclay);
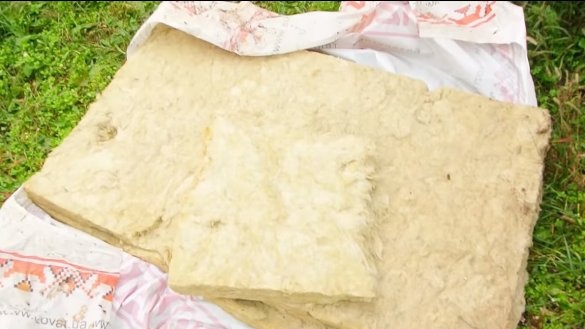
- glass wool (or other insulator);
- stainless steel pan (suitable sizes);
- heating element - x23u5t wire 18 meters long and 1 mm cross-section;
- ;
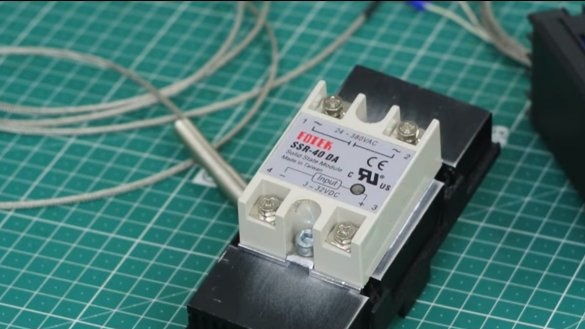
- relay;
- ;
- the case of the power supply from the computer.
Tool List:
- Bulgarian with a disk for concrete;
- drawing accessories and paper;
- clamps;
- lathe;
- drill.
Furnace manufacturing process:
Step one. We work with a brick
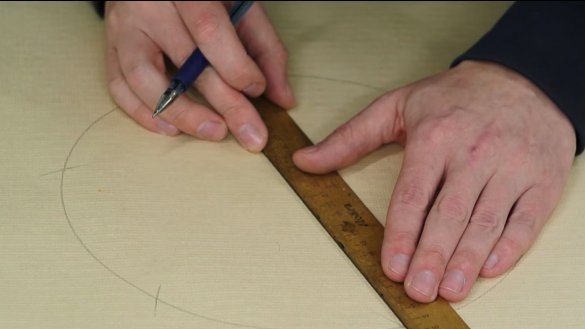
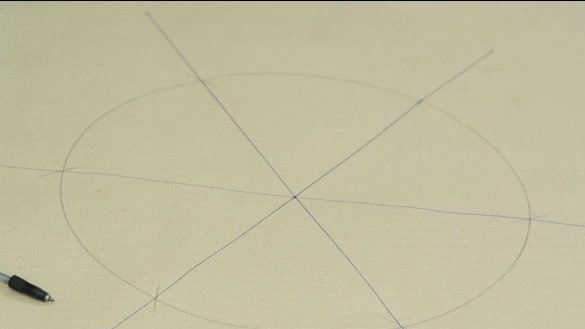
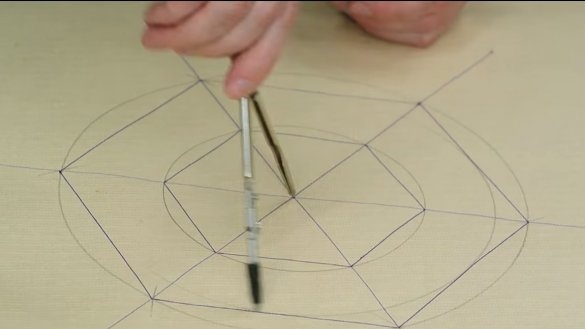
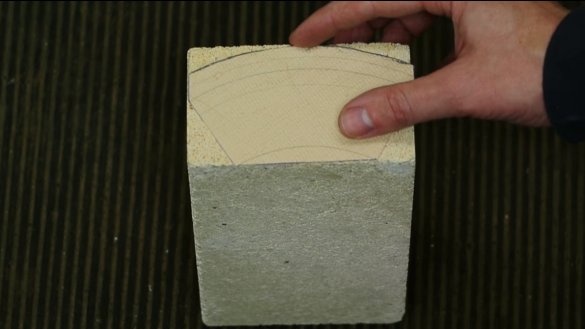
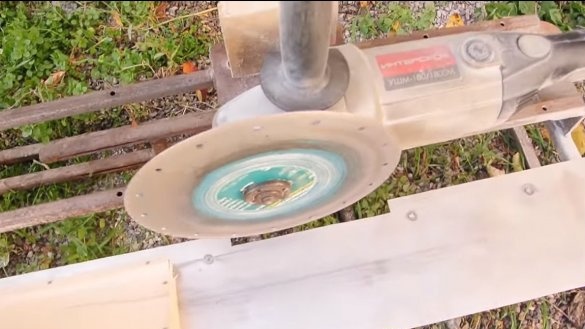
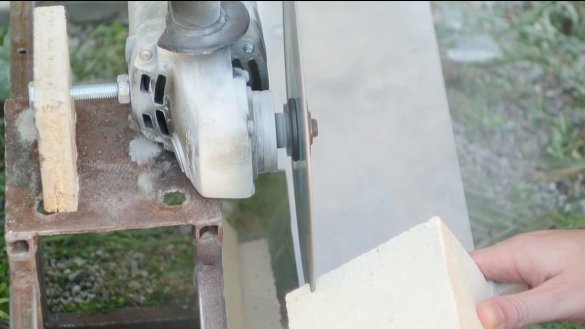
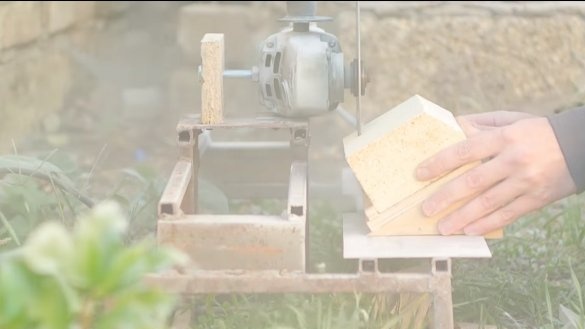
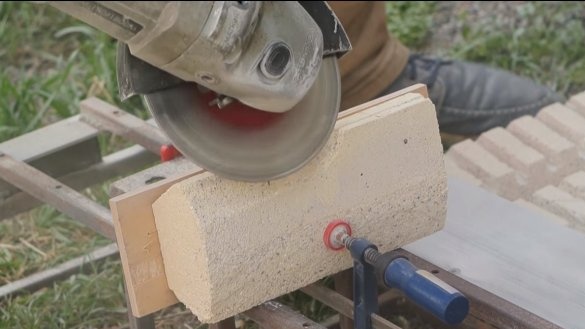
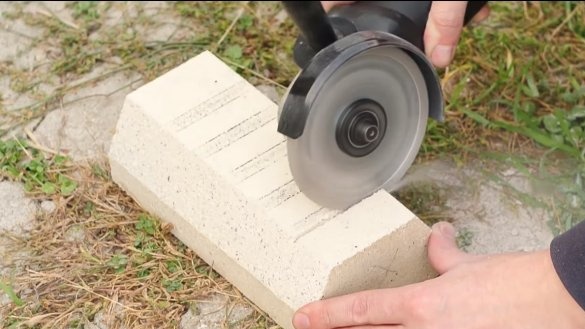
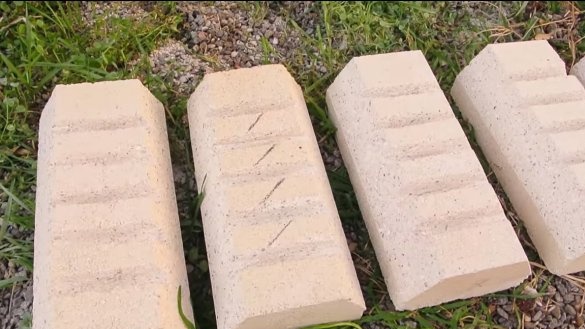
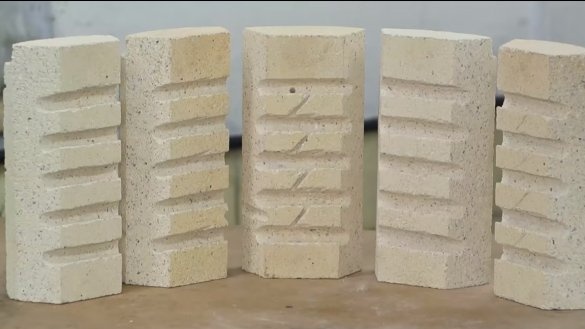
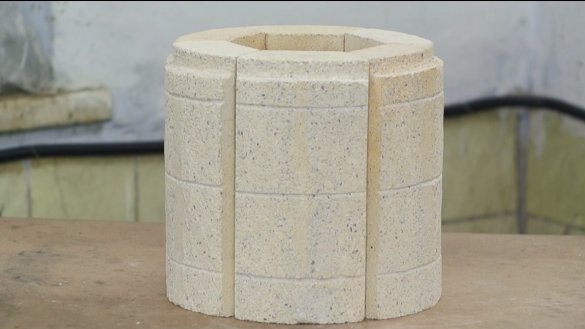
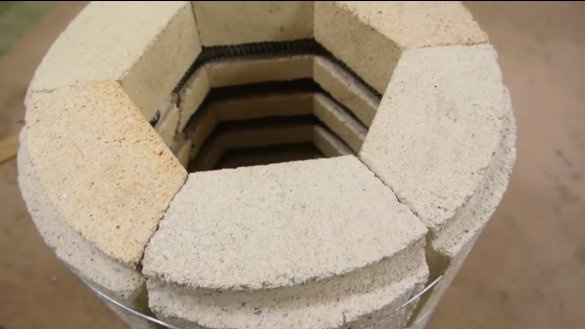
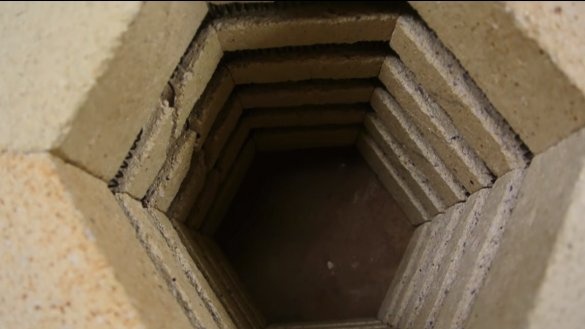
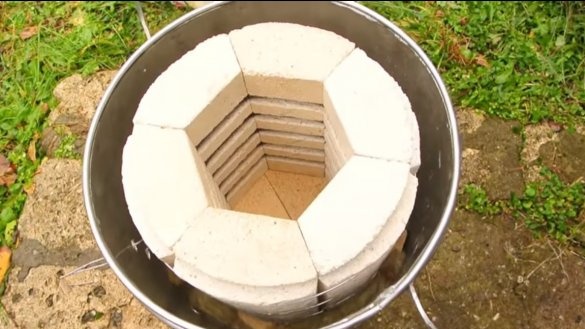
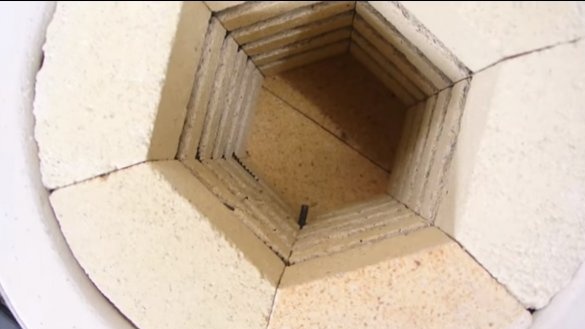
To begin with, we need to cut the brick in a special way in order to lay the furnace out of it. The author has constructed for such purposes a special frame for the grinder. Chamotte brick is used, such is sold in many construction stores. Brick is cut very simply with a grinder and a disk for concrete. In total, the author used 6 bricks for his project.
Step Two Production and installation of a heating element
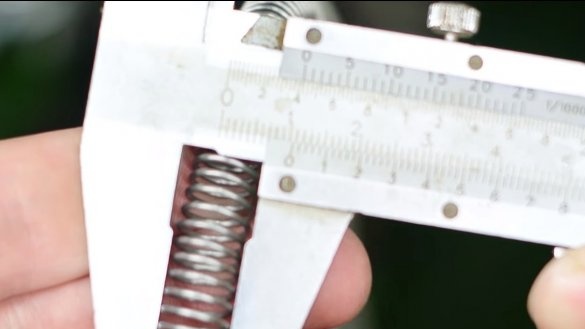
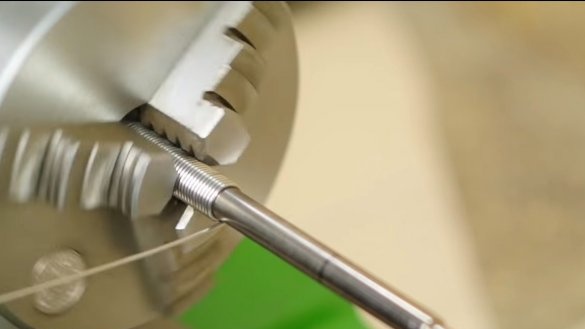
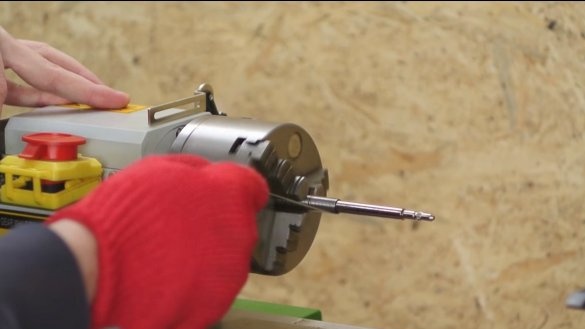
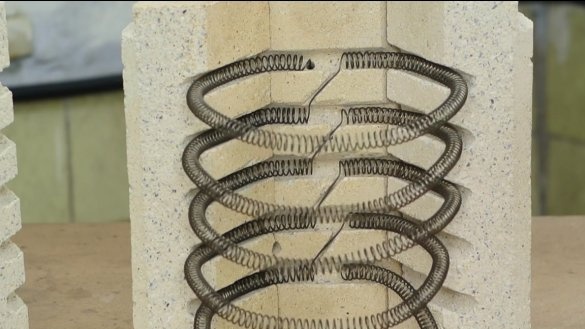
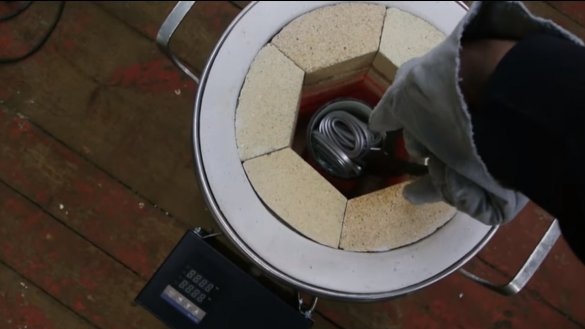
The author used x23u5t wire as a heating element, it was cheaper than nichrome at a price, and better in quality. In total, such a wire with a diameter of 1 mm took 18 meters. It was necessary to make a spiral out of it. Then a lathe came to the rescue. As a result, the manufactured spiral consumes 1.7 kW of current.
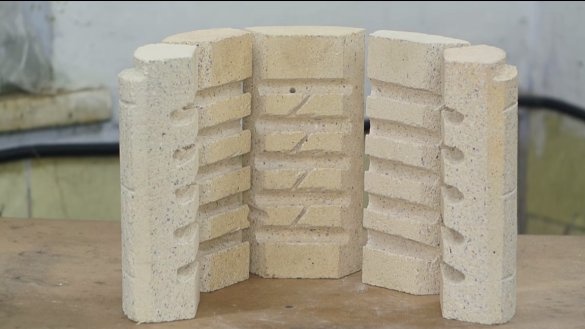
To install the spiral in the bricks, you need to cut through the grooves. The spiral is practically not fixed in any way, one end extends from the top of the furnace, and the other from below. The whole spiral, How the rings are interconnected, can be seen in the photo. The spiral in these places is simply stretched into a wire. So that this whole structure does not crumble before installation in a pan, we pull it together with a wire, preferably steel.
Step Three Furnace assembly
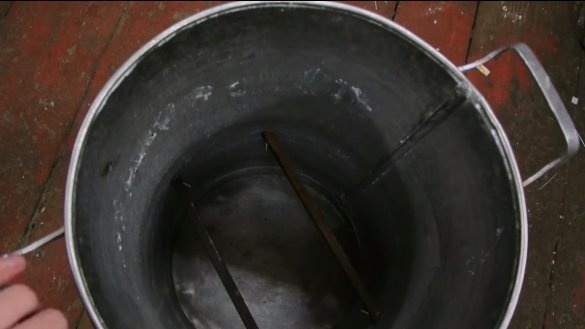
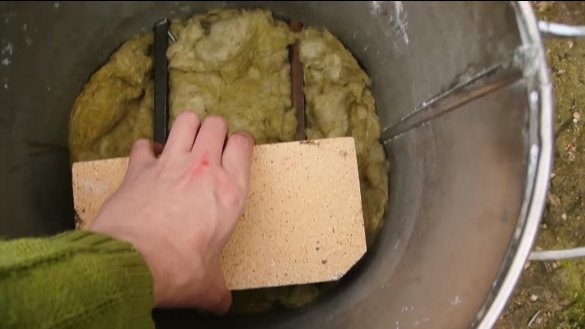
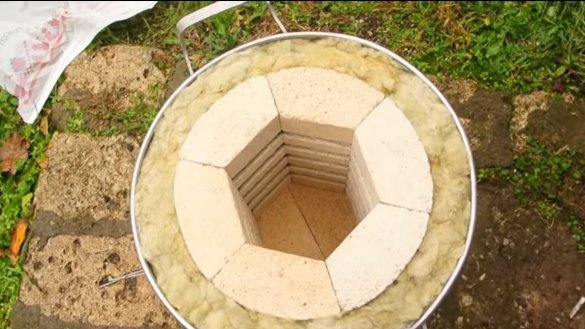
A stainless steel pan is used as the body for the oven. The plus in this is that the stainless steel is not afraid of strong heating.There is a 3 cm gap between the brick and the pan; an insulator in the form of mineral wool is laid here. Of course, such an insulator is rather weak and the furnace has an increased heat loss. In the future, the author wants to change the design, this was done as an experiment.
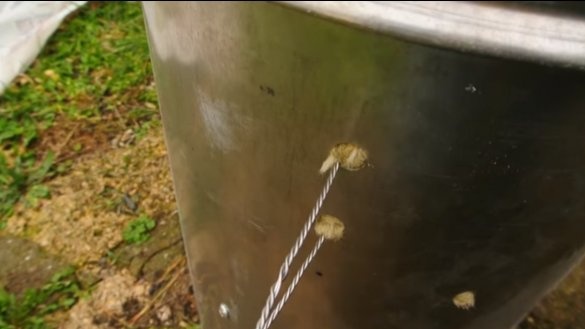
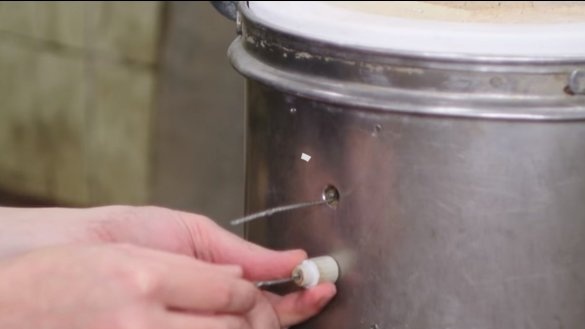
Do not forget to install bricks at the bottom of the furnace and install an insulator. In the walls of the pan we drill holes and output the ends of the spiral to connect it to a power source.
Step Four Electronics Installation and Testing
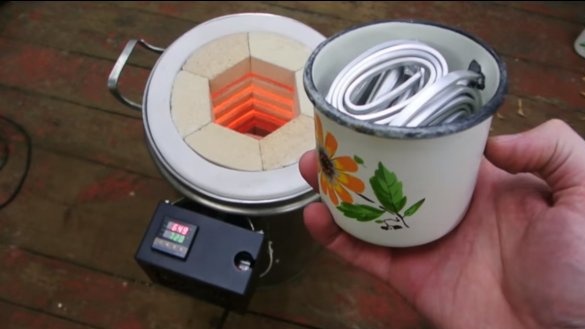
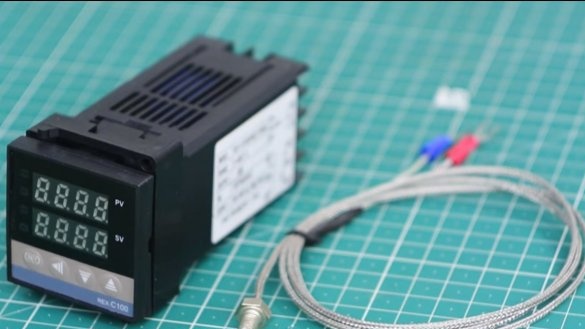
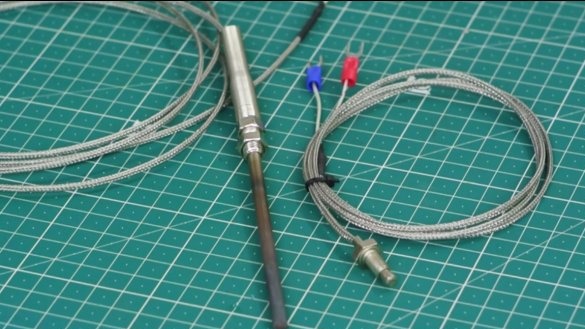
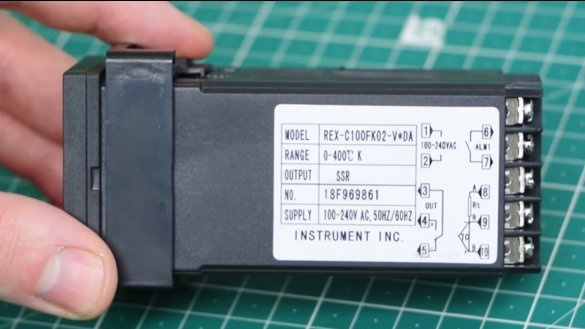
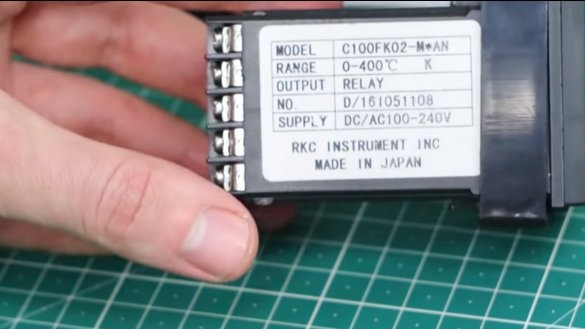
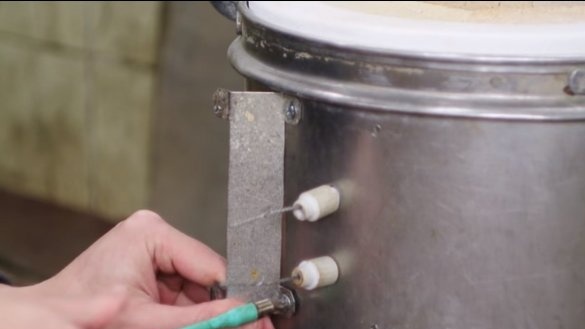
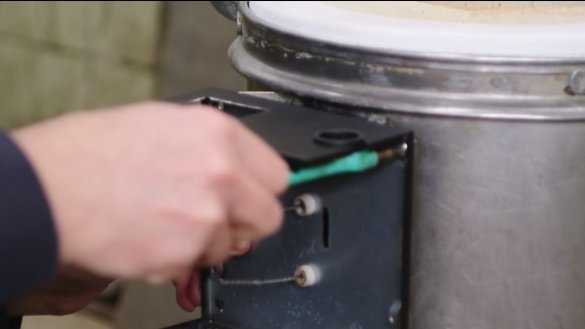
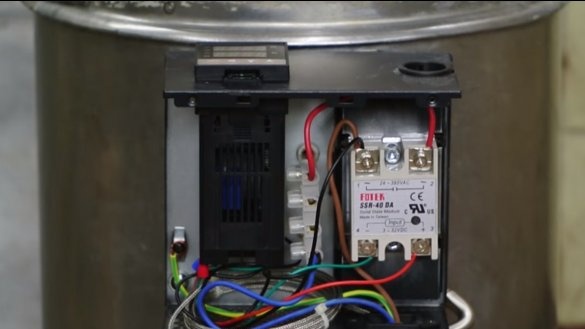
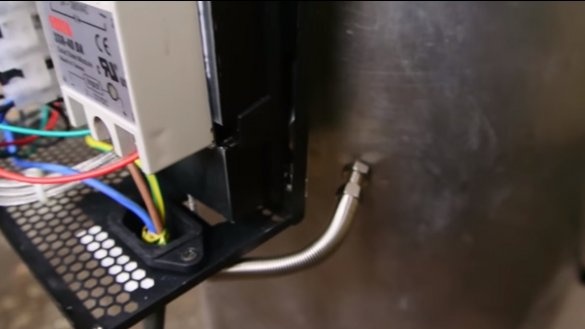
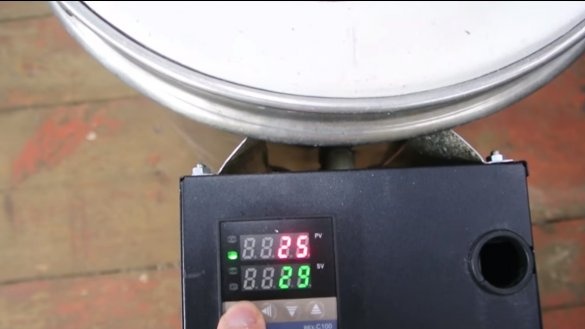
Next, we need to install a controller with which we will control the temperature in the furnace. A thermometer (thermocouple) for furnaces is connected to the controller, which is able to withstand temperatures from 600 ° C to 1000 ° C. And since connecting the heating element to the controller does not work out directly, we will need another power relay. Electronics It is installed in the case from a computer power supply, which is screwed at a certain distance from the furnace to avoid overheating. We install ceramic insulators on the ends of the wire coming out of the furnace.
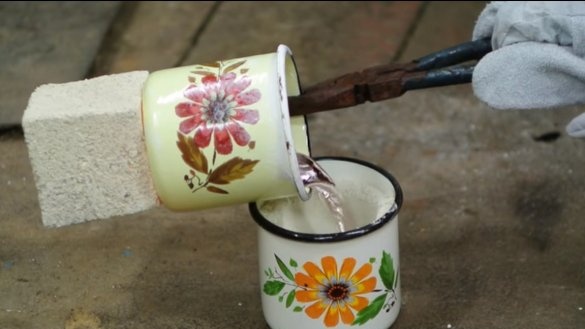
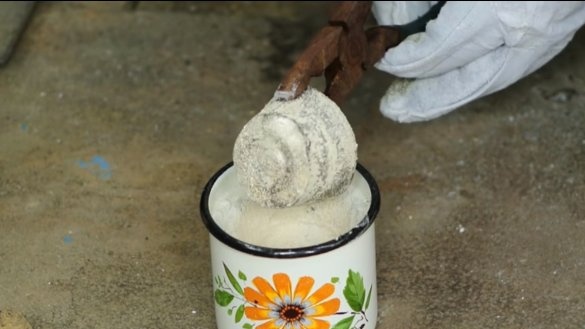
That's all, the furnace can be tested, the author decided to melt aluminum as an experiment. An enameled mug with a cut handle was used as a crucible. The furnace easily coped with such a task.
Of course, for more efficient operation, it will be necessary to further improve the insulation and make a cover for the furnace. Generally, homemade turned out successful, I hope you liked the project. Good luck and creative inspiration, if you decide to repeat. Do not forget to share your homemade products with us!

