
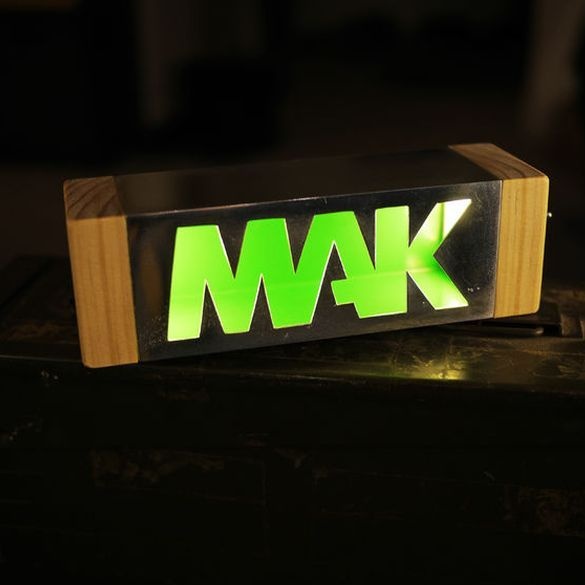
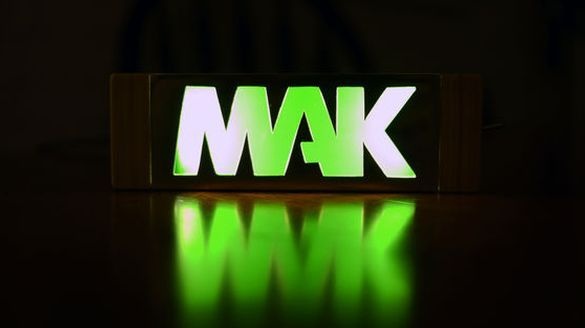
This article will discuss how to make a glowing logo. do it yourself.
Tools and materials:
-Aluminum box;
-LED Strip Light;
-Wooden bar;
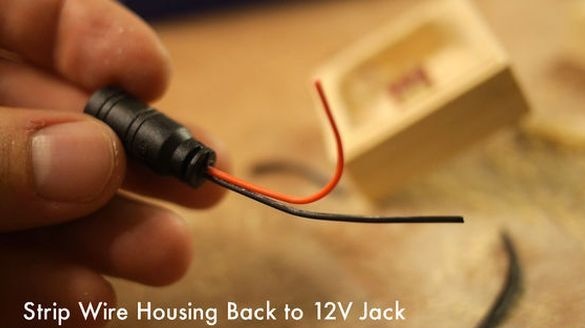
-Plug;
-Tumbler;
-Wire;
-Connector;
-Green paint;
-Sander;
-Vise;
-Miter saw;
-Drill;
- Hacksaw for metal;
-Dremel;
-File;
-Marker;
-Knife;
-Glue spray;
-Epoxy adhesive;
-Program CorelDraw;
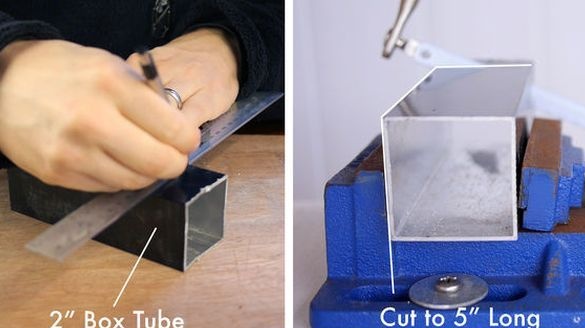
Step one: aluminum box
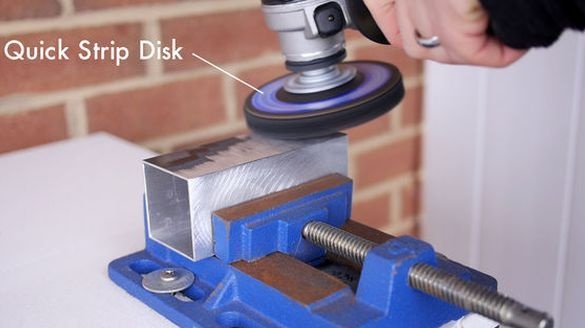
A piece of the desired length is cut from the aluminum box. Cleans from it.
Step Two: Logo
In the program CorelDraw draws a logo. Prints it and cuts it out.
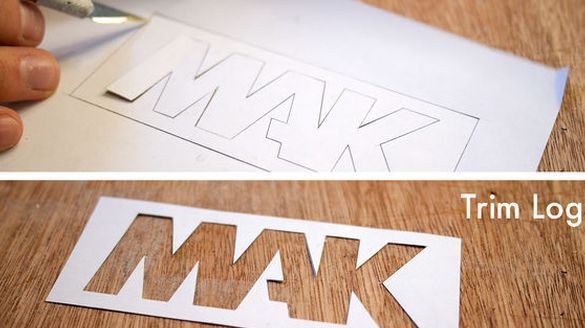
Applies glue to the logo and fixes it on an aluminum box.
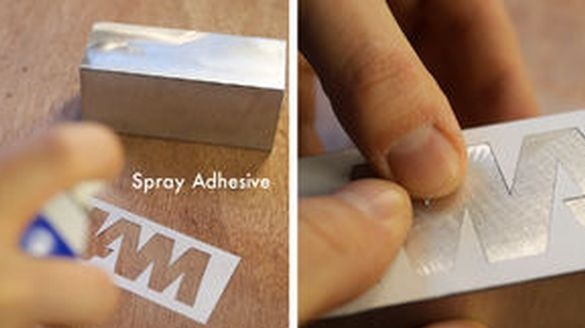
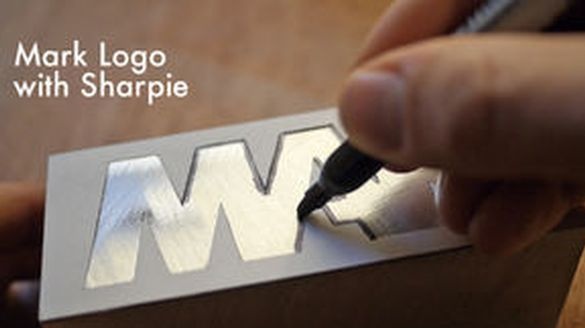
Traces the outline of the logo with a marker and deletes it.
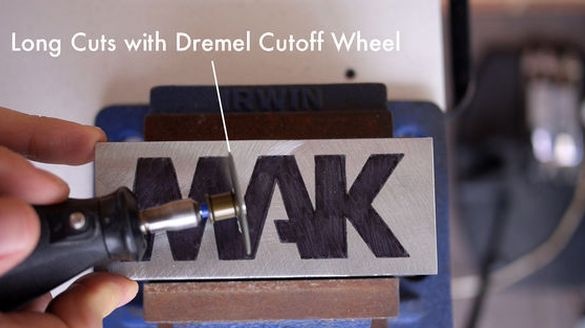
Step Three: Cutting the Logo
Fixes a box in a vice. With the help of Dremel and a drill, it cuts out the letters of the logo along the contour.
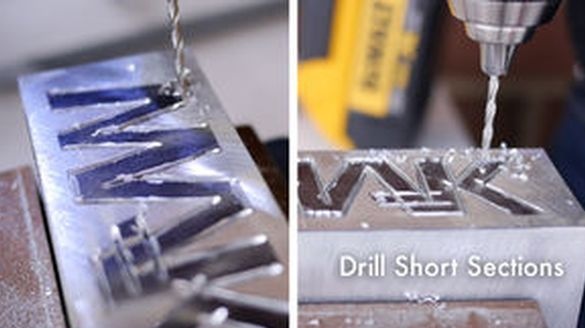
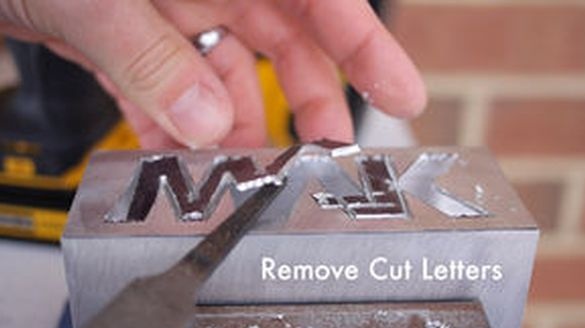
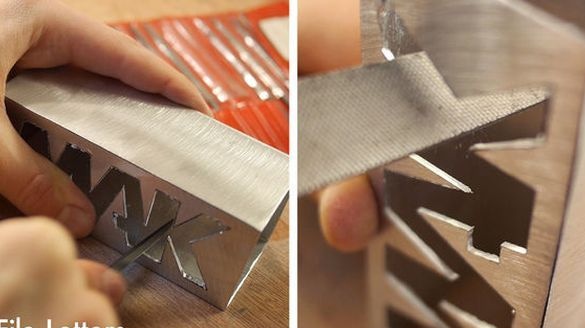
He cleans the letters cut out in the box with a file.
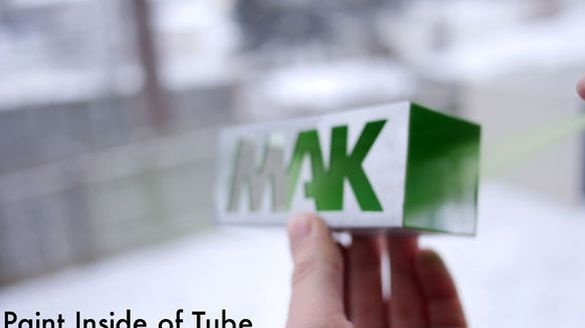
Step Four: Painting
In order for the logo to be highlighted in green, the author did not use the green spectrum LEDs. He rightly decided that the light of the white LEDs reflected from the green walls of the box will give a beautiful shade.
The author applied green paint to the inner walls of the box.
After the paint has completely dried, it polishes the outer walls.


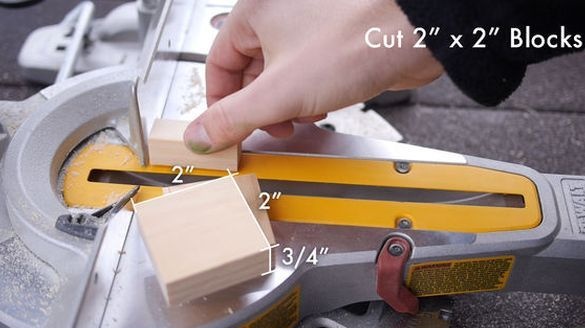
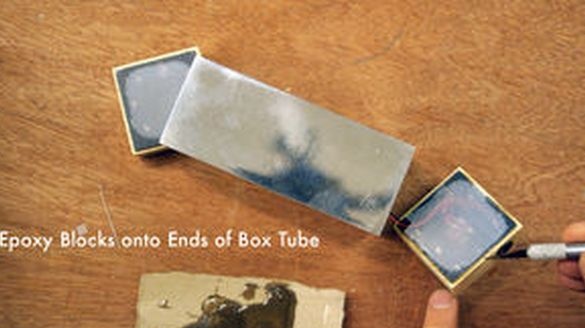
Step Five: Stubs
On the sides of the box will be closed with wood plugs. Two blanks are cut from a bar. Trim them so that they are flush with the box. On the edge of the workpieces selects a groove. A groove is needed so that the plugs go into the box a little.
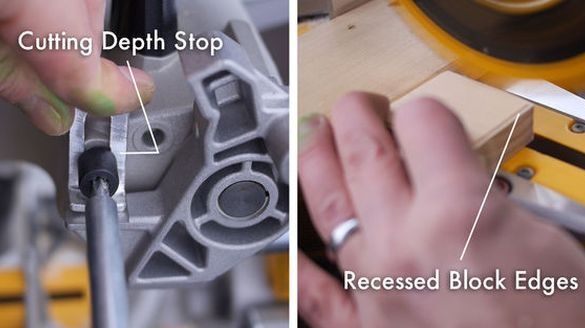
In the center of one plug makes a hole for the toggle switch.

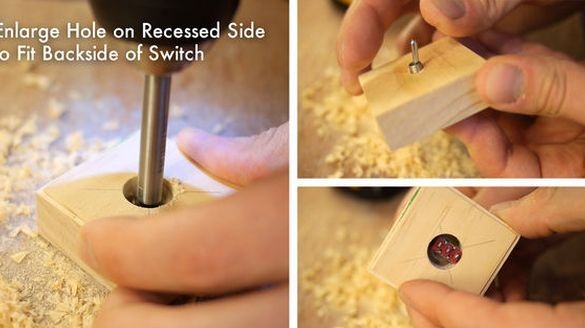
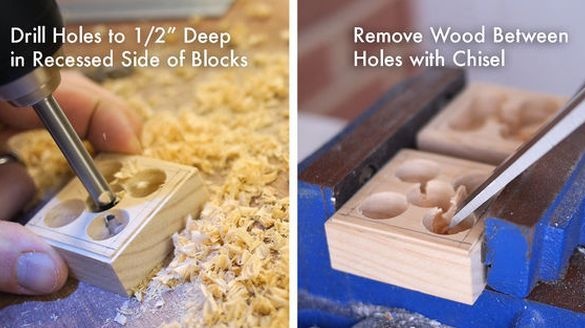
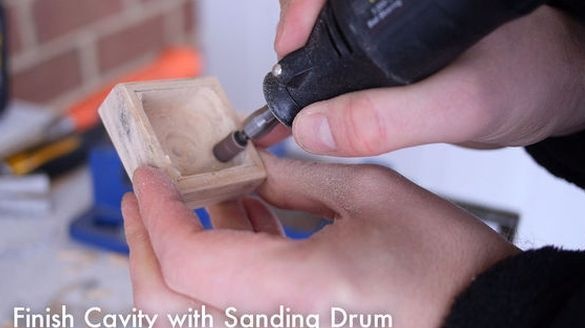
In both, the plug on the inside makes a recess of 1/2 thickness of the bars. Grinds them.
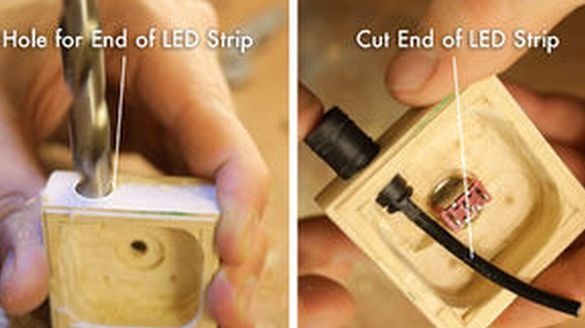
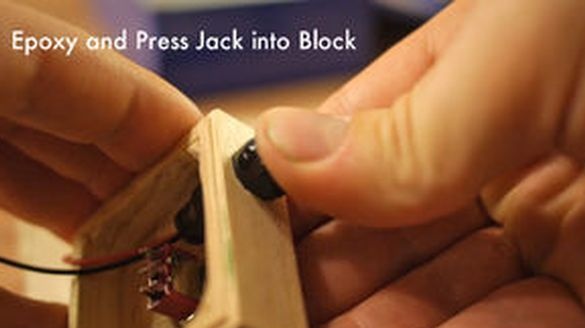
In the side wall of the plug with a toggle switch, drills a hole for the plug.
Step Six: LEDs
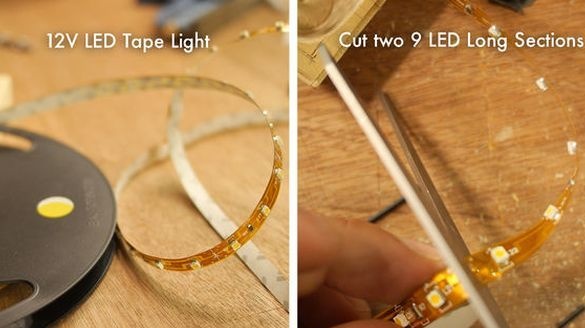
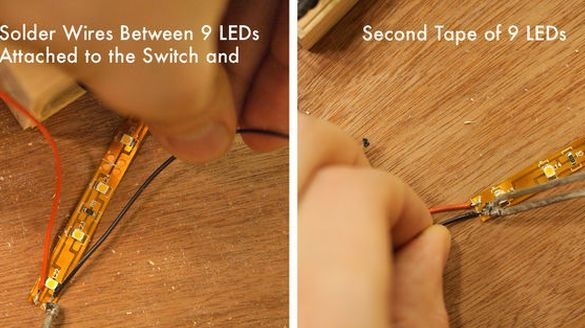
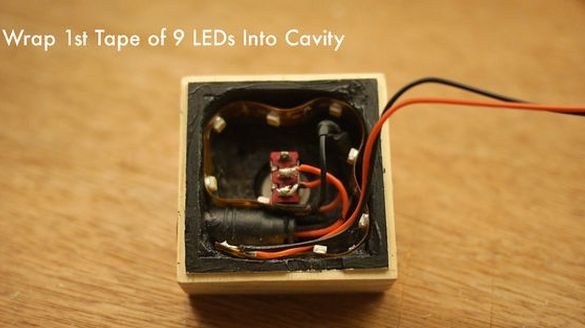
To illuminate the logo, the author used a 12-volt LED strip. To do this, he cut off two strips of nine LEDs each from the tape. Tapes will be placed in two opposite caps.
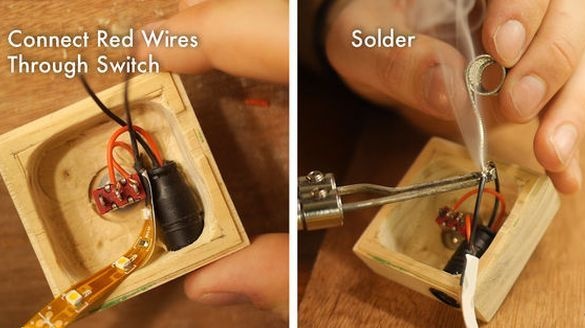
Soldered the chain, not forgetting the polarity.
Seventh step: diffuser
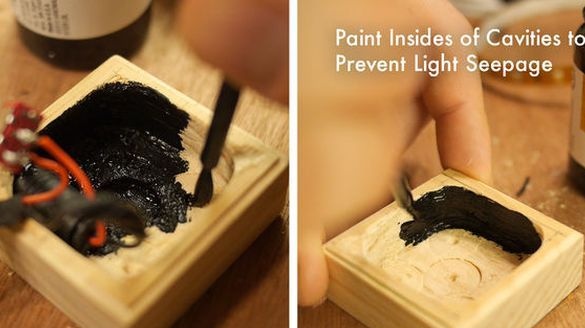
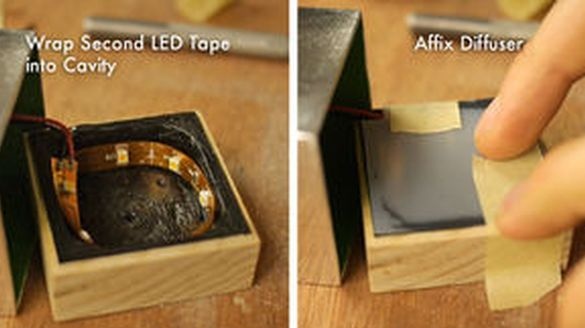
The author covered the inside of the plugs with black paint.
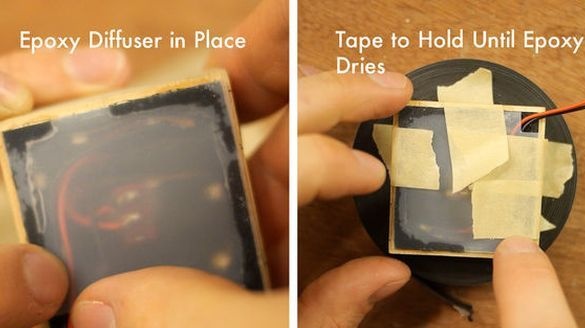
Then he cut out diffusers from plastic.
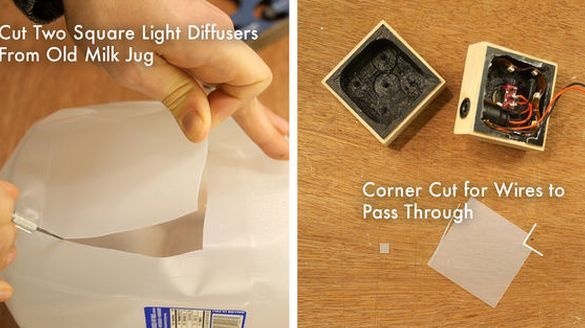
I put the LED strip inside.I glued the diffuser on an epoxy.
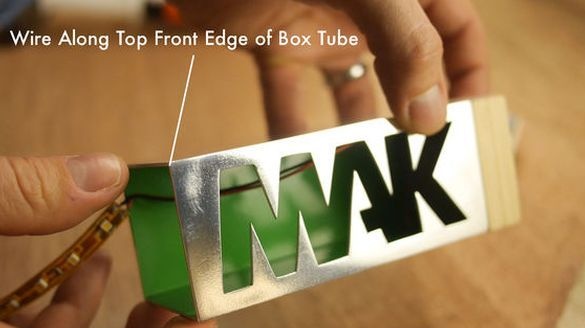
The author secured the wire to the second LED strip in the corner of the box above the letters.
I put the covers in place and applied oil to them, and then polished them. In order not to damage the box wrapped it with tape.

Now it remains to connect the logo to the power source.

You can watch more details on the logo production in the video.