Many of you have a personal workshop, and in the modern world, more and more wireless power tools are becoming more and more. Not only does each battery require its own charger, and a place to store them, but it is also necessary to ensure that each of them can be safely charged, even when you are away from the workshop.
In this article, Kate Brown, author of YouTube channel “Rag 'n' Bone Brown”, will tell you about the way to create a special place for batteries and chargers.
Materials
- Metal cabinet with drawers
— WIFI smart socket
- Plastic ties
- White spirit, spray paint
- Sandpaper reinforced with adhesive tape.
Instruments, used by the author.
— Screwdrivermetal drills
- Nippers, pliers
- Roulette, marker.
Manufacturing process.
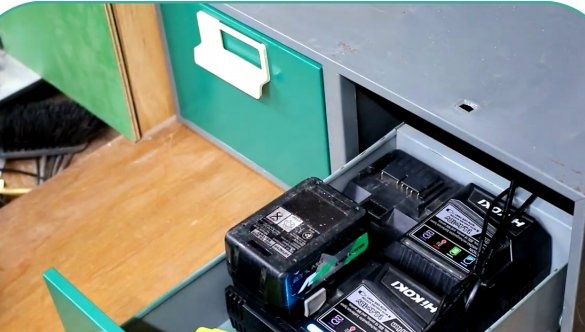
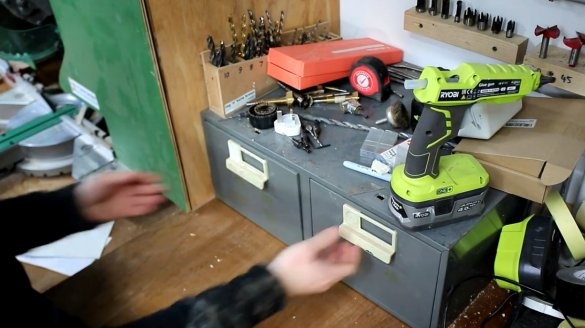
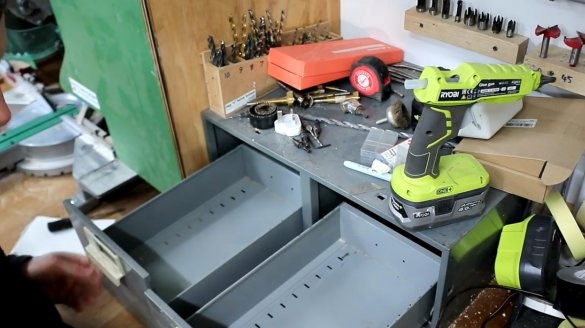
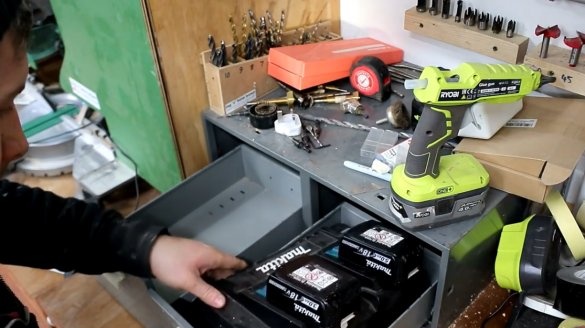
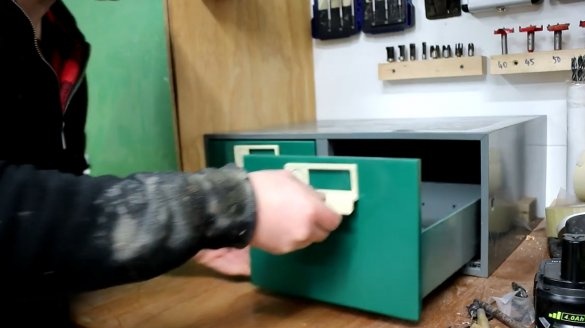
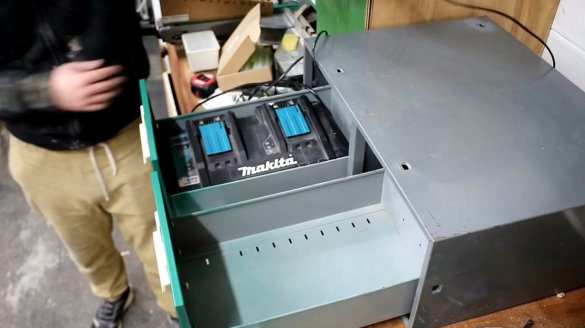
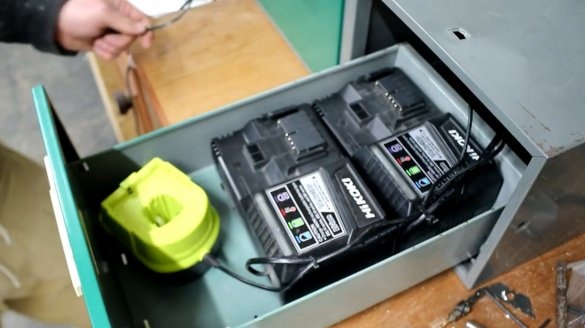
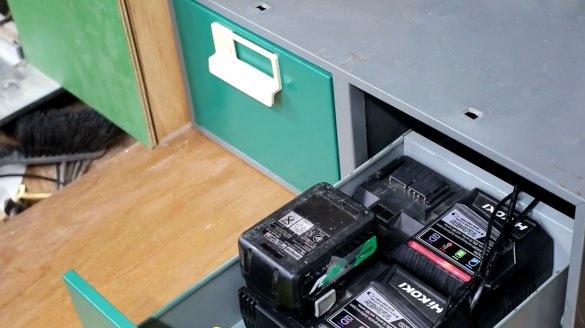
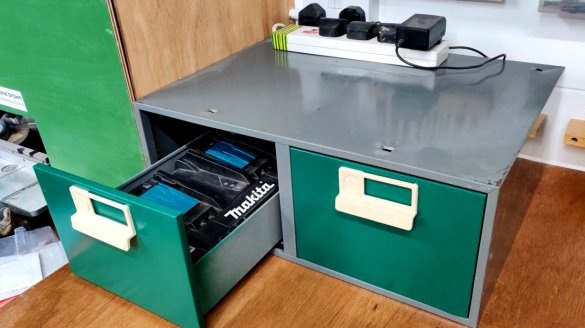
Such a steel cabinet with drawers turned out to be ideal for this purpose, inside which chargers of various sizes, available from the author, fit perfectly.
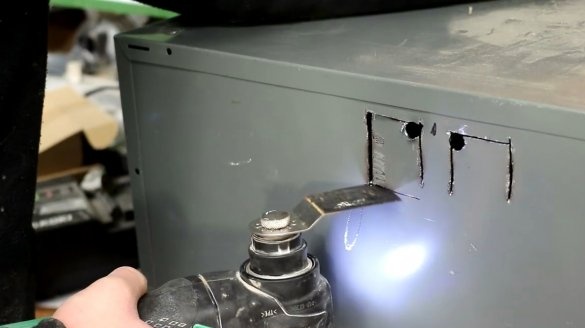
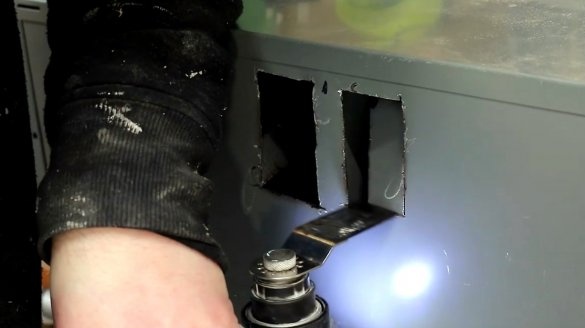
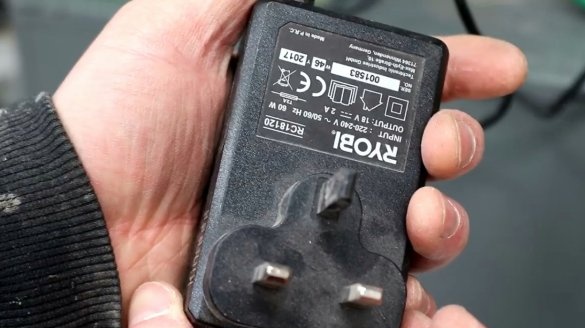
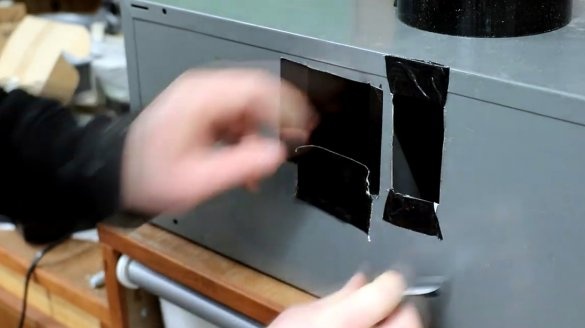
It remains only to cut a couple of windows in the back of the cabinet for pushing the plugs and power supplies.
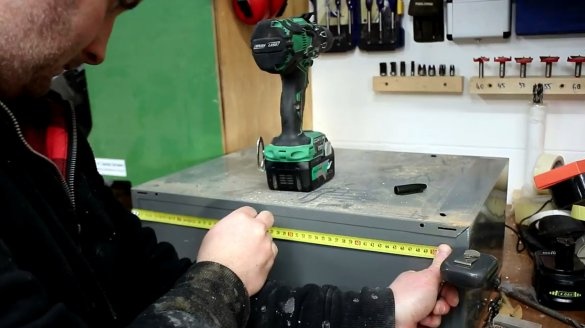
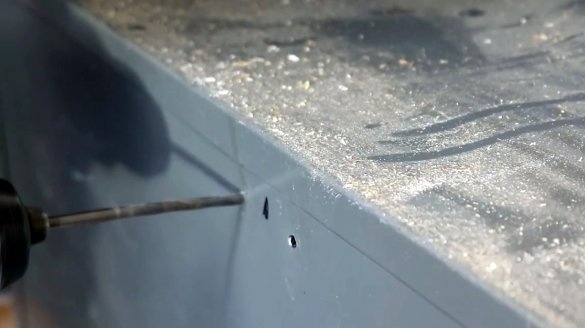
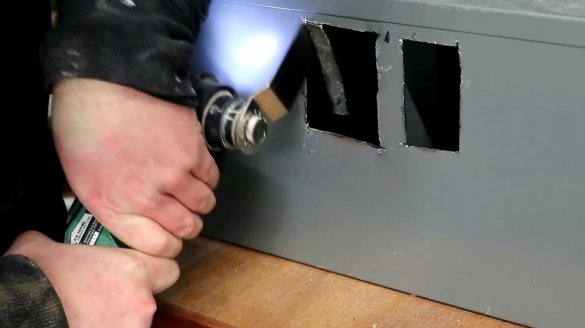
First, the center is defined on the side panel, because at this point inside the cabinet there is a metal divider. It is important not to fall into it, and stepping back a little, the author drilled a couple of holes for the entrance of the canvas.
When the primary holes are made, such a vibrating metal saw blade enters the process.
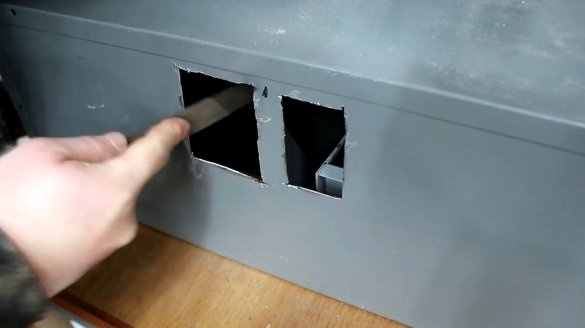
One of the power supplies was rigidly connected by a cable to the charger, so Keith had to expand one of the holes.
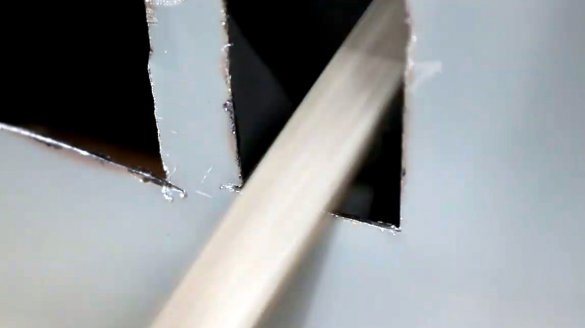
Sharp edges are filed to prevent metal burrs from tearing up the cable. Additionally, all edges are glued with reinforced tape.
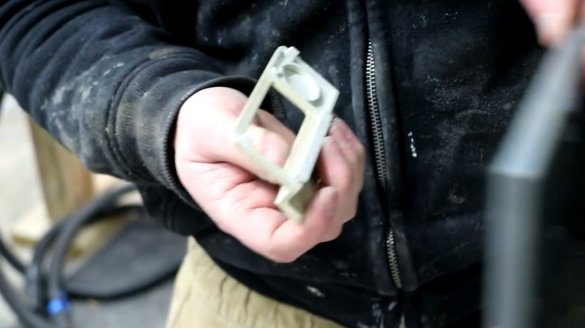
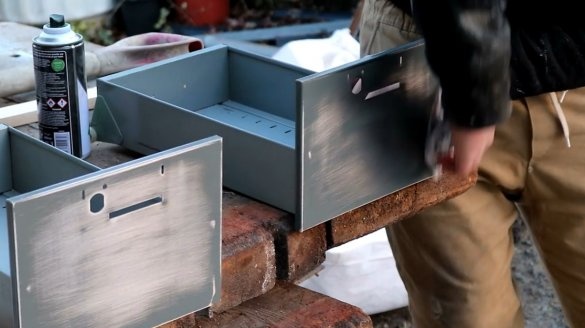
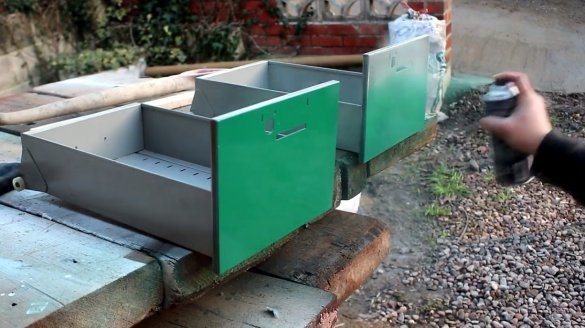
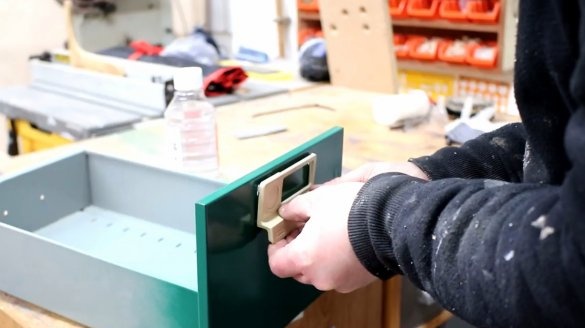
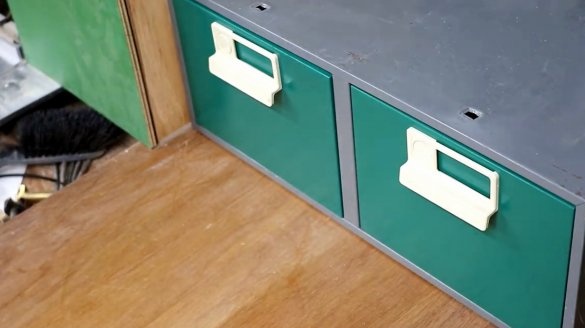
The author temporarily removes the handles from the drawers in order to clean and repaint the front surface of the drawers in green.
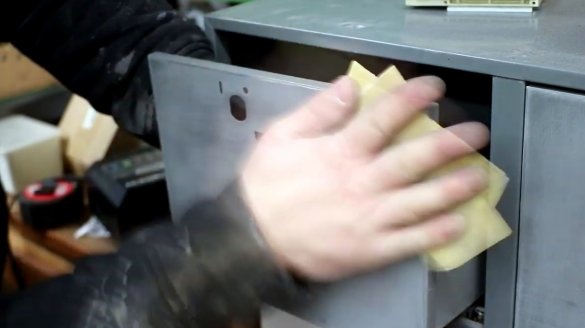
The facades of the boxes are cleaned with sandpaper, and then degreased with acetone.
After that, spray paint can be painted.
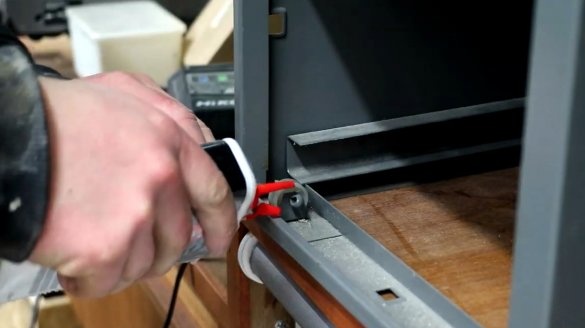
Along the way, the master takes the opportunity and lubricates the rollers of the retractable mechanism.
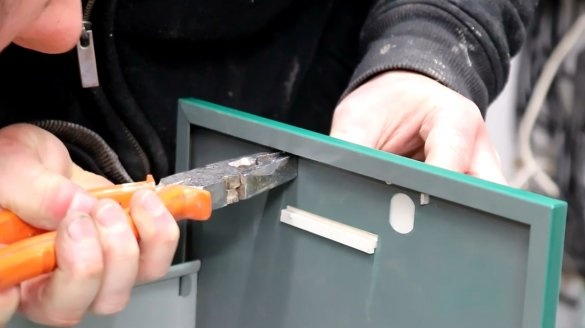
The pens themselves are wiped off with white spirit oil, painted and fixed in place with metal staples.
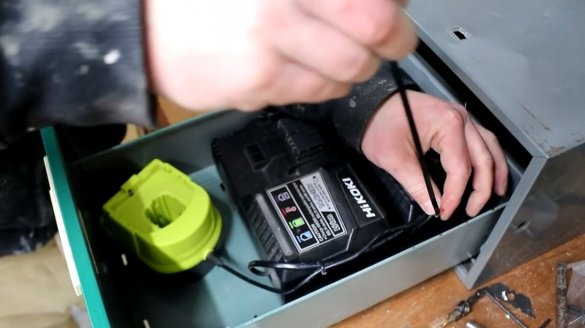
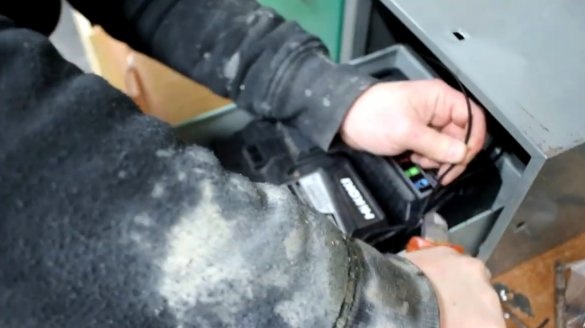
Now you can stack the chargers inside the drawers. After that, the author fixes the cables with plastic ties.
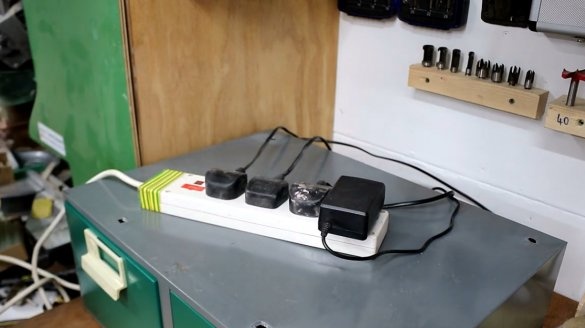
Then all cables are passed through the holes in the rear panel, and connected to the network splitter.
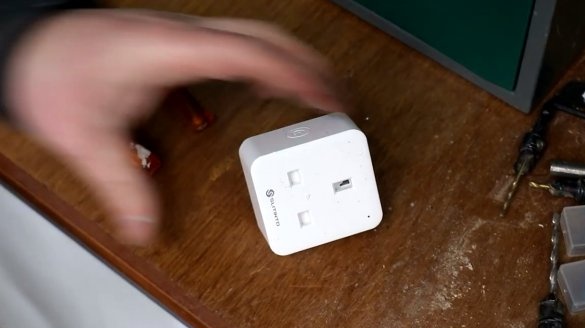
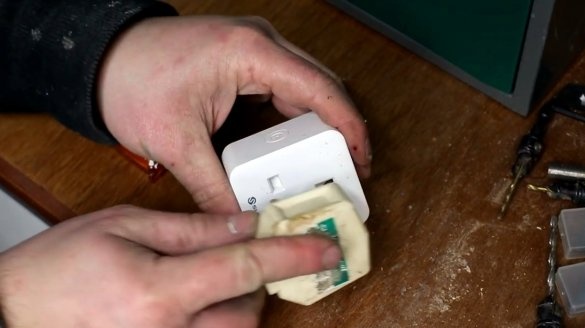
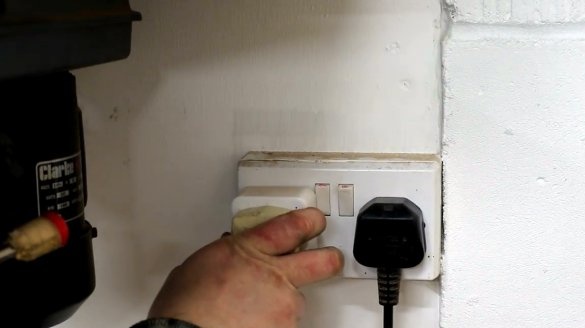
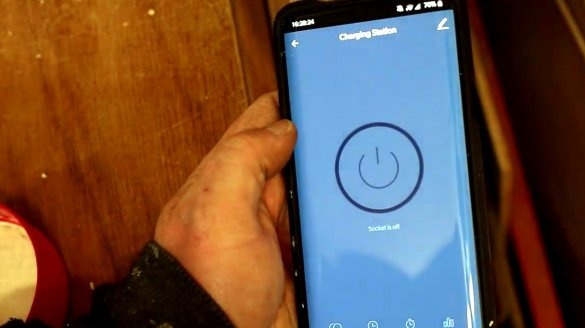
Kate also thought about the ability to control the battery charge remotely. To do this, he used cheap enough model smart socketswhich can be controlled from a smartphone. By connecting an extension cord through this device, it will be possible to turn on the battery charge several hours before the owner returns to the workshop.
That's it, you're done, Keith’s workshop has less mess, and much more functionality.
I thank the author for a simple but useful improvement for the workshop!
All good mood, good luck, and interesting ideas!
Author video can be found here.

