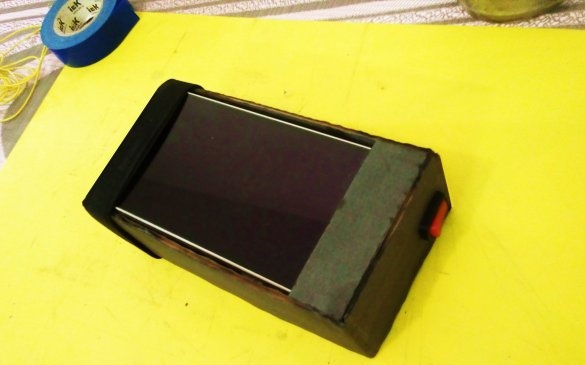
Hello friends! A night vision device is really simple to make and everyone can do it. And now I’ll tell you how to make it.
Such a device can see even in complete darkness, and they can also take pictures or record videos. Such a device is assembled in an hour or two, no special skills are required.
From the materials you will need:
Battery or 12V battery (I used 3 batteries of 4v each from a flashlight, connecting them in series)
Installation wires
Switch
Hot glue
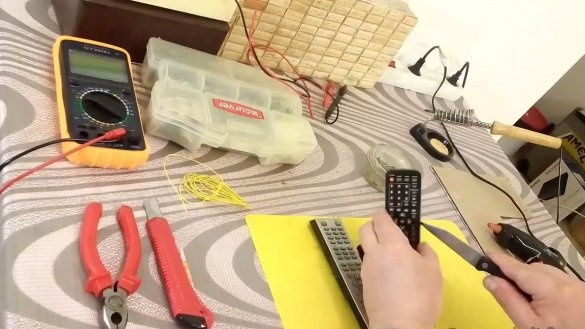
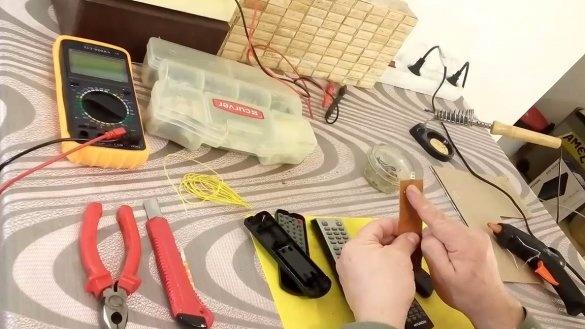
Infrared LEDs 5 pcs. (can be taken from broken TV remote controls)
Cardboard box
Black paint
Insulating tape
Tools for work: Pencil, ruler, knife, nippers, pliers, soldering iron, heat gun, brush and tester (if any).
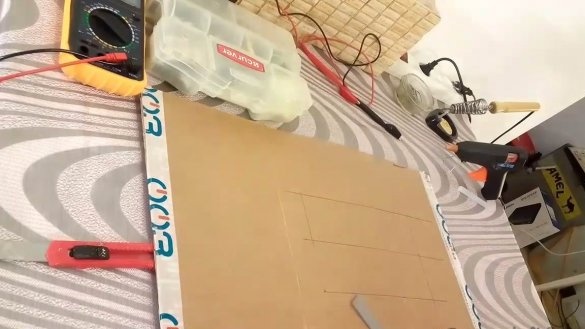
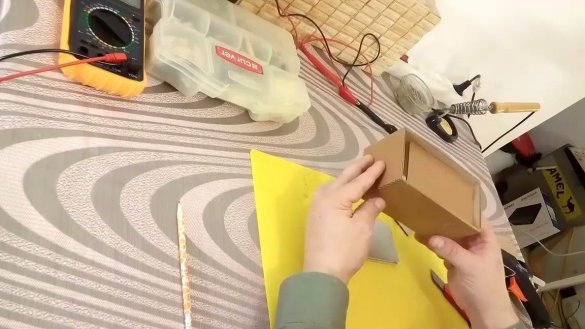
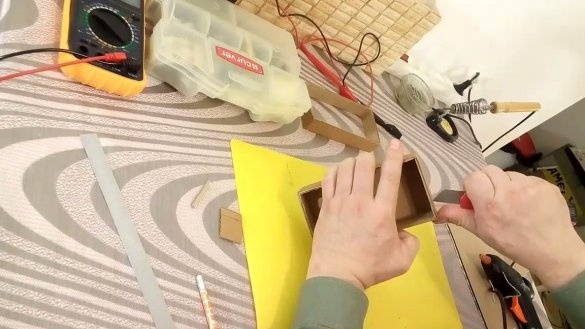
Let's get started. I open and disassemble a cardboard box and make markings on cardboard:
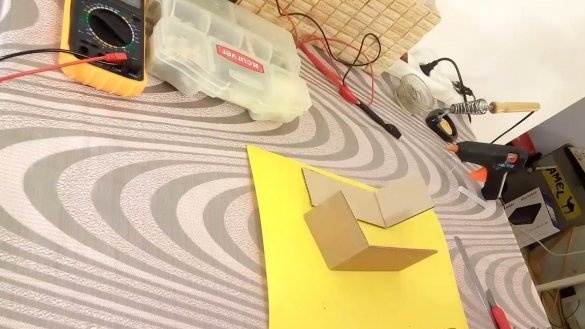
2 rectangles 22.5 cm x 5 cm cut with a knife, bend each of them 90 degrees 15 cm from the edge.
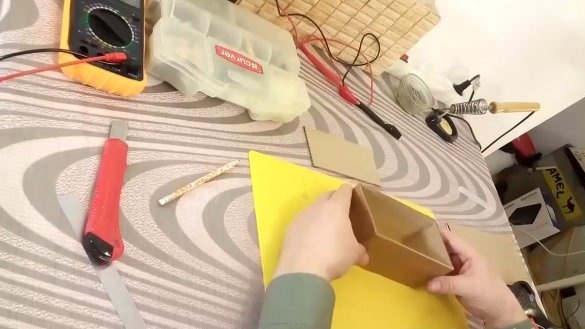
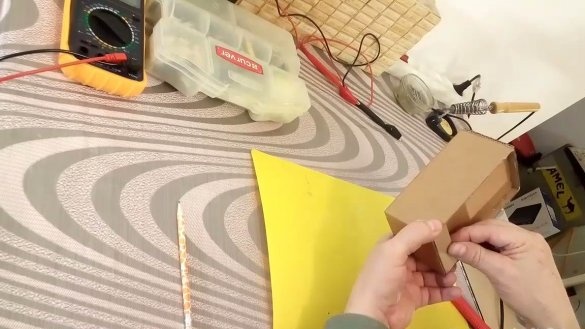
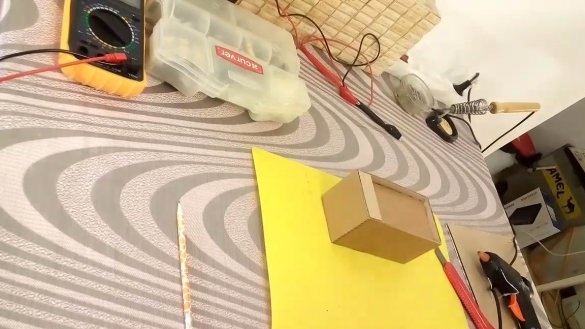
The result was two L-shaped blanks, which are glued together.
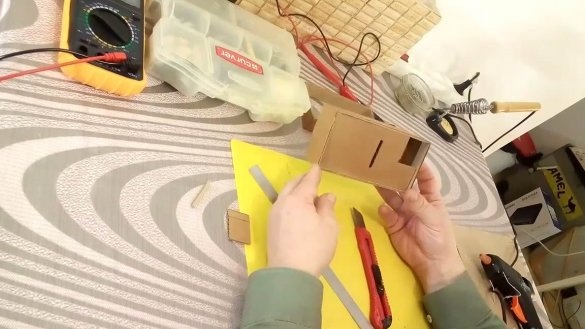
I cut and paste the inner partition one cm from the edge, while on one side the partition has a gap of 2 cm.
On the outside, the slot is covered with a lid (glued) from cardboard 2cm x 7.5cm in size.
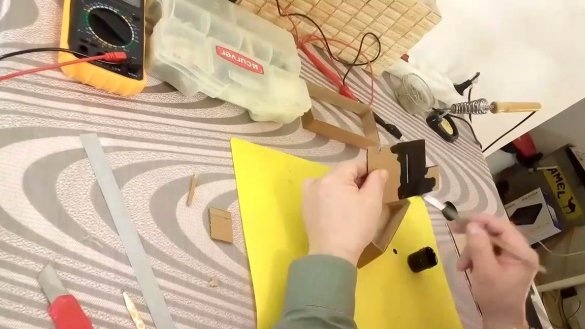
A second partition is cut out of cardboard, which fully corresponds to the internal dimensions of the body. In this partition, on the side, I cut a rectangle 4cm x 3cm, and in the middle I cut a cut 0.5cm x 4cm.
On the side of the case I cut a round hole for the switch.
I paint all the details with black paint on all sides.
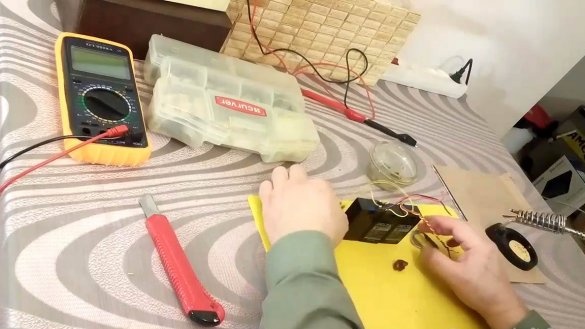
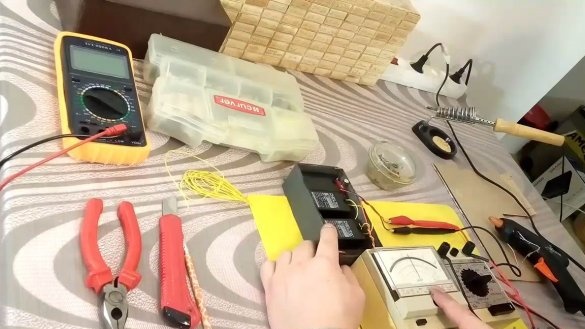
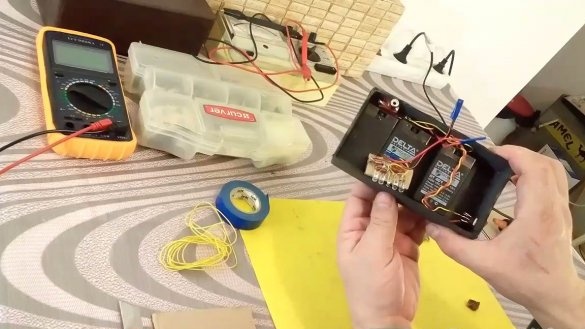
I connect the batteries in series and make a tap for the switch.
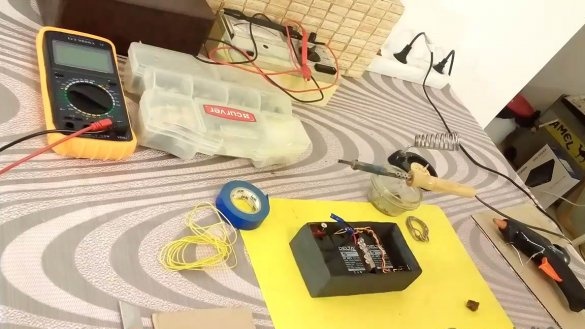
I paste the batteries into the case.
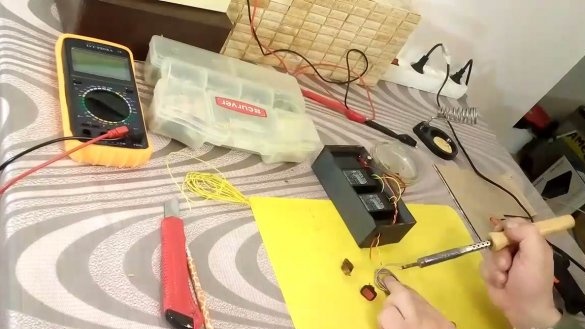
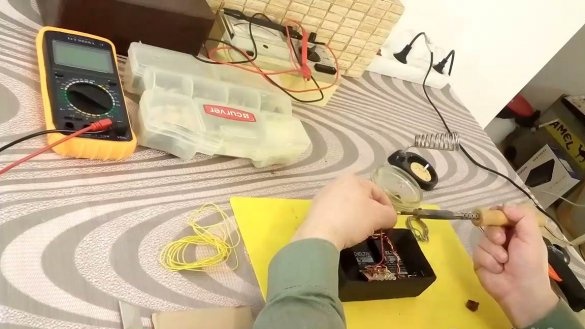
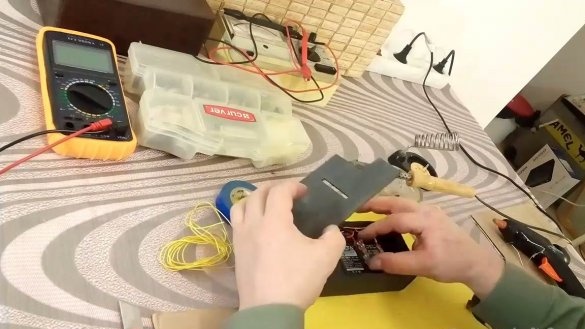
I solder and screw the switch. I bring out two wires for powering the backlight.
When the switch is turned on, they should receive 12v, with the switch off, the voltage is zero.
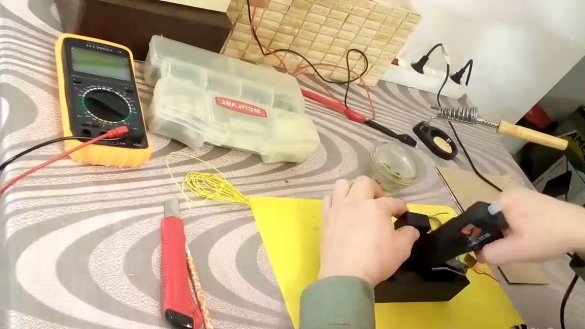
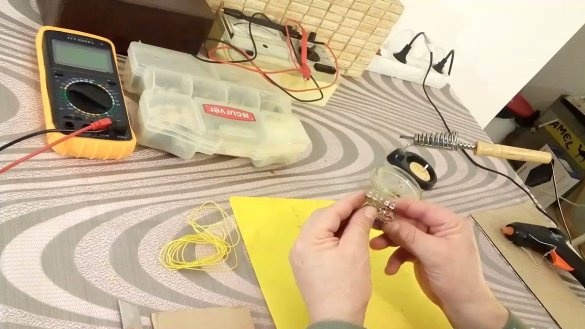
From old malfunctioning TV remotes I evaporate infrared LEDs.
I connect each LED through a 270 Ohm resistor and connect them all in parallel.
And I deduce from them a short wire to supply power.I connect the backlight to the power output of the backlight.
Insulating tape
and insert the backlight into the case, tuck the wires so that they do not stick out.
I close the lid.
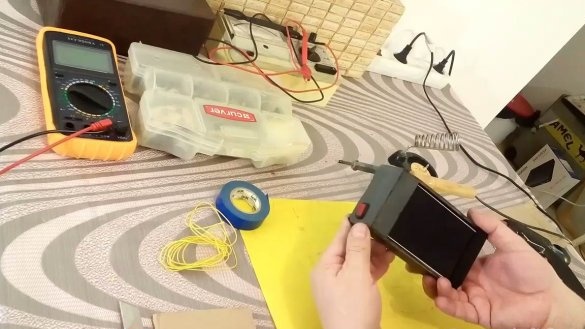
All is ready.
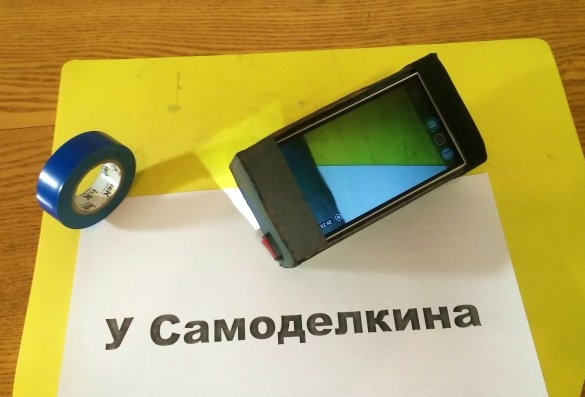
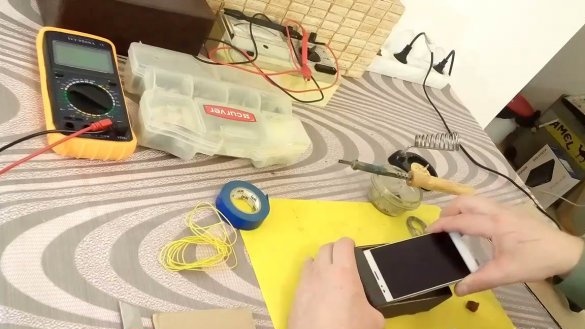
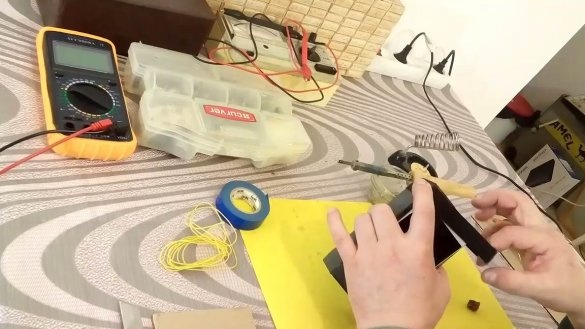
To check the night video device at work, we take a regular smartphone and insert it behind the lid into the inside of the device,
on the other hand I fix with an elastic band.
Now you can check its work in the dark.
If you don’t understand any points in the manufacture of the night vision device, look at the video for the entire manufacturing process and the demonstration.
I recommend assembling such a device with children, the process is not complicated, but the children are delighted.
Good luck with your build and good mood!


