
When making repairs in an apartment, the kitchen is almost always affected, I want to update not only the wallpaper and furniturebut also replace the old apron. It is not always possible to hire a specialist, so many try to make repairs completely do it yourself. It is not so difficult if you have all the necessary tools at hand.
In this video you can see how the tiles for the apron are laid, holes for sockets and other communications are cut out.
The following should be prepared for work:
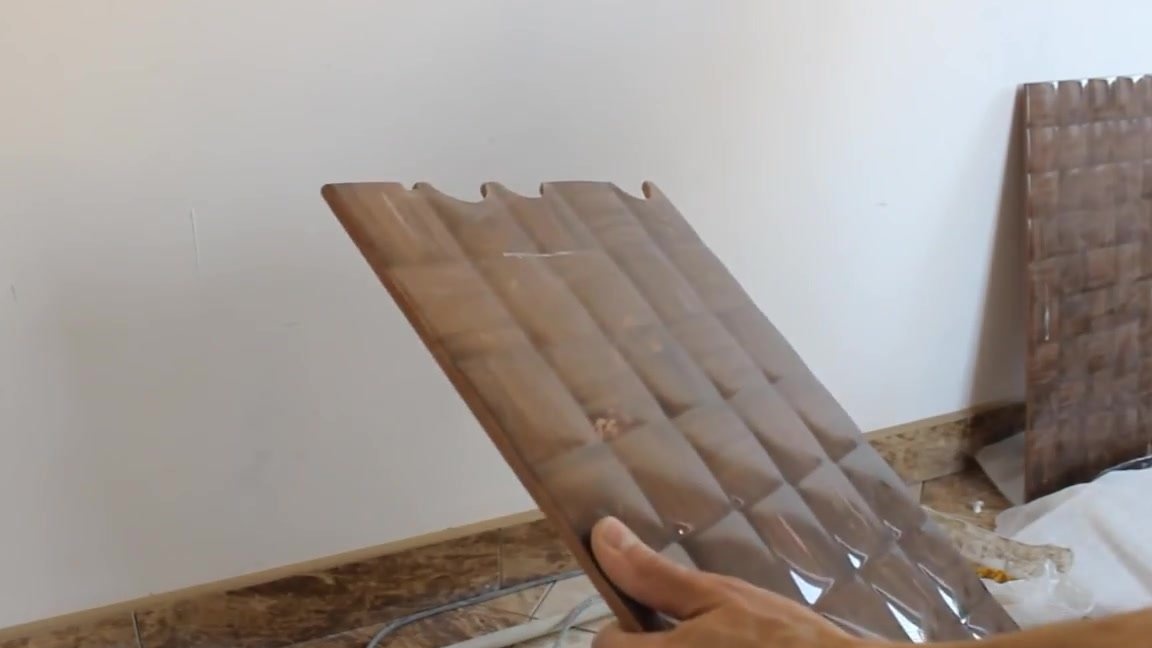
- ceramic tile;
- centimeter;
- level;
- paper tape;
- a mill;
- putty knife;
- tile glue;
- crosses
- grout.
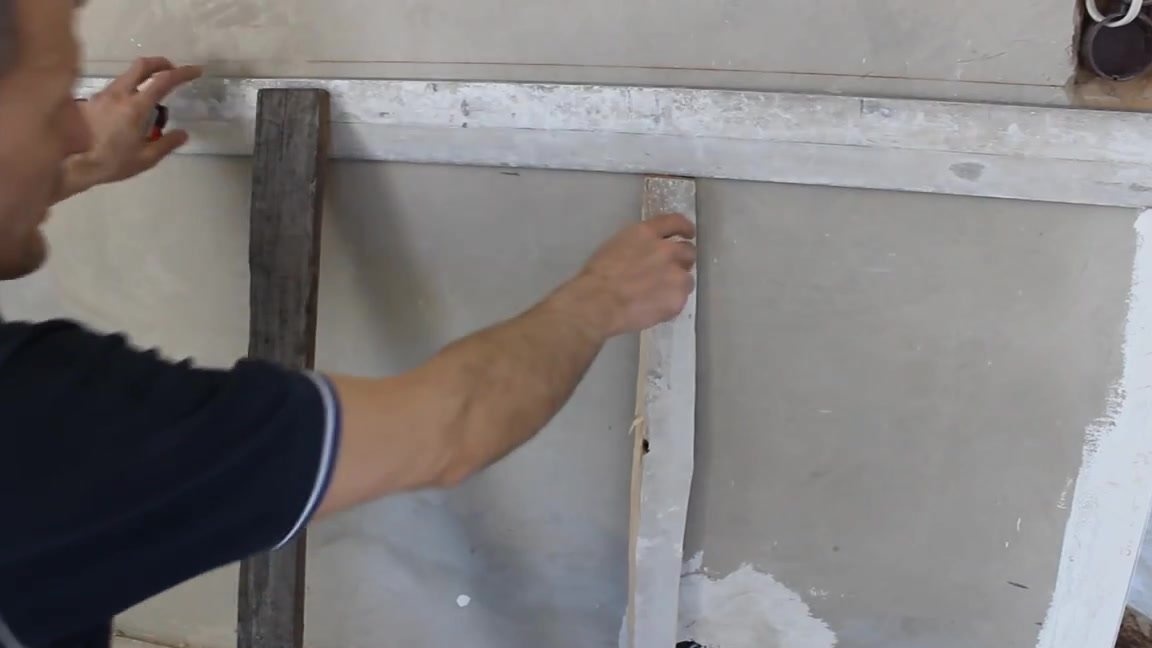
At the very beginning of work, it is necessary to measure with the level and centimeter from the floor covering 85 cm, the height of the kitchen. Be sure to mark a line on the wall that will border the bottom edge of the tile. To the drawn line we apply a piece of board, which is supported by unnecessary pieces, pieces of wood, is adjusted to the desired level to clearly see where the tile should end.
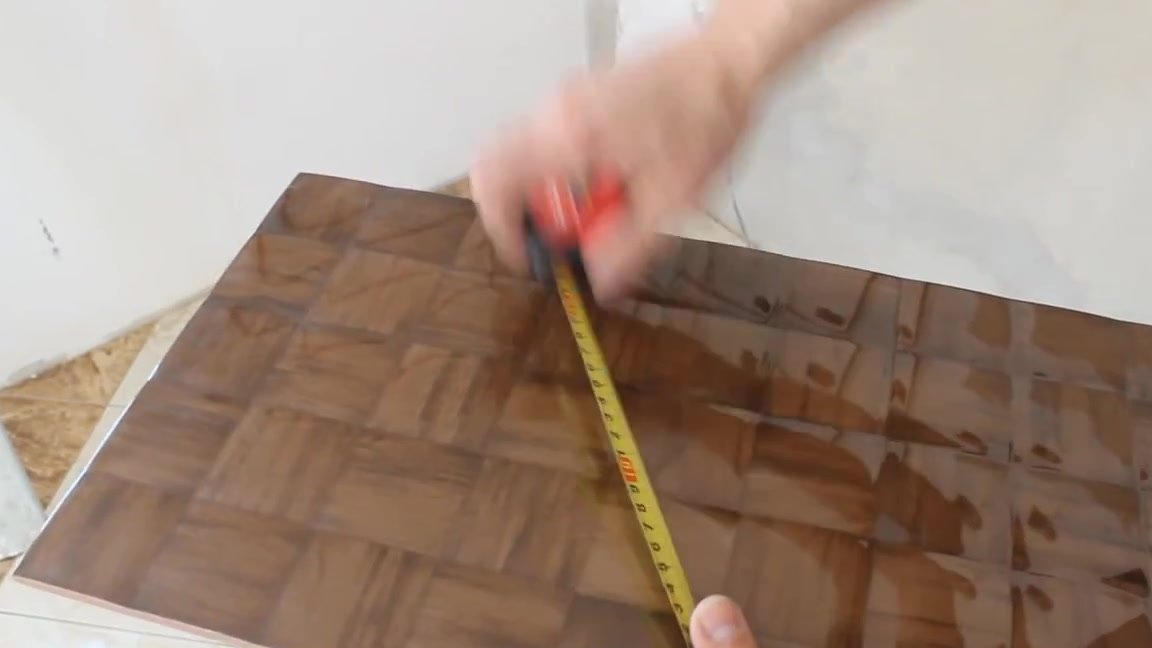
To make the apron look beautiful, tile laying should be started from the entrance or from the window, thus driving its trimmed pieces into a corner.
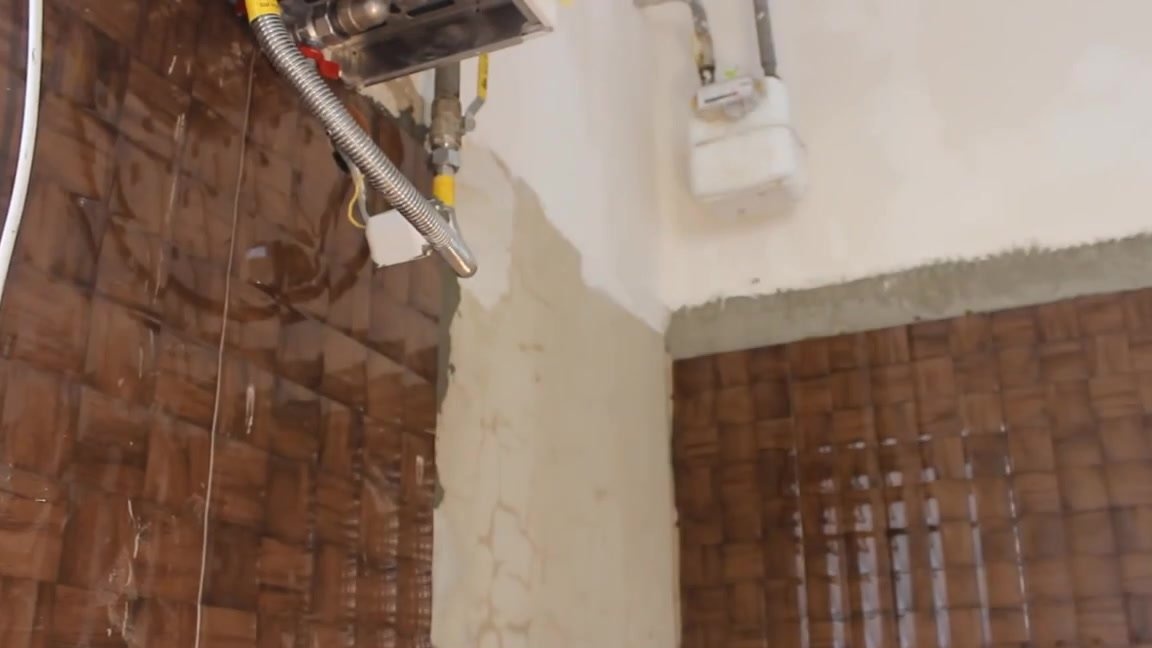
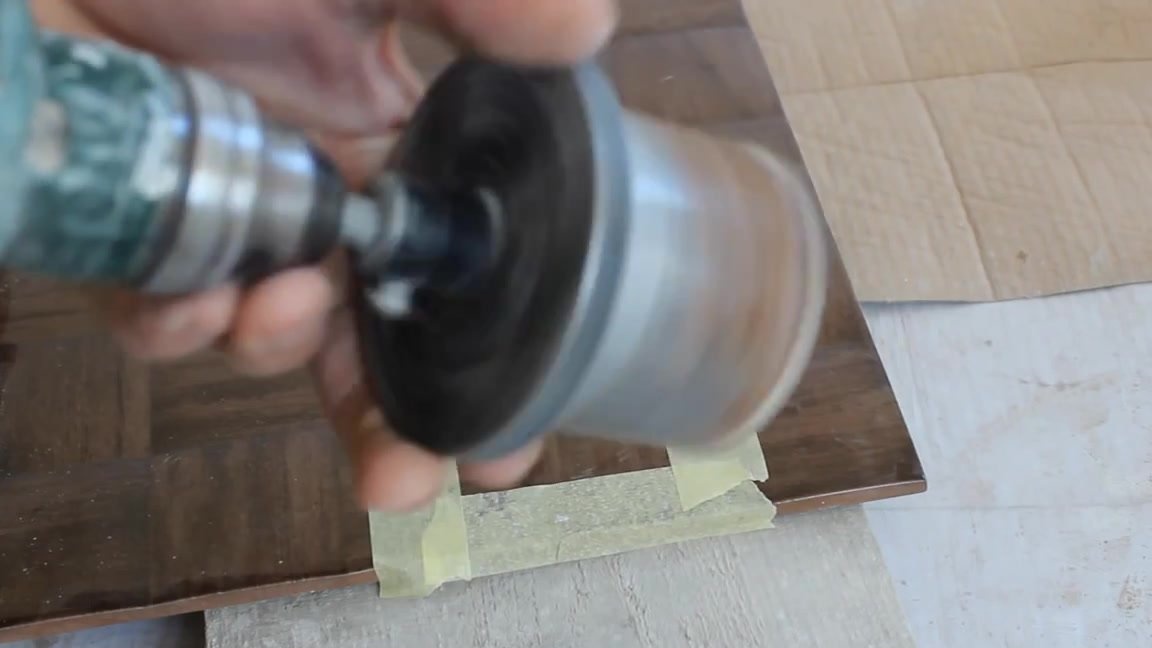
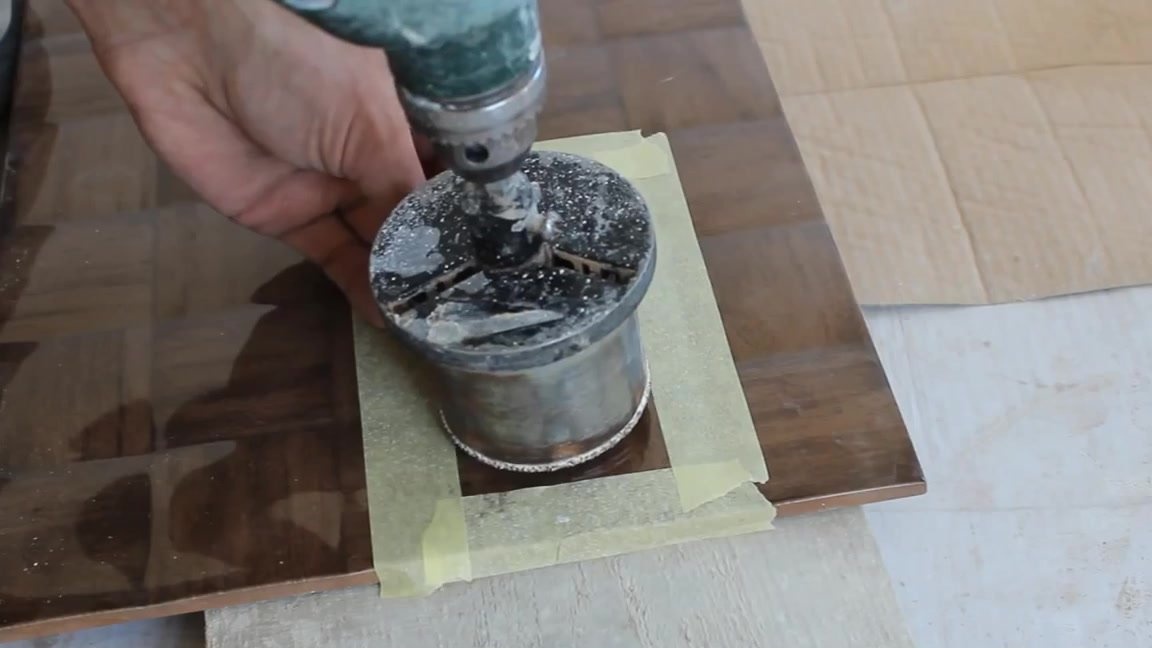
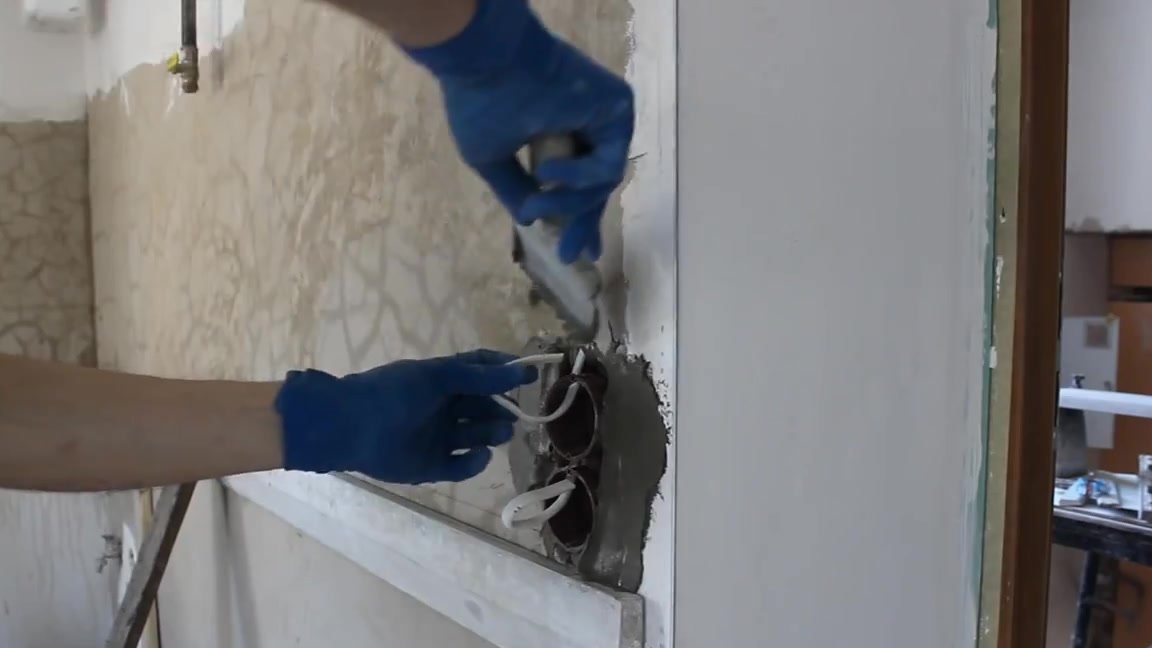
Before laying the tiles, all electrics must be installed, all the socket boxes installed.
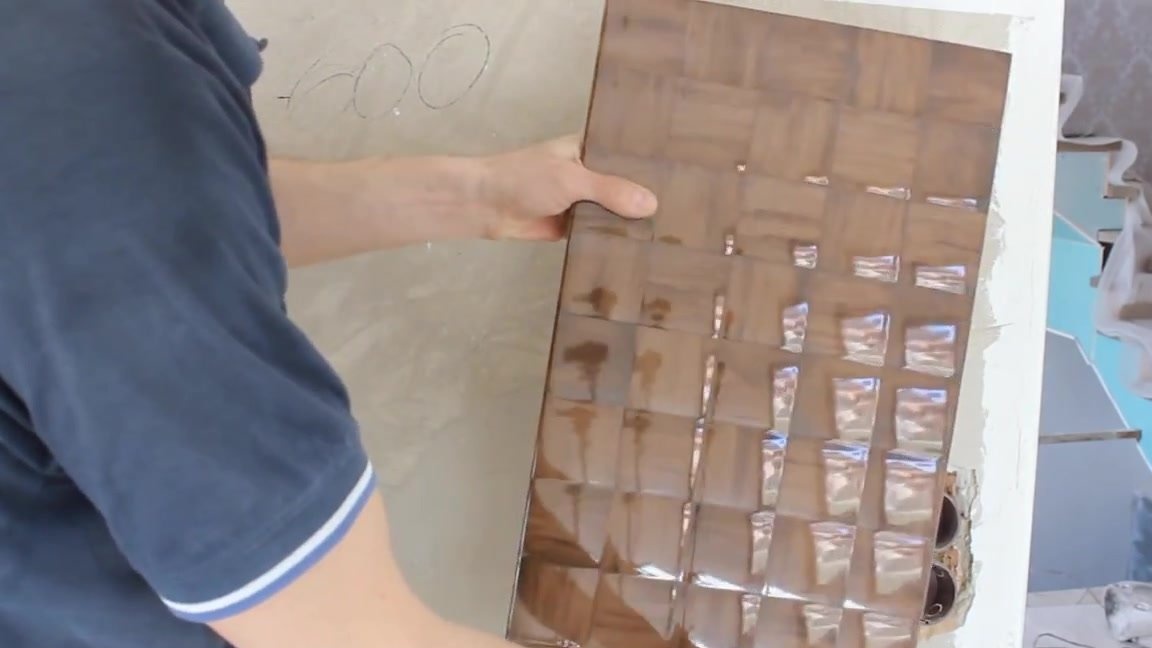
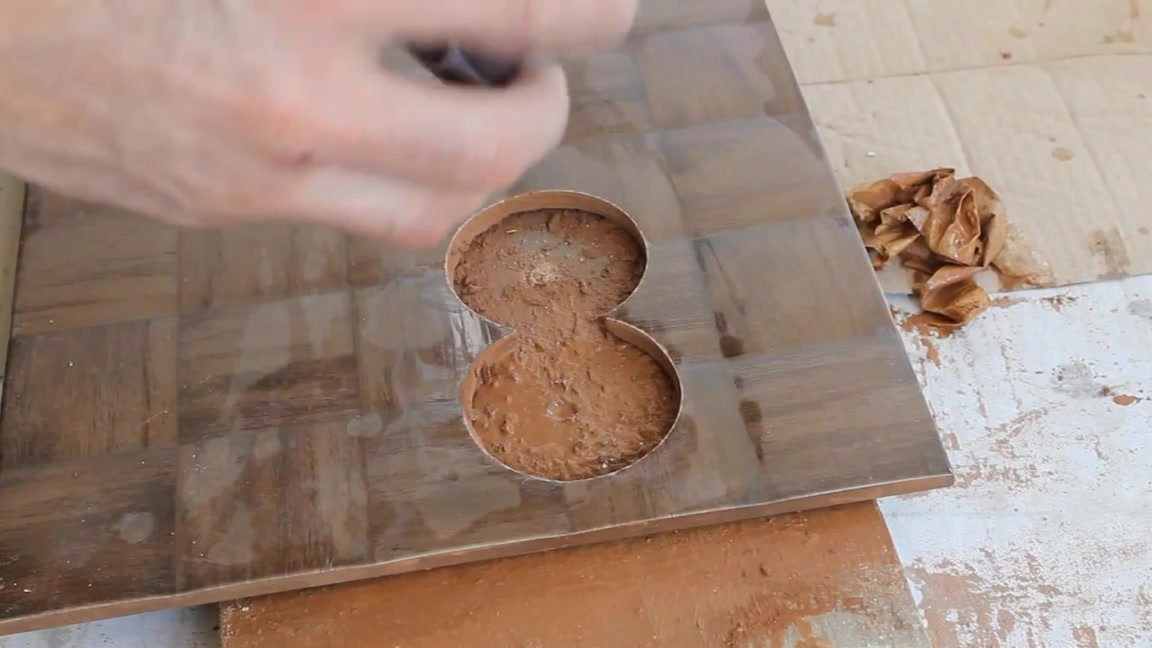
On the tile, mark the place where the hole for the outlet will be, glue it with paper tape and begin to drill round holes for the outlet. During drilling, pour the cut point with water to cool. We check how the rosettes enter the holes.
Now spread the glue, as in the instructions. With a spatula, we apply glue to the wall itself, as well as to the tile, with a not too thick layer. We put the tile in place, starting from the entrance, measure the evenness of its installation with a level and press.
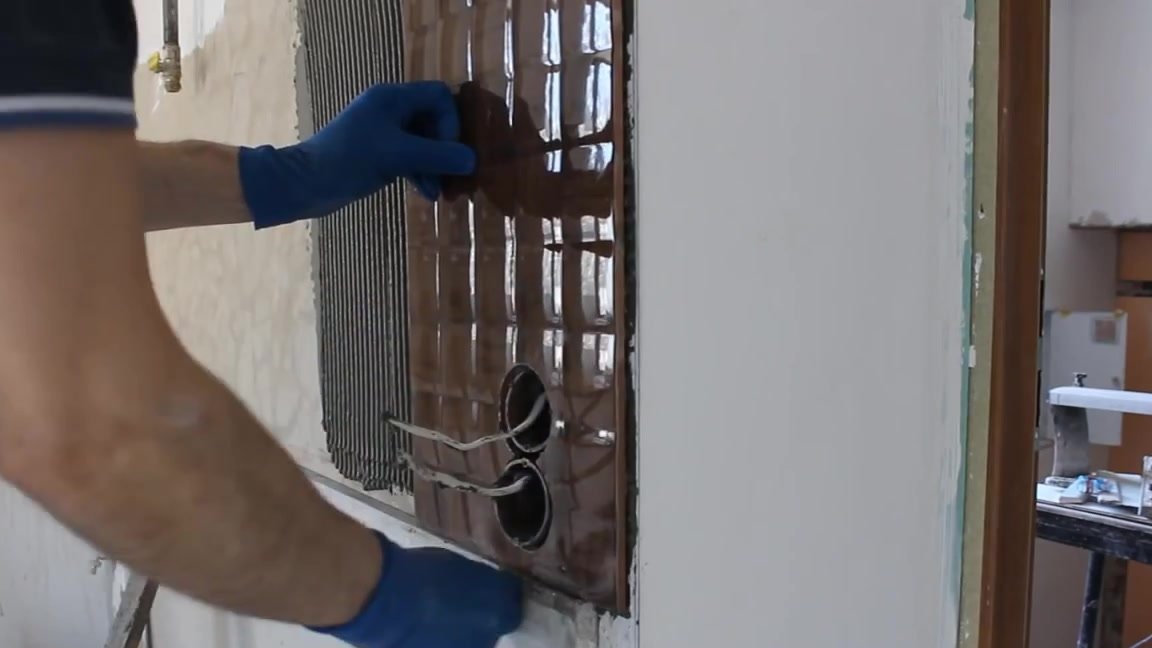
No need to apply glue immediately under the entire tile, it dries quickly enough.
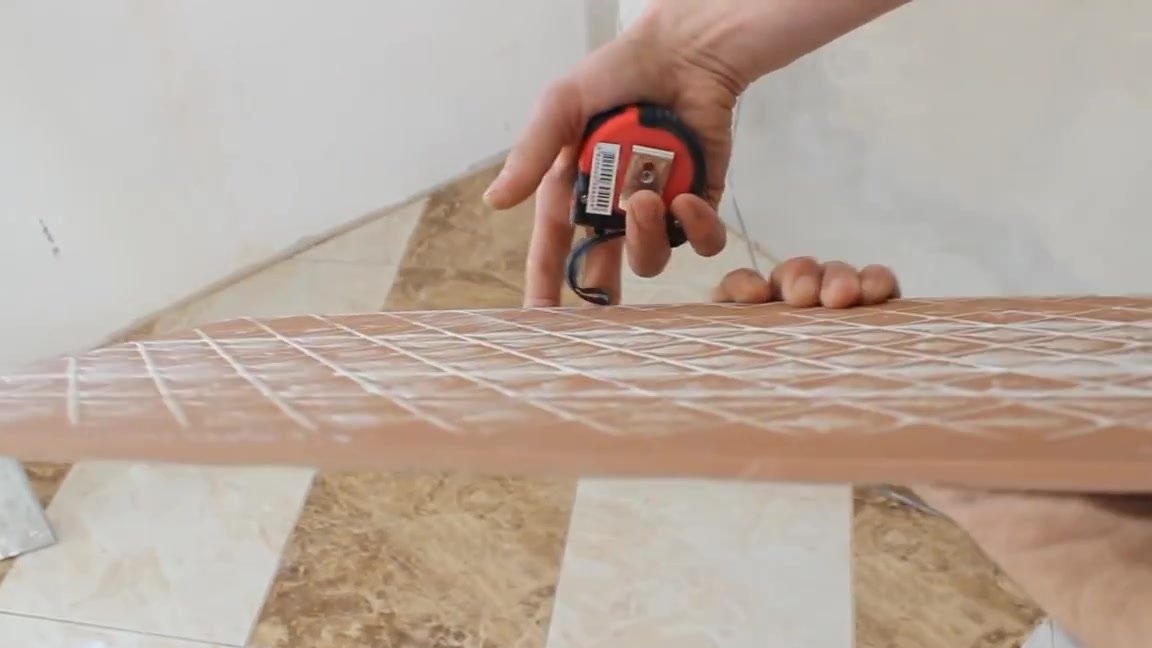
After the first tile is installed, insert the corners so that a small gap forms between the tiles. We lay the next tile as well as the first. Do not forget to check the level of correct installation. Tap the tile lightly so that it adheres better to the surface.
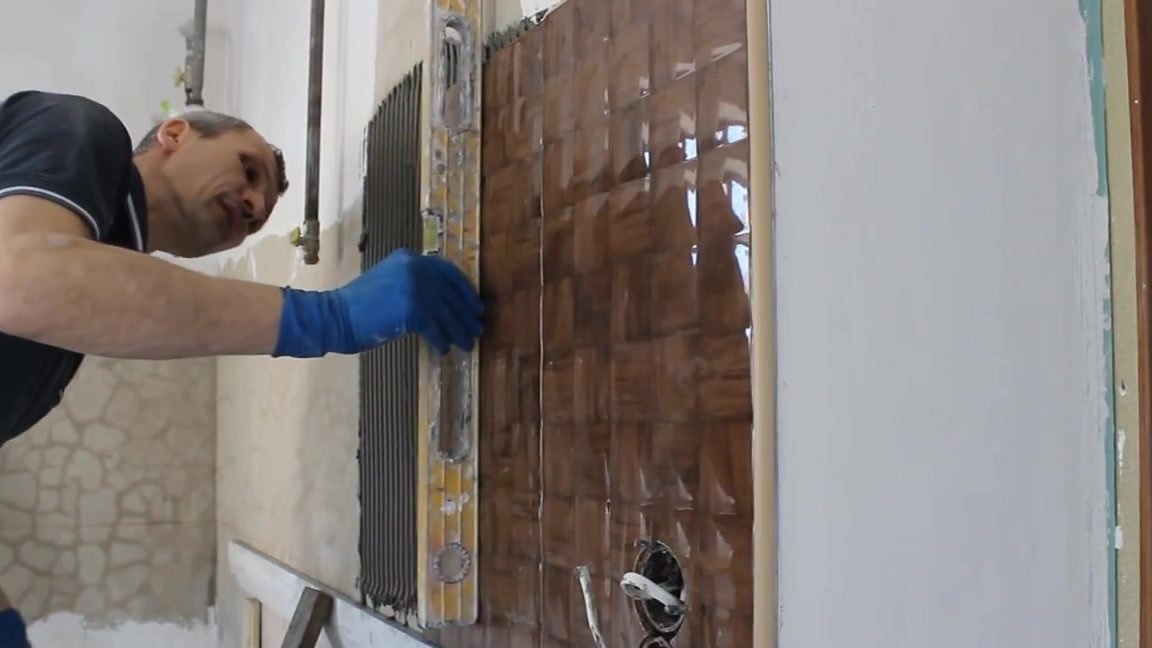
We lay the tiles to the corner.In the corner, if necessary, it will need to be carefully cut, adjusted to the size of the remaining distance.
Seams, the distance remaining between the tiles, gloss over grout. We leave it to dry a little and wash off the excess with water.
The tile is laid, it remains only to wait until the glue dries.