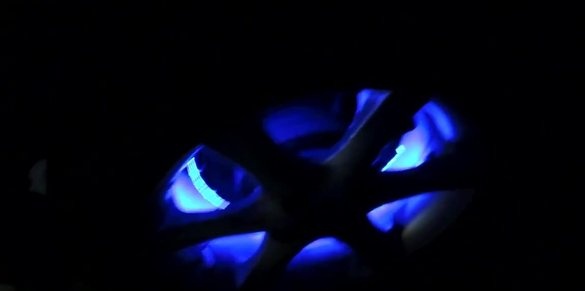
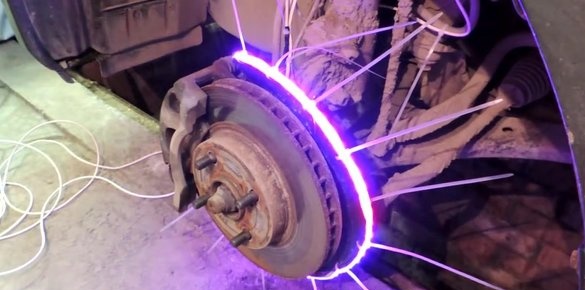
Some perceive carAs a means of transportation, others truly love their cars and in every possible way try to decorate them and give a unique look. Without a doubt, an important factor in this is a beautiful light design, such as wheel lighting, which we propose to do right now.
Before we get started on the process of making wheel lights, we suggest watching the author’s video
So we need:
- LED Strip Light;
- four-wire wire;
- Control block;
- remote controller;
- stationery knife;
- soldering iron;
- insulating tape;
- drill;
- screws;
- nippers.
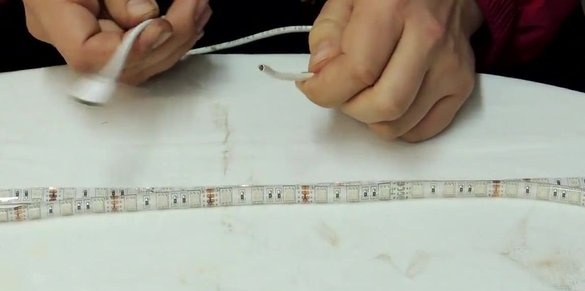
LED strips come in many types. The so-called RGB tapes are unique in that they change color and have several modes. When the materials are sorted out, you can begin to prepare the components. First of all, we measure the required length of the tape on each wheel and cut off the necessary piece, soldering to a four-core wire.
In order to measure the desired length of the LED strip, we need to remove the wheels of the car. After we know the length of the LED strip we need, we can cut the pieces. The author of the video turned out 4 pieces of 65 centimeters.
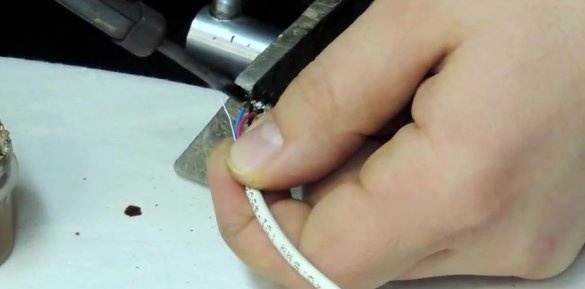
At this stage, we have to solder the pieces to special tips that will facilitate the installation process.
In order to solder the contacts to the LED strip, it is necessary to remove its upper layer, thus freeing the contacts on the tape.
When the contacts are open, you can start soldering. In no case should we forget the pro-isolation.
Now we need to take care of connecting the LED strips of the front and rear wheels. For this, we cut 4-5 meters of four-wire wire.
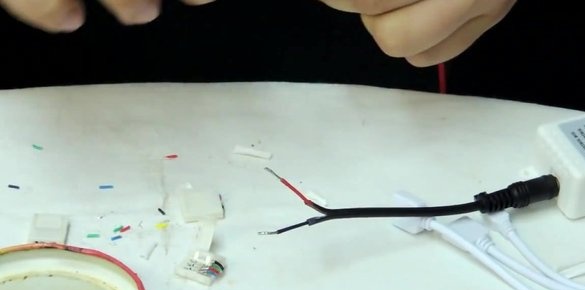
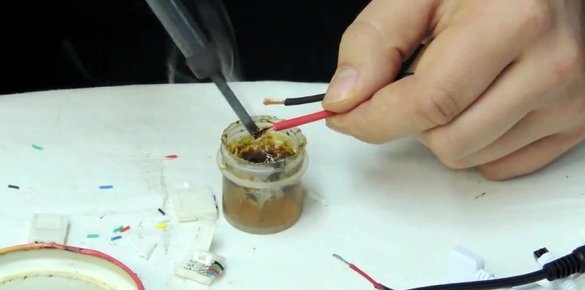
On both sides of the wire you need to solder the connectors to the contacts. For this, we clean the wire.
At this stage, we should prepare a 12 volt power cable to power the diode tape control unit.
The power supply, which the author uses, has two outputs, which allows for seamless problems to connect the left and right halves of the tapes to it.
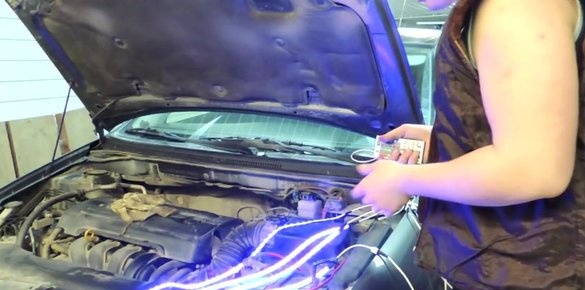
The preparatory process is over.Before proceeding directly to the installation of LED strip light, it is advisable to check all the performance.
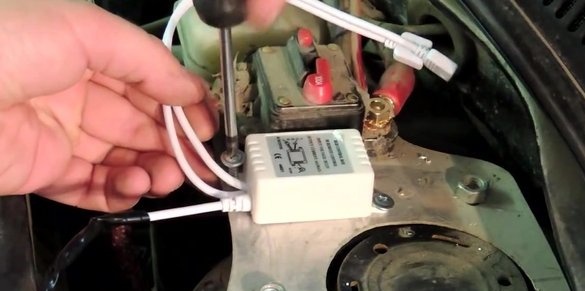
Gently start the installation of the control unit. The author sets his naplank near the chopper of the amplifier on which the plus will be taken. If there is no amplifier, it is difficult to take the minus iplus directly of the accumulator.
We drill the bar with a drill and fasten the block with screws.
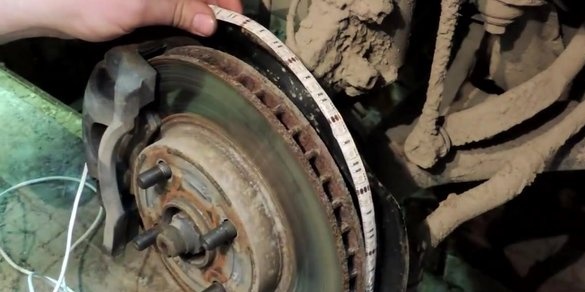
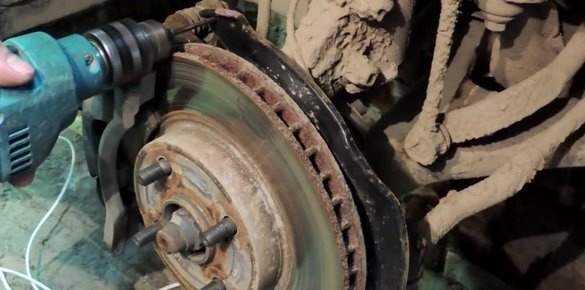
Next we fix the diode tapes. Attach them to the brake pads using plastic clamps. To do this, drill a shroud over the entire radius.
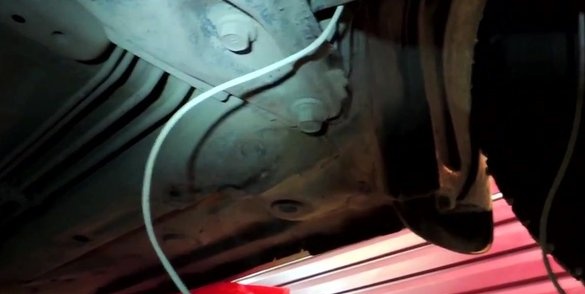
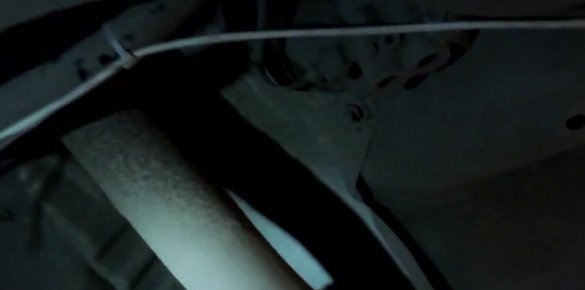
We fasten the power cable to the brake hose again with plastic clamps.
Excess clamps cut off with wire cutters.
Wires below the vehicle should be fixed with hoses.

