

Many laptop owners are faced with the problem of overheating. Therefore, cooling coasters for a laptop were invented. But in stores, quality coasters cost quite a lot, but why overpay when you can make a stand yourself?
We will need:
- paper tray;
- 2 fans;
- self-tapping screws;
- a chisel;
- sandpaper.
Step 1
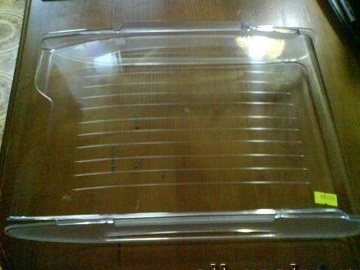
So, the first thing you need to do is markup on the fan tray. To do this, you can use an ordinary marker. This is the easiest step of the whole lesson.
Step 2

Now make holes for the fasteners with a fan. The easiest way to melt them. By the way, the stand can also be made of plexiglass, but with this material more trouble.
Step 3
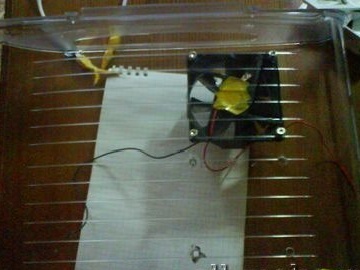
Now outline the air holes, cut them with a red-hot chisel and carefully sandpaper.
Step 4


Fix the fans with screws, treat their hats with silicone sealant so that they do not scratch your laptop. Now plug everything into a USB port. There is a standard scheme: red is a plus, black is a minus.
The cooling stand for the laptop is ready. The minimum cost of materials and time, but it copes with its task very well!