
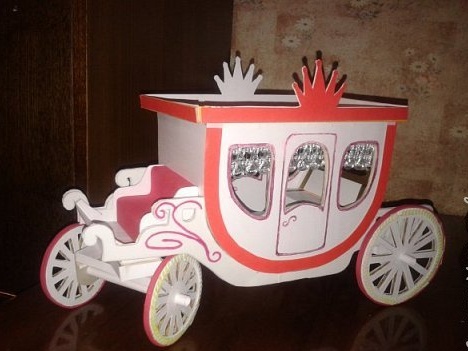
This lesson will appeal to both children and adults. From cardboard you can easily create such a beautiful carriage.
We will need:
- cardboard;
- plasticine;
- self-adhesive;
- self-adhesive rubber;
- scissors.
Step 1
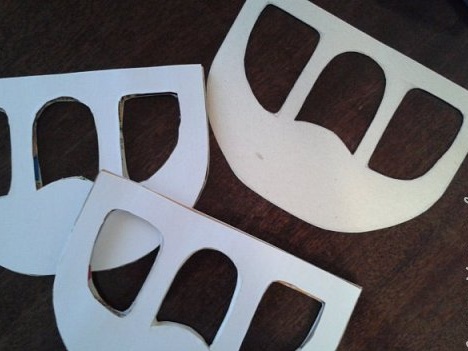
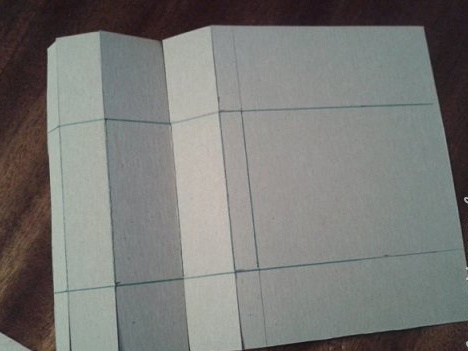
From the product box, cut out two sidewalls of the body on a stencil.
Step 2
Then cut 4 more parts and glue them with white self-adhesive. Still, the boxes can be uneven, and so we will hide all the bumps.
Step 3
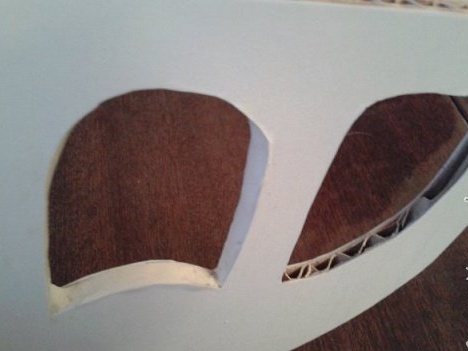
Lubricate the window openings with plasticine.
Step 4
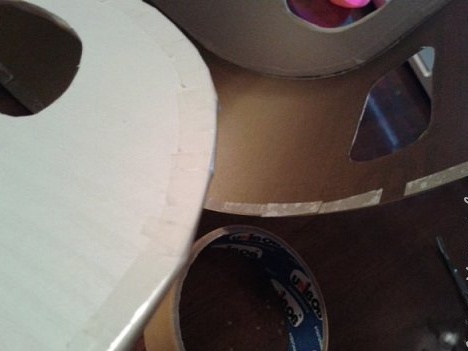
Cut the strip into which the front wall will fit. Glue the side walls down with double-sided tape.
Step 5
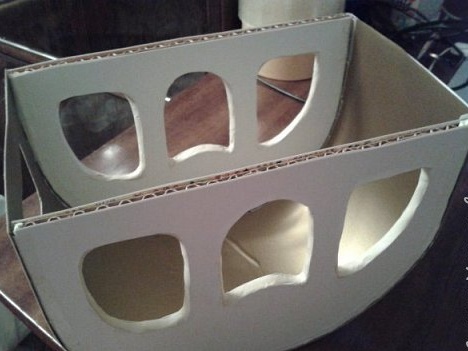
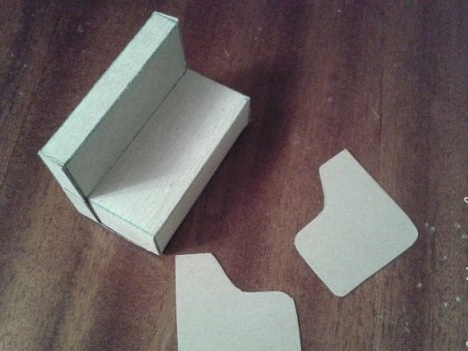
Connect all the details together. This is what you should end up with. The future carriage is already recognized in the blank.
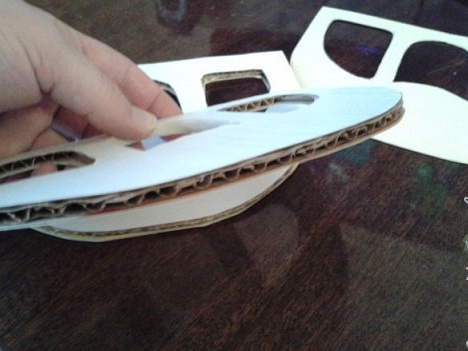
Step 6
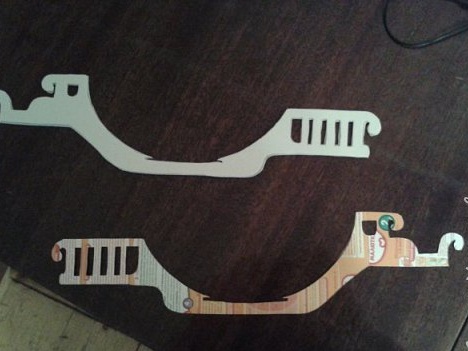
Further, cut out such a detail from cardboard as in the photo. As well as 2 parts made of white self-adhesive rubber, glue the part made of cardboard with rubber. Make two identical parts.
Step 7
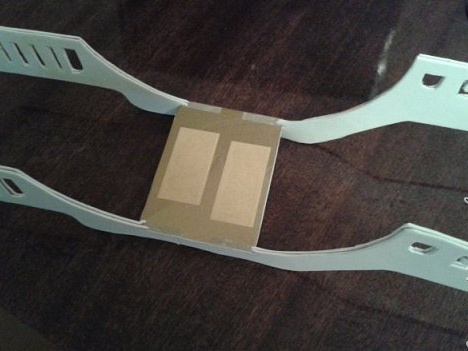
Connect the two previous parts with an additional piece of cardboard.
Step 8
Put a cardboard body on these parts, and glue the trunk box on the back.
Step 9
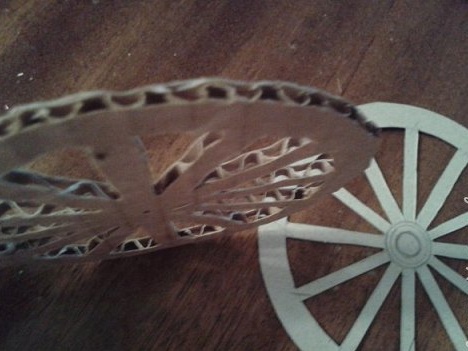
Cut the wheels out of cardboard too. For each wheel, make two wheels, gluing them for evenness.
Step 10
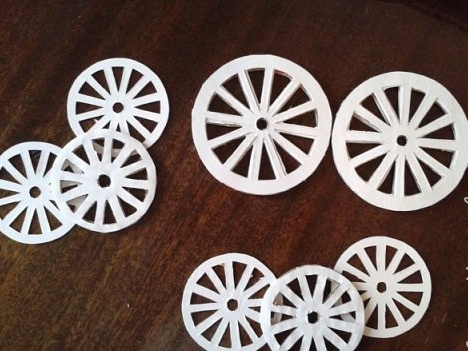
These wheels should turn out, it is better to cut them with a clerical knife.
Step 11
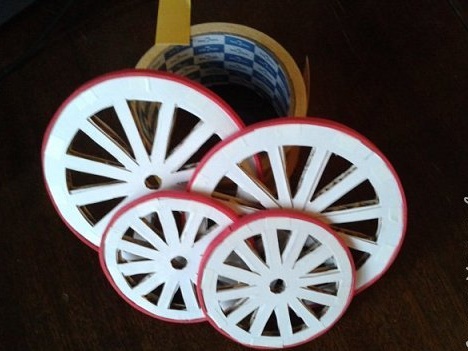
Tires make of self-adhesive rubber.
Step 12
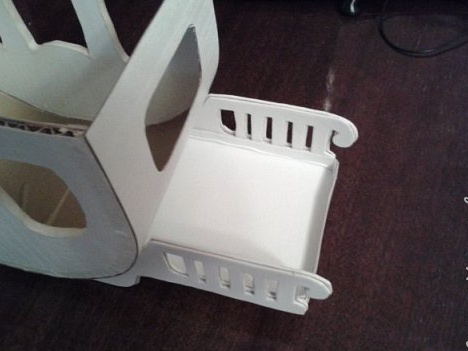
Now make a blank for the coachman's seat.
Step 13
When finished, the seat should look something like this (you can improve it if you wish). Also make two sidewalls to it.
Step 14
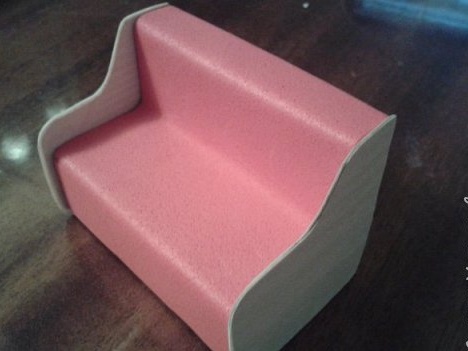
Paste the sidewalls with self-adhesive, the seat with rubber.
Step 15
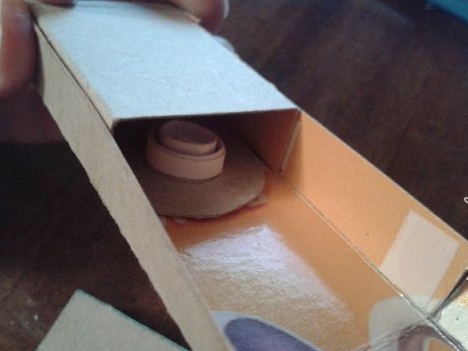
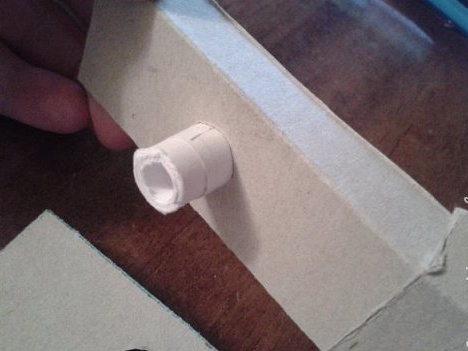
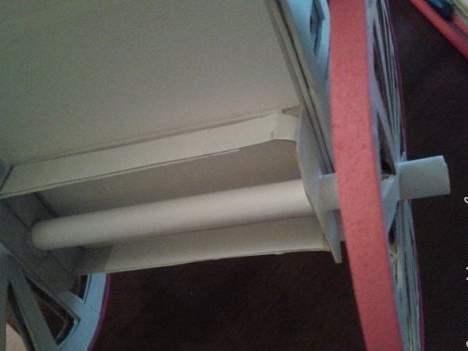
Now make the front rotary axis. To do this, glue the box, make a slot in the center, insert a paper tube there, and fix it on top with a cardboard ring. Now seal the box to the end.
Step 16
Connect the box to the second one (it should be smaller!).
Step 17
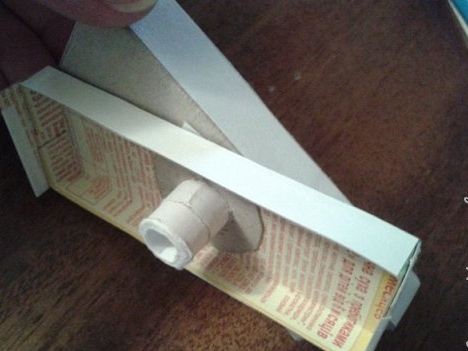
So fix the bottom ring.
Step 18
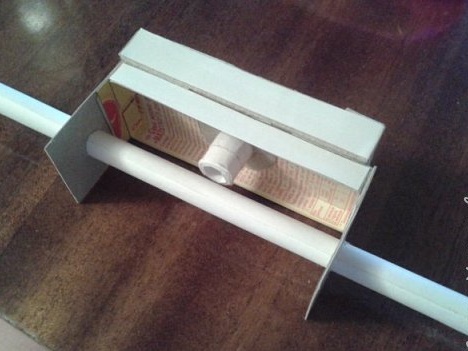
Glue the parts for the axis on the sides.
Step 19
Now the most interesting thing: put on the wheels, lock them, cut off the extra long axle.
Step 20
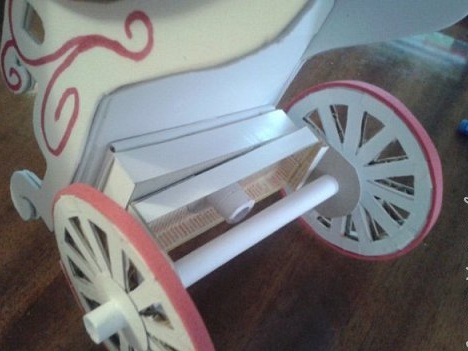
As you can see, the rear axle is smaller, since the wheels are big.
Step 21

And here is the coachman’s seat.
Step 22
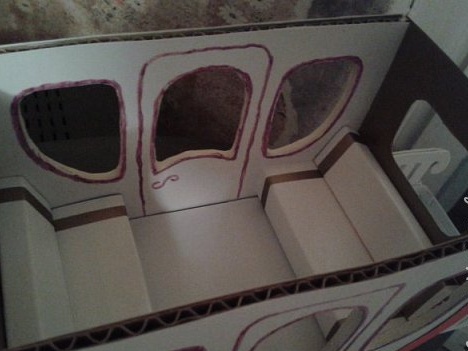
Seats must be made into the carriage itself.But it is better to first make there a floor of several layers of thick cardboard. Draw any doors you like.
Step 23

The roof will look something like this. You can decorate the carriage further with curtains and any other small details. You can also colorize it at your own discretion.
Here is our cardboard carriage!