
In the previous material we did review of a simple amplifier manufacturing video and promised that in the next material we will use it to make a portable speaker. We kept our promise. We present you the next review of the video, which is devoted to the assembly of the column or speaker.
Before proceeding directly to the column assembly, we’ll watch an author’s video
[media = https: //www.youtube.com/watch? v = zB1pts73aUI]
What we need:
- polypropylene pipe with a diameter of 50 mm;
- connection for the pipe;
- a drill or a jigsaw;
- unnecessary CD or DVD disc;
- marker;
- scissors;
- sandpaper;
- screwdriver;
- glue gun.
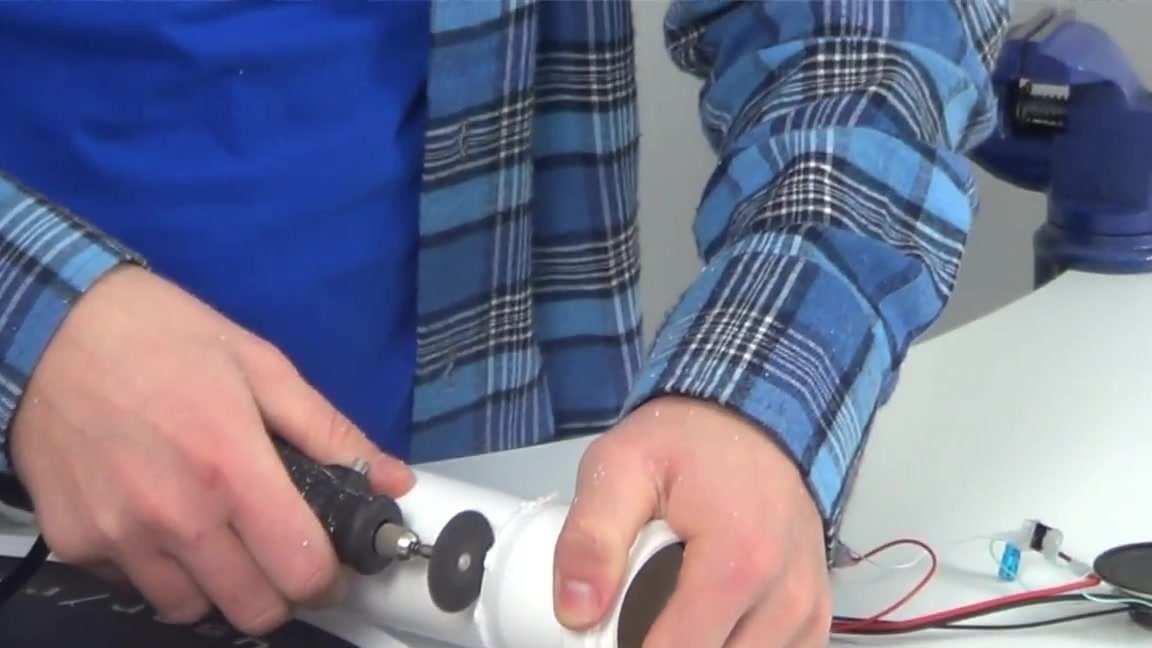
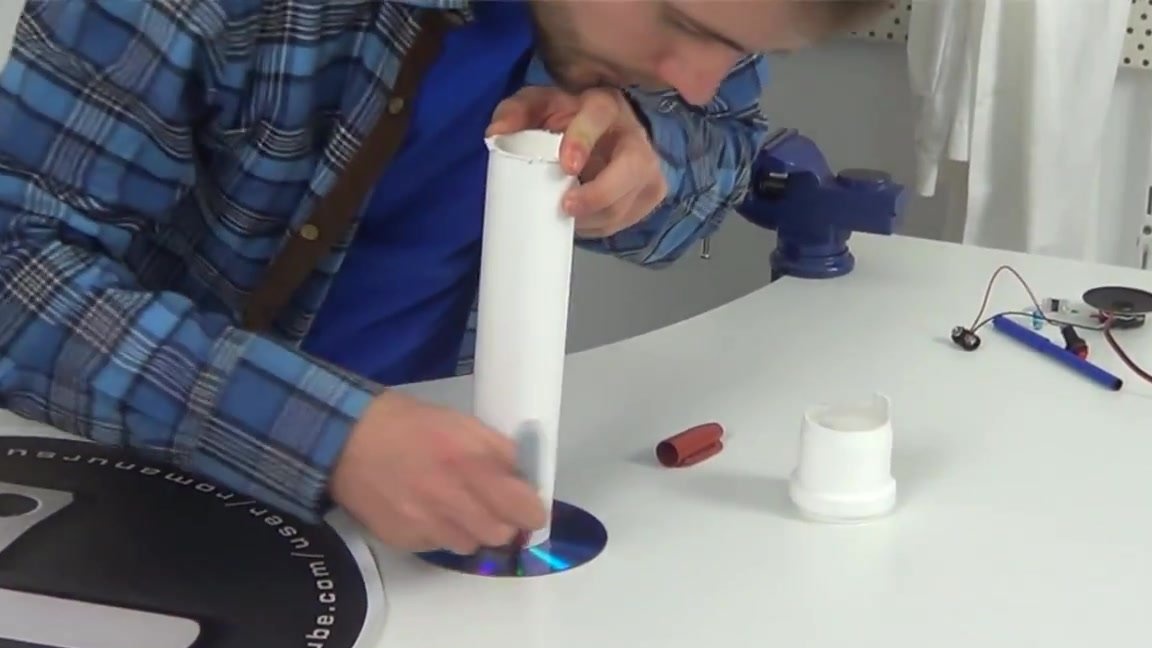
Start by cutting the pipe. As you can see in the figure below, the author of the idea prefers to leave a small rim under the connector for the crown on the piece of pipe. You can also use this technique. We also note that the pipe is smaller in diameter than the speaker, so the author uses a pipe connection, the diameter of the outer rim of which is ideal for installing the speaker.
We take a drill or a jigsaw and cut a piece of pipe.
We process the cut piece, after which we get the blank of the future column.
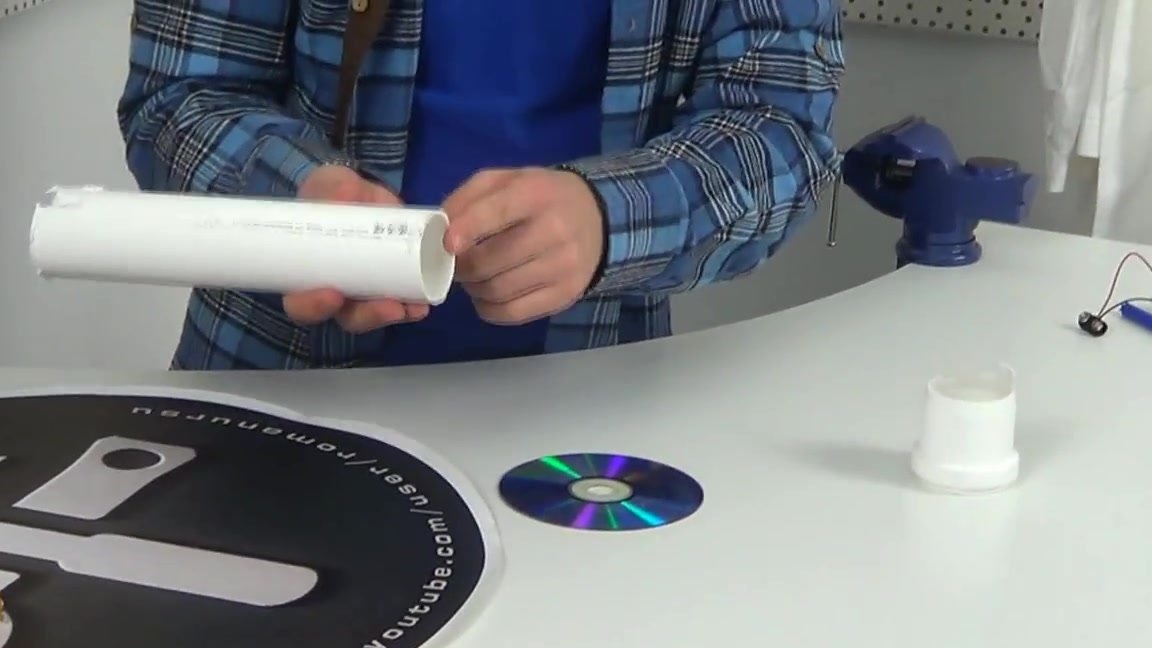
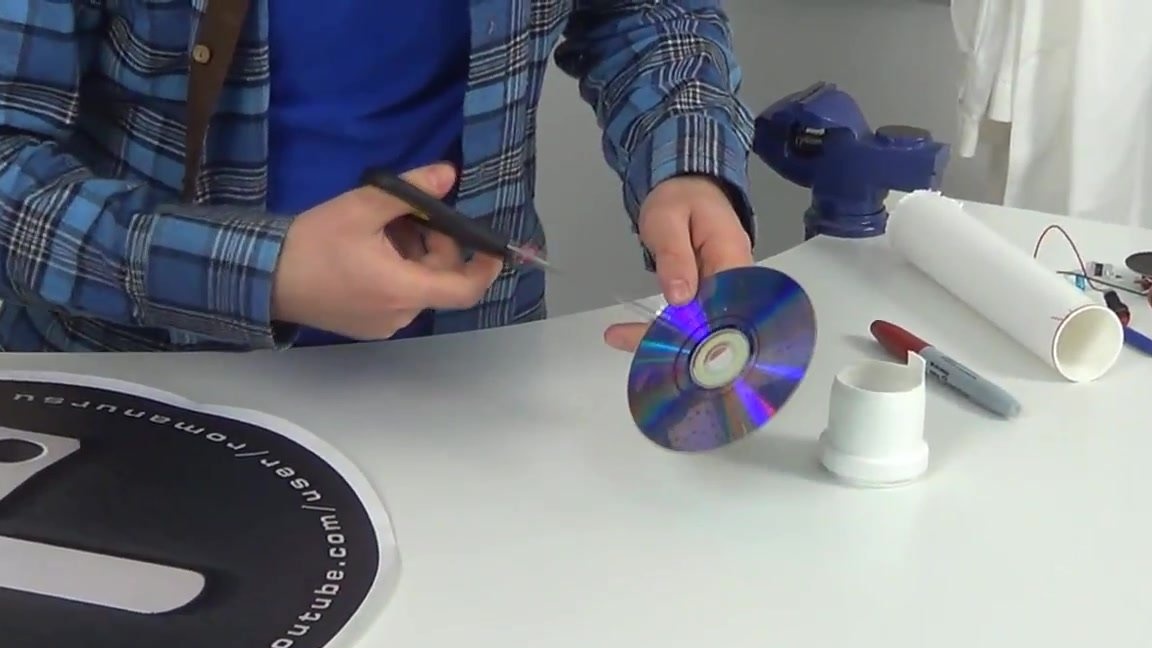
Now we take any disk we don’t need, put it on the table, apply the piece of polypropylene pipe remaining after cutting to the center of the disk and draw a marker around it.
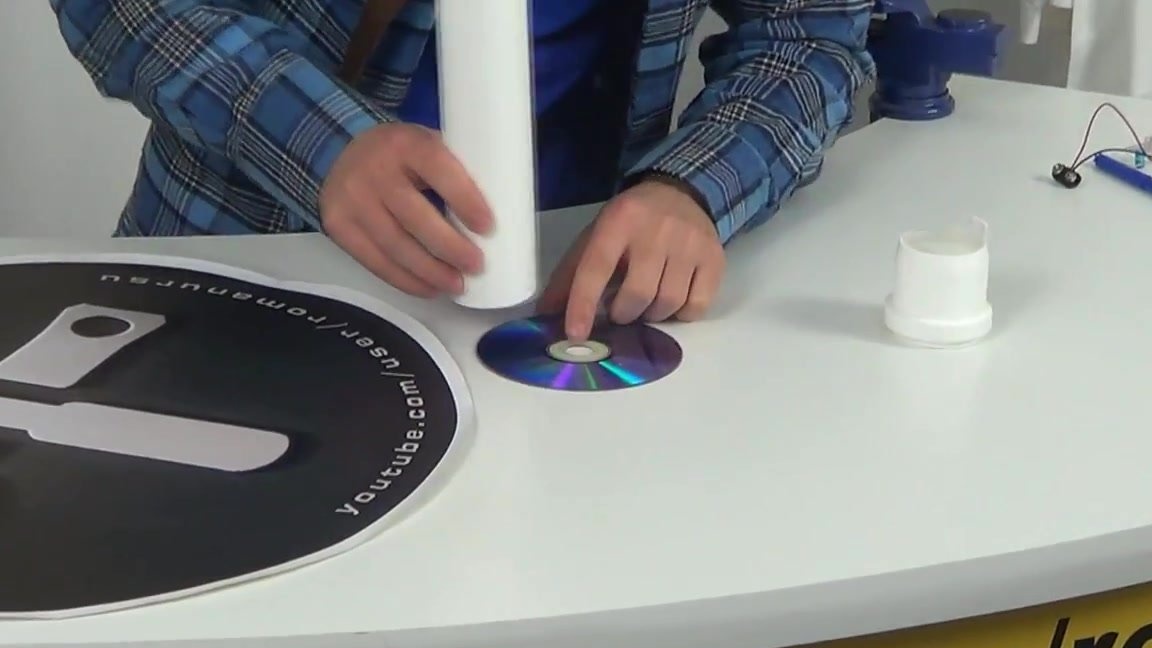
Next, take the scissors and cut out the circle received on the disk.
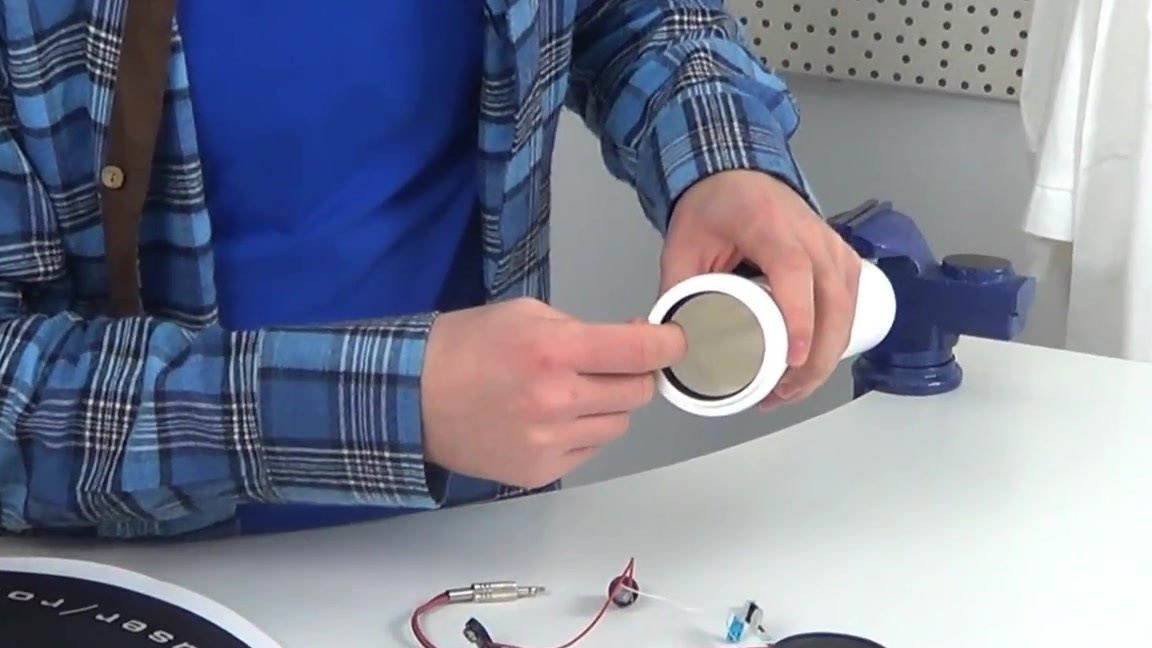
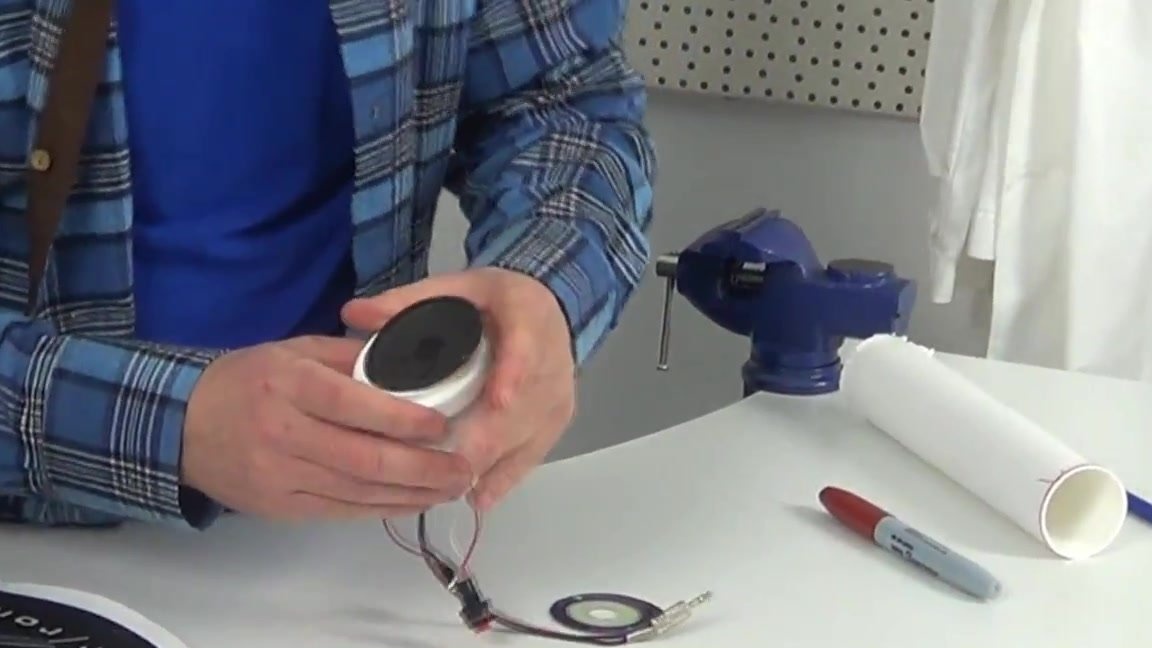
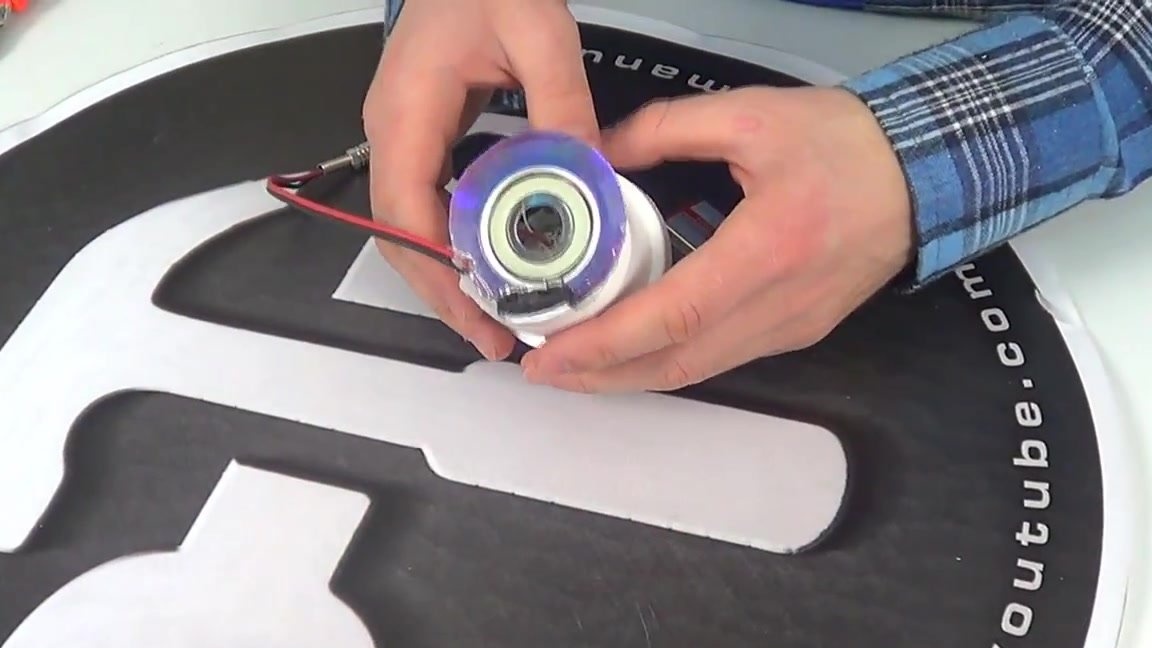
We insert the speaker into the workpiece, starting with the insides.
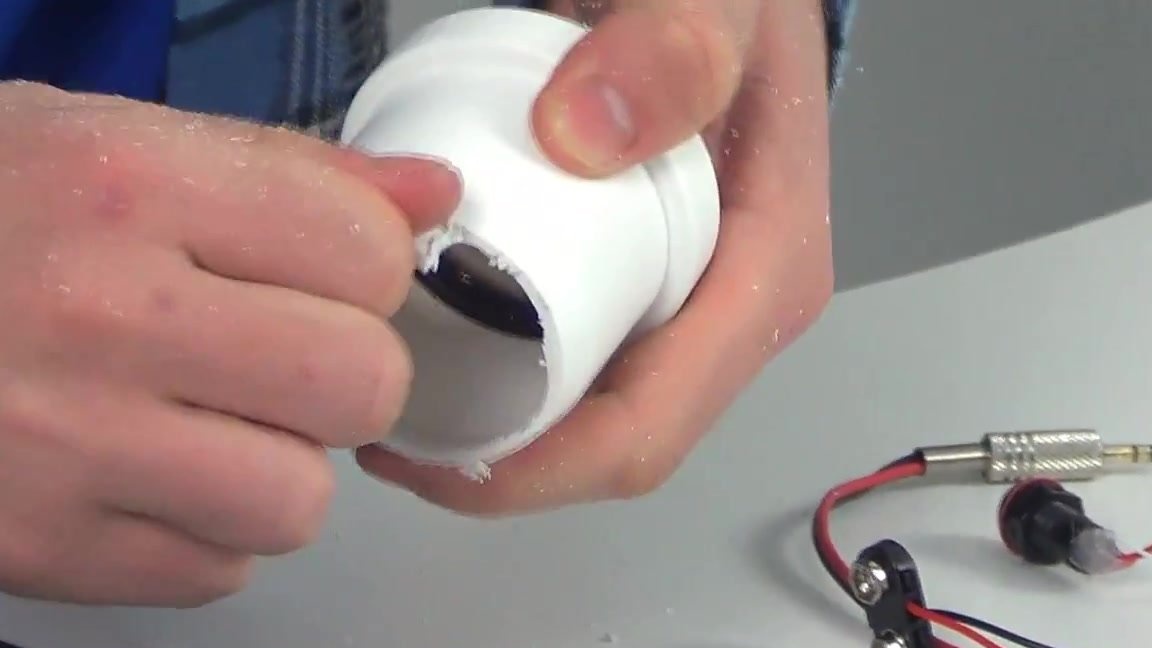
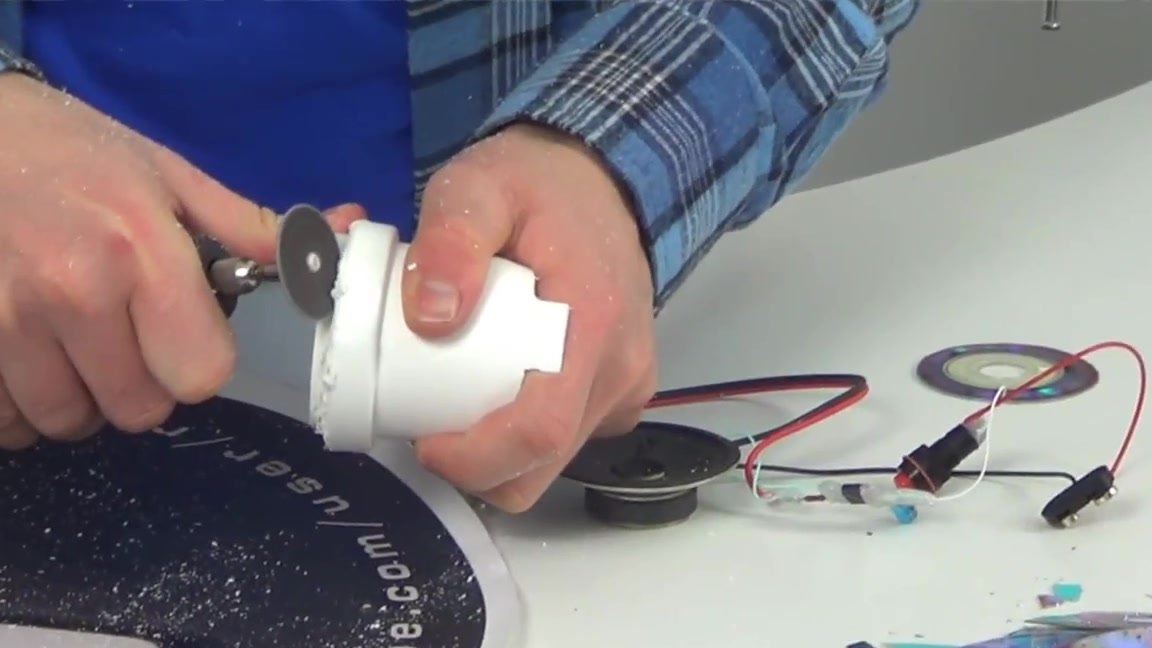
The author did not fit the speaker immediately, so he had to cut off the extreme part of the pipe connection to the rim, the diameter of which is larger than the extreme part. If you also encountered a similar problem, you can do the same without forgetting to finish all with sandpaper at the end.

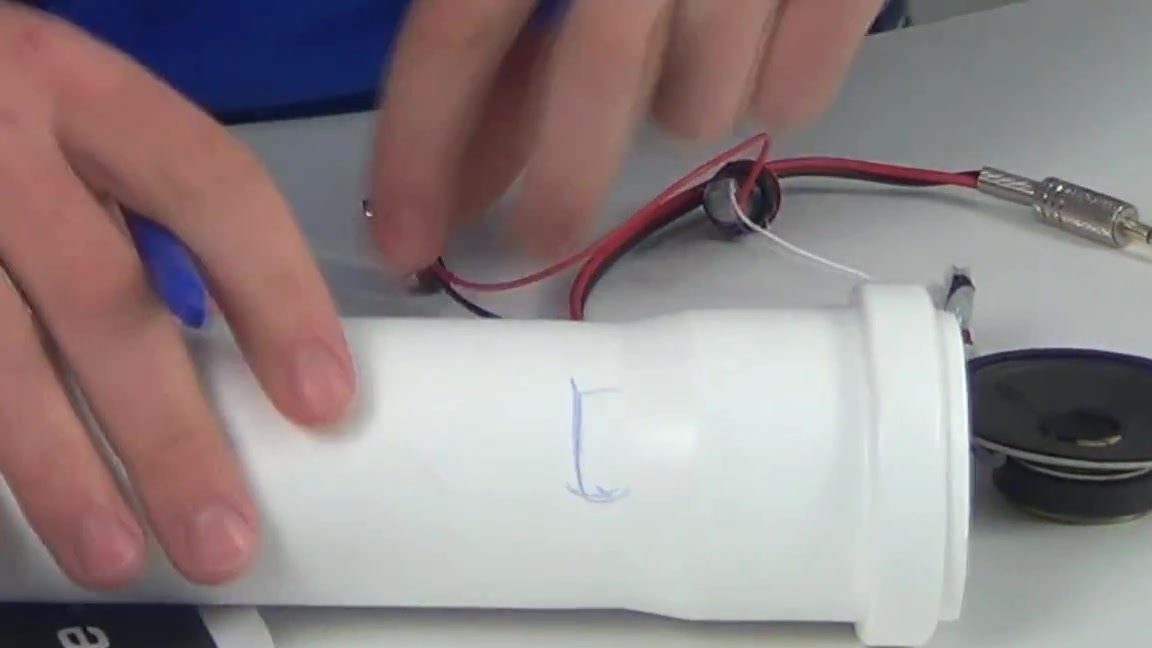
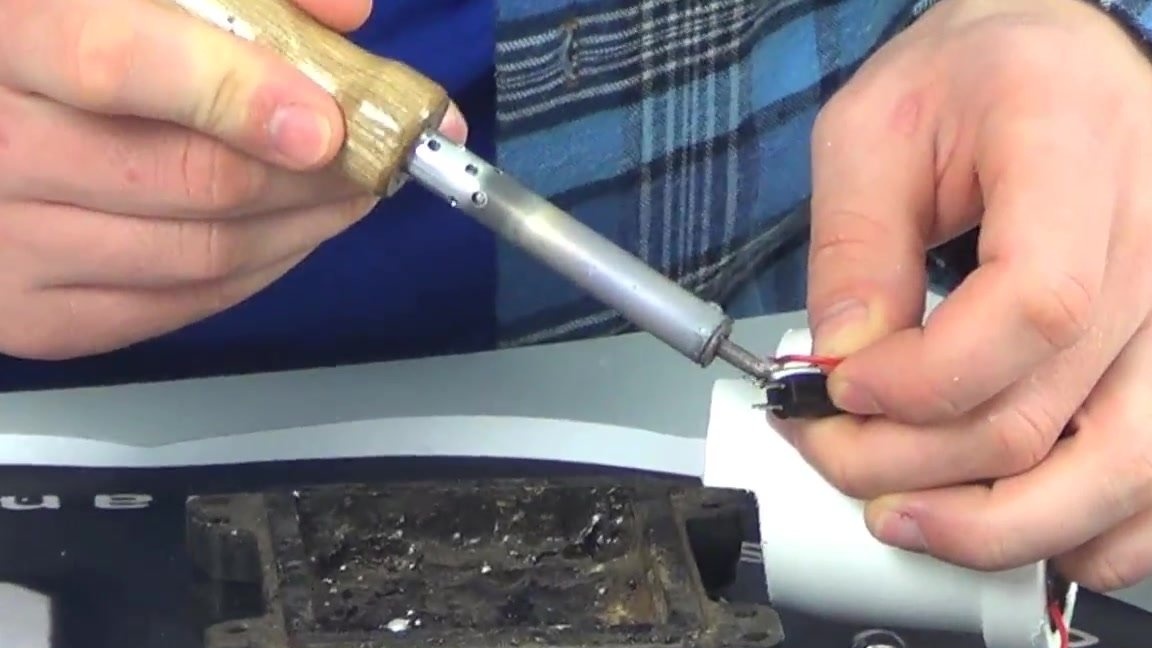
Before installing the speaker, you also need to drill a small hole in the diameter of the switch on the column blank. To do this, solder the wires on the switch in advance.
Next, take a screwdriver and drill a hole in the upper part of the workpiece.

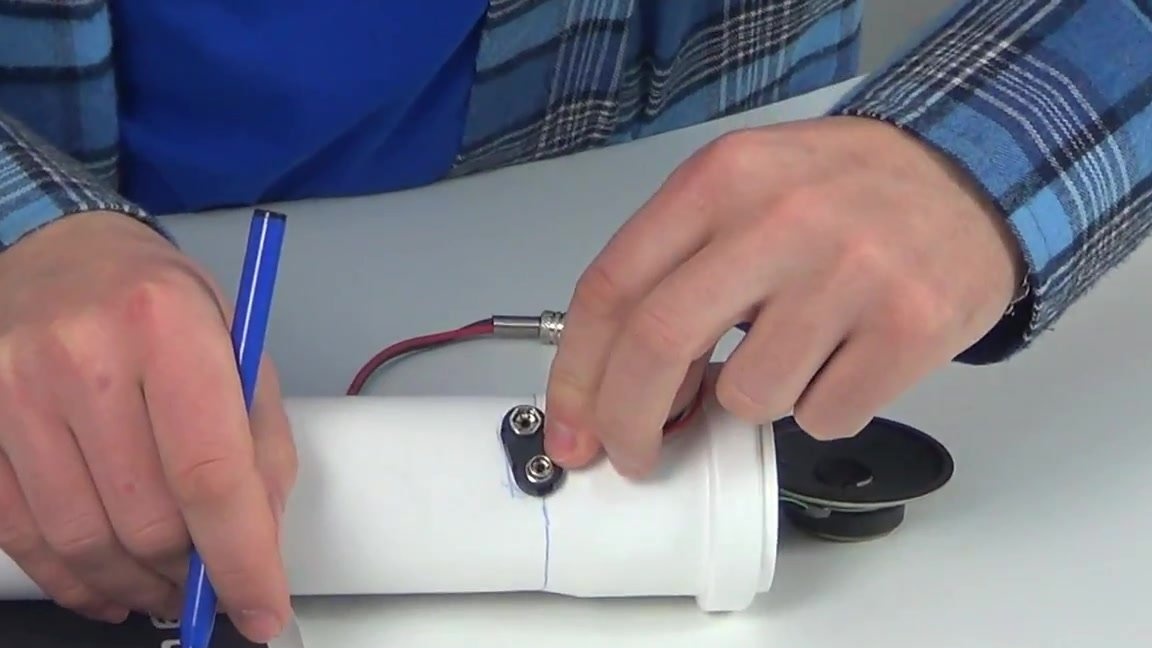
We push the wires and solder them to the switch.
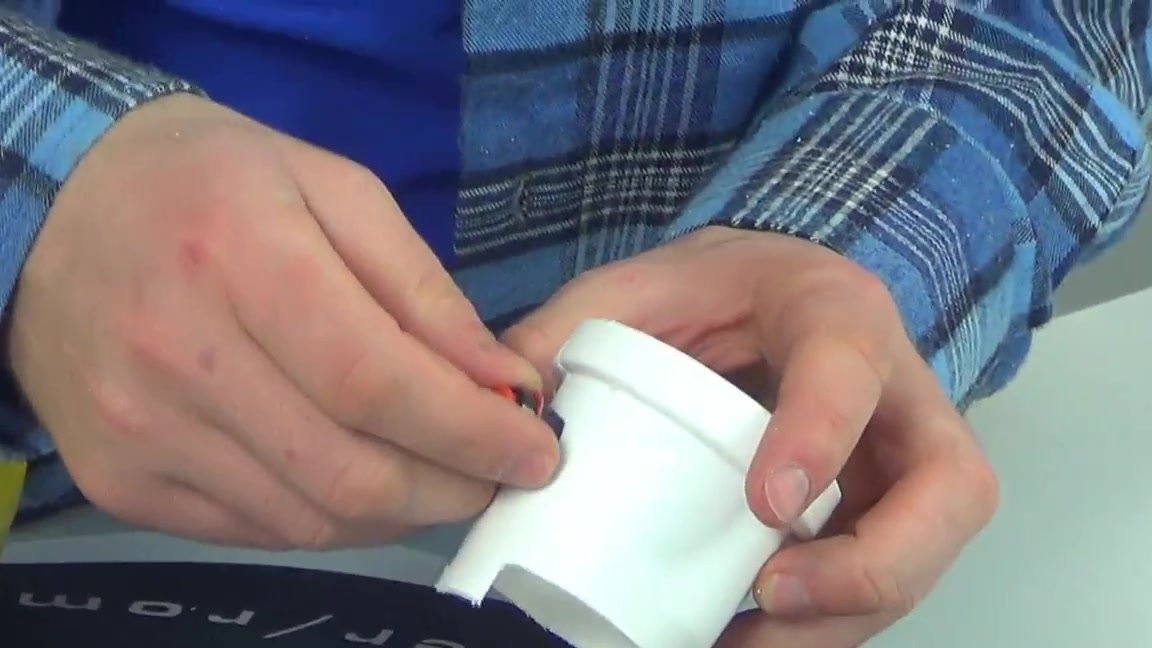
We install the switch in its place.

Poke the insides of the column into the workpiece.
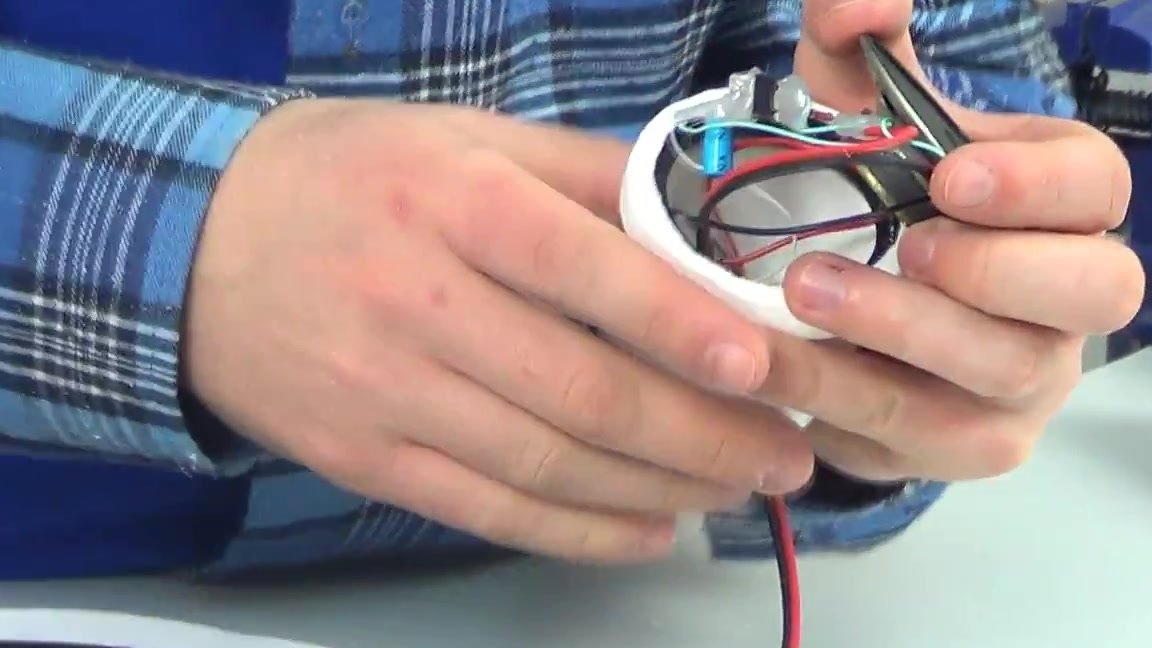
After that, carefully press the speaker.

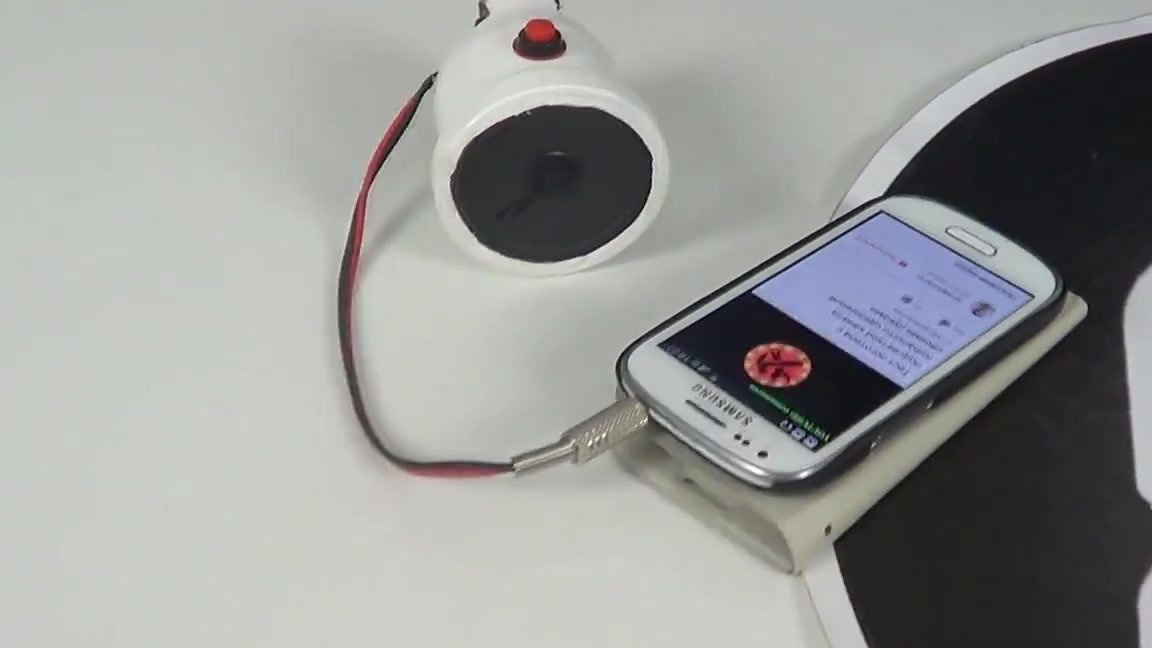
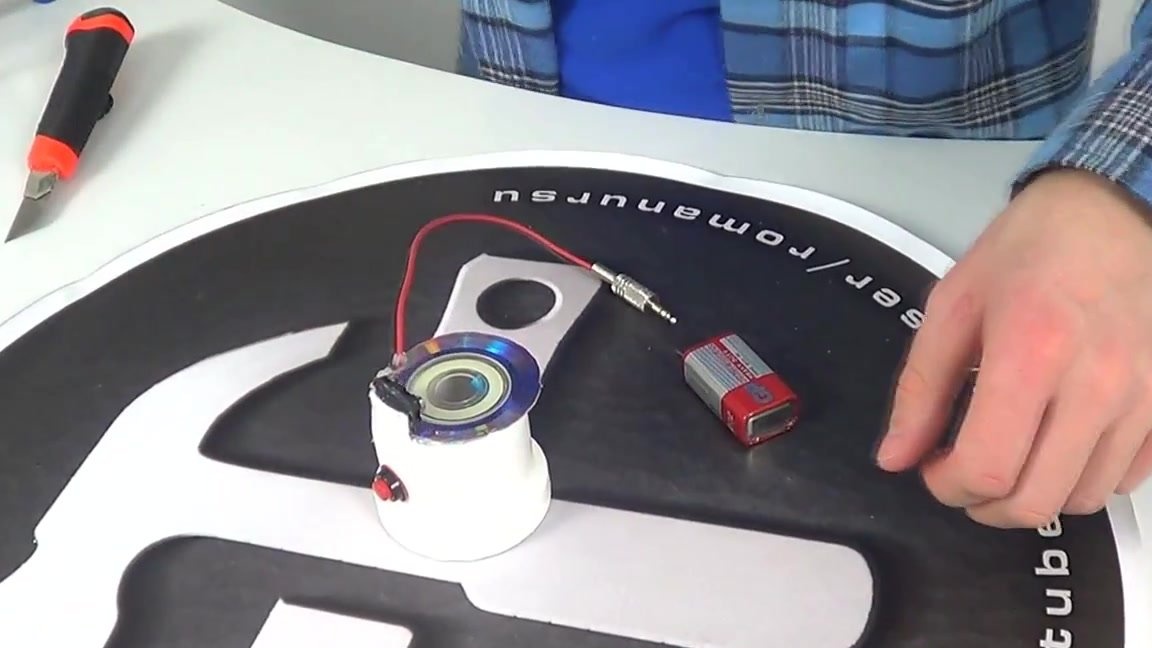
We take out the wire from the crown and the mini jack.
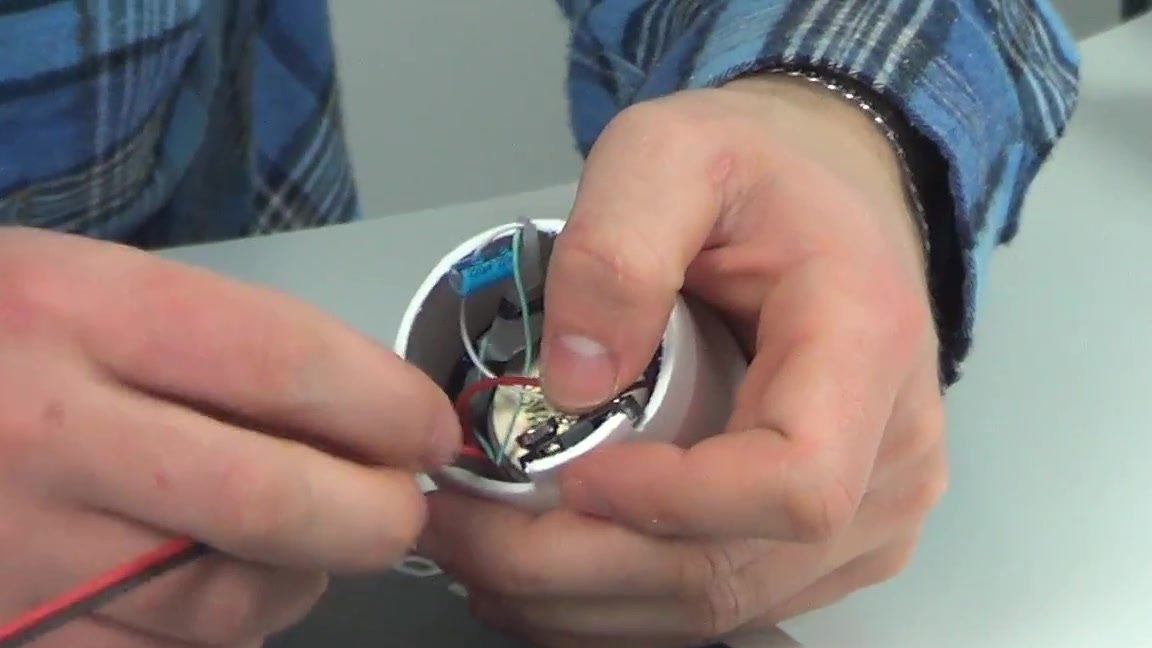
Next, we need to glue the connector from the crown into place and fix the wire from the mini-jack. We will do this with an ordinary glue gun.
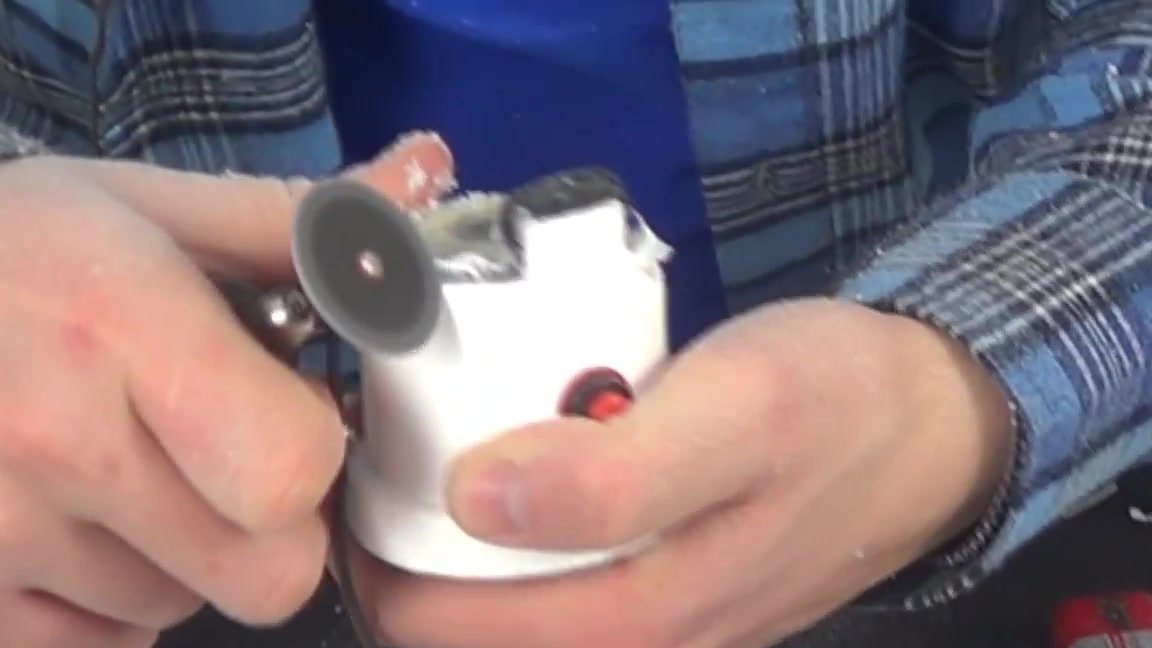
We take a segment of the disk, make a small incision under the wires.
Glue it with hot glue.
We cut out all the excess and carefully process it with sandpaper.
After that, the miniature column is completely ready.
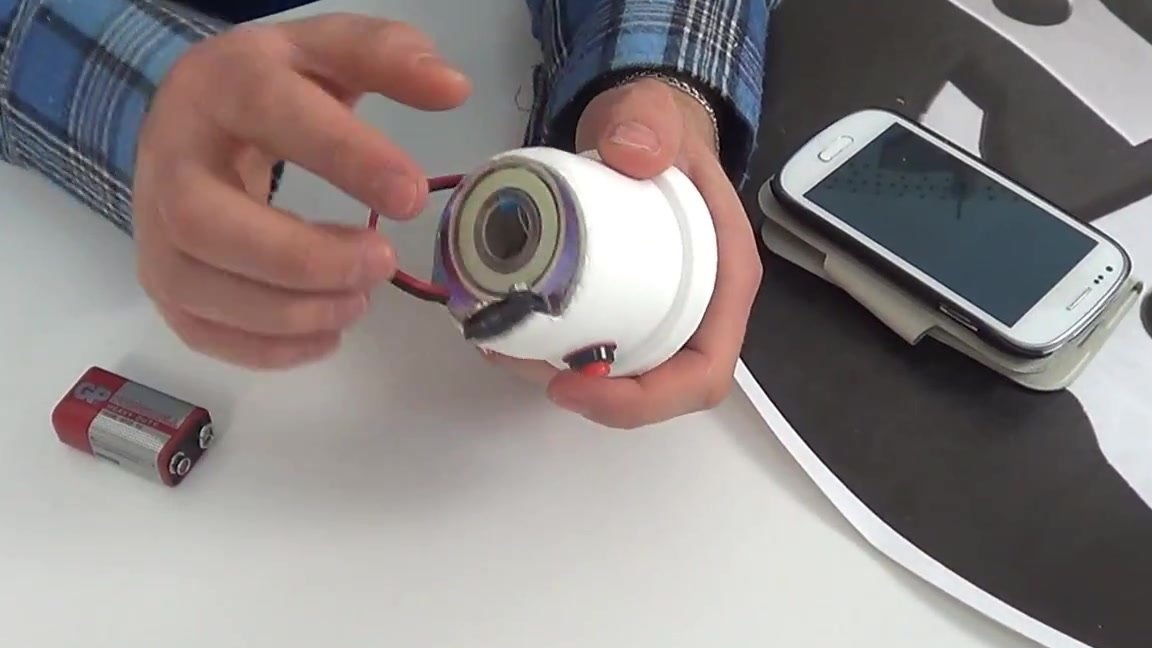
If desired, the column can be painted with ordinary spray paint. The front part can also be decorated with a mesh to hide the speaker. If you use a speaker with a power of 1 W, then the speaker will sound great, but if you use a speaker with less power, then the speaker is not advised to put it at full volume, because the sound will be fuzzy.