
After acquiring a home, repairs usually begin. Finishing a wooden house from the inside has its own characteristics, because wood, as a building material, reacts to moisture.
Necessary materials
1. Moisture resistant gypsum fiber.
2. The screwdriver.
3. Self-tapping screws.
4. "Concrete contact".
5. The construction level.
6. Tiles for floors and walls.
7. Glue for a tile.
8. Grout for joints.
9. Reiki for the frame.
10. Moisture-resistant drywall.
11. White paint for wall surfaces.
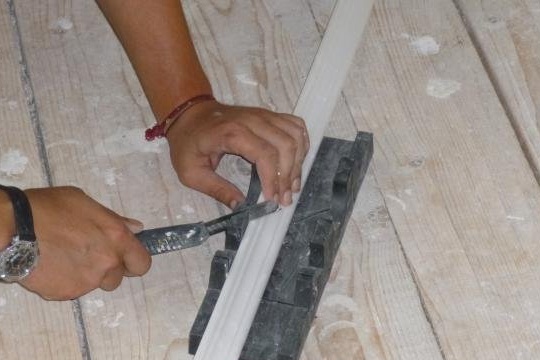
12. Construction miter box.
13. Skirting for the ceiling.
14. Soft rubber spatula.
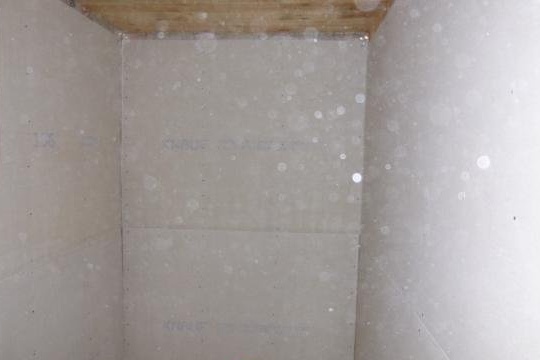
For interior decoration, it is best to use tiles, but you can not glue it on a tree. The walls should first be sheathed with sheets of moisture-resistant gypsum fiber 2.5 cm thick. To the wall it should be fastened with screws and a screwdriver.
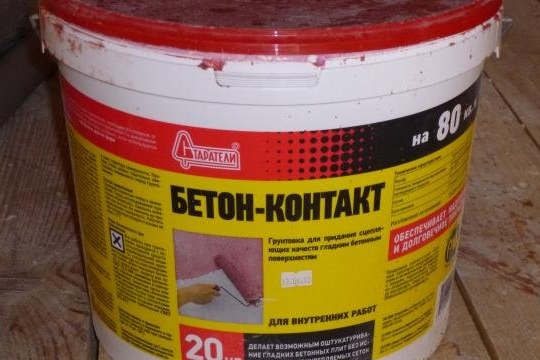
For better fixation of the tiles, the surface of the walls must be treated with a special compound "Concrete Contact".
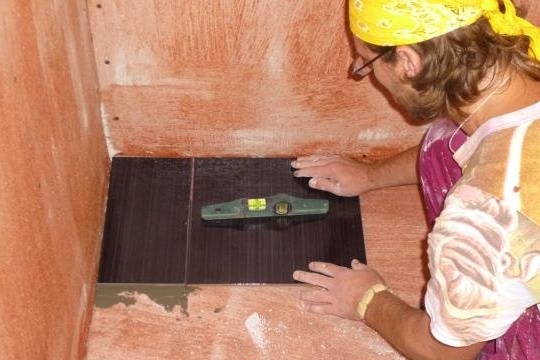
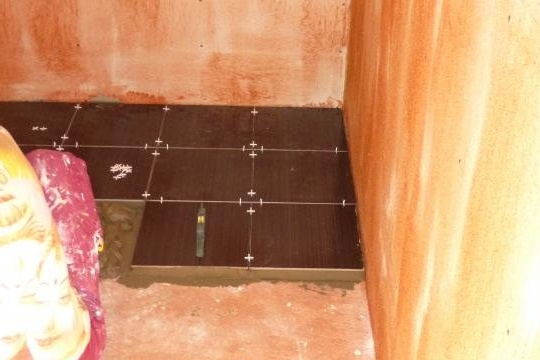
Installation of tiles should start from the floor. In order for the floor to be perfectly flat, a building level is used. The tile is glued to a special glue.
Wall tiles should start gluing from the bottom, gradually rising up.
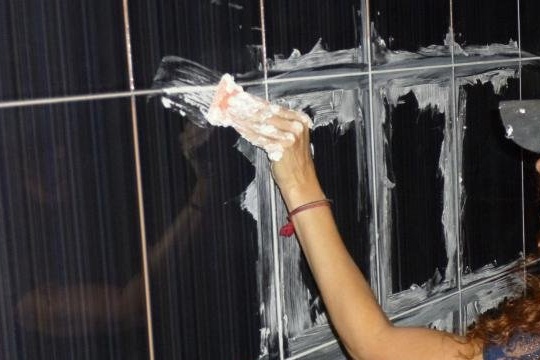
After finishing the installation of wall tiles, you should proceed to grouting, which is done using a special grout and a soft rubber spatula. You need to work with such a solution quickly, because it dries. Excess must be removed with a soft, dry cloth.
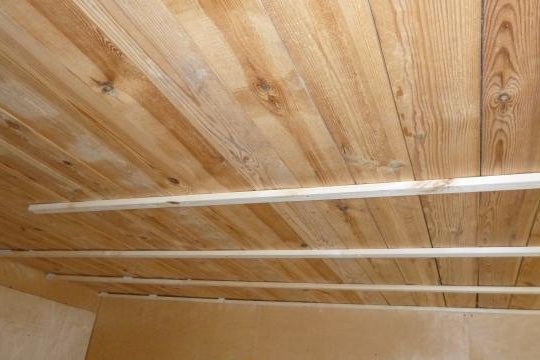
In order for the ceiling to have a flat surface and be smooth, it can be sheathed with moisture-resistant drywall. For this, a ceiling frame is mounted on the ceiling.
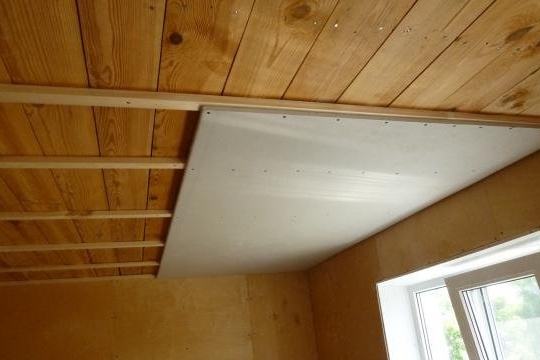
Then, with the help of self-tapping screws and a screwdriver, drywall is sewn.
Next, you should treat the surface of the resulting ceiling with modern putty.
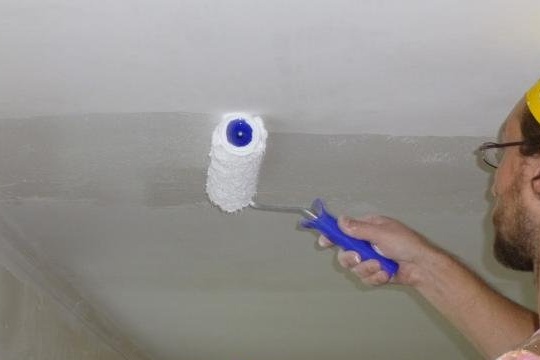
It is necessary to cover the ceiling with white moisture-proof paint several times.
For a clear line of the ceiling and walls, fix the ceiling plinth around the perimeter.
At the end, wipe the remaining paint and putty from the walls.
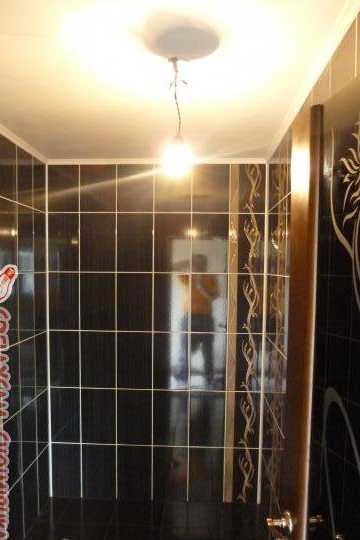
Wonderful bathroom repair is ready.