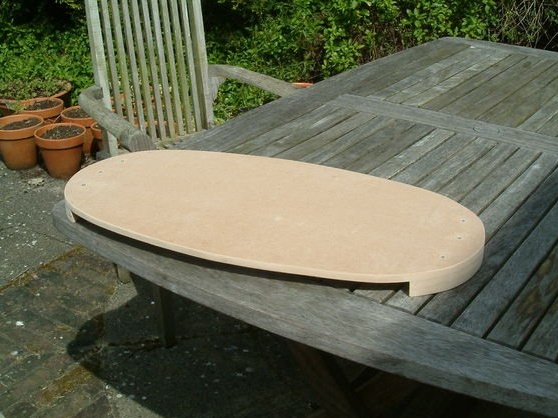
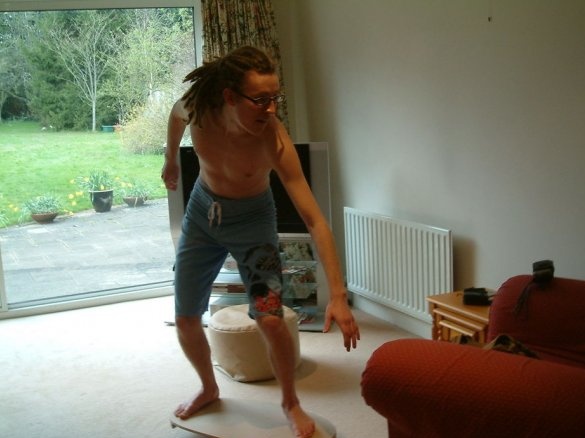
The balancing board is made practically from improvised materials, however, it will serve as an excellent simulator for skateboarders and anyone who wants to test and train their vestibular apparatus.
The author needed the following materials and tools to make the balancing board:
- MDF plate with a thickness of 12 mm and approximate dimensions of 90x60 cm,
- electric jigsaw,
- paper, scissors, pencil for preparing the template,
- carpentry glue,
- vise
- fasteners,
- hammer
Step 1.
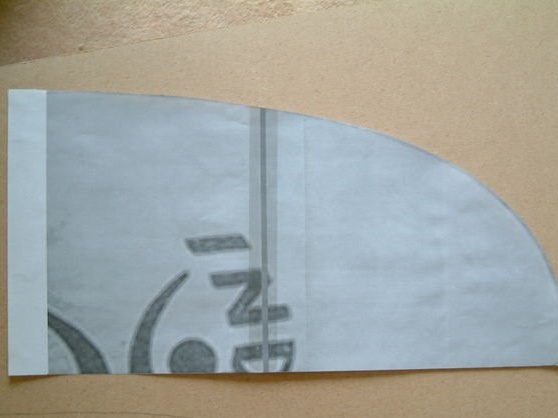
To begin with, a sketch of the fourth part of the balancing board is made on paper, taking into account that its entire length is slightly more than a standard skateboard, and the width is about 2 times larger. The shape of the board is oval.
Step 2
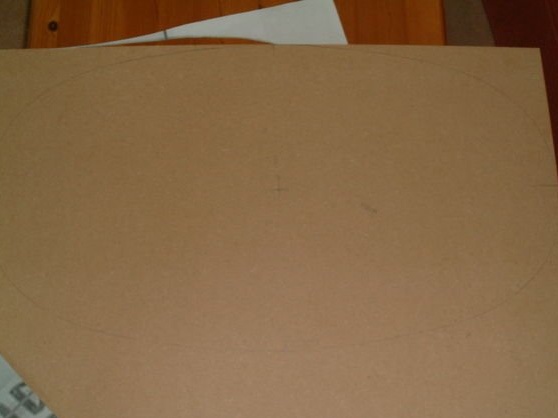
Using a paper template, the contour of the board is applied to the MDF board.
Step 3
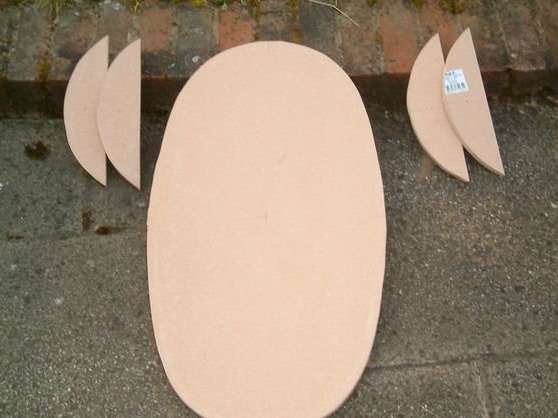
The oval of the board and 4 segments, repeating the more elongated part of the oval, are cut with an electric jigsaw.
Step 4
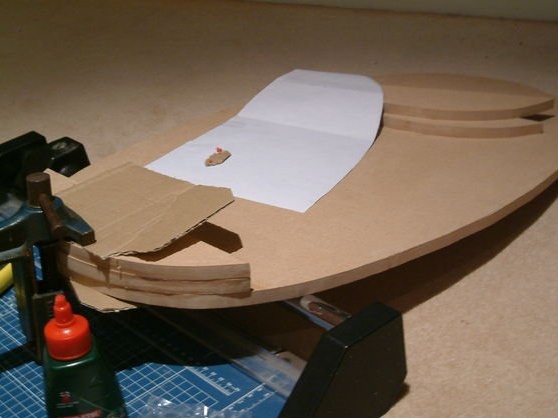
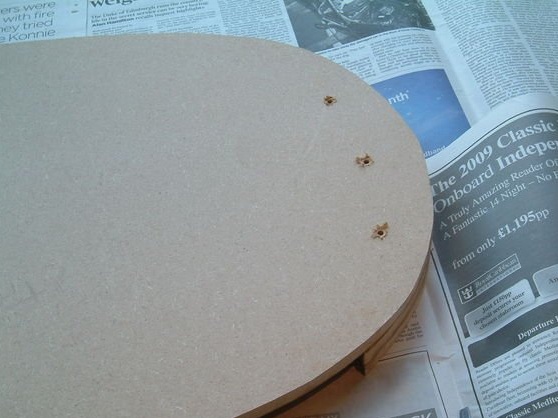
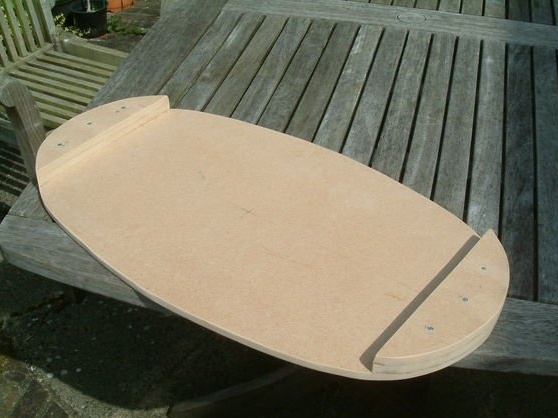
Segments are glued with carpentry glue and fixed in a vice for further fixing. Segments can be fixed with screws, but be sure to cut off the remainder of the sharp part near the surface.

Step 5
After fixing the segments on the ground, you can try the simulator. To do this, just take a plastic bottle filled with water. For beginners, it is better to take a rectangular bottle. The board is installed on the bottle and then you need to show a lot of effort to catch the balance on the board. In the future, you can complicate the exercises in every possible way. For example, keep balance on one leg. You can put the board on a round bottle and roll the board on it, keeping balance. Training on a balancing board in a company can turn into a mini ride, the main thing is not to forget about insurance during training. The insurance option is a strong rope tied to the horizontal bar, which you can hold on constantly during training or grab hold when falling.
