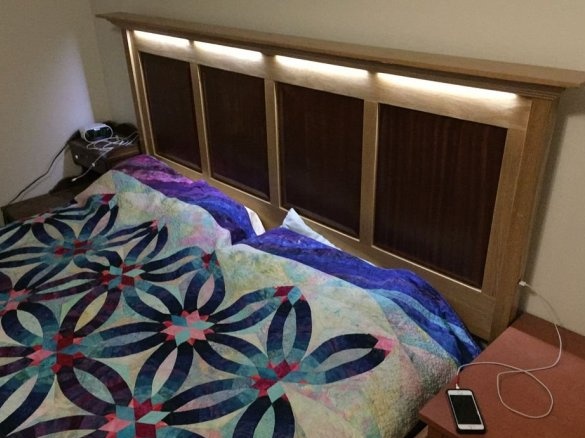
To make a bed with your own hands is not an easy task. But with a great desire, as well as the availability of necessary materials and tools, this becomes real! Now we will learn how to build a bed, but not quite ordinary - we will integrate LED illumination in the headboard, it will allow you to read books before bedtime. Also on the bed will be a device for charging cell phones.
We will need:
- boards, bars (boards of contrasting red color will also be required);
- car USB connector;
- LED strip;
- solder, soldering iron, adapter, wiring, clamps;
- joiner's glue;
- carpentry tools;
- boards from chargers.
Step 1
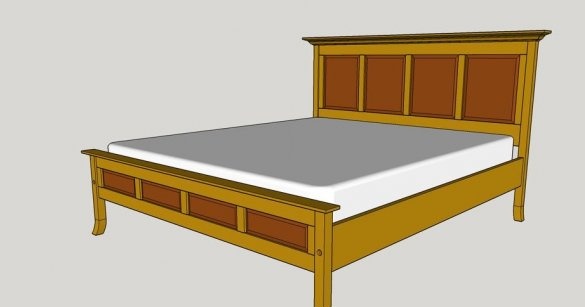
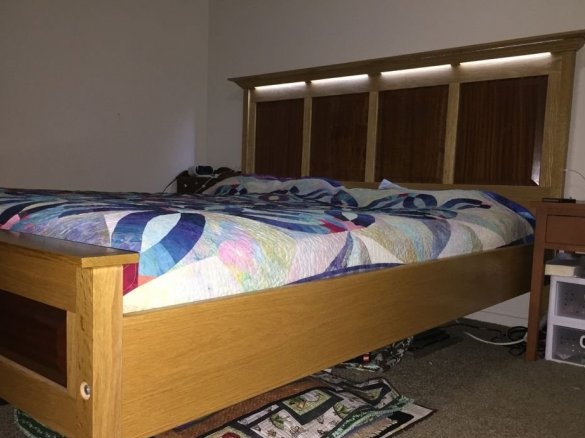
The author began by creating a layout for the future bed. You can sketch it both on a piece of paper, marking your calculations, and create a layout using a graphics program on your computer (you will find a lot of those on the Internet). In the photo you can see what the final project of the bed of the author of this master class looks like. The legs are bent downwards outward, a low side is also present on the opposite side, there is a headboard (there will be an LED strip in it). The author’s mattress is supported by transverse beams in the box, the bed is quite high in height, so you can safely make a place for storing bedding underneath.
Just remember that your layout should be adaptive. Some sizes may have to be corrected, the dimensions of the source materials and their quantity affect this.
Step 2
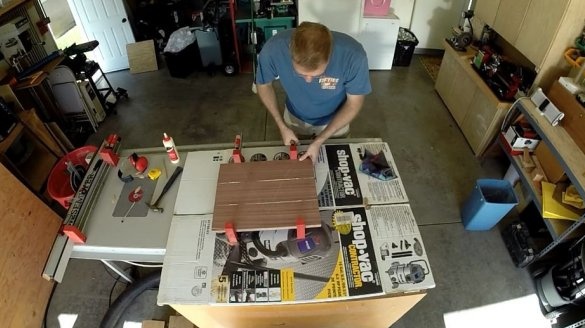
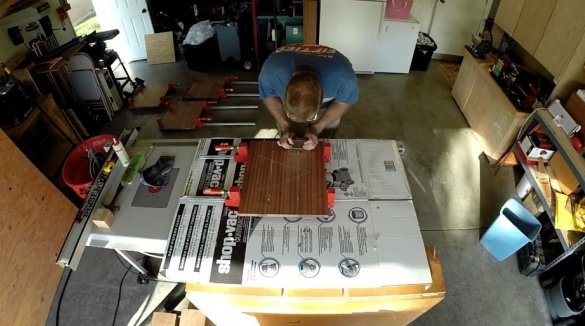
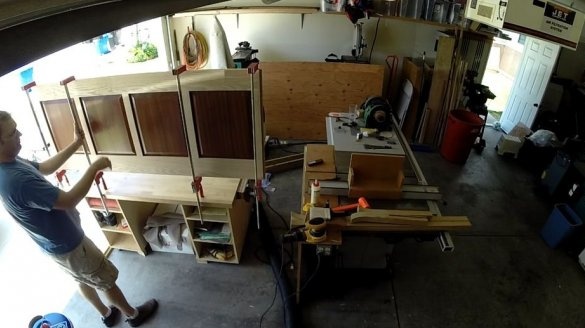
Make a panel of red boards. Take narrow boards, glue large squares for the headboard. Here you can not do without clamps and carpentry glue. Glue is applied to the sides of the squares, the author fixed the boards firmly, and after half an hour he removed the protruding excess glue. Then wait for the glue to dry completely.
Step 3
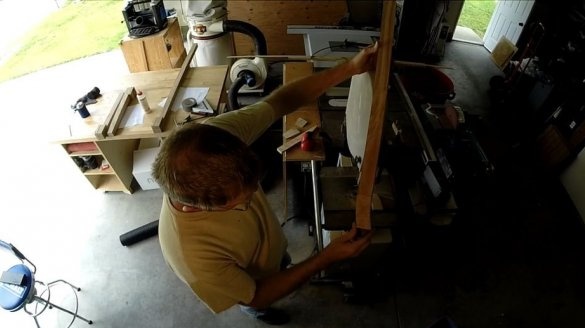
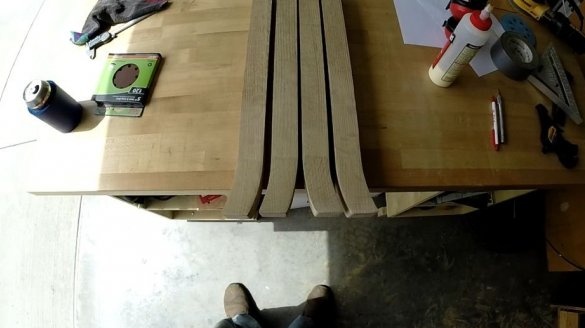
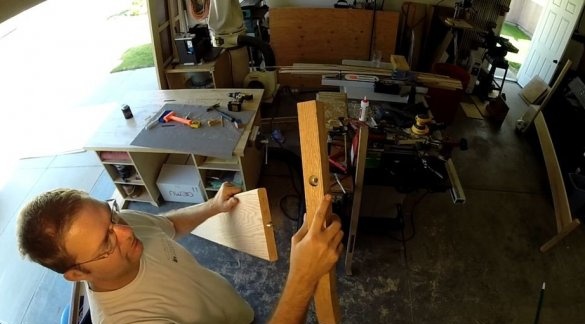
Legs are harder to do. They need to be made curved. The basis for them is a 4x4 bar. Adjust the length of the bars, taking into account the layout of your bed. Make a saw cut on one side in the lower part, glue small pieces of timber to the opposite one, having previously adjusted them to the necessary shape. Fasten the legs with glue when it dries, sand them with emery rough paper, then fine-grained to give the material a smoother texture.
Step 4
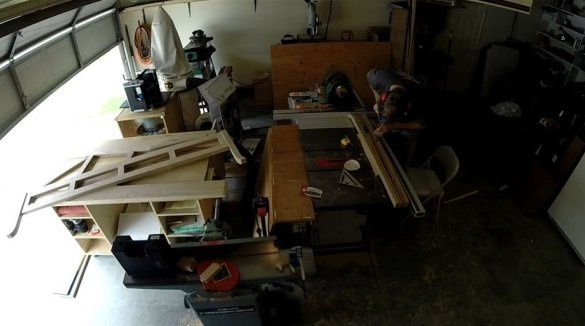
Make headboard bases for the opposite side of our future bed. In appearance, they resemble rails fastened by boards (they are transverse).Fix the parts with wood glue and screws.
Step 5
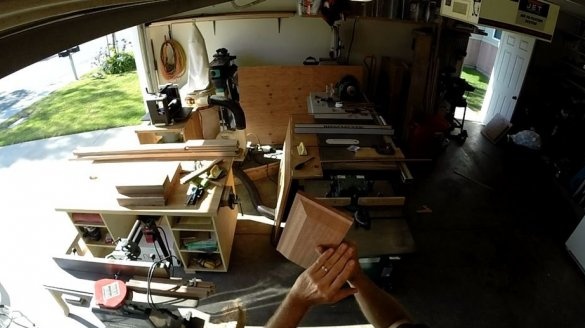
For panels, blanks are needed more aesthetic. Cut off the edges of the squares, grind. This is a very painstaking job - be patient. Prepare the layout in advance for configuring the router.
Step 6
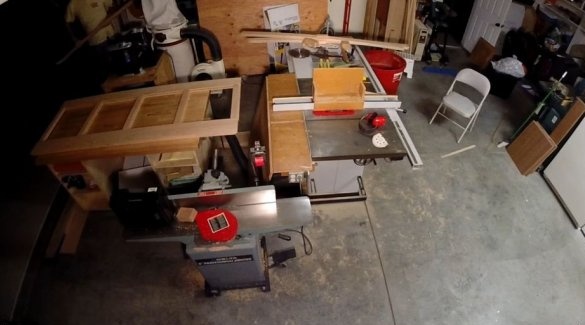
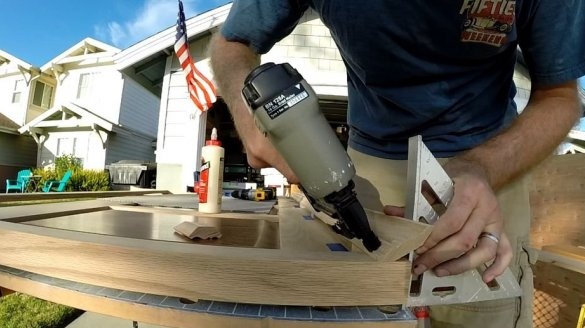
Insert the finished panels into the frames for the head of the bed. All credits are fixed with carpentry glue. Clamps are also needed, remove them only when the glue dries.
Step 7
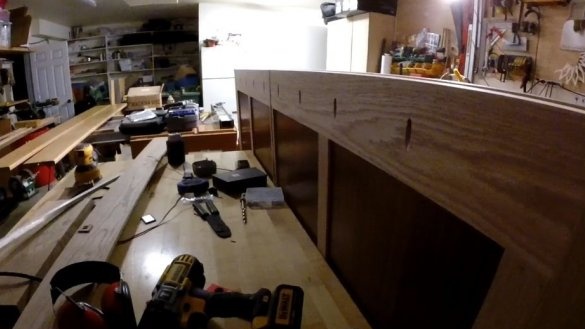
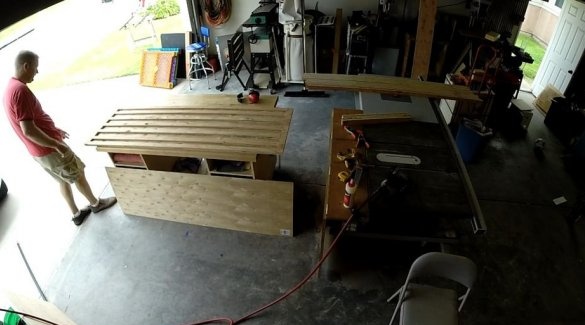
Now go to the bed box. Fasten the side parts together, prepare the holes for fixing the transverse beams. They must be fixed with glue and bolts.
Step 8
Now create a barrier - it should mask the LED strip. This is a thin figuredly carved board, its length is equal to the head of the bed.
Step 9
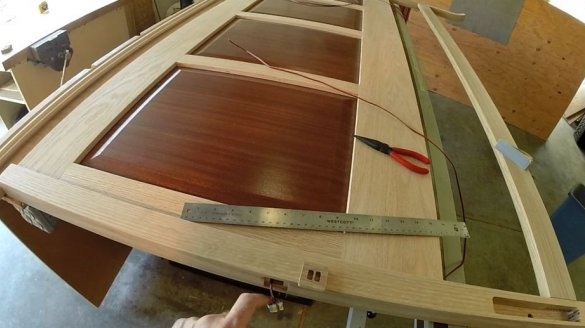
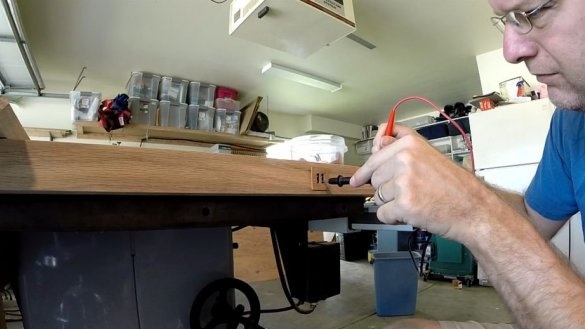
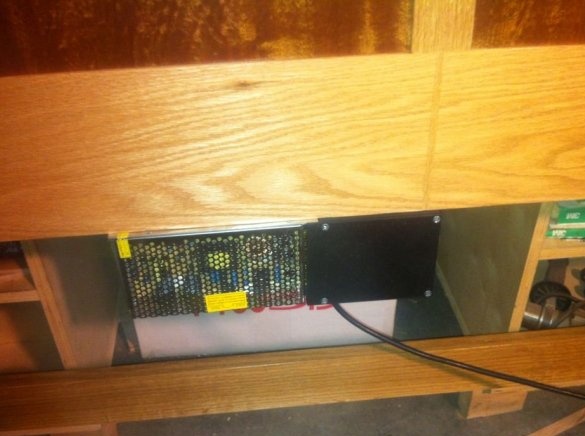
Cut out the grooves on the side of the USB connector. Carefully insert the wires, circuit, adapter from the car USB. To cover the inserts from the boards, cut the plates with holes, insert into place.
Step 10
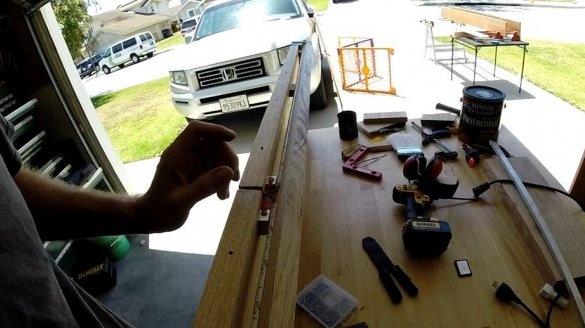
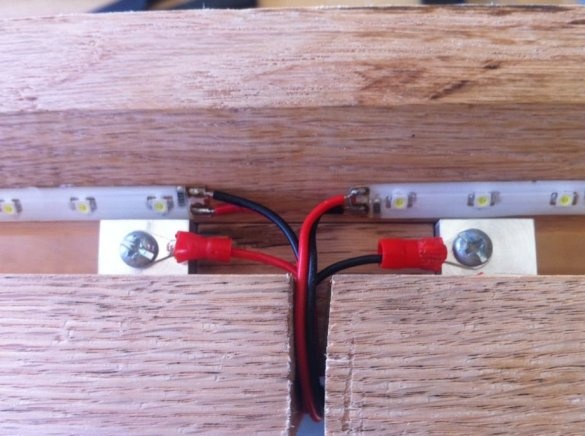
Fasten the tape under the upper cross board in the gap. Everything is shown in the photo.
Step 11
Install adapters in the back of the head of the head, otherwise the tape and USB-connectors simply will not receive a charge. Use the touch sensors to turn on the bands. Construction details are connected using a soldering iron and wire.
Step 12
It remains to treat the headboard with a topcoat (for example, paint, in general, to choose from). Assemble the construction.
So the bed with LED backlight is ready. On such a work of art it will be a pleasure to relax and indulge in sleep.

