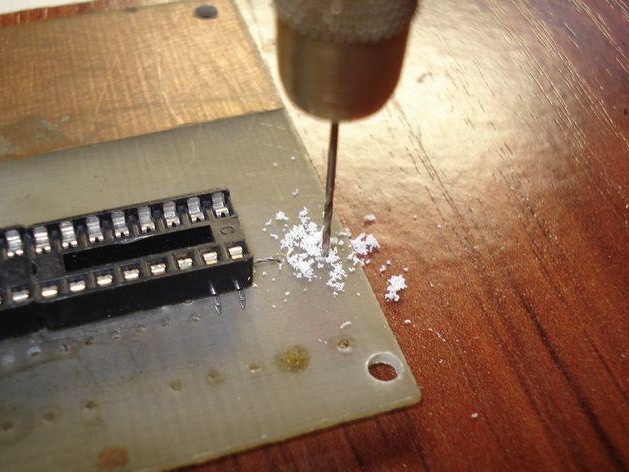
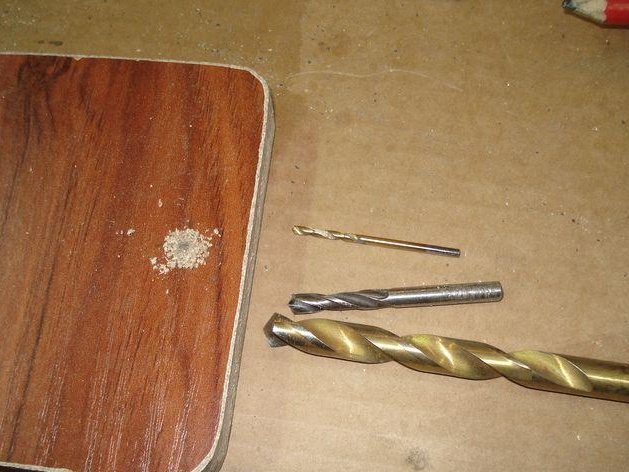
Thin drills with a diameter of less than one millimeter break very easily if you do not maintain a strict perpendicular to the workpiece during drilling. Therefore it is advisable to use a micro drill machine and it will save you drills and money.
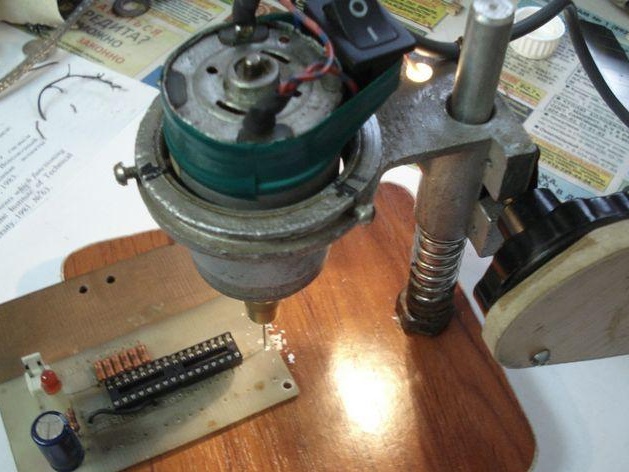
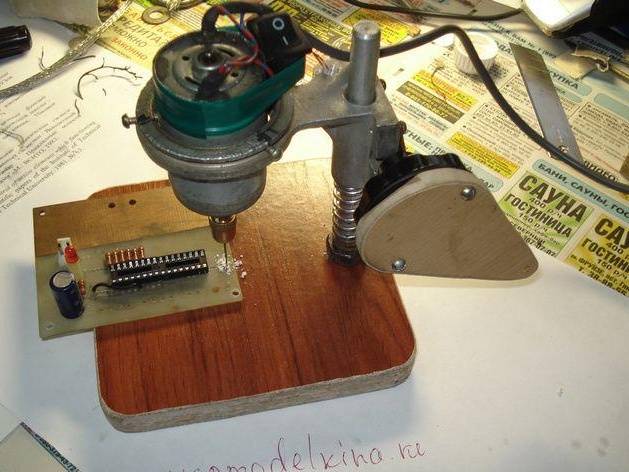
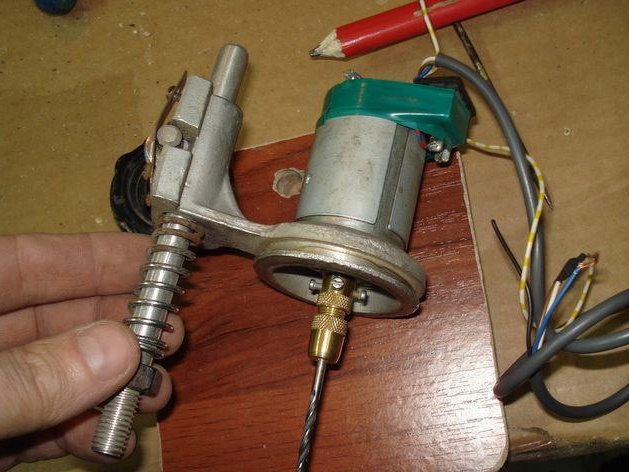
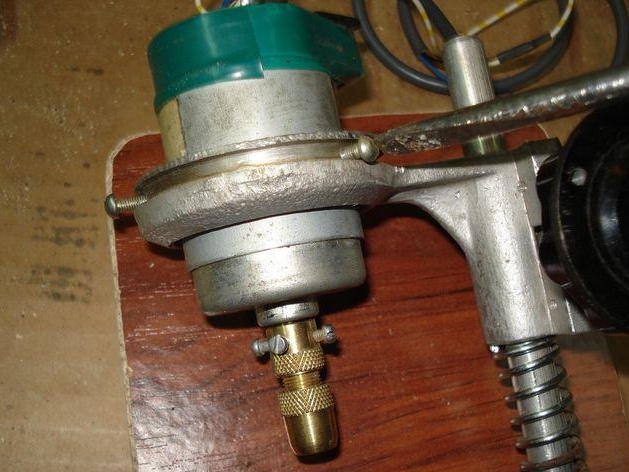
On the picture - My machine, as one of many options.
Small video test
[media = http: //youtu.be/s-LWQv_1qeY]
In most cases, such a drilling machine is made by home craftsmen from improvised materials.
I suggest you look at my version homemade -- From what it was! --.
ITEM 1. Materials and tools:

• Mechanism from an old enlarger
• A piece of chipboard
• Micro drill (homemade)
• Electro jigsaw
• Electric drill
• Clamp, square, ruler, pencil
• Tap M3, M9, 5 pcs. bolts M3
• Spring (optional)
ITEM 2. Locksmithing.
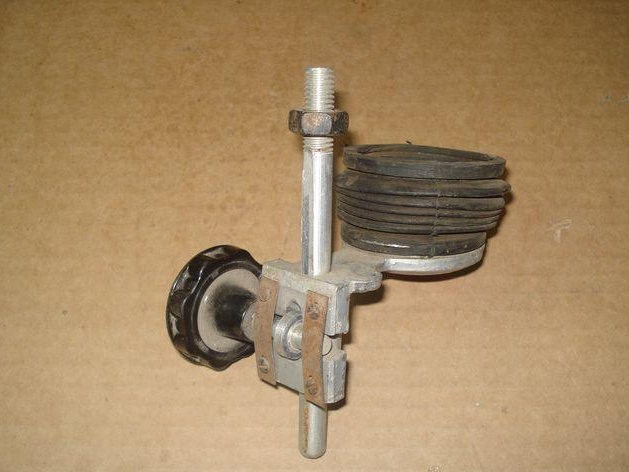
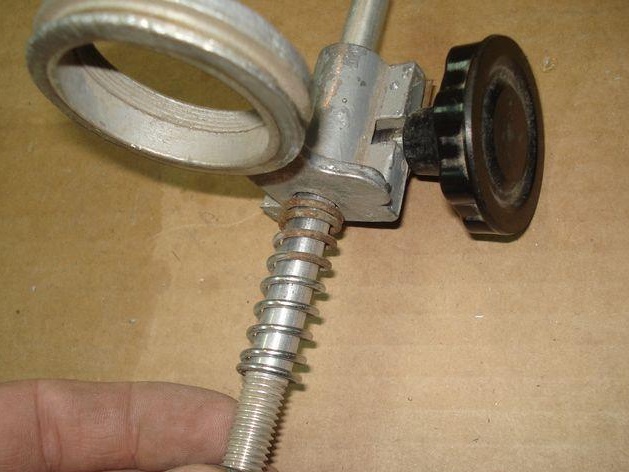
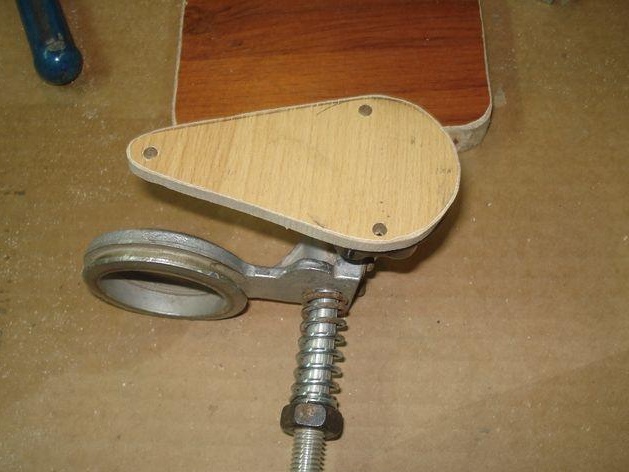
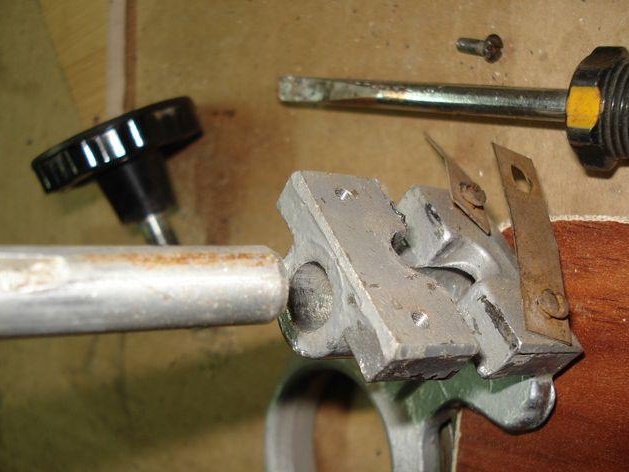
Here is such an old mechanism, the sharpener from the Soviet enlarger, turned up on my arm, so it was decided to use it for this device.
If you are not left-handed, then you must move the handle to the opposite side.
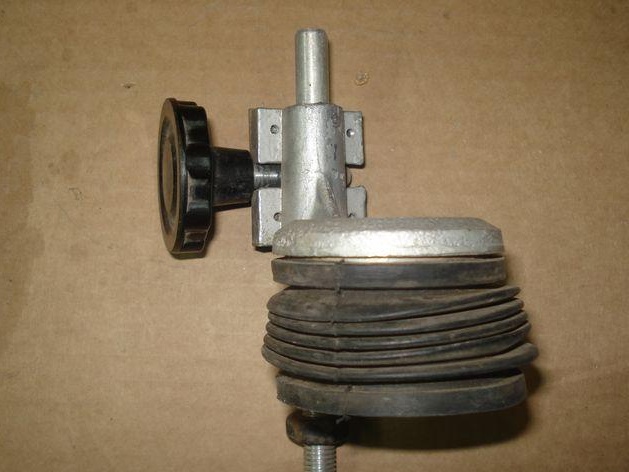
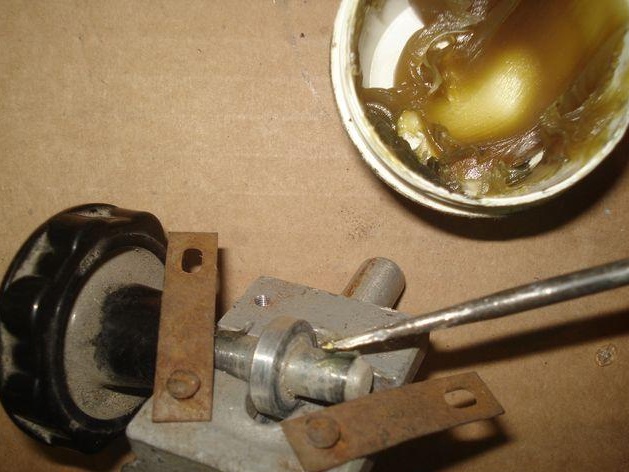
Unscrew the two plates fastening the mechanics and turn the handle.
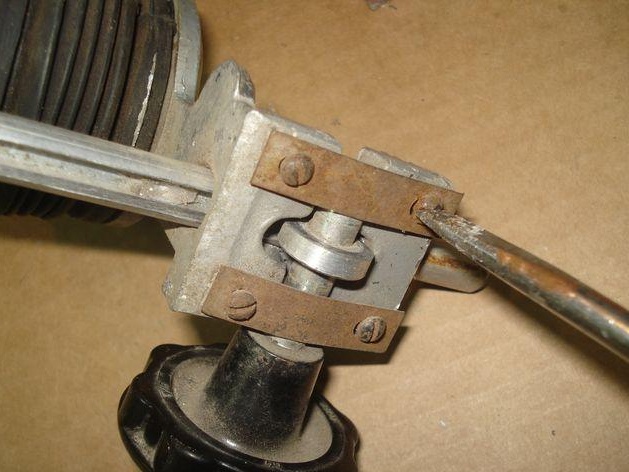
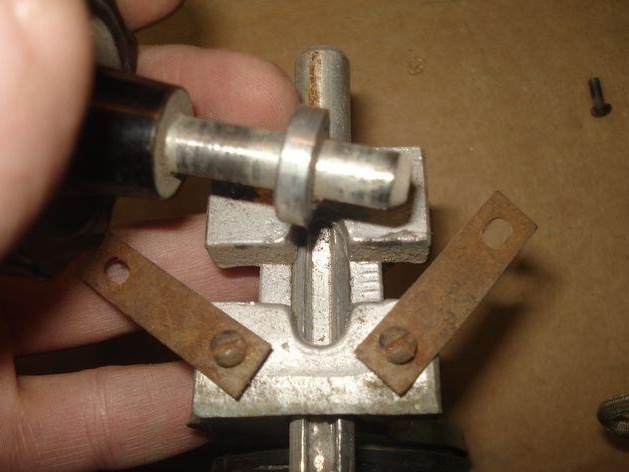
Immediately apply grease to the rotation unit, no need to lubricate the drive wheel.
We remove the rubber corrugation that we do not need.
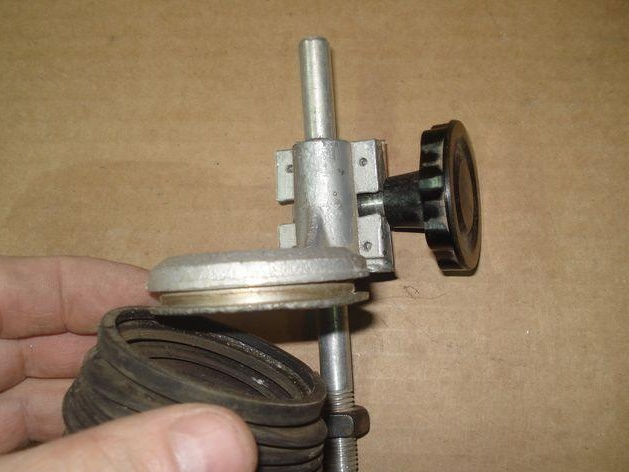
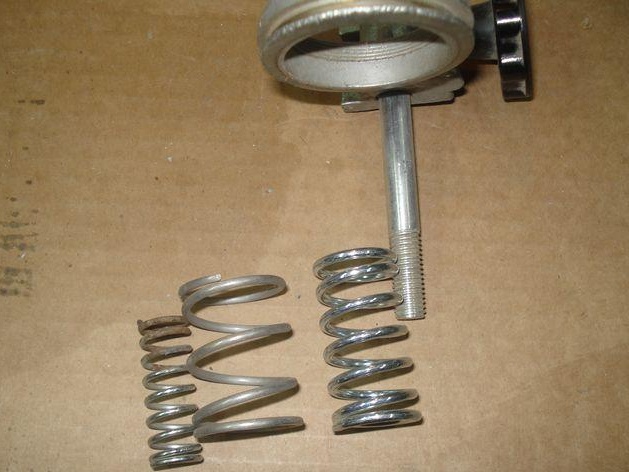
We will select and install a suitable spring to facilitate reverse motion.
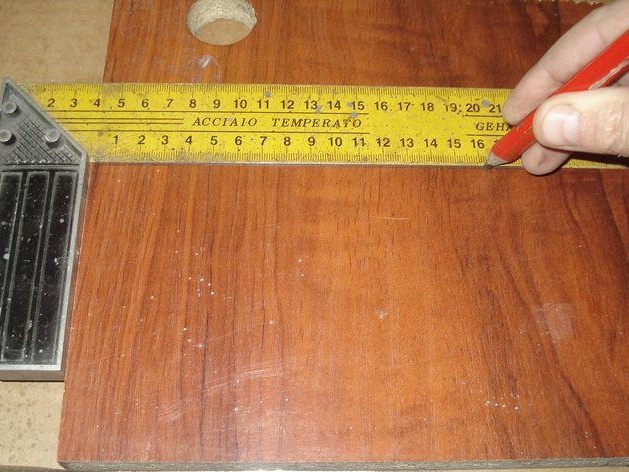
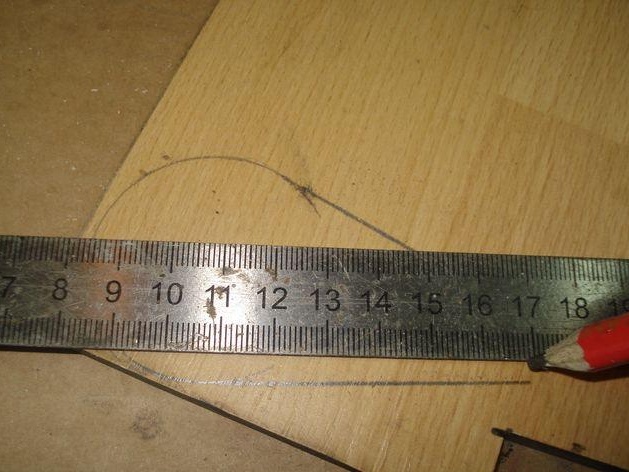
Let's mark on the chipboard a square with sides 120x120 mm.
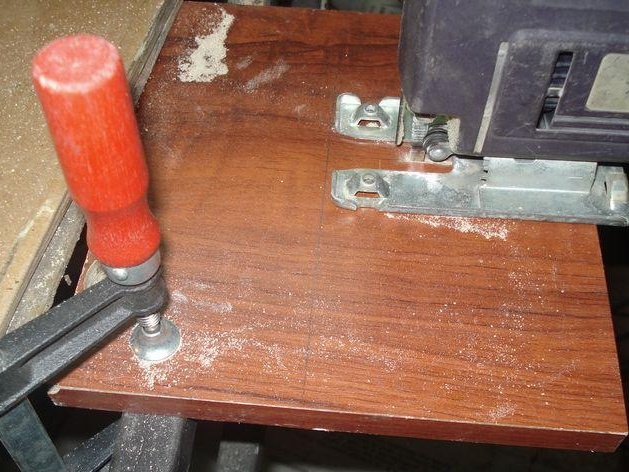
We fix the workpiece with a clamp and cut out the base for the machine.

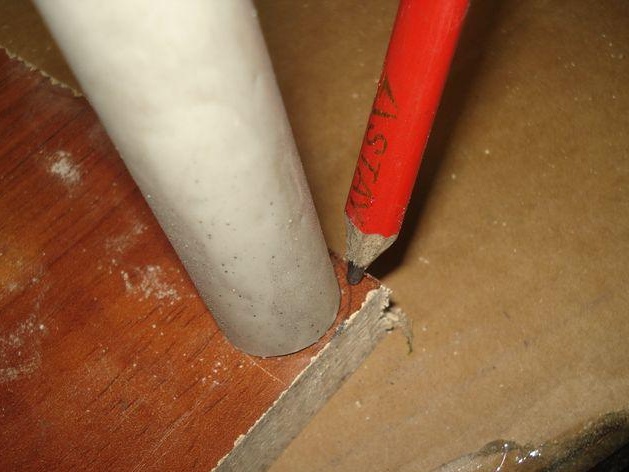
We mark the contour of a suitable tube to round the corners.
We process corners and edges on an abrasive stone.
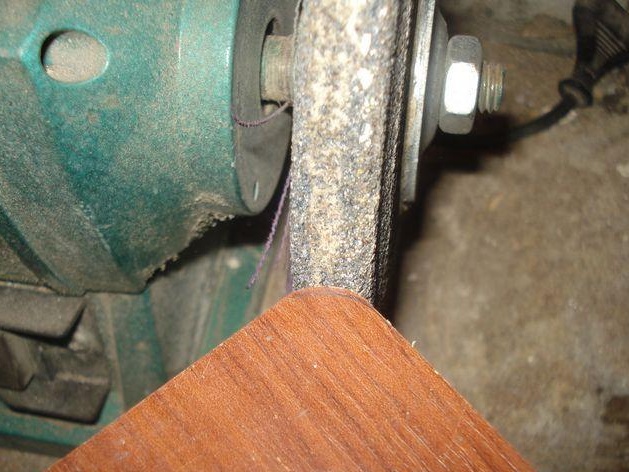
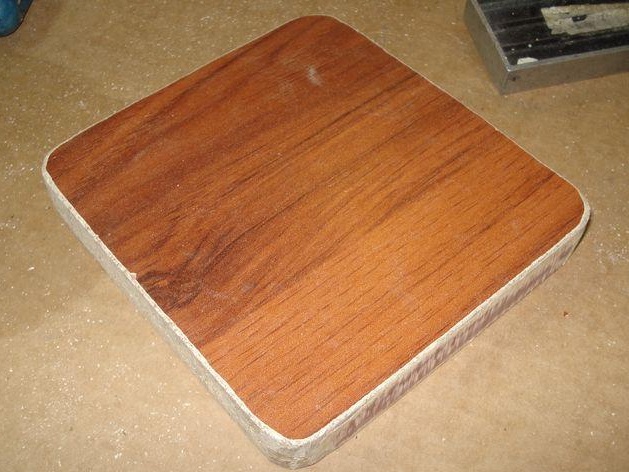
It turned out here is such a foundation (mini bed).
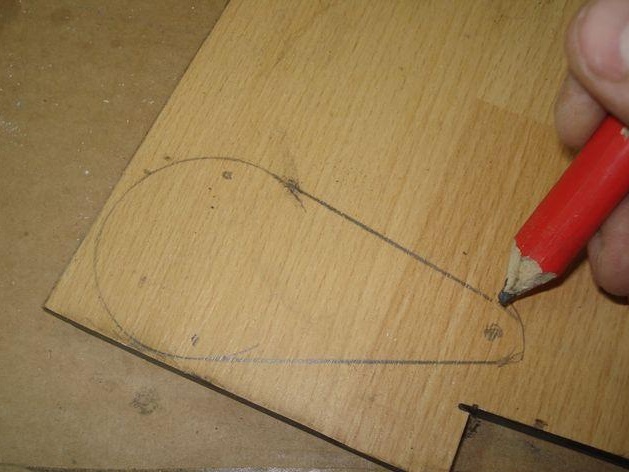
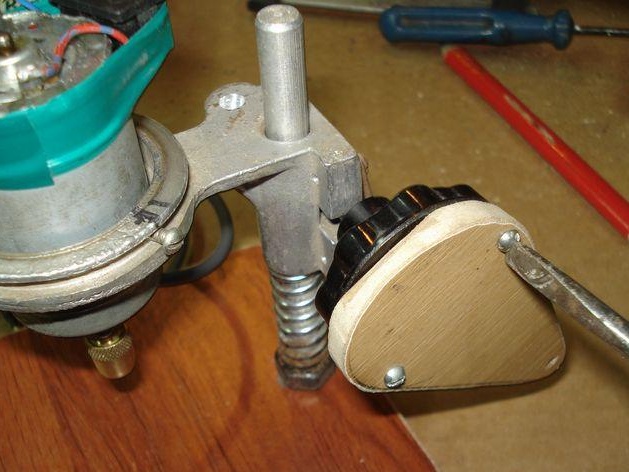
We will make a control knob (feed) from the laminate.
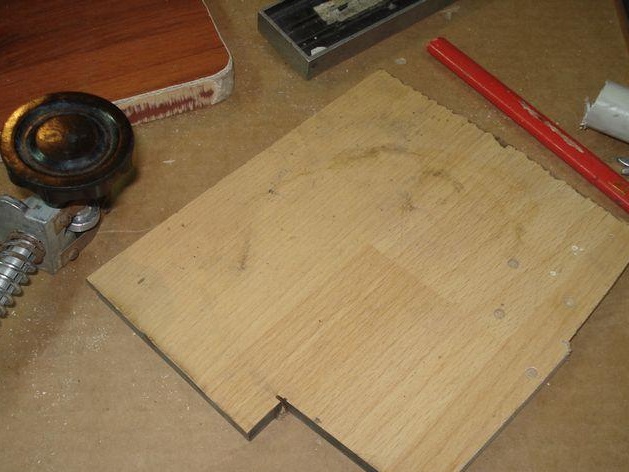
We draw its appearance.
We outline the points for the mounting bolts.
Drill holes with a drill d = 4 mm.
Saw along the contour with a jigsaw.
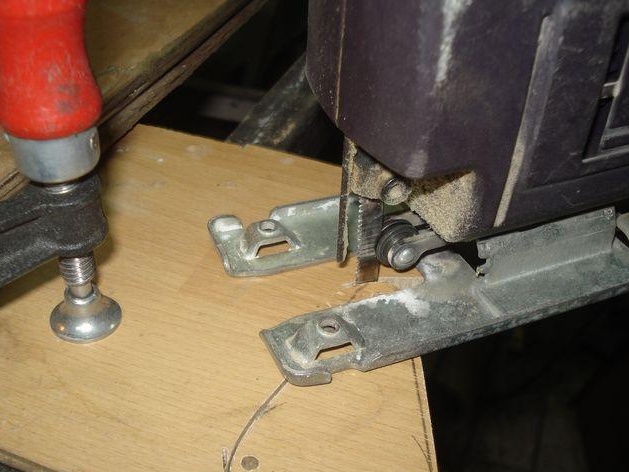
We process it on a grindstone, round off sharp edges and try on.
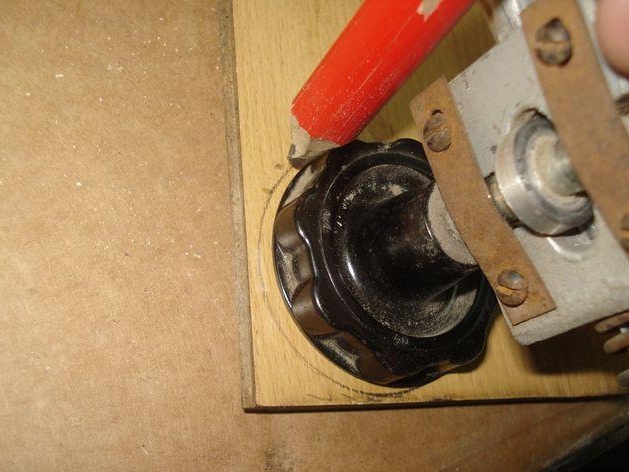
Combine the holes with the convex protrusions on the handle.
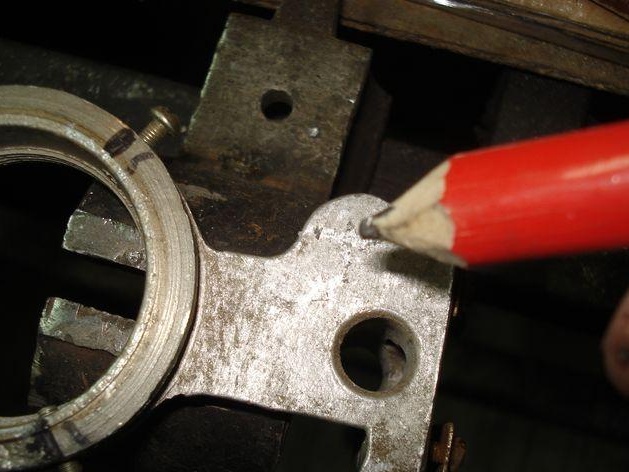
We shift aligning in the center.
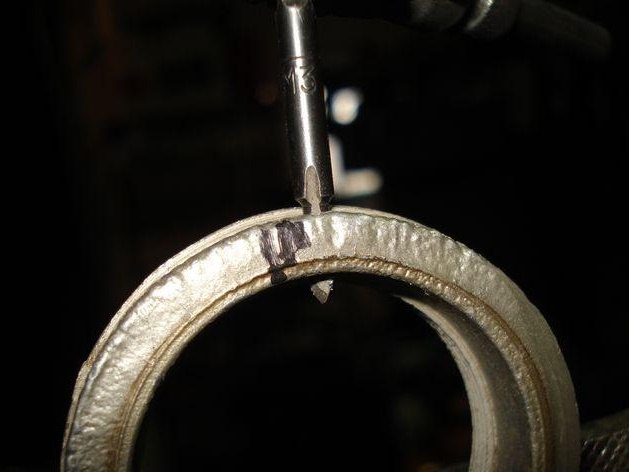
We mark with a sharp awl a drilling point.
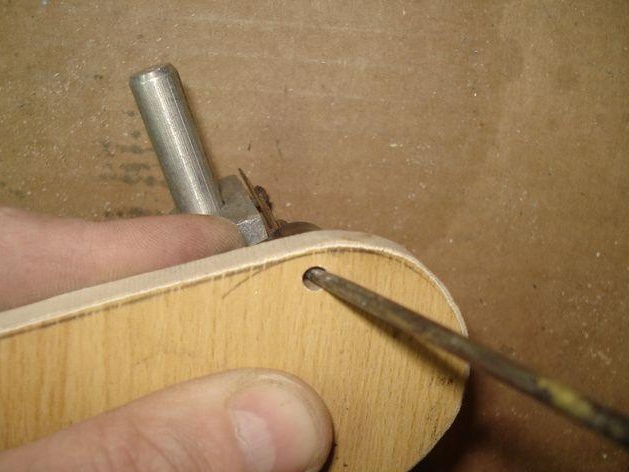
We drill a hole d = 2.5 mm.
We combine and fix both holes with an awl and outline the second point for drilling.
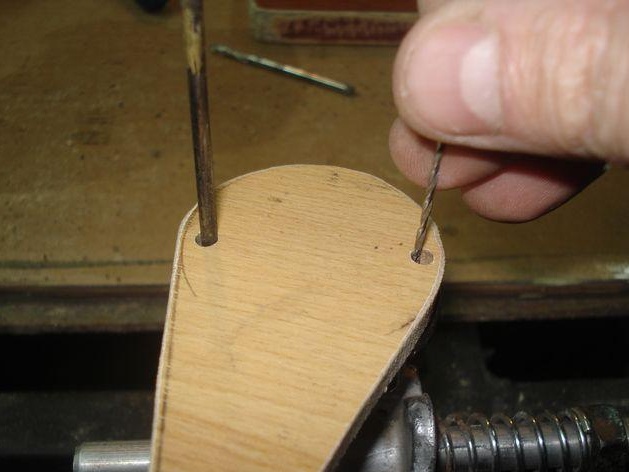
We drill the second hole.

We select the appropriate size M3 bolts.

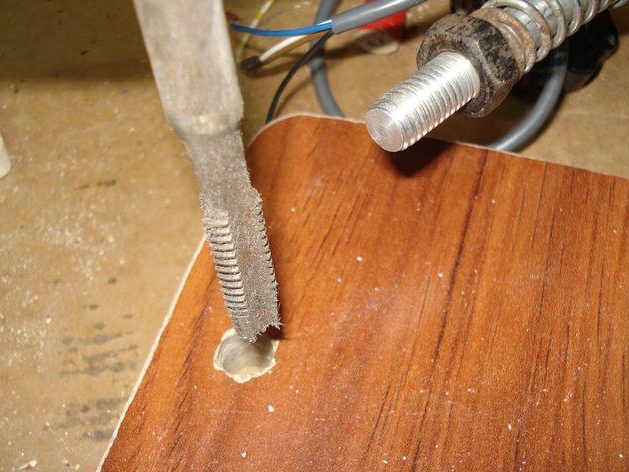
We cut the corresponding M3 thread tap. Cutting is done very carefully, back and forth, back and forth, little by little, so that the chips are cleaned well and the fragile shovels do not burst.
As a result, the thread is high quality.

We try on how everything matches.
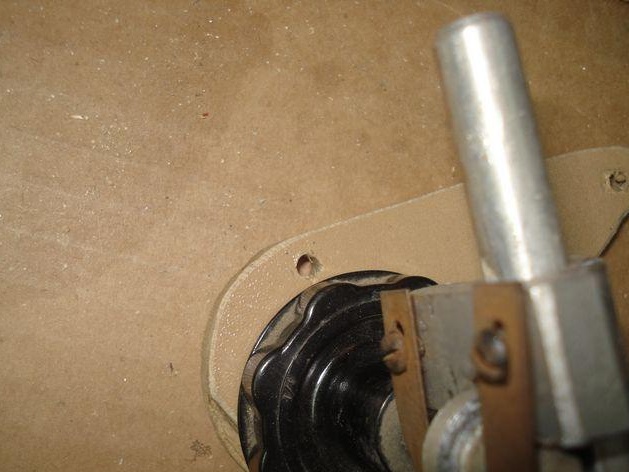
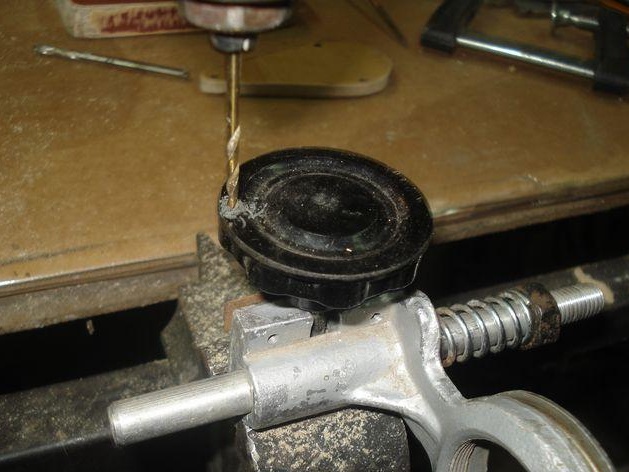
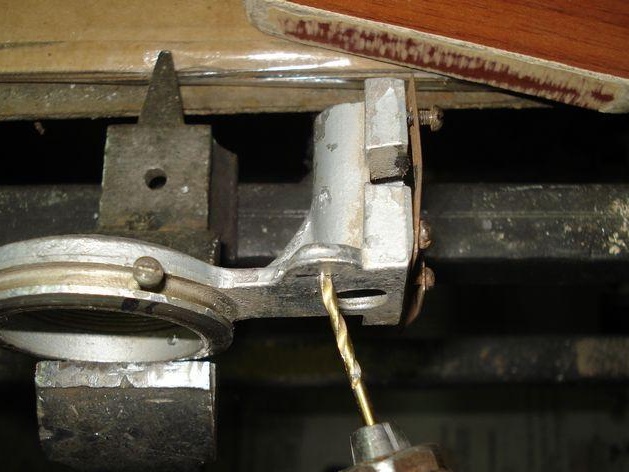
We outline at the base of the bed the attachment point of the axis of the mechanism.
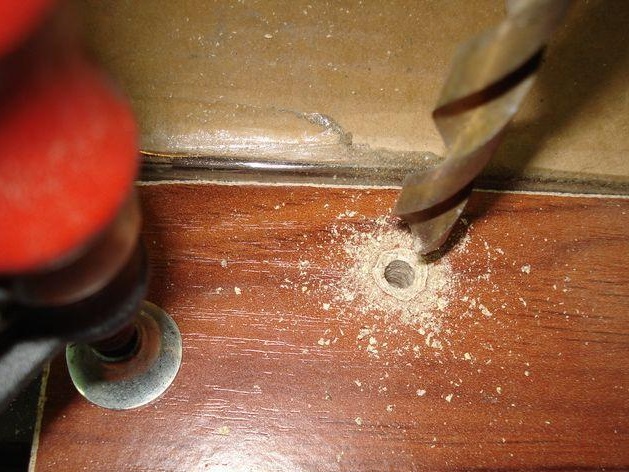
In several stages, drill a hole d = 9 mm.
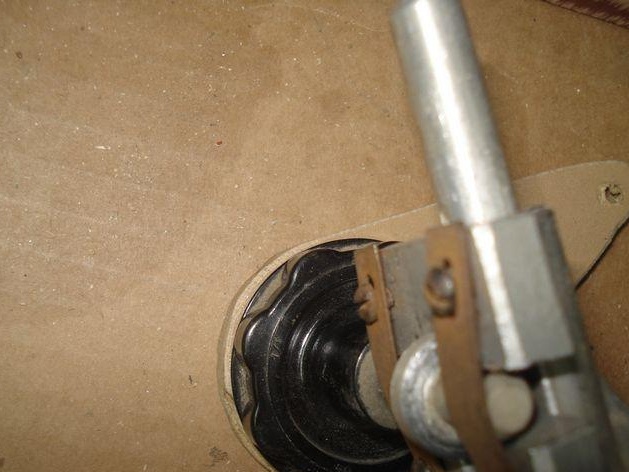
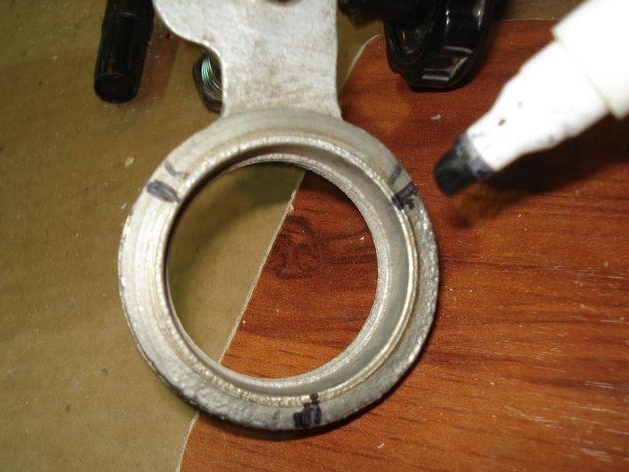
We try on how a micro drill fits to the mounting ring of the mechanism.
Have to deploy the bracket 180 degrees. We disassemble the mount again and unfold the bracket on the axis, collect about the reverse order.
Now the power reserve has increased.
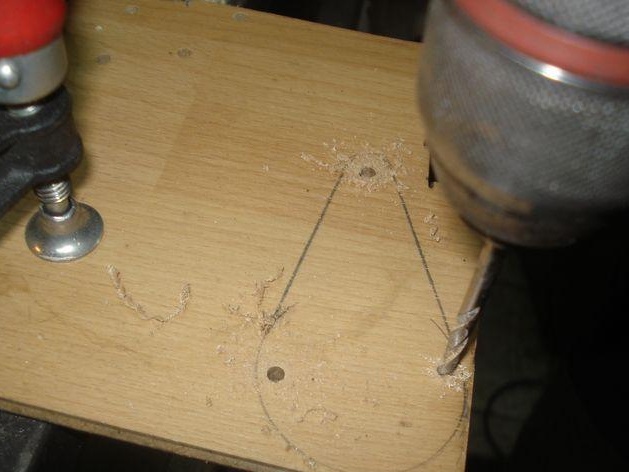
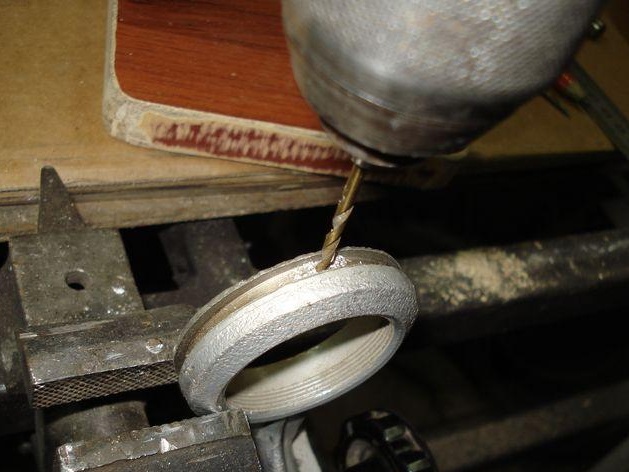
We outline three points for the holes of the motor mounting bolts, arrange them with a triangle.
Drill with a drill d = 2.5 mm.

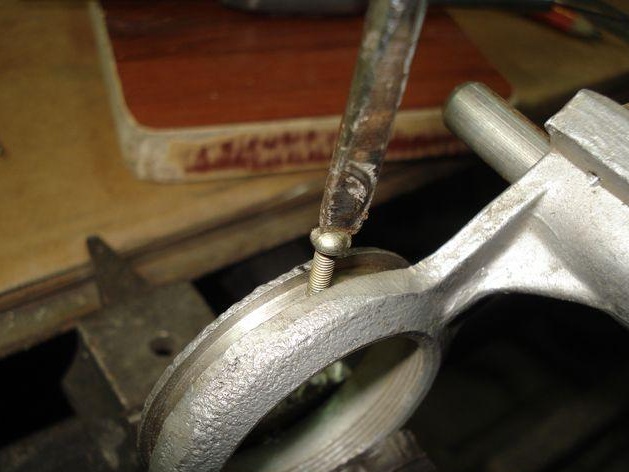
Cut the M3 thread with a tap.
We select three M3 bolts that are suitable in length.
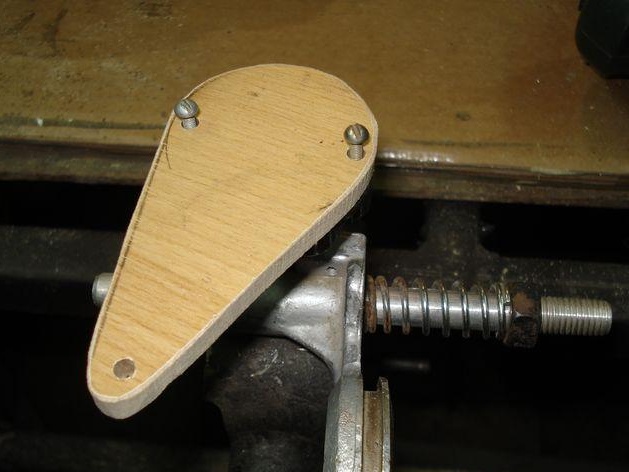
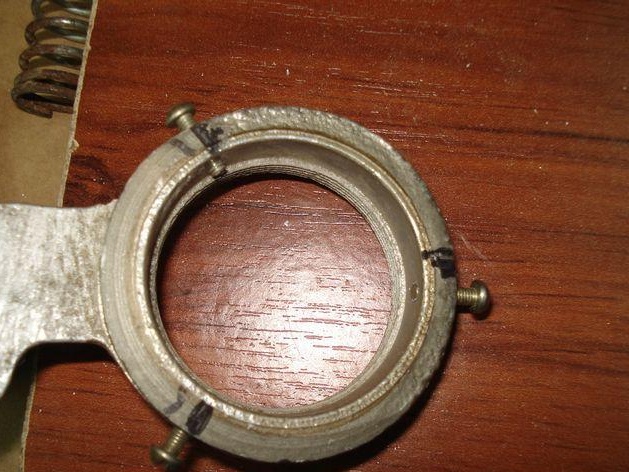
Here is what should happen.
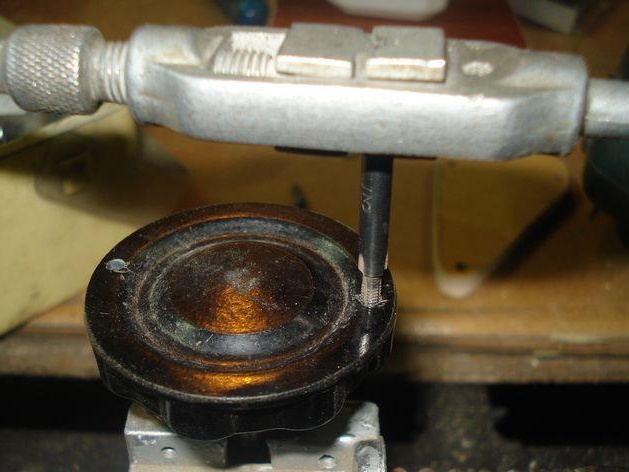
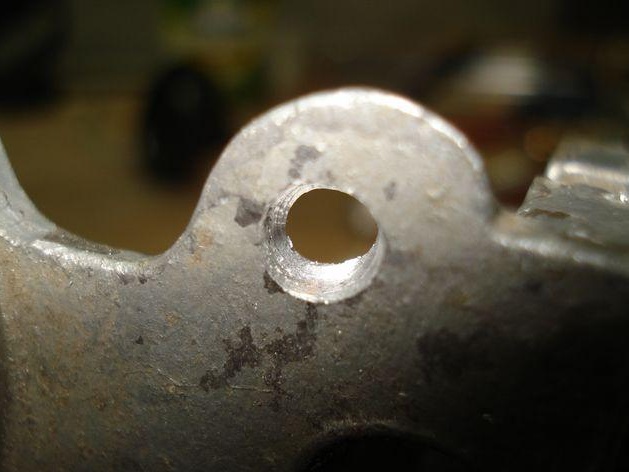
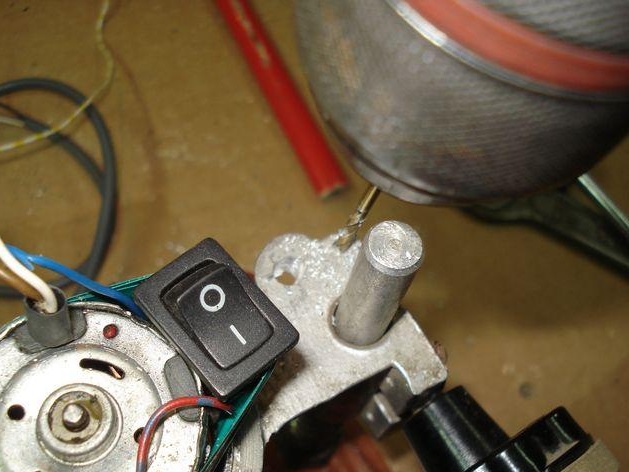
For one, we drill a hole for the light bulb (LED) of the illumination of the working area.
We make the inclination of the drill towards the center of the bed, so that the LED shines directly into the working area.
We do not drill the hole a little to the end, so that we get a scar limiter for the bulb.
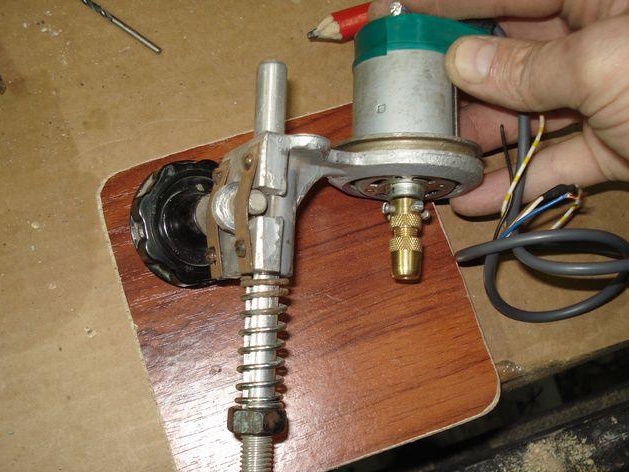
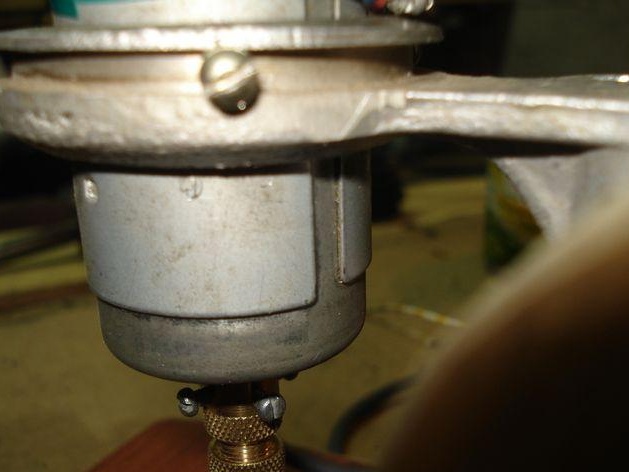
We install the motor to the desired height and evenly clamp with bolts.
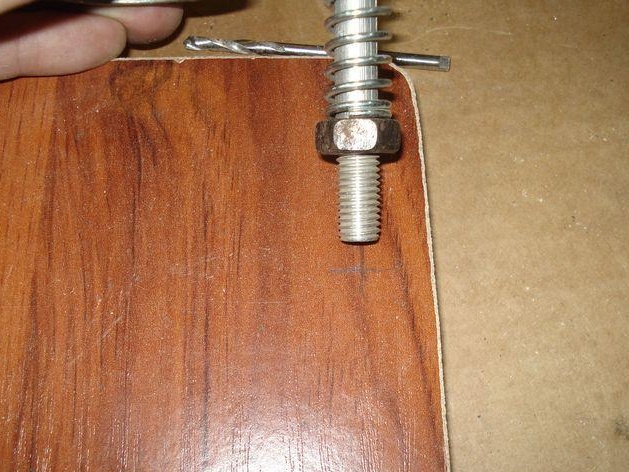
We drive the M9 thread into the chipboard.
We twist the axis and the counter nut.
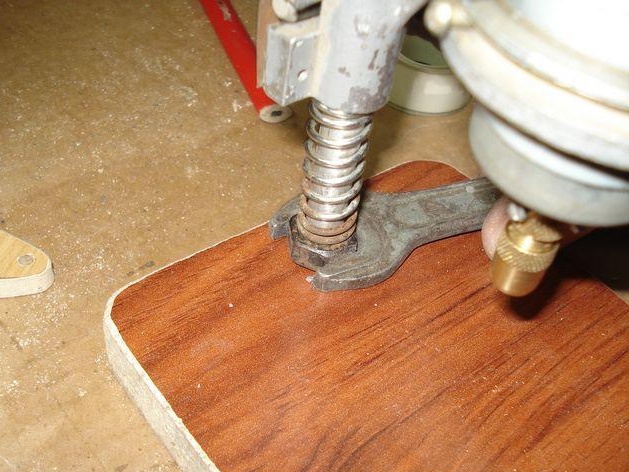
Set the feed handle in place.
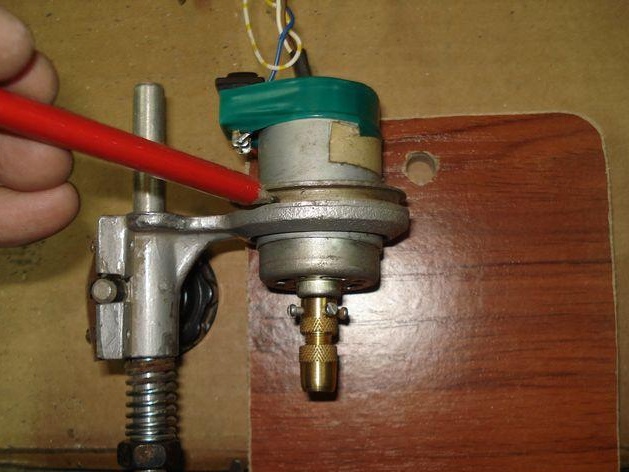
We loosen the bolts of the lifting mechanism and set the required angle for raising the handle, screw it back.

It looks like this.

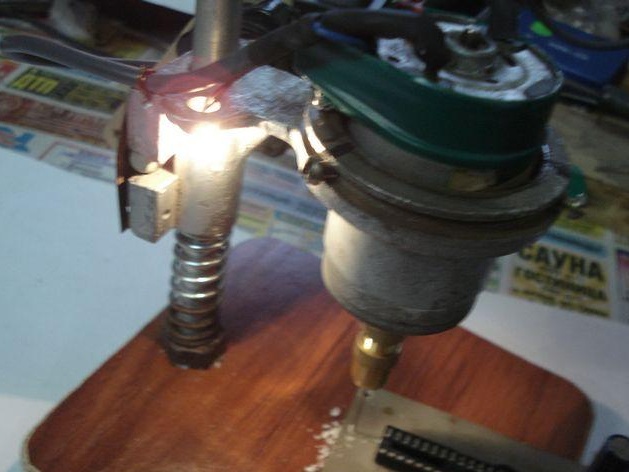
Due to the presence of a split tube on the motor housing, a uniform and strong clamping of the drill occurs with just a slight tightening of the three mounting bolts.
Let's drill a small hole for future power cable mounting.

On this, the locksmithing is finished.
ITEM 3. Electrician.
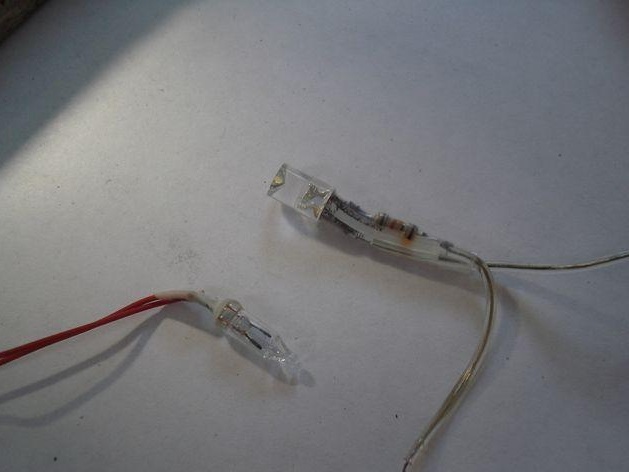
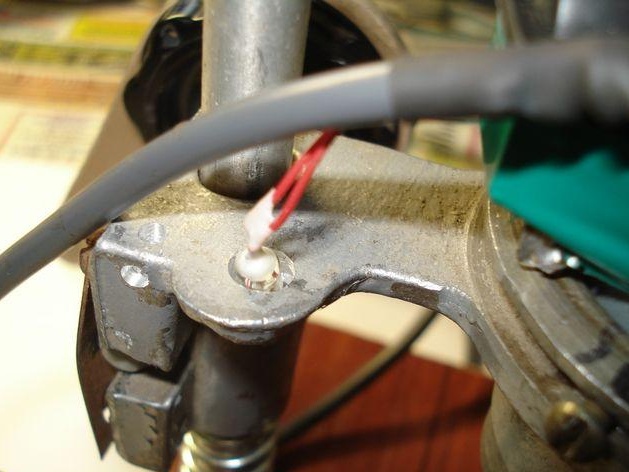
Take a suitable bulb, depending on the voltage of the motor, if necessary, install a step-down resistor.
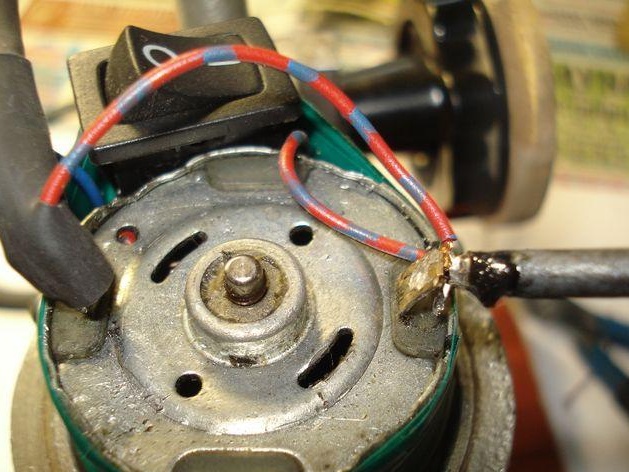
Solder the wires to the motor terminals.
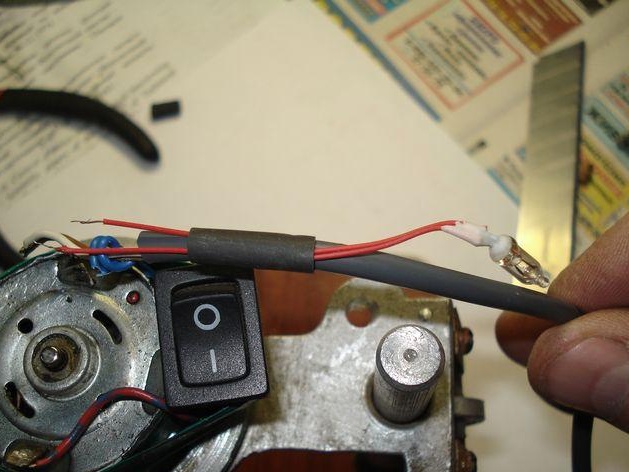
For insulation and ease of installation, we use a heat shrink tube.
Set the bulb in its place.
We fix the cable with a pair of turns of wire.
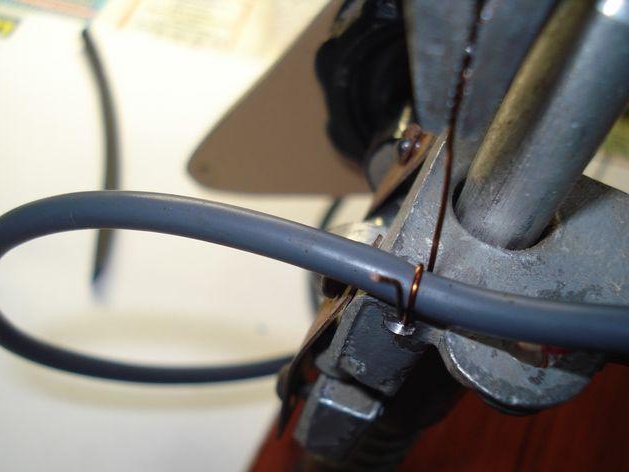

All is ready.
ITEM 4. Check in work.