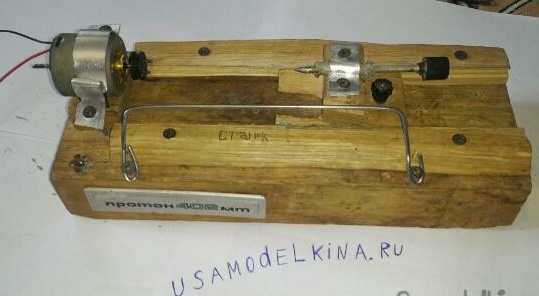
Good day to all the residents of our sites. When you want to make something beautiful, you want to apply any technology to facilitate this. It is in this article that I will tell you how to make a wood lathe with which you can bring your creative ideas to life.
To make a lathe do it yourself we will need:
• A board, in my case, about 5 cm thick, 30 cm long, and 15 cm wide
• Parquet, two pieces are enough.
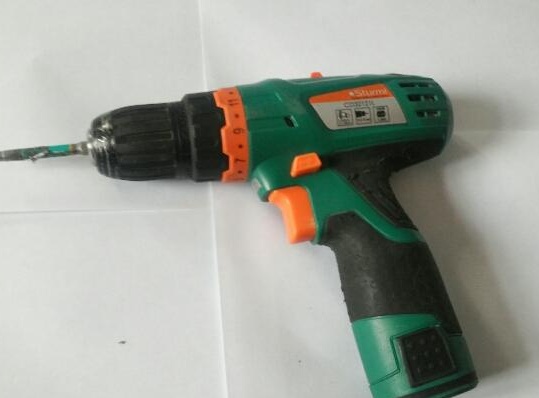
• Tools, such as a hacksaw, screwdriver or screwdriver, emery cloth, screws, will last about 10 pieces with a length of 45 mm, a manual jigsaw.
• Aluminum plates.
• Dupel construction.
• Shaft from any tape recorder.
• Electric motor, I used with Vidic.
• A thick spoke from a bicycle or skewer in the form of a spoke.
• Bolt with nut.
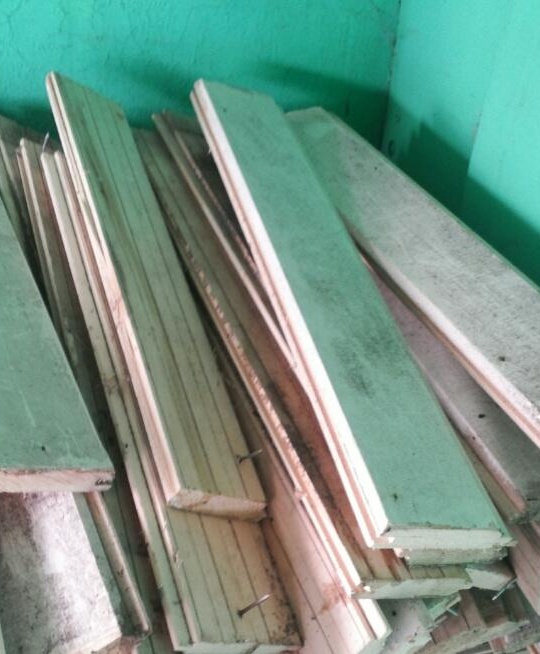
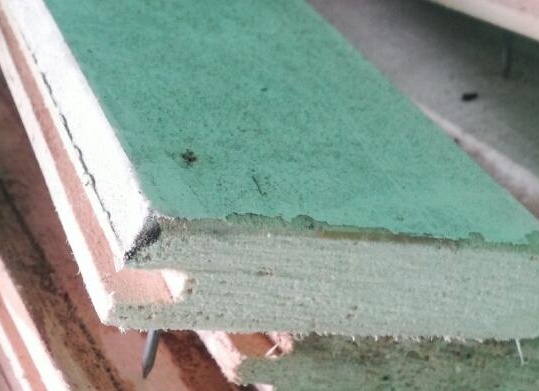
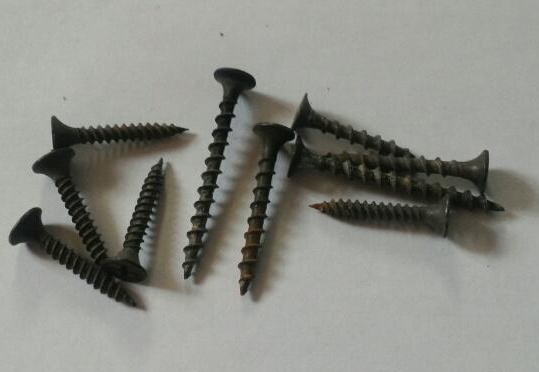
Before assembly, we will gather our strength and proceed. And now all the details are assembled, proceed to the most interesting, assemble the machine. You need a board quite heavy, so that the machine has a good strong bed, I found a suitable bar in my the garage, it is made of glued pieces of oak, it looks like parquet.
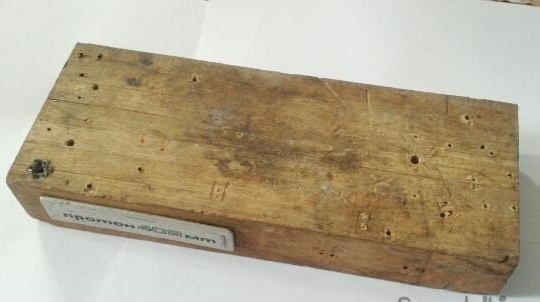
On the bar we measure the maximum necessary length for the workpiece and saw off this length two halves of the parquet, one should be with an internal groove, and the other with an external.
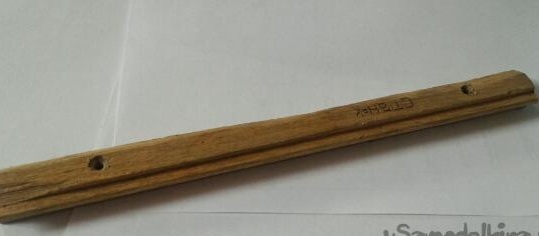
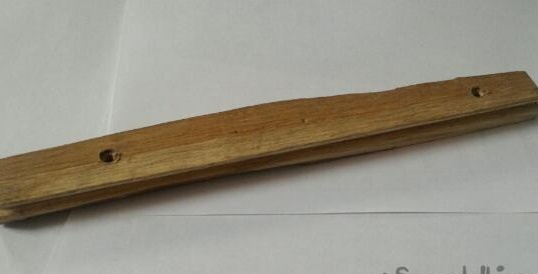
First we screw one of them, no matter what the first will be.
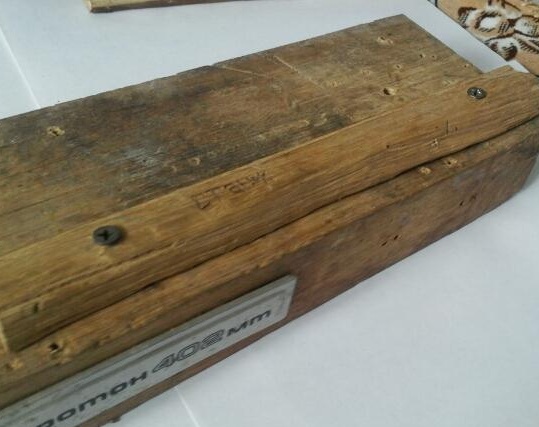
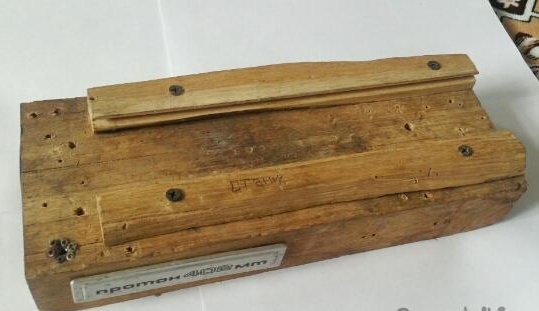
After that, it is necessary to put a whole parquet into her groove, and after that we fasten the second half of the parquet so that the whole parquet freely moves back and forth in the grooves, this will be our tailstock of the machine.
We proceed to sawing the tailstock, enough of a small piece of parquet 10 cm long, on it you need to saw out a half of the upper edge with a jigsaw, as in the photo.
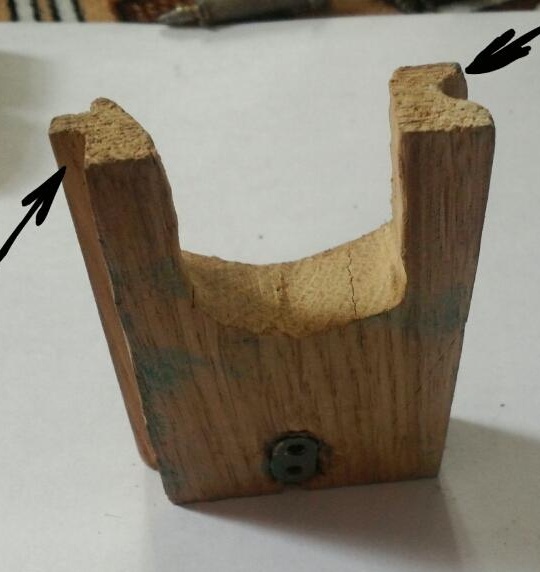
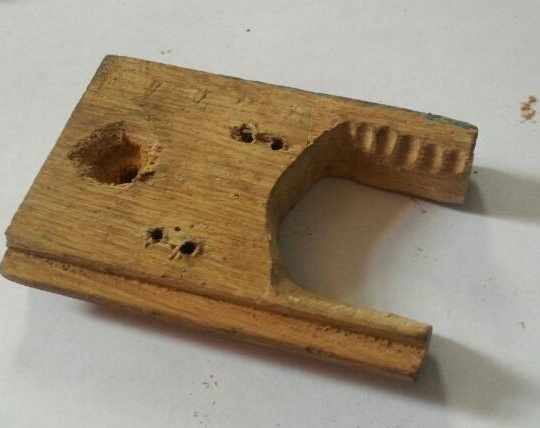
From the bottom we drill a hole for the nut, then we glue it to this place, and there will be a bolt on top of it, it will fix the tailstock.
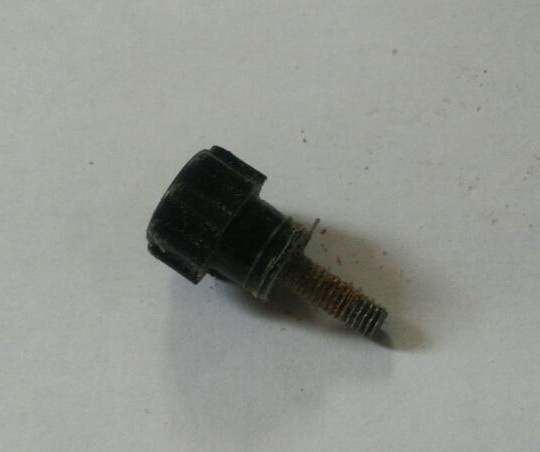
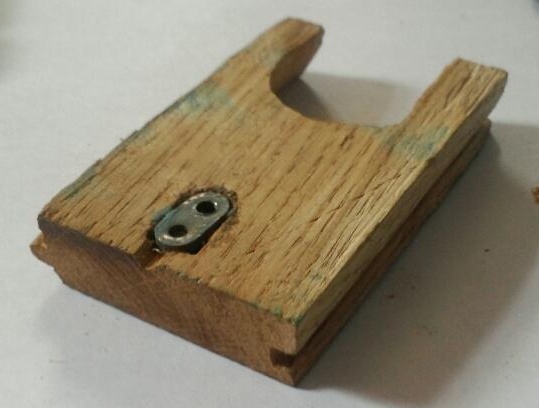
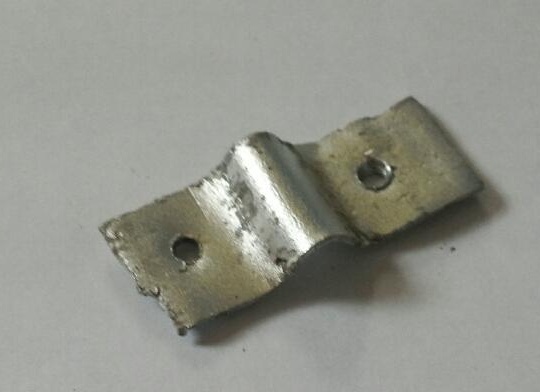
The next step, the installation of the dowel on the tailstock, through a small spacer made of wood, we fasten it with an aluminum plate to two screws, everything is well shown in the photo.
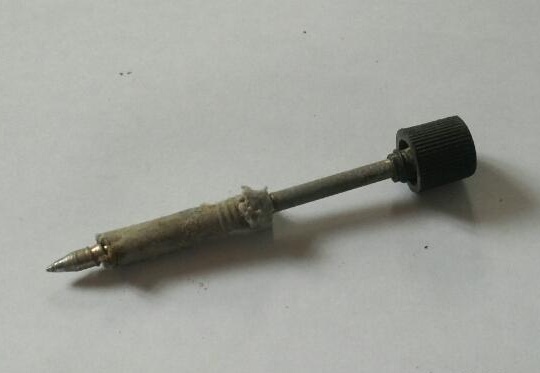
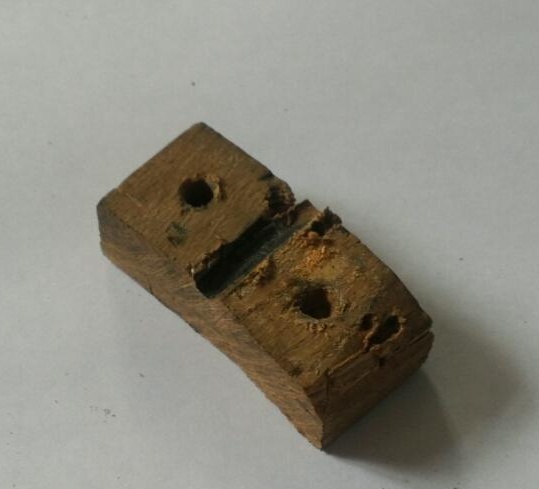
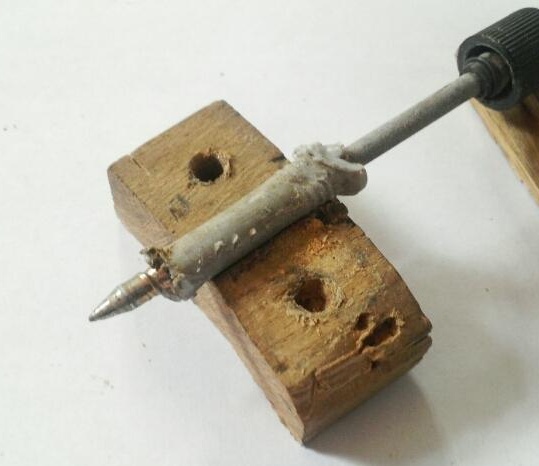
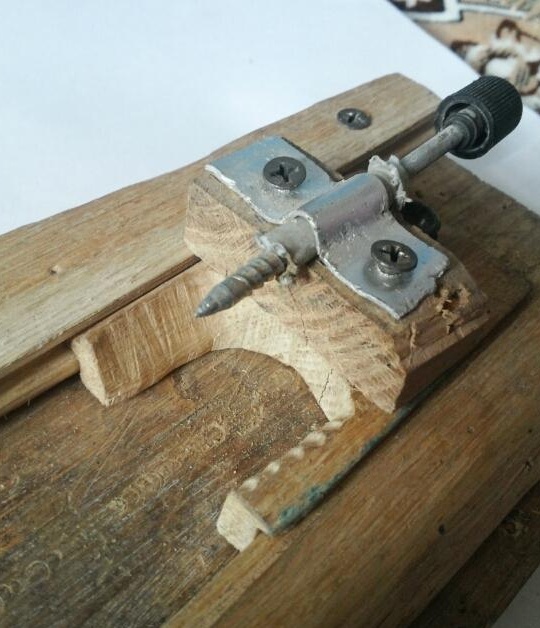
For a dupel, it’s better to come up with a pen. For example, with the volume of a tape recorder.
We check that the tailstock moves well and is fixed on the grooves. In order for the cutter to hold firmly, we make support for it, it is necessary to make a knife stand from the knitting needles or skewers of the same shape during operation, it looks like this, we attach it to two screws.
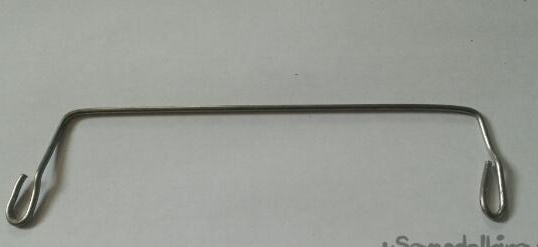
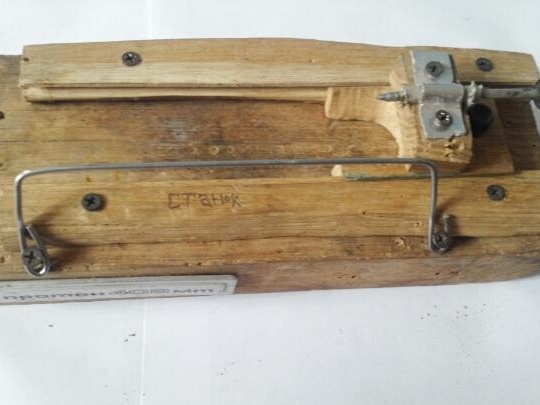
After the tailstock, go to the headstock. Through the same spacer, we put the engine, it is better to find 12 volts to power it from the computer unit, which is now found in almost every radio amateur, or we fix this engine with an aluminum plate on two screws.
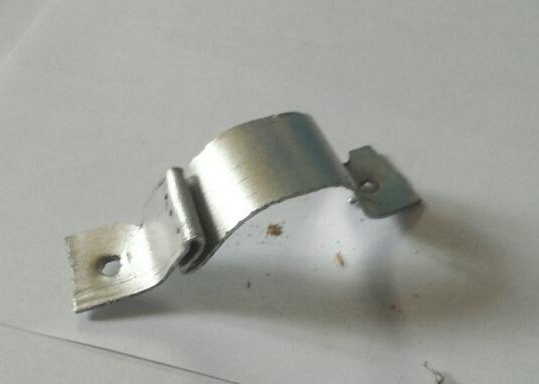
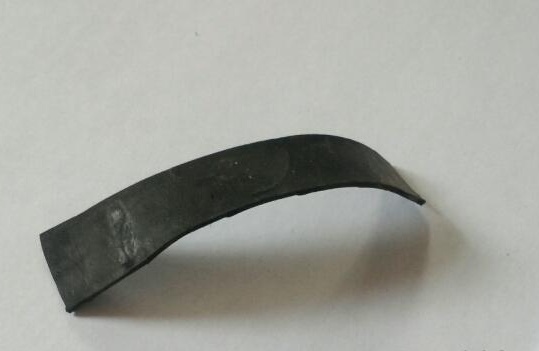
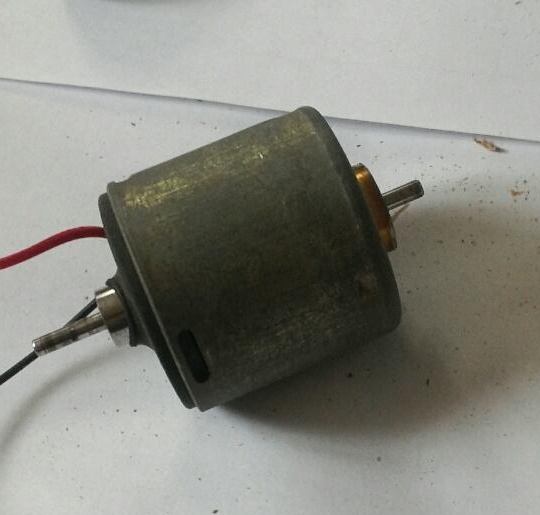
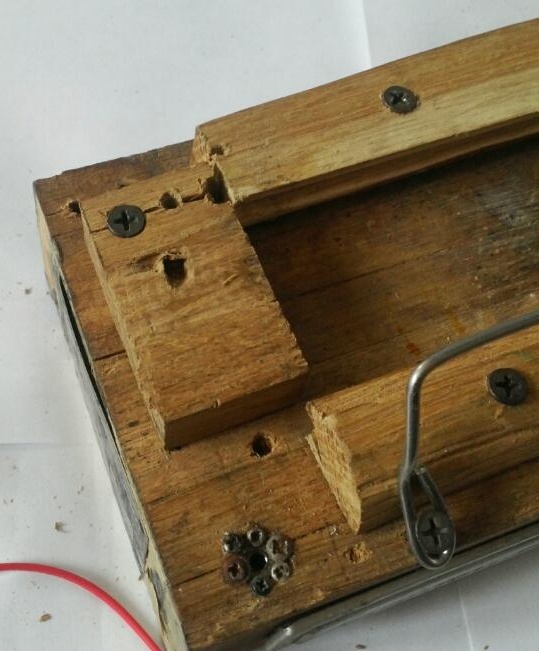
Before tightening the screws tightly, you need to put a piece of the camera on both sides under it so that there is no vibration, the camera will also contribute to a good seal and the engine will not go anywhere, after that you need to center the motor shaft with the tailstock dowel, and then tighten the screws.
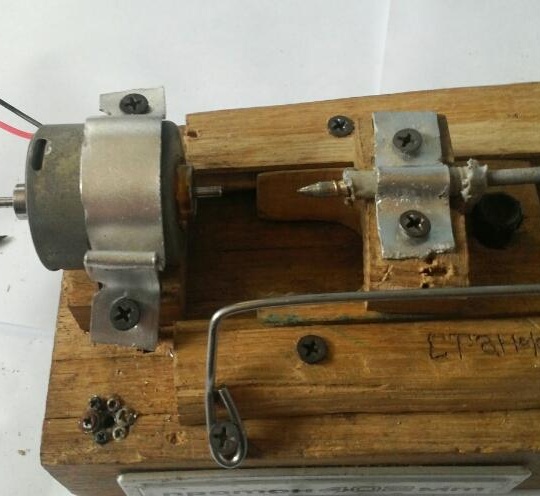
The engine is installed, now you need to make a shaft, in order to fix any desired workpiece on it later, the workpieces are usually made of wood, so you can make a shaft of plastic, I removed it from a broken tape recorder, the hole just came up to the engine, if If your motor shaft does not coincide with the headstock shaft, then it can be fixed to hot-melt adhesive, after centering the shaft, in my case everything is fine.
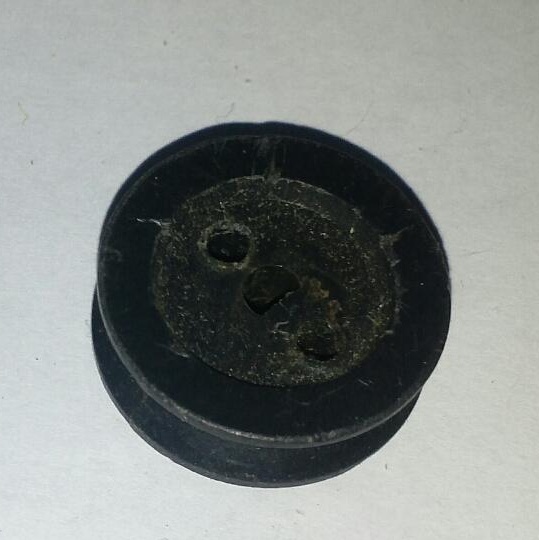
Then, having bitten off two pieces of knitting needles with pliers, he heated them on a gas stove, we do this carefully, holding two knitting needles in the pliers, not letting our fasteners-pins fuse them into the shaft, giving time to cool, it turned out well, the workpiece will surely stay on the shaft.
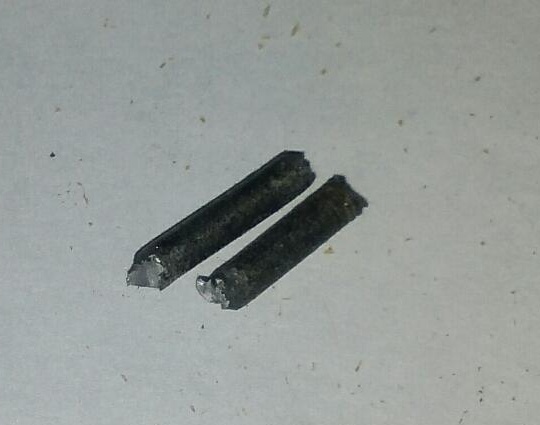
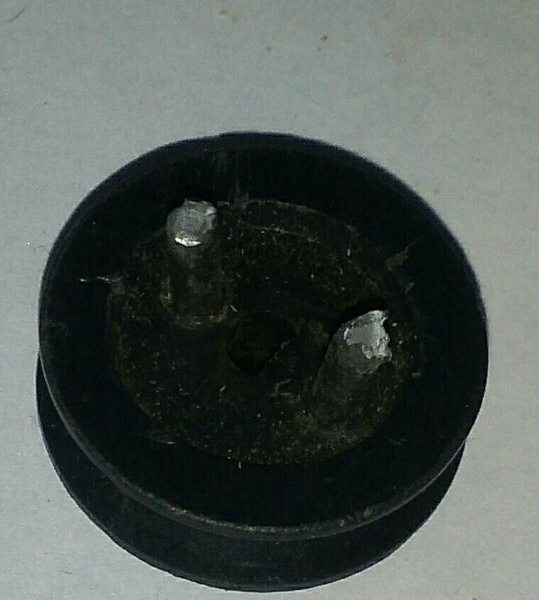
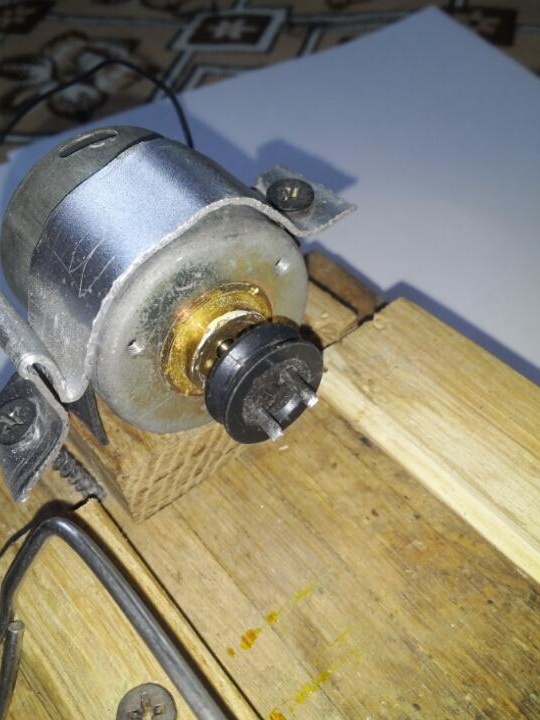
The workpiece is set by tapping on these two pins, after the workpiece has hidden these pins, you can adjust the tailstock, it is also necessary to fix it with a lag bolt.
The design of the woodworking machine turned out to be not so complicated, while similar store devices cost a lot of money, in our case with a minimum of costs, the machine gains full working capacity with a power supply, I used a computer, its power is enough with my head. In the end, the workpiece processed on the machine, it looks pretty good and in its own way original, I made a couple of hangers on this machine.
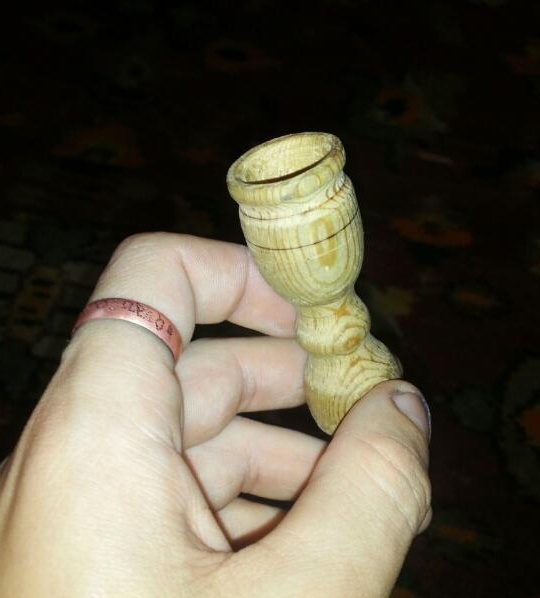
All successful homemade products and beautiful carvings.

