

Good afternoon!
I think each of us was thinking about how to protect data on a flash drive. It is about the protected flash drive that we will talk about today.
A couple of days ago, I discovered that very important information was missing from my flash drive, namely my course project which I did not manage to copy to my computer. As it turned out, my friend formatted my flash drive when I was not in the room, he needed to throw some kind of game onto his laptop, but there was no free space on my flash drive. This is not the first time my flash drive is used in their needs. I'm tired of it and I decided to make the drive a secret.
How to do it, I'll tell you now.
To create a secure flash drive, we need:
• Housing from a small flashlight
• Flash drive
• Soldering iron and solder
• Shallow wires
• (in my case RED and GREEN)
• 0.125W from 200 to 300 Ohms
• Hot glue and a gun for him
• Electrical tape.
And so, we begin. We take a flashlight and get out of it all the insides including the power button
From all this we need a body, a back cover and a button what is inside, we remove the LEDs!
Next, let's deal with the button, it is necessary to tin and solder two wires to it in order to open and close the electrical circuit of the flash drive.
Then you need to insert the button back into the back cover and fill it with hot glue so that in the future the wires that we have already soldered do not fall off, since they are thin.
With the button finished - you can do LEDs.
I have two LEDs, one red, the other green.

Initially, the idea was this: when we insert a USB flash drive, the red LED initially lights up and only after pressing the button that activates the USB flash drive does the green LED start to flash, which serves as an indicator of the flash drive’s performance.
And so in order to make the LED from the USB port glow, just connect it to the + and - ports through a resistor with a resistance of 200-300 Ohms. Actually, this is what we will do.
Solder the resistor to the positive contact of the LED. (The positive contact of the LED is longer)
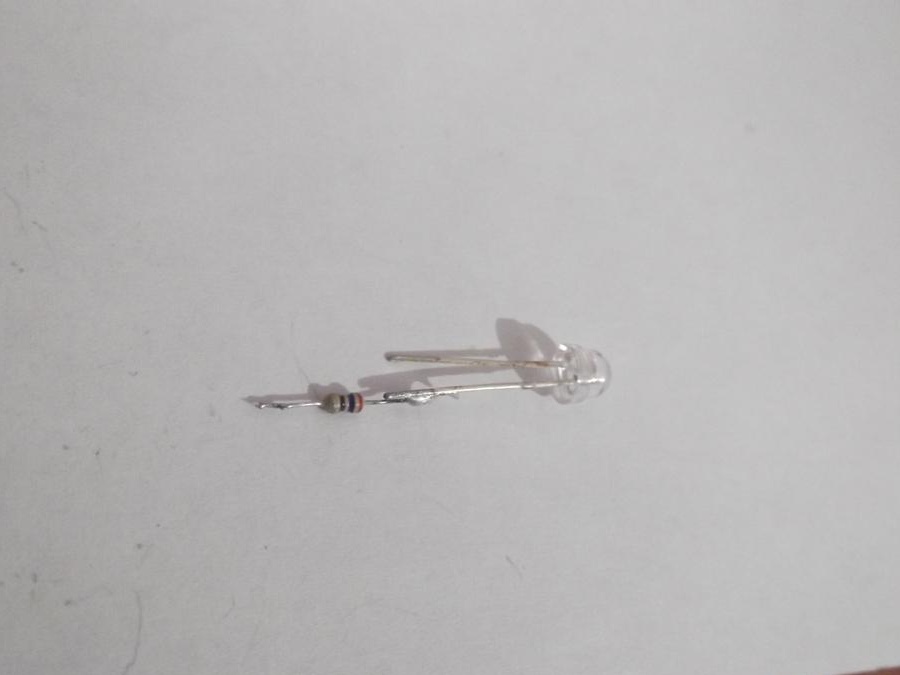
Next, glue the LEDs together and solder the wires. (the resistor is soldered to only one LED, which will work directly from the port)

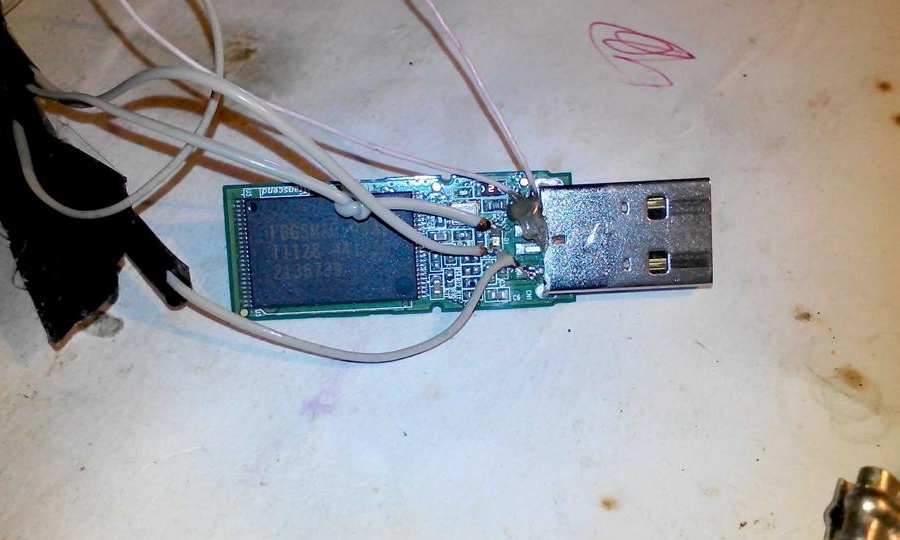
We break the positive contact on the flash drive and solder the button there and fill it with hot glue for strength.

Next, connect everything as in the diagram.
We put it all in the case and fill it all tightly with hot glue, after it cools down, cut off the excess with a clerical knife

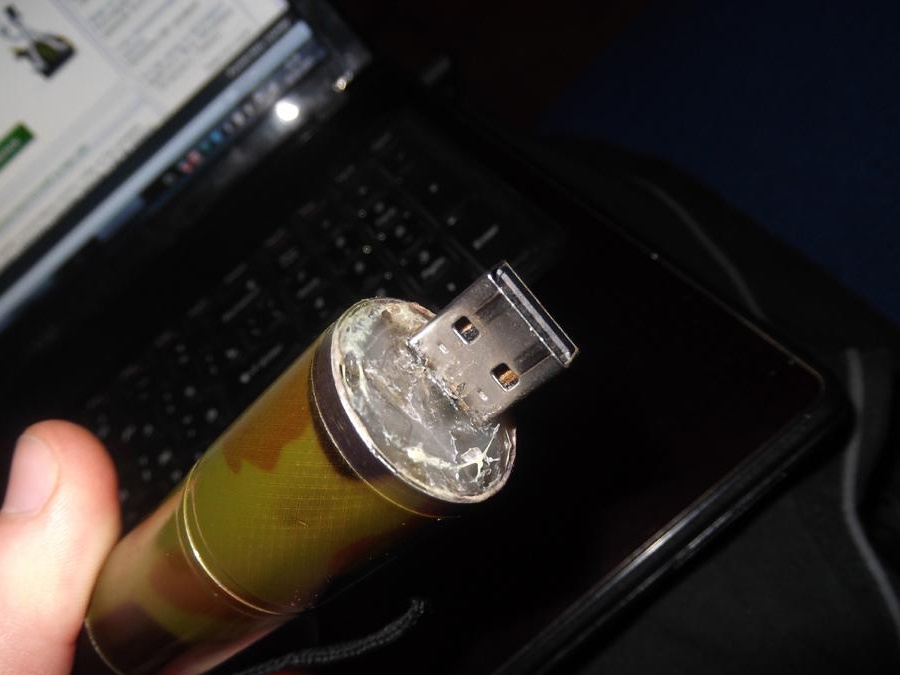
You can test!
We insert it into the laptop and voila lights up in red and nothing is displayed on the screen, after pressing the button, the green diode flashes and the computer determines the storage device.


Not everyone thinks of pushing a button, and not everyone understands that this is generally a flash drive.
That's all the protected flash drive is ready!
Thank you all and good luck!