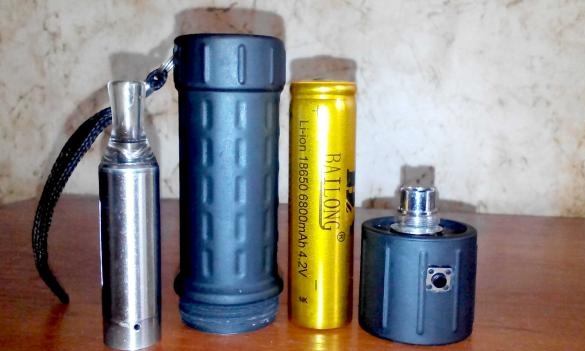
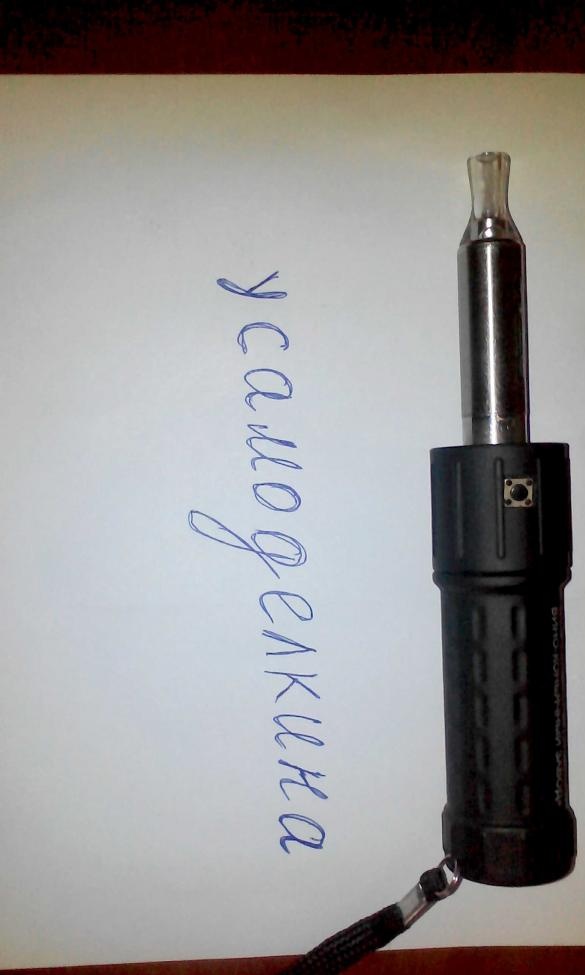
Popularity every day electronic cigarettes are increasing. Someone with the help of them quit smoking, someone simply switched to a cheaper and less harmful method of smoking, and someone just loves to indulge in a tasty and odorous vapor from an electric cigarette.
In connection with the current dollar exchange rate, electronic cigarettes have a decent price, and, as practice shows, last from one to several months. Personally, I have already bought the three most ordinary electronic cigarettes, each of them lasted one month for me, and each time I was forced to buy a new electric cigarette for the money I saved on buying ordinary cigarettes. In the end, I decided to buy a cigarette for more expensive and better quality, I came to the store where they offered me a fur mod that had no electronics, I thought and decided to make the mech mod from the usual pocket flashlight.
How did I do it? .. I'll tell you now
To build the mod we need:
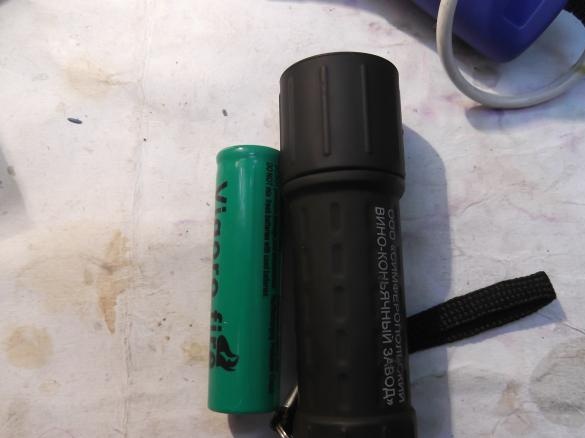
• Flashlight pocket
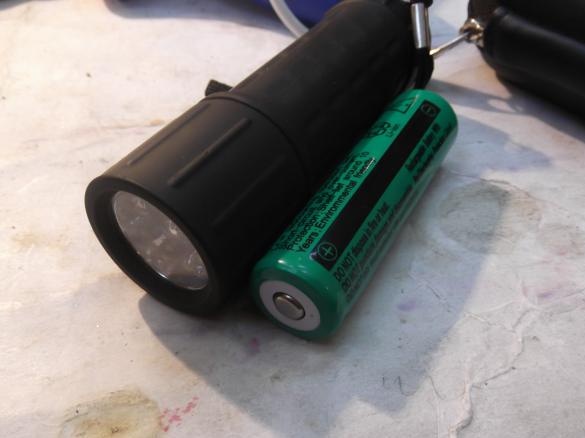
• Standard 18650 or 26650 battery (difference in diameter and capacity)
• A piece of PCB
• Soldering iron, flux, solder
• Connector from an old cigarette
• Evaporator (it’s difficult to do it yourself, I had to buy it in a store)
Photos that we have first
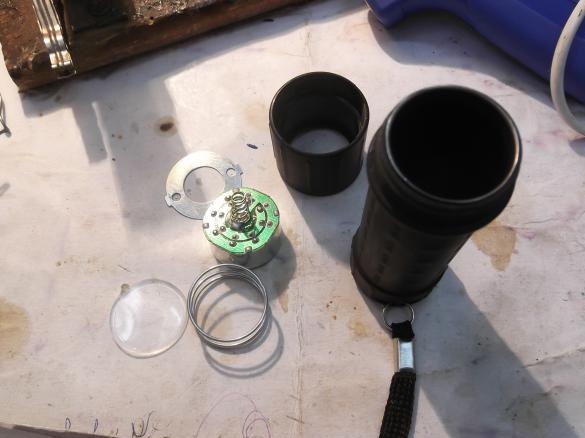
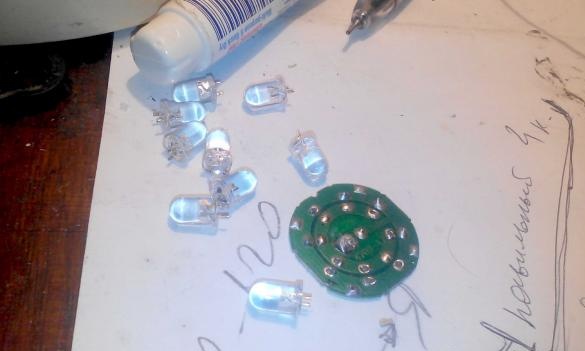
We disassemble the flashlight and get all the insides from it.
The button did not work out for a long time, but still managed.
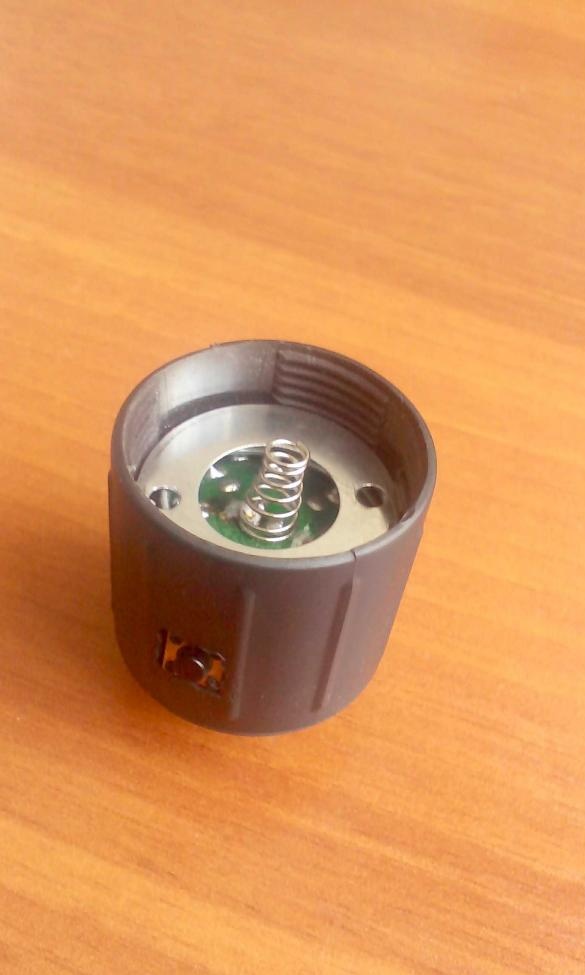
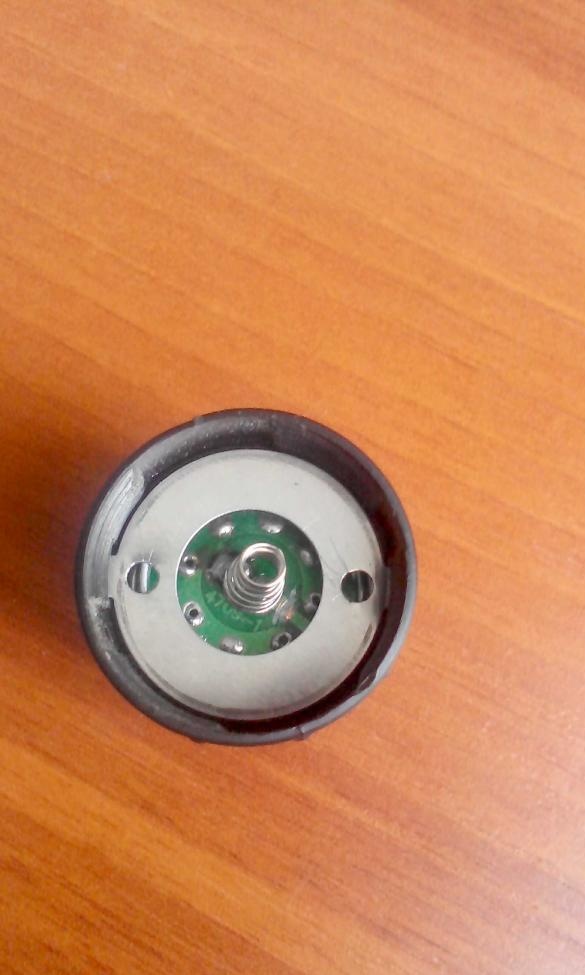
And so, we see: Flashlight housing, glass, LED module, spring to maintain the module and to provide contact and a plate to fix it all in the flashlight housing.
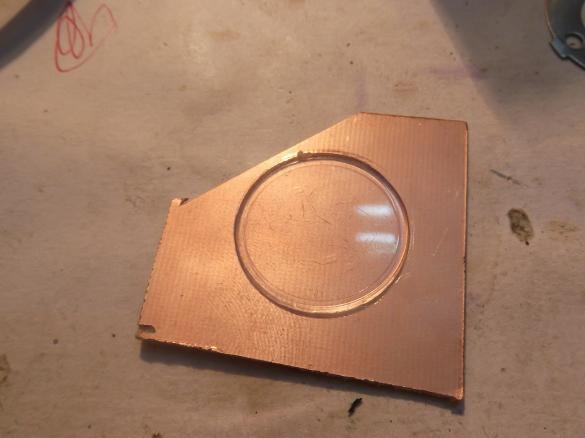
Next, we take textolite and a glass from a flashlight
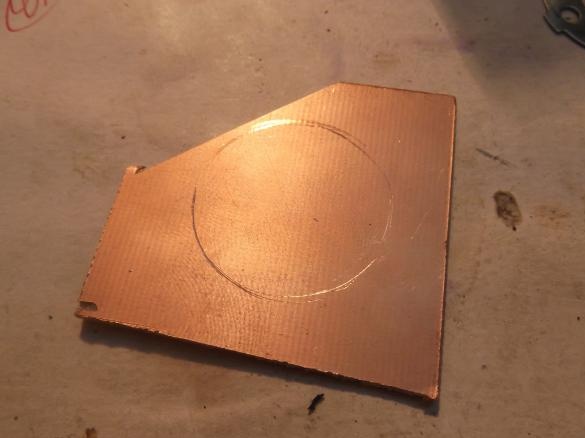
We need to circle the glass on the textolite in order to further cut out a circle from it of the same size and diameter as the glass.
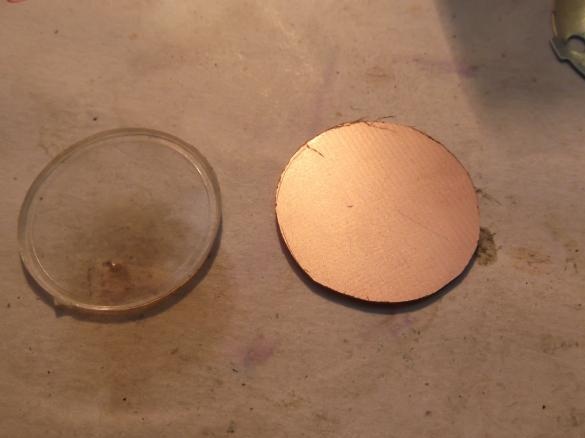
Cut, align and that's what it should turn out
Done.
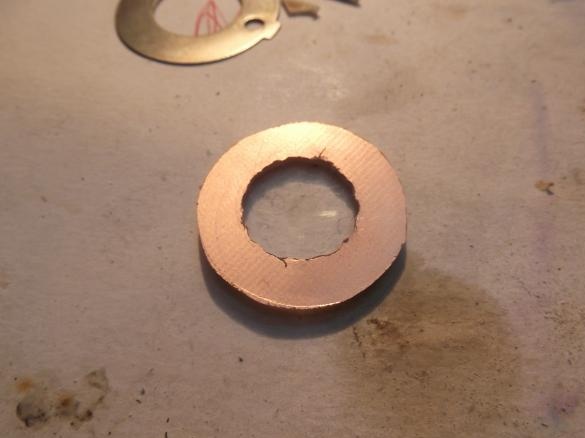
Now in this mug we need to drill a hole for the connector from an old cigarette, I did not find a drill of suitable diameter. I drilled a hole for less, and then squandered a file.
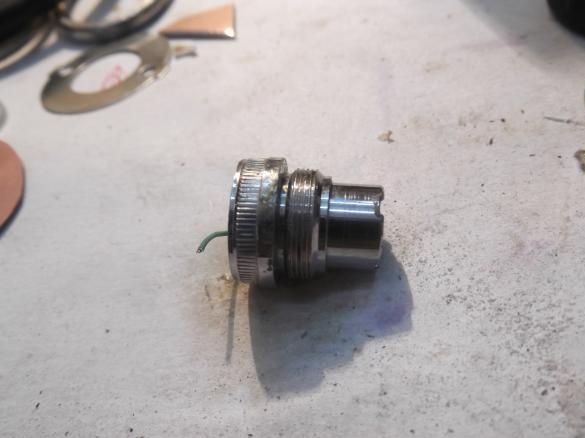
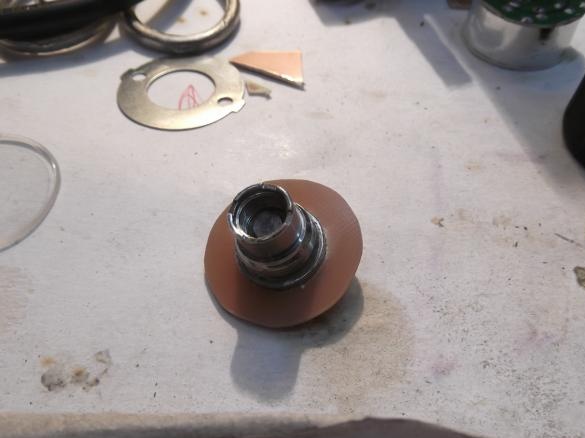
We insert our connector into our "washer"
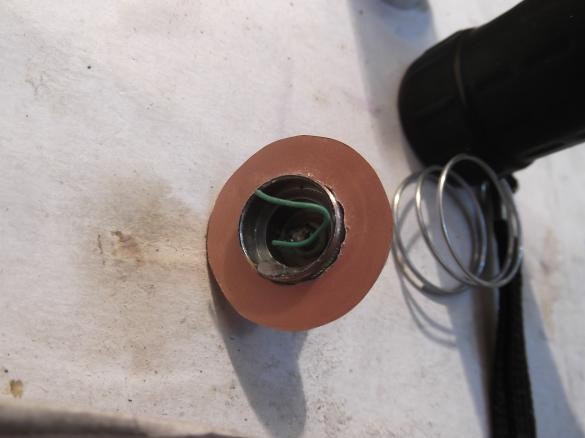
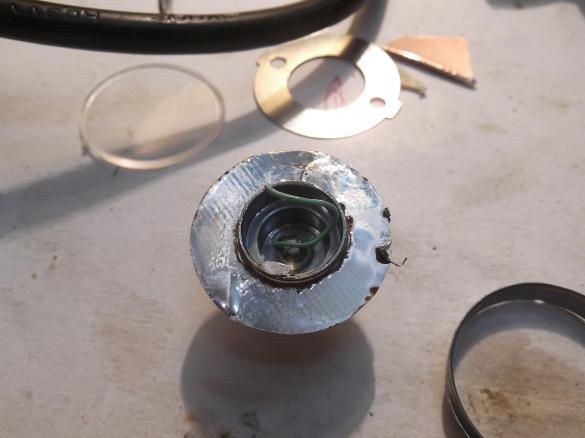
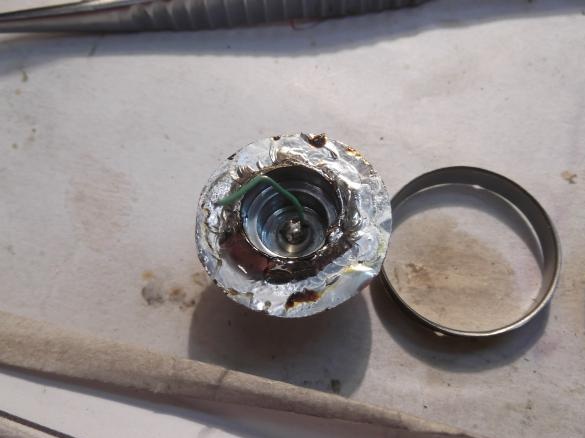
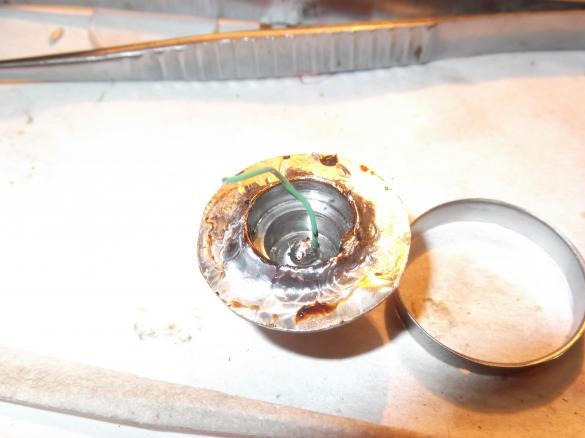
Tin the textolite and solder the connector to the textolite
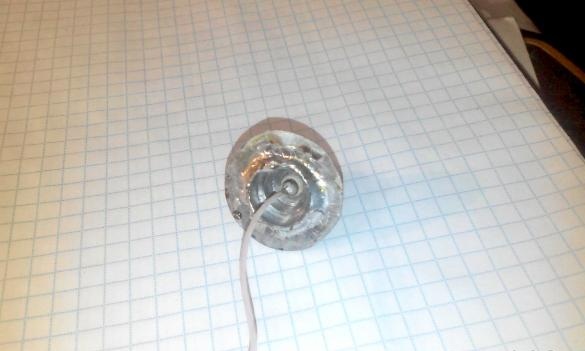
And in place of the wiring that is soldered to the middle contact of the connector, we solder the wire more powerfully since we will use low-impedance loads that are close to short circuit and can burn the standard wire that is on the connector, and the microcircuit that is in the digital mode can damage.
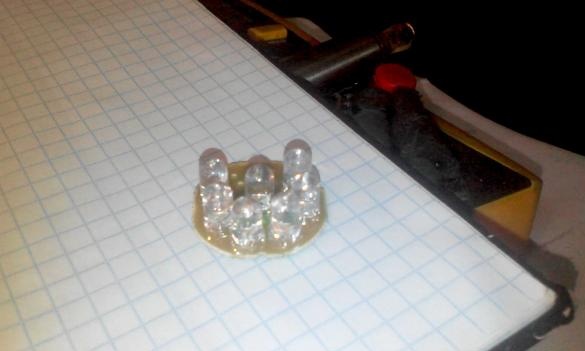
Next, we solder the LEDs from the board of our flashlight and solder the wire from the central connector to the microswitch, which is soldered from the old TV, and from the switch to the central contact of the board, where the spring is soldered (plus terminal)
And solder the negative terminal from the connector of the future cigarette to the negative terminal of the board with which we soldered the LEDs.
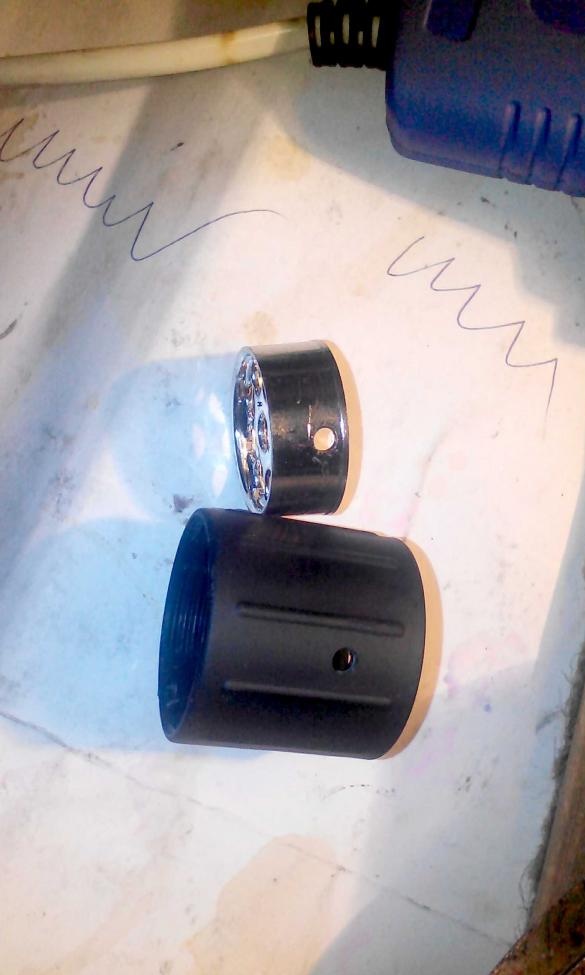
We drill holes in the lid of the flashlight and in the reflector so that they match, they are needed in order to insert the microswitch into the housing.
(there was an idea to insert a micro switch at the bottom, but as the experience of my previous electronic cigarette showed, this is not entirely convenient)
We make a square hole from the round hole and you can start collecting.
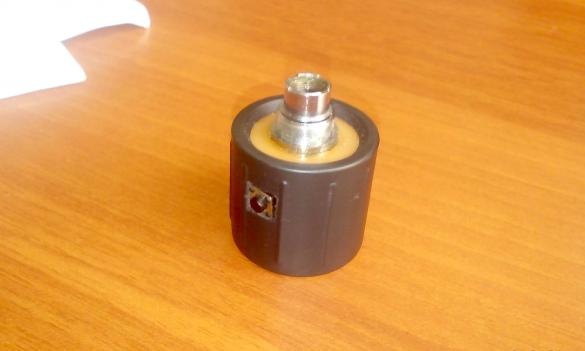
We put it all in the lid from the flashlight and sit on hot melt glue, fix everything with a special washer that is included with the flashlight.
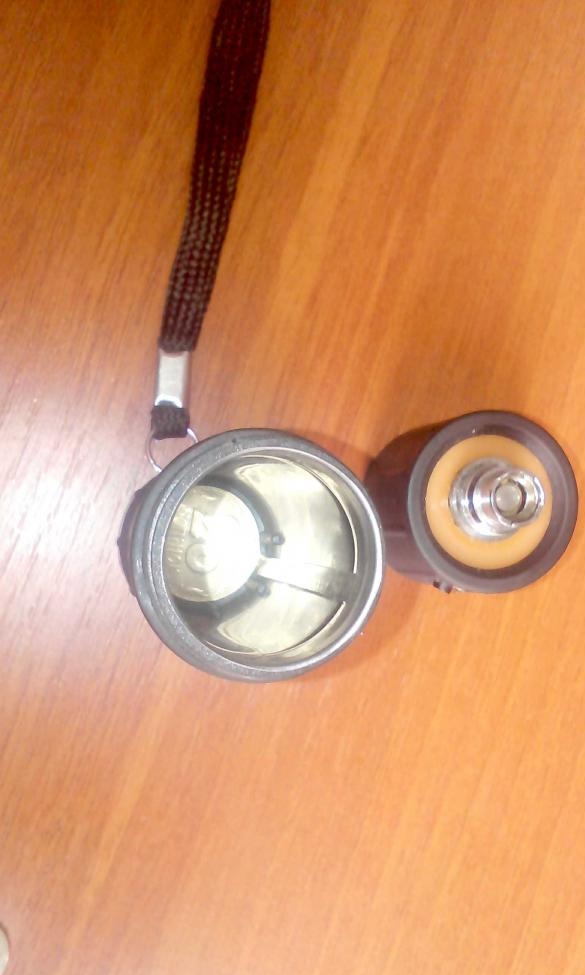
And so, we have a positive terminal, set the negative and ready.
I used the negative bus from the flashlight kit, only to the bottom instead of the spring I stuffed a coin with a face value of 25 kopecks.
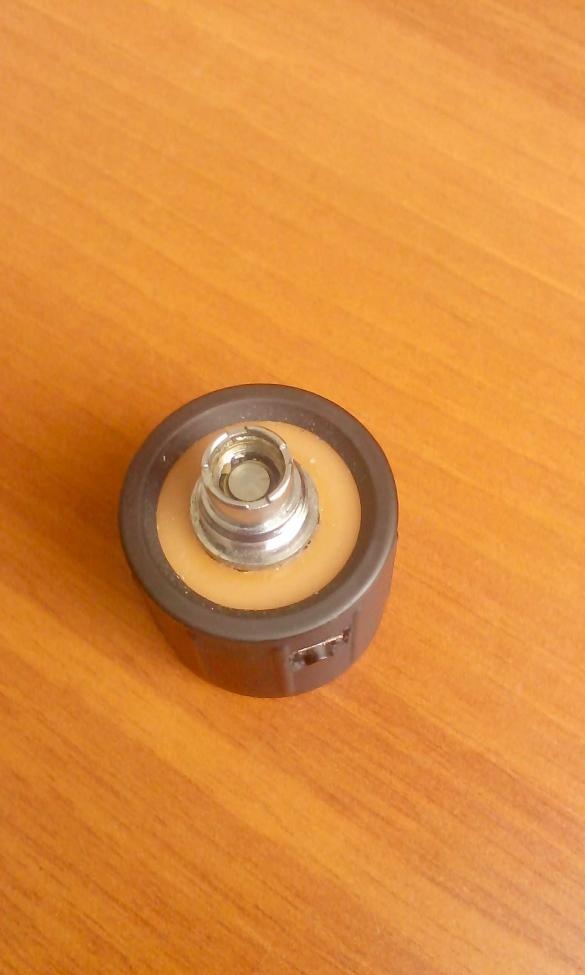
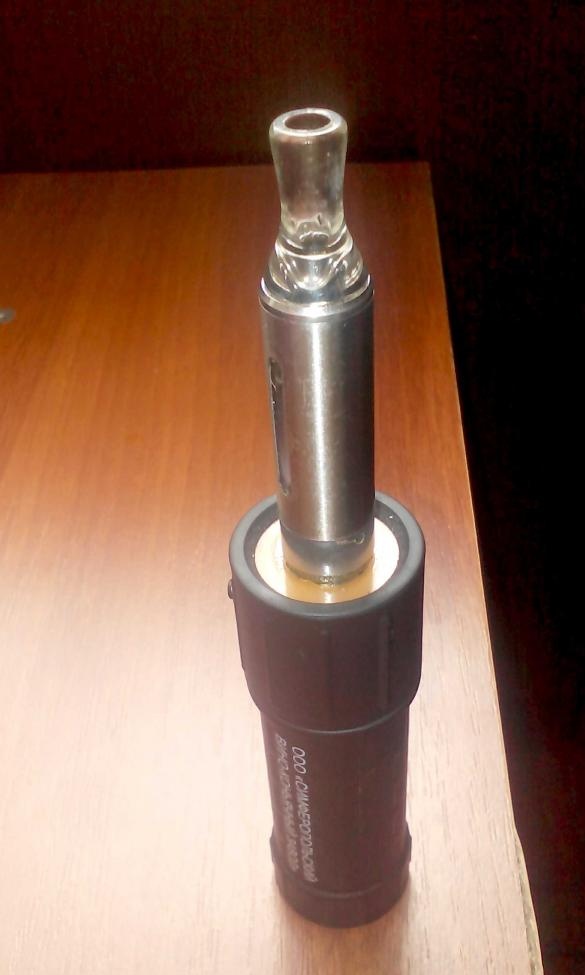
All is ready! We wind the vaporizer onto our mechanical mod and you can enjoy all the delights of electronic cigarettes.


