
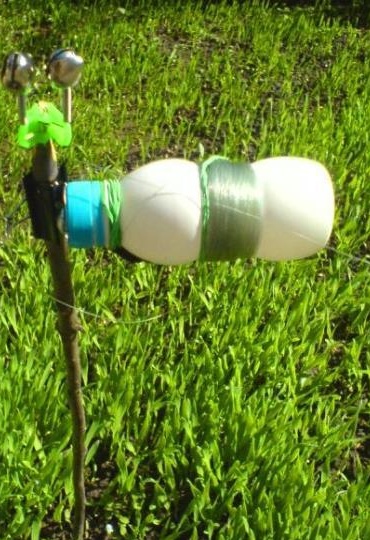
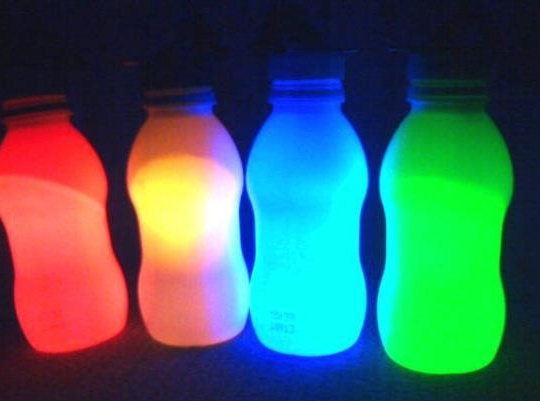
Thanks to such a donka, you can fish in the dark and it’s not necessary to use a fishing rod. When biting, the donka immediately begins to glow, thereby giving the fisherman a joyful signal. Such a tackle is very convenient and compact, you can always take it with you, not even going fishing, but just on a picnic to the banks of a river or lake.
Materials and Tools
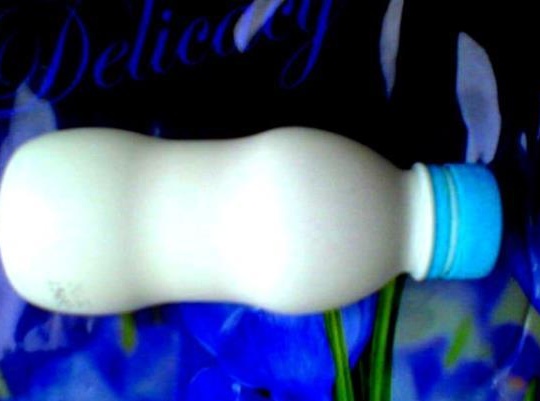
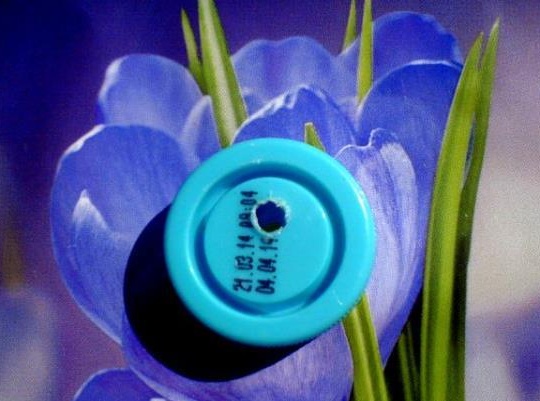
- a plastic bottle from yogurt (great for size and relief;
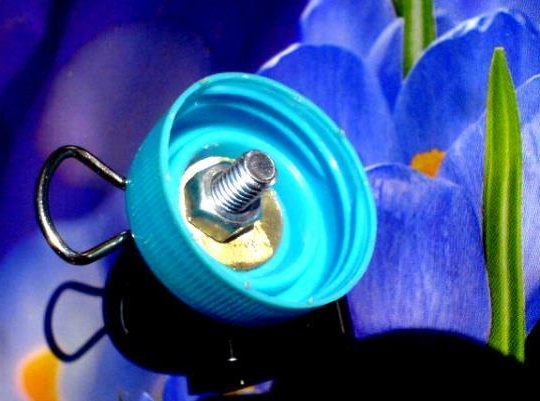
- a bolt with an M6 nut and a washer (the author made a washer from a coin);
- binder (large clip);
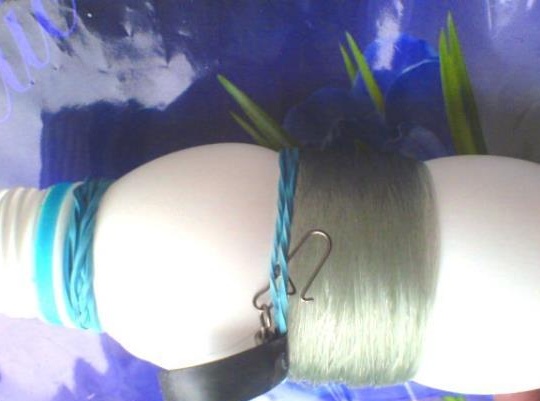
- fishing line, carabiner with swivel, clerical gum;
- a piece of PCB for manufacturing the board, tilt sensor, switch, two flat batteries, light diode;
- soldering iron, drill, file.

Getting started
Step 1. Create a case for the device
It is not difficult to guess from the pictures that a plastic bottle from yogurt is used as the body. Such a case is waterproof, transparent, durable and light. In general, it has all the necessary characteristics.
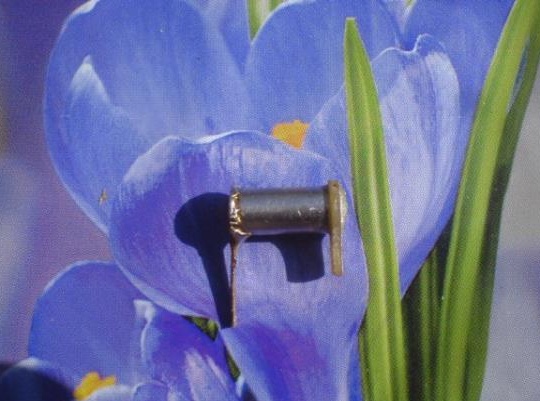
In the cover, you need to drill a hole for the M6 bolt. The bolt cap will be placed on the outside, there will also be a binder. On the inside of the cover, a sufficiently wide washer must be placed under the nut; the author made it from a large coin by drilling a hole in it.

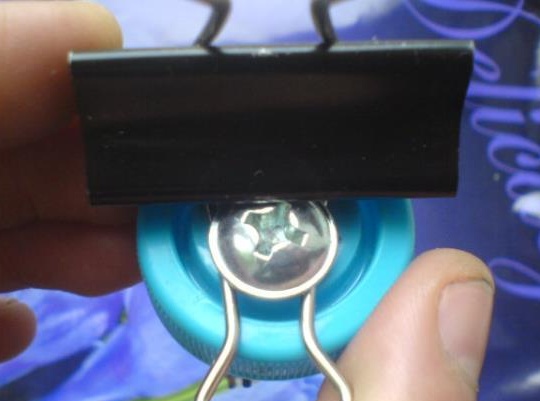
After that, fishing line can be wound on the bottle; a swivel with a carbine is attached to the other end. However, for fishing in the daytime, such a donkey can already be considered complete. It remains to fix it with a paper clip on any suitable stick, set the bells and you can fish. But the author did not stop there and decided to create a light indicator for fishing at night.
Step 2. Create a tilt sensor
At first, the process of making such a donkey may seem rather complicated, but if you look closely, everything will be quite simple.
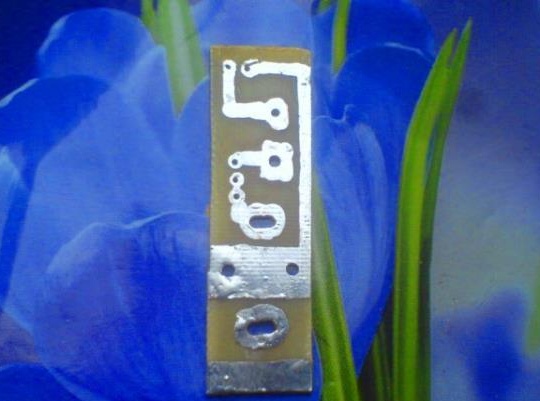
First of all, you need to choose or create a board itself, that is, the basis on which the circuit will be assembled. There is a lot of information on the Internet how this is done, so we will not dwell on such a moment.
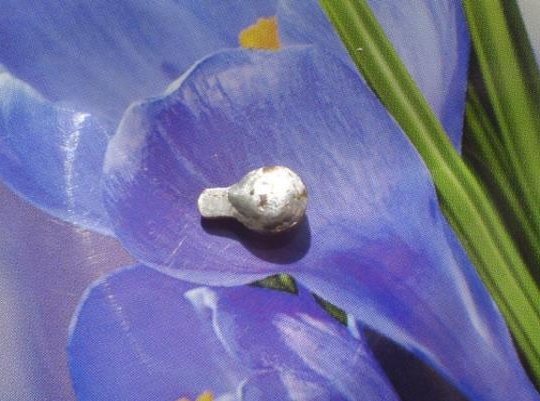
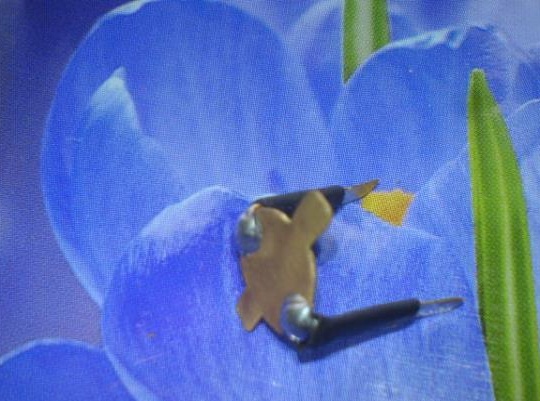
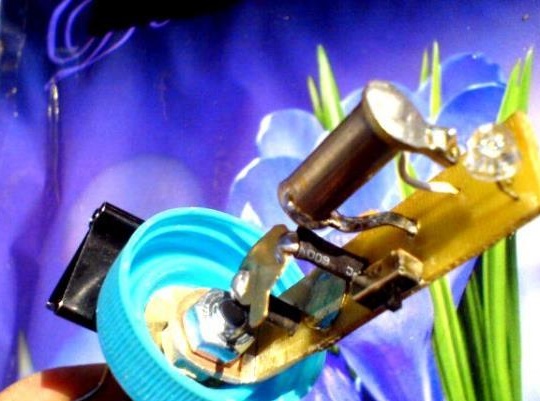
The most difficult device here can be considered a tilt sensor, it is made manually.For these purposes, you will need a piece of copper tube 15 mm long and 8 mm in diameter. An antenna from an old radio is great for these purposes.
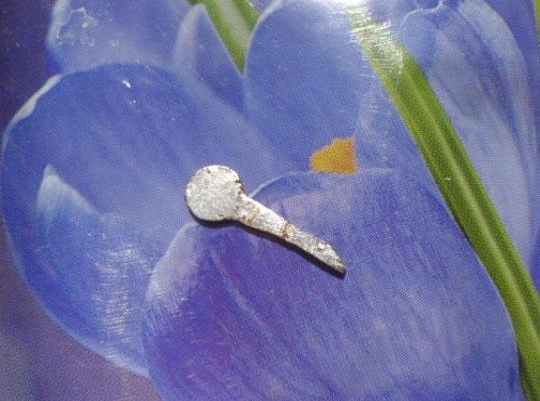
Next, you need to make one of the sides of the sensor, for these purposes you need a piece of brass or copper. We solder this part to one side of the tube using a soldering iron. The second part will act as a contact, for this purpose a piece of PCB is taken, a hole is drilled in it and a self-tapping screw is screwed. To improve contact, the self-tapping screw cap must be tinned, and on the other hand, the self-tapping screw is soldered to the PCB foil. Subsequently, a wire is soldered here.


Next, the sensor must be filled with pieces of wire with a diameter of 1 mm, it must first be thoroughly cleaned from varnish. The wire must be cut into small pieces, approximately 1 mm in length, and filled with a tube so that approximately 3 mm remains free. After that, the second part is well glued to the sensor, in our case it is textolite with a screw contact. That, in fact, is all. When tilted, the pieces of wire will mix to the contact and close it, and the LED will light up.

Step 3. Create a battery holder and assemble the circuit
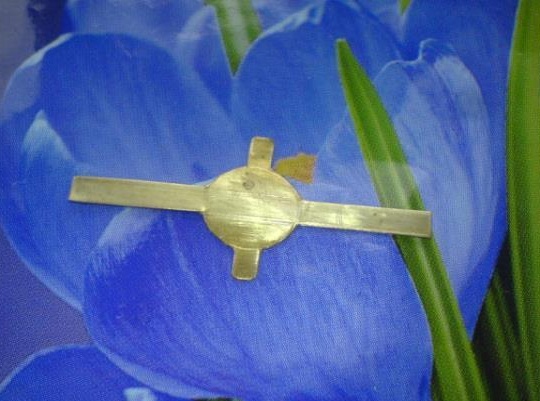
Its design is not intricate. It is necessary to cut out the holder from tin or brass as in the picture and bend it to the diameter of the batteries.
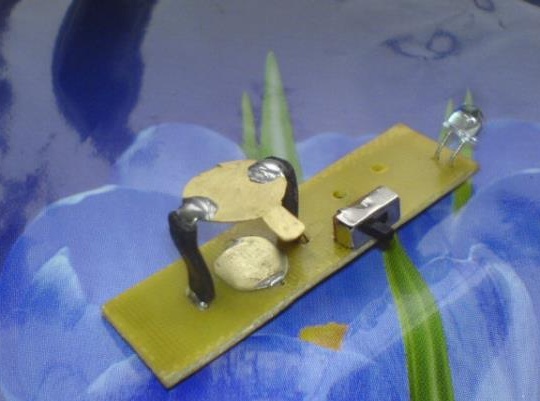
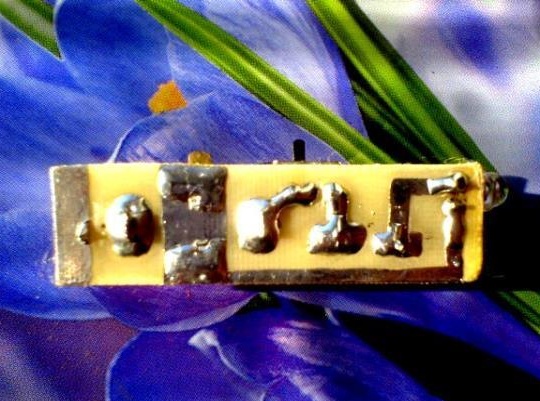
Subsequently, the scheme can be assembled, even a schoolboy will cope with this task. It is necessary to assemble the circuit so that when the position changes, the sensor closes the contacts and the LED lights up. It is important to observe the polarity, since the LEDs work only in one polarity.
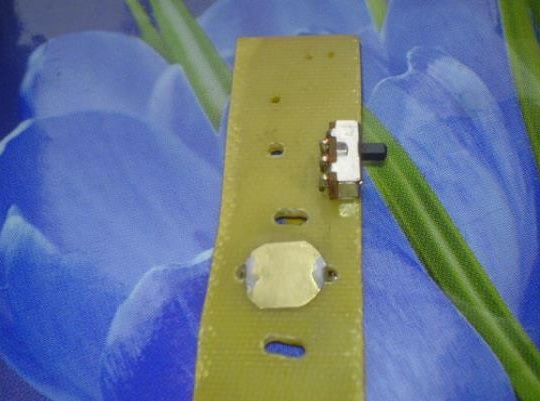
As for the switch, it is installed to break the entire electrical circuit. That is, you need to turn off the device.

Step 4. Installation of the electrical circuit
To attach to the board, a piece of PCB with a hole is soldered. Then with the help of this “ear” all this “electronics»Is screwed to the nut on the inside of the cap and inserted into the bottle. The device is ready.

The main advantage of such equipment is that it is light and compact. If you need to go fishing and you need to go far enough, you can take up to 10 such donkeys, which cannot be said about traditional fishing rods.