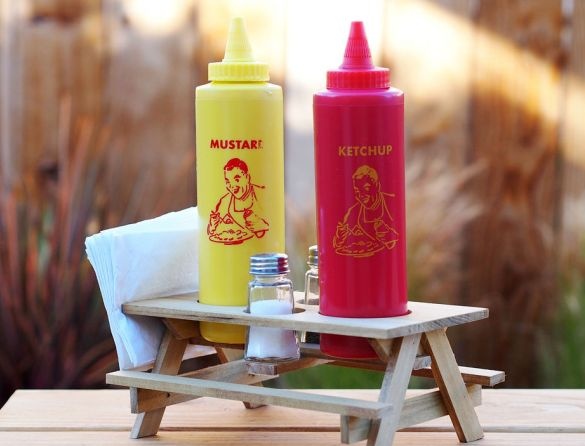
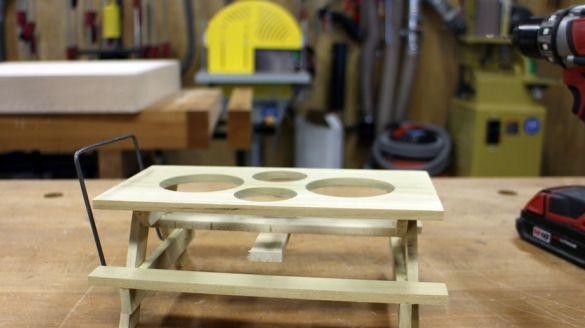
Agree, it is difficult to imagine a dining table without a set for spices and napkin holders. But what if we combine these elements of the kitchen interior into one multifunctional item? And to add to it stands for bottles with sauces! Then you will receive a wonderful set that will help you out not only during meals at home, but also become an indispensable assistant for picnics.
To learn how to make a kitchen stand for spices and seasonings do it yourself, watch the video and read the step-by-step instructions!
Necessary materials and tools:
- a set of containers for sauces;
- salt shaker;
- pepper shaker;
- rigid wire with a diameter of 3 mm;
- spray glue;
- a wooden board 0.6 cm thick (the author uses a board from poplar);
- sandpaper;
- a circular saw.
1 step
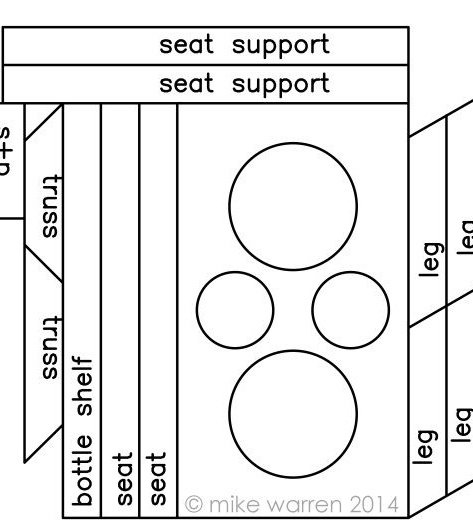
Print the layout of the stand on a sheet of A3 format - it will display the dimensions of the stand parts in full size.
2 step
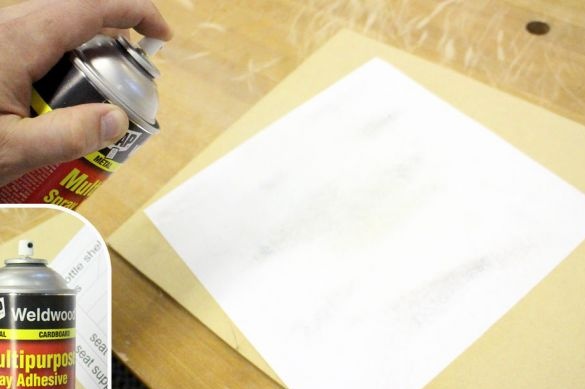
Spray paint on the back of the printed template and glue the sheet to a wooden board.
To ensure that the sheet adheres well, first sand the surface of the wooden board with sandpaper.
3 step
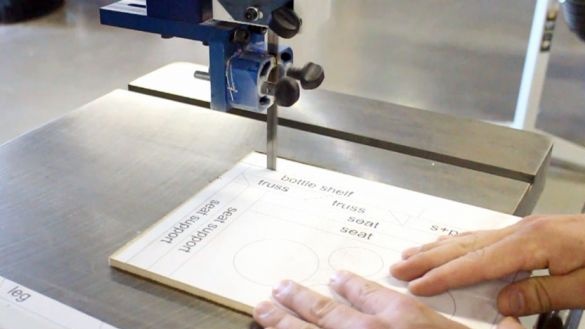
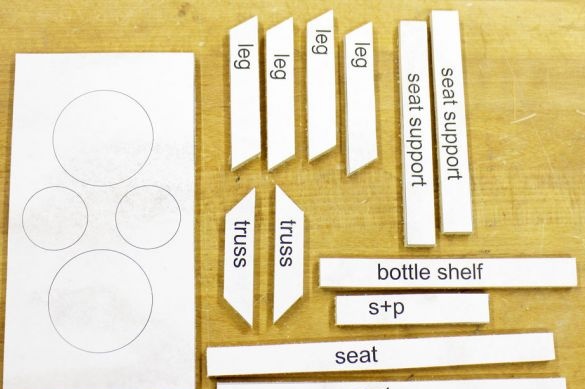
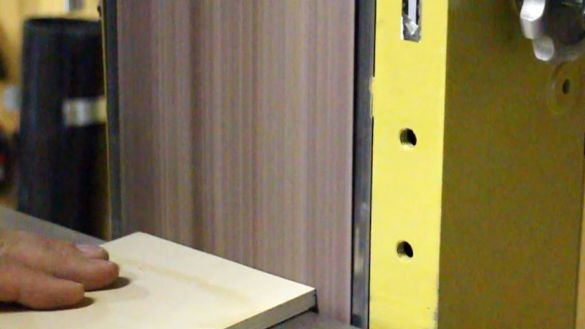
Using a band saw, cut the template into pieces along the marking lines.
As a result, you should get the following details:
- one countertop;
- 4 legs;
- 2 truss sections;
- 2 supports;
- shelf for bottles with sauces;
- shelf for salt shaker and pepper shaker.
4 step
Using sandpaper, sand all parts. Pay particular attention to the sides that have been sawn with a band saw.
5 step
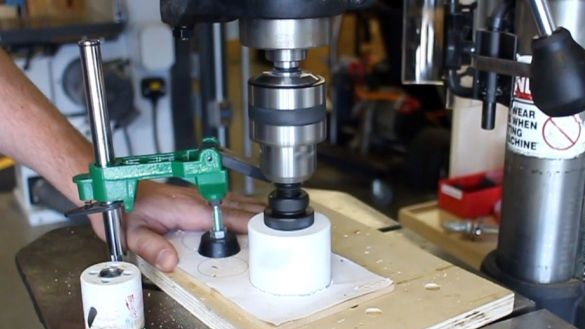
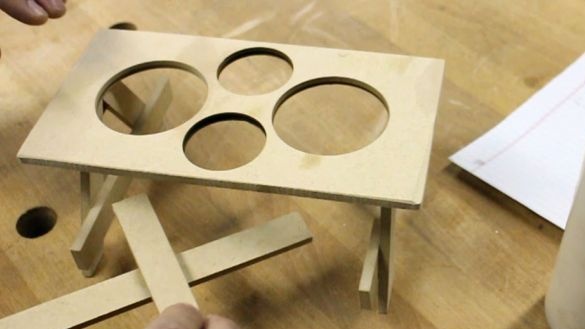
Now you need to cut holes in the countertop. To do this, use hole saws that are sized to fit the seasoning and sauce holes.
Then sand the edges of the round holes with sandpaper.
6 step
Now you need to glue the stand parts together.
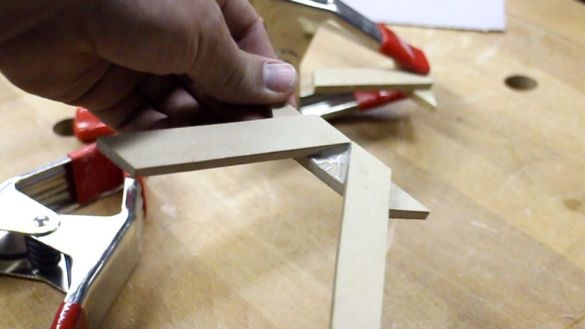
First, attach 2 leg parts to 1 truss section as shown in the photo. Repeat this step with the remaining parts.
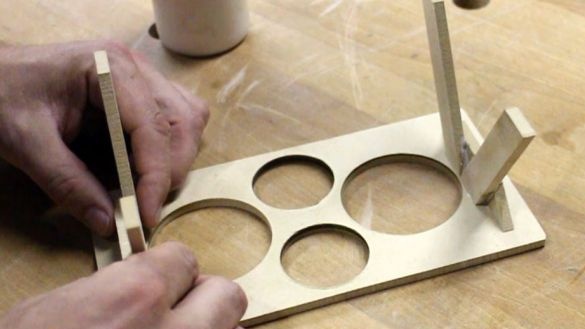
Then, guided by the photo, glue the legs made to the countertop.
Then glue the bottle shelf with sauces and the shelf for the salt shaker and pepper shaker crosswise as shown in the photo.
Glue along the support to the inner surface of each leg of the stand. On these supports will be shelves for sauce and spices glued together crosswise.
If desired, you can stick 2 more supports - along the length of the stand (one support on each side). Then the design will have a more complete look.
After all the parts are glued together, leave the stand to dry for a day.
7 Step
Now you need to make a holder for napkins.
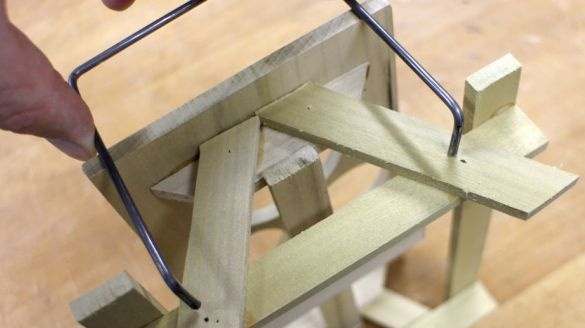
The author suggests making a holder from a wire with a diameter of 3 mm. For this, the wire needs to be bent into a U-shaped structure. Its size should correspond to the size of the side of the stand.
To fix the holder, make holes in the stand leg equal in size to the diameter of the wire.
8 Step
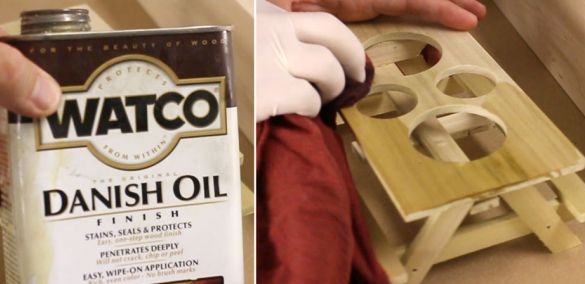
As a final step, cover the stand with linseed oil using a rag. Perform this step in a well-ventilated area, after wearing gloves.
Leave the product to dry for a day.
Now the stand is ready, put sauces and spices, as well as napkins in it, and you can enjoy its use during the next meal.

