Such a detail as a wing is present on almost all bicycles and protects the cyclist from drops of water and stones flying from under the wheels when riding. But what to do when there is no wing, it is broken or you just want to give your bike original look? Of course, you can go and buy a wing in the store, but there it’s not always possible to pick up something original or not expensive. And you can make a wing yourself. true homemade described in the article from an aesthetic point of view is suitable only for certain types of bicycles, but if everything is done correctly, it will look very impressive.
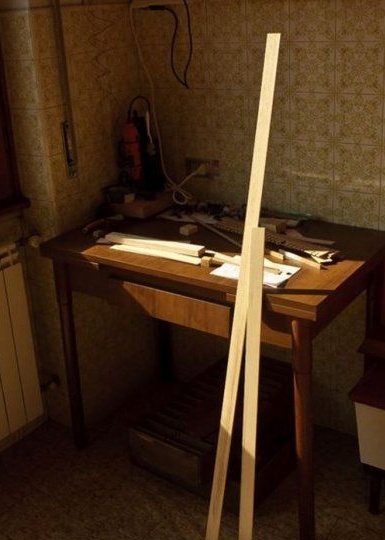
To get started, we need two wooden profiles. On the front, the length of the workpiece is 1m, on the back 1.5m. Recommended wing thickness should not exceed 10mm.
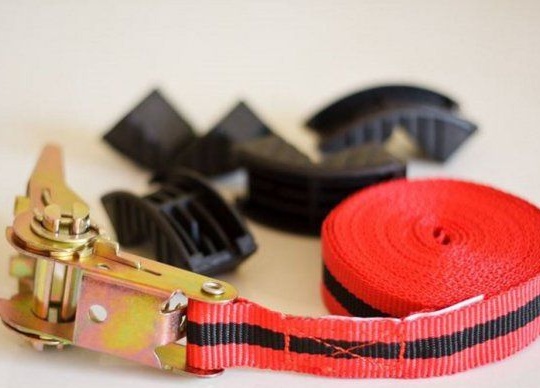
A lingering belt will also be needed to bend the wings.
Step 1. Softening the wood.
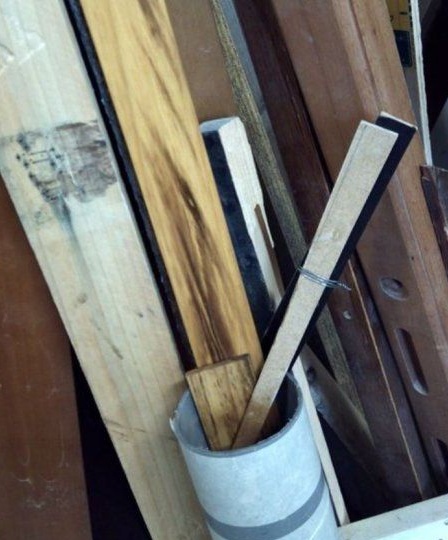
In order to bend the workpieces under the radius we need, they must be soaked in water. After that, they will be much more obedient when bent, will not crack, and after drying will keep their shape. Soaking lasts several days.
In this article, the author uses a plastic pipe as a reservoir, hermetically closing one end.
Step 2. Bending.
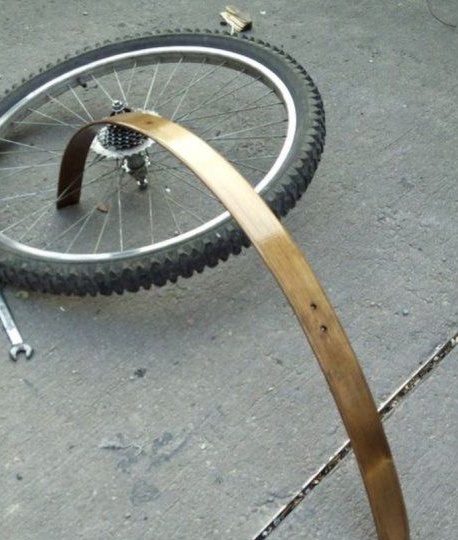
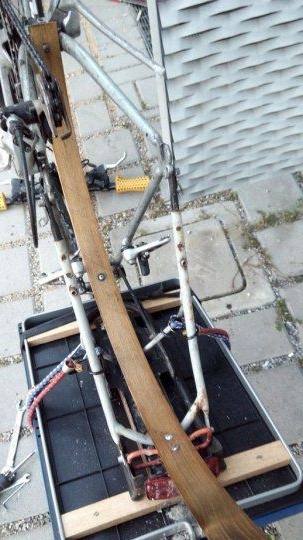
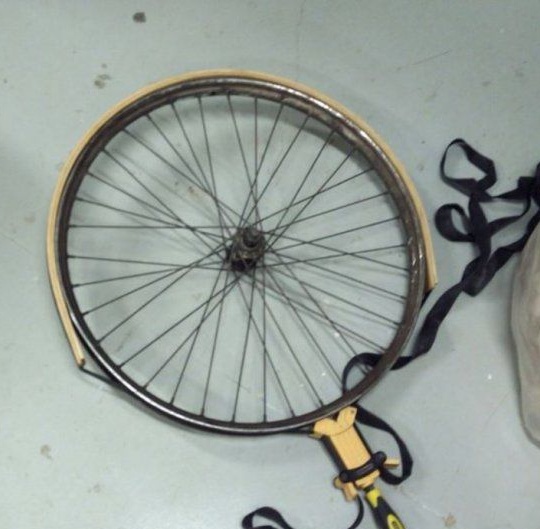
To bend the workpiece, the author uses a wheel with a diameter of 66 centimeters. Wood bends around a wheel and is fixed by a belt. Next, you need to wait until it dries completely, it can take two to three days.
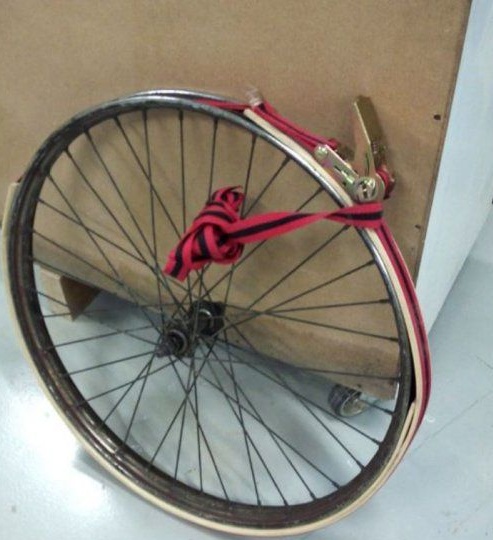
Step 3. Cut off the excess.
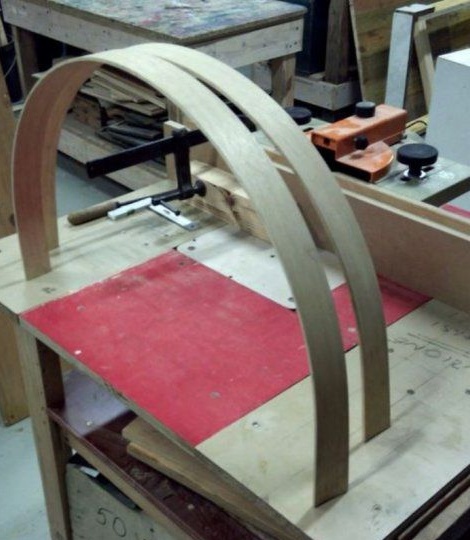
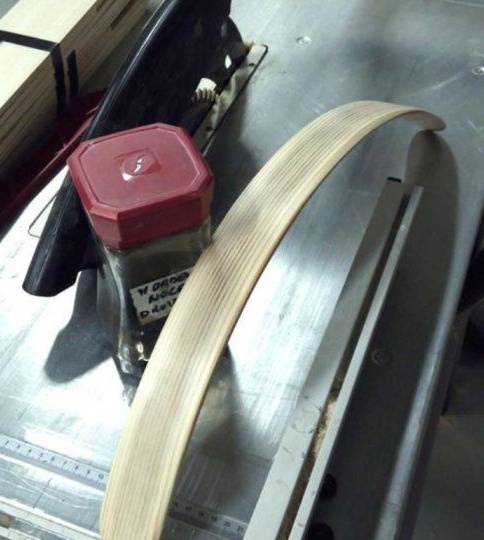
Remove the wing from the wheel. As you can see, the workpiece has dried and holds its shape perfectly. We need to take measurements and cut off the extra ends of the wing. For each bike, individual sizes.
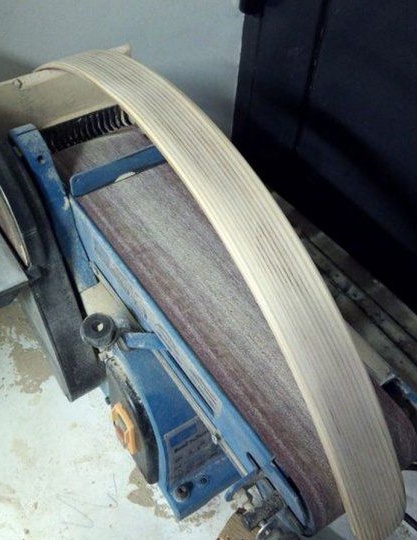
The next step is to smooth the corners on the grinding machine. After that, the wing surface is sanded with fine sandpaper.
Step 4. Painting.
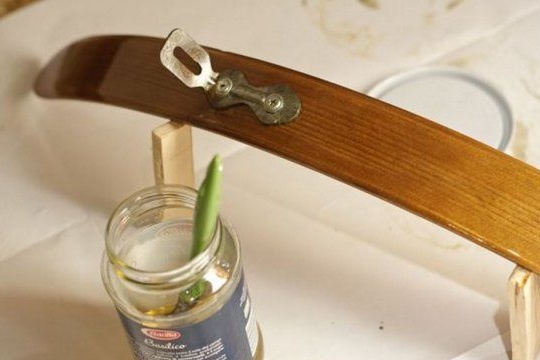
In the article, the author chose the color of a walnut.
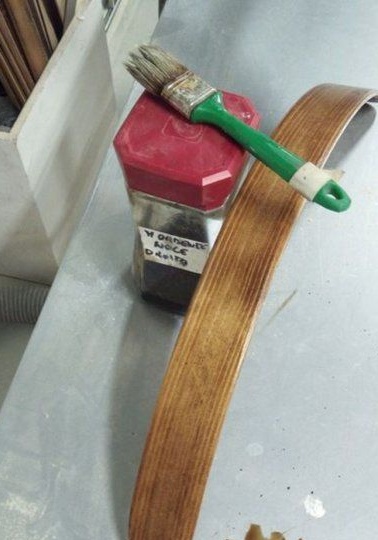
Step 5. Install the mounts.
The wing mounts will be easiest to use ready-made (unless of course available), but you can make them from sheet metal 1-1.5mm thick. They must be stiff enough to hold the wing.
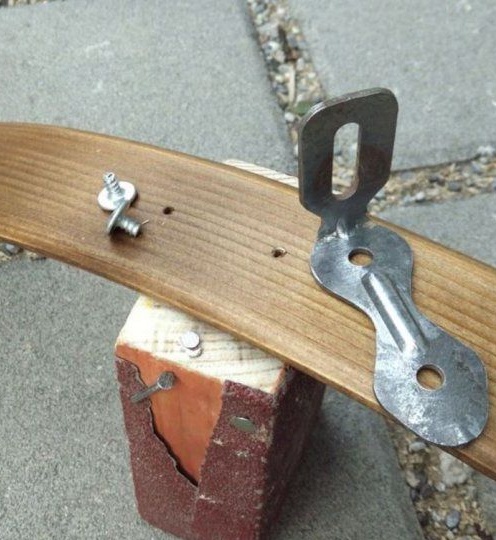
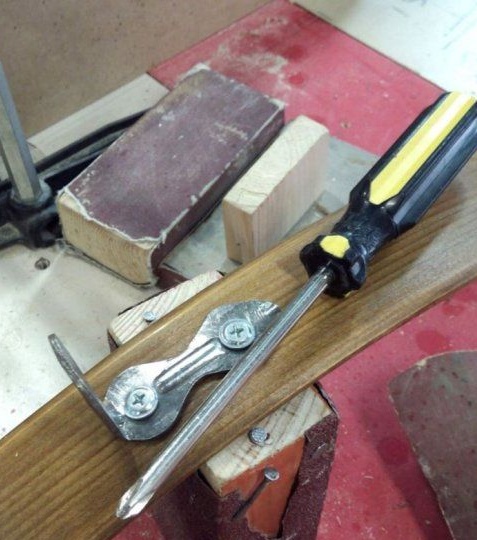
Step 6. The protective layer.
Considering that moisture can get on the wing, it is necessary to apply a certain number of layers of protective paint.
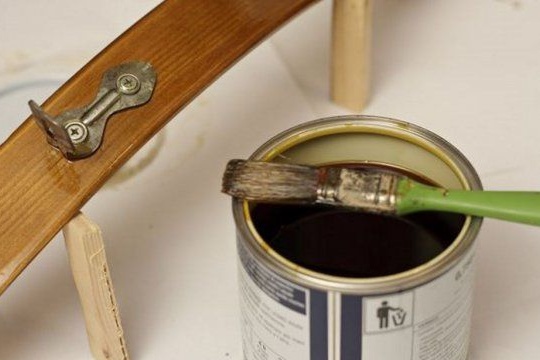
Step 7. Install the wings.
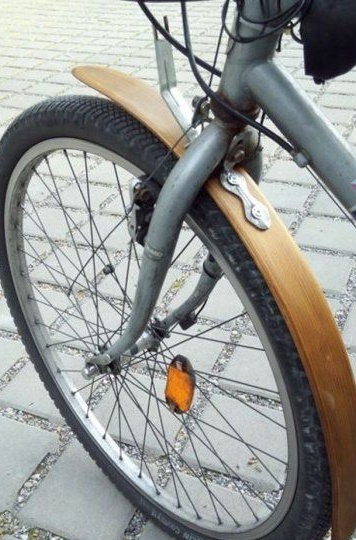
Further, the matter remains small - to install the wings on the bike and enjoy their spectacular look!
