what you need for this is the necessary tools and materials, as well as a little patience. Once all the stages of work have been completed, you can enjoy your work done. Fig. 1

1. The first thing you should do is lay the tiles on the floor. Of course, the color and size of the tiles you choose. Be sure to also use the tile cutter for convenience. Fig. 2,3
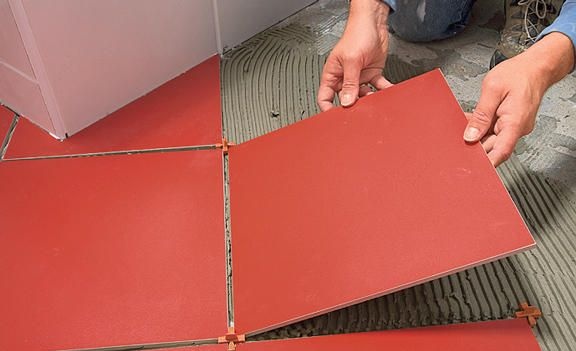

2. When laying tiles on the floor, be sure to use special electrical wiring connections. Fig. 4.
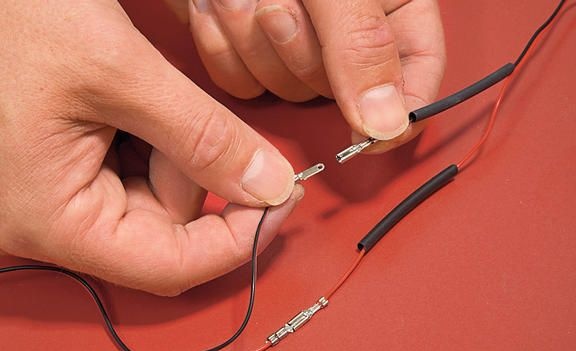
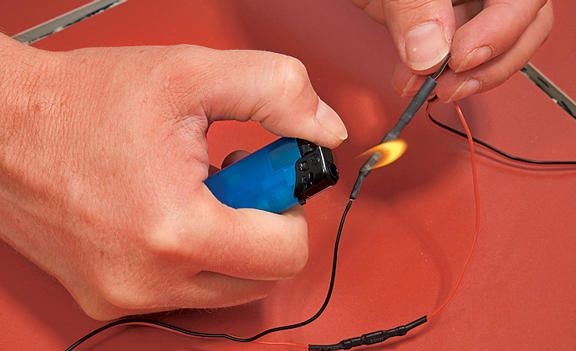
3. Now take the required number of special cross-shaped elements with an LED (they look like this Fig. 6

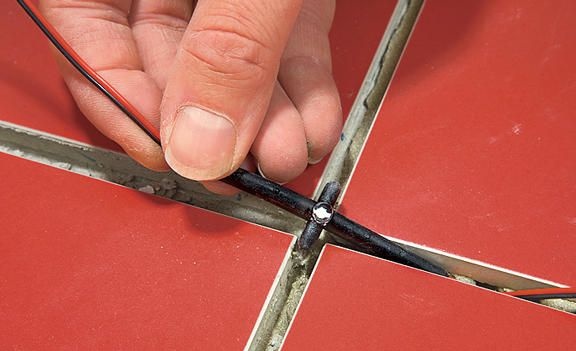
4. Next, try to carefully deepen the wires so that they do not peek out because of your tile. For convenience, you can use a match. Fig. 8
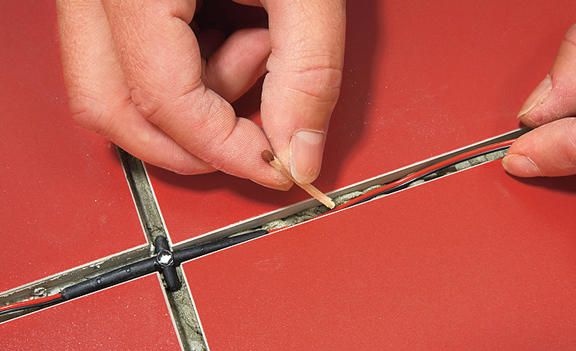
5. Now begin to plan the gaps between your tiles. Remember that the appearance of your LED flooring directly depends on how you complete this process. Therefore, try to do all the work carefully, carefully and slowly. Fig. 9
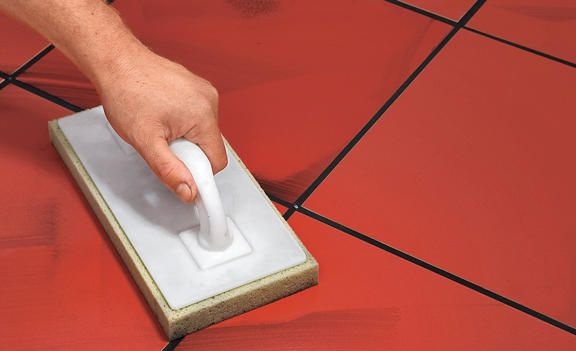
6. As a result, you get such beauty. Believe me, as soon as they shine in the room - your guests will be simply stunned. Fig. 10

