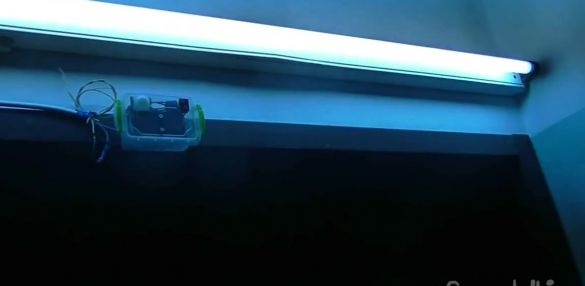
This article provides an overview of the video on the hand-made production of light on a motion sensor.
Let's start, as always, by watching the author’s video
We need:
- motion sensor HC-SR501
- NPN transistor C2482;
- single-ampere diode;
- 9 volt relay;
- two buttons;
- two rechargeable batteries 18650 6000 mAh;
- boxes for batteries;
- terminal block;
- furniture corners;
- heat shrink;
- capacity for the housing.
First of all, we note that the voltage of the motion sensor can range from 4.5 to 20 volts, despite the fact that manufacturers indicate 5 volts on the plus foot. The rightmost wire is needed for grounding, the middle wire is the output on which 3.3 volts appears when the sensor is triggered.
There are also two resistors on the sensor. The left one allows the owner to adjust the range from 3 to 7 m. The second resistor is responsible for the duration of the pulse on the middle wire when an object is detected from 5 to 200 seconds.
The photo below shows the assembly diagram of the entire structure.
The rated voltage of the relay is 9 volts, and the total voltage of the batteries when connected in series is 8 volts, which is enough to trigger the relay.
At the bottom of the tank, you need to make two holes for the terminal block.
Two more holes need to be made on the lid of the container. They will be needed for batteries. In addition, you need to take care of the holes for the buttons and the sensor.
We assemble the design according to the scheme.
Do not forget to insulate everything with heat shrink.
It is especially important to take care of the top switch, since it will have a voltage of 220 volts. This switch will bypass the relay contact, which will turn on the light without the device we have assembled.
We also note that during the installation of the motion sensor, be sure to turn off the power on the corresponding machine.

