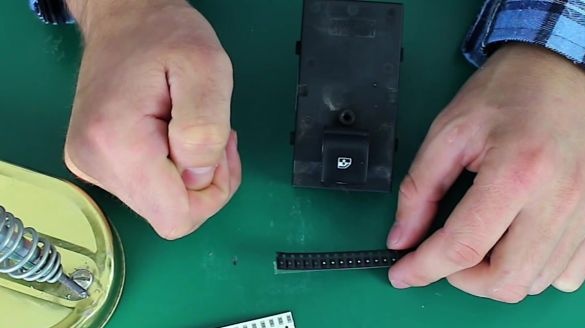
We decided to devote this review to automotive topics. We share the idea of independently making the backlight of the electric lifter buttons in car.
Let's start by watching the author’s video
[media = https: //www.youtube.com/watch? v = G9X3Mfe762o]
What do we need:
- copper wire;
- SMD LEDs;
- SMD resistors;
- soldering iron;
- file;
- module of electric lifts.
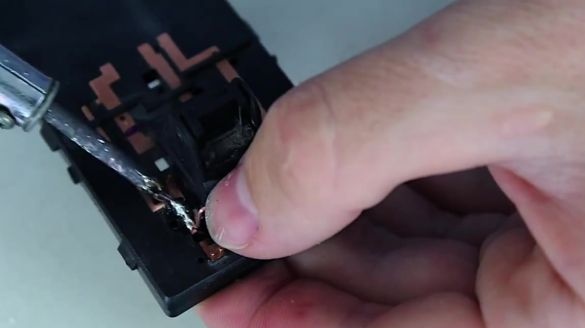
The author uses 3 volt and 20 mA ultraviolet LEDs and 680 ohm resistors. You should pay attention to the choice of resistors, since you should not use resistors for 12 volts, but for 14, since the backlight will work with the engine running, that is, when the generator produces 14 volts. We also advise you to sharpen the tip of the soldering iron before work, since the SMD parts are very small and soldering with a large sting will lead to flooding of the entire resistor with tin.
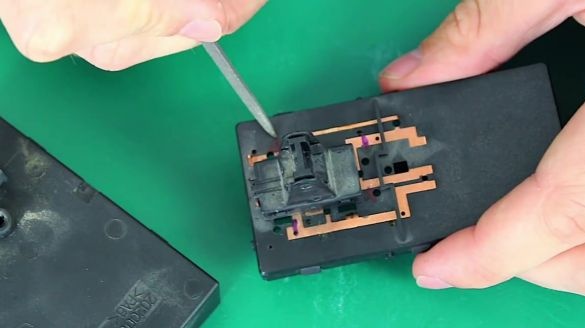
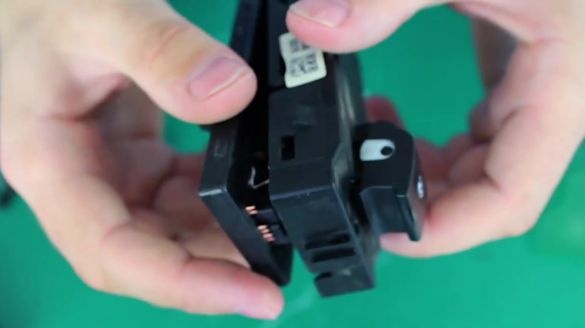
Remove the cover from the electric lifter module. You should start by determining the polarity of the tracks using the tester.
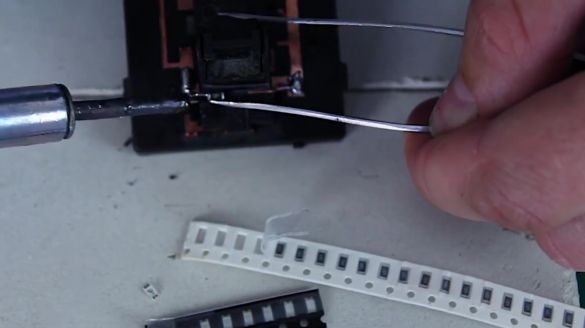
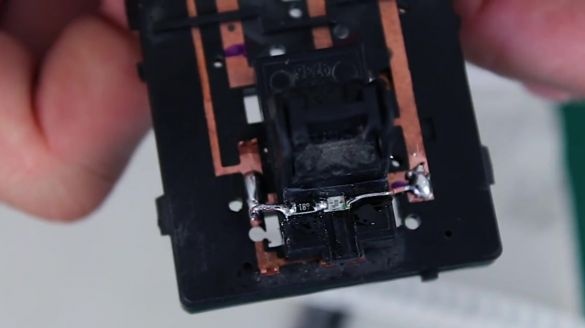
Solder pieces of copper wire to the plus and minus tracks.
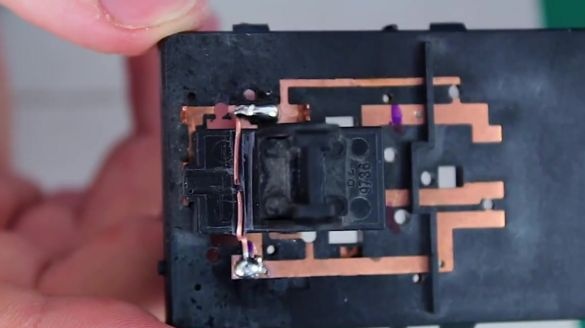
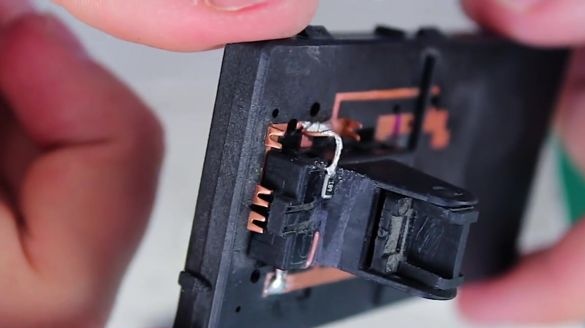
Then we solder the resistor to the wire coming from the plus.
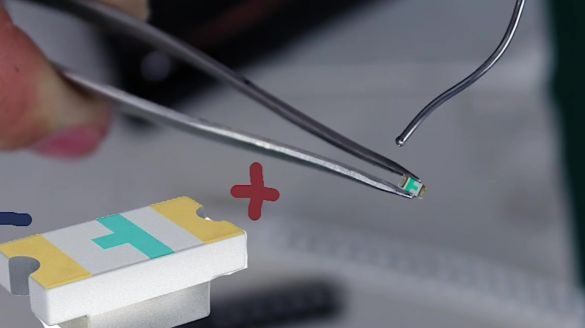
After that, the SMD LED should be soldered to the resistor, while maintaining polarity. The anode of the SMD LED, which is also a plus, is located at the dash, but the cathode or minus does not have this feature.
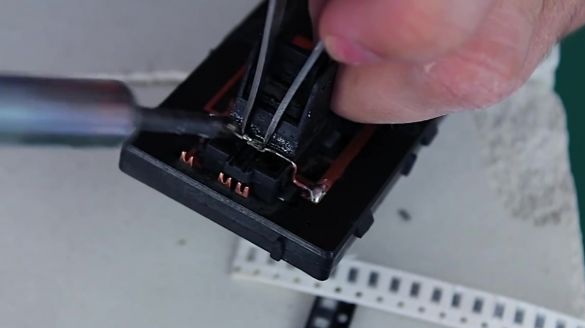
Solder the cathode to the wire coming from the minus.
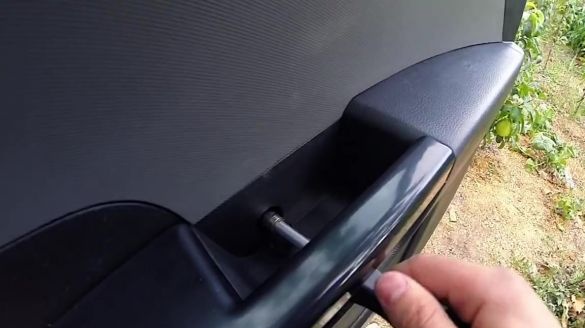
Our backlight is ready. You can safely install the module in the door.

