
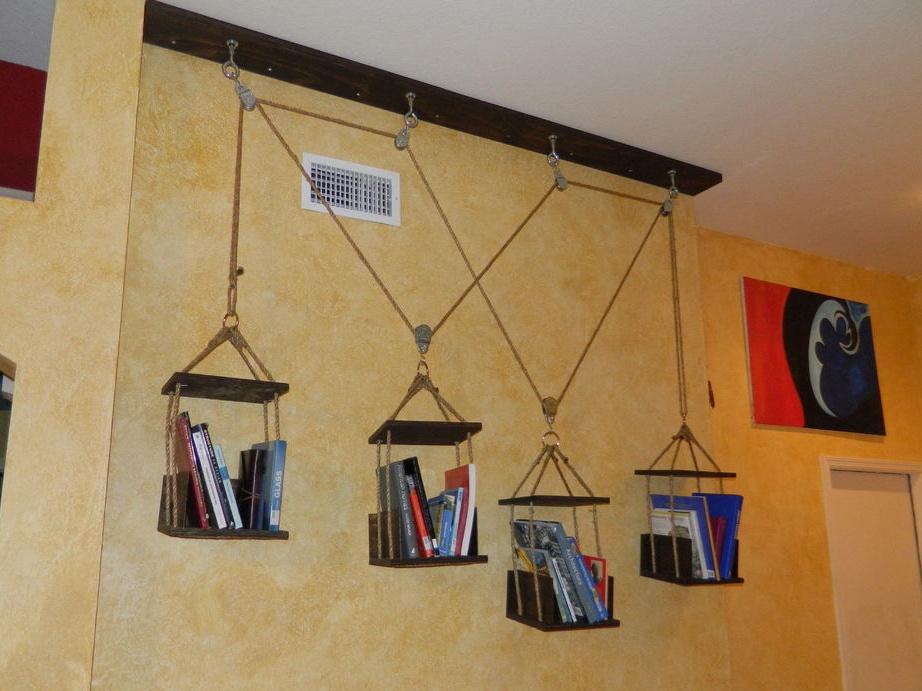
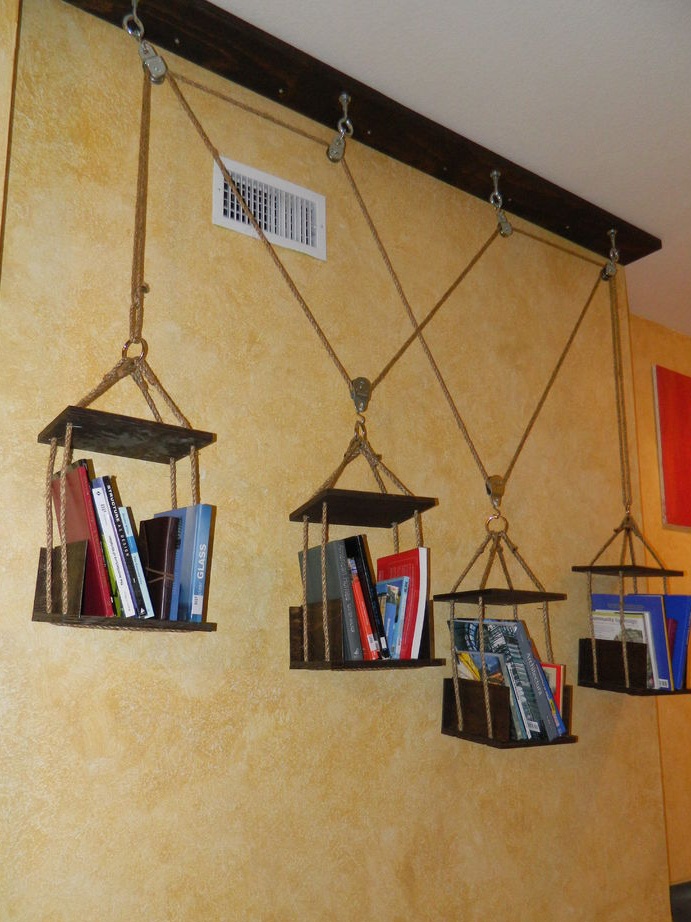
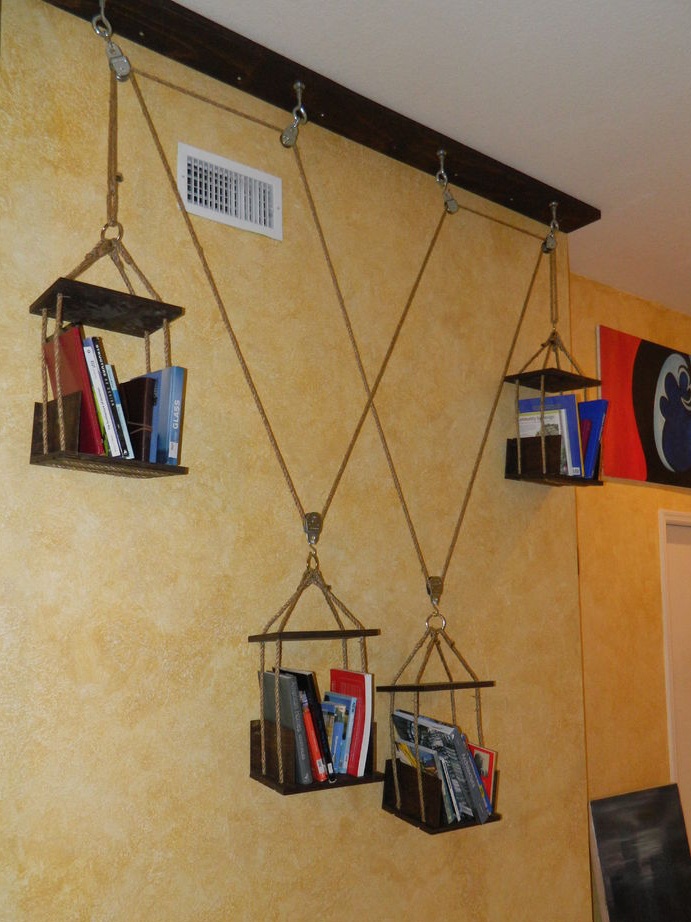
In case you do not have optimal of furniture for storing books, then a great option for you to make a couple of shelves is suitable. In order not to spoil the wall and interior, then to your attention we will consider a system of hinged racks.
Used materials:
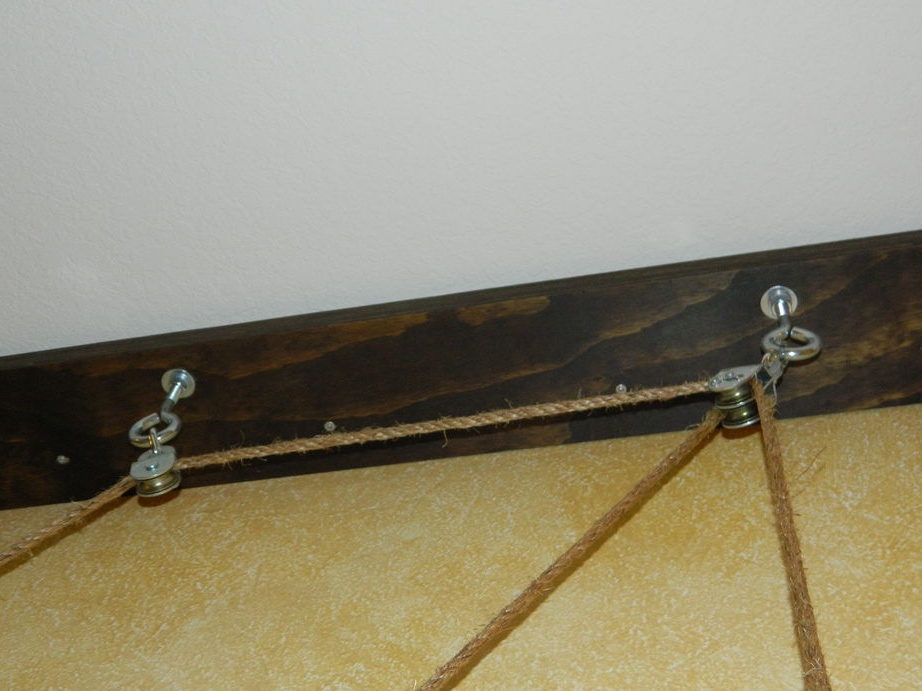
1. 6 pulleys (4 simple and 2 paired).
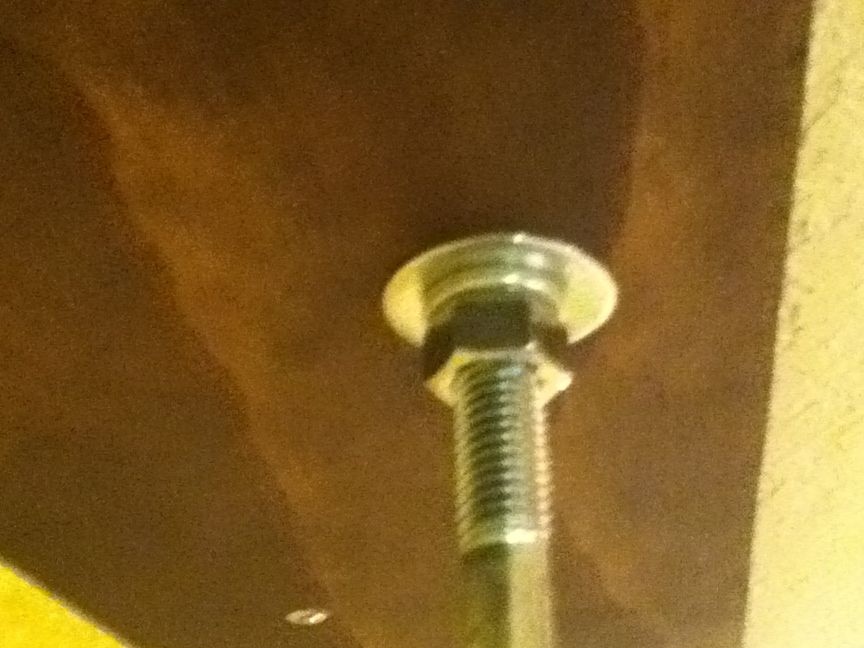
2.4 eyebolts 1.3 cm to 15 cm.
3. 4 large hooks in the figure of the letter "S".
4. A long rope (12 m).
5.8 ropes, length 1.5 m.
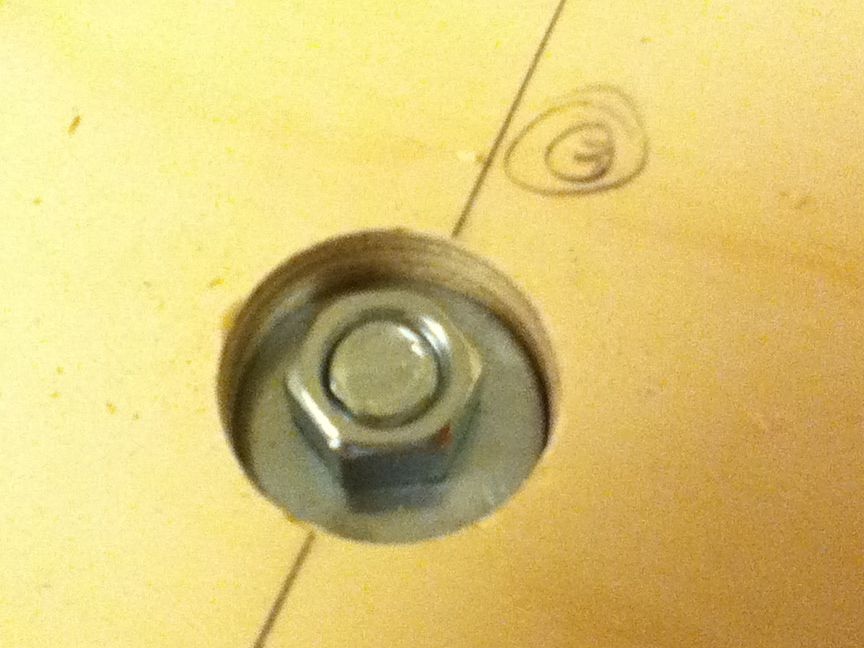
6. 8 nuts in 1.3 cm under the volume of bolts.
7. 4 spring washers 1.3 cm.
8. 8 straight washers diameter 1.3 cm.
9. 4 metal rings, 4-5 cm diameter.
10. Box with elongated capercaillie, all 10 cm long.
11. Glue for wood.
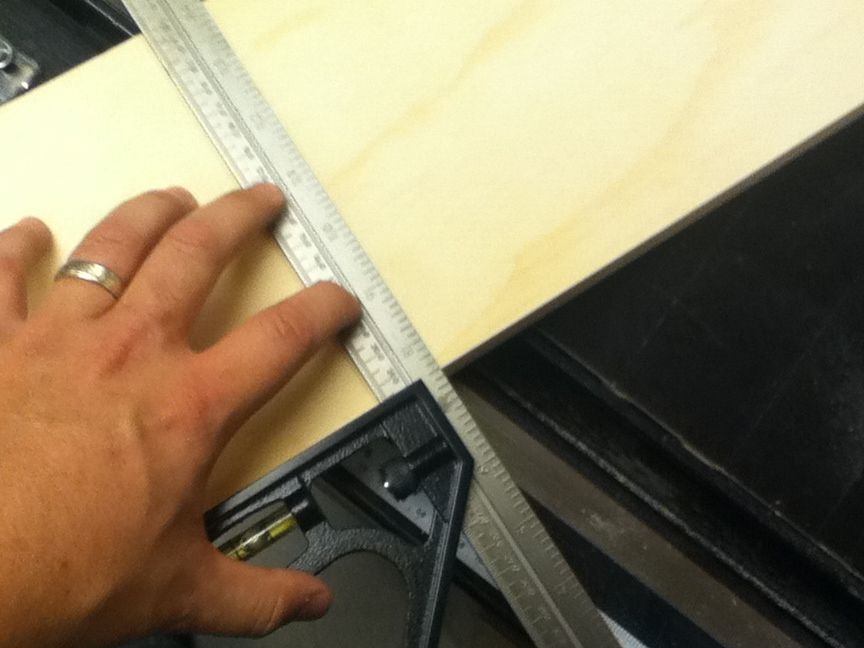
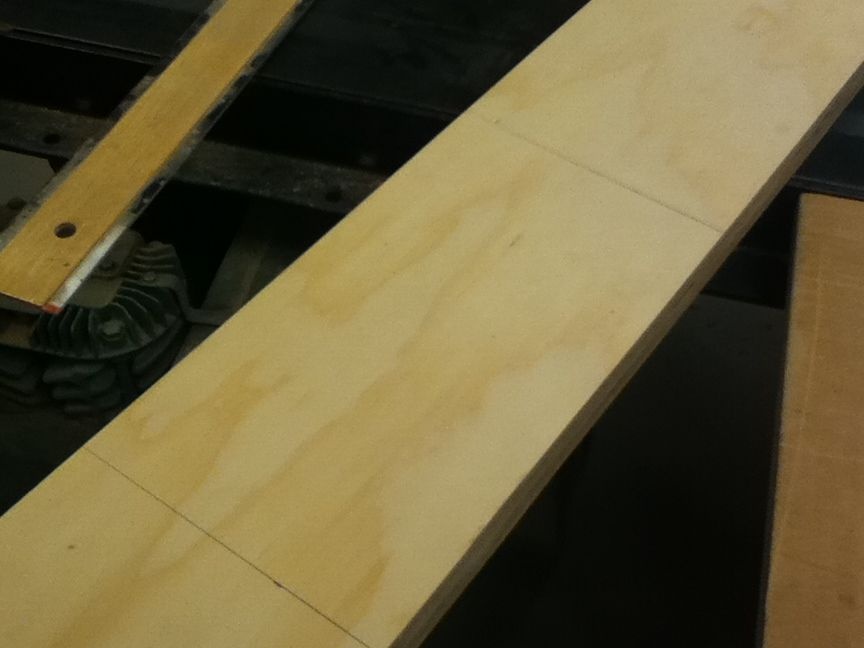
12. 2 birch boards 2 cm wide, which will become the main support according to the length of absolutely all the shelves.
13. 4 lower and 4 upper boards for the shelves themselves (volumes 30 cm by 23 cm and a thickness of 2 cm).
14. 4 side boards (22 cm by 15 cm by 0.3 cm).
15.4 back boards (30 cm by 15 cm by 0.6 cm).
Stage 1: Site Definition
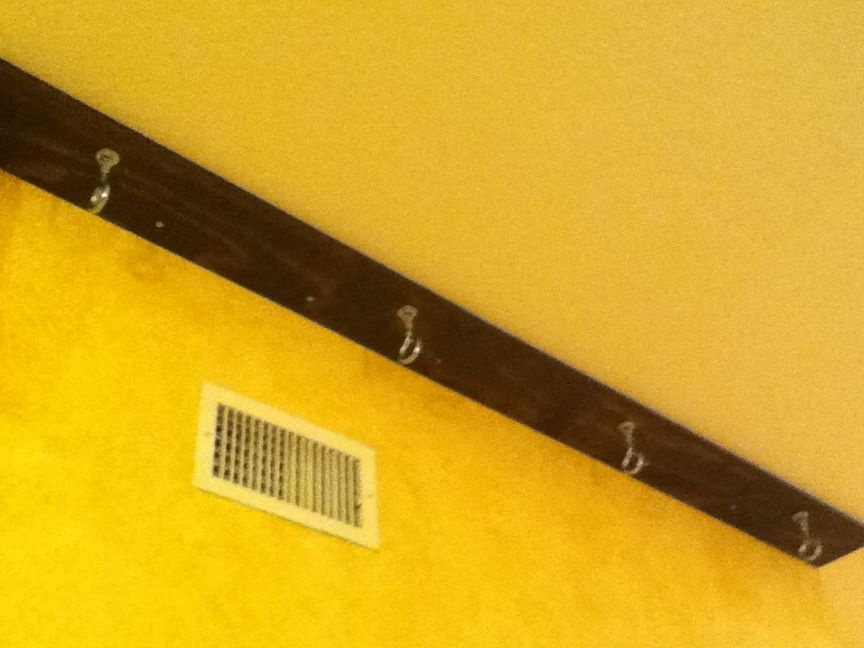
You need to find the right place. The ceiling plays an important role, everything is curled from it. As a rule, a similar design is screwed to a flat wooden beam, and the ceiling must withstand a lot of shelving.
We exclude fastening to a bare wall, this should never be done. Calculate the space you need from these circumstances.
Always be guided by your size.
Stage 2: Prop
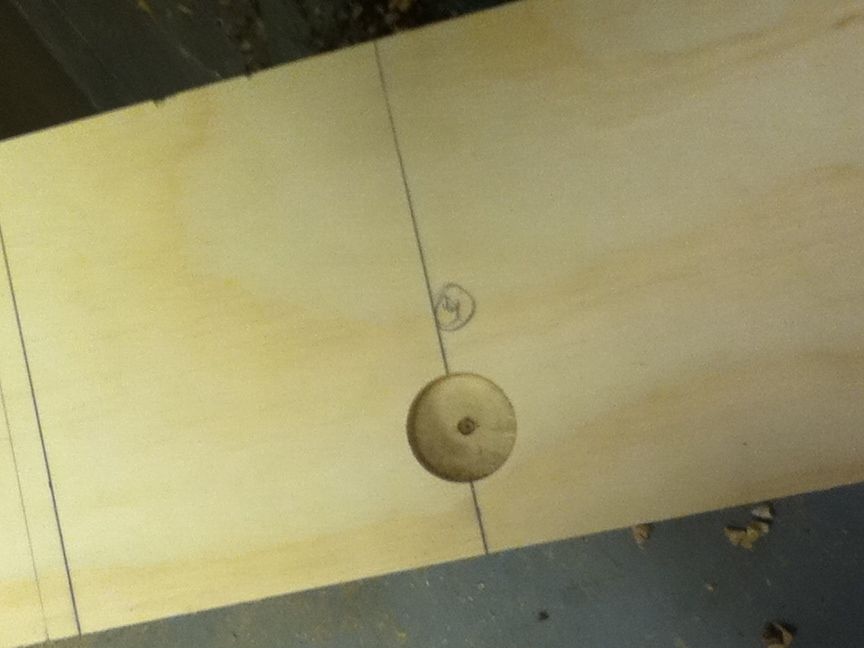
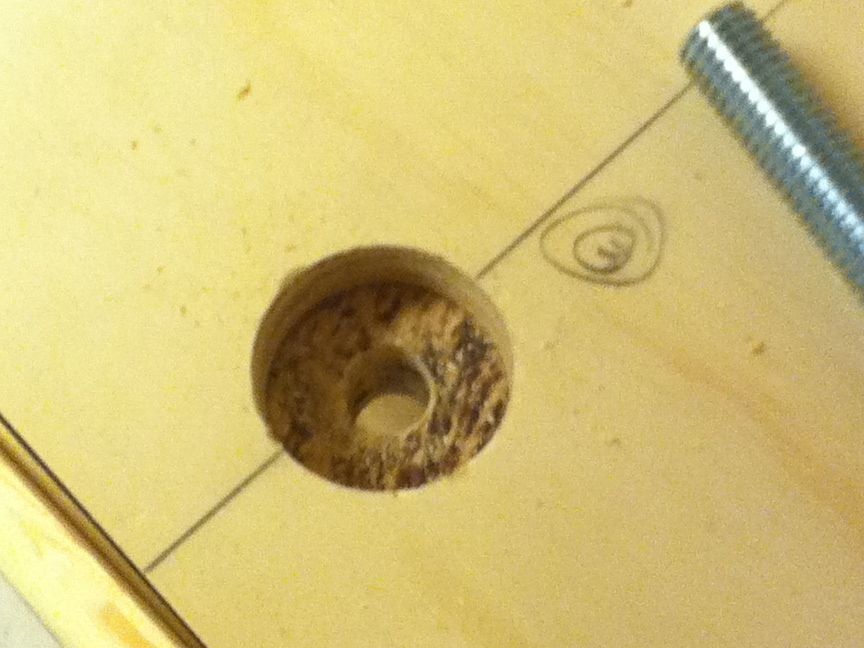
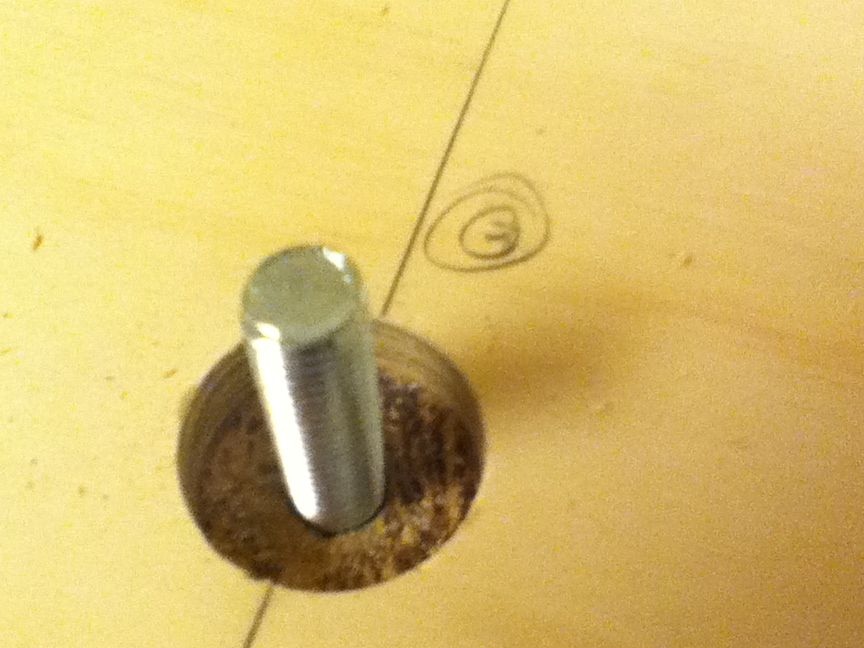
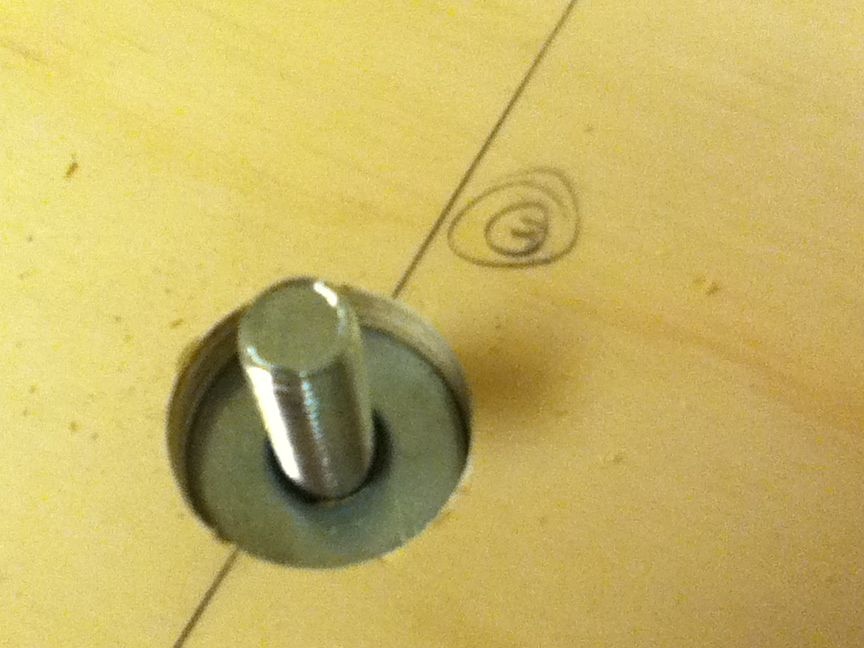
We will have 4 racks coming out, for this reason you will need 4 supporting places for them.
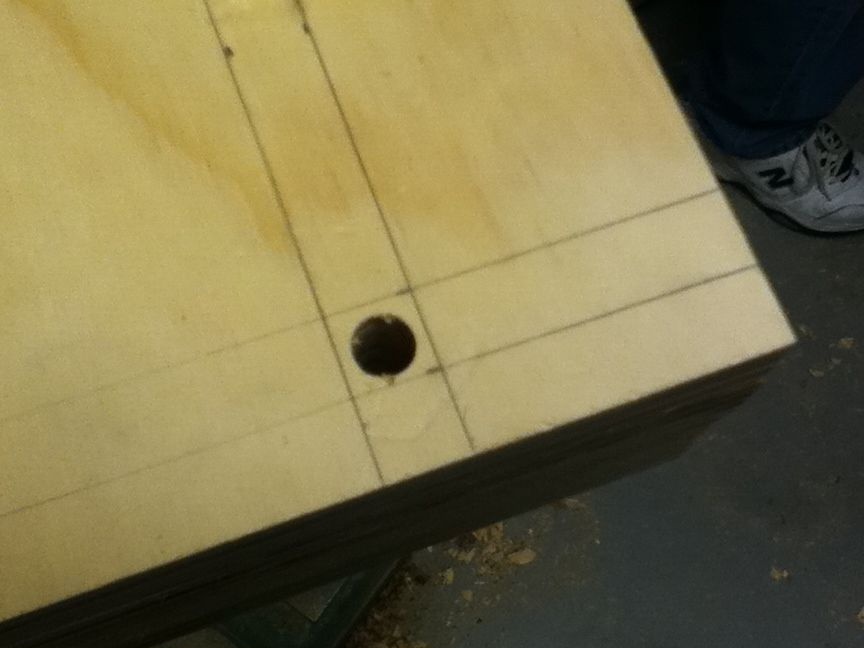
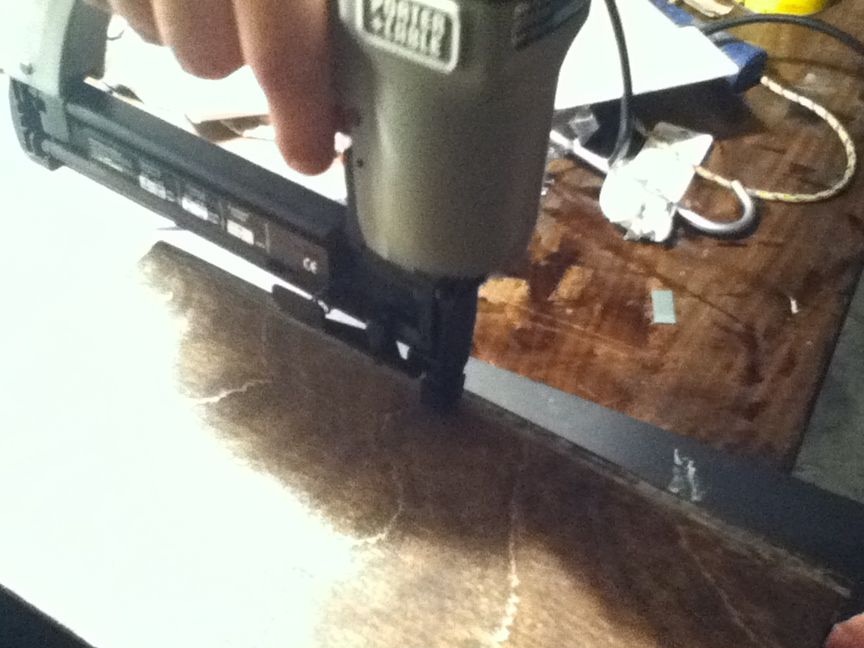
We cut the boards according to the length we need. We make 4 holes with a depth of 1.3 cm and a diameter of 3 cm. 4 screws must be inserted not in the middle, but 2 cm from the edge. We glue the boards, paint (according to taste) and fasten to the ceiling, apply all, without exception, nuts, screws and washers.
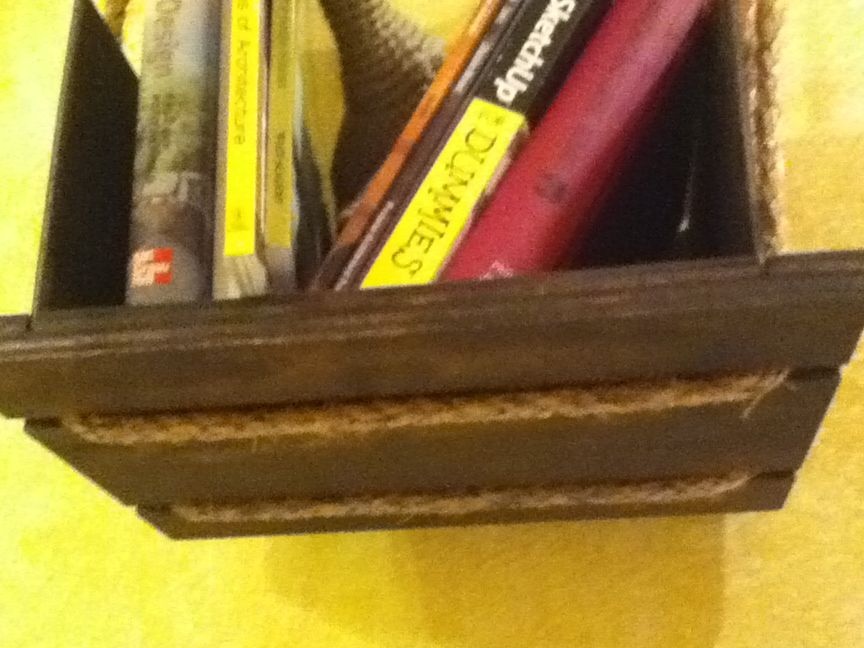
Stage 3: Book Racks
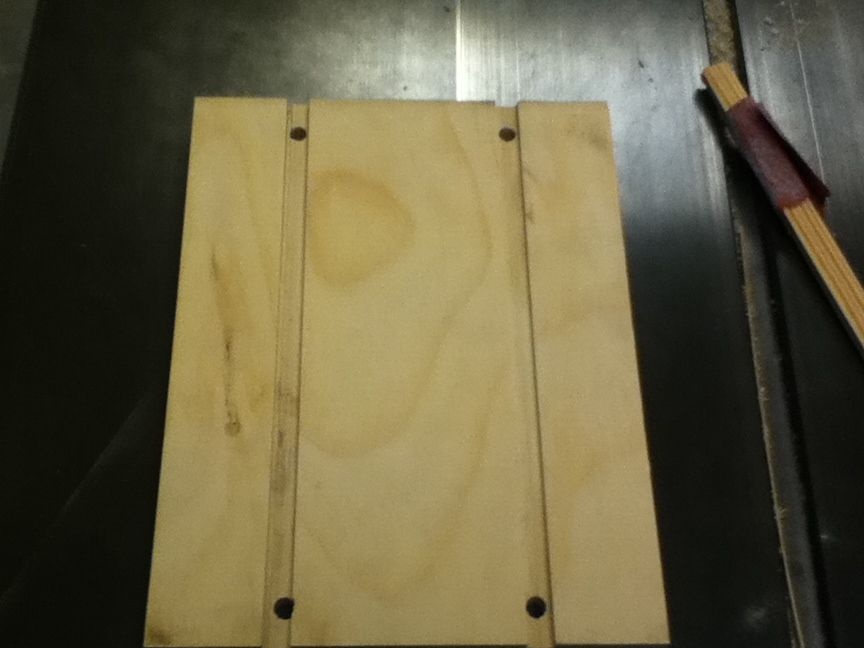
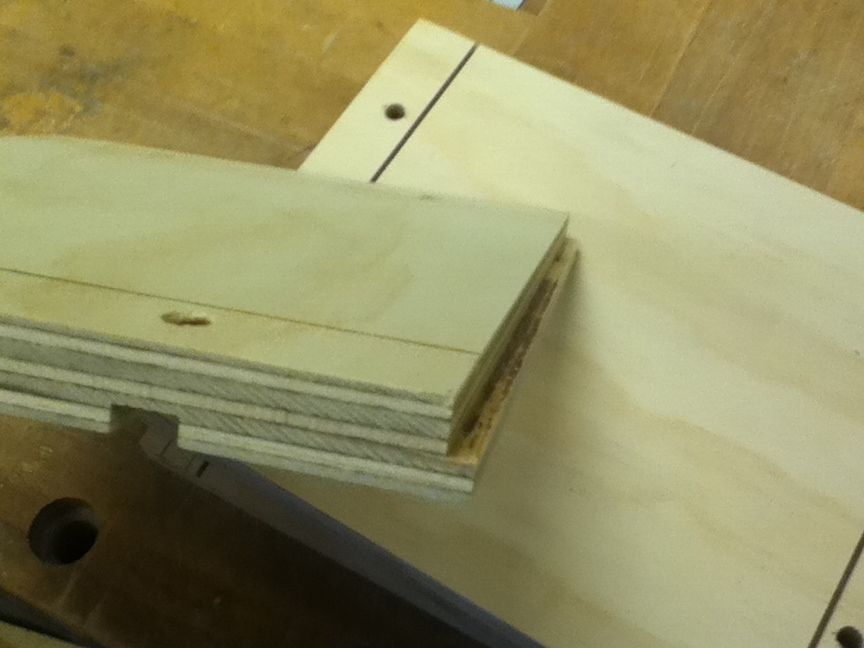
All shelves are made from 5 boards.
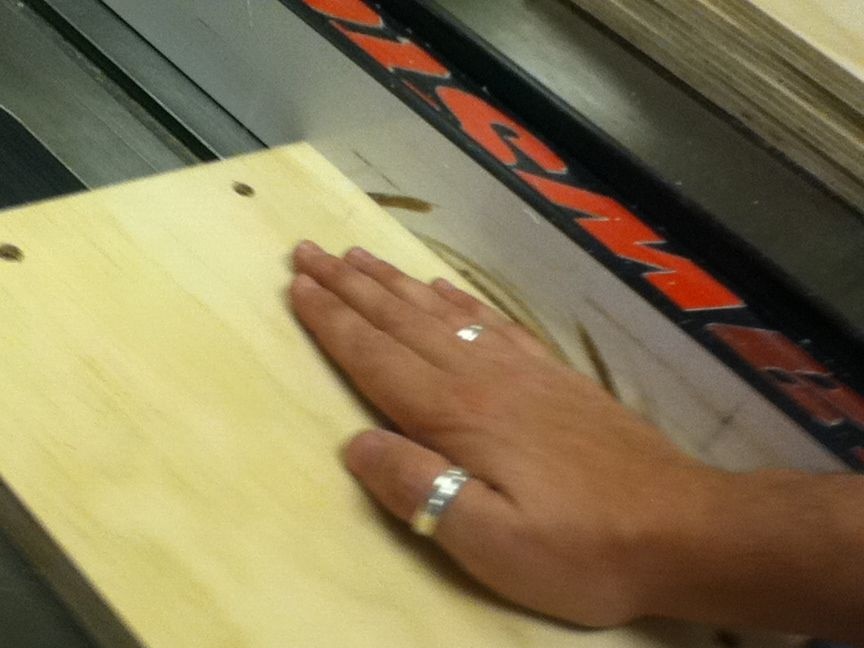
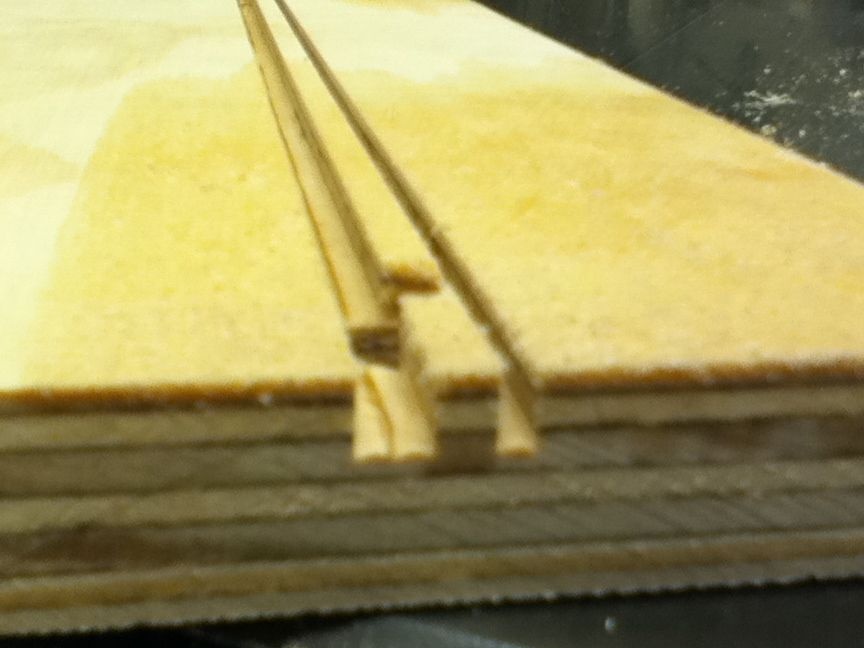
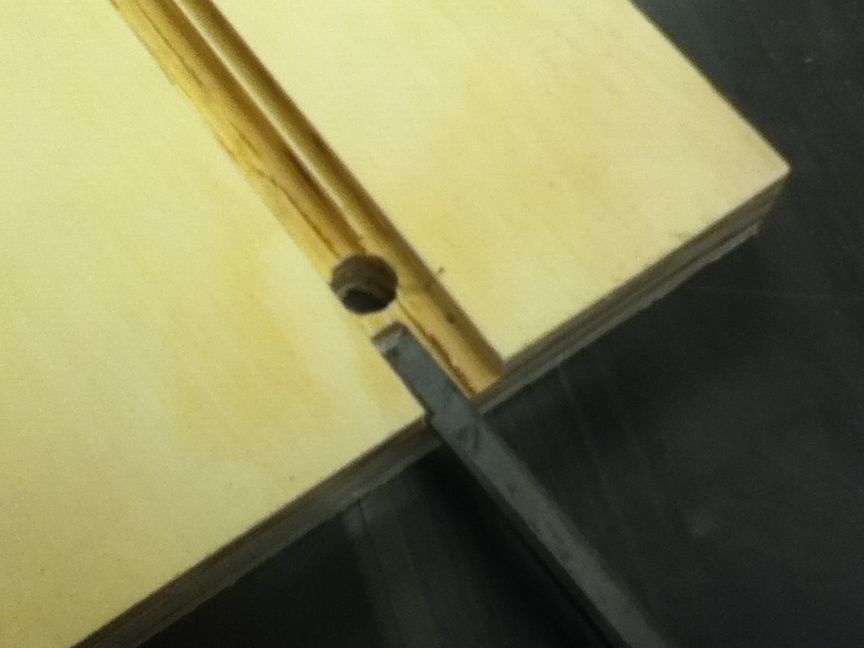
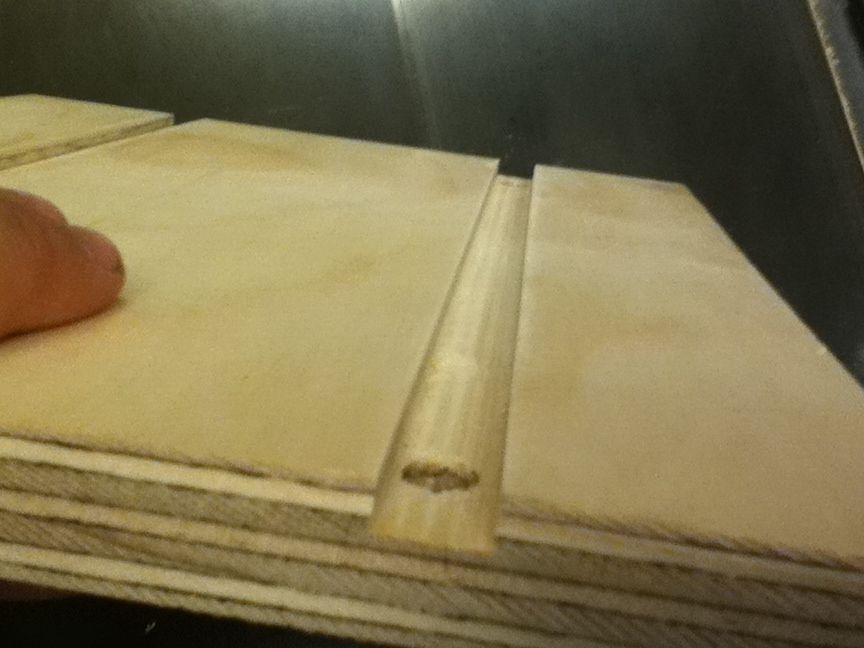
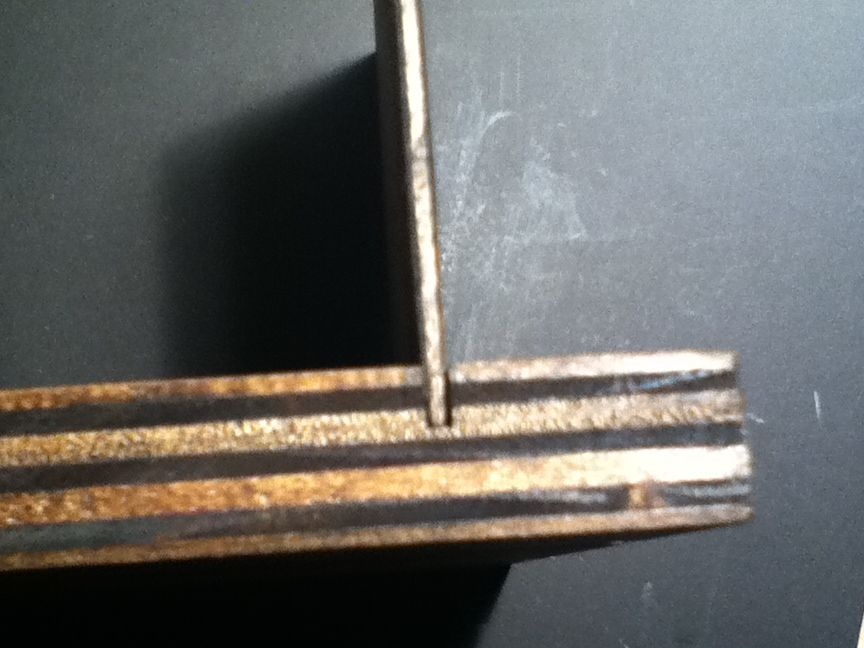
It is necessary to make 4 holes for the rope from the upper edge and 4 for the lower edge. We make slotted directions with the blade for connections to the upper and lower platforms (see figure. 3, 4, 5, 6) with a depth of 0.6 to 1.3 cm. We clean all planks with sandpaper, without exception.
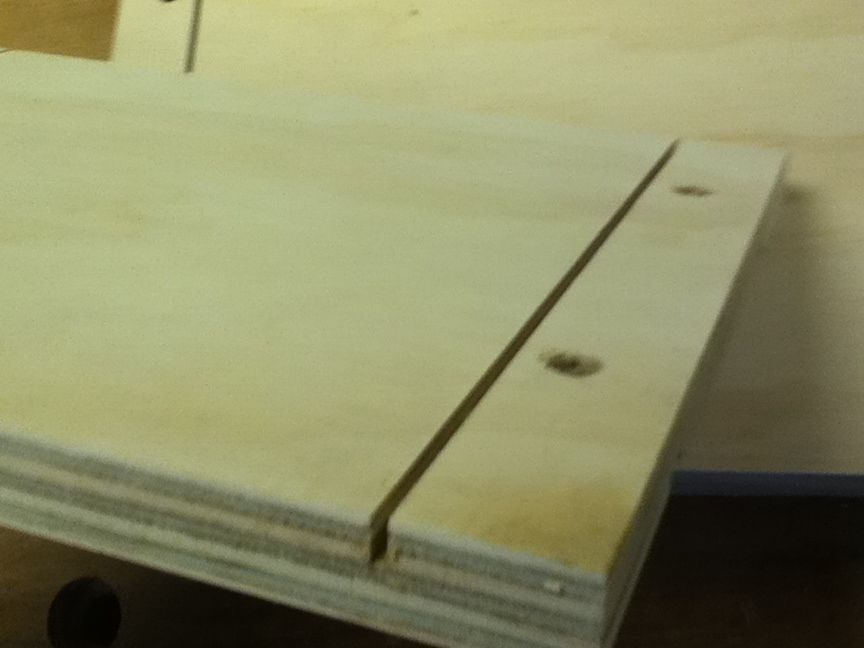
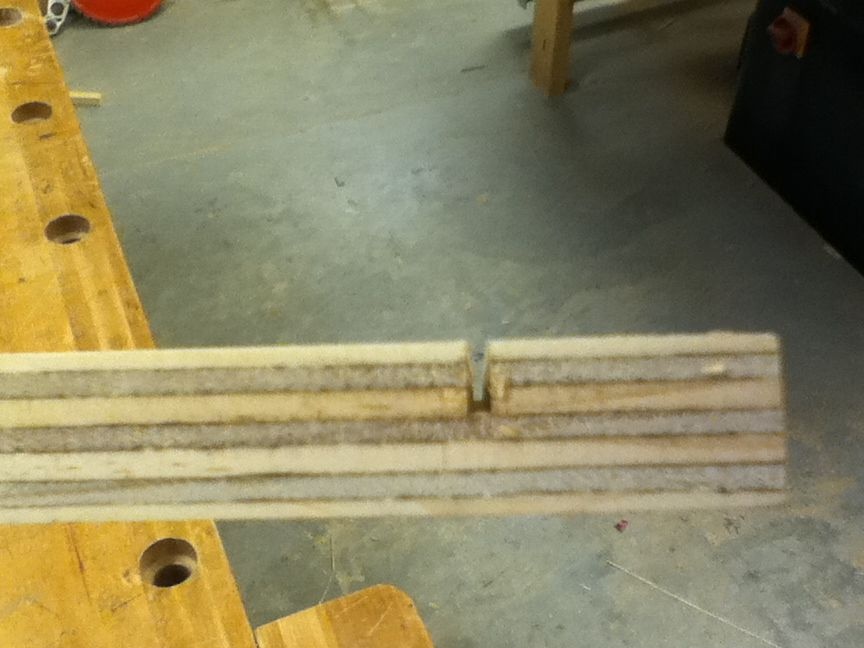
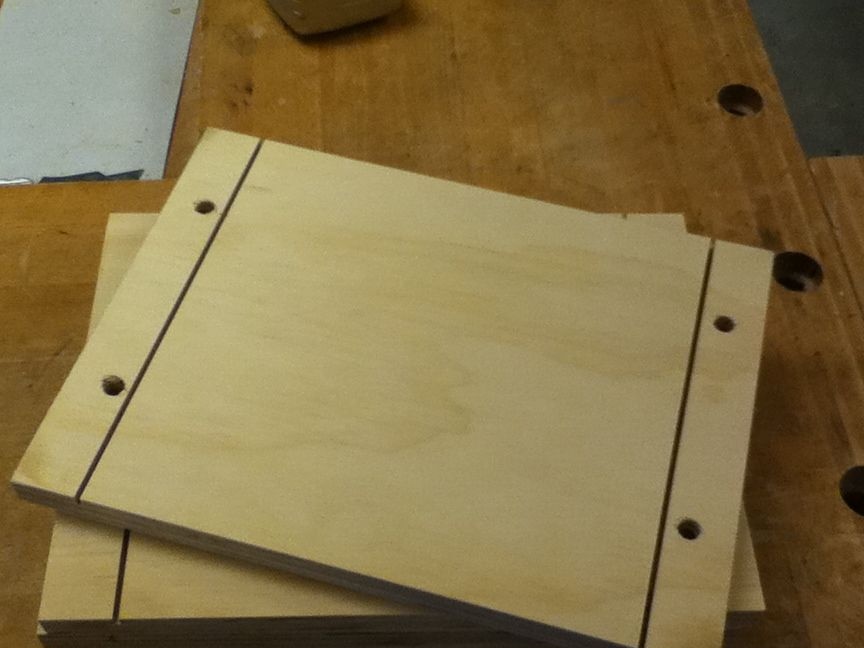
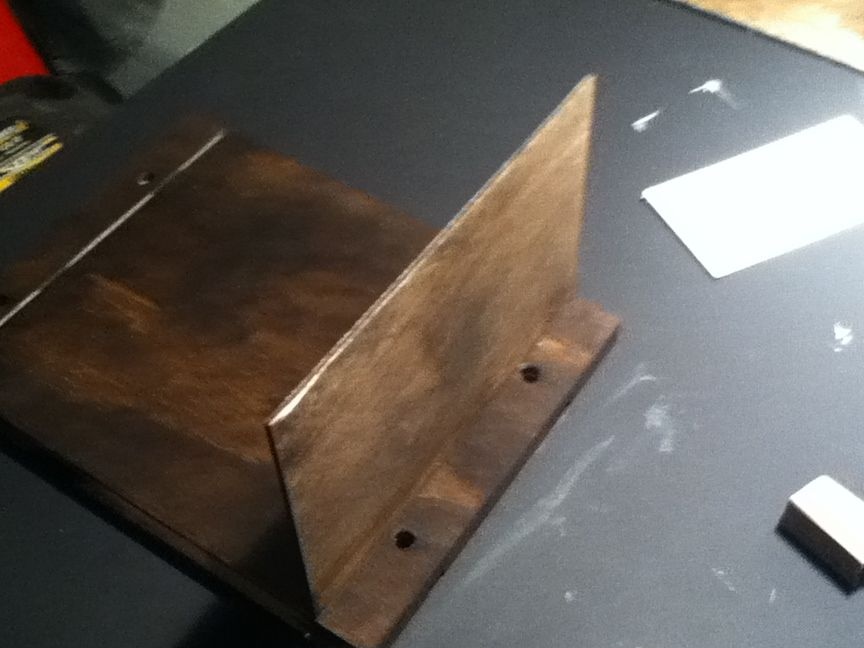


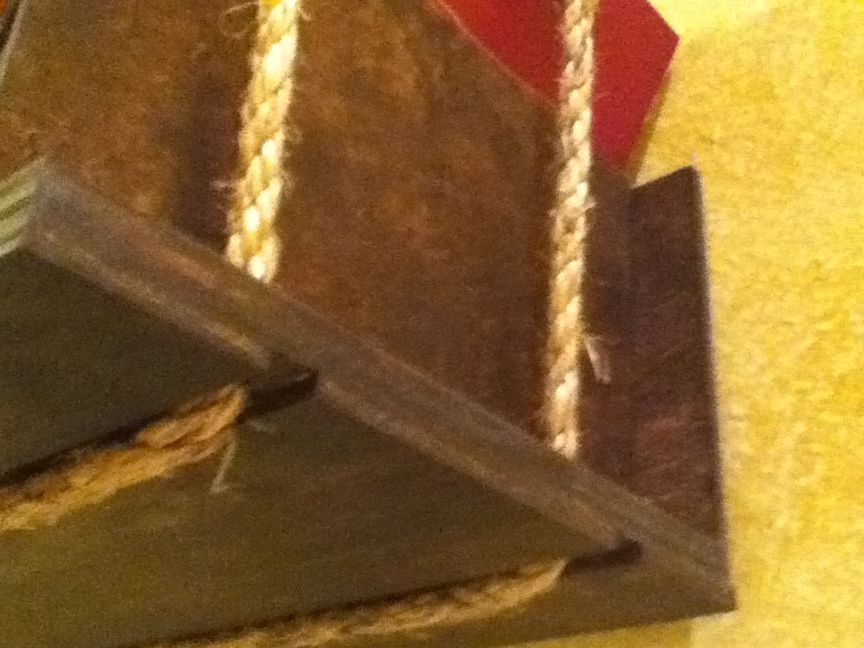
Stage 4: Lateral Edges
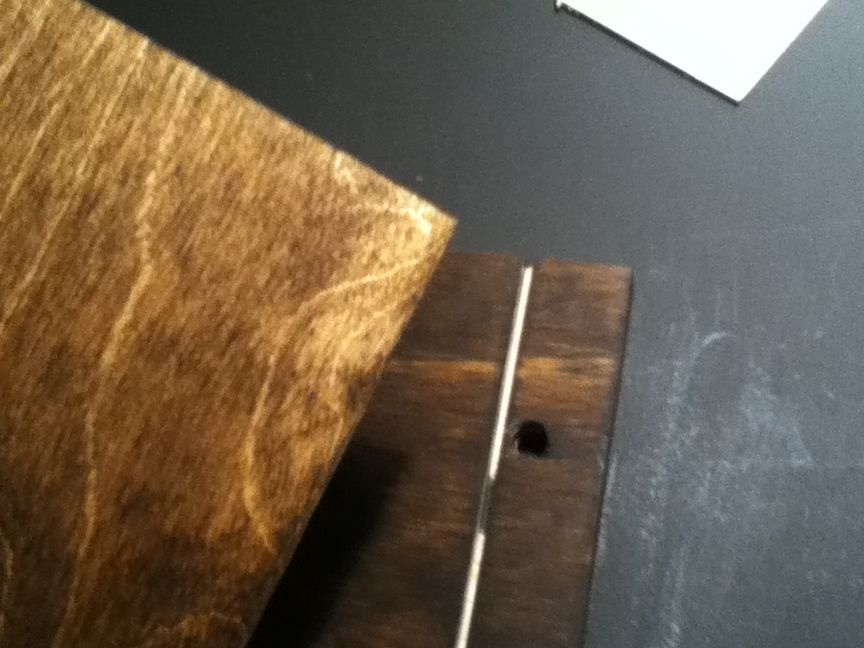
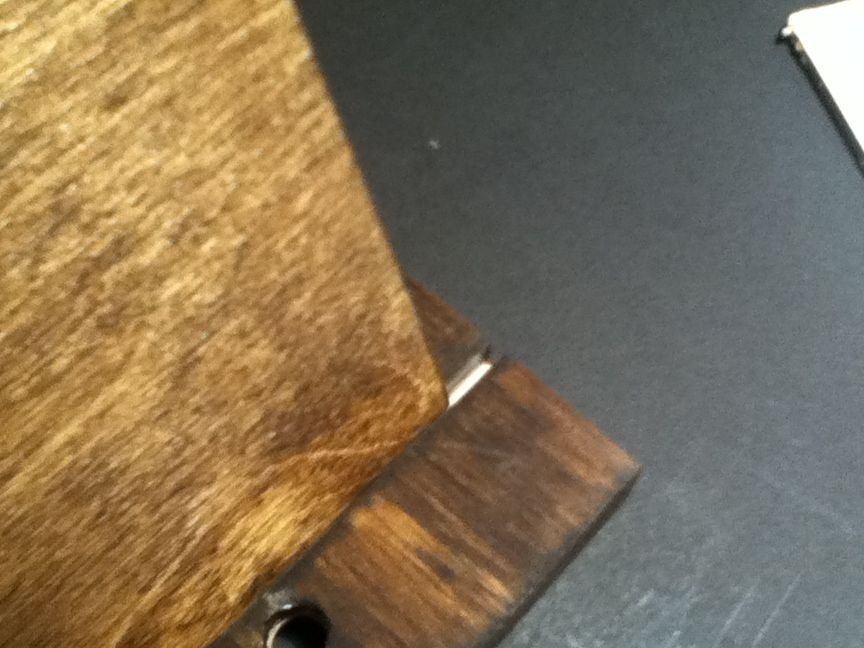
For the back plank, we produce 2 directions with a depth of approximately 0.6 cm, so that the side planks become closely in the lower and rear furrows.
If you do not want to delve into the cuts in any way, in this case it is possible to select all the boards without exception in volume and simply stick them, making the necessary holes on top and bottom for the ropes.


Stage 5: Ropes
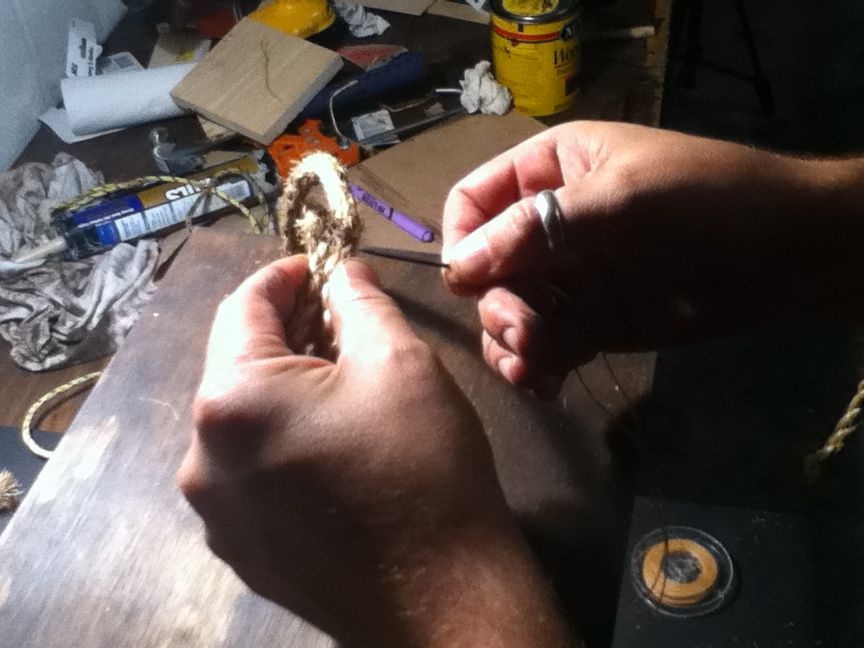
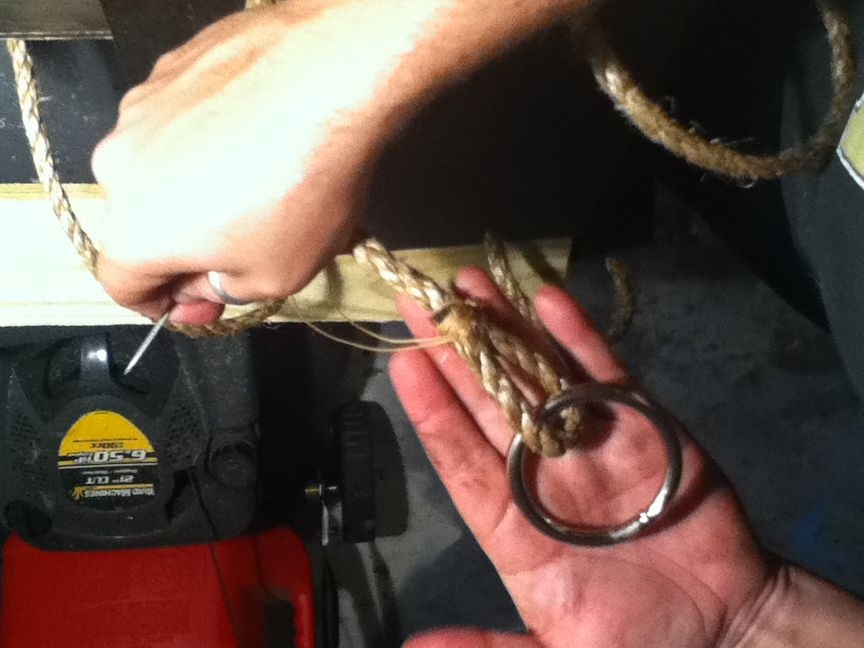
We use ropes from manila hemp 1.3 cm wide.
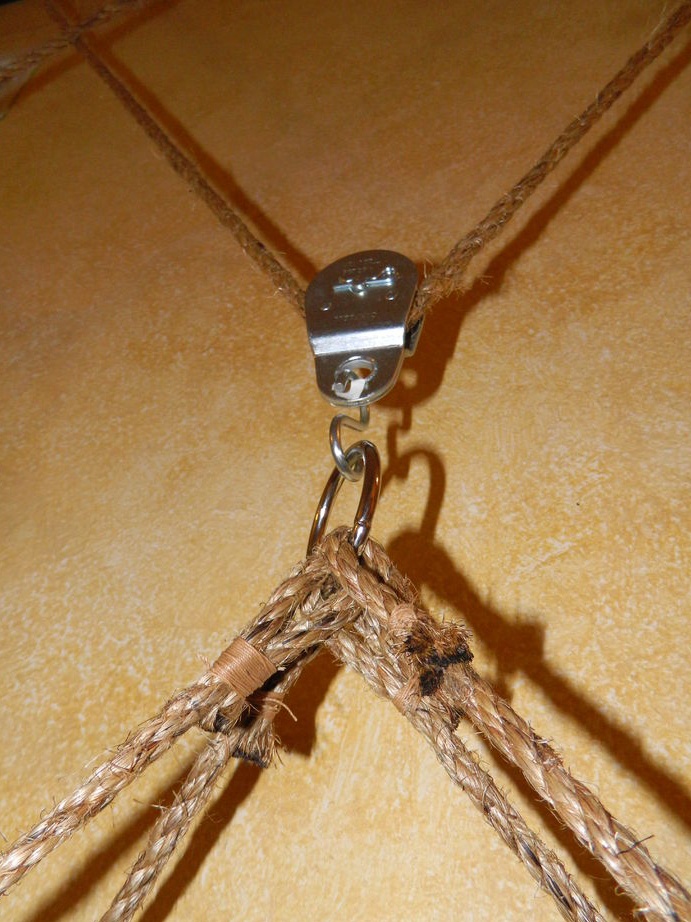
Through the lower and upper boards we throw the rope. We knit them to iron rings.
The video shows how to tie the main loop around the ring.

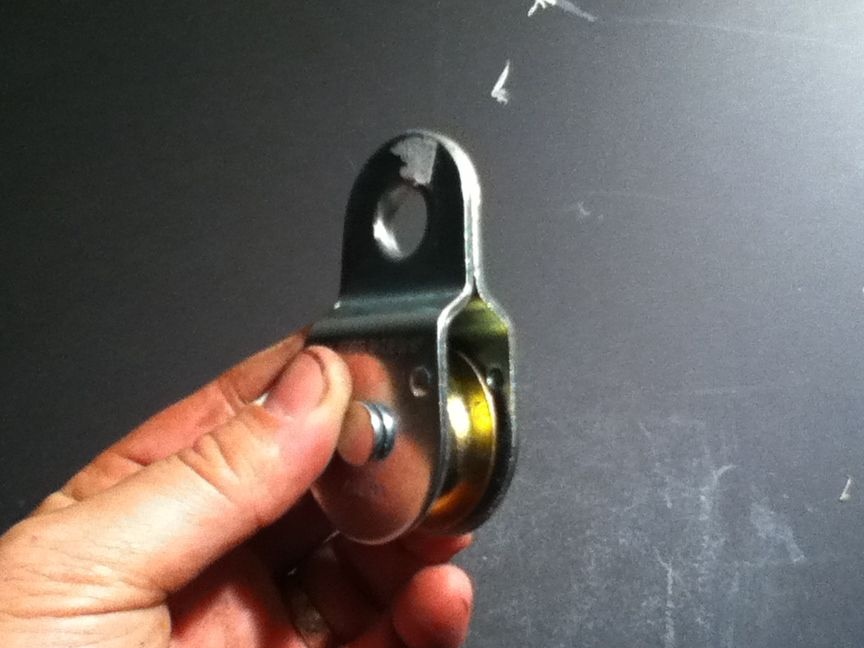


Stage 6: Pulleys
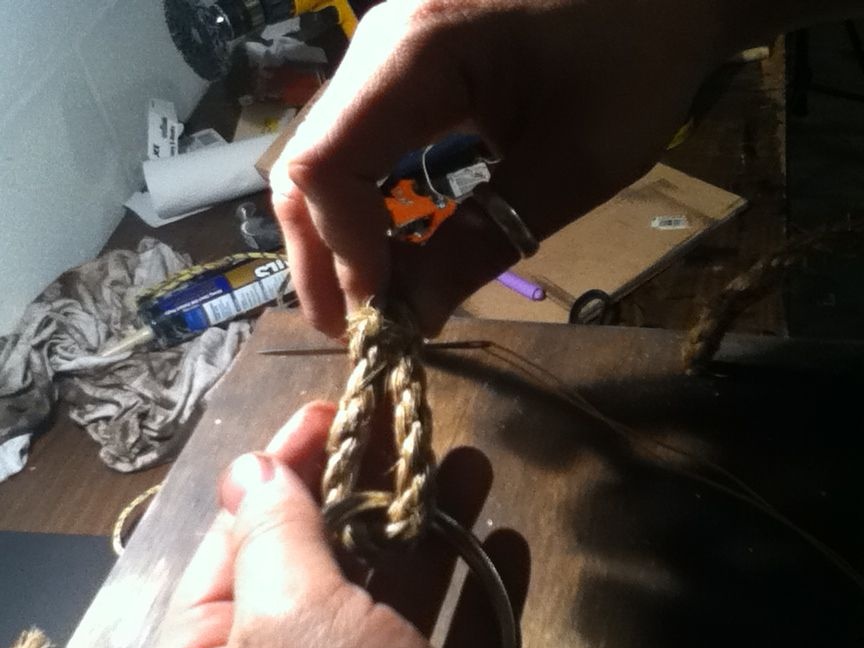
Double pulleys must be placed closer to the shelves, and the 4 main ones are secured with S-shaped hooks to the support.
Pulleys enable the rope to move in two directions. Connecting all the points, you can conduct an experiment with different types of pulling the rope into the ring.
For security, tighten strong knots at the highest points.
Stage 7: End
It's hard to beat the plan the first time. However, if you try very hard and devote time to shelving, then everything will work out! Good luck