
How often does it happen that you gave someone a disc with music or a game, and that person, inadvertently handling him, scratched him? Or the disk with some data stopped reading due to scratches, but there is no backup? Probably quite often. And you take a rag, polish and start polishing the disc for hours.
On the Internet, I found this design, which allows you to automate this process and there is a rather high chance that the disk will become readable.
Step 1: Bearings

As can be seen from the photo: old roller skates, more precisely, wheel bearings, as well as bushings. From a pair of inline skates you get 16 bearings and 16 bushings. You will also need a pair of fittings made of CPVC (not PVC) with a diameter of 3 \ 4 inches.
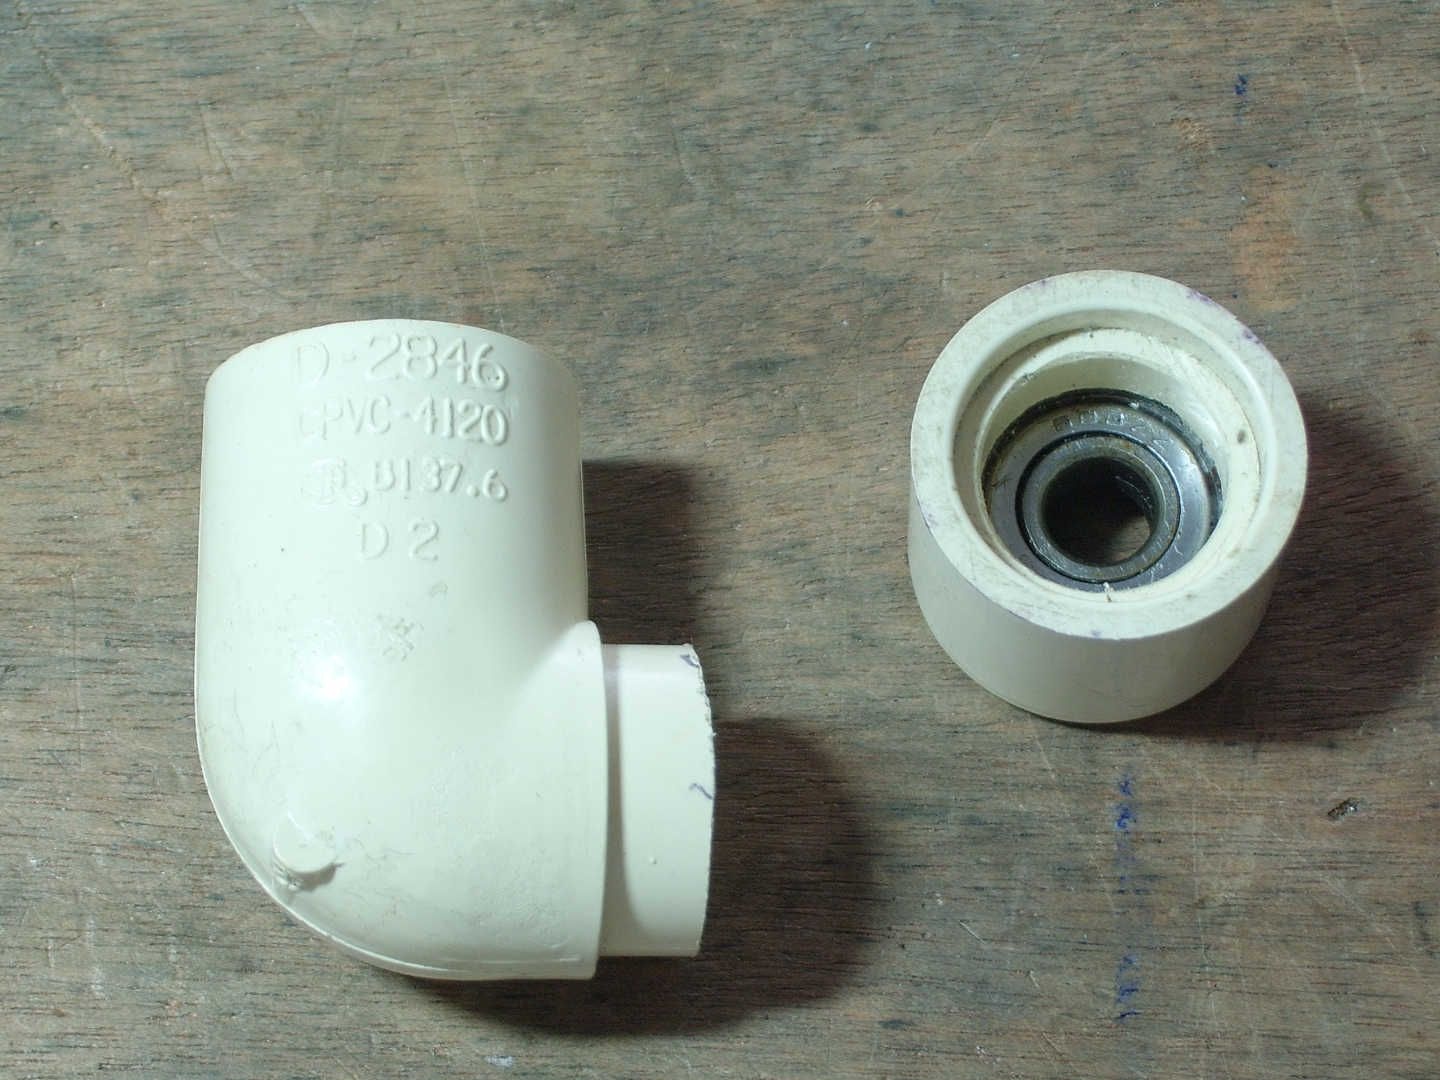
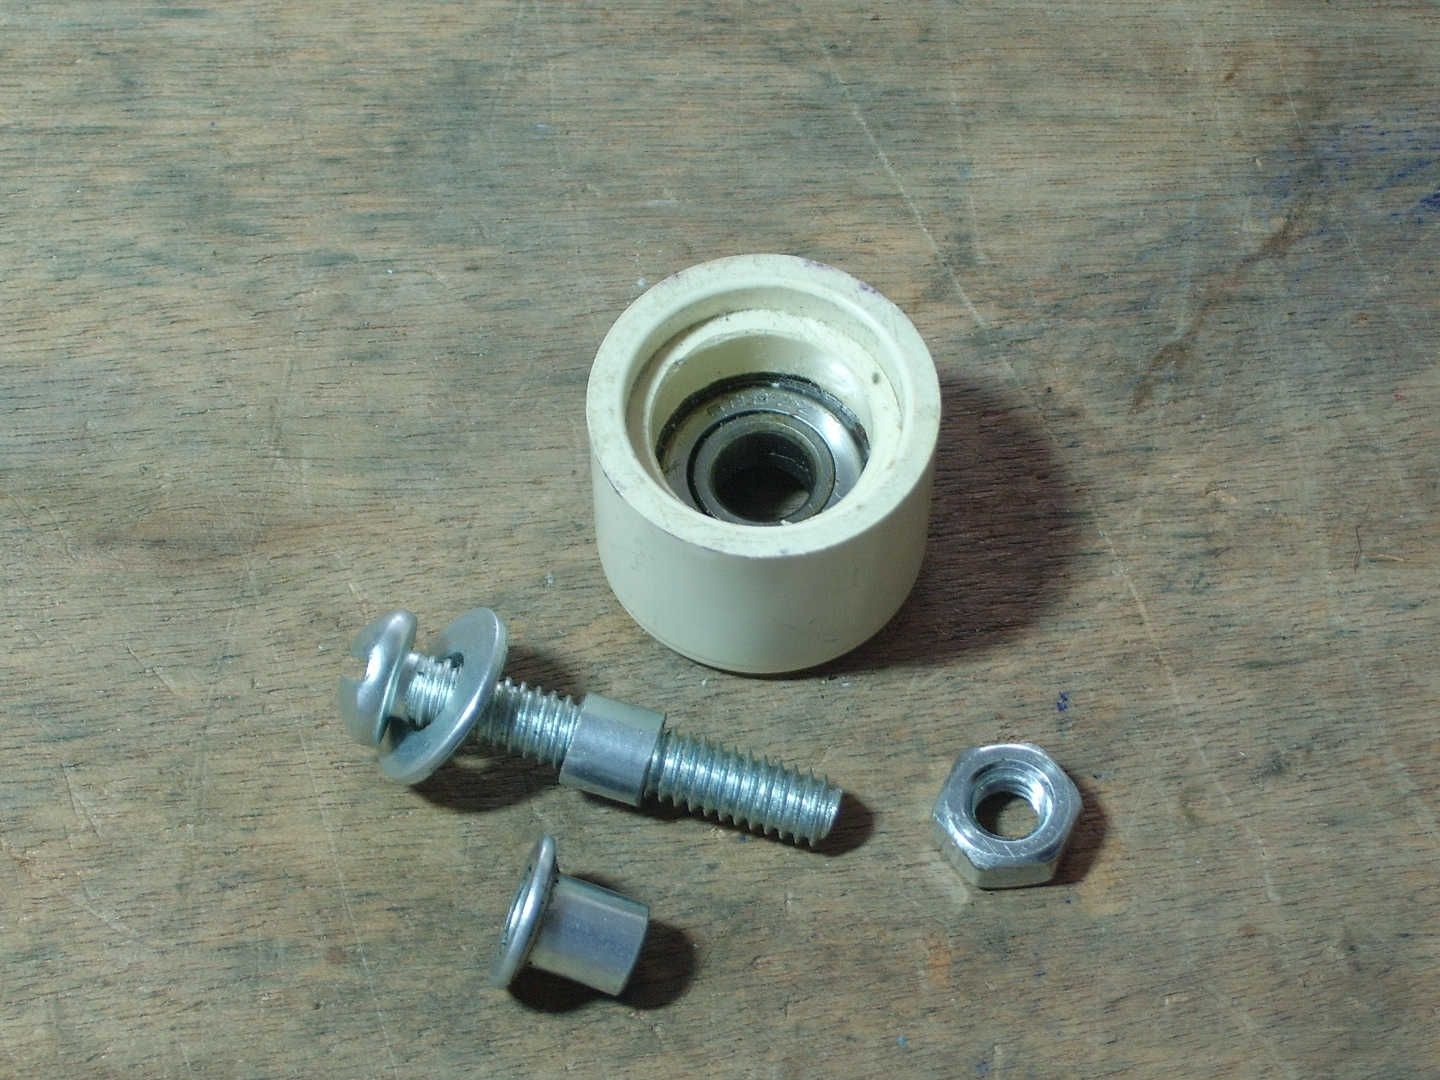
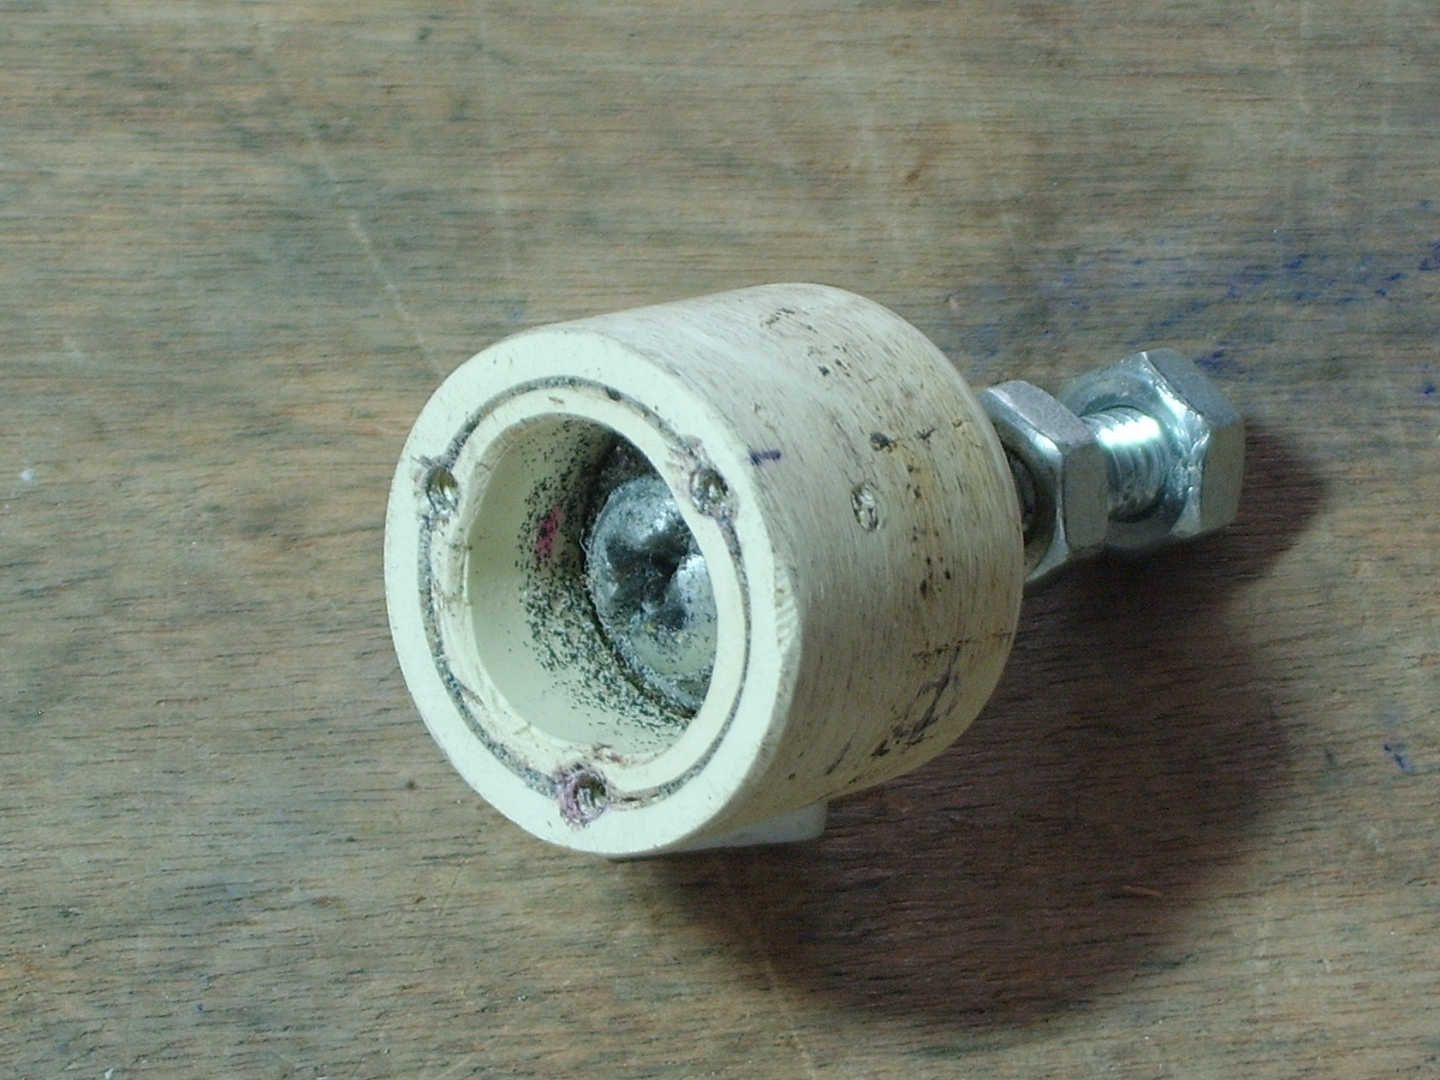
Bearings are perfect for this fitting. You will need to cut off the protruding part, cut off the fitting part, press in the bearing and the previously cut part. It is also necessary to cut one sleeve shorter than the bearing width - these two bushings will center the axis on which the bearing will be mounted.
Step 2: Turntable
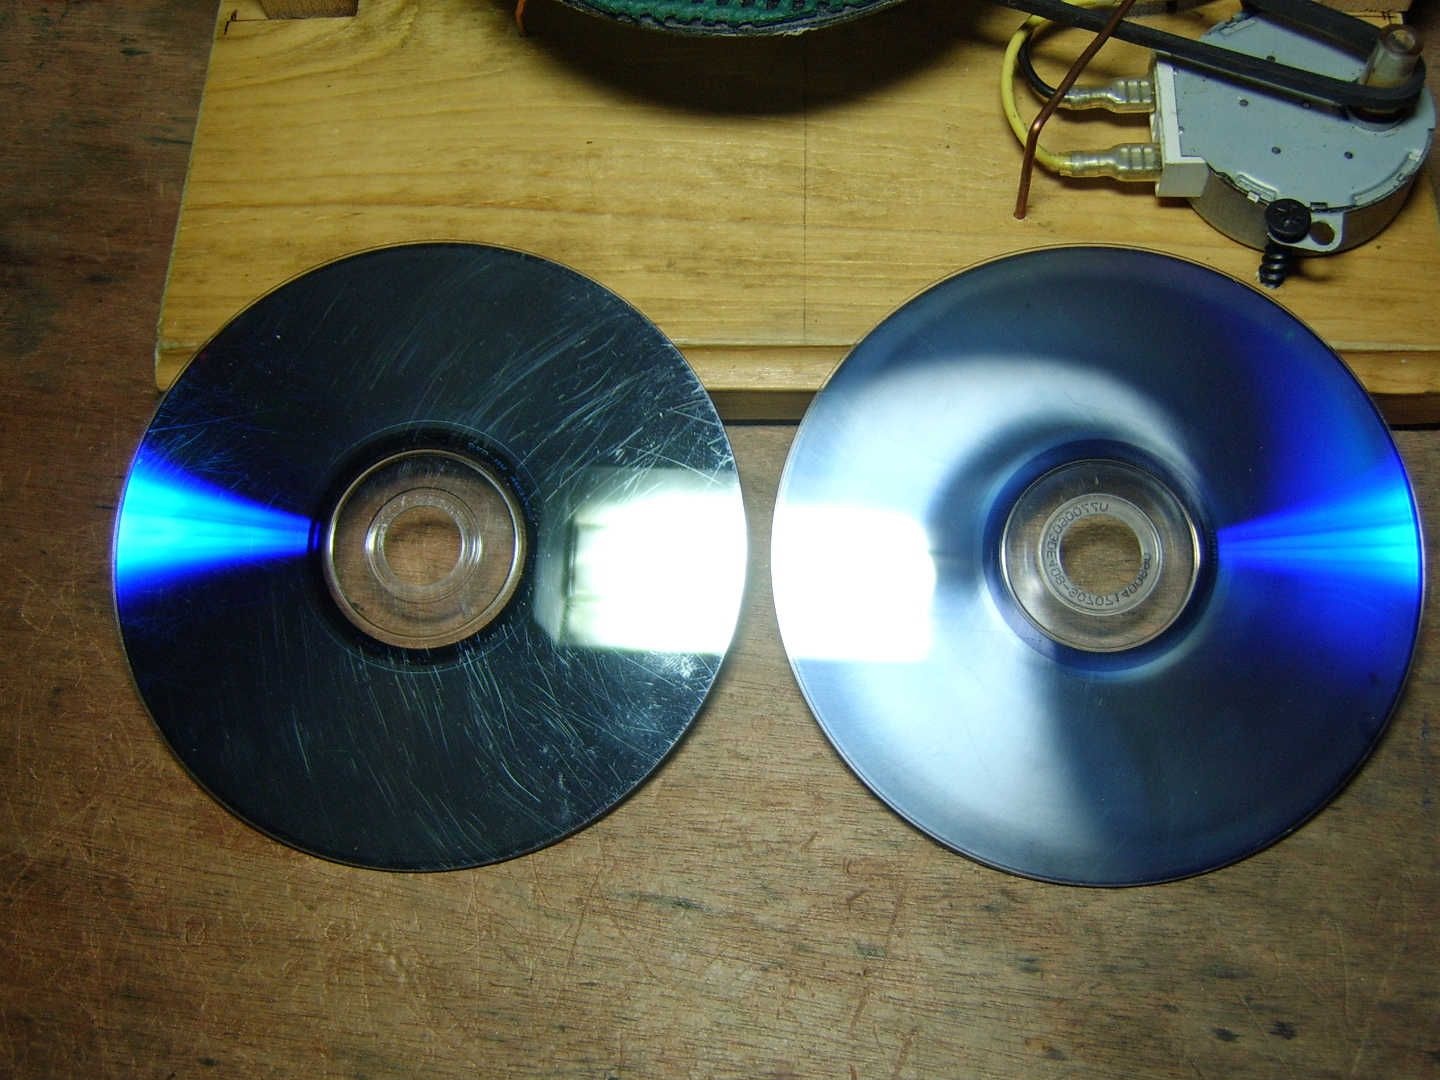
A turntable is cut from any CD box.
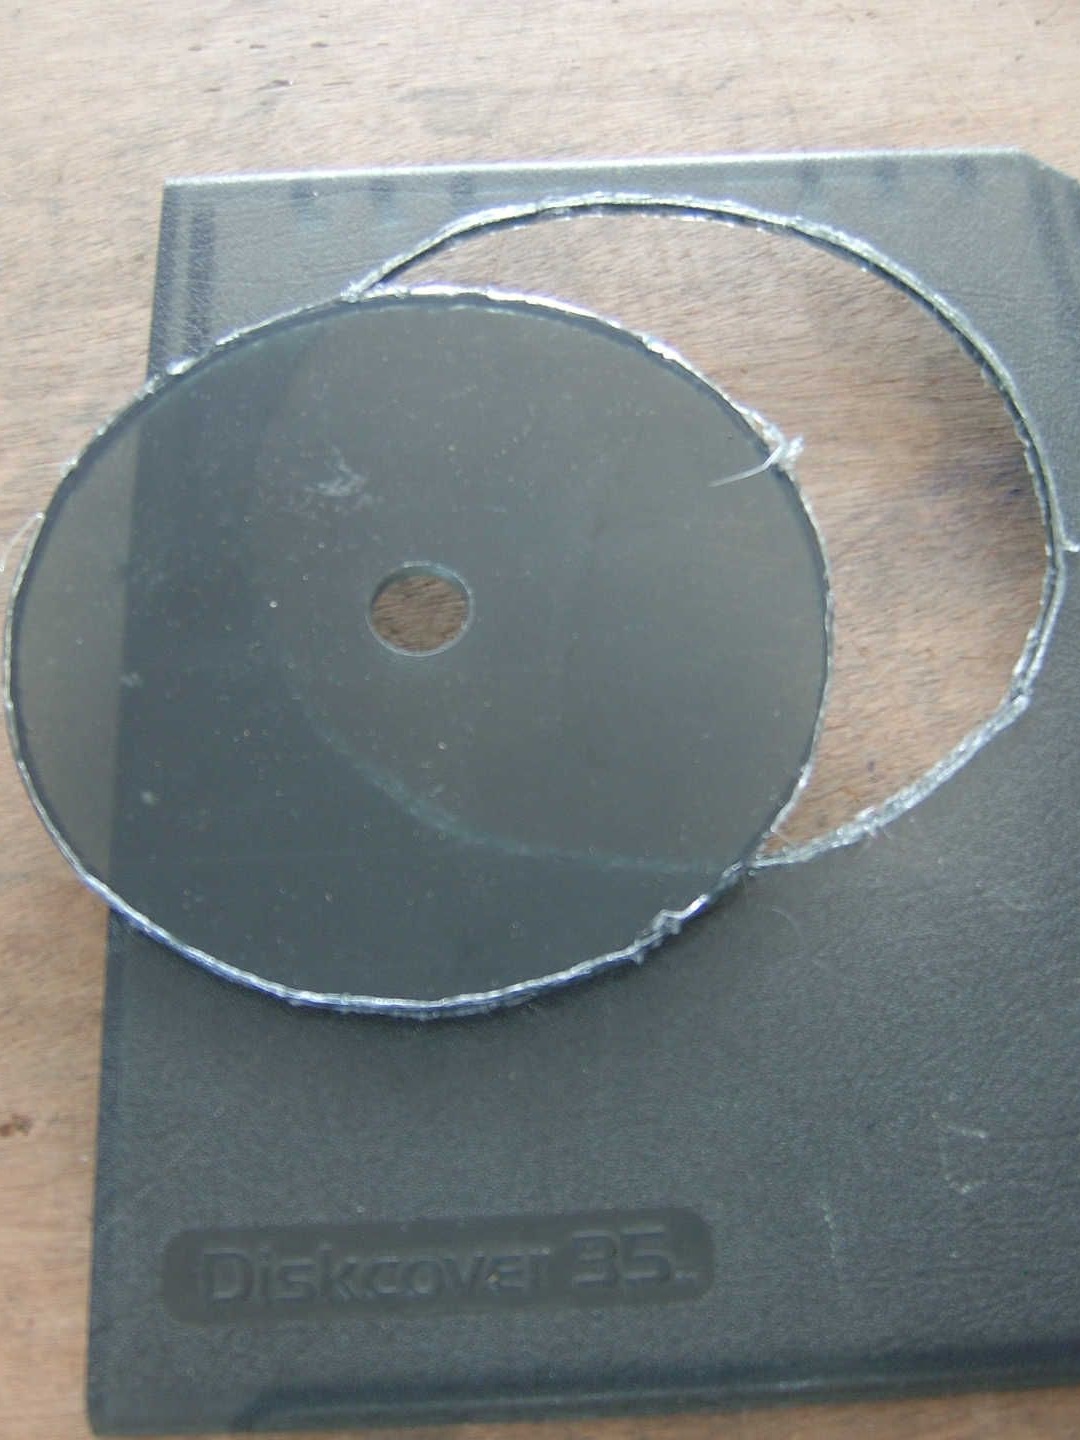
It is easy to cut and plastic flexible.
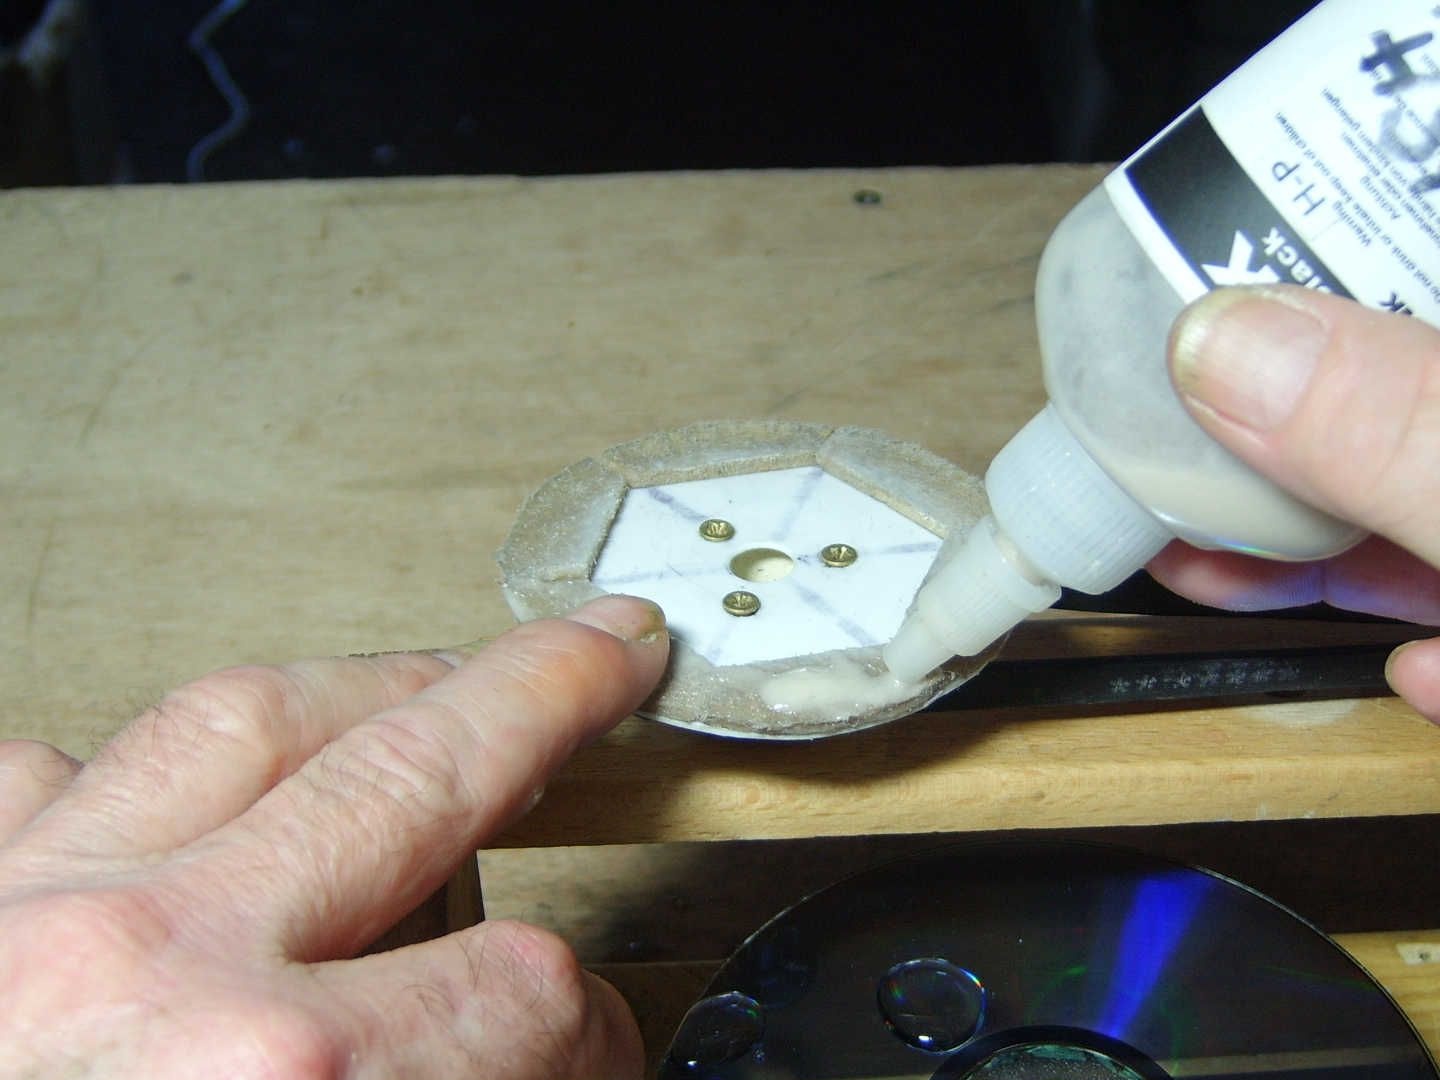
Centering hub for disc ... Look at bookshelves, shelves in kitchen cabinets. See what they hold on to? These are the nylon sleeves that we need, most precisely one.

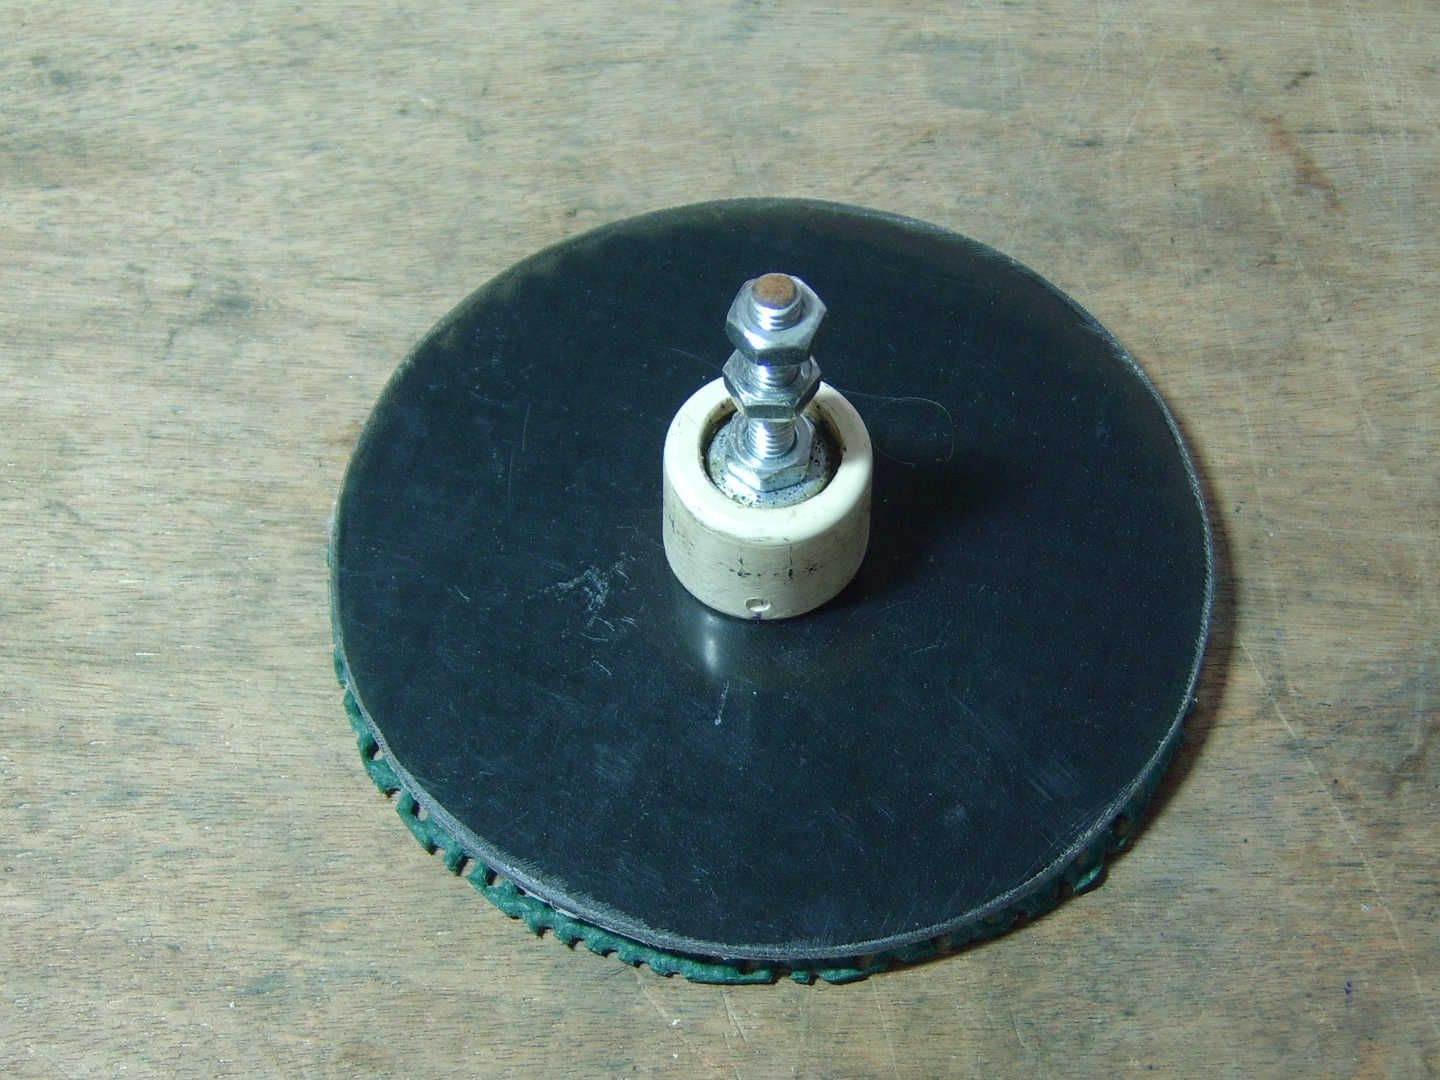
Fix the disk cut from the disk box on the sleeve with the bearing with three screws, having previously marked and drilled the holes. The lining for the disc is cut from the mouse pad, as in the photo above. Glue it to the disk. (I think you can use the old CD by sticking a lining on it)
Step 3: Polishing disc.
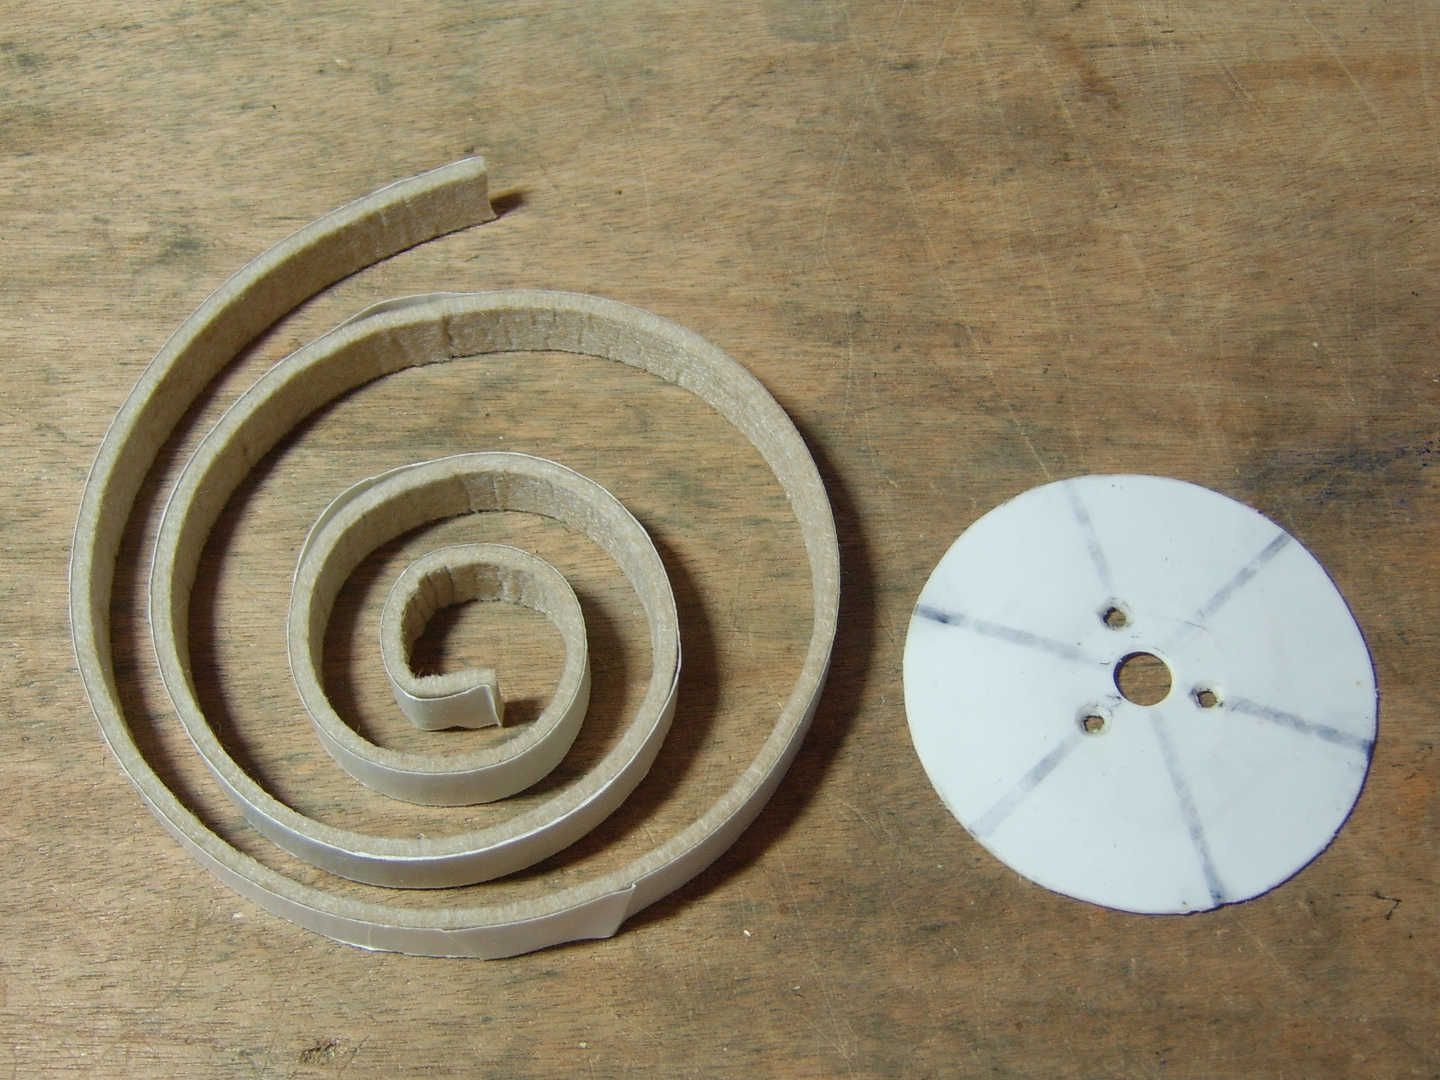
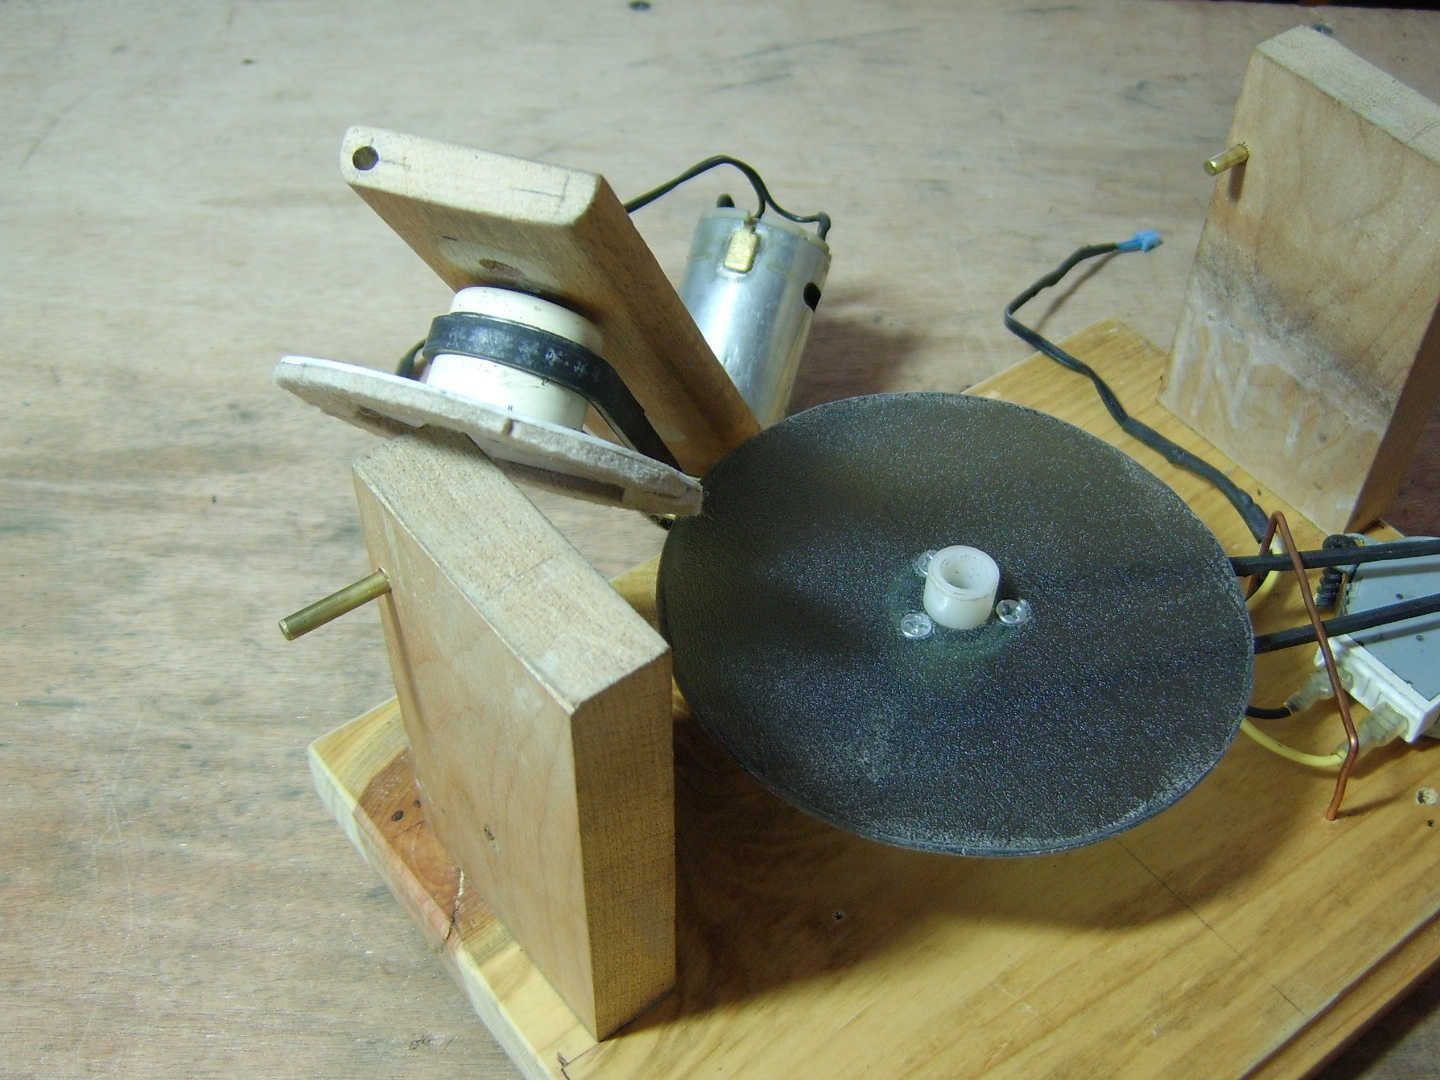
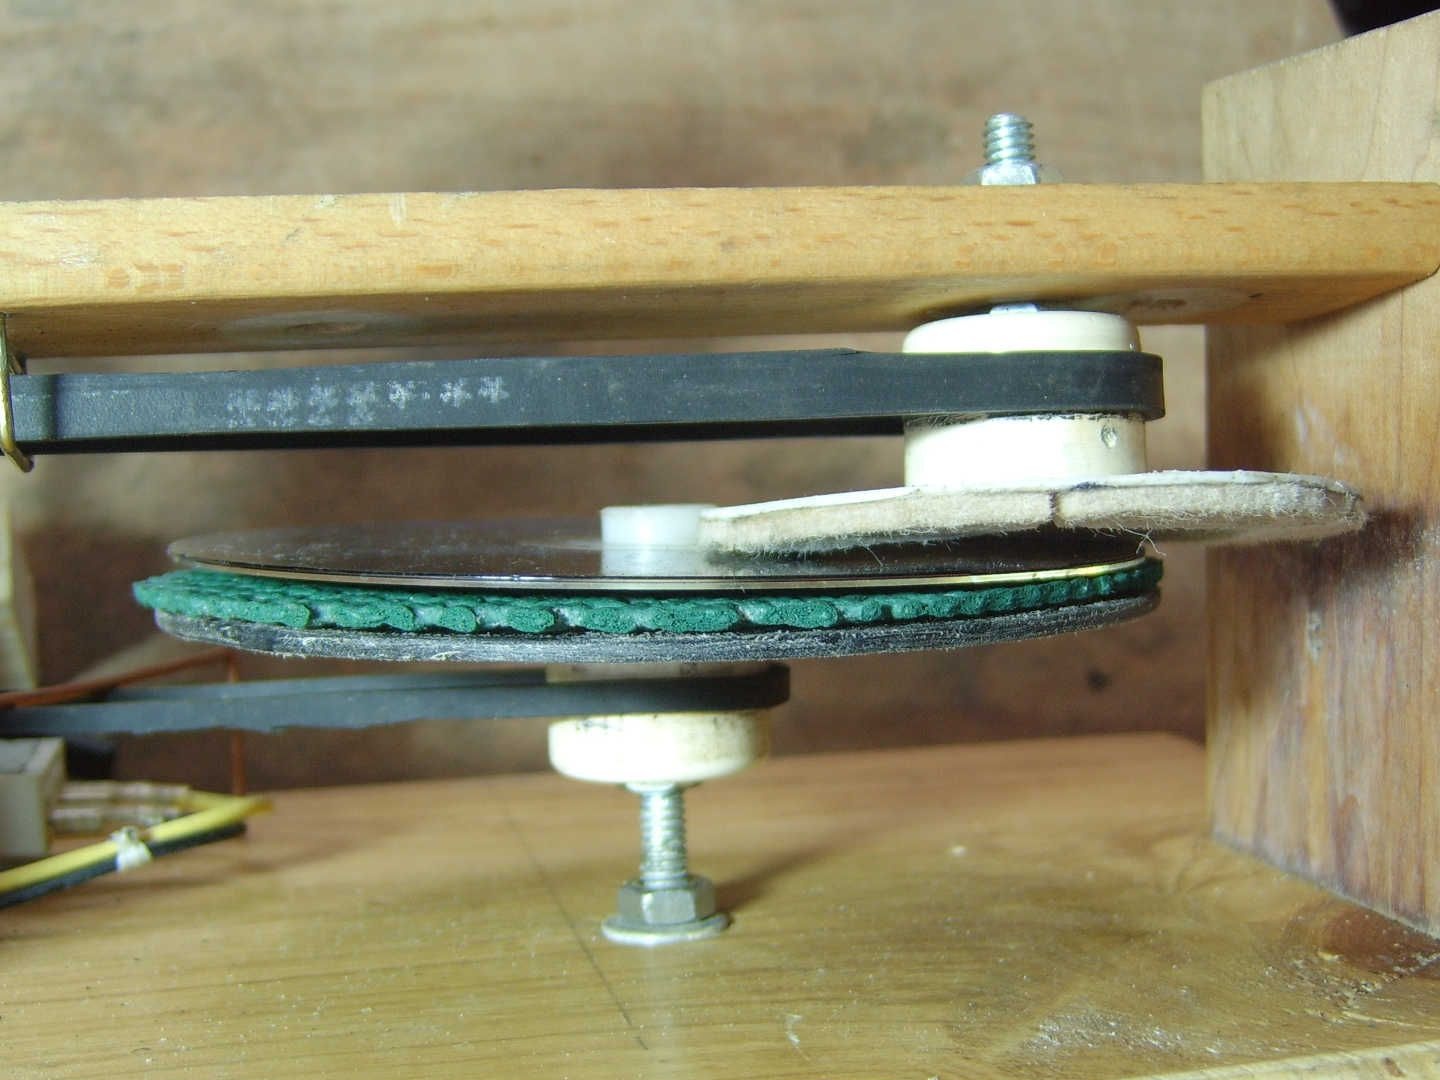
The base of the disk is cut from the lid of a plastic container with a diameter of 7.5 cm.
The central hole allows access to the screw head for height adjustment.
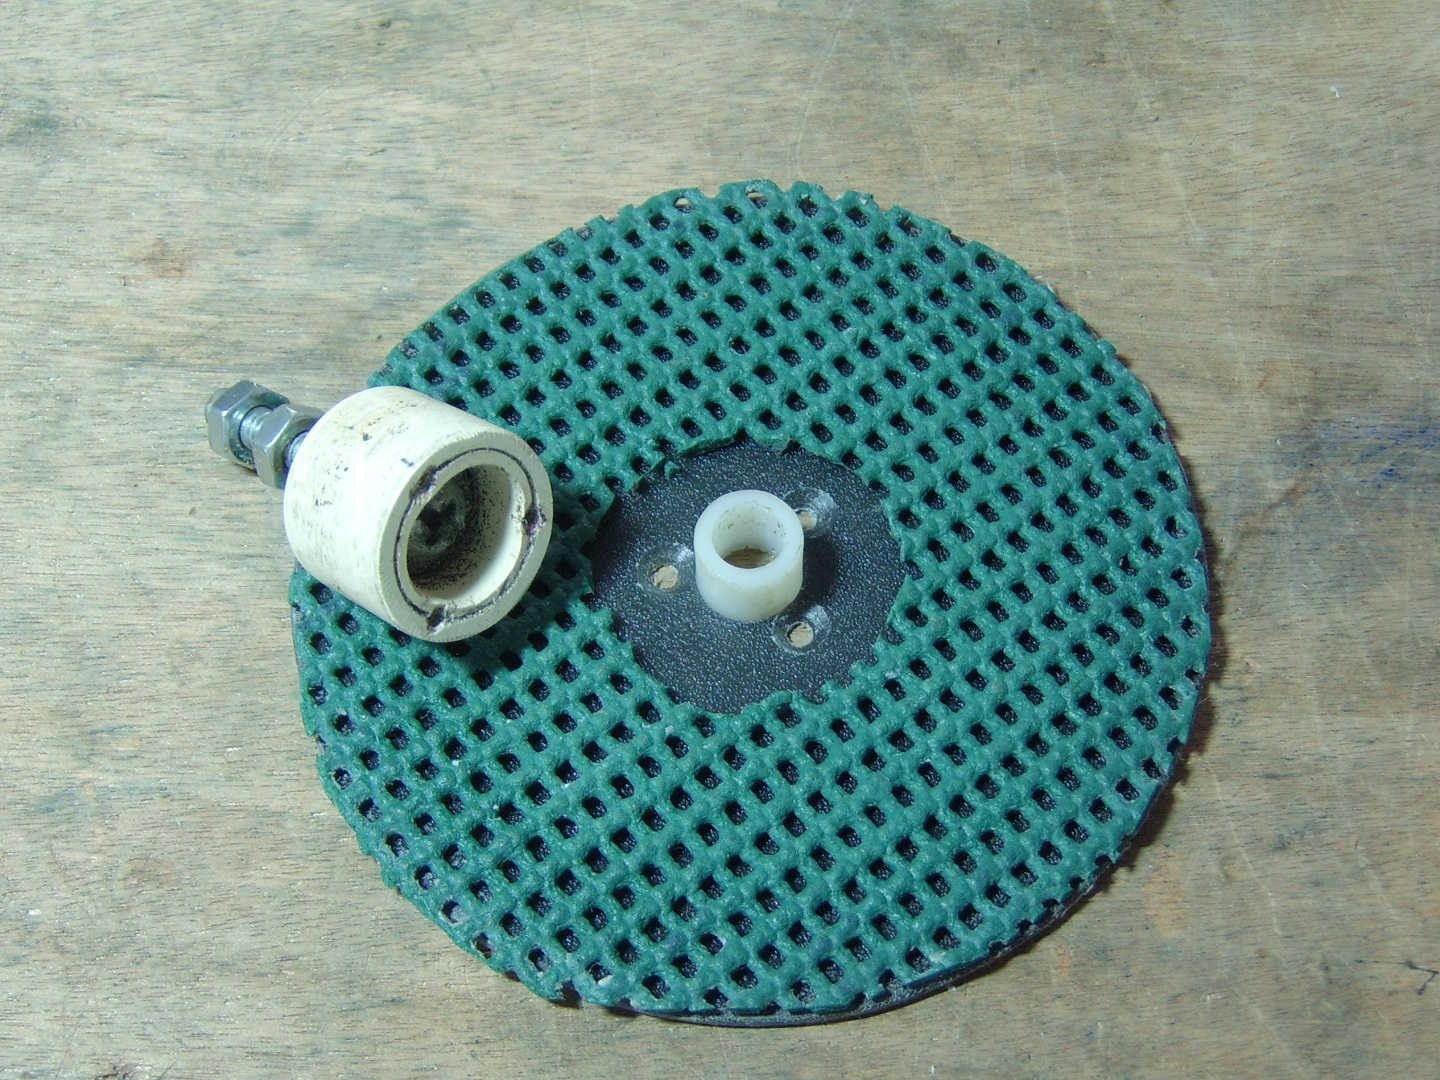
The disk is divided into 6 parts for reference. A felt 12 mm wide is glued onto it. It is pasted in pieces by sectors marked earlier. So the disk remains flexible.
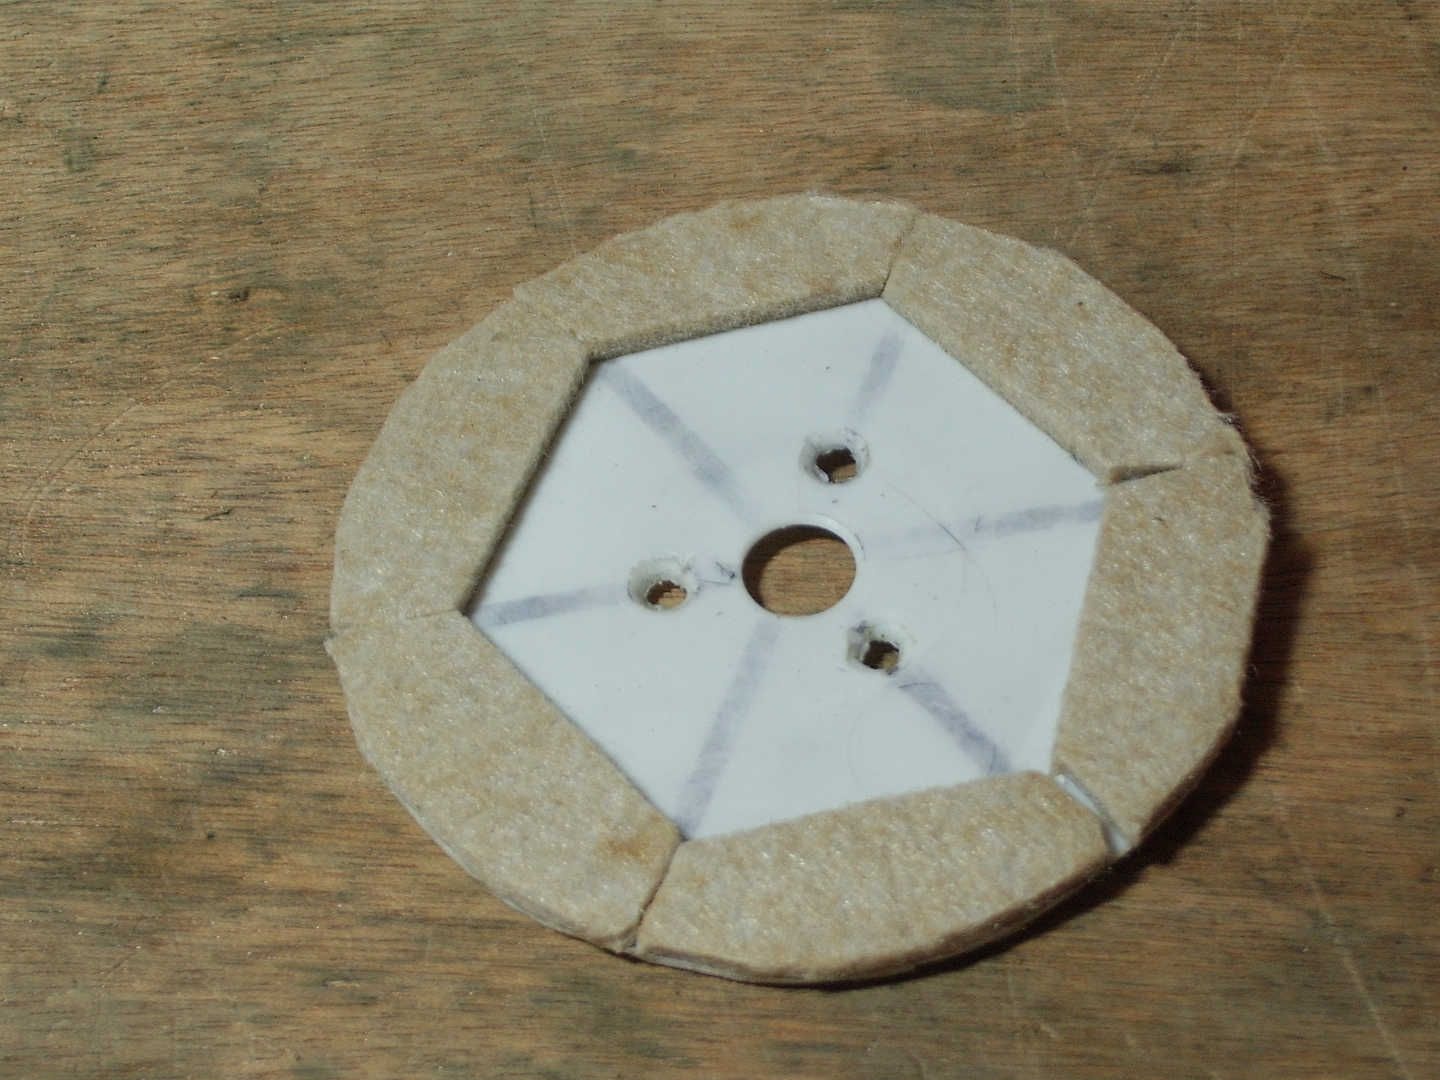
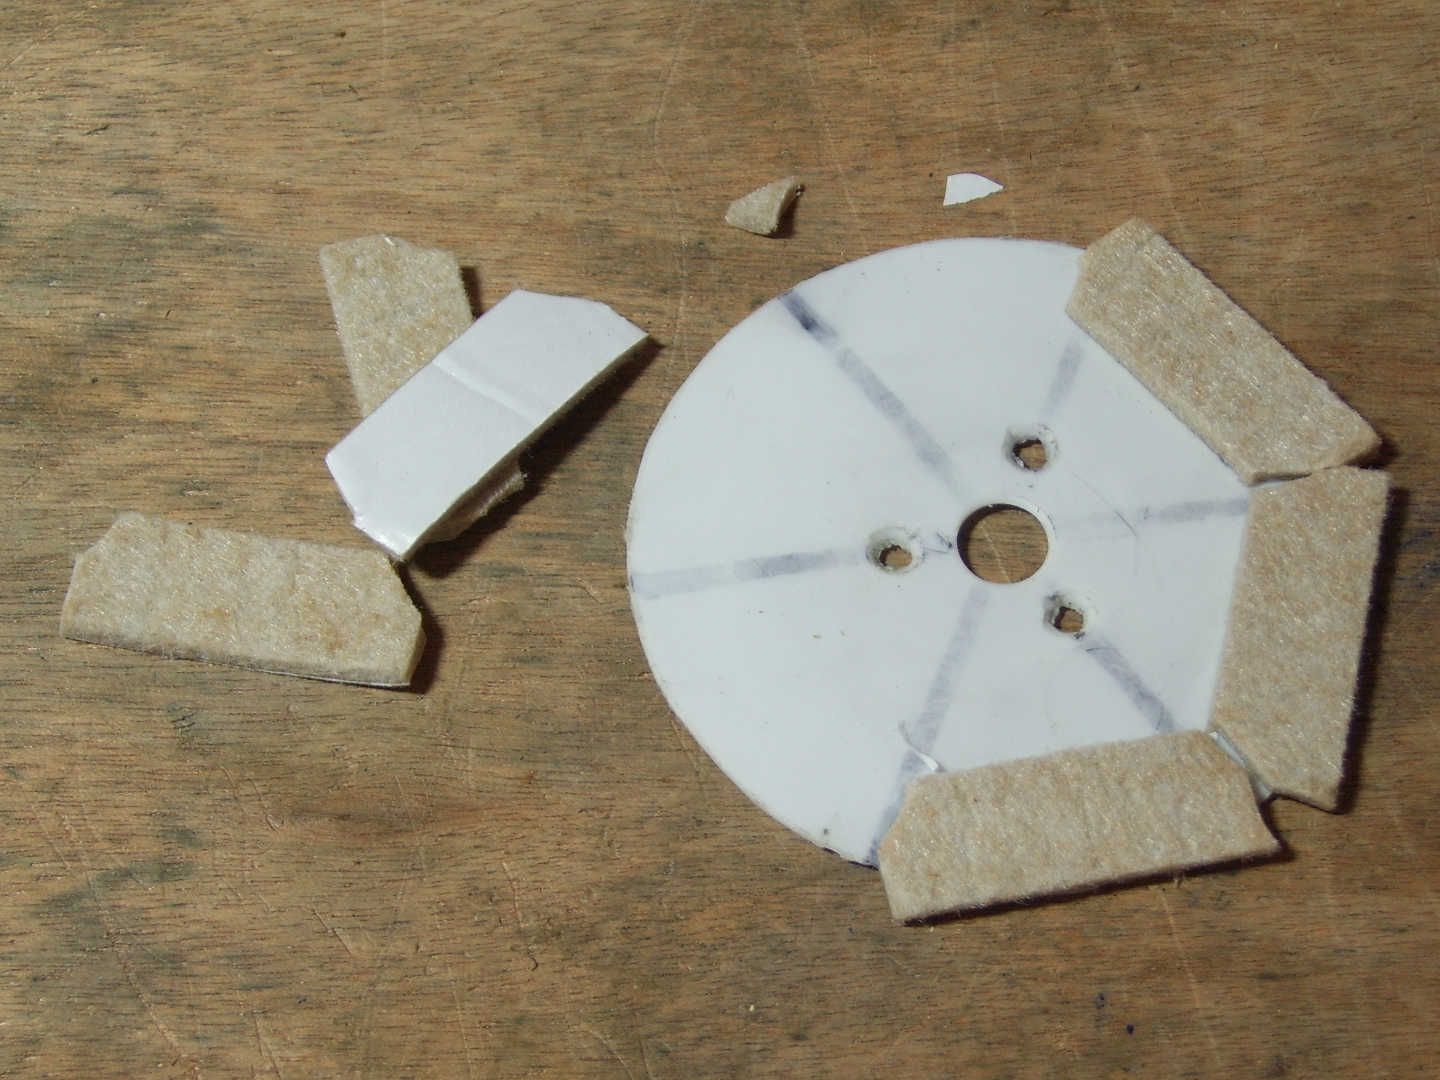
After sticking the felt, it must be cut flush with the edges of the disc. The disk is mounted on a second sleeve with a bearing.
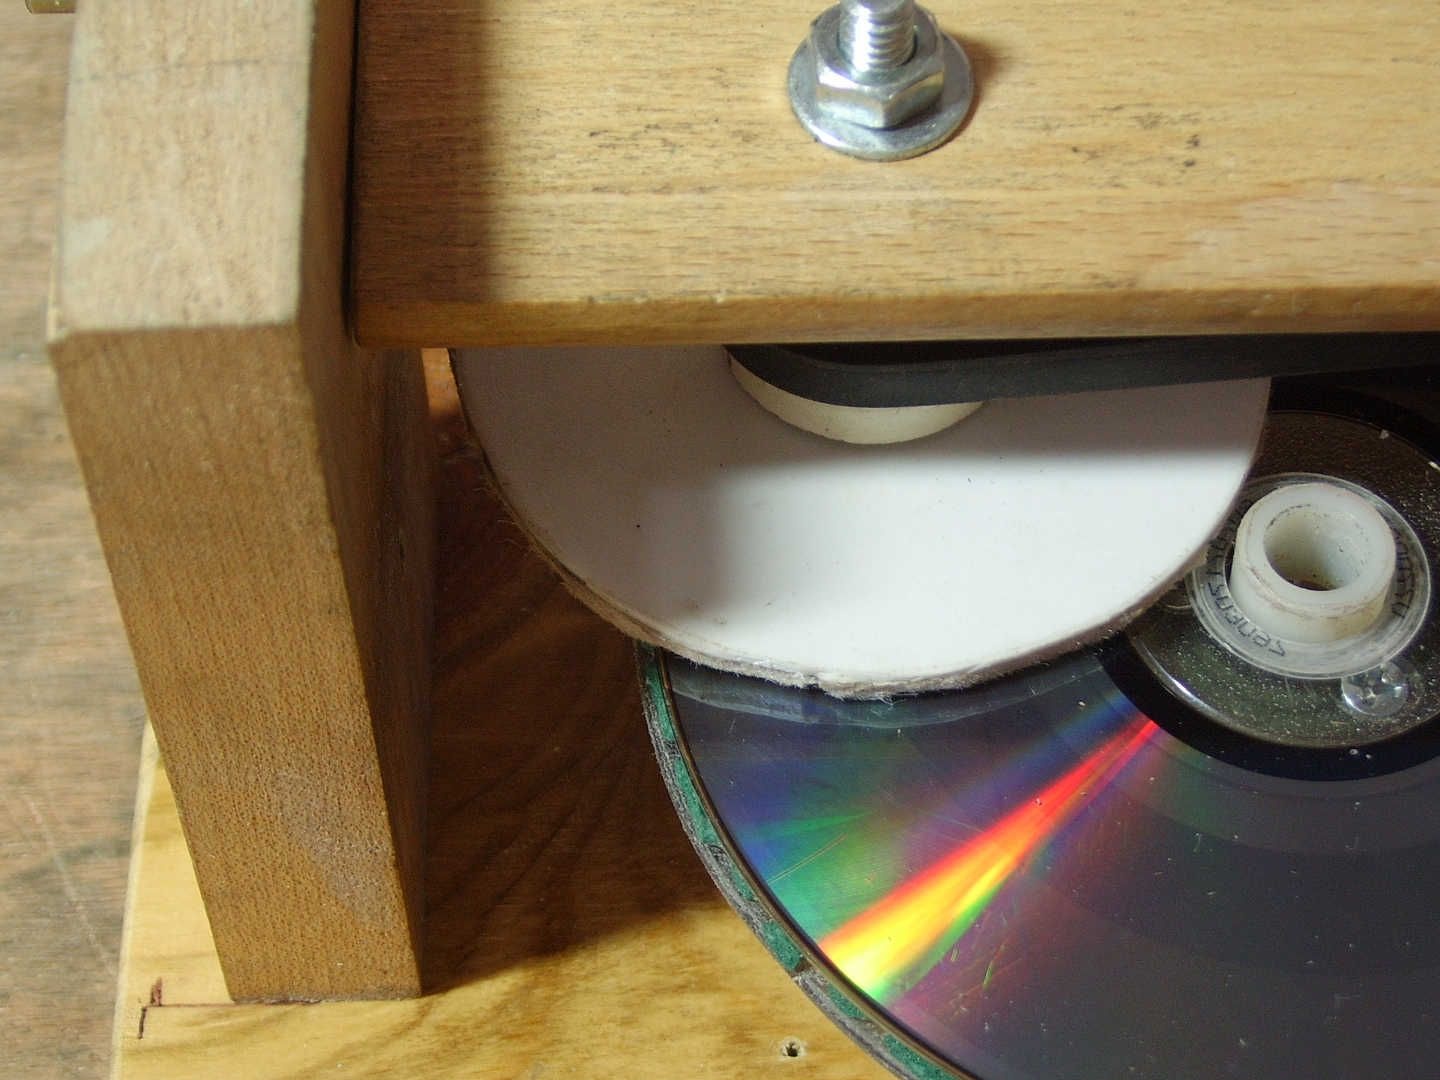
Step 4: positioning
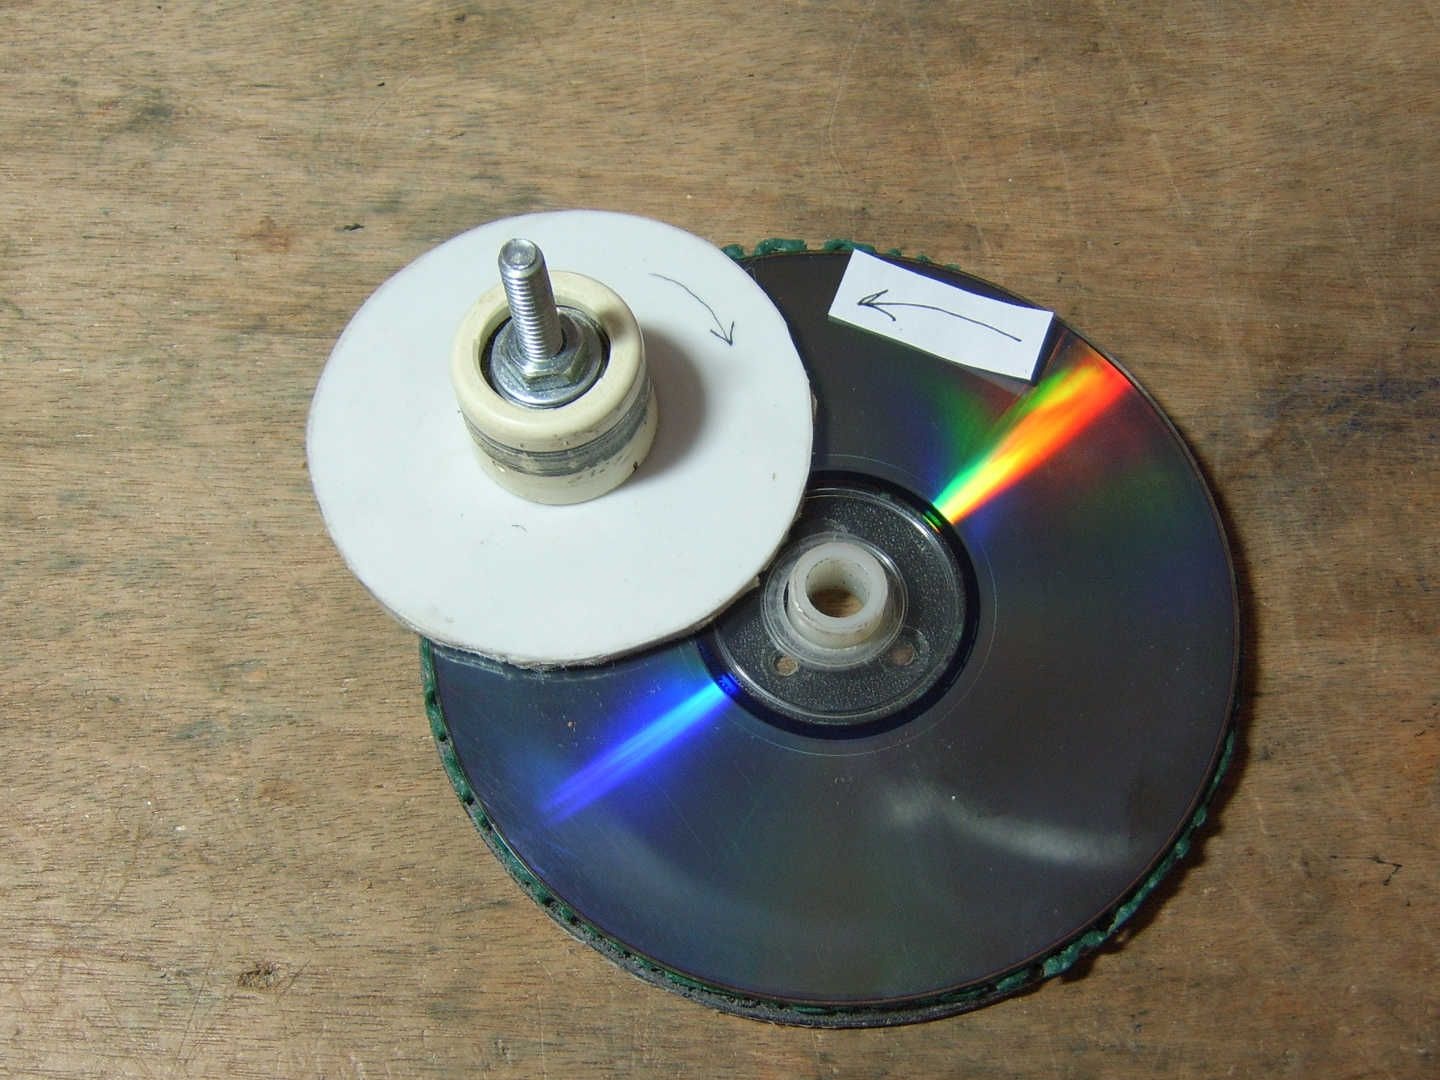
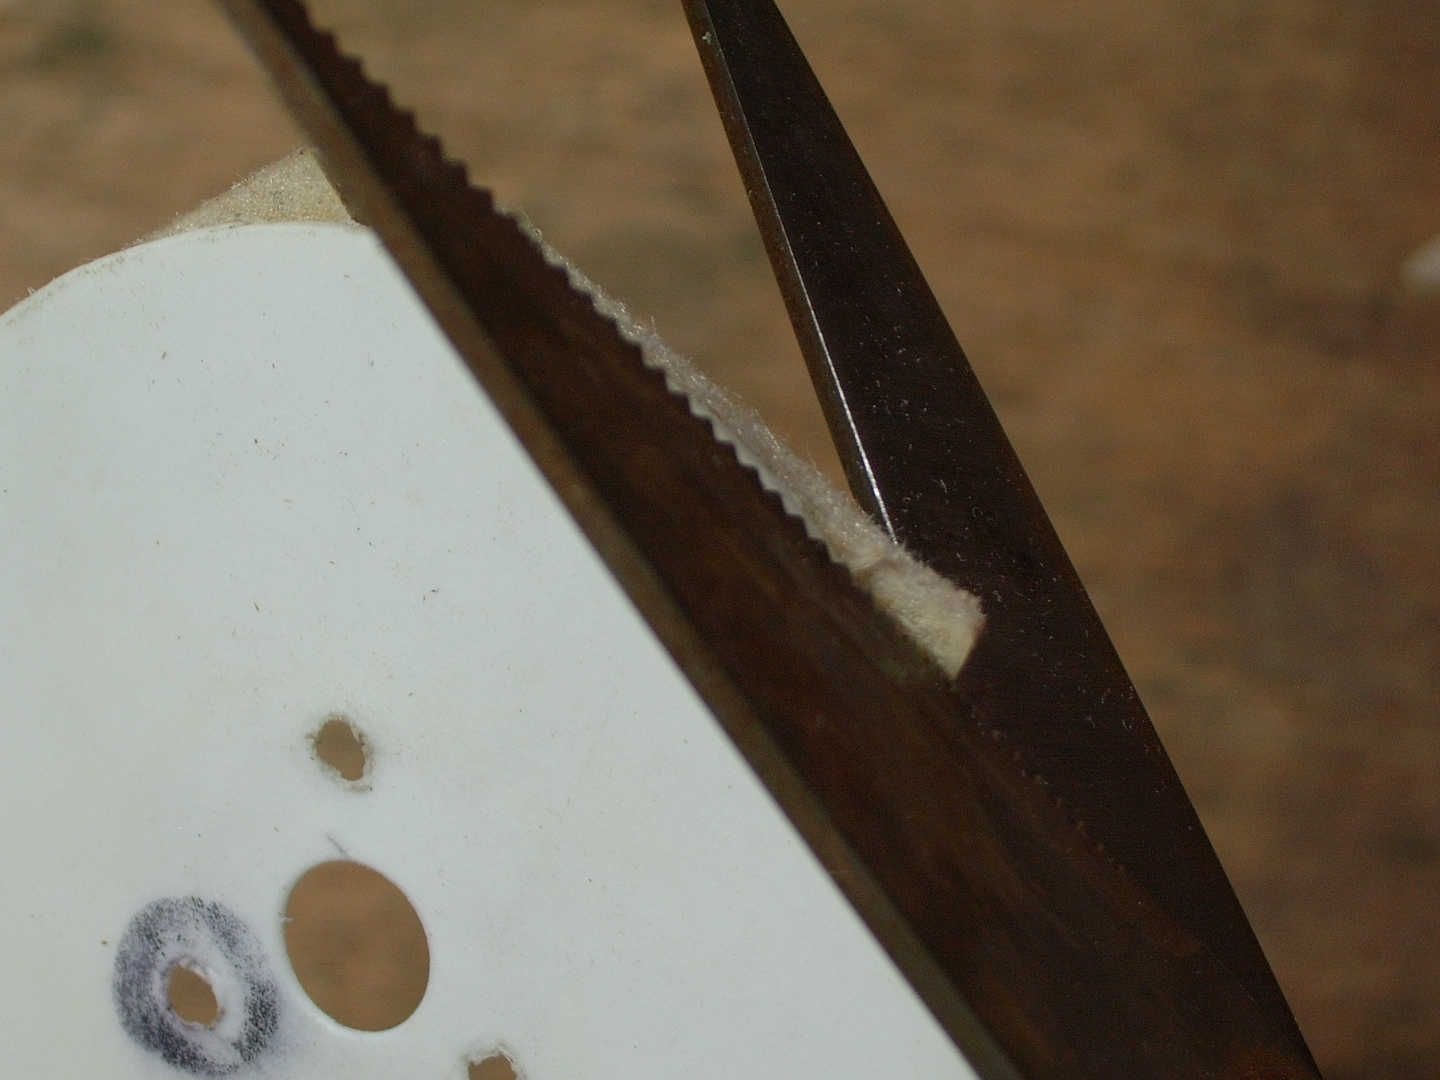
Shows the position of the polishing wheel relative to the disc. The front edge of the polishing disc should cross the edge of the CD as close to the perpendicular as possible. Consider this when assembling. Scratches and polishing marks that will be directed along the tracks, and not perpendicularly, will not allow you to read the disc.
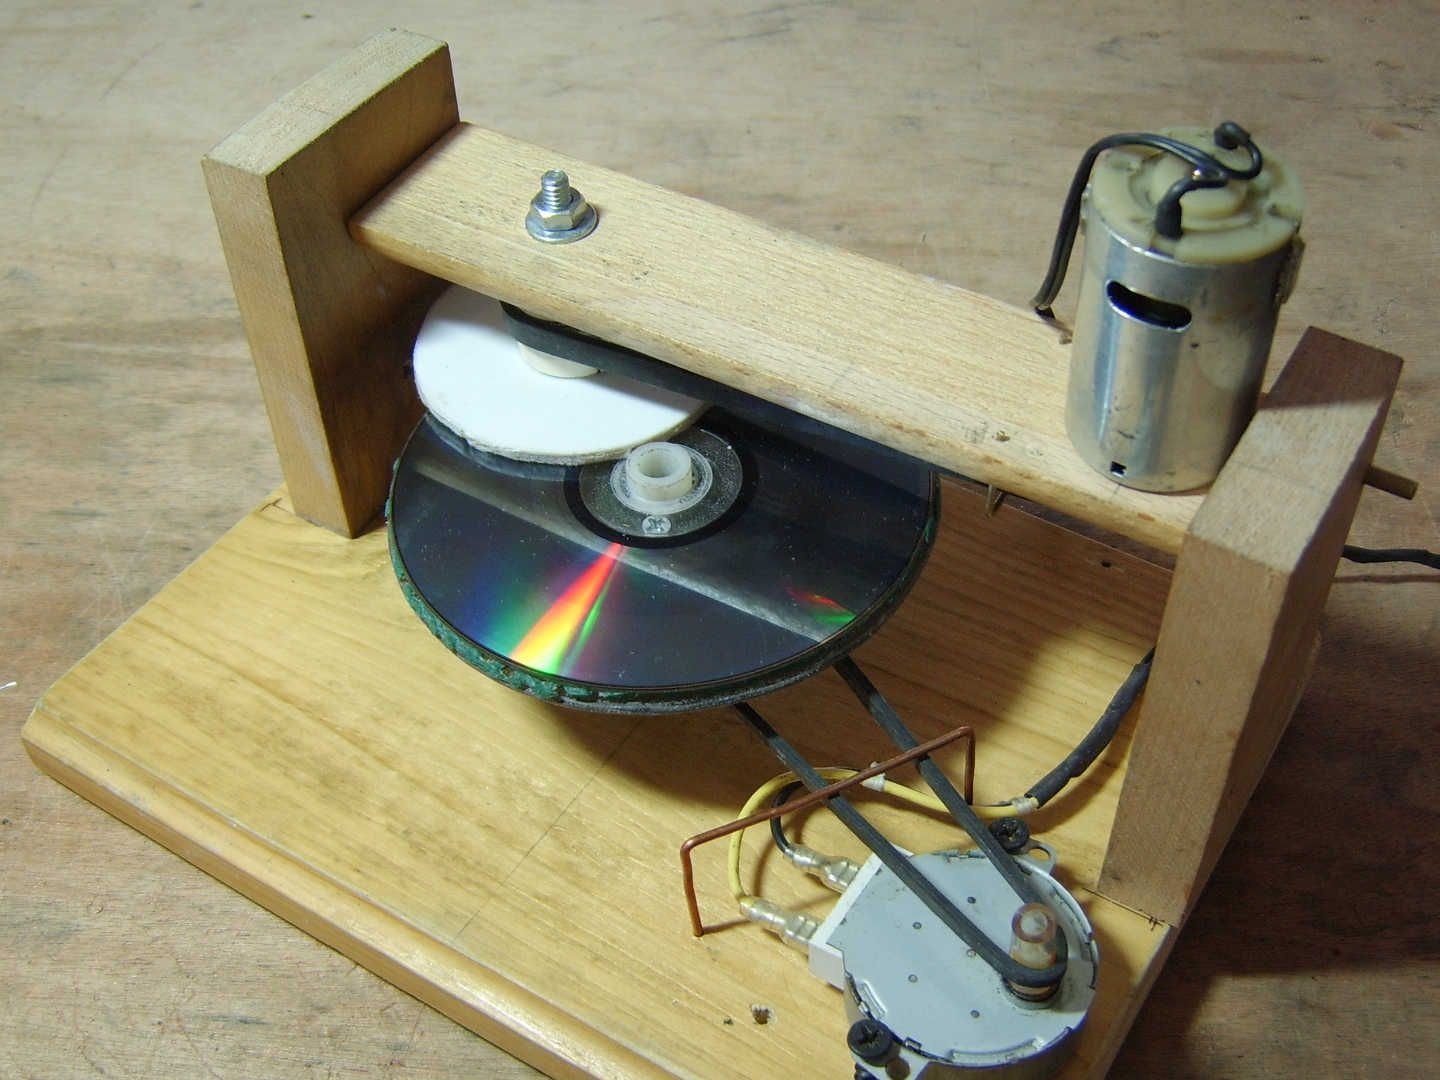
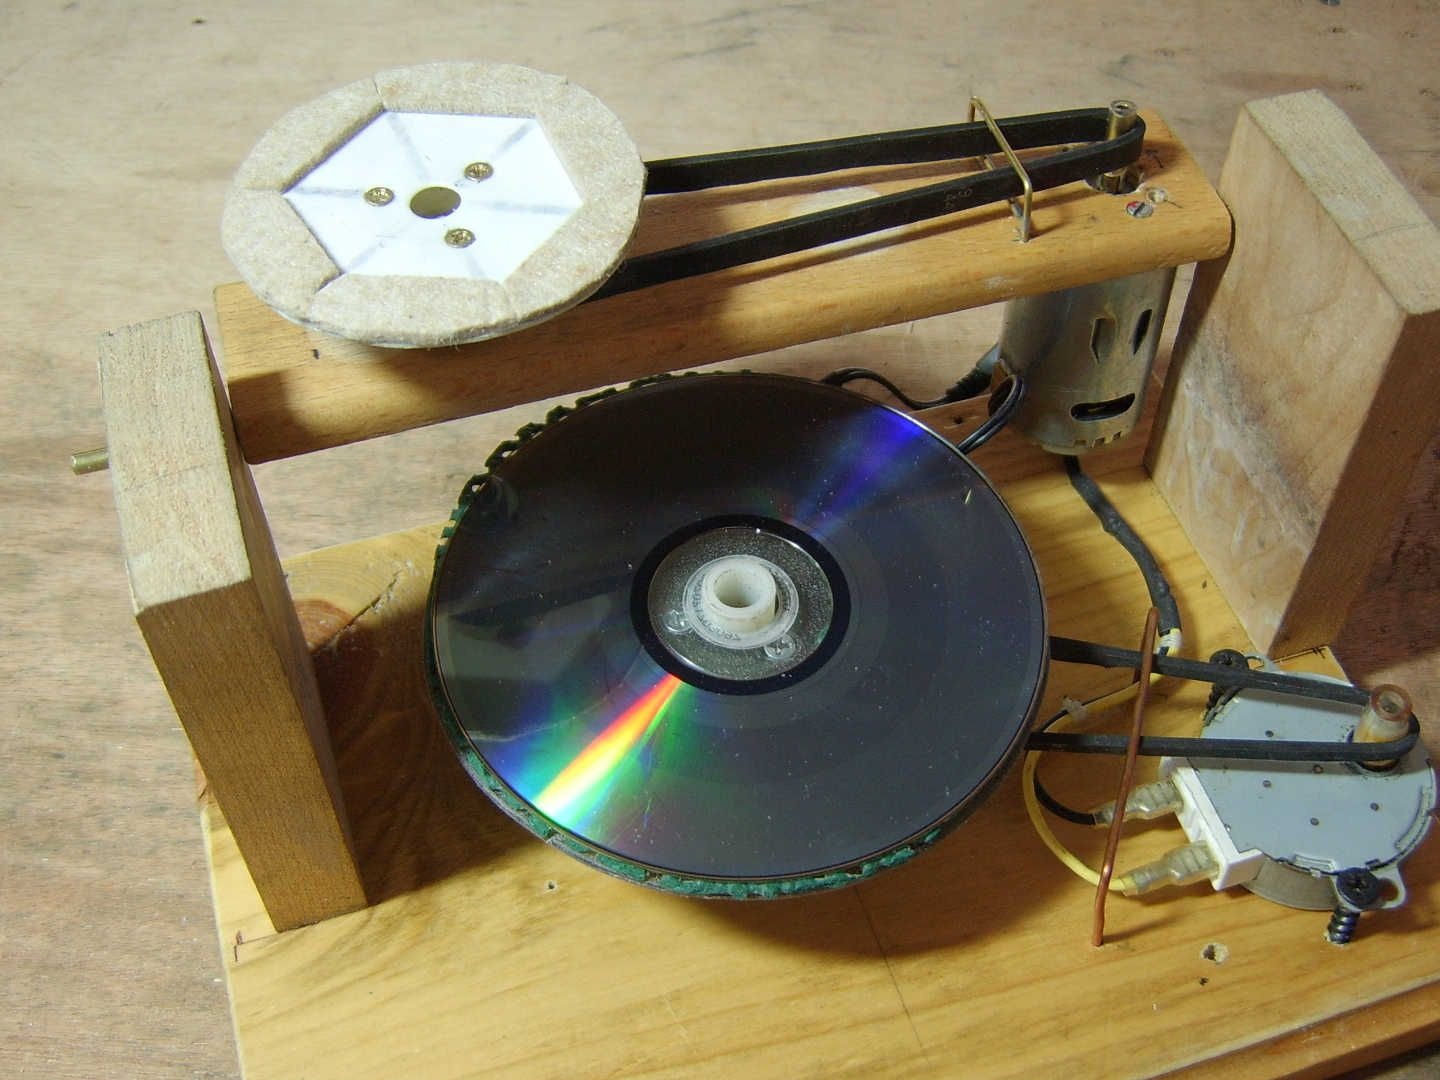
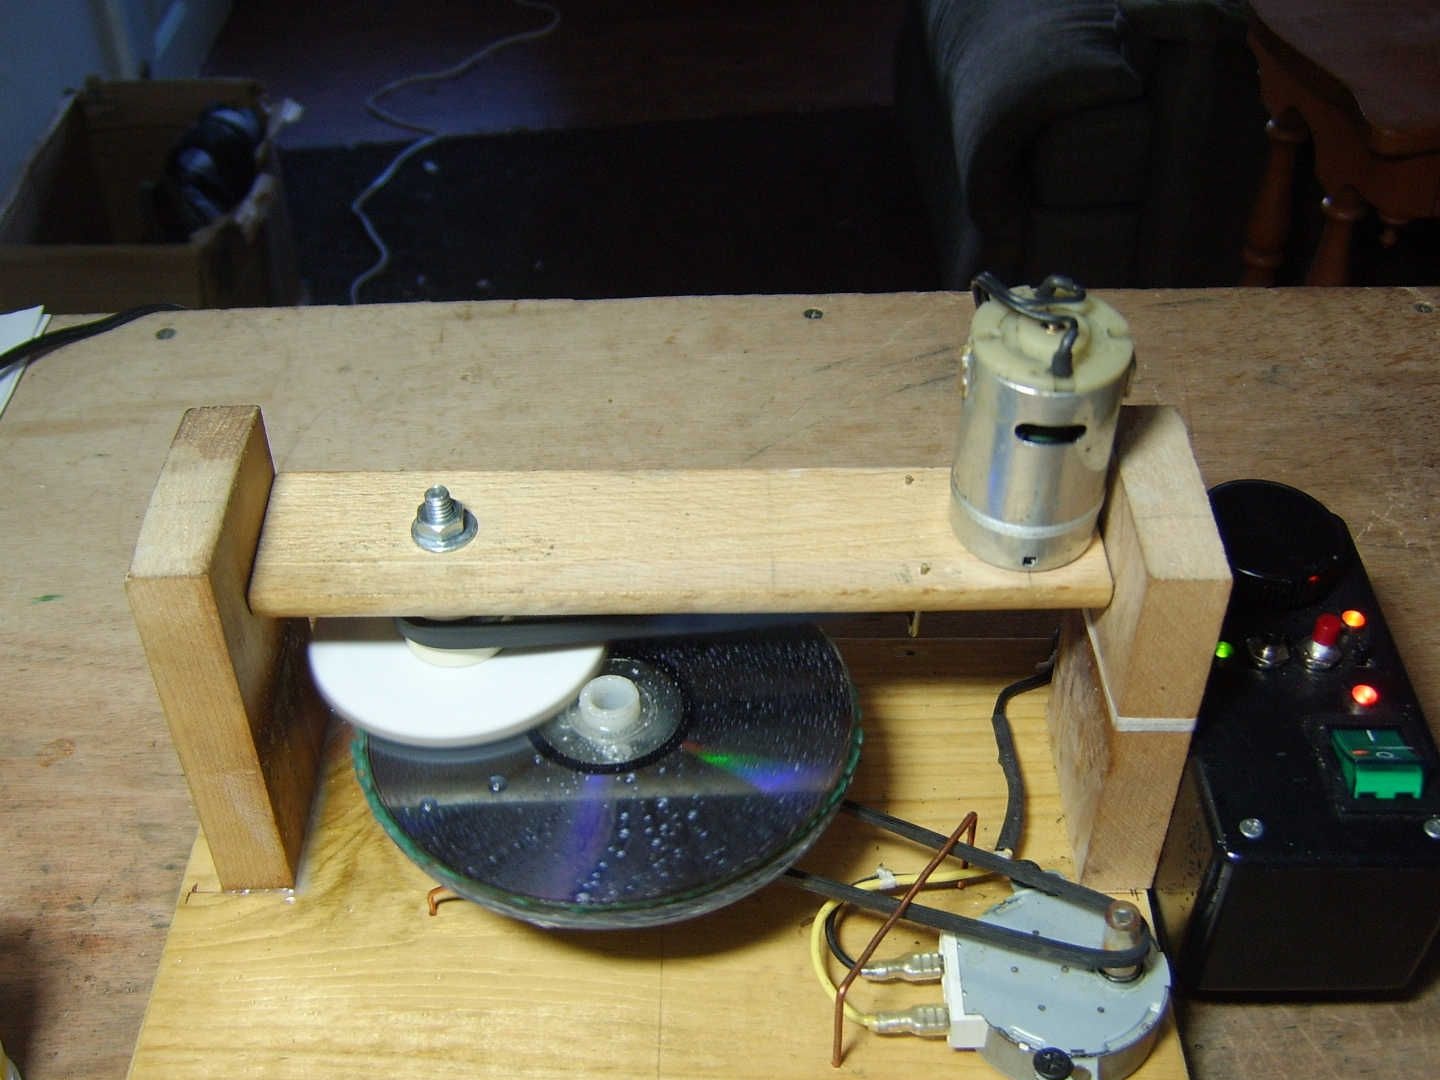
Step 5: Base
The support disk motor is used from the microwave. This is the engine that rotates the dish at a speed of 5 rpm. In the photo of the author, this is a 110v engine.
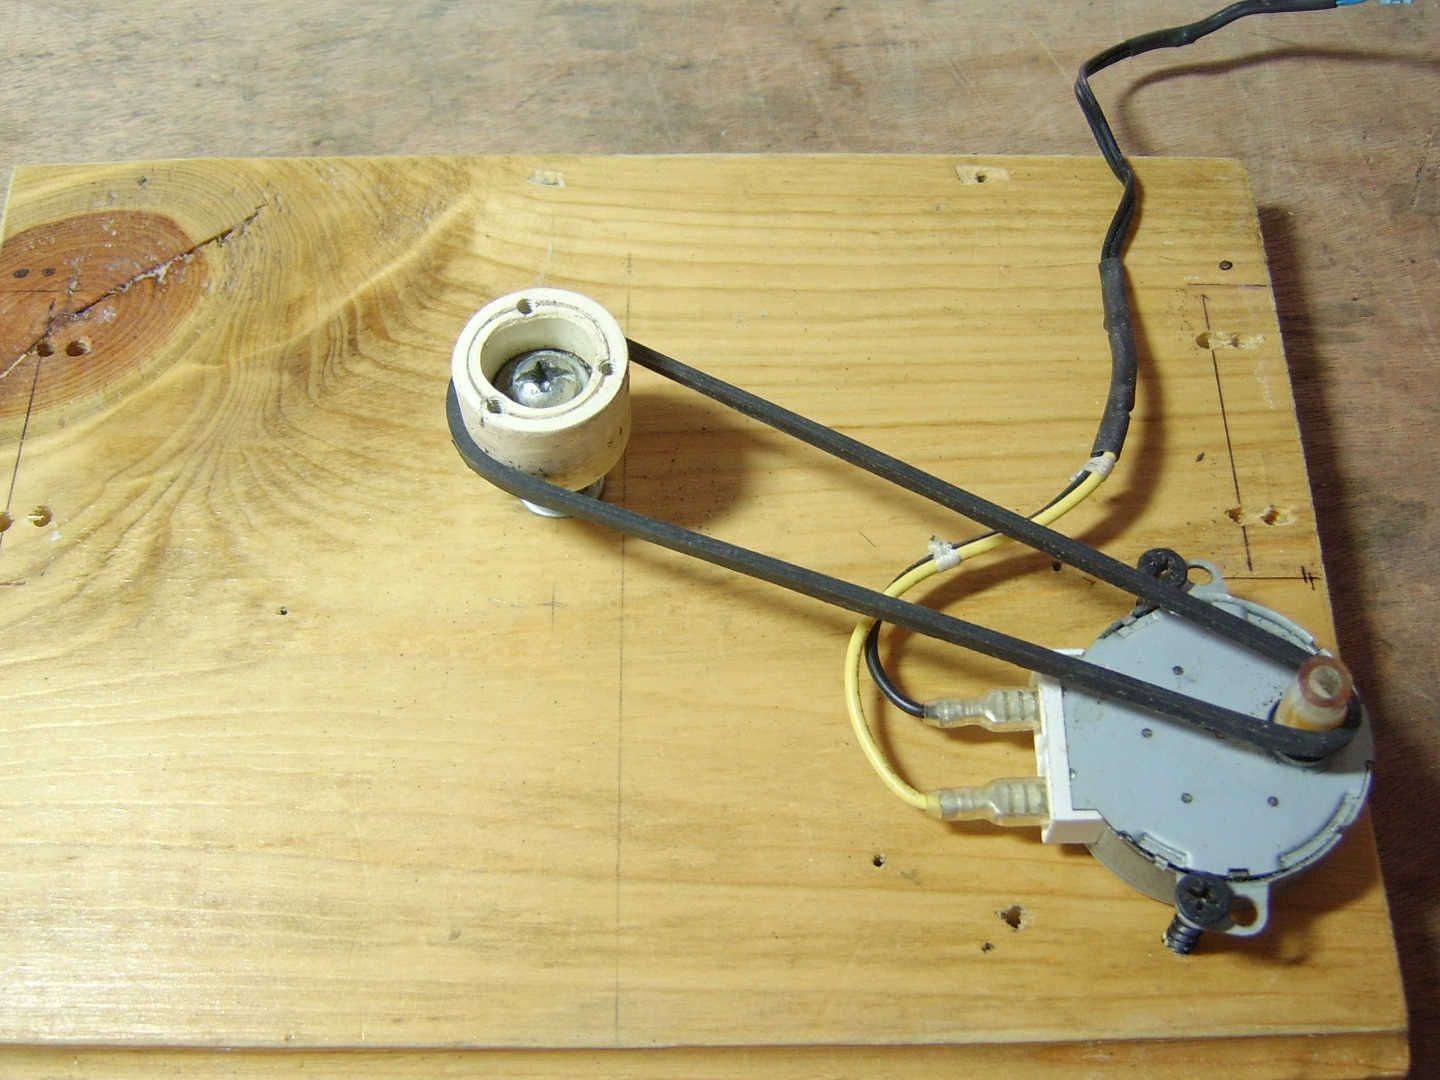
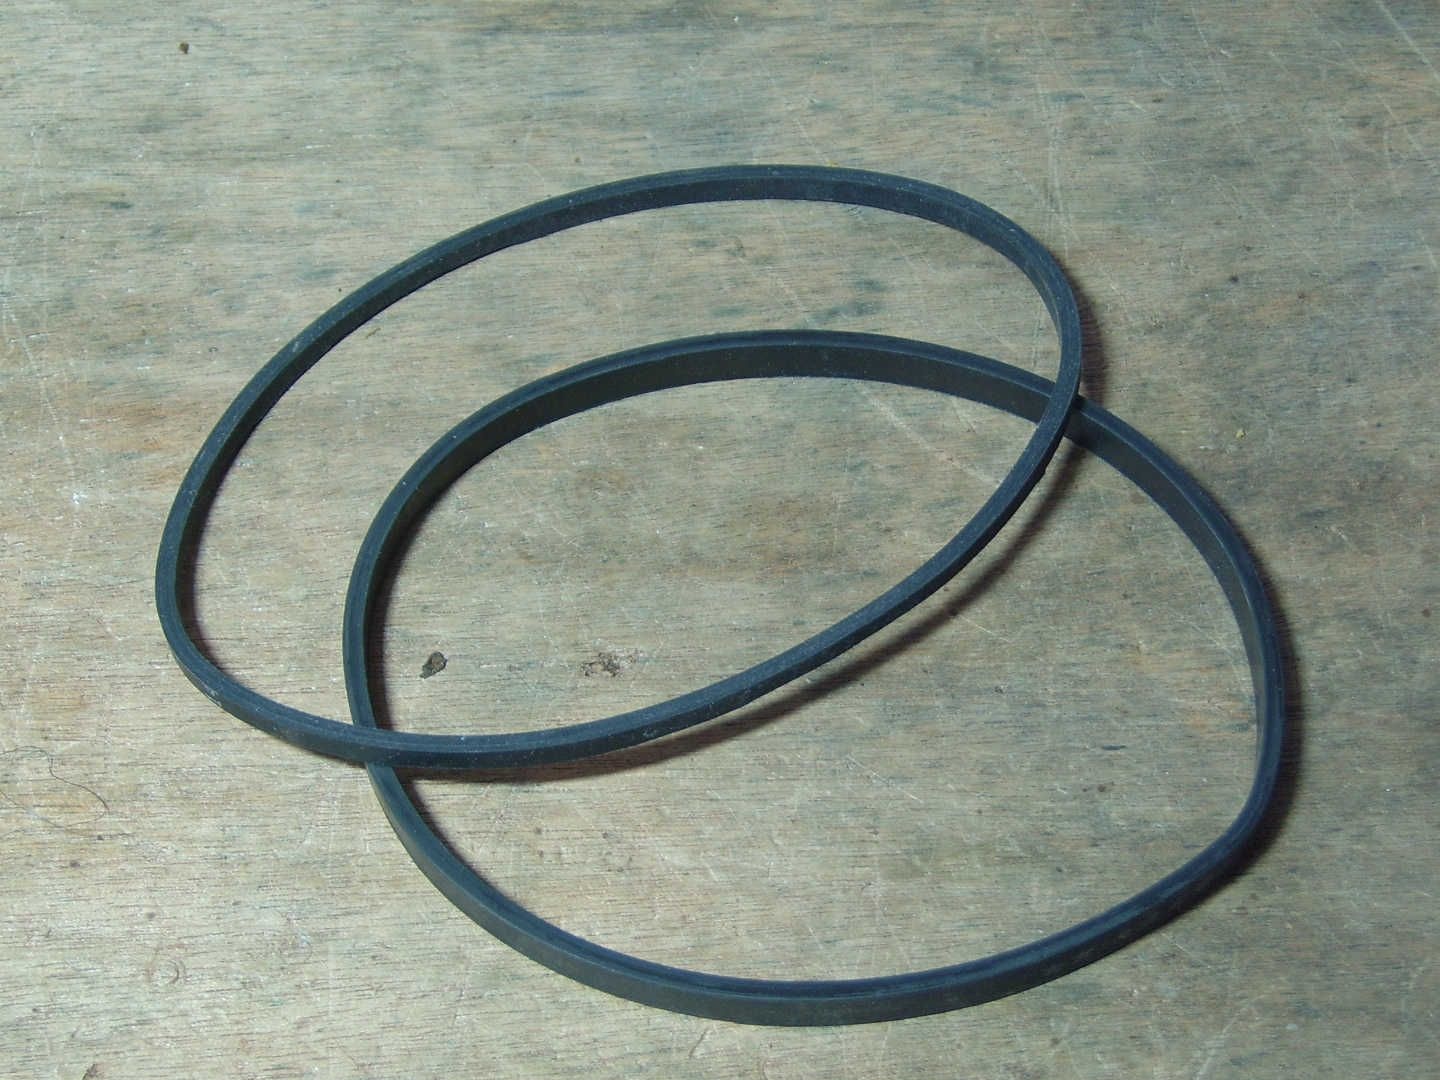
I came across DC motors with a gearbox at such speeds. The drive belt can be used by anyone, but the location of the motor will depend on its length. Do not fasten the motor until you decide on the length of the belt.
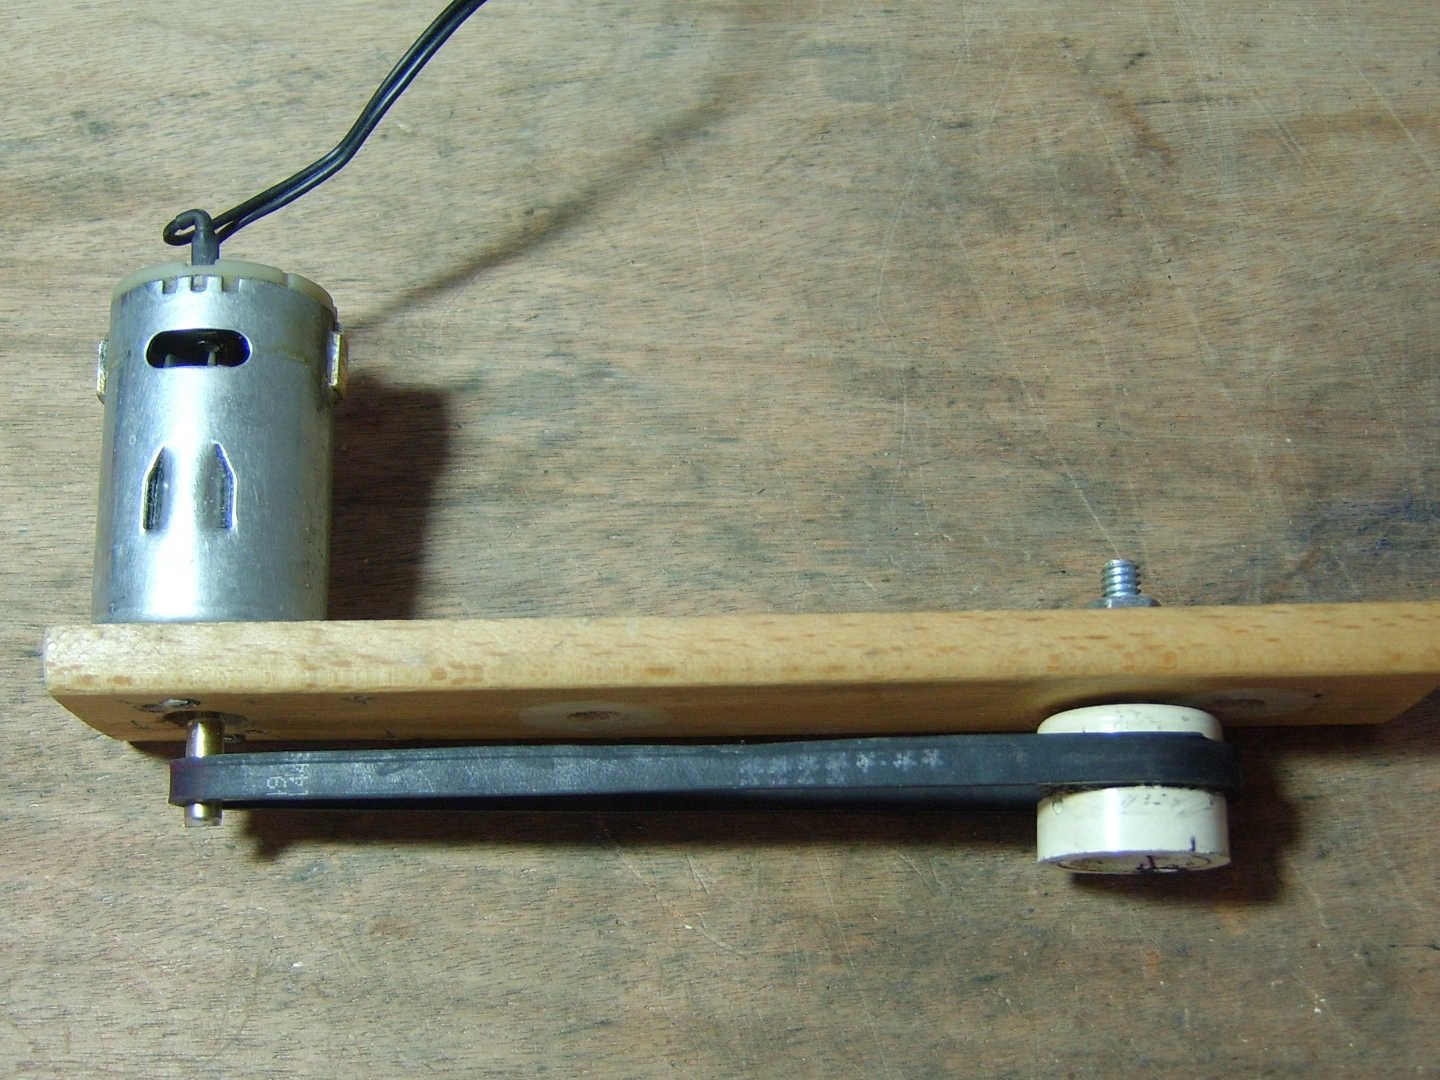
Step 6: Engine for the polishing disc.
The design uses a motor from a 12V cordless drill.

You can connect it through a PWM controller. Put on the drive belt without pulling it tightly, but so that it does not slip.
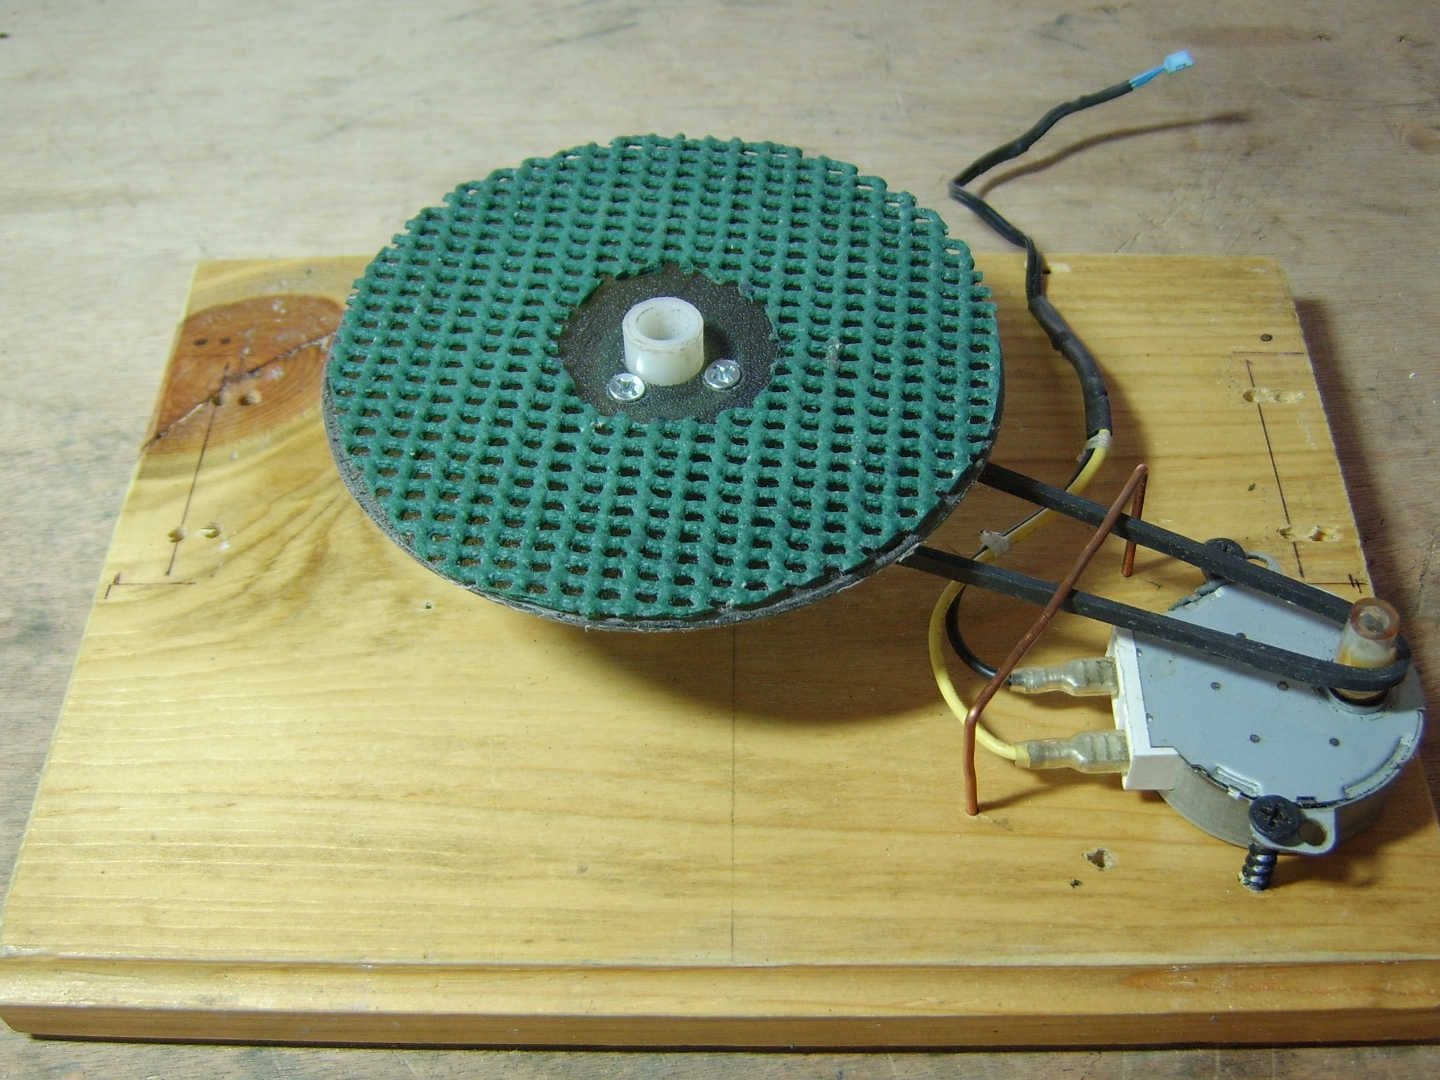
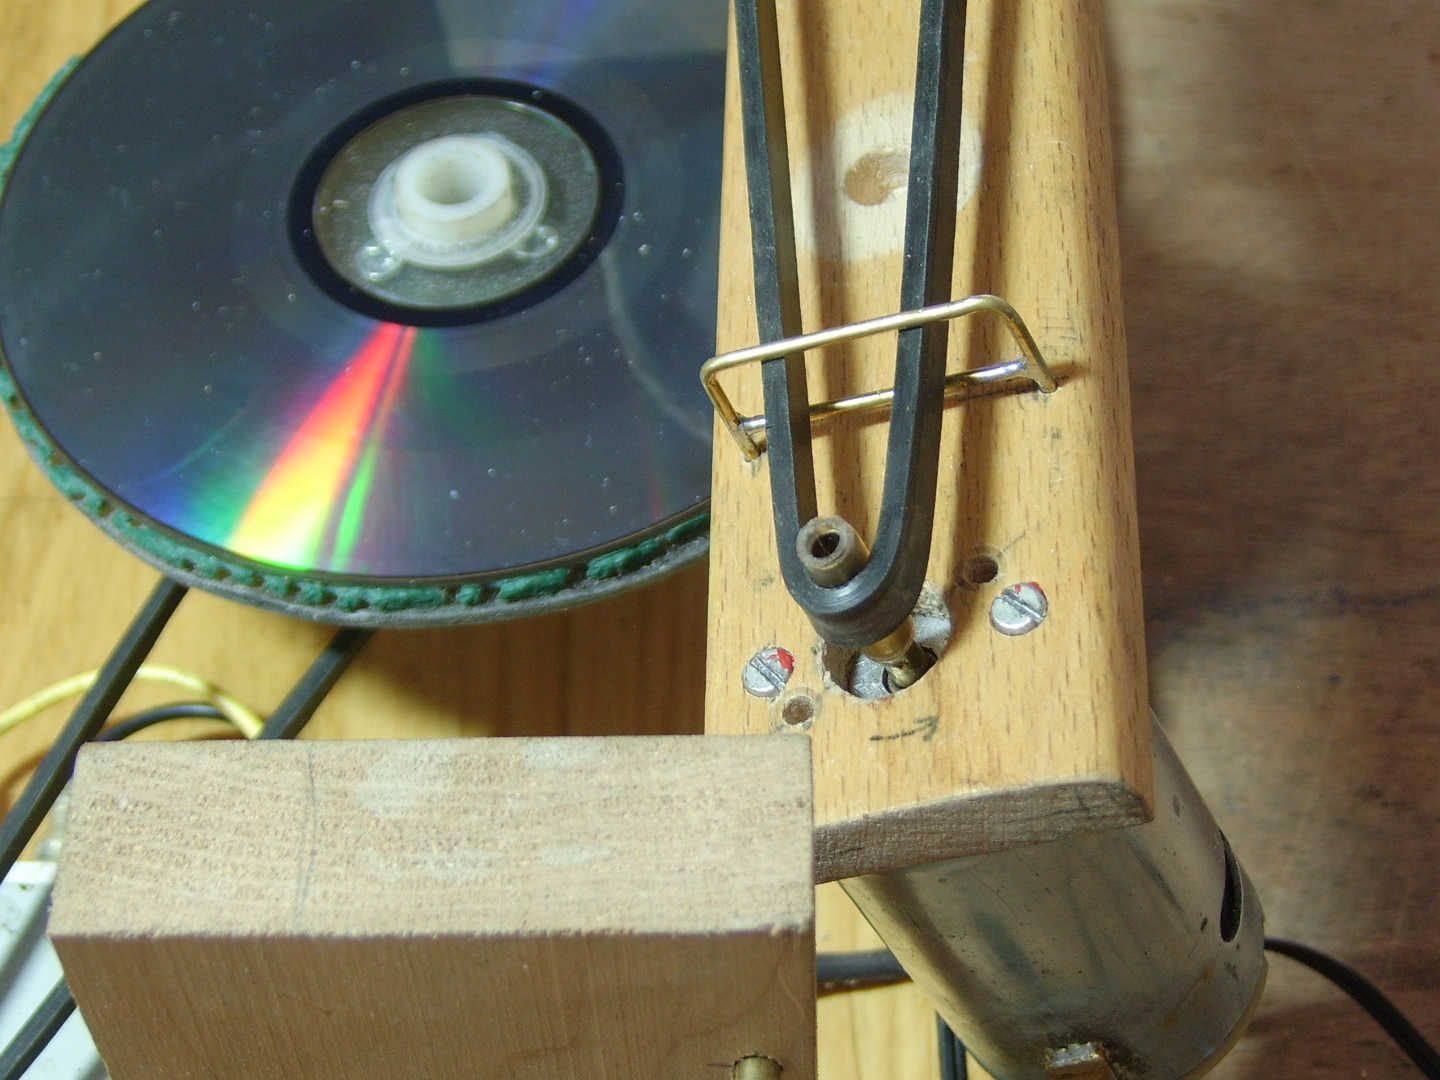
An engine with a polishing disc is mounted on the board, which, in turn, is attached to the uprights with brass studs so that it can rotate around its axis.
To do this, drill holes from the sides not exactly on the axis, but slightly with an offset, and press in the bushings, as shown in the photo, so that you can adjust the polishing disc clamp.
In order to prevent the drive belts from slipping off, it is necessary to install restrictive brackets made of 2 mm thick wire on top of them. They are pressed into the drilled holes.
Step 7: setup
The position of the polishing disc relative to the base is visible in the photo. He touches the CD at a slight angle. Only the front of the polishing disc does the work, the back does not touch it. By adjusting the height of the rack, you can change the angle, and adding weight to the bar with a polishing disc can strengthen the clamp.
Step 8: check how it works


The author uses polycarbonate polish, you can use your funds. I usually use GOI paste for polishing mixed with oil. I put a little oil on the surface, on the felt also oil mixed with GOI paste. Make sure that the surface is not dry, otherwise new scratches will appear. You can try toothpaste with water. Need a cheap toothpaste, the one where the basis of chalk. Run the assembled structure for 10-15 minutes. Do not set high speed on the polishing disc - spray will fly in all directions. There are no special recommendations for setting the disk angle, pressure, rotation speed, you need to select this experimentally.
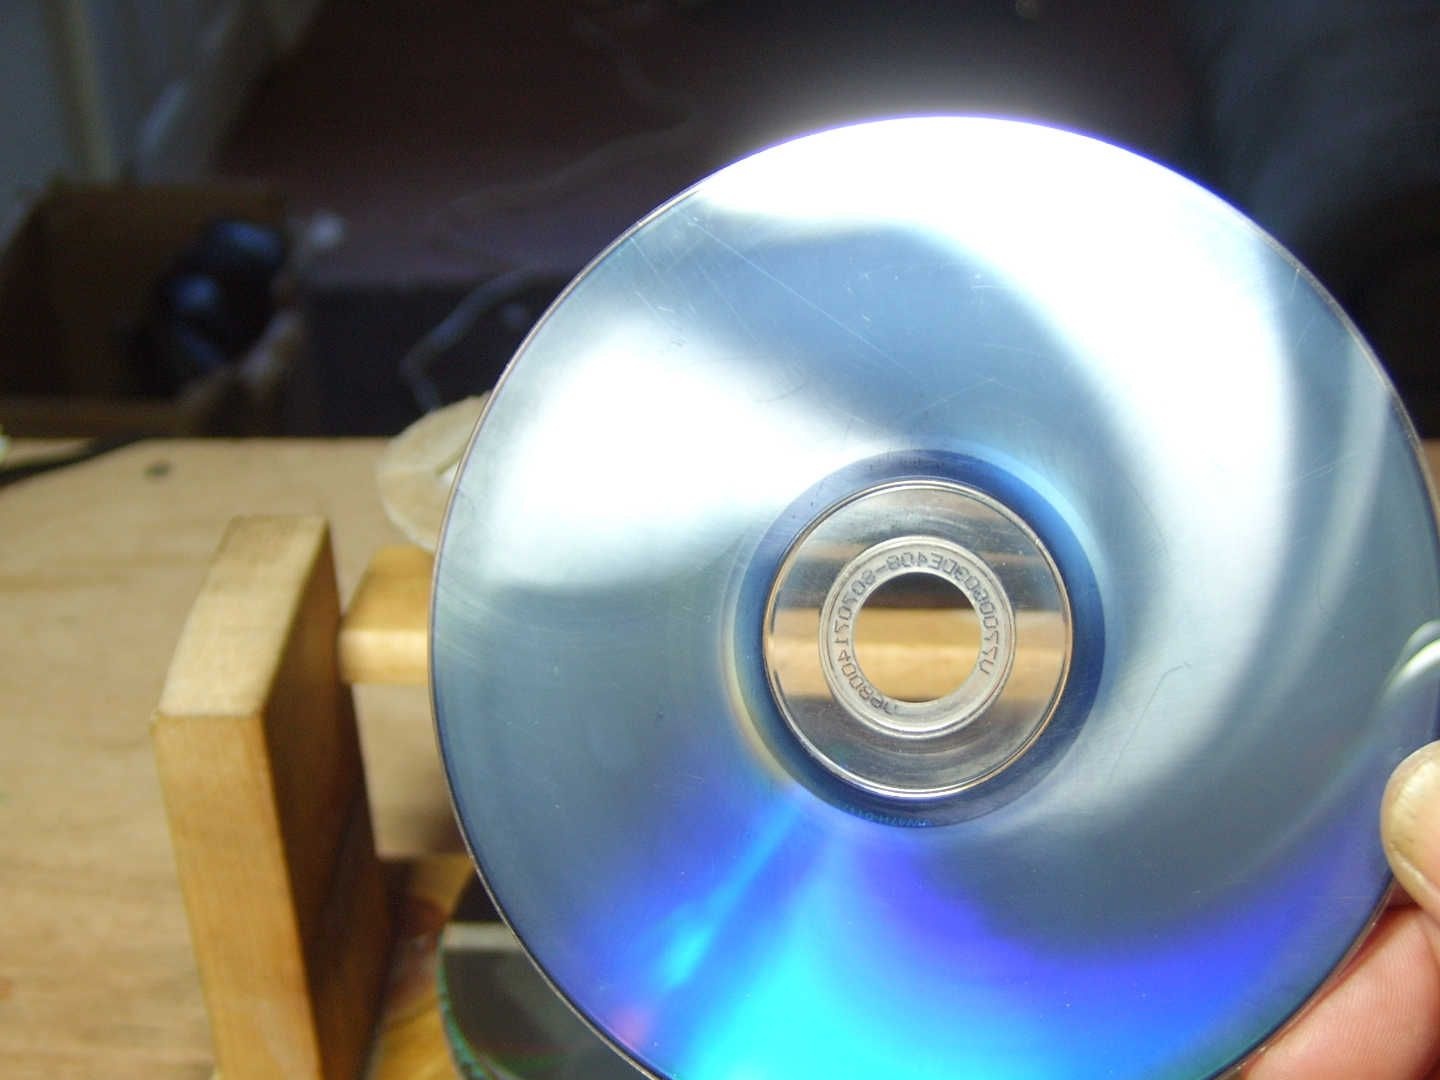
The results of the author after polishing the disc: a disc from unreadable at all - began to be read with errors. Perhaps it was necessary to use other material on the polishing disc.