


Hello dear the inhabitants of our site and site visitors. Today I want to put on display my next home-made stool-pouf with a padded seat and a place to store small things inside.
To make this item we need old shelves from cabinets or a piece of thick plywood with a thickness of at least one centimeter. of the tools needed:
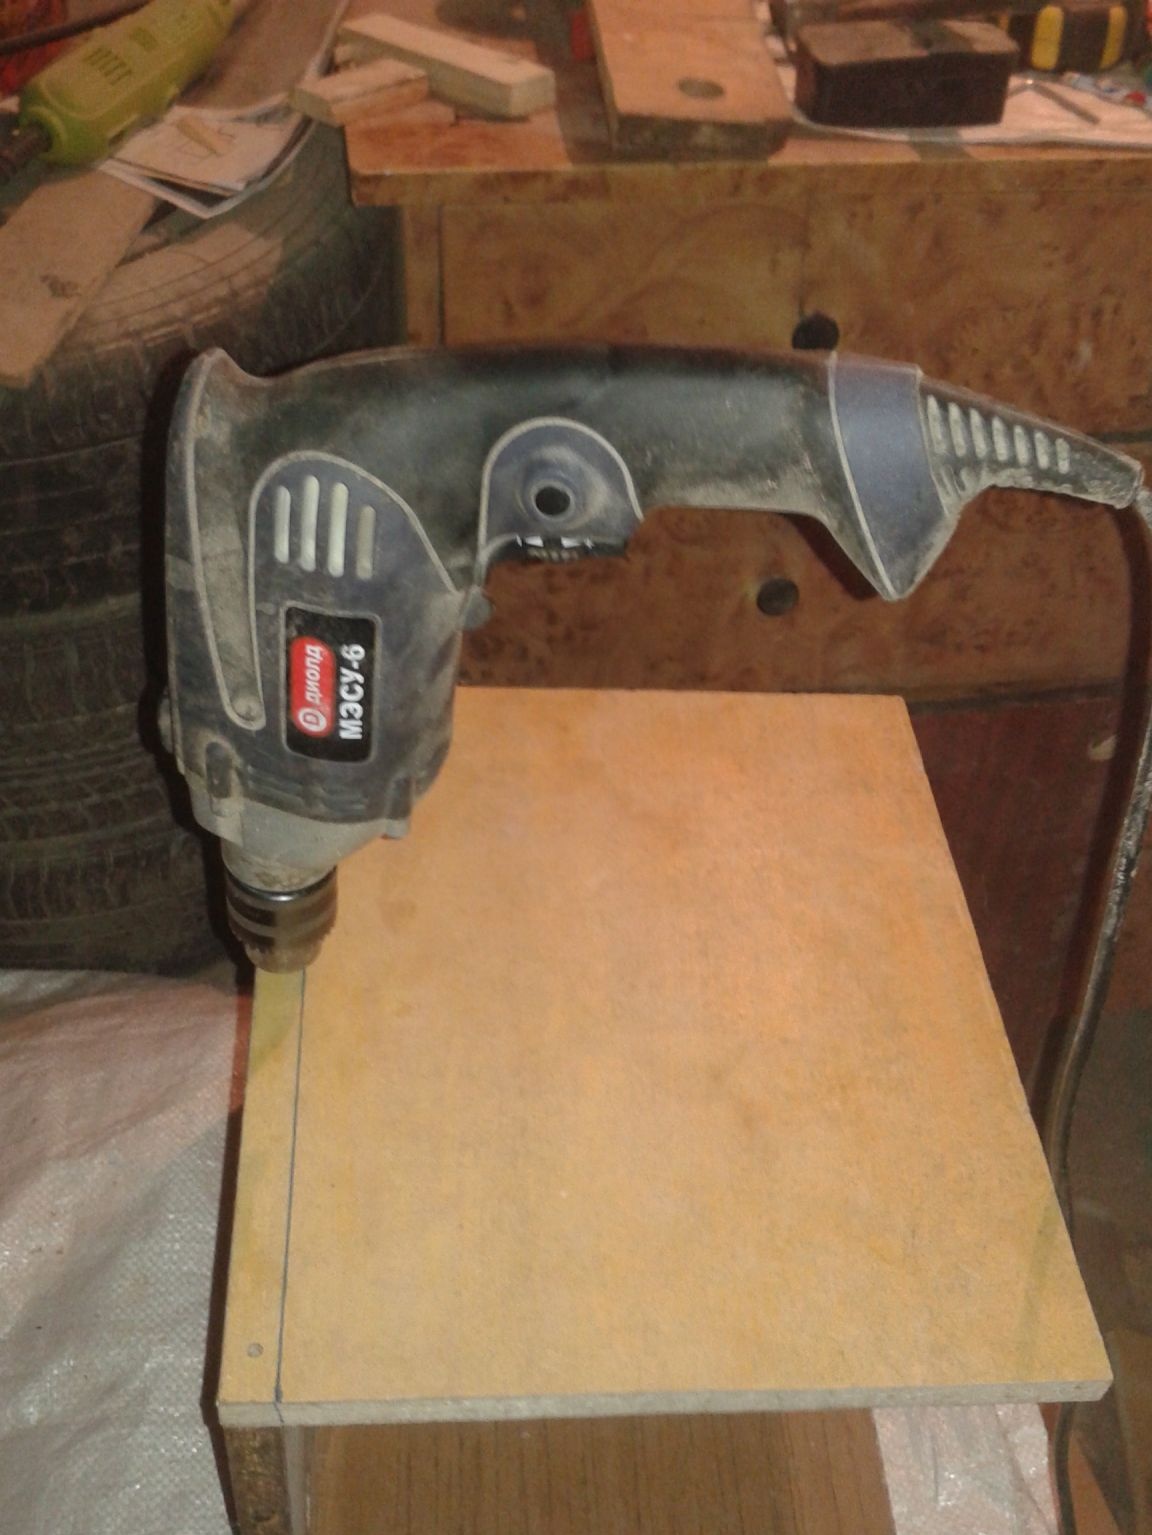
drill and drill with a diameter of 6 mm
grinder with grinding disc
a circular saw
roulette
measuring corner
furniture bolts and a key for them
two little hinges for grandma
glue gun, several small nails with a wide hat

Now we begin the process of assembling the stool.
step 1.
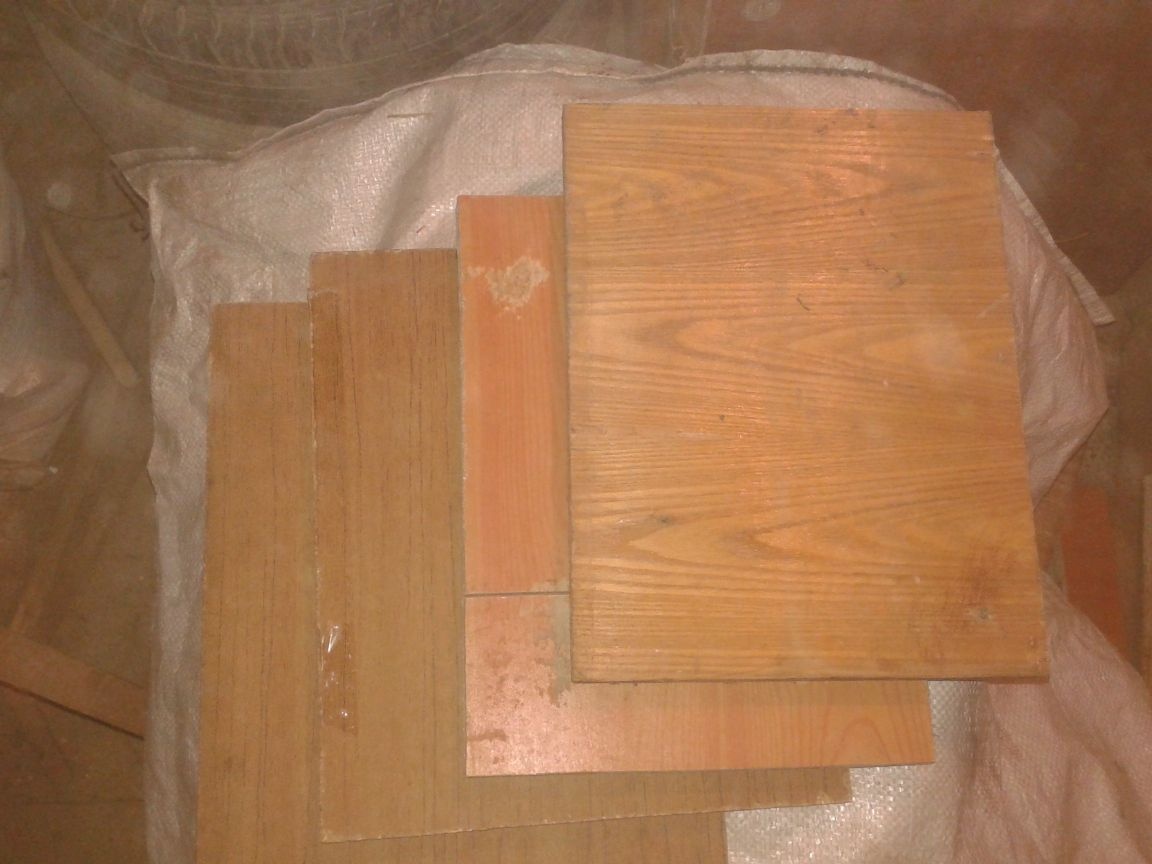
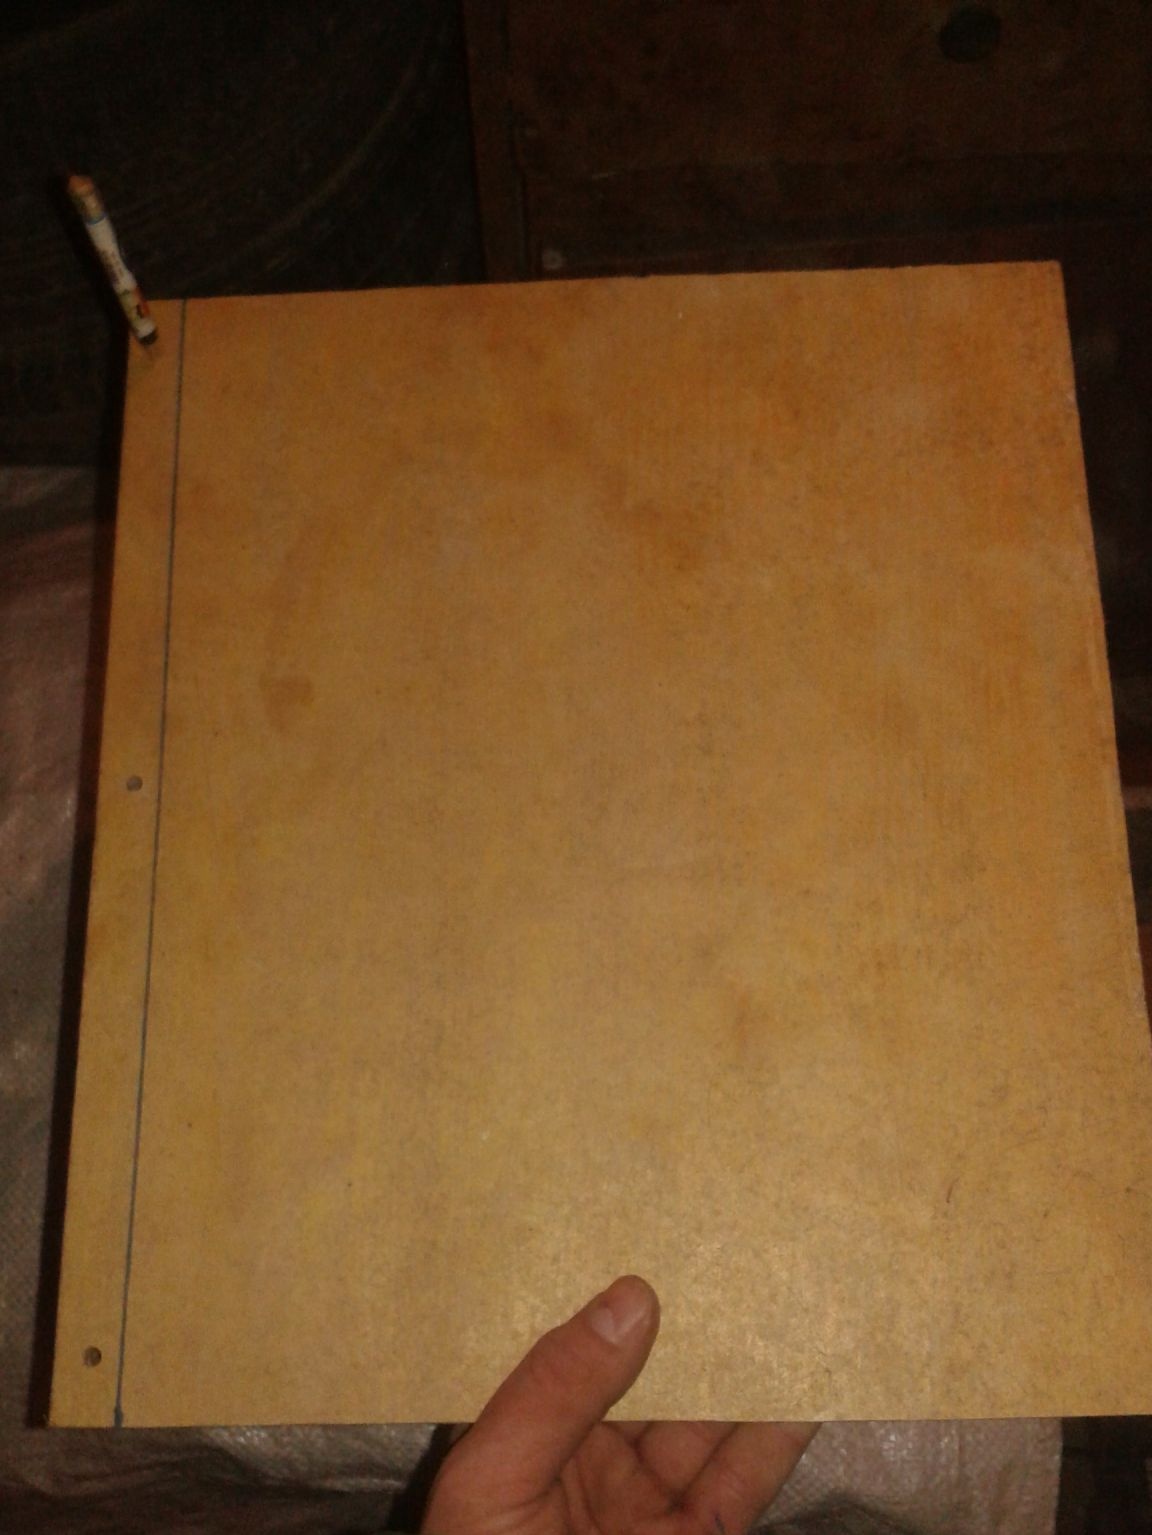
take the source material. in my case, these are shelves from old Soviet cabinets.
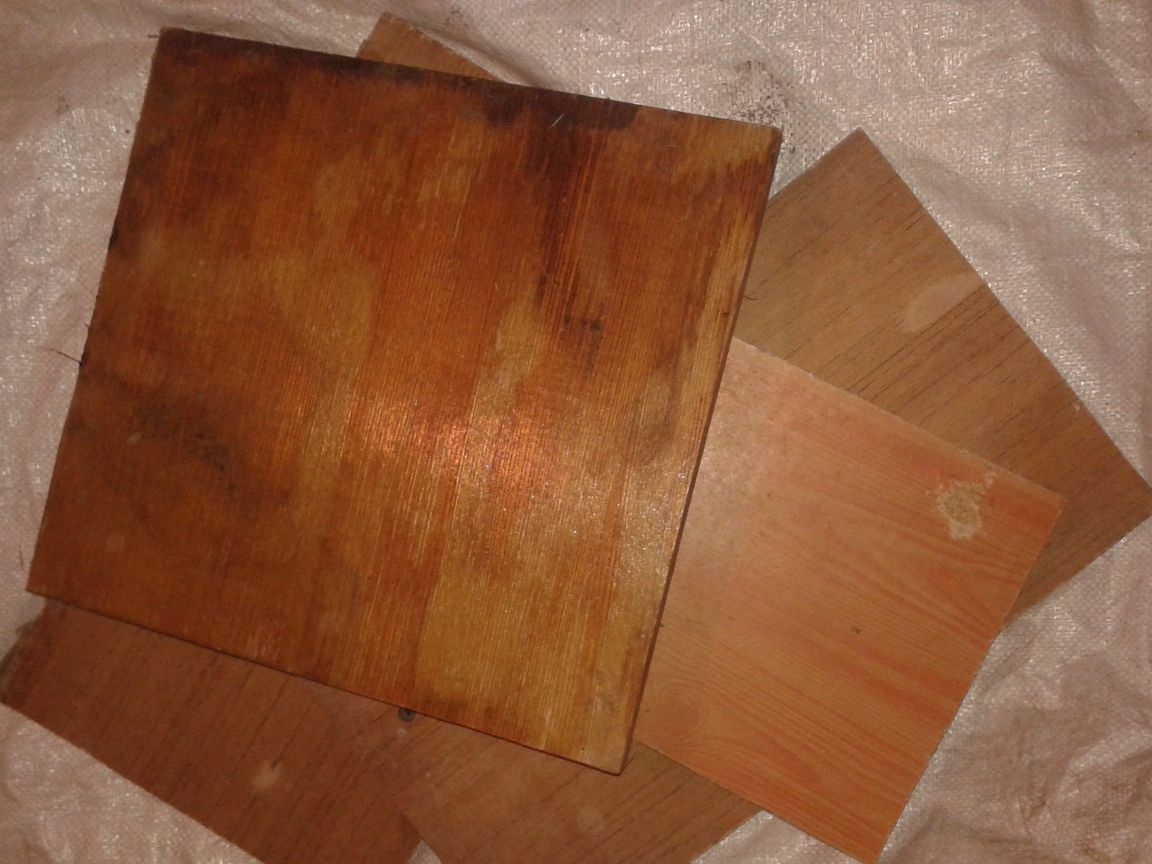
Now we need to mark the blanks. in height, each detail is 35 centimeters. Two parts, sidewalls, I made one 30 centimeters wide. the other two are 27 centimeters.
cut out. such blanks for the future stool are obtained
step 2.
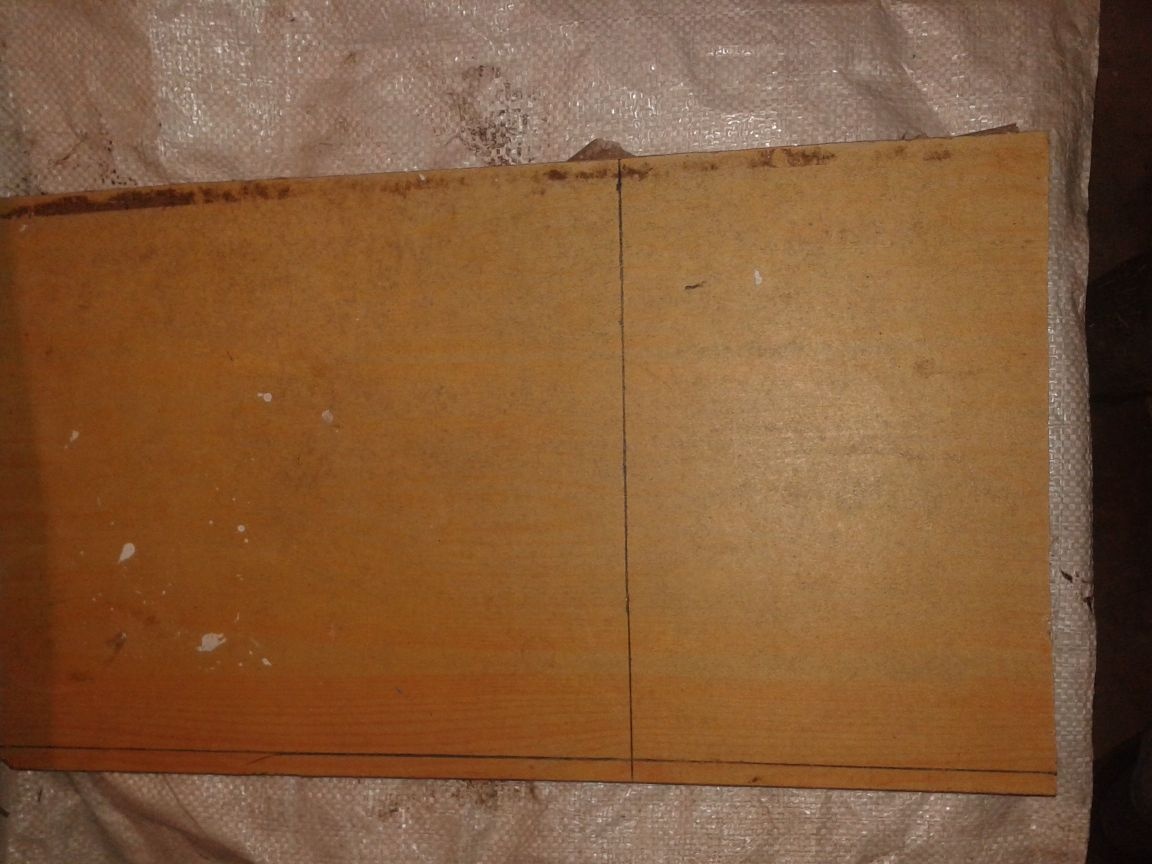
Now we mark on the side of the workpiece a place for holes for fastening furniture bolts. we apply one sidewall to the edge of the other, mark the width with a marker and already in random order, make holes in any place convenient for you.
Now that we have drilled holes on the sidewall, the width of which is 30 centimeters, we are applying another sidewall, the width of which is 27 centimeters. and mark with a pencil in its end face the markings for drilling so that they coincide with the holes on the first sidewall.
by drilling one hole in the end of the part 27 centimeters
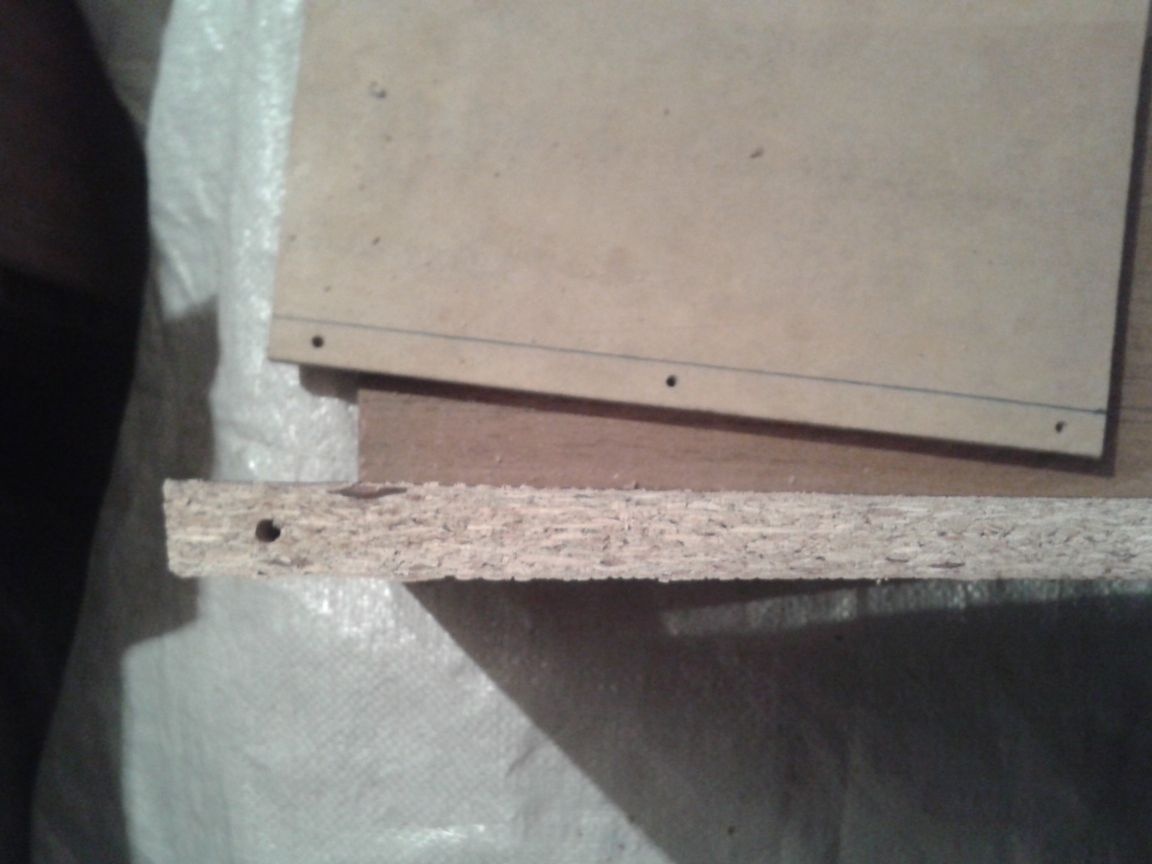
we drill others.
step 3. for this I did not begin to mark each hole, but simply, twisting one furniture bolt and aligning all the edges of the part, I began to drill through the holes of the first part. It turns out much faster and more convenient.
fasten all the bolts. on each side they will need three pieces
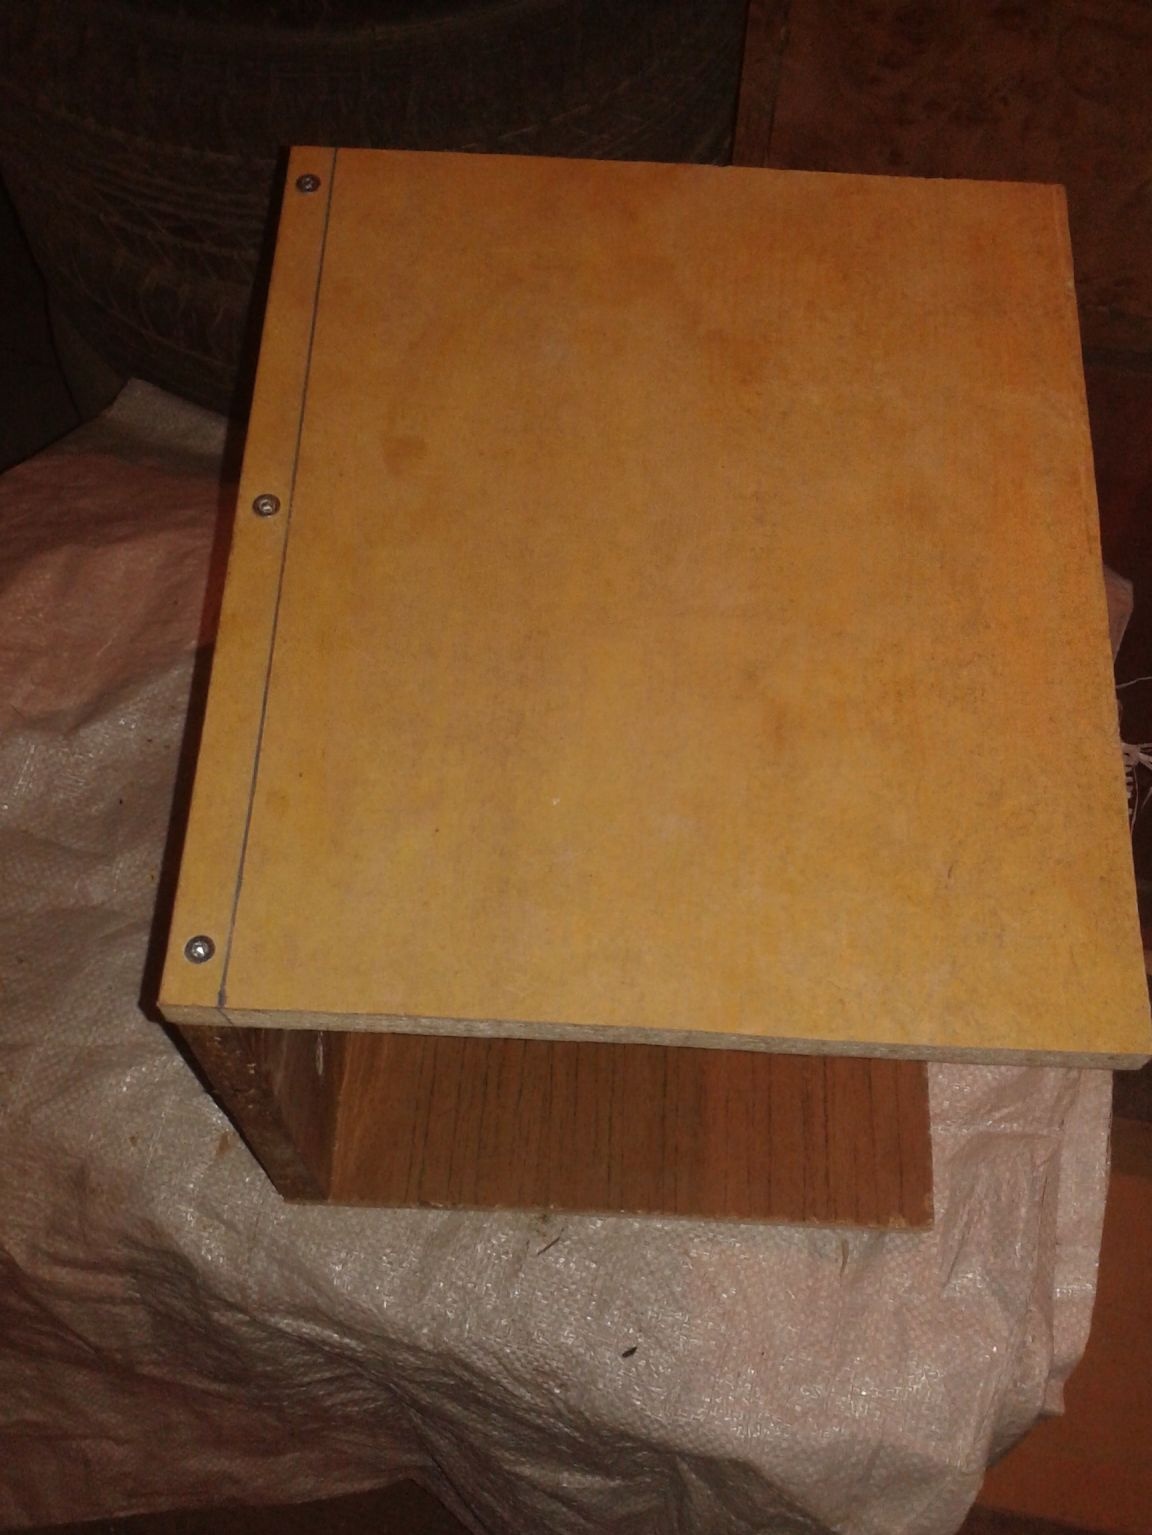
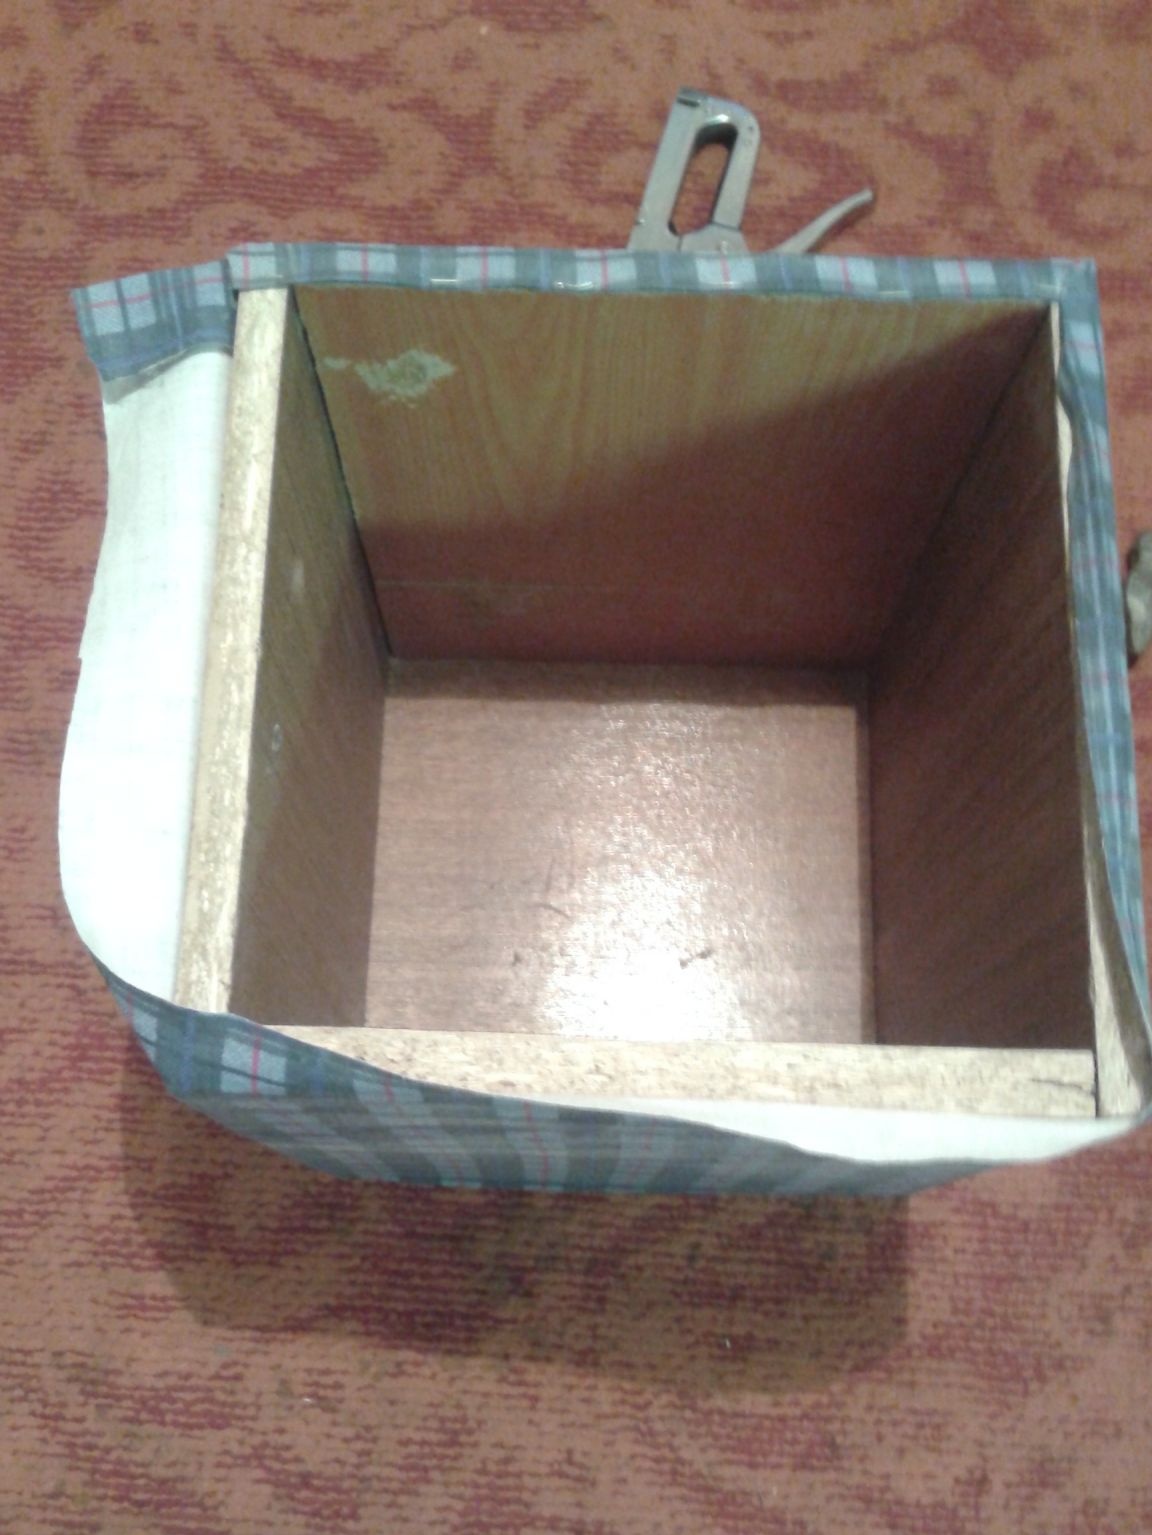
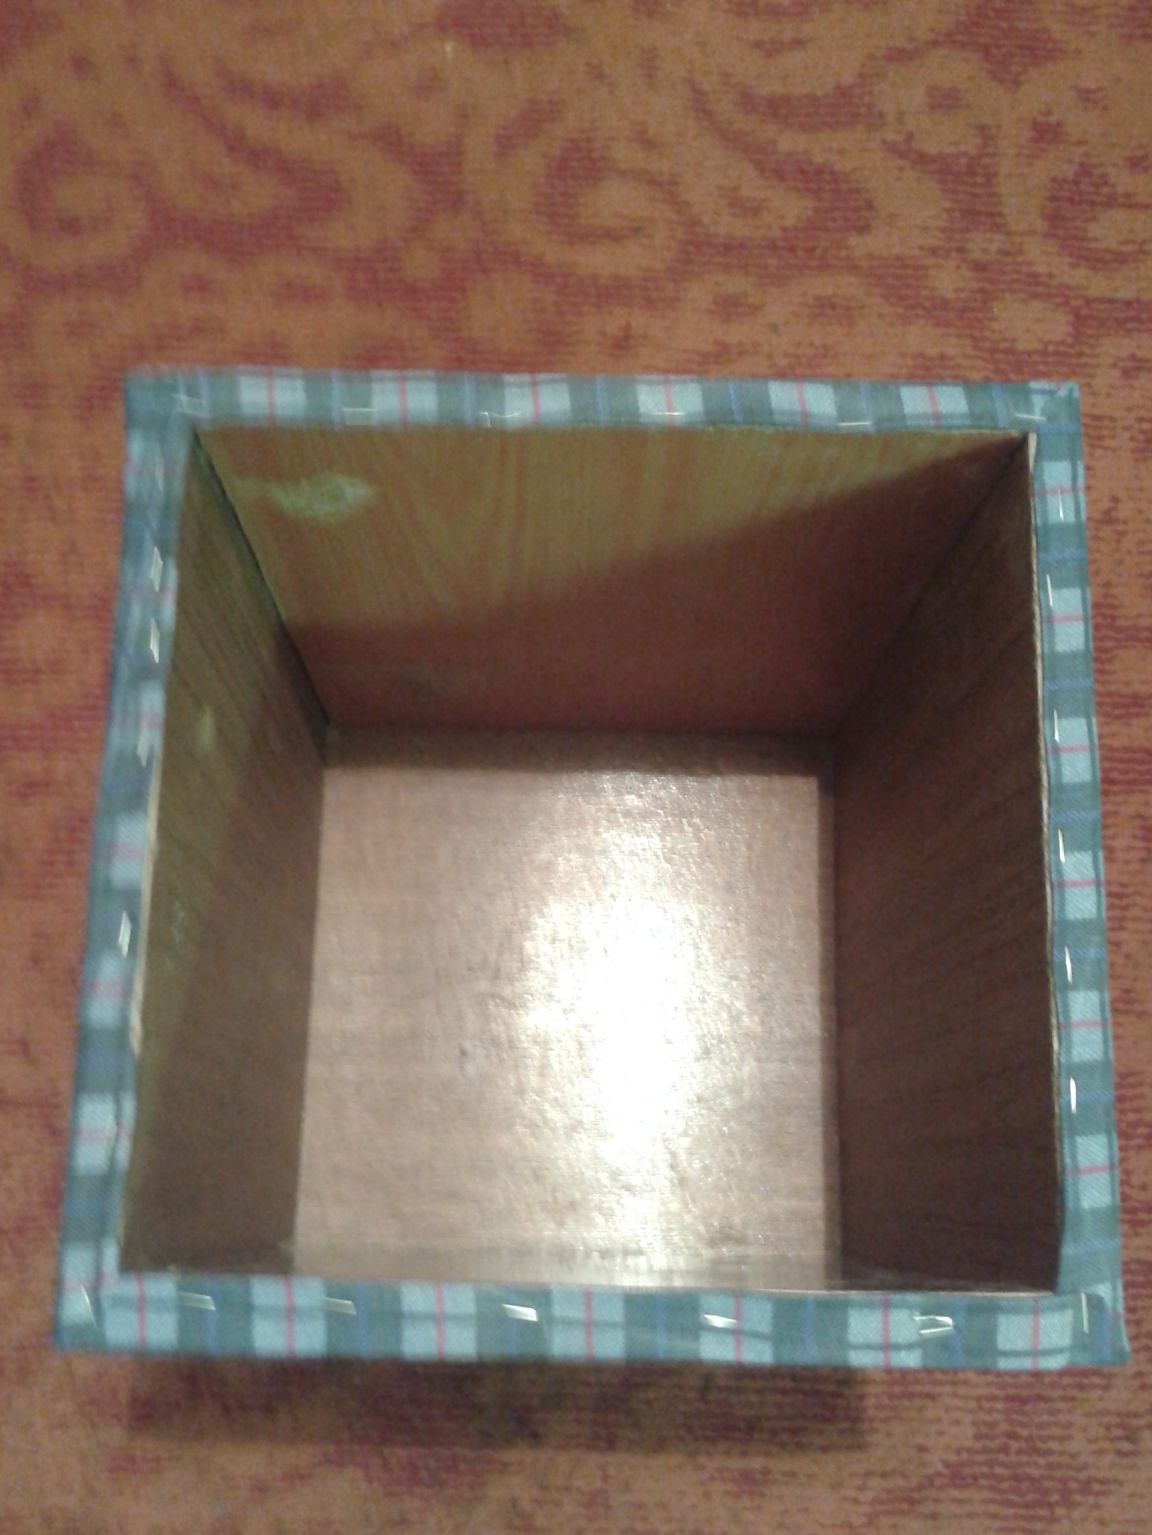
Step 4. We carry out similar actions with all the details. in the end we get the rectangle-base of our stool.
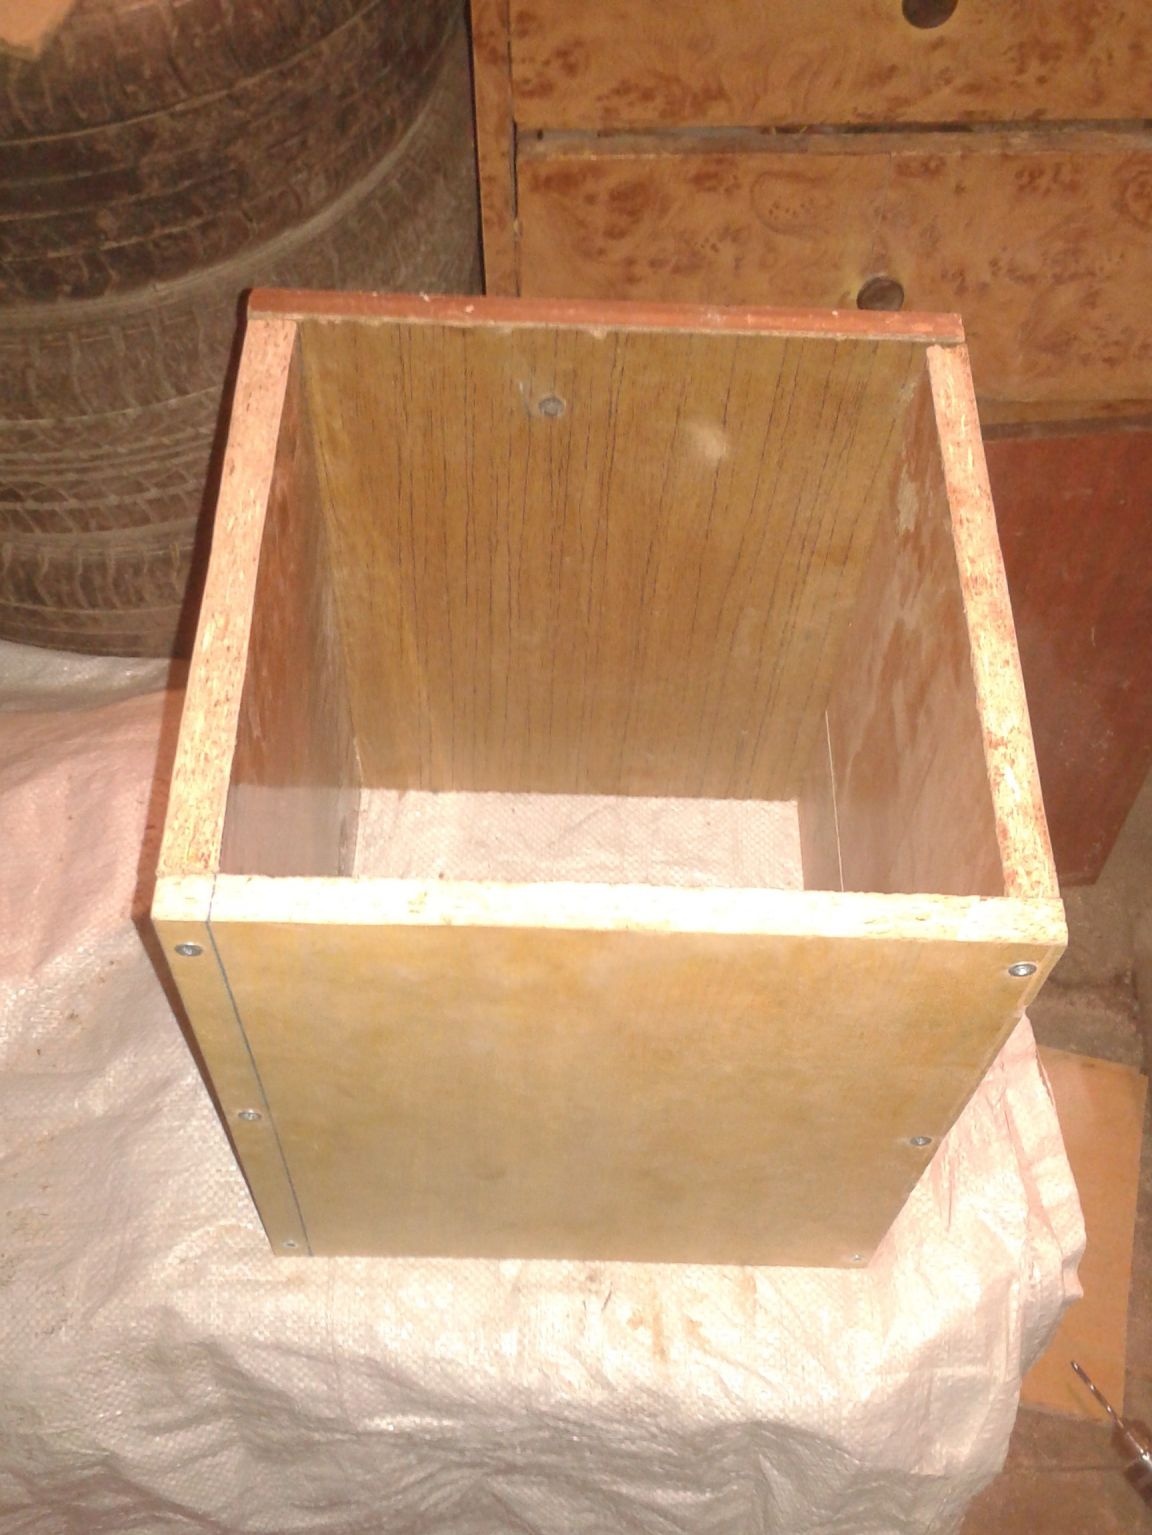
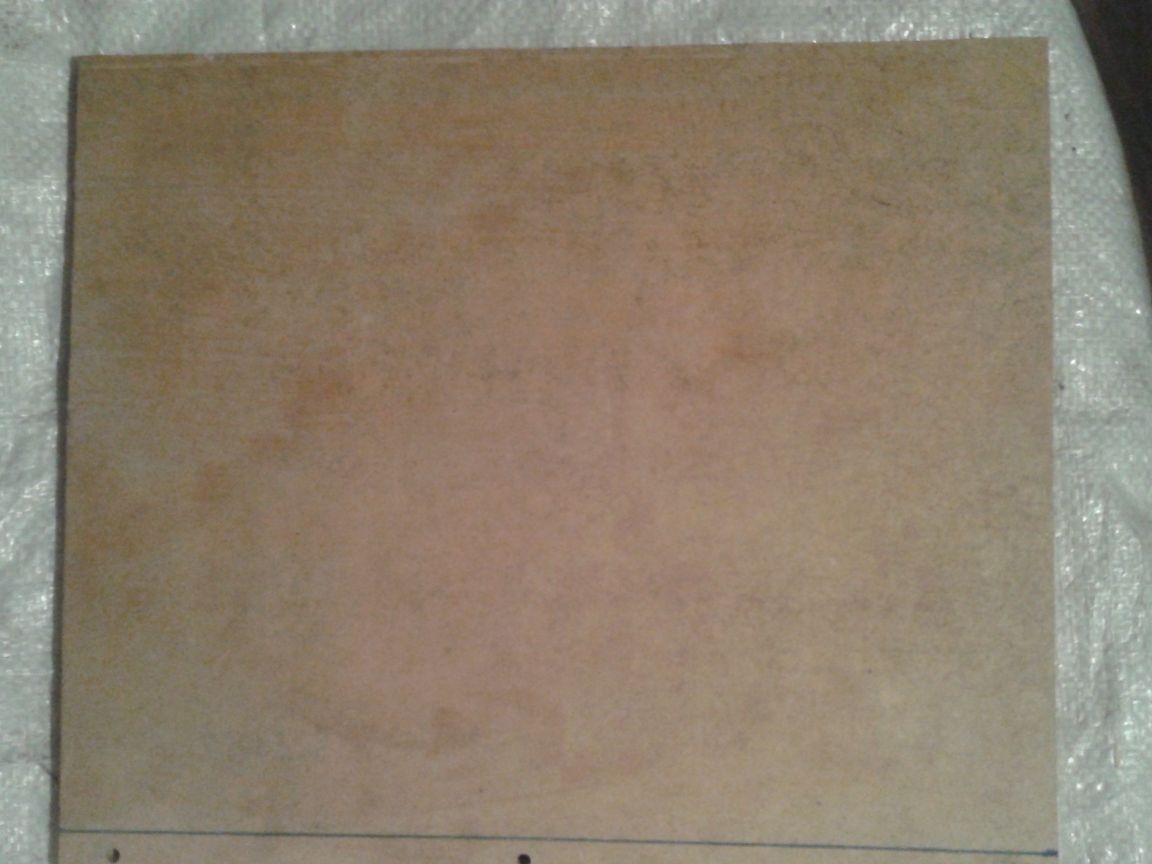
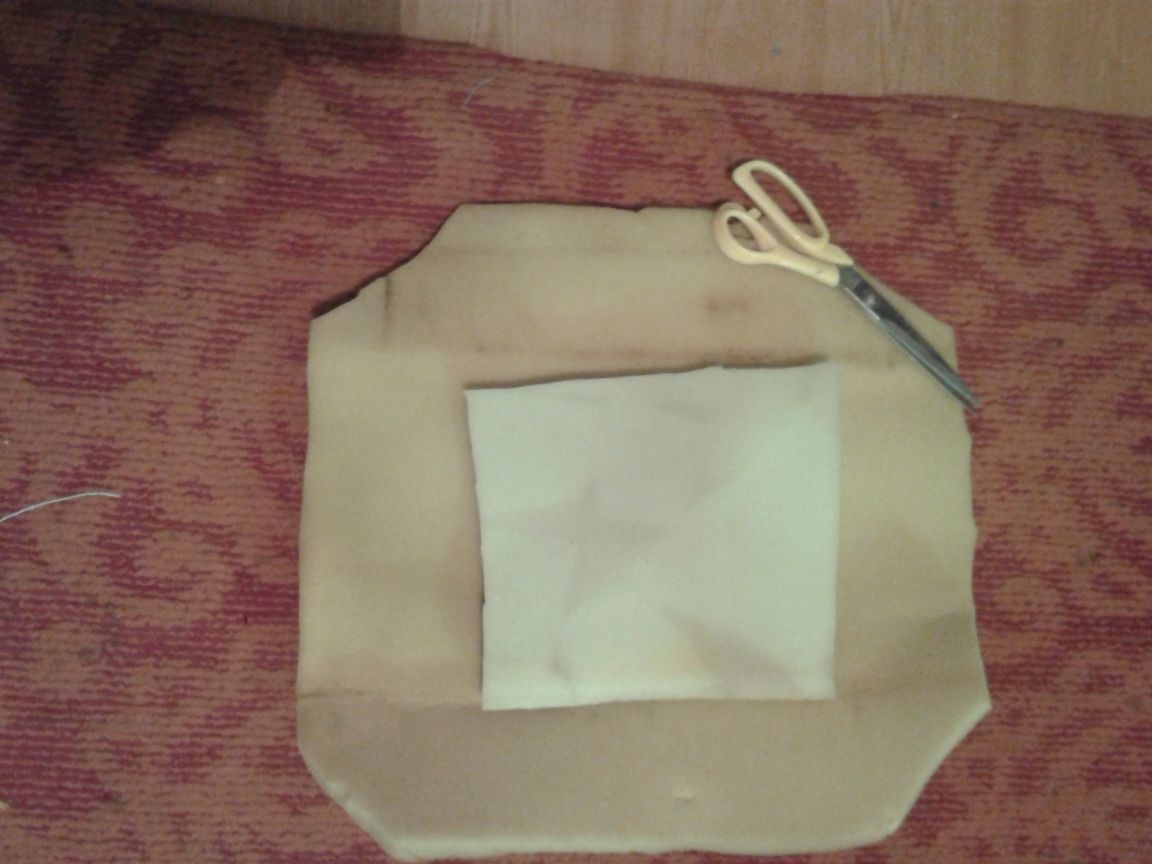
Step 5. The next step in the work was sawing the bottom and cover of the stool. I got two blanks with the dimensions indicated in the photo
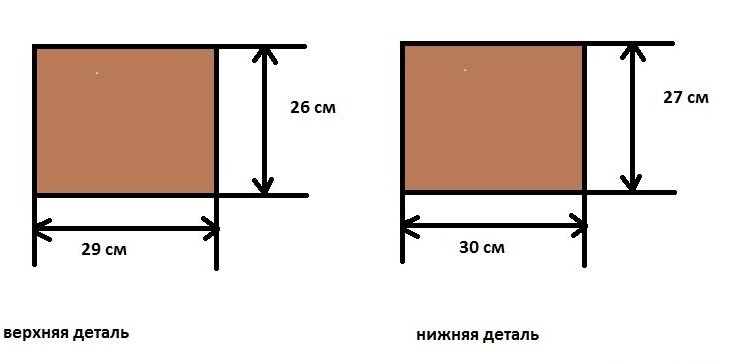
the dimensions of the upper part, which will be the seat, are indicated in smaller sizes, since foam rubber will be attached to it and if the dimensions are left as on the lower part (the bottom of the stool) then the cover will close very poorly.
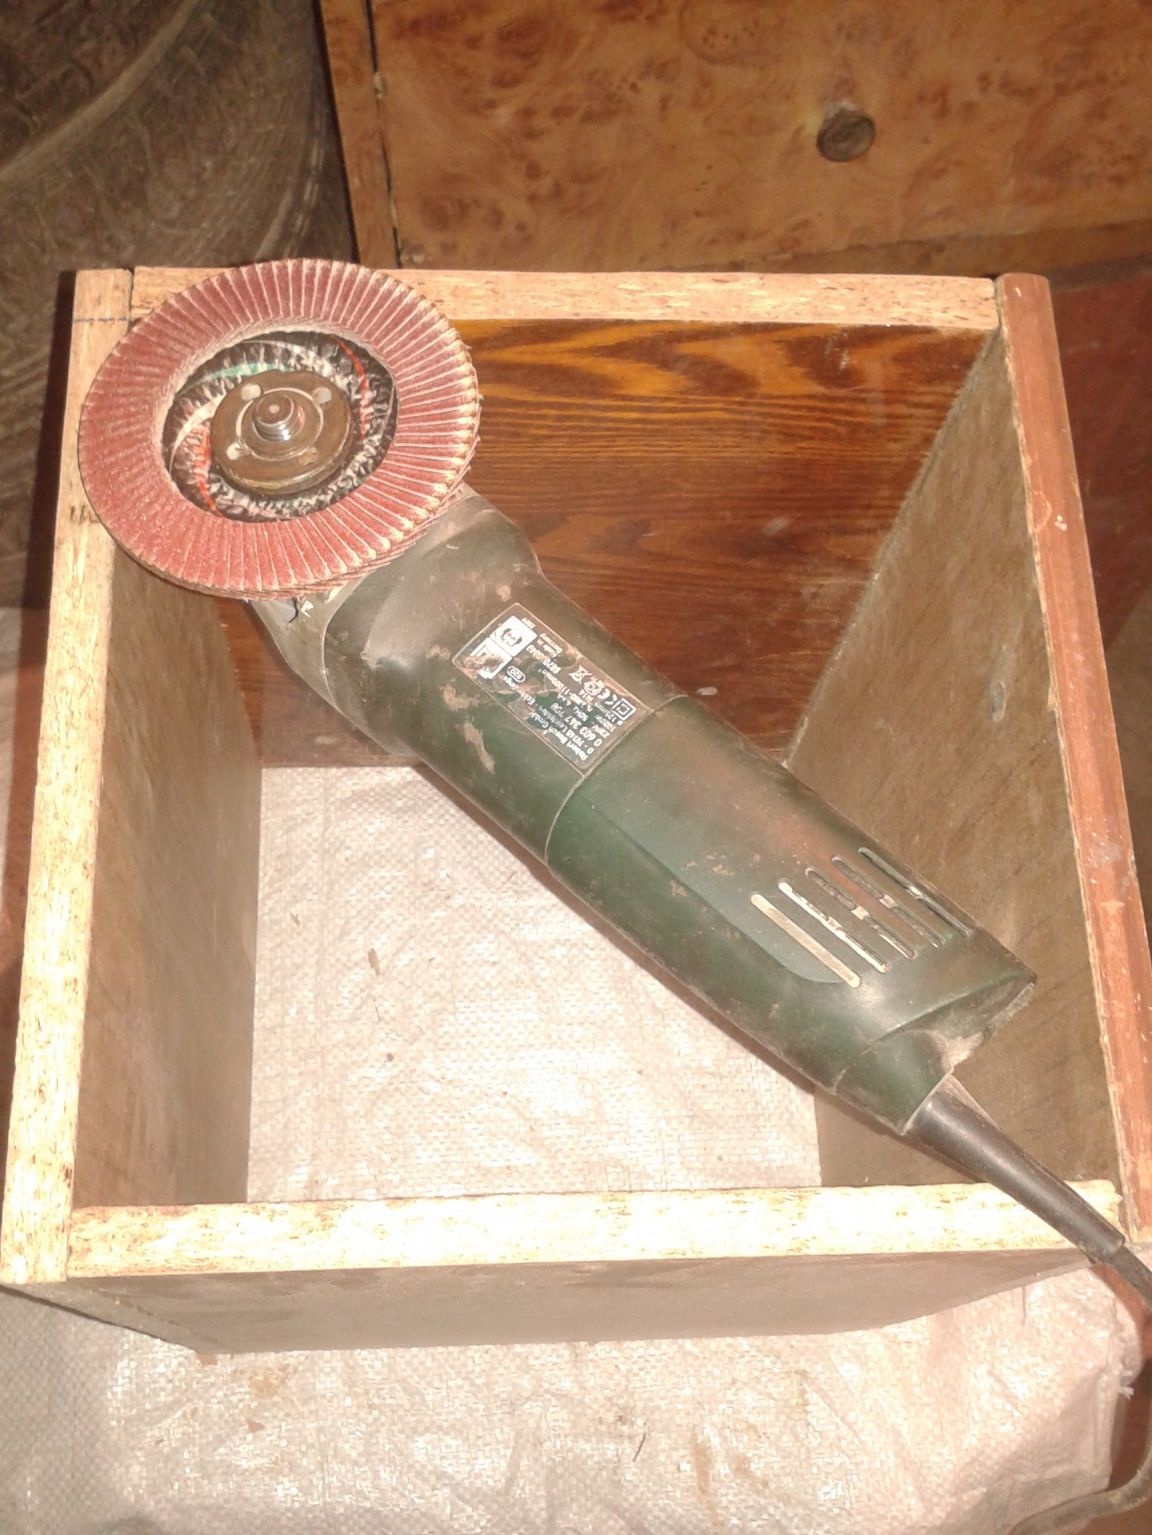
step 6. Next, I took a grinder with a petal disk and polished all the ends and sides of the rectangle.
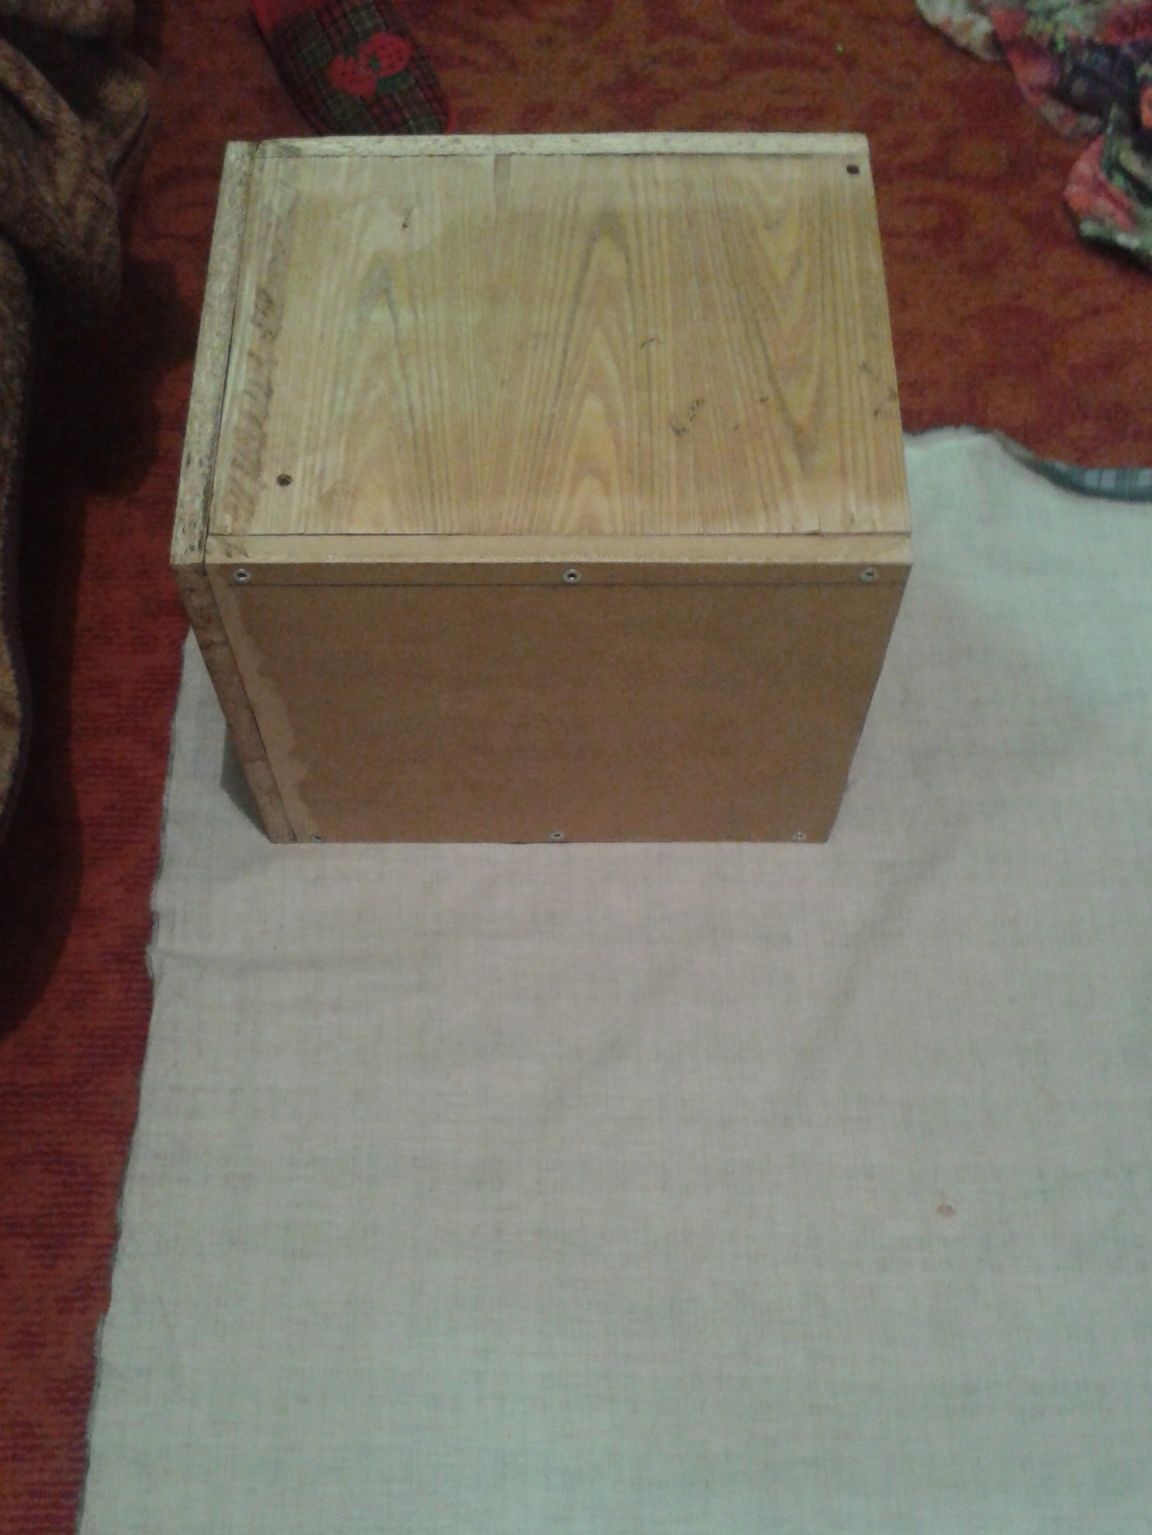
step 7.the next step is to attach the bottom part (bottom) to the rectangle. take 4 furniture bolts and screw. there will be enough of them. the detail holds tightly.
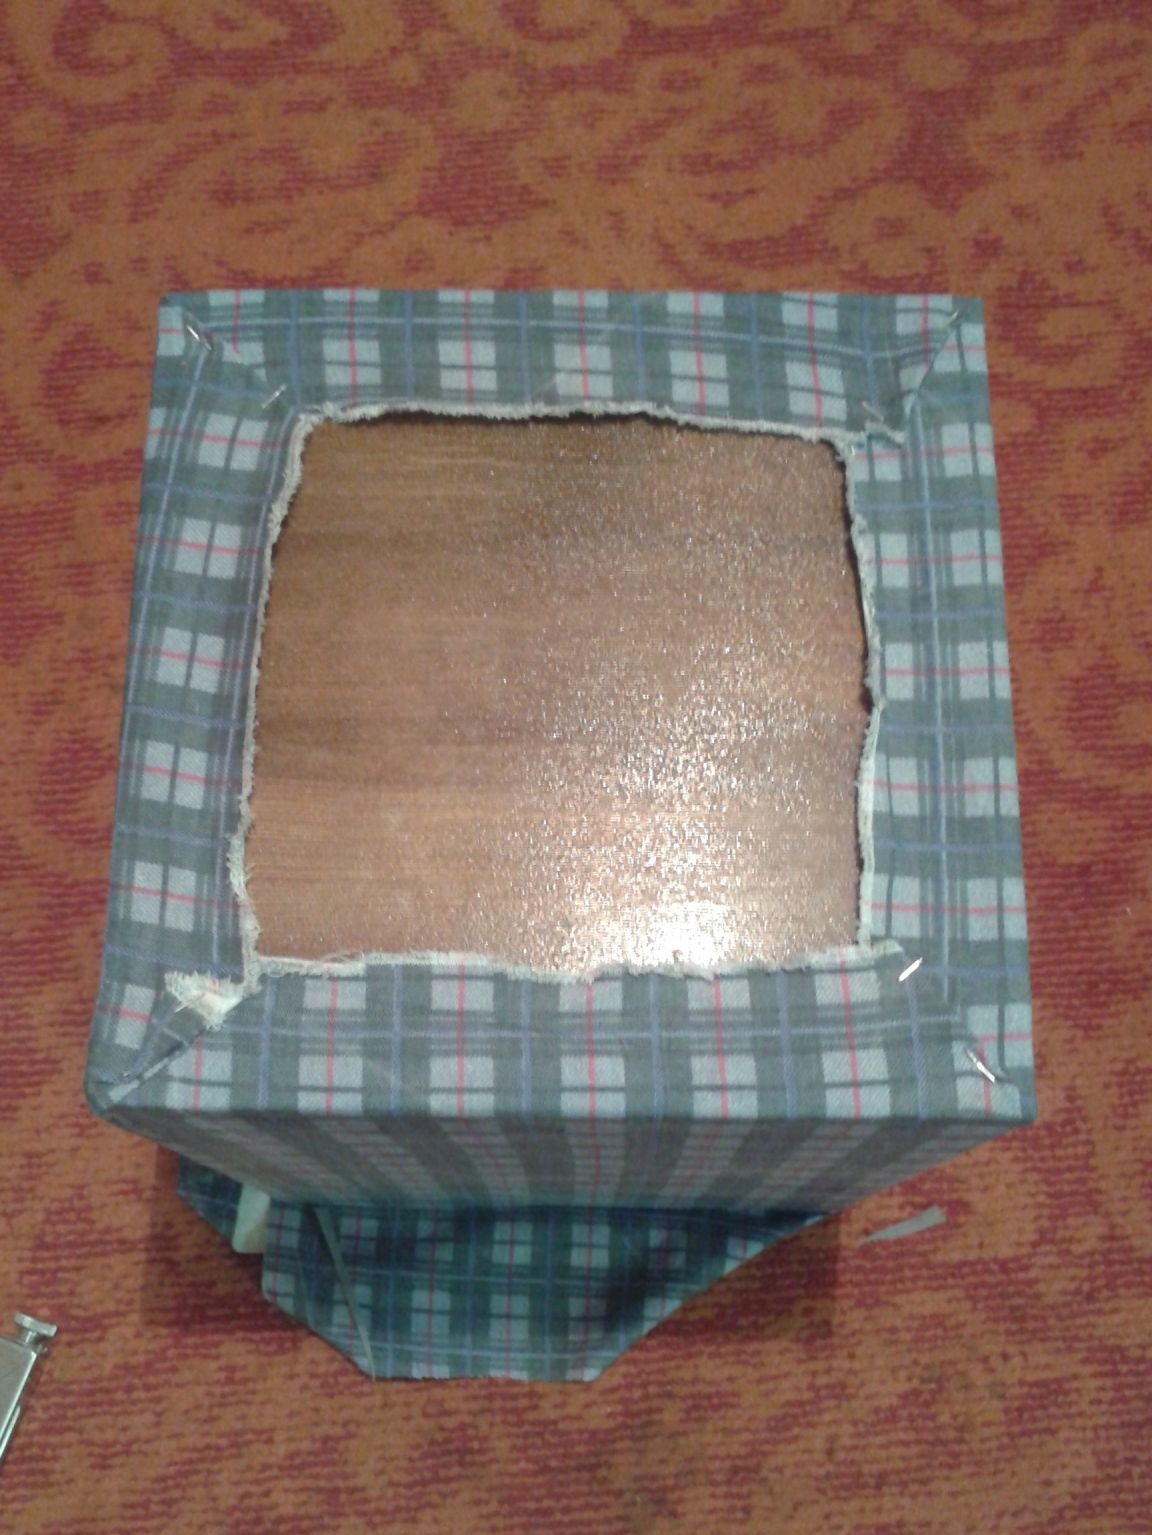
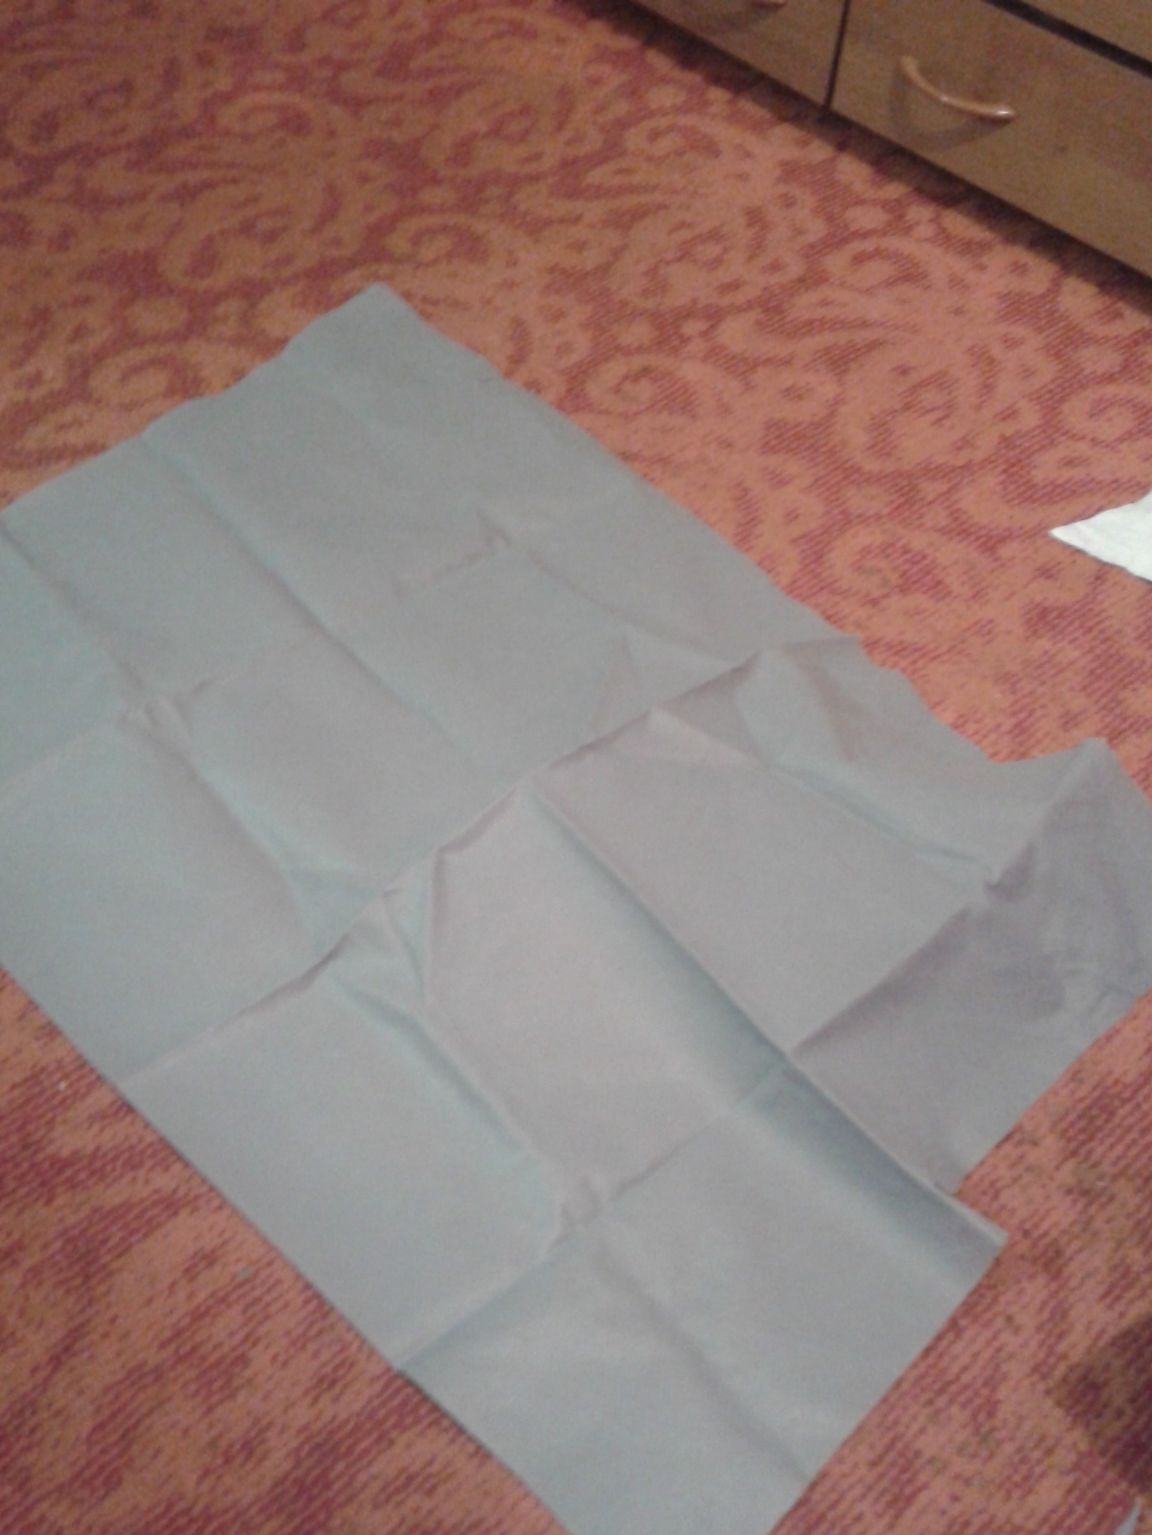
step 8. Now that our stool is assembled, we proceed to the most, in my opinion, dreary business. we need to sheathe it with a cloth to give it a finished look. take a piece of fabric that you like best. we grow it on a flat surface and put a pouf on it.
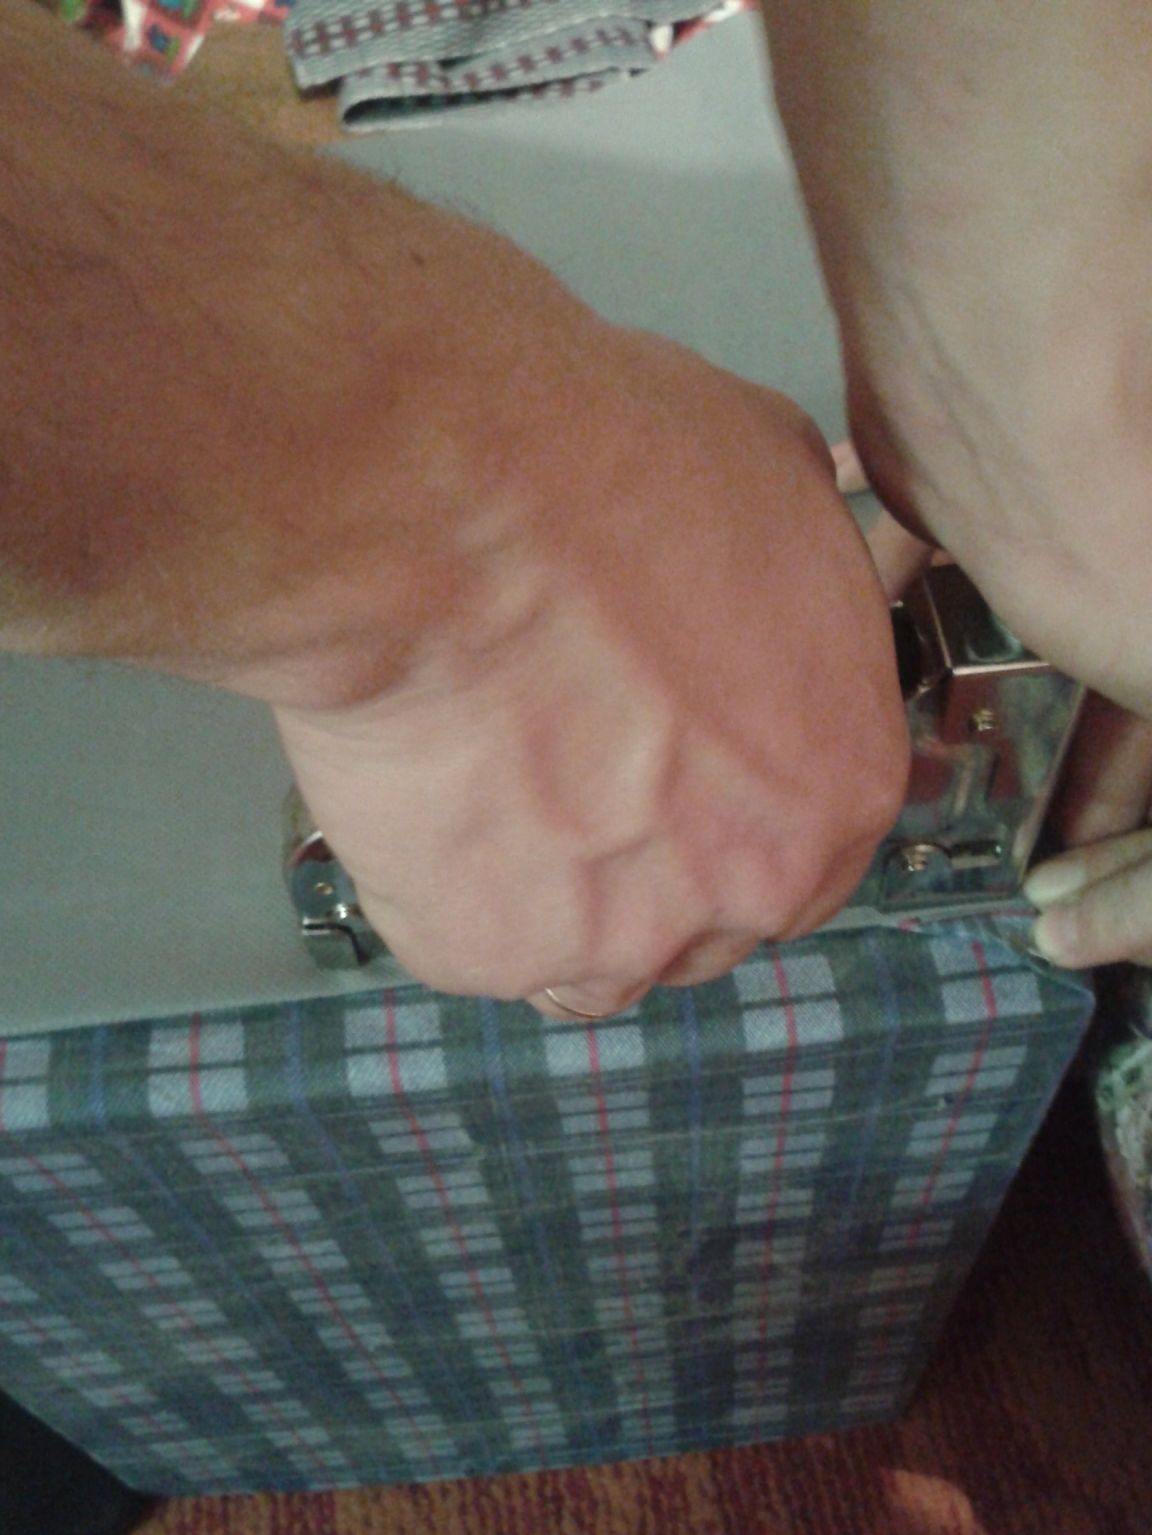
Next, attach the fabric to the edge of the stool with a stapler.

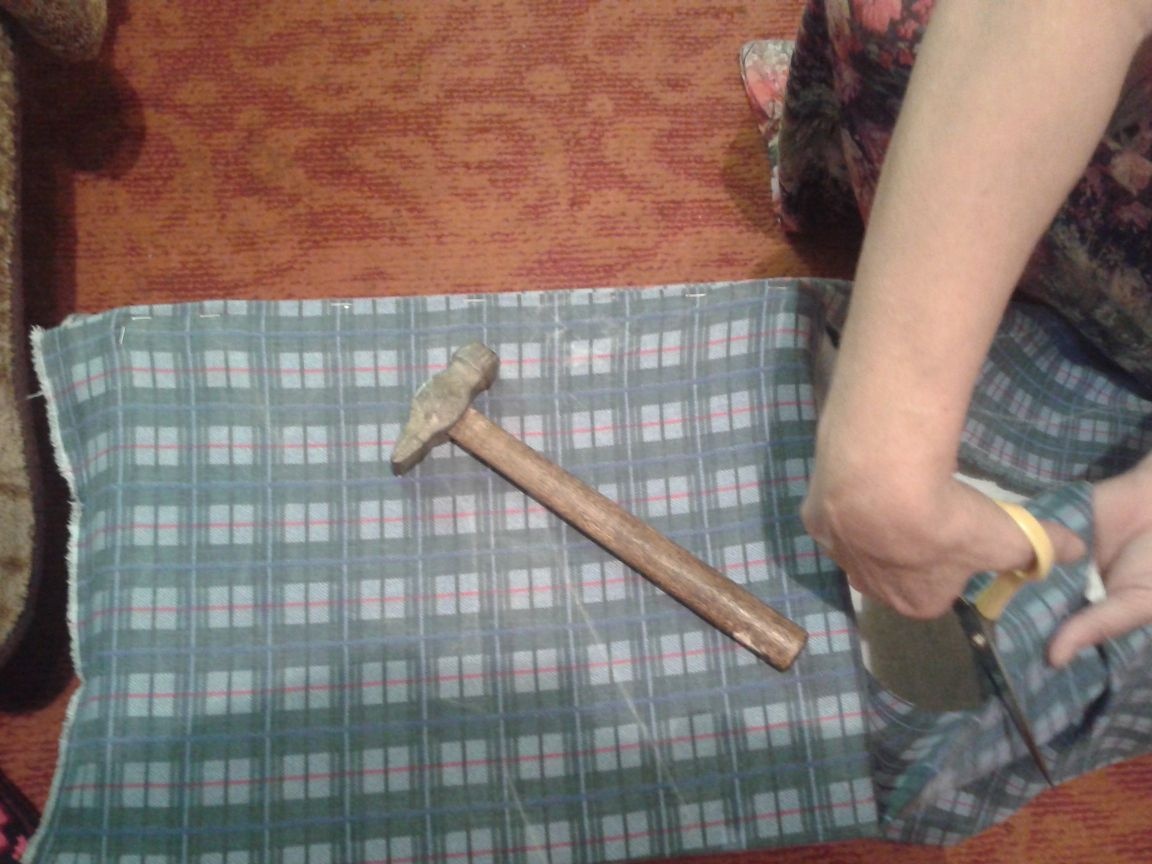
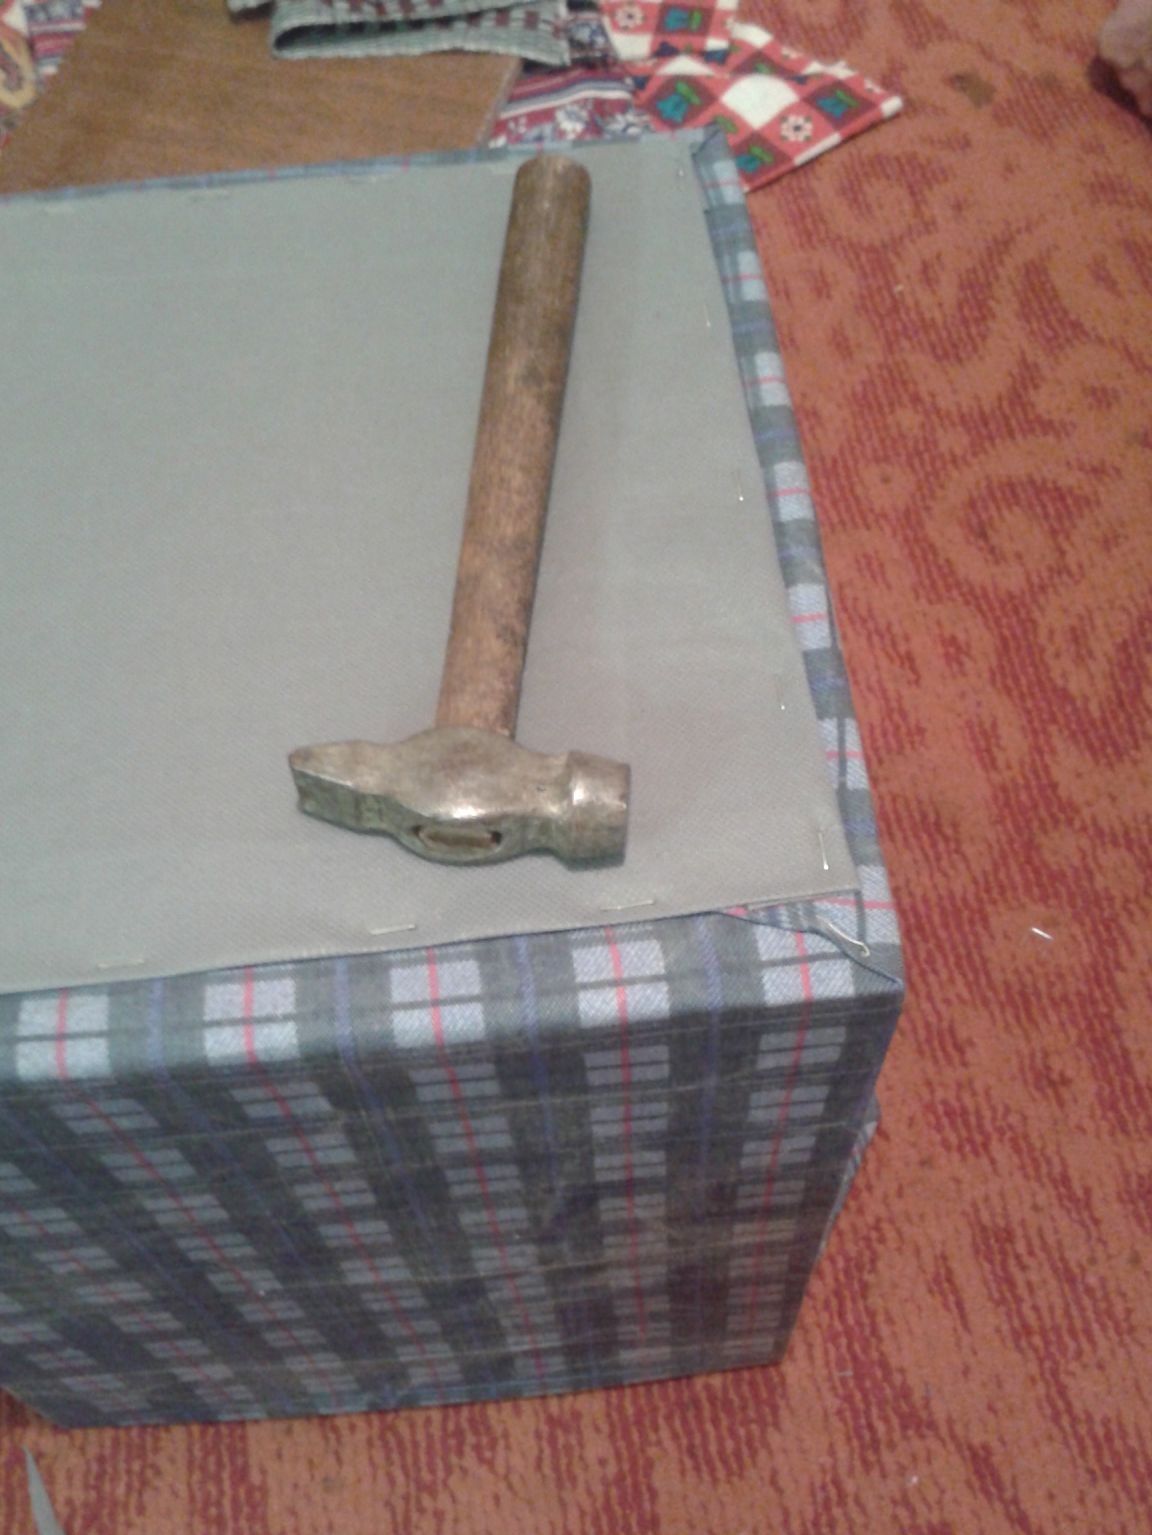
we stretch the fabric around the entire perimeter of the part so that there are no wrinkles. when we approach the already zapleplennoy edge, bend the fabric and also fasten to the brackets.

since the wooden base is quite strong and not always staples can pierce it, we knock it out with a hammer.
Step 9. After lining, unnecessary fabric from the ends remains. we cut it.
from the top and bottom we leave a few centimeters so that you can bend and hide the ends.
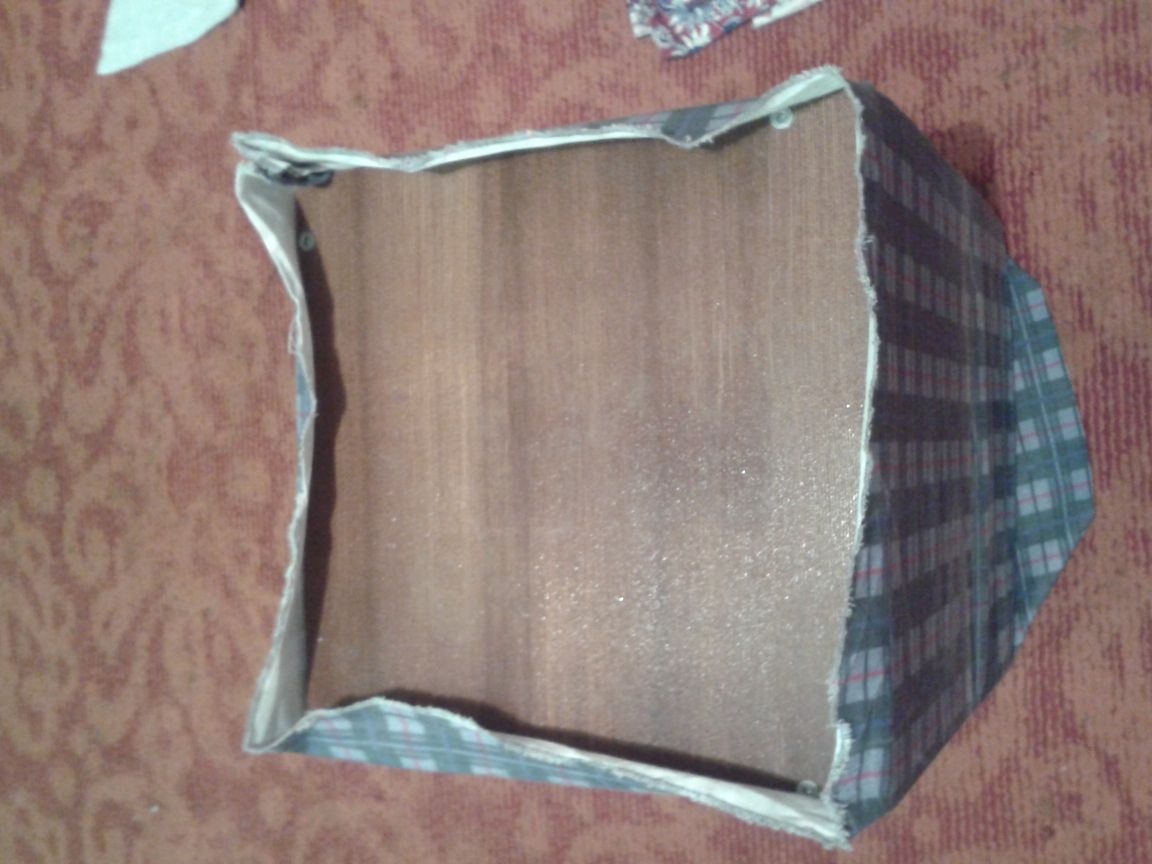

fasten the fabric on the ends of the stool with brackets.
this is how it should look. bent and covers the corners.
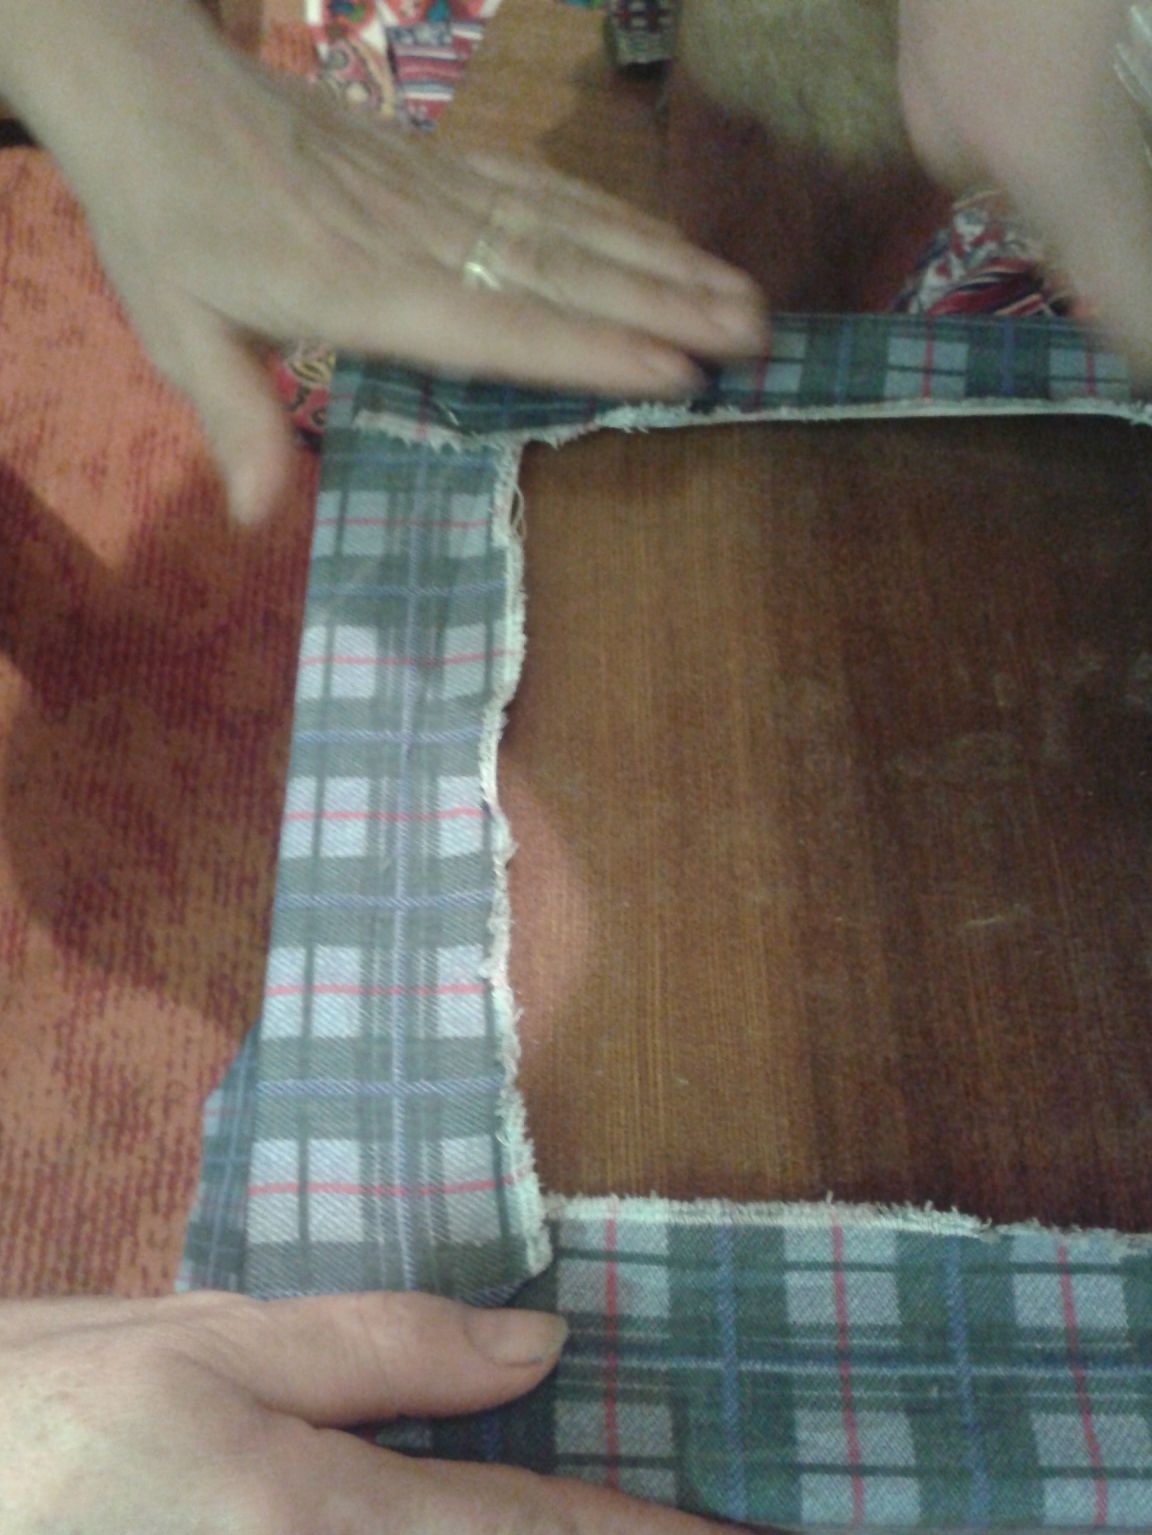
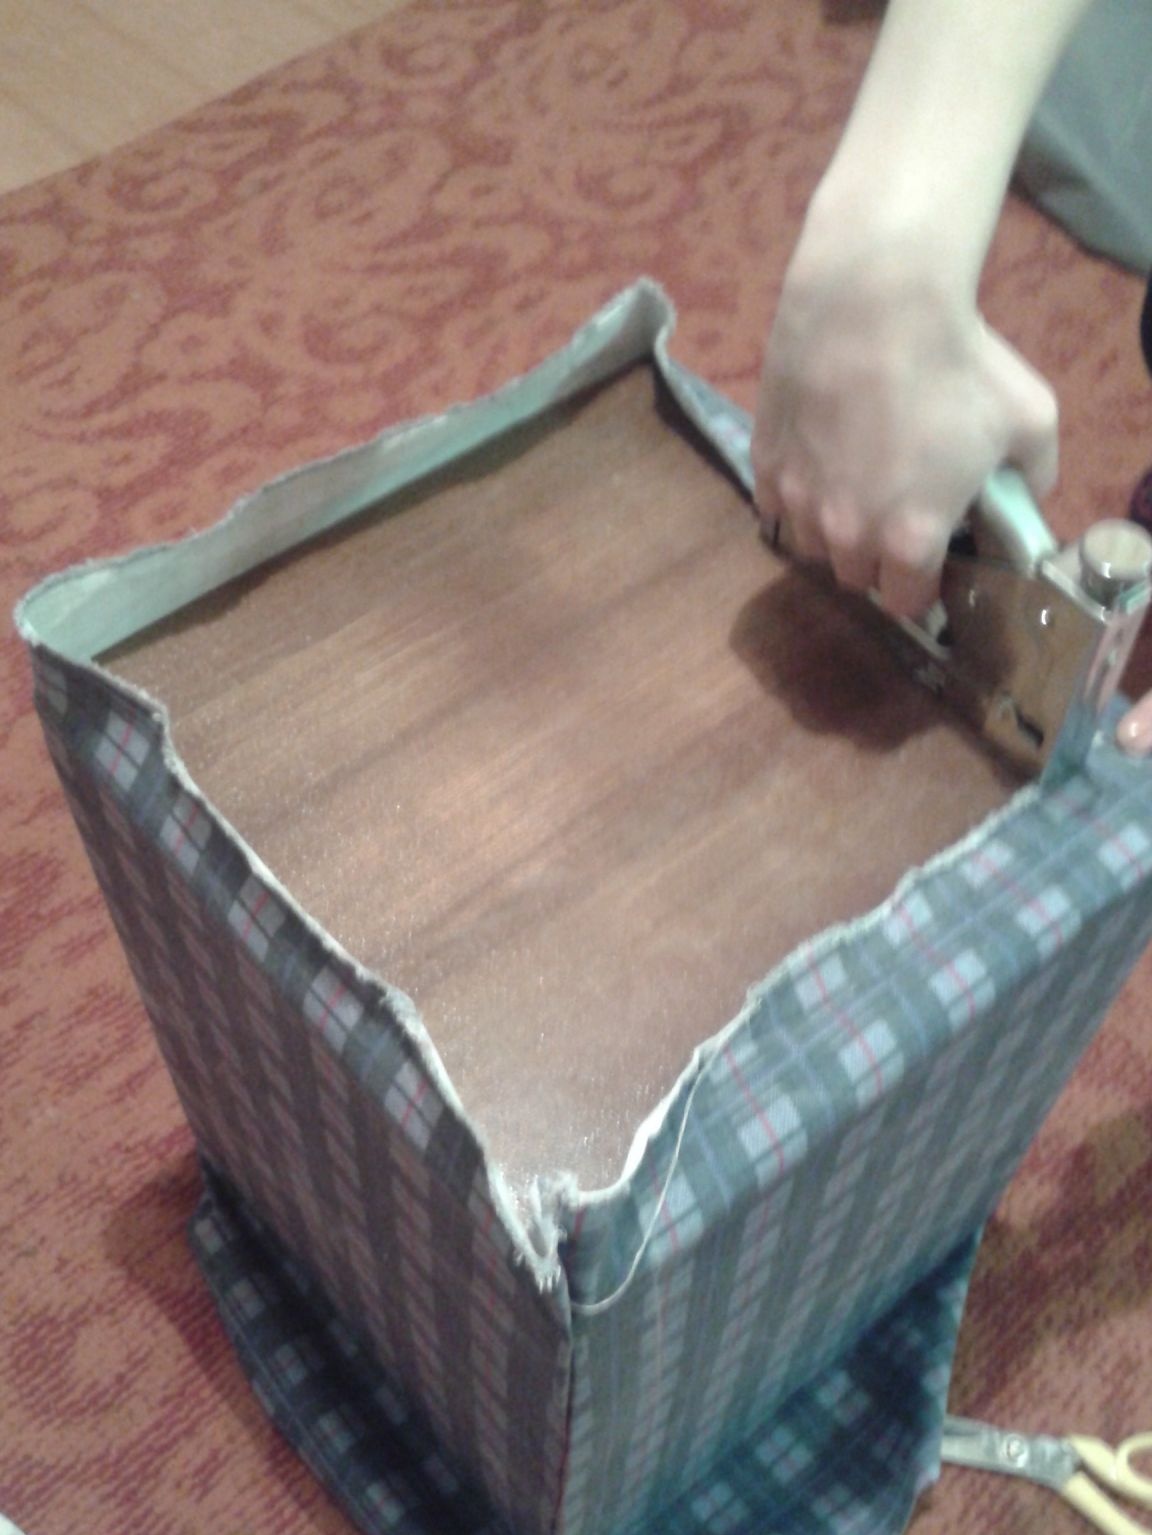
step 10. take another piece of fabric, but more dense. we attach it to the very bottom of the stool, covering part of the casing and open space.
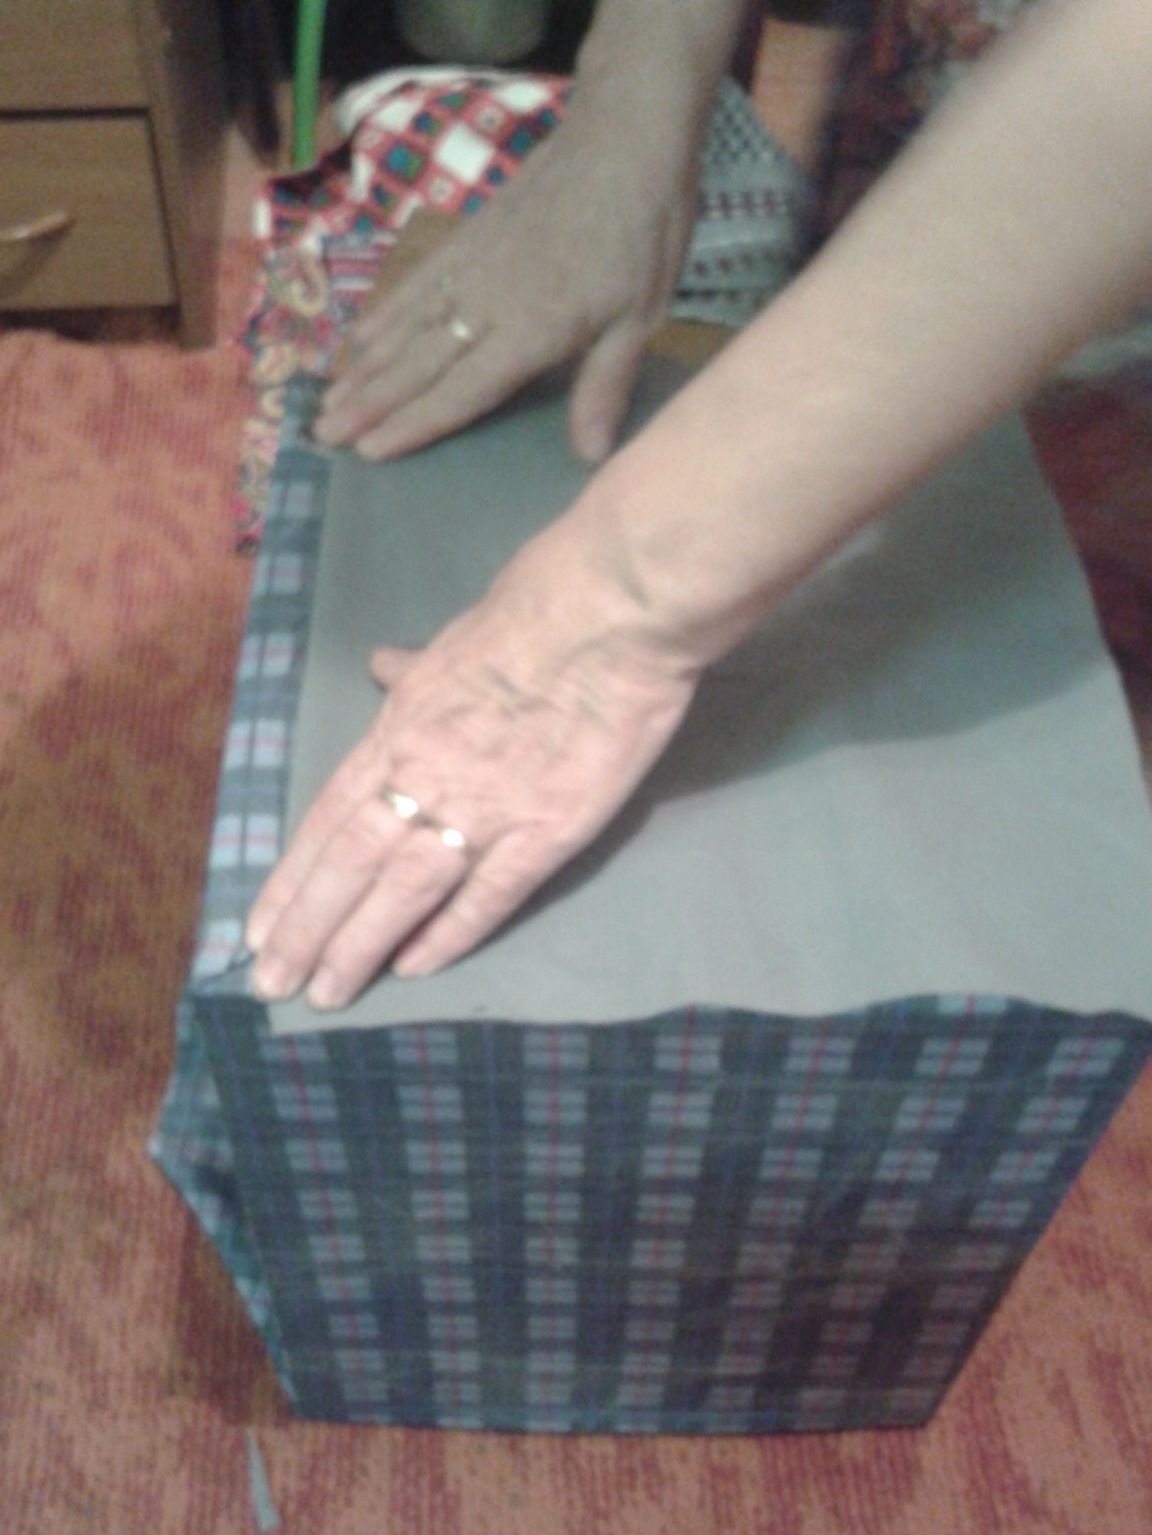
fasten with brackets, then knock them out with a hammer. it turns out like this:
We do the same with the upper part. we fix the fabric on the edges of the stool.
Step 11. For the next steps we will need 2 pieces of foam rubber and a glue gun.
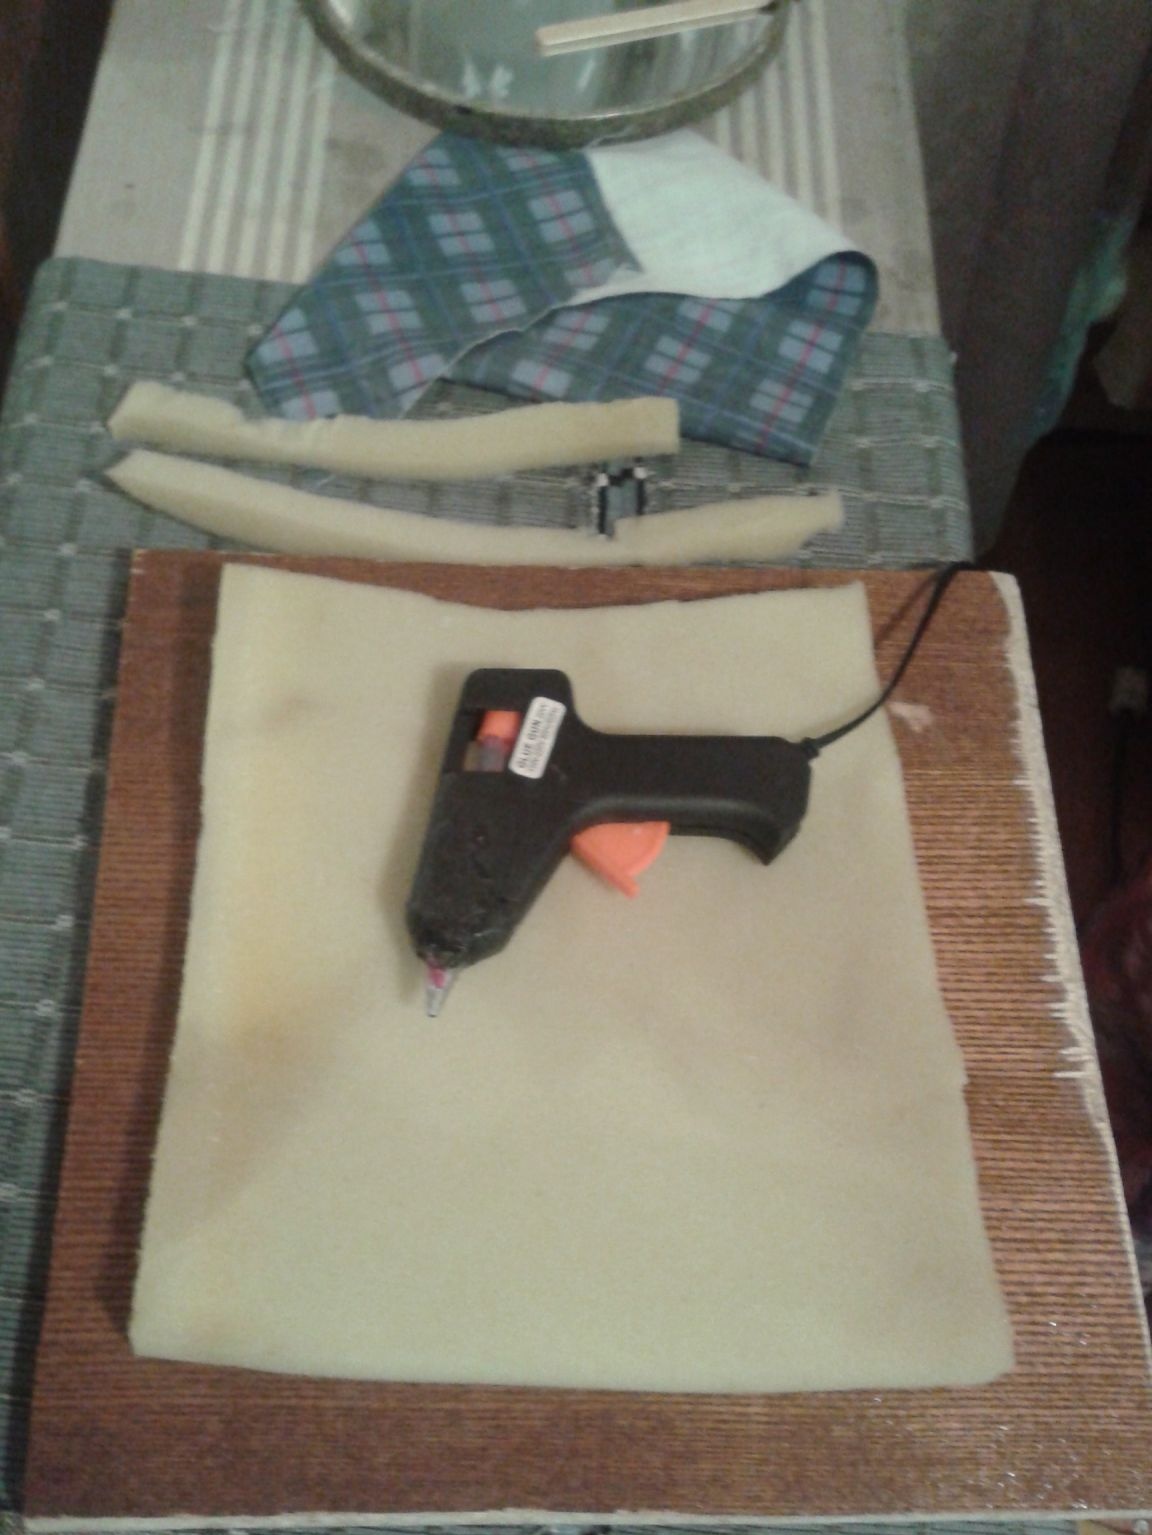
put a smaller piece of foam on the seat and glue it.
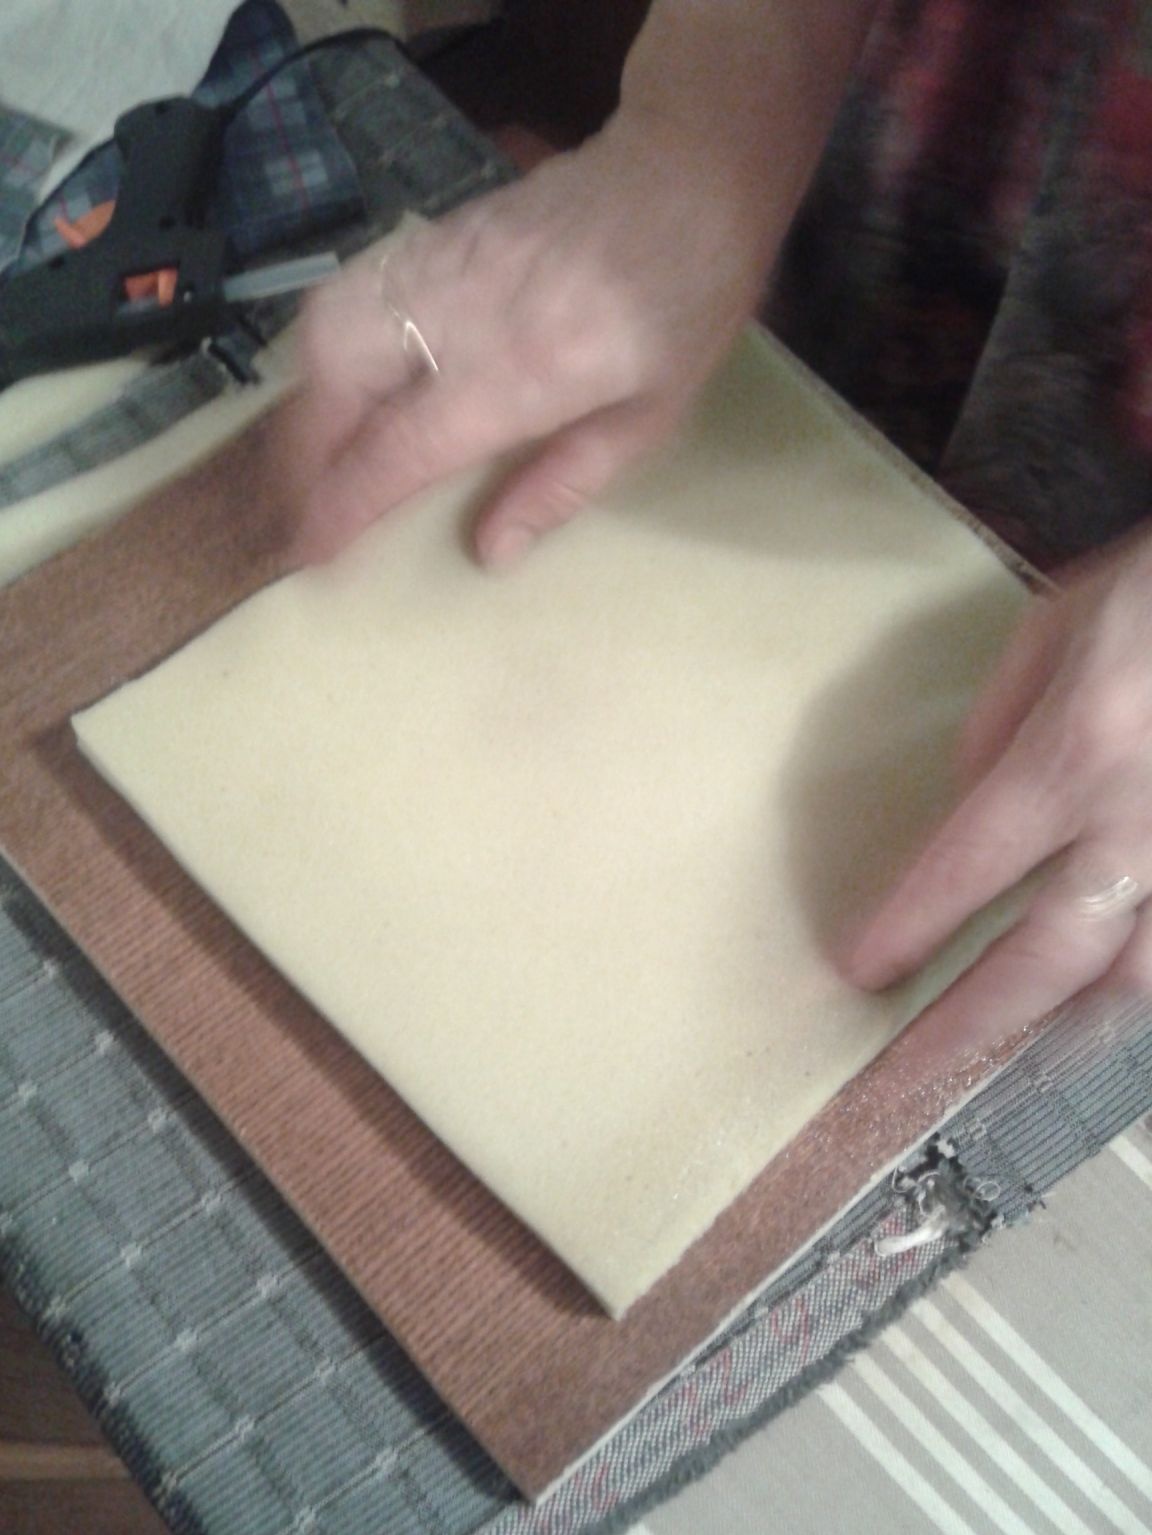
Step 12. The remaining piece of foam, larger in size, is fixed on top of the first. rotate the corners and with the inner
attach the sides of the seat.
it turns out such a detail.
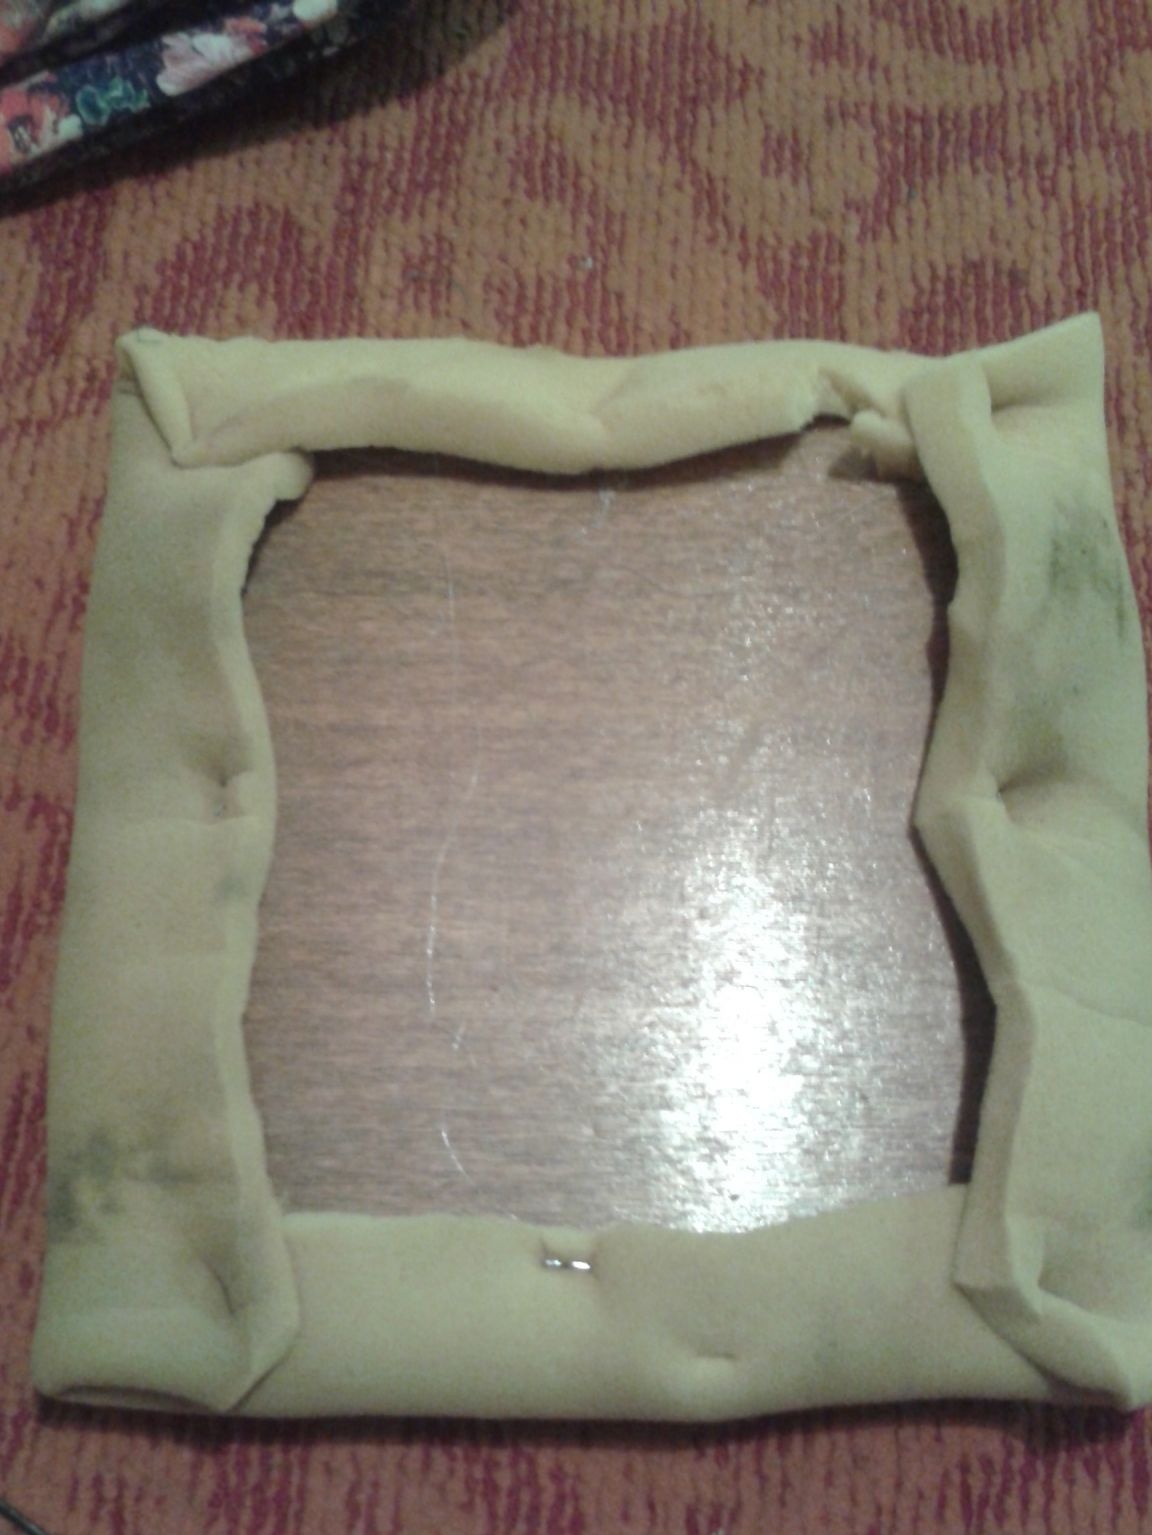
Step 13. The next step is to sheathe foam on top of some fabric.
we do everything exactly the same as when we sheathed the bottom of the stool.
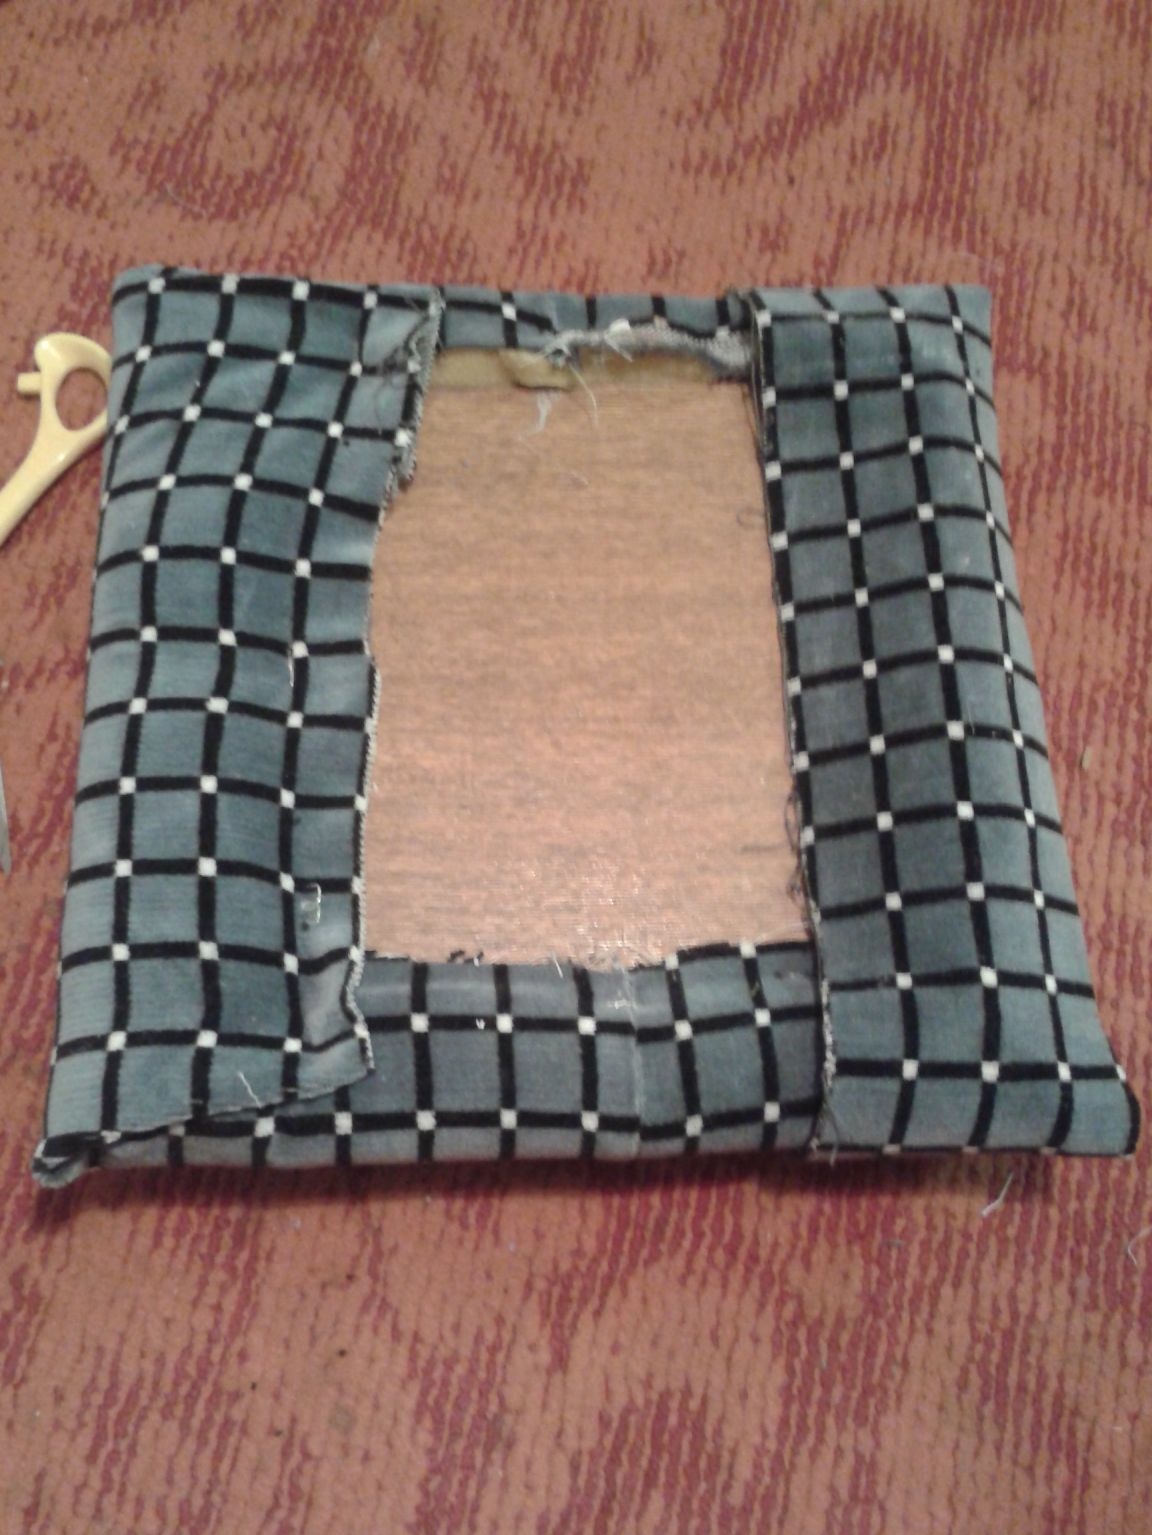
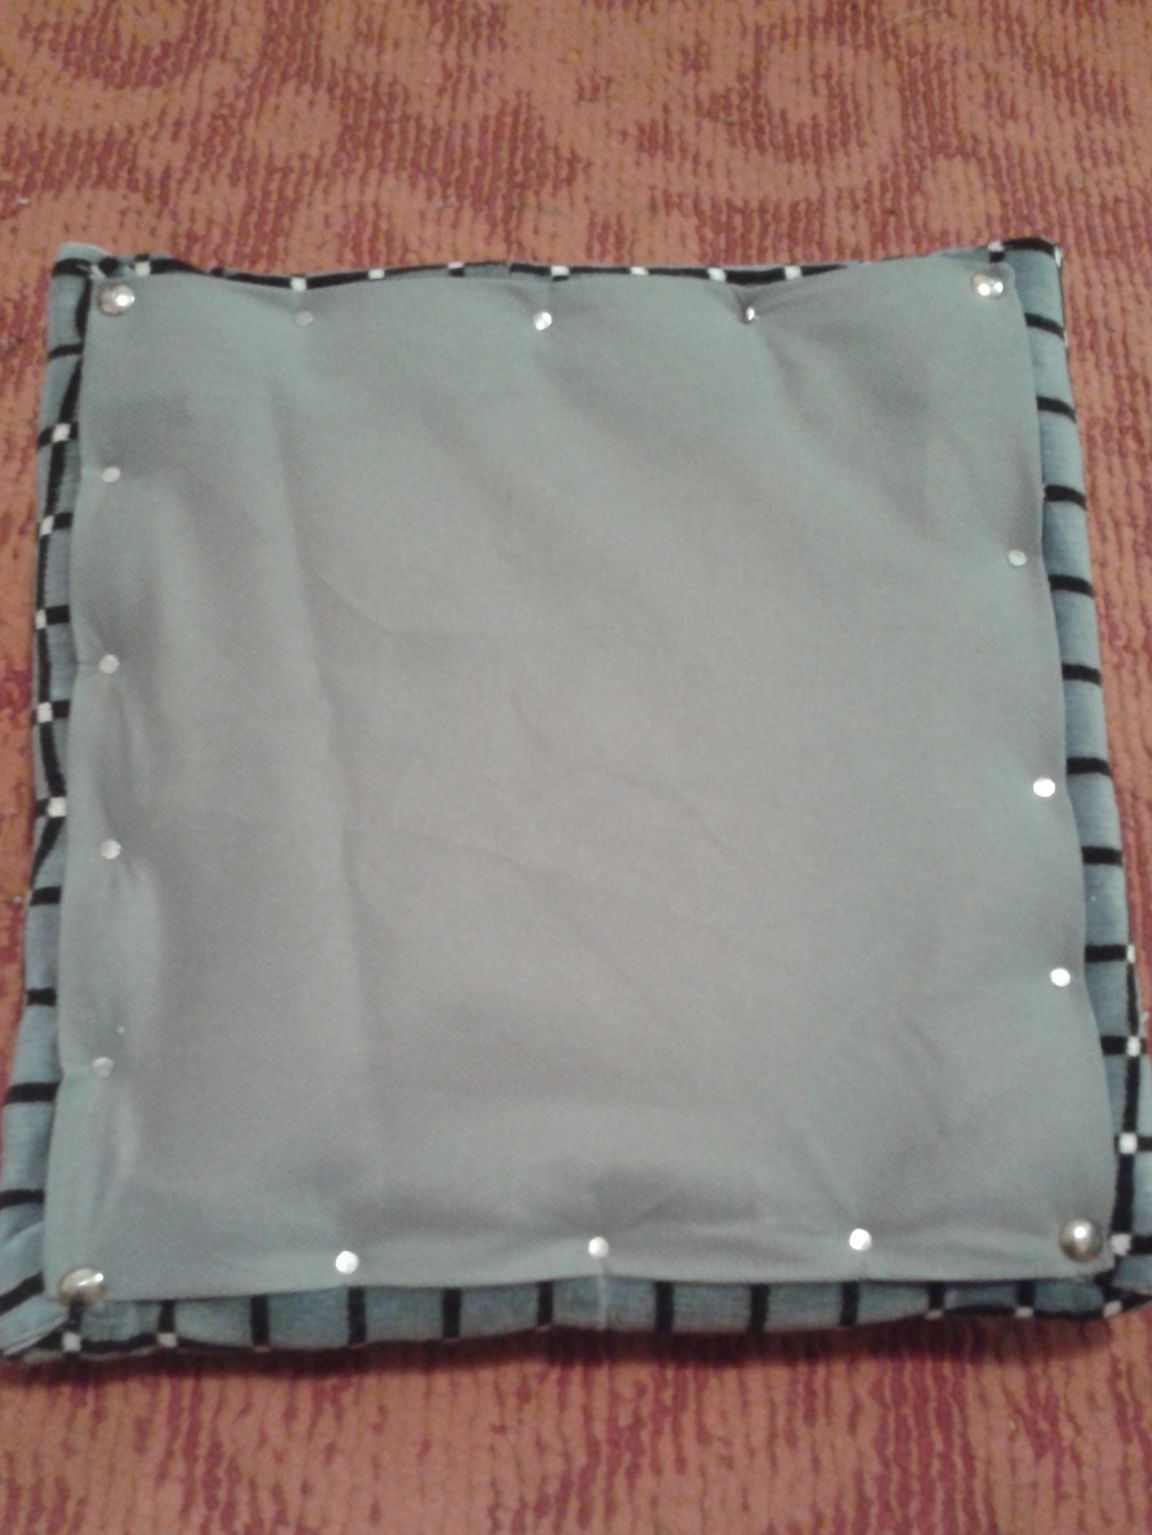
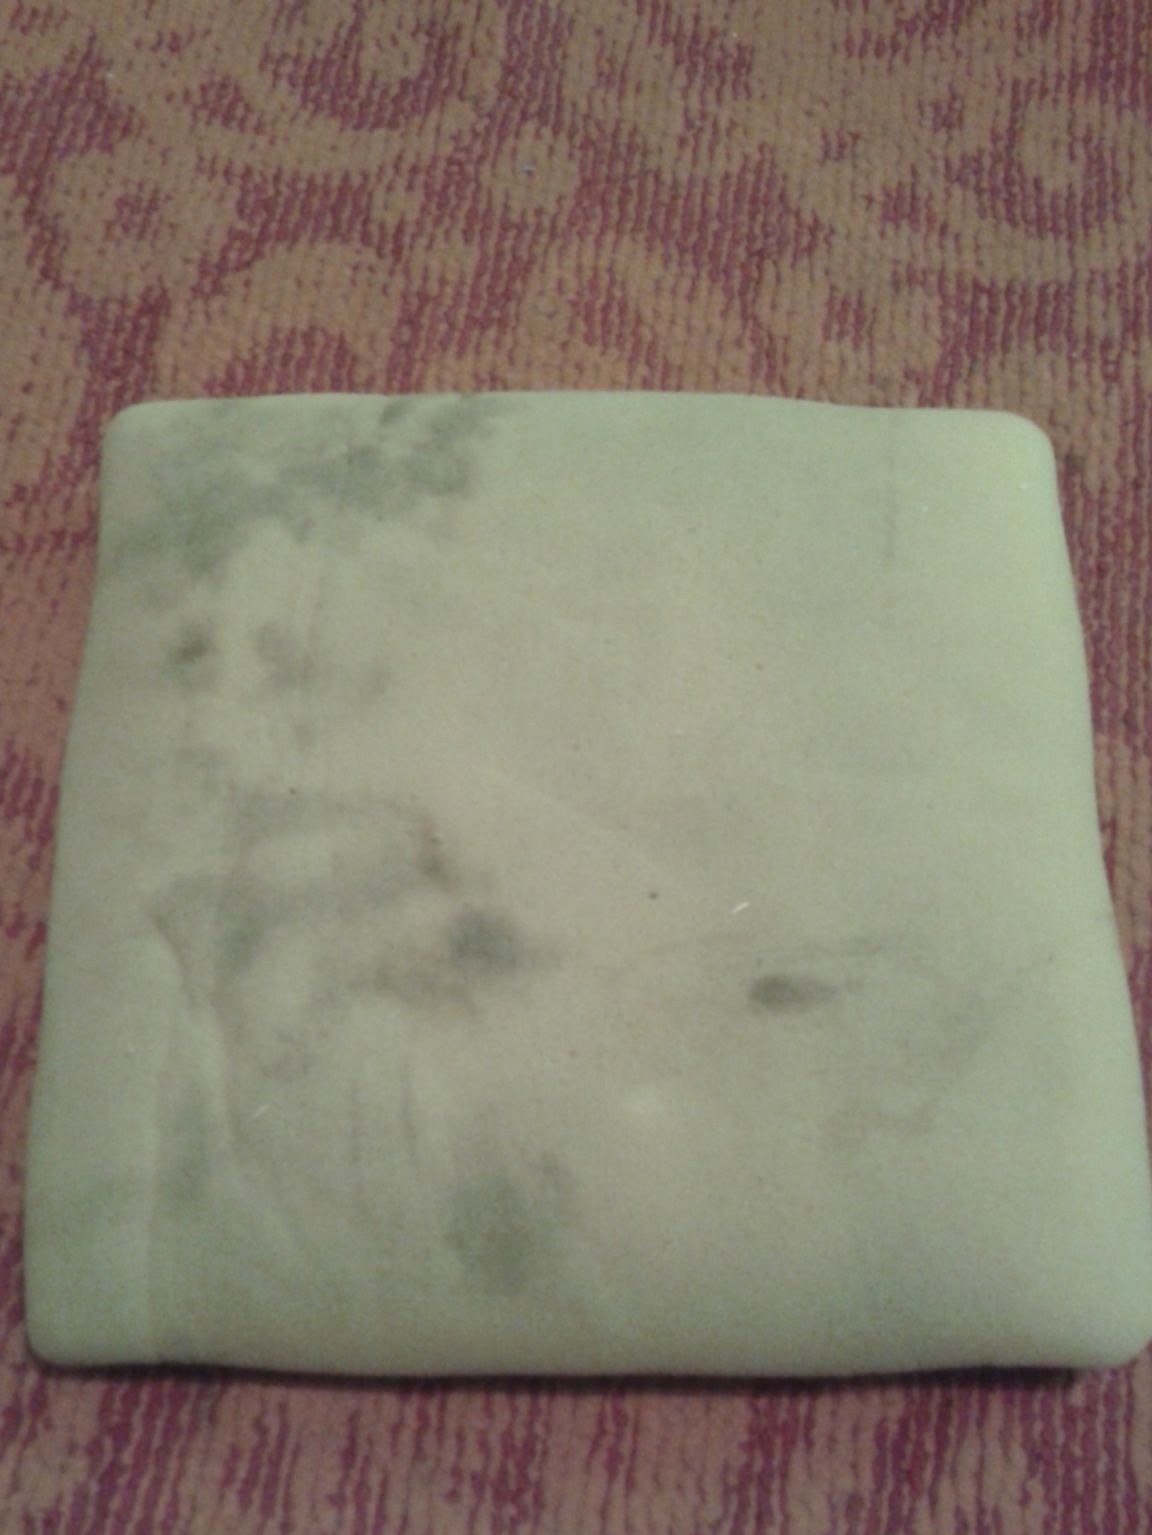
since the thickness turned out to be large, the staples did not pierce. had to be fastened with studs with a large hat so as not to pierce the fabric.
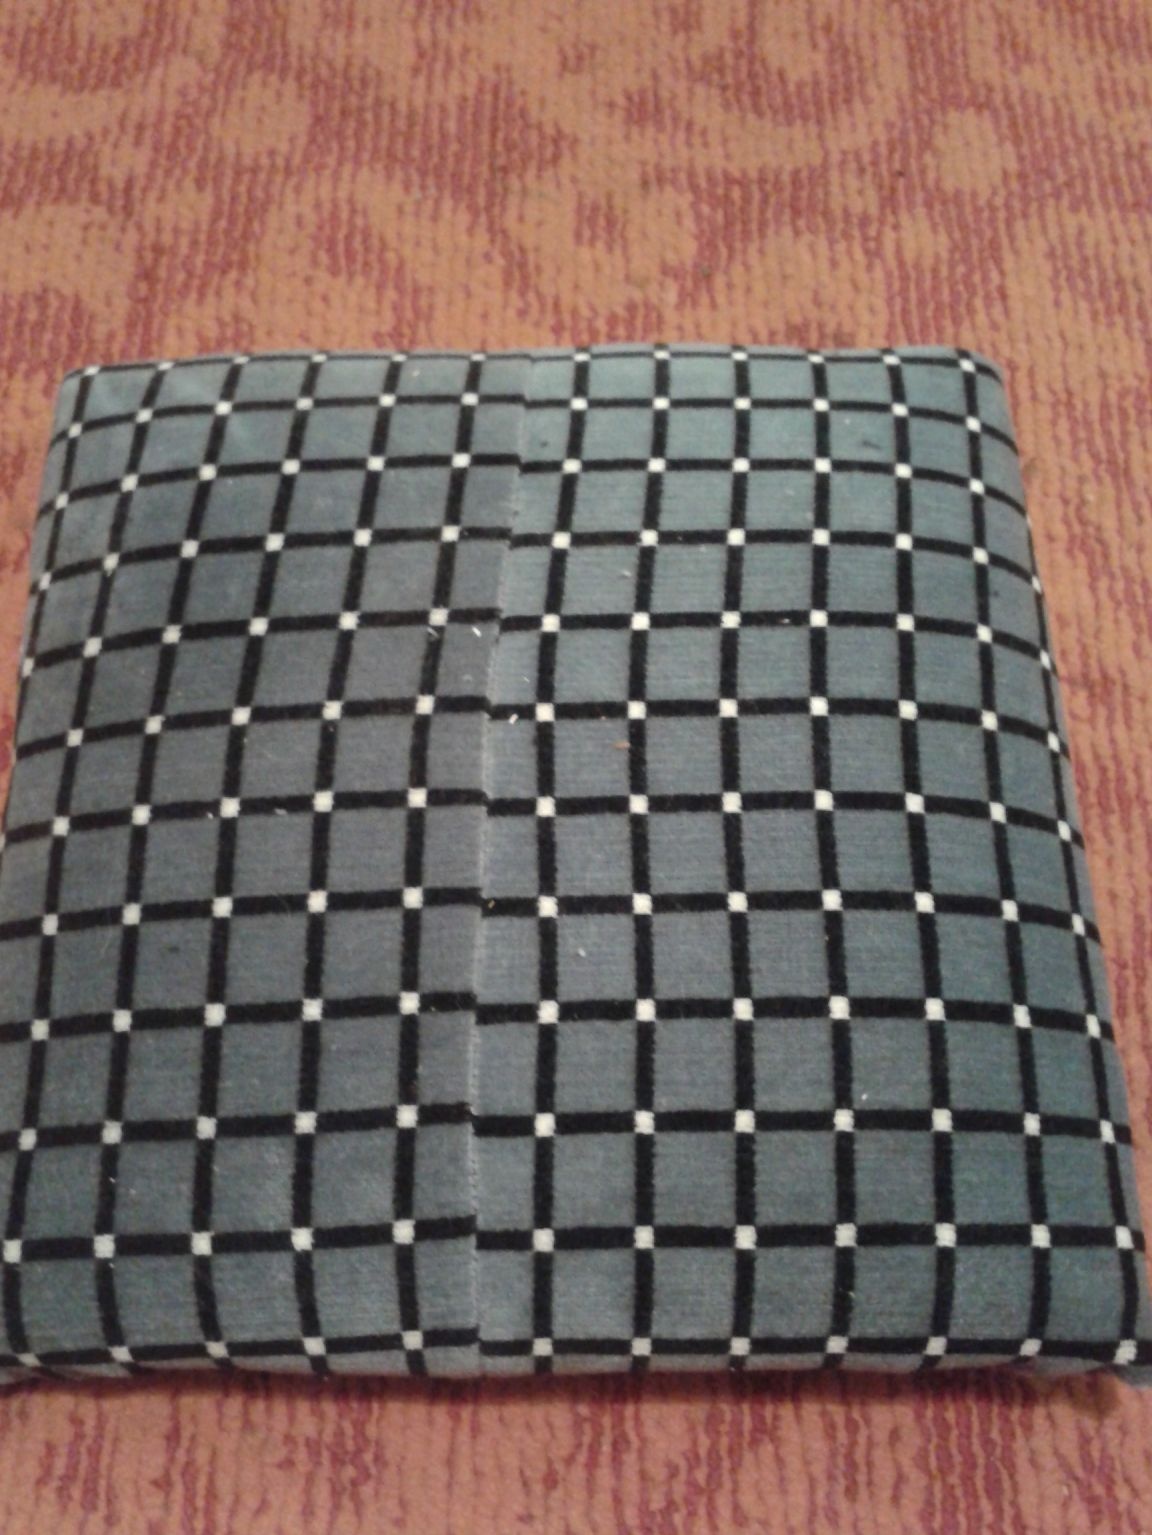
the result is this seat:
Step 14. The final stage of this workshop is to attach the seat to the stool. you will need a couple of small loops and small screws on wood. fasten.
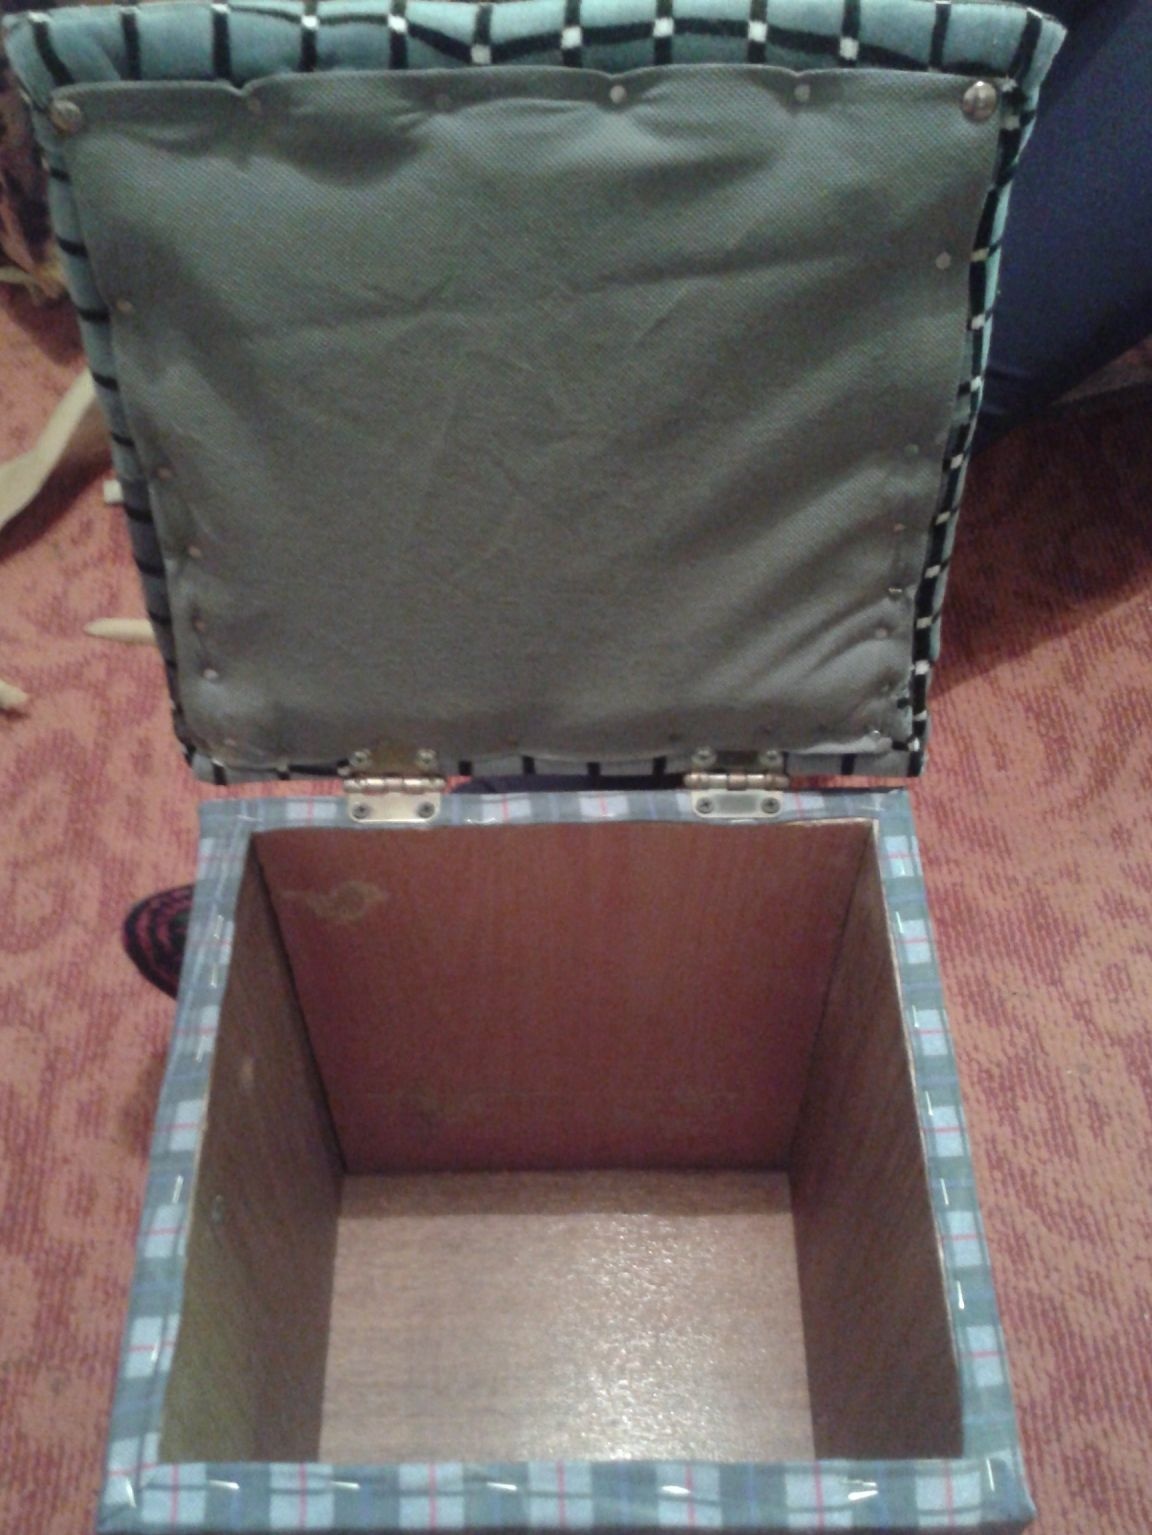
Now we connect the seat and the wall of the stool from the inside with a piece of cloth. this is necessary so that when opening the seat does not lean back completely and does not loosen the mounts. also reduces the ability to break off a piece of the wall with a careless opening
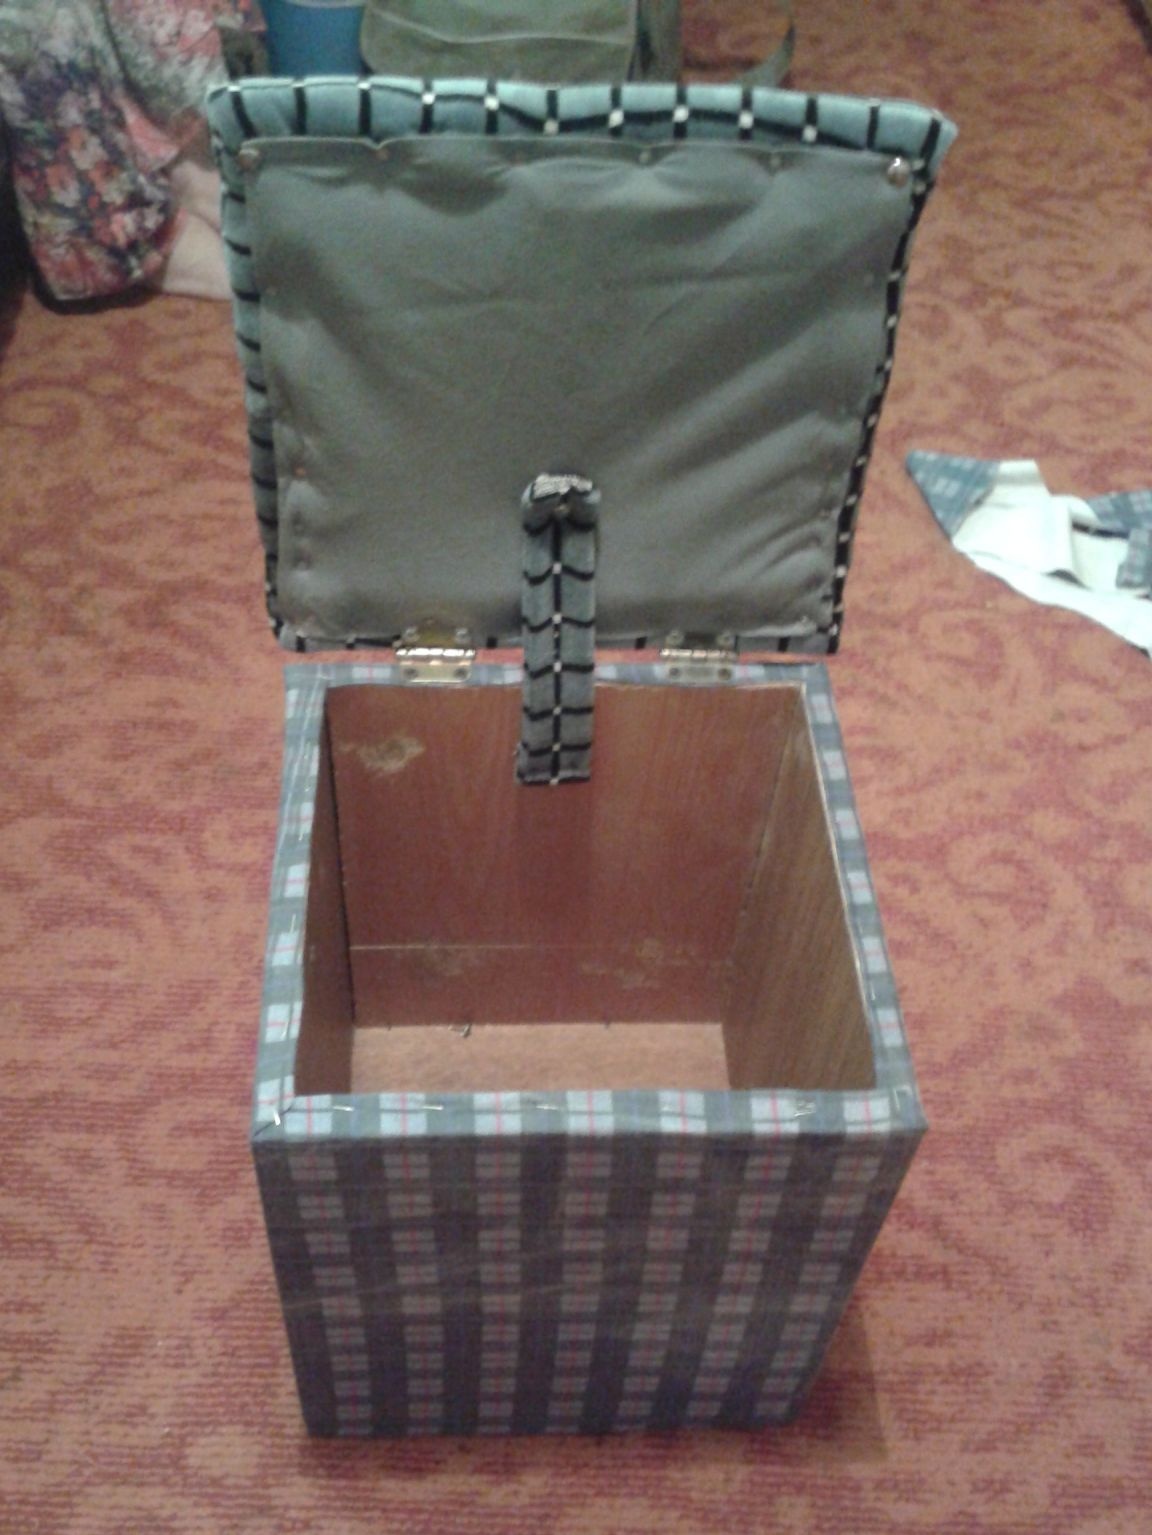
In the end, we get this interesting thing:
Thanks for attention. all the best to everyone!
Nikolay