In order for your kitchen or dining room to have a durable and stylish dining table that is easy to understand and convenient, you do not need to immediately run to the store. With certain skills and desire, you can always do it at home yourself. In this master class we propose to make a table of original design do it yourself and tell you the basic principles of assembly and the nuances of work.
Necessary materials and tools
To start working on the table, you need to stock up or prepare the following:
• CNC machine;
• Plywood sheet with a thickness of 18 mm and a size of 1.2x2.4 m;
• Sandpaper, grinding machine;
• Polyurethane for wood;
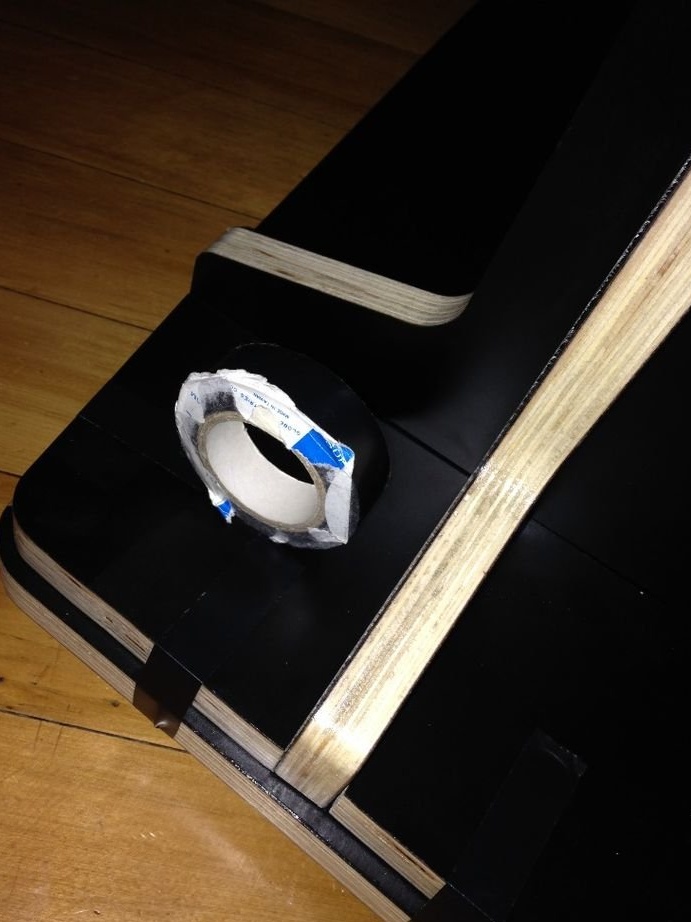
• Adhesive tape;
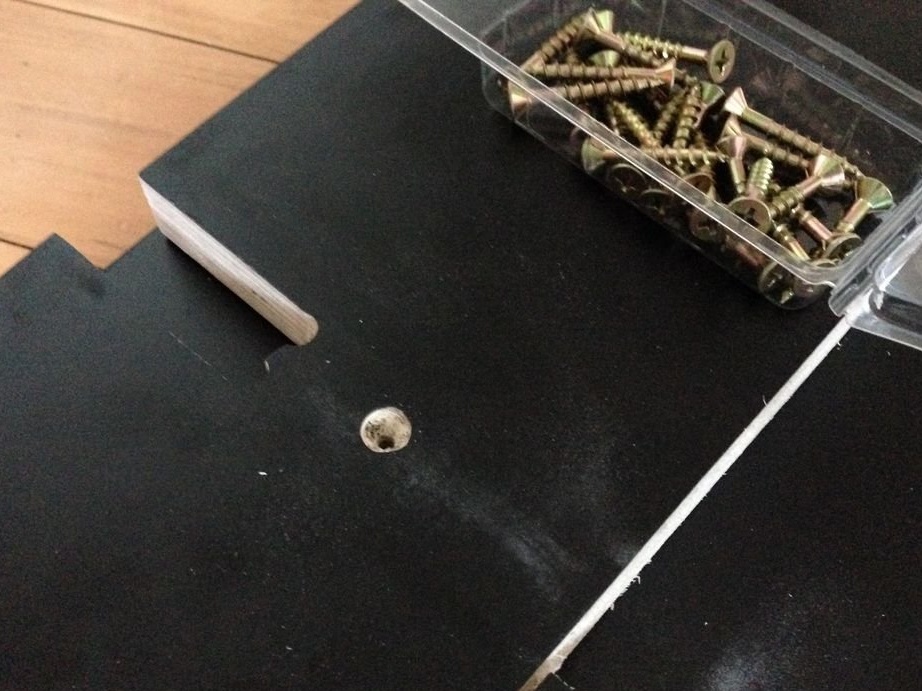
• Self-tapping screws;
• A screwdriver with a sting under the head of self-tapping screws.
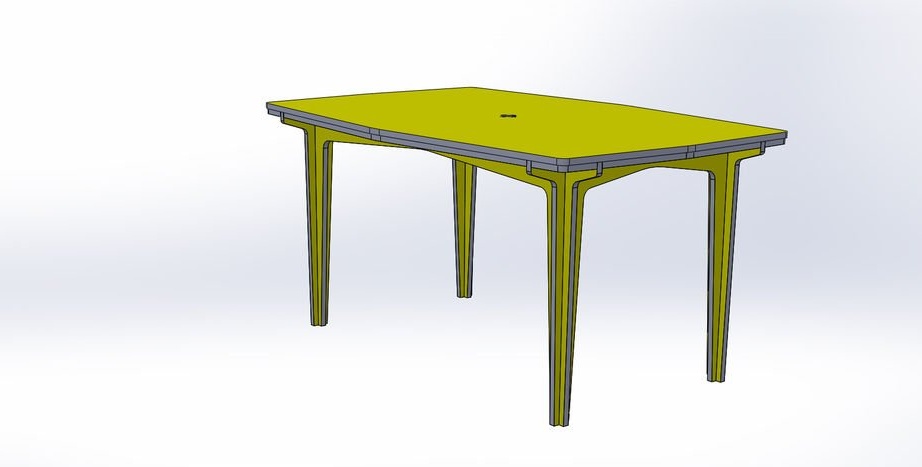
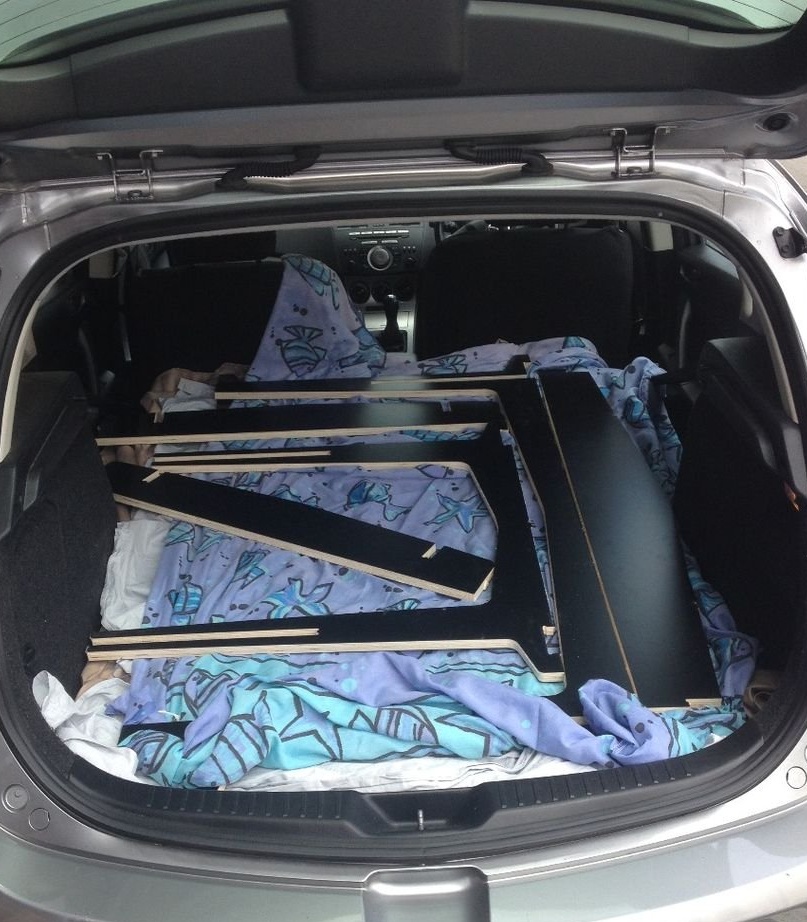
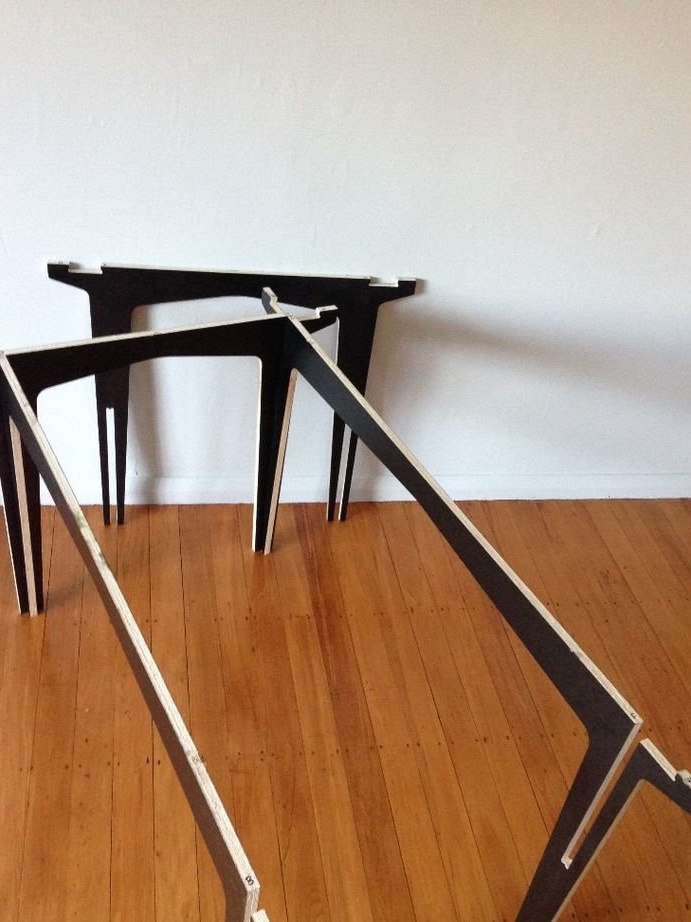
Stage 1. The first thing you need to create model future table. Individual parts are shown in the photograph. The model is created in volume so that it can be used in CNC machines. If there is no access to such equipment or work skills, then you can give this part of the work to a specialist.
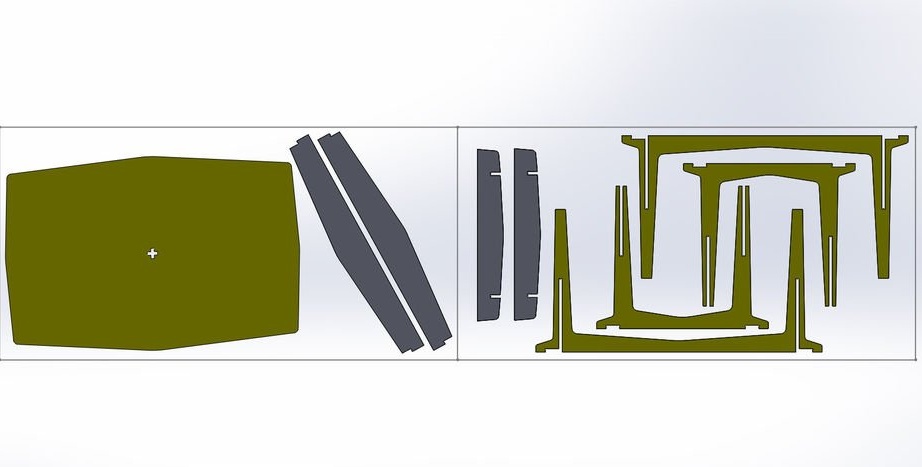
If you manually cut out individual parts of the table yourself, then the time and effort will take too much, since this is the most difficult part of the work. The machine will do this work on the finished layout in a short time and will cost inexpensively. To do this, you need to take a breadboard model and go to a workshop where there are CNC machines. For the base of the table we take plywood with a thickness of 18 mm.
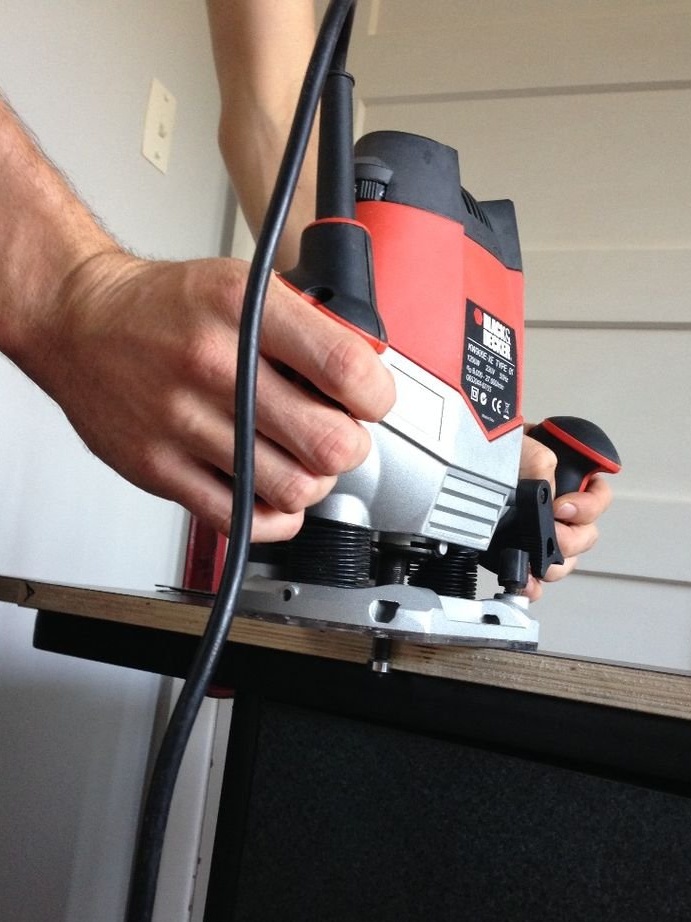
Stage 2. If the parts have already been cut, then their edges are carefully processed before final assembly until a smooth surface is obtained. The CNC equipment leaves nicks in the corners of the parts that need to be removed.
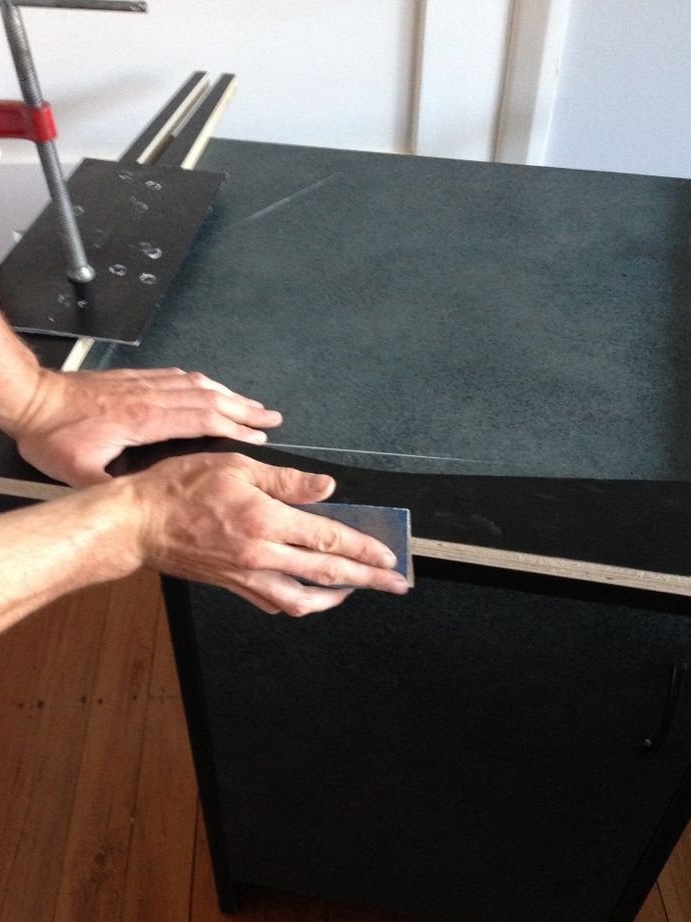
Stage 3. The ends of the parts are carefully sanded with a sandpaper. If there is a grinding machine in the household, then it is better to use it. The paper should have fine grain. After finishing work, you need to remove all dust from the table elements.
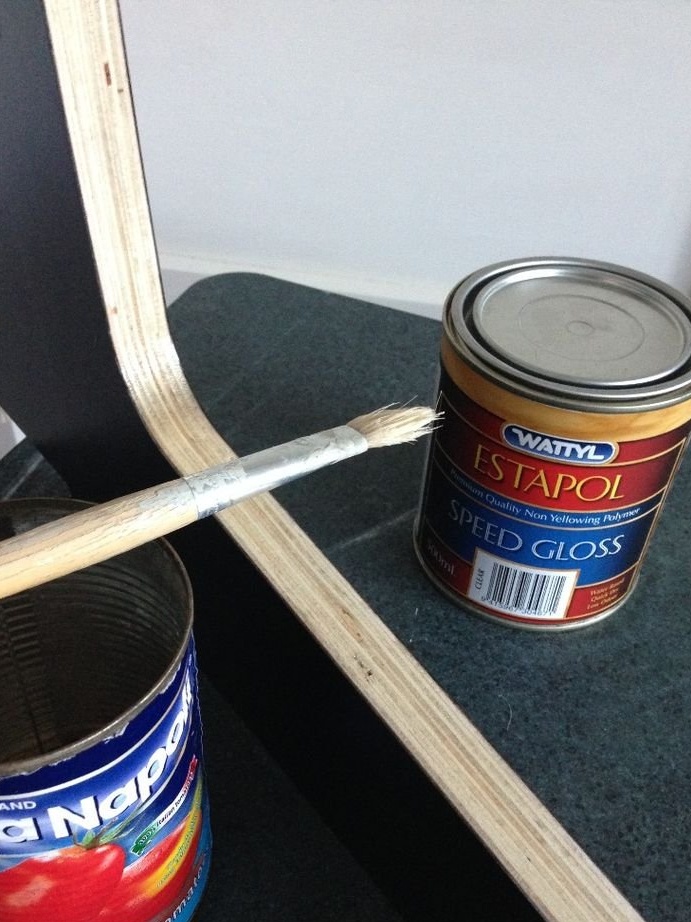
Step 4. After cleaning, all end parts are treated with wood varnish or wax. After coating, the parts must be left for a certain time for complete drying.
Step 5. Now you can assemble all the details of the bottom of the table together. This includes legs and connection details.
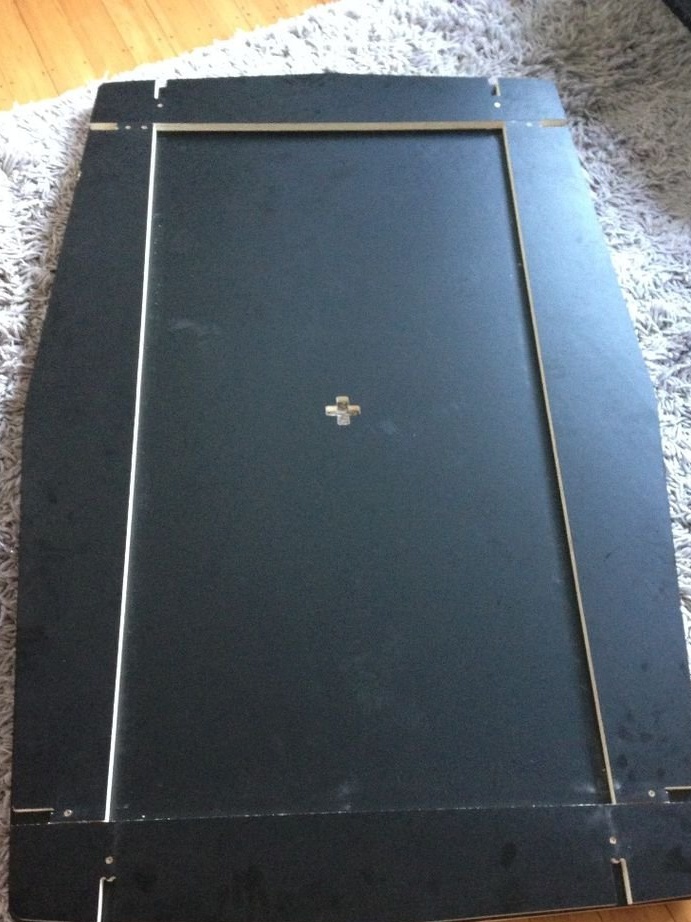
Step 6. The table top is placed on the floor with the top side down. We install the bottom of the table on the countertop. She is also turned over before that. The whole structure is fixed with adhesive tape.
Stage 7. By the prepared self-tapping screws we finally connect both parts of the table.

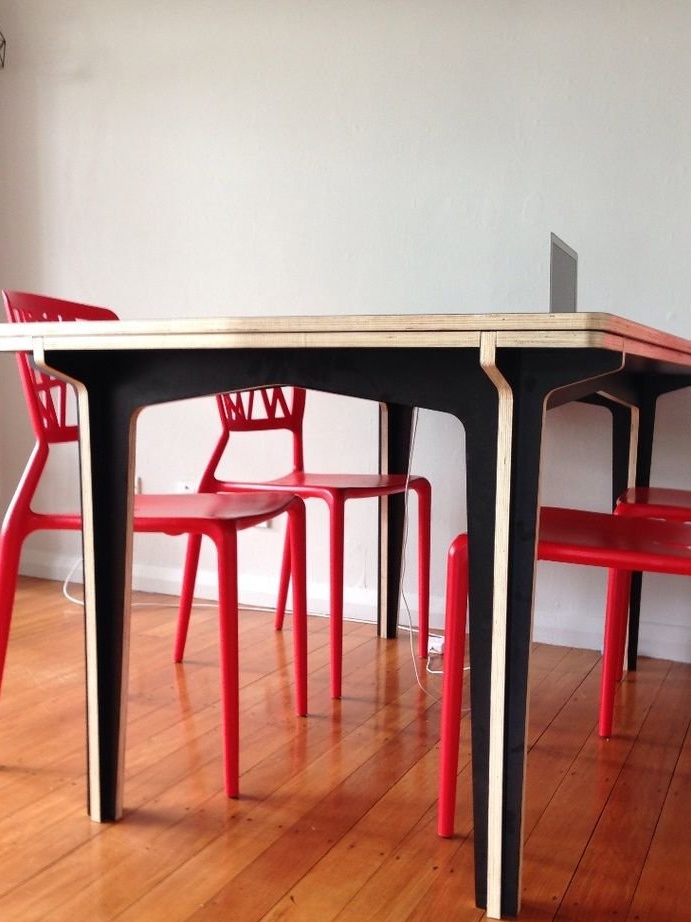
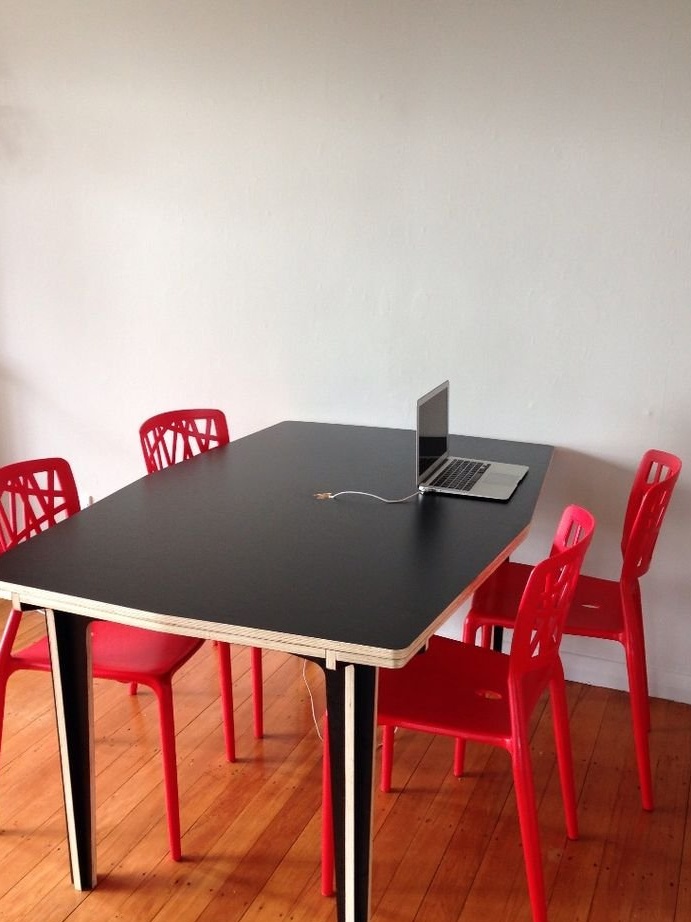
The work is completed and the finished dining table can be turned over and used.