
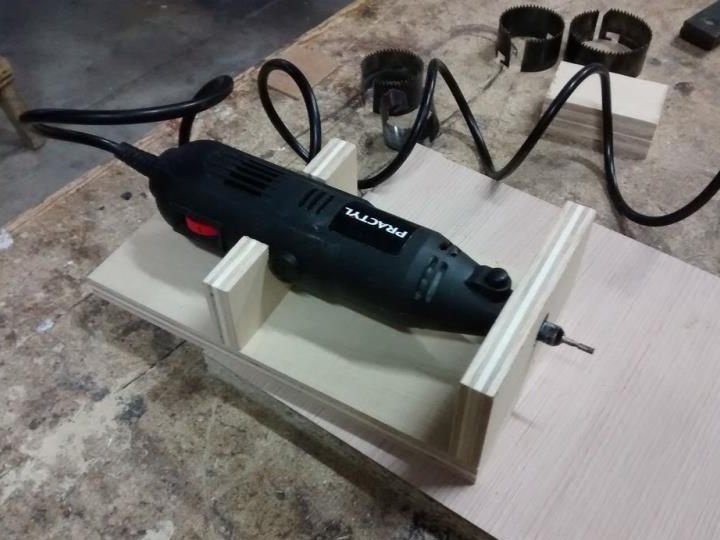
Materials and tools for manufacturing:
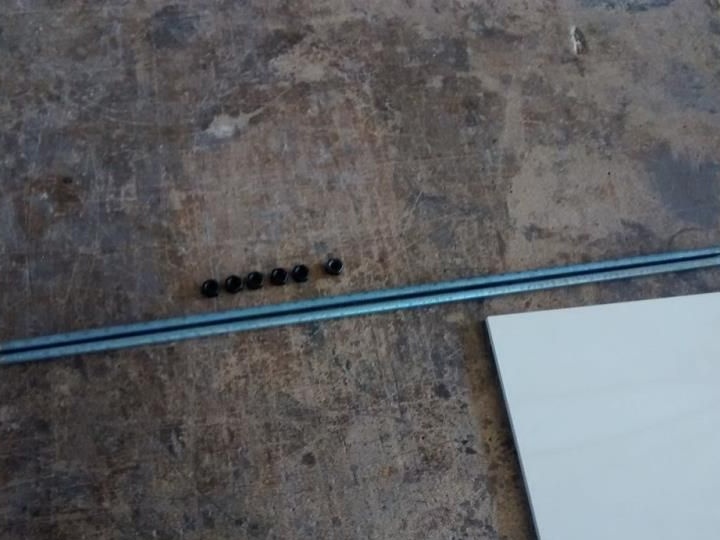
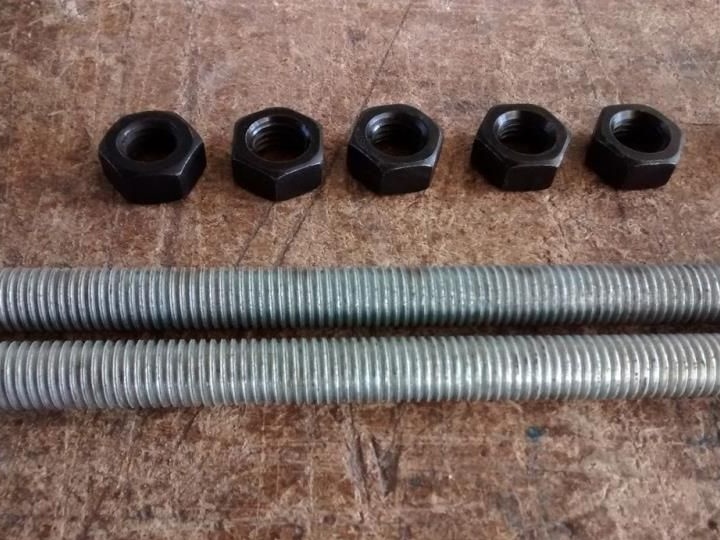
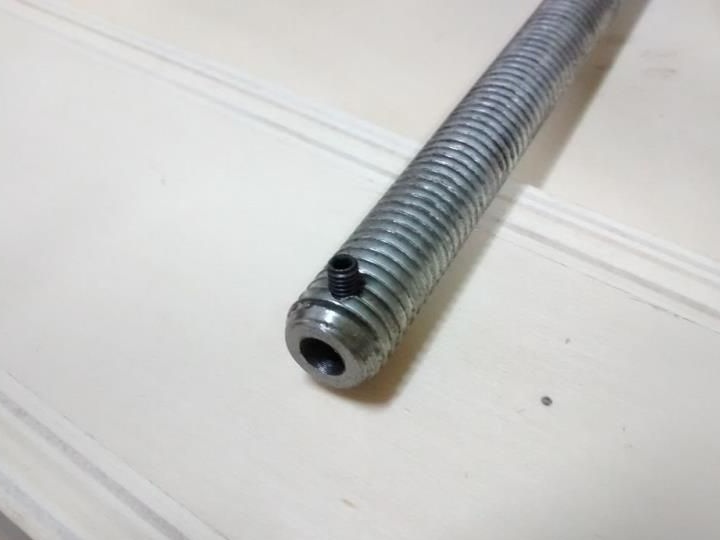
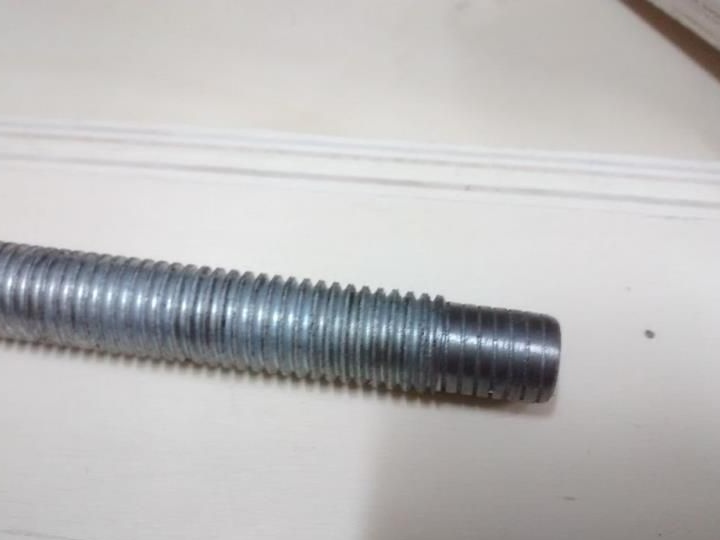
- threaded shafts;
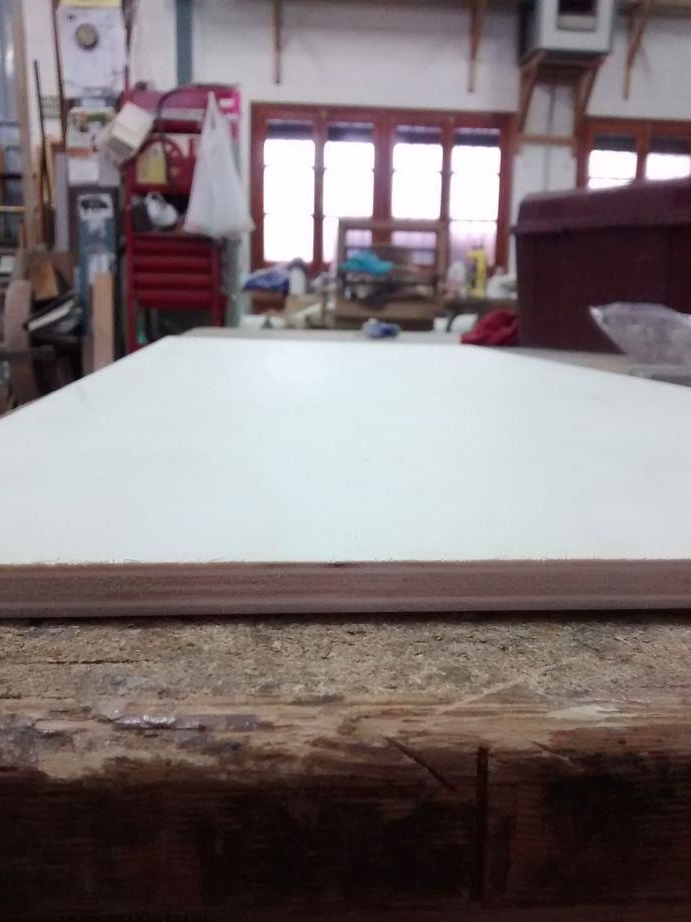
- plywood;
- bolts and nuts;
- ball bearings;
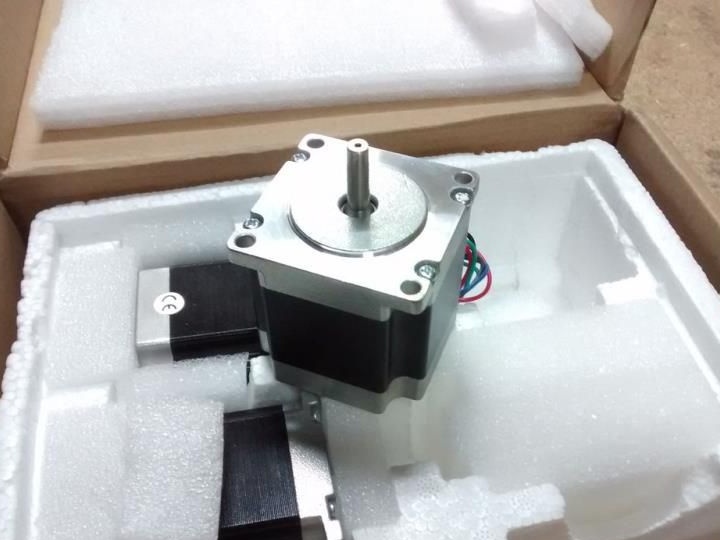
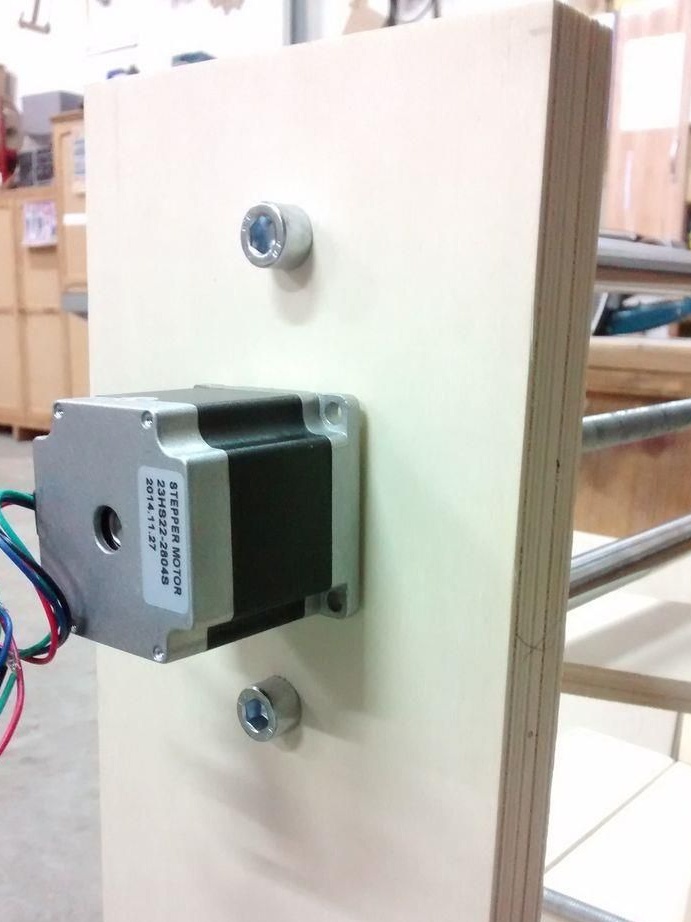
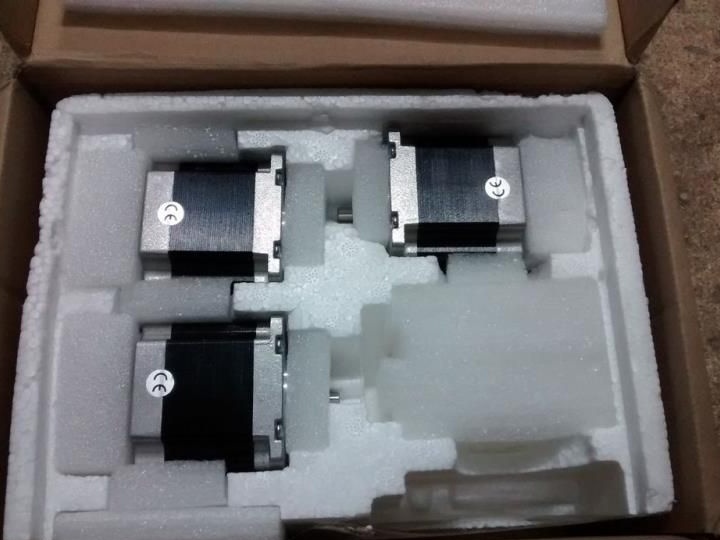
- stepper motors like Nema 23;
- TB6560 drivers are needed for stepper motors;
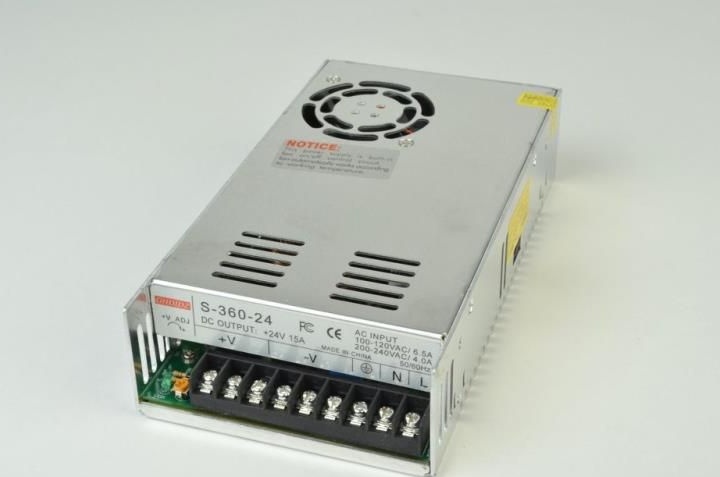
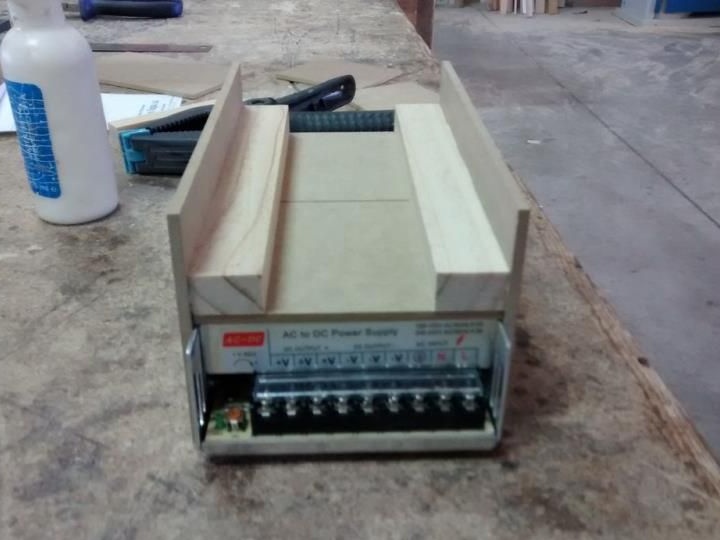
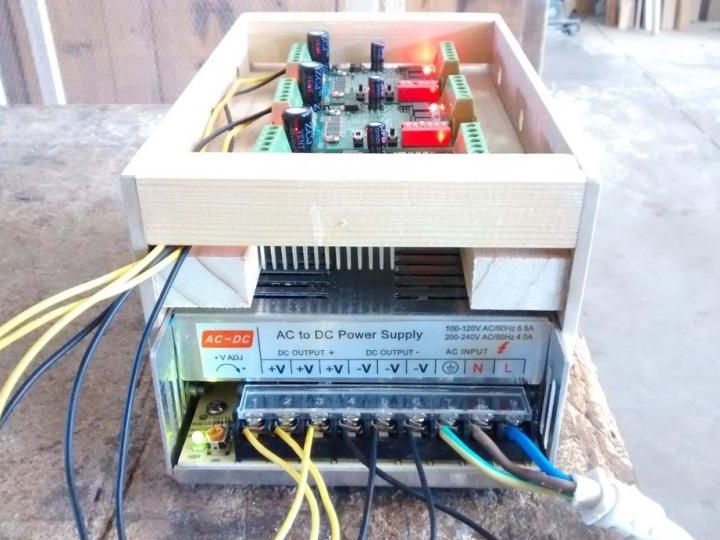
- the installation is powered by a voltage of 24 V 15 A;
- Arduino UNO R3;
- metal bushings, as well as bushings made of nylon (possible from caprolon or fluoroplastic);
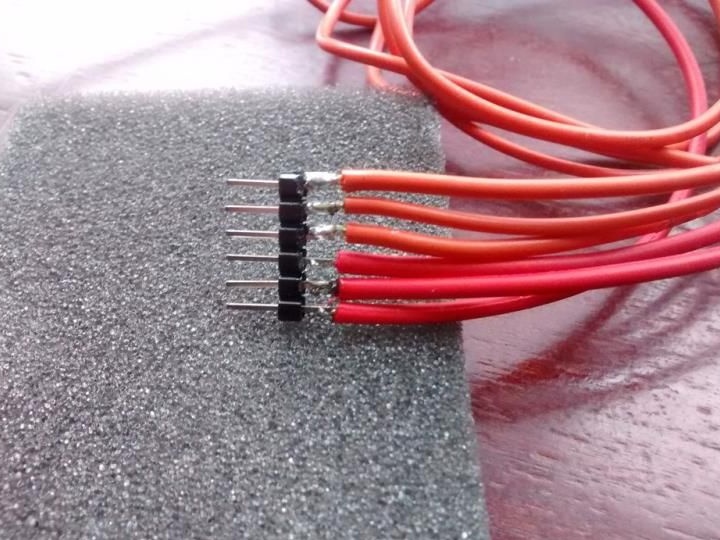
- wires.


Manufacturing process:
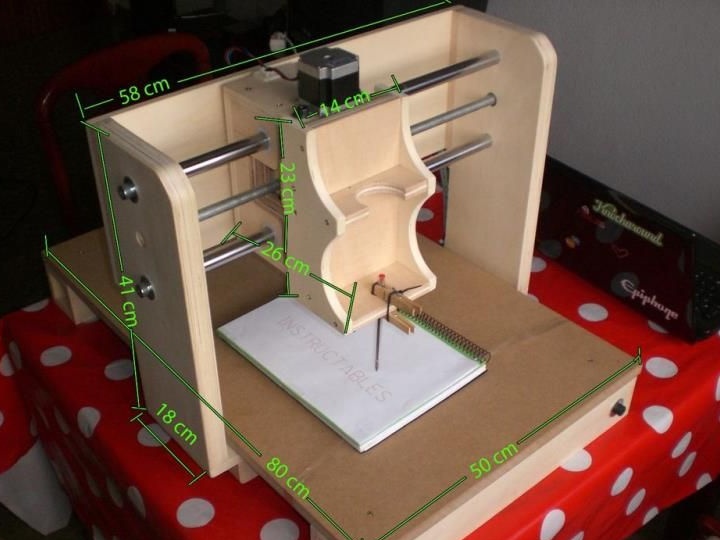
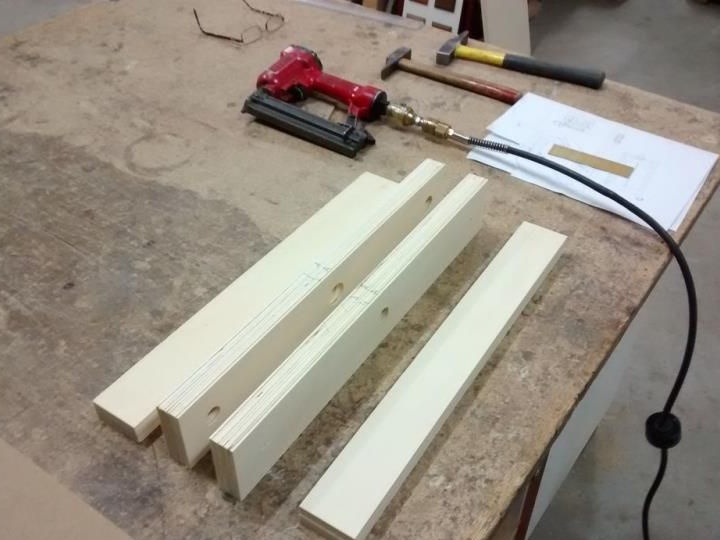
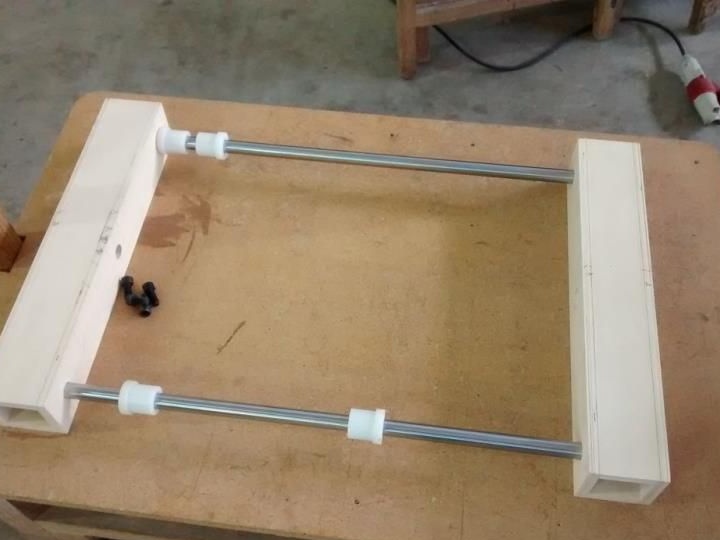
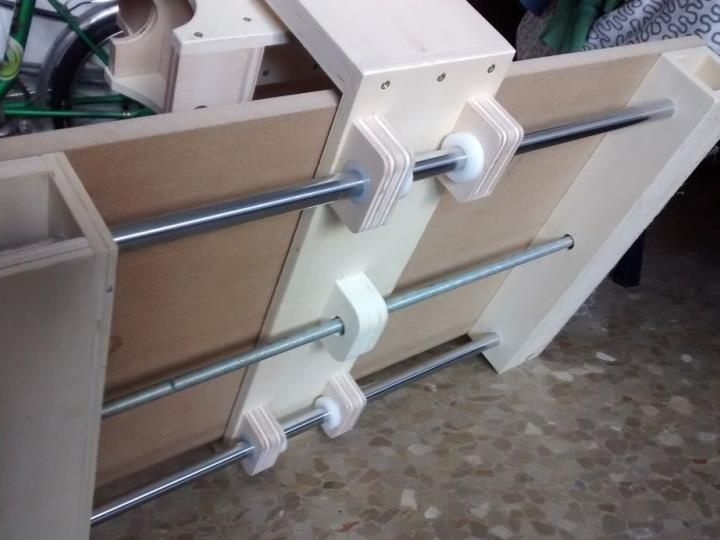
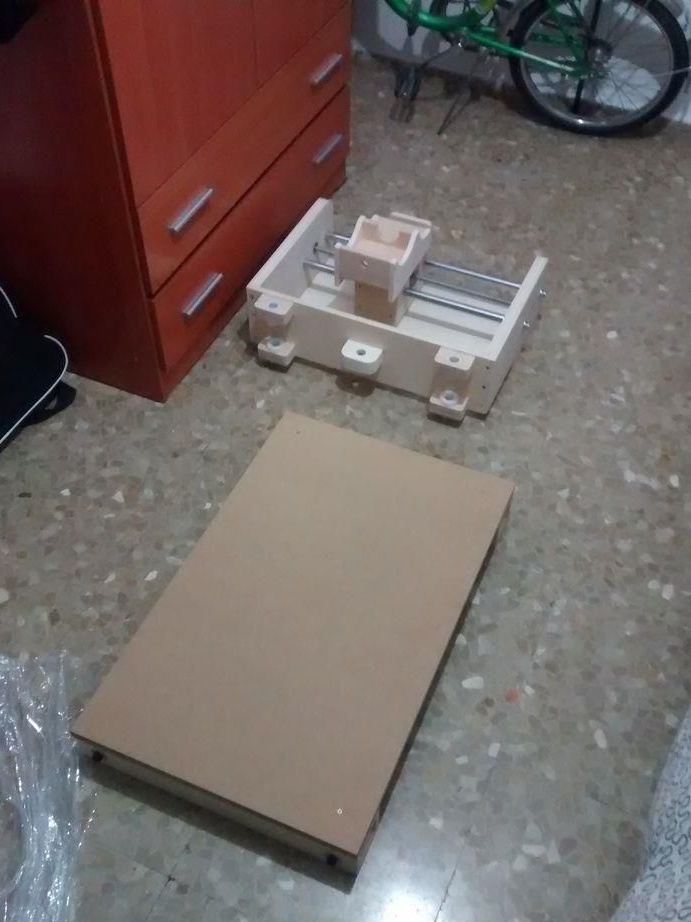
Step one. Making the base of the machine (X axis)
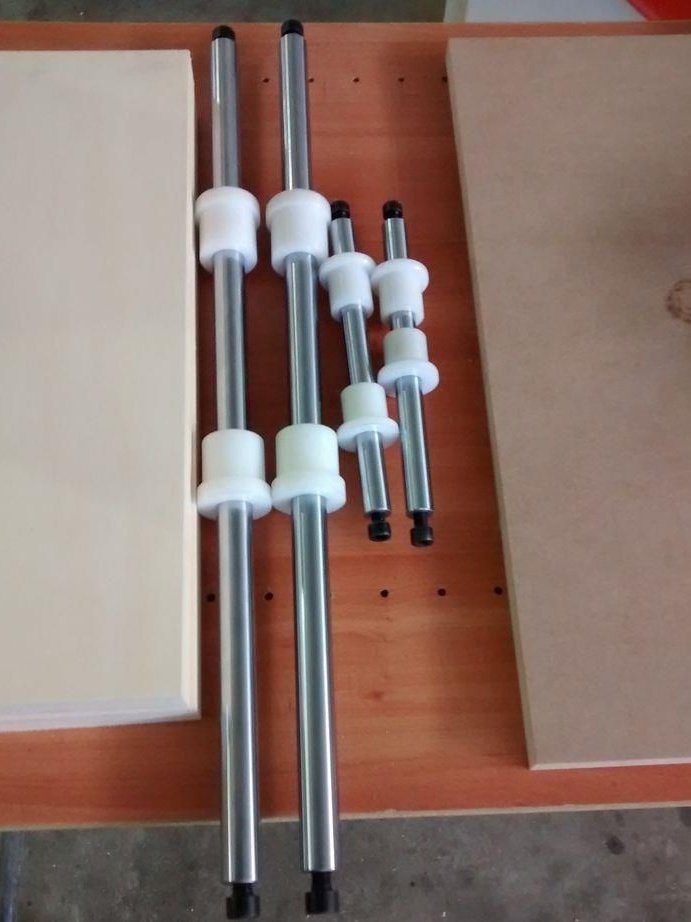
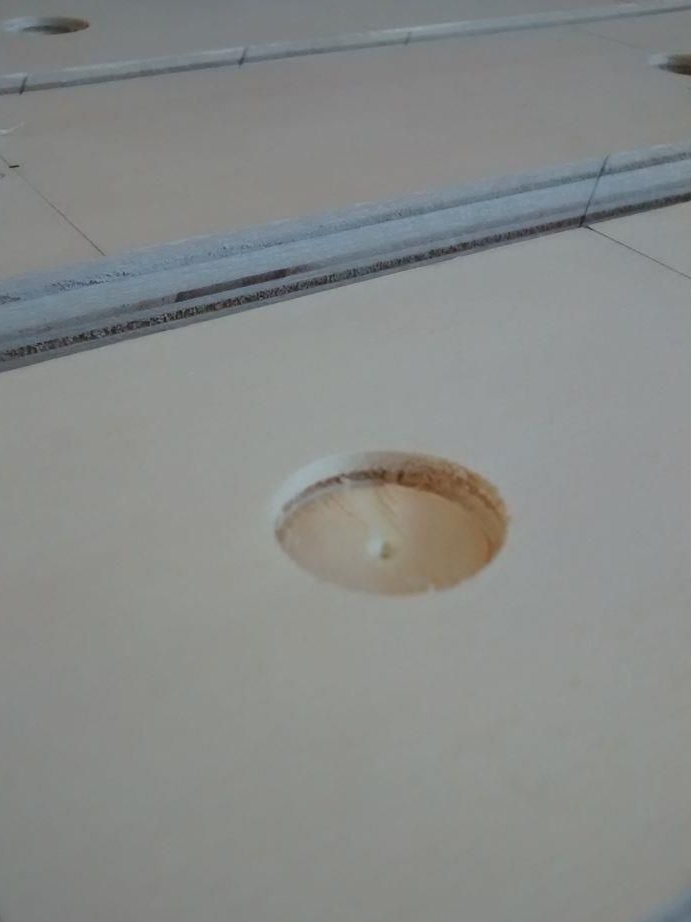
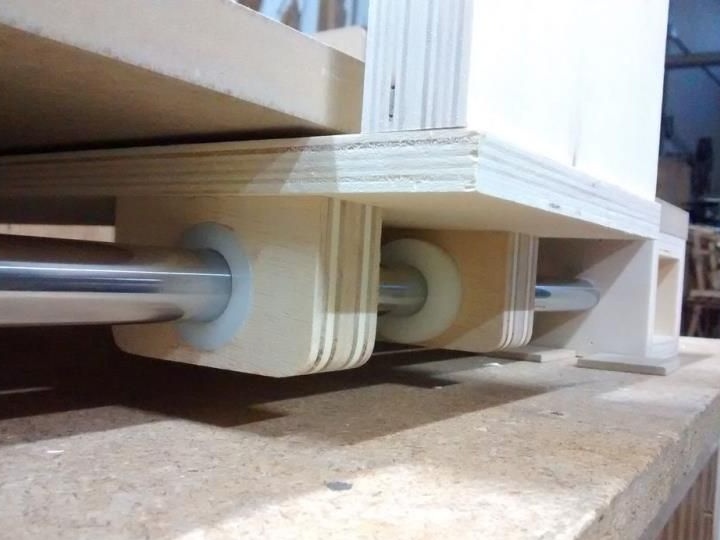
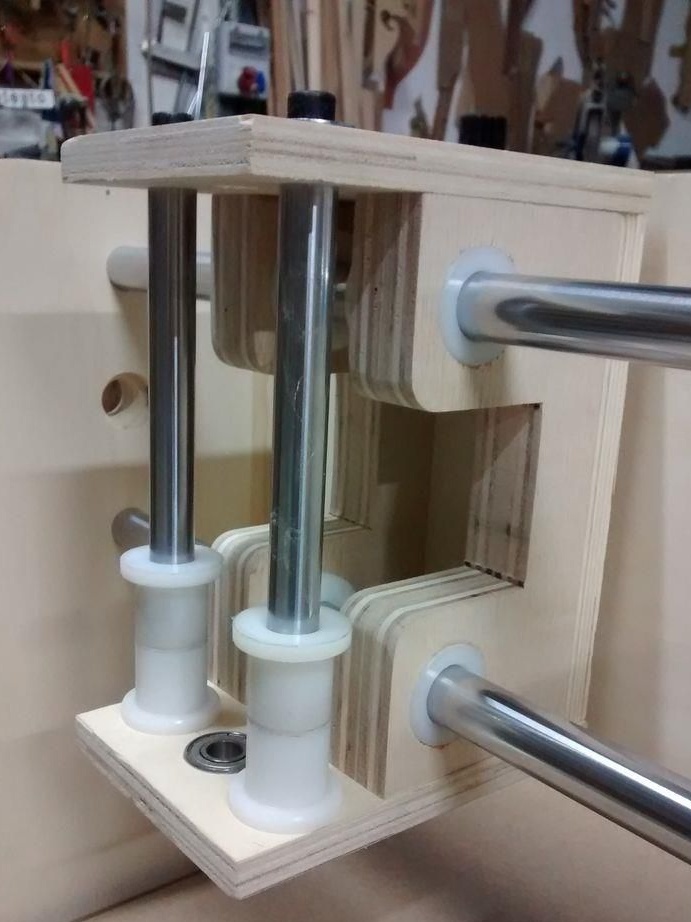
To make the base, you will need several bars in which you will need to drill several blind and through holes. Then install metal shafts, they serve as a drive for the X axis.
The threaded shaft is installed in the center, and two steel shafts are installed on the sides as guides. When the threaded shaft rotates, the carriage moves the threaded table along the X axis.
The bar should be as thick as possible, since the heavier the base, the more reliable the machine will be during operation. And this, in turn, improves workmanship during work.


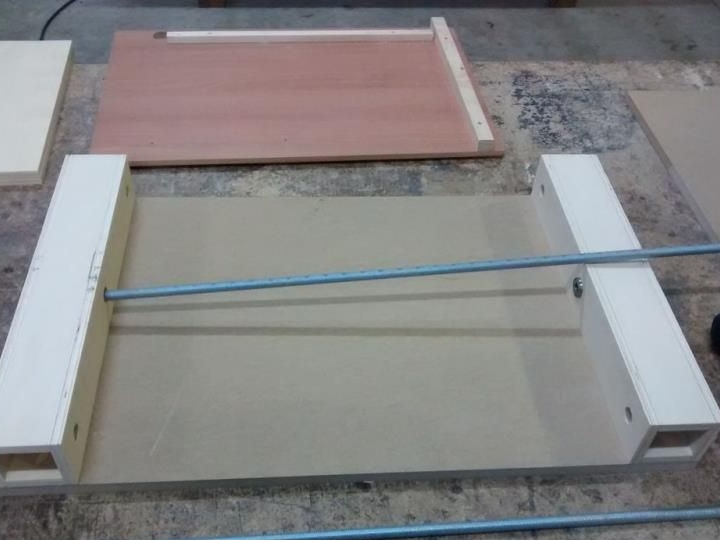
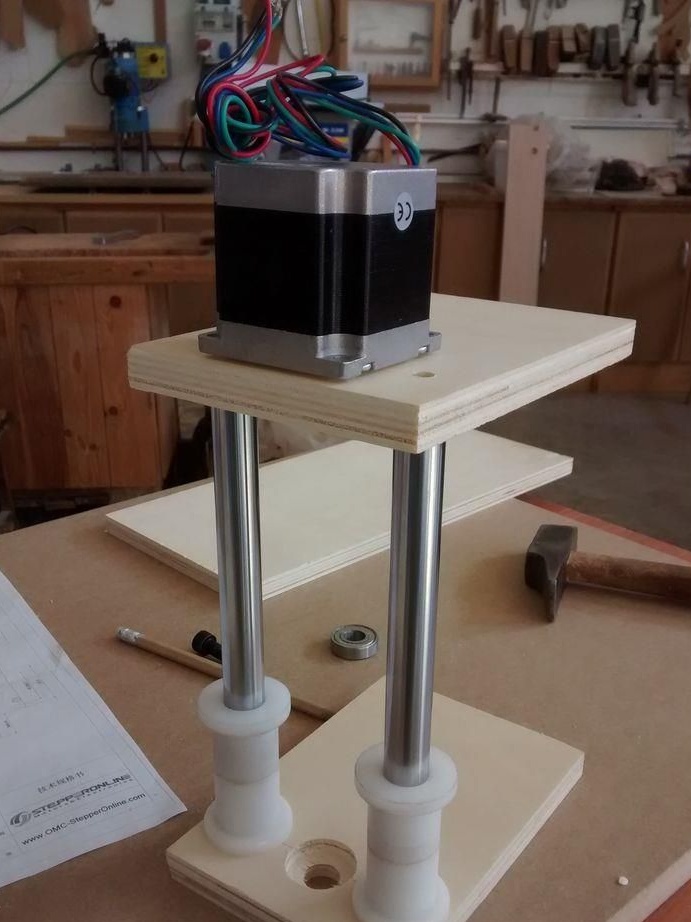
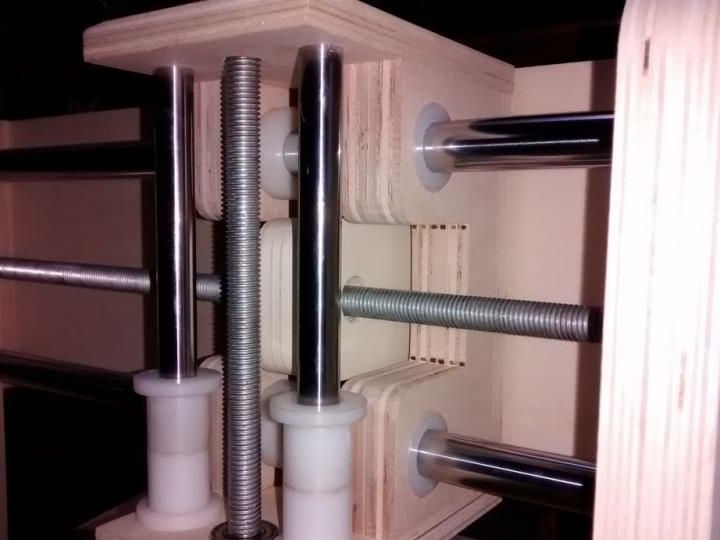
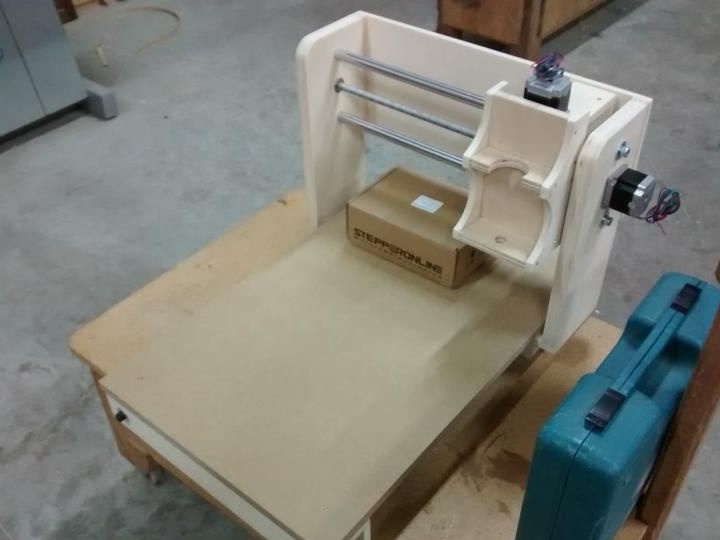
Step Two Create the Y axis
The portal structure for the Y axis is created in the same way as the base X. The portal is fixed on a movable table, which moves along the X axis. As this happens, you can see in the photo.
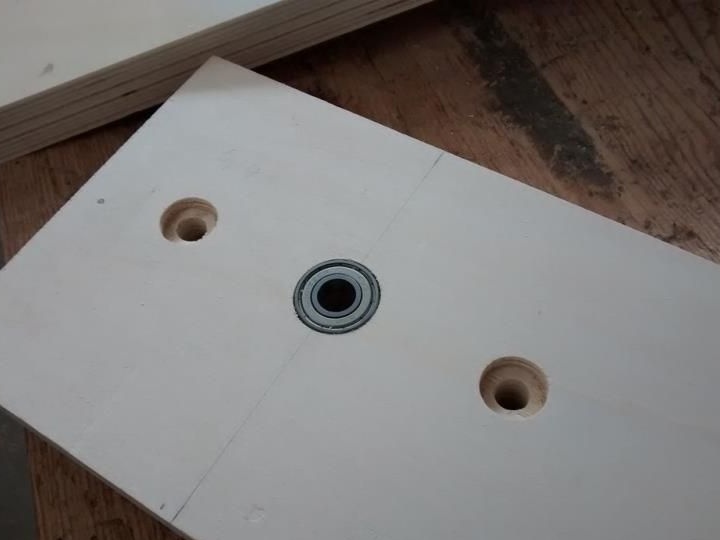
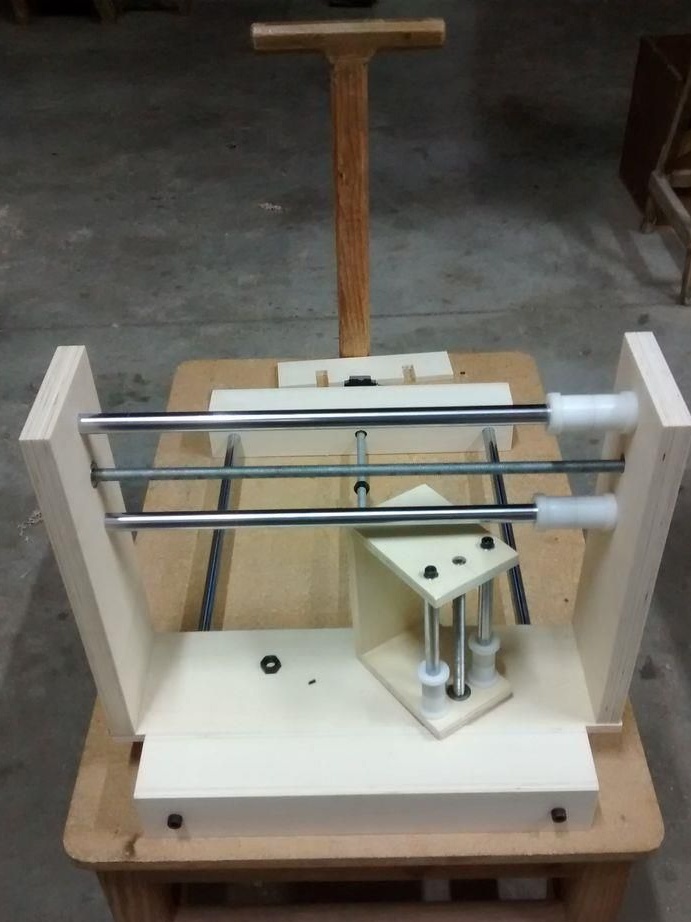
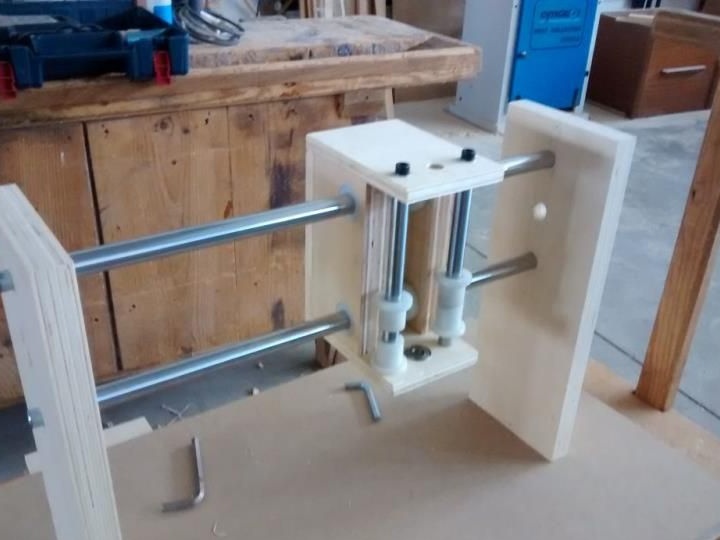
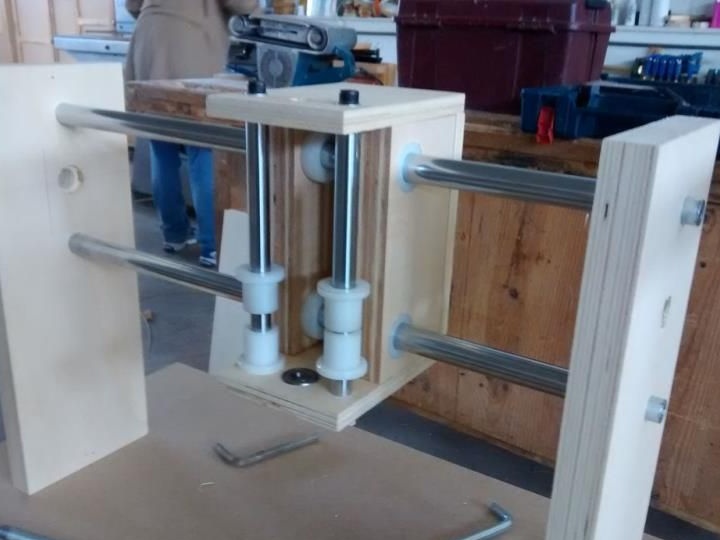
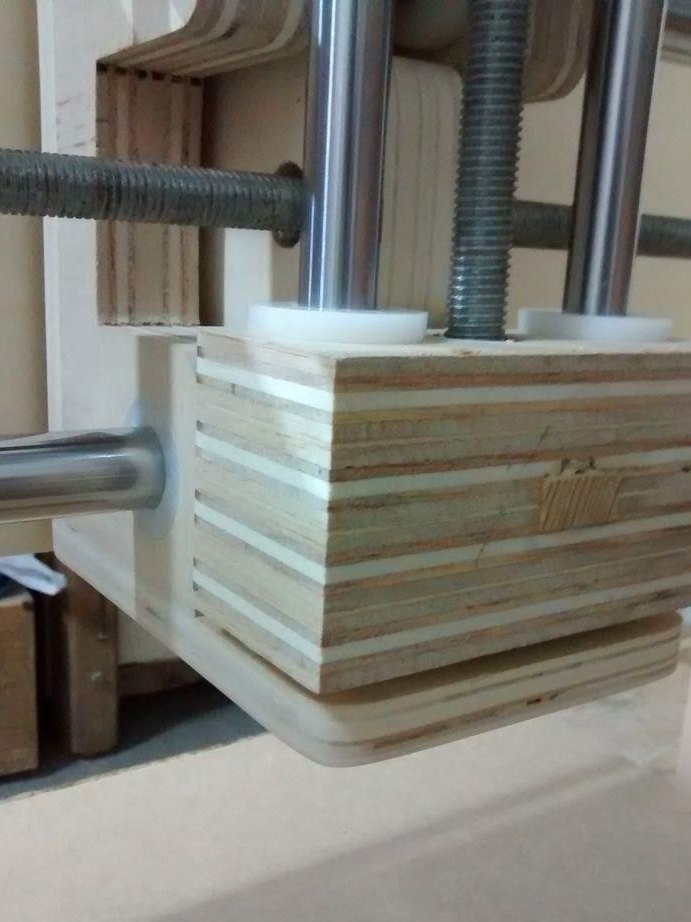
Step Three Create the Z axis
The Z axis is created exactly like the two previous ones. Due to this axis there is a vertical movement of the working body, which feeds the tool.


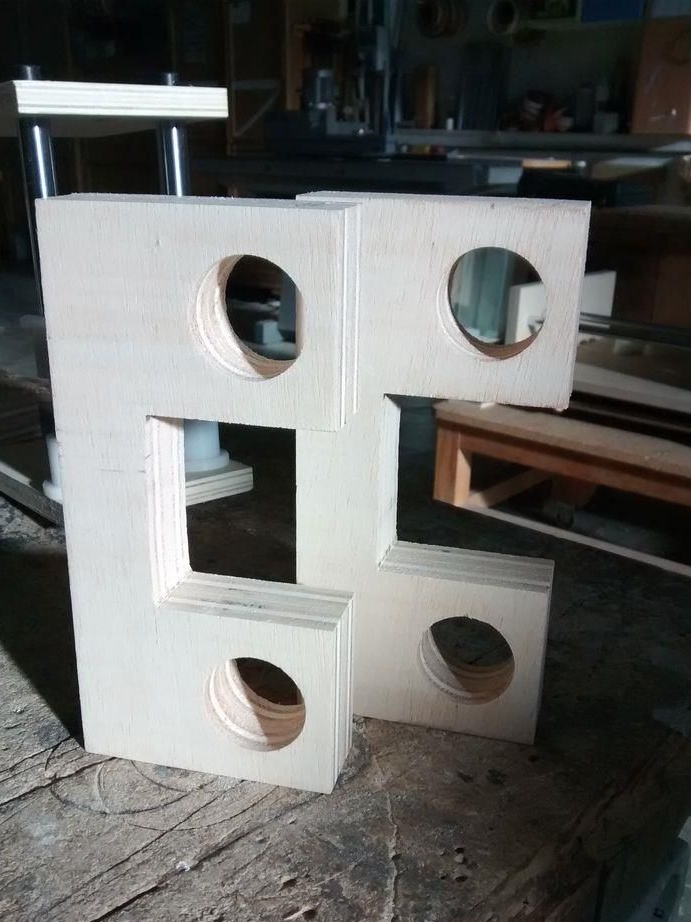
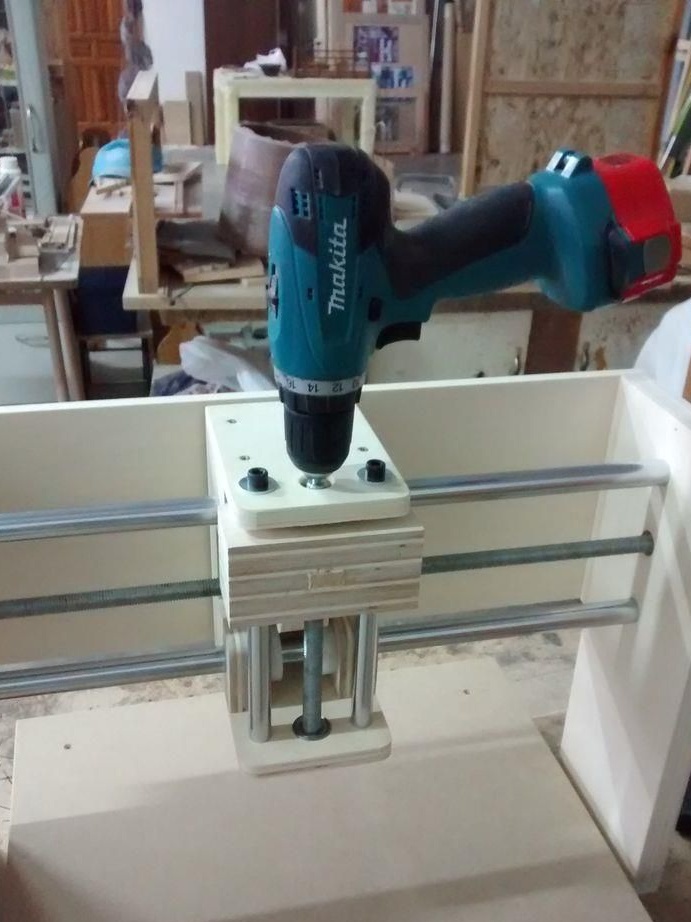


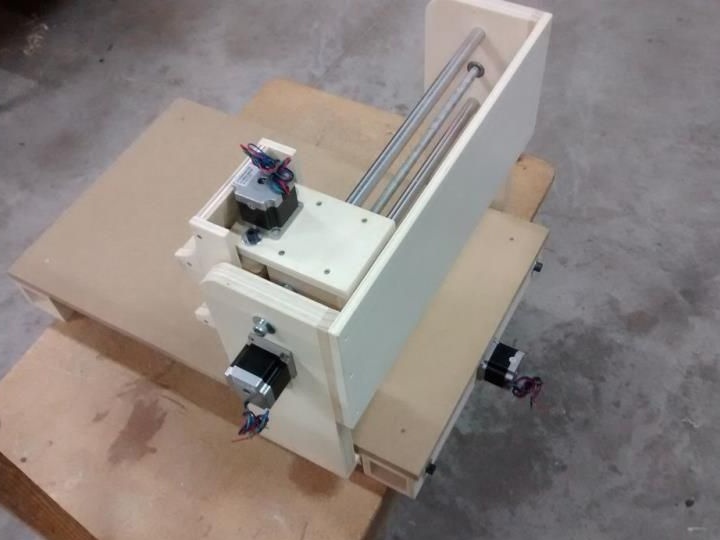
Step Four Assembly assembly
Further, after all the elements have already been manufactured, the machine can be assembled and this process is not complicated. To connect the elements, bolts with nuts are used. The dimensions of the machine can be varied, it all depends on personal needs.If during the assembly process any elements break down, you do not need to use glue to repair them, it is best to re-manufacture the element. In this case, the necessary stiffness of the elements will be provided.

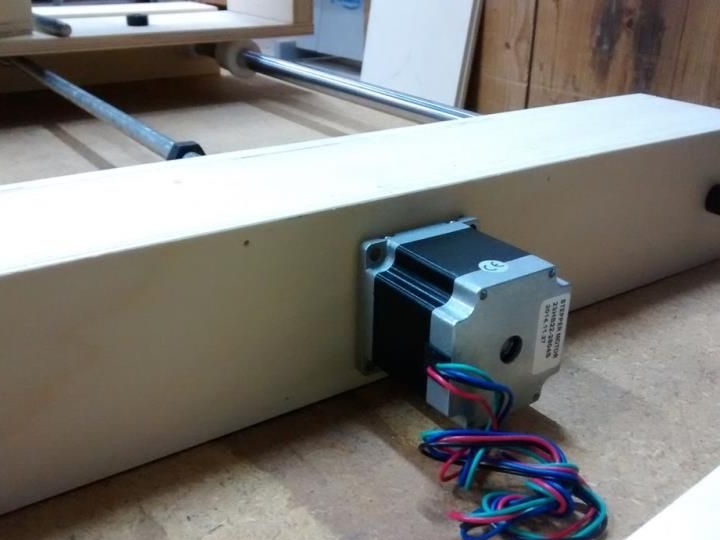
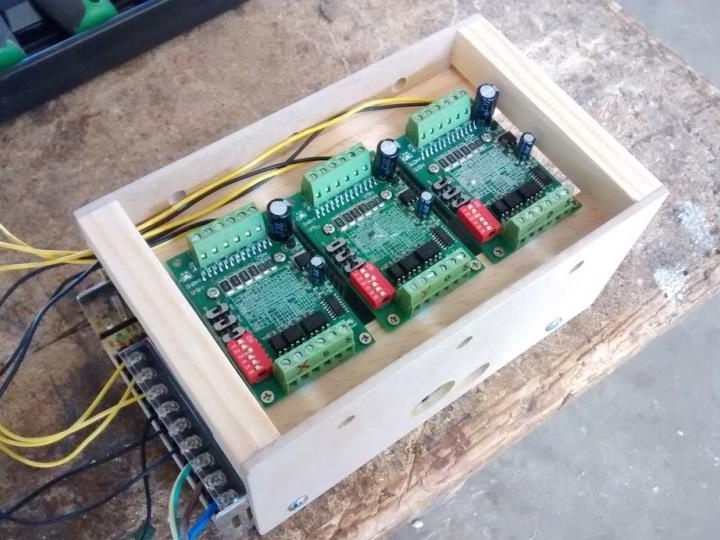
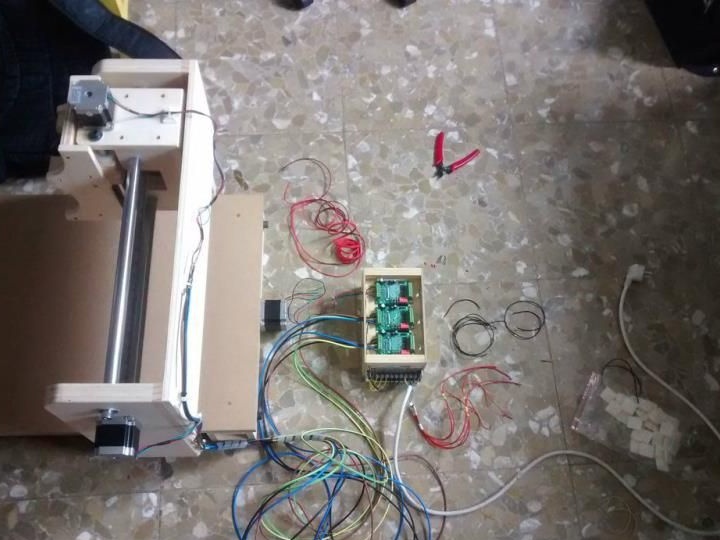
Step Five The electronic part of the device
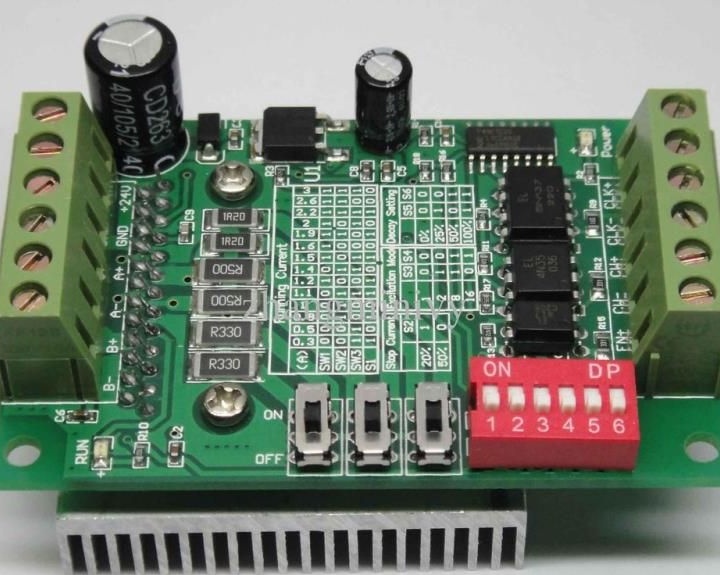
When the mechanical part is assembled, you can proceed to the process of connecting the electronics. You need to connect Arduino with drivers and stepper motors. Each driver needs a power source to work. The author used a 24 V 15 A power supply. As for the driver, here it is already selected individually depending on the engine power. Motor coils and their poles are indicated by the letters A +, A-, B +, B-.
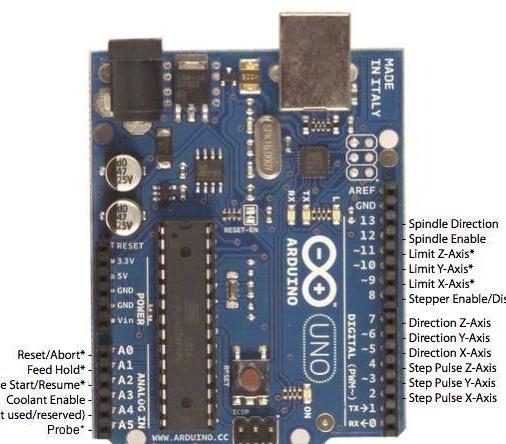

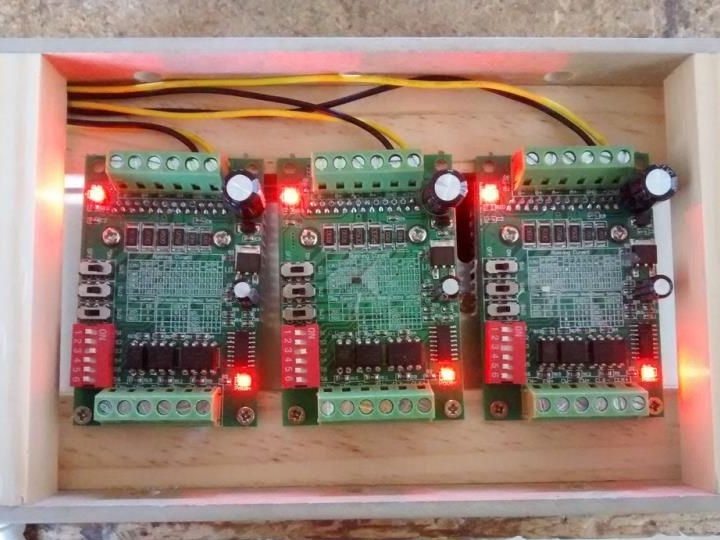

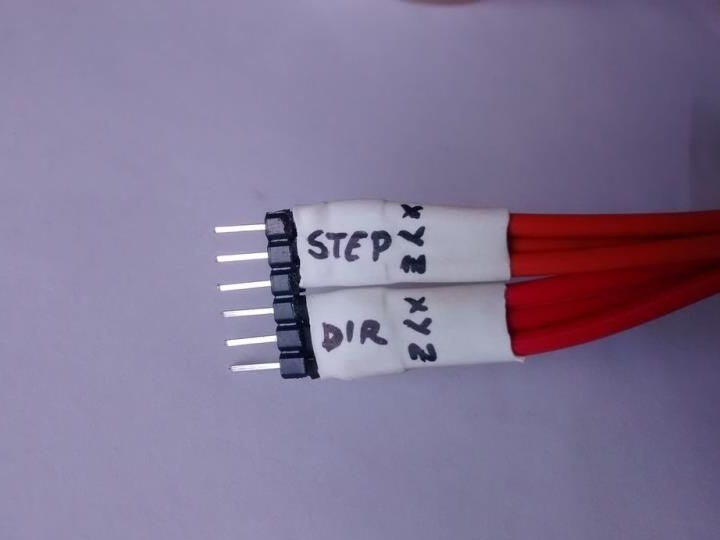

The CLK + output must be connected to the pin pin on the Arduino. The CW + pin must be connected to the direction pin. Well, CLK- and CW need to be connected to the GND pin. Contacts EN + EN- are not used.
Step Six The software part of the device
The next step is to download the software that will control the machine. The process is not complicated, you need to download the code using the XLoader program on the Arduino board. After that, you need to open GCodeSender to connect the Arduino board to a personal computer. After that, the board will be ready to control the CNC machine.
That's all, the machine is ready, you can test it in practice. To set the necessary parameters for processing the object, you need to use any drawings from the CAD program. Then, using the CAM program, the G code is generated. For these purposes, it is convenient to use the MasterCam X7 program. It already has both CAD and CAM.