Everything works very simply, thanks to the Rover controller, which is on Android. Using it via Bluetooth, you can send commands to the Arduino. There they will be decrypted depending on the code, and the device will perform the necessary actions. Also, the device can be controlled using the buttons up, down, right, left.
Materials and tools for creating a tank:
- Arduino UNO microcontroller (but a copy is also suitable);
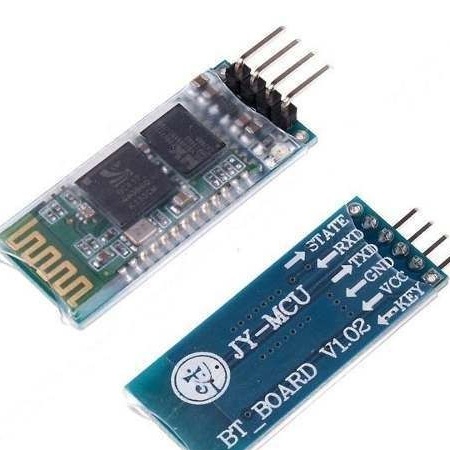
- serial Bluetooth module (ХК-06);
- engine driver;
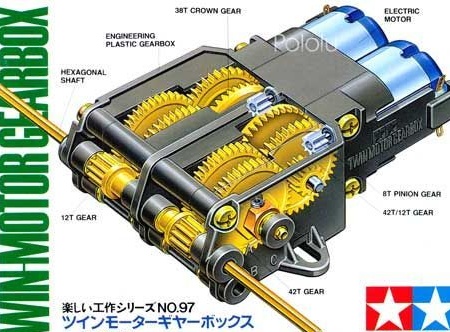
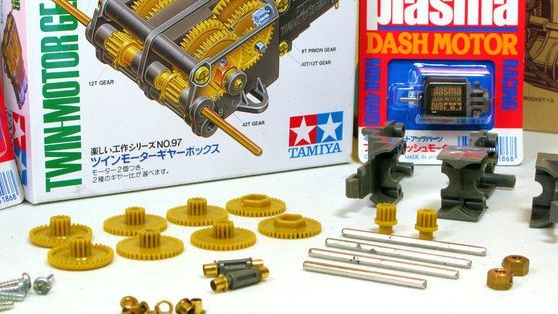
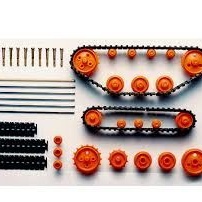
- tracked chassis of the tank (Tamiya);
- gearbox for the tank (Tamiya);
- Jumper Cables;
- soldering iron with solder;
- wires;
- a screwdriver.
Robot development process:
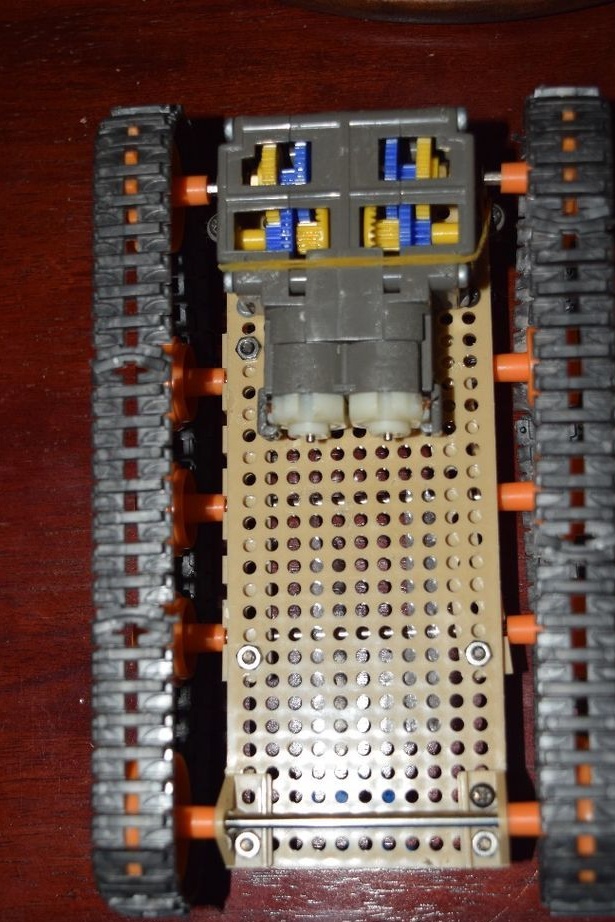
Step one. Assembling the gearbox
To assemble the gearbox, follow the instructions. Tamiya must include two engines, a grease, a wrench, and a gearbox. In order for the machine to work correctly, you need to use the gear ratio "58: 1".
After assembling the gears in the gearbox, you need to carefully lubricate the grease that comes with the kit. When assembling, you must not forget about the metal struts of the gearbox.
Alternatively, you can even use a dual gearbox motor, but in this case you will have to change the device code, so it is better to use two motors.
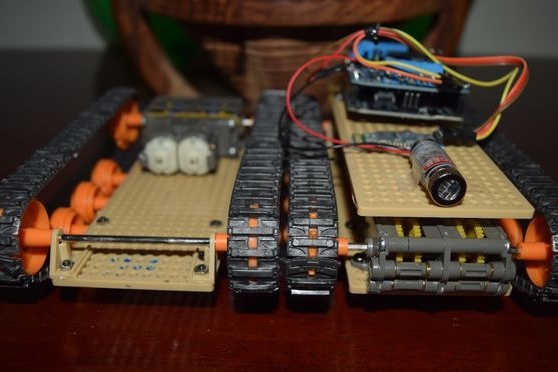
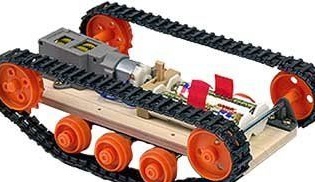
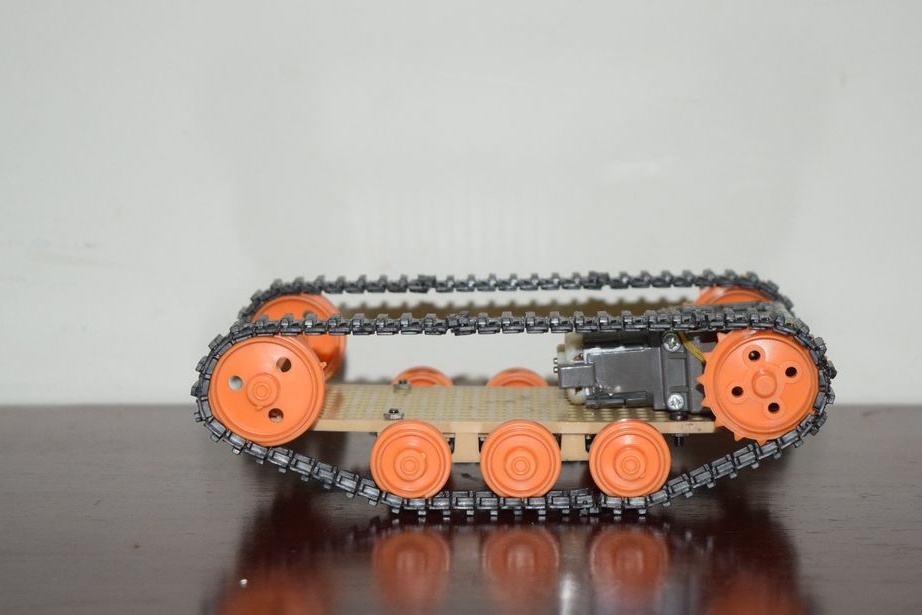
Step Two We assemble the chassis.
After the gearboxes are assembled, you can proceed with the assembly of the chassis. No need to follow the instructions, as the design will be slightly changed. In the set you can see one gear and three sets of rollers.
The assembly consists of several stages, how this happens, can be seen in the photo.
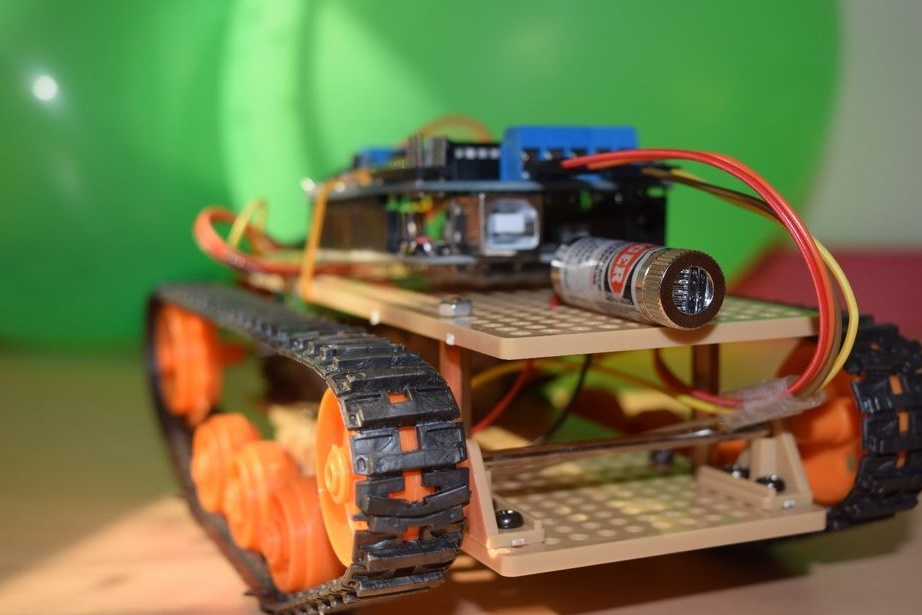
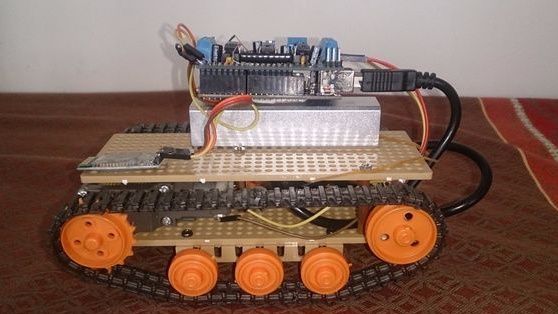
Step Three Install Arduino controller and engine driver
The controller is attached to the case with screws, for this you first need to install a piece of acrylic plate. In addition, you can use spacers, this will replace the plastic base.

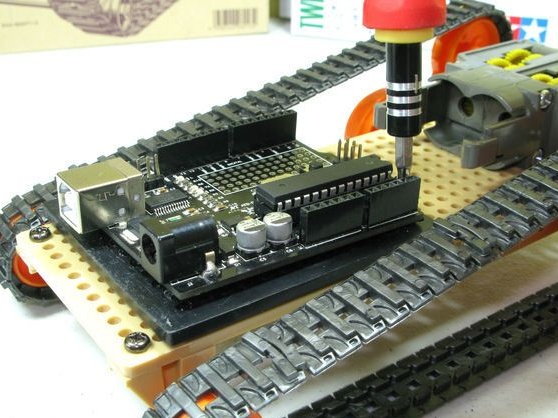
As for the driver, it is important to note here that a driver like L293D is suitable for these purposes. If you use the official driver from Arduino Motor, it will not work, since you need to change the code.
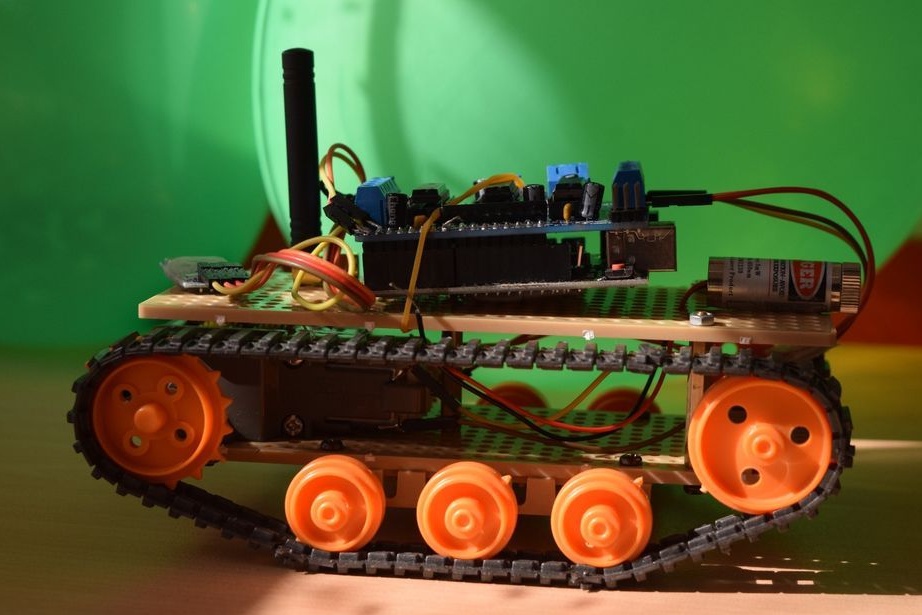
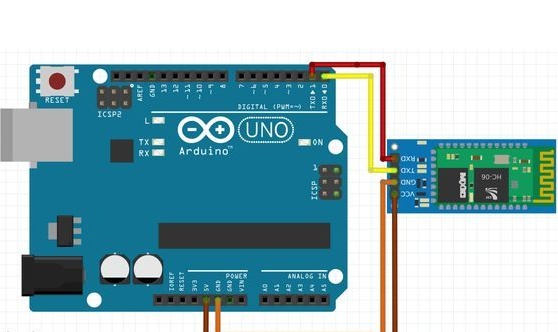
Step Four We connect the Bluetooth module
The Bluetooth module was purchased by the author on DX.com, it cost $ 8.There is a gap between the gearbox and the Arduino board, you can install a Bluetooth controller in this place.

Everything works as follows. The program sends certain bytes of information to the Arduino, where it is then decoded. Well, then based on this information, the device sends the necessary commands to the engines.
The wiring diagram is as follows:
- “TX Bluetooth module” connects to “RX in Arduino”;
- “RX Bluetooth module” is connected to “TX Arduino”;
- “Bluetooth module VCC” connects to “5V from Arduino”;
- “Earth from the Bluetooth module” connects to the “GND Arduino”.
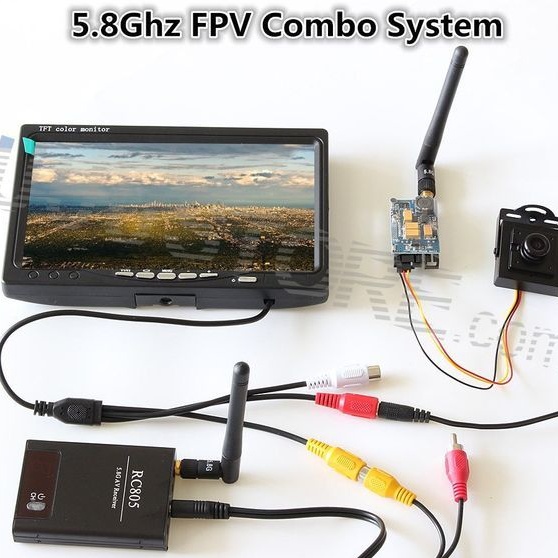
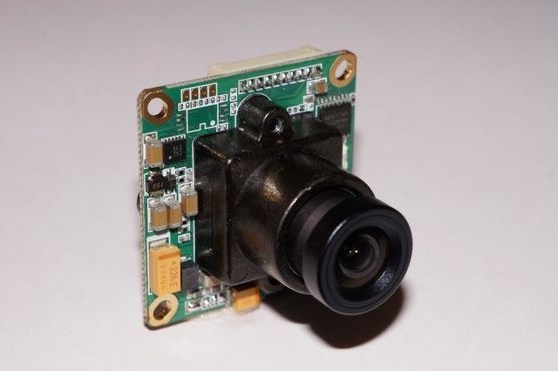
Step Five Install the FPV camera
Specifically, in this project the camera was not added, but if necessary, this can be done. Thanks to this camera, you can see where it goes carwithout looking at him. All information will be broadcast directly from its board. Similar technologies can be found on drones and other similar devices. For the operation of such a camera, you need a transmitter and a receiver. In addition, an additional battery for the camera to work.
Step Six We connect the battery
For such a device, a lithium polymer battery is best. It weighs little and is the most powerful to date. It is important to note that such batteries need to be charged only from a special power source with a controller, otherwise they inflate and fail. The easiest way is to take an old mobile phone with a working battery and charge it directly in it.

Seventh step. Tank program code
A library is used to control the engines. In order for the device to correctly receive commands, you need to configure them as indicated in the picture. Specifically, in the code that is used, there are only basic commands, that is, forward, backward, right and left.
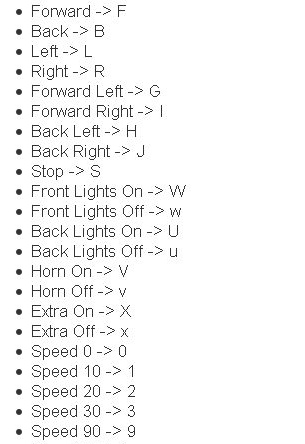
In order to install the necessary software on Android, it must be downloaded from Google Play and installed. Next, turn on Bluetooth and run the program. Then you need to create a connection. When the red color turns green, the connection will be established and the tank can already be controlled.

That's all, now robot ready. It can be controlled remotely via Bluetooth. The range of this connection is about 20 meters.
In the future, the author plans to improve the tank, namely, to install ultrasonic motion sensors so that he can go around obstacles. There is still an idea to increase engine power, strengthen the chassis and supply more powerful batteries. And, of course, install a real-time camera.