

I present to you wireless headphones on infrared rays. More precisely, the transmitter and receiver for headphones. The principle of operation is very simple, the transmitter is connected to the audio output on a TV or any other equipment. In the transmitter, the installation of IR diodes, the same as in the remotes from the TV, the transmitter converts the sound from the TV into IR signals that are received by the receiver.
You don’t need to flash anything in the circuit, just assemble the circuit and enjoy.
Here is the transmitter circuit itself:
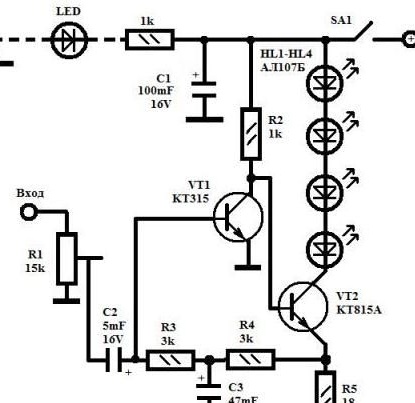
It consists of not a large number of parts; it will not be difficult to assemble it. You can even not poison the board, but make everything a wall-mounted installation. The power of the transmitter is 12V, if it is less than, for example, 9V, everything will work, but it will have a little loud sound in the headphones. The transmitter does not need to be configured, the main thing is to connect everything as in the diagram.
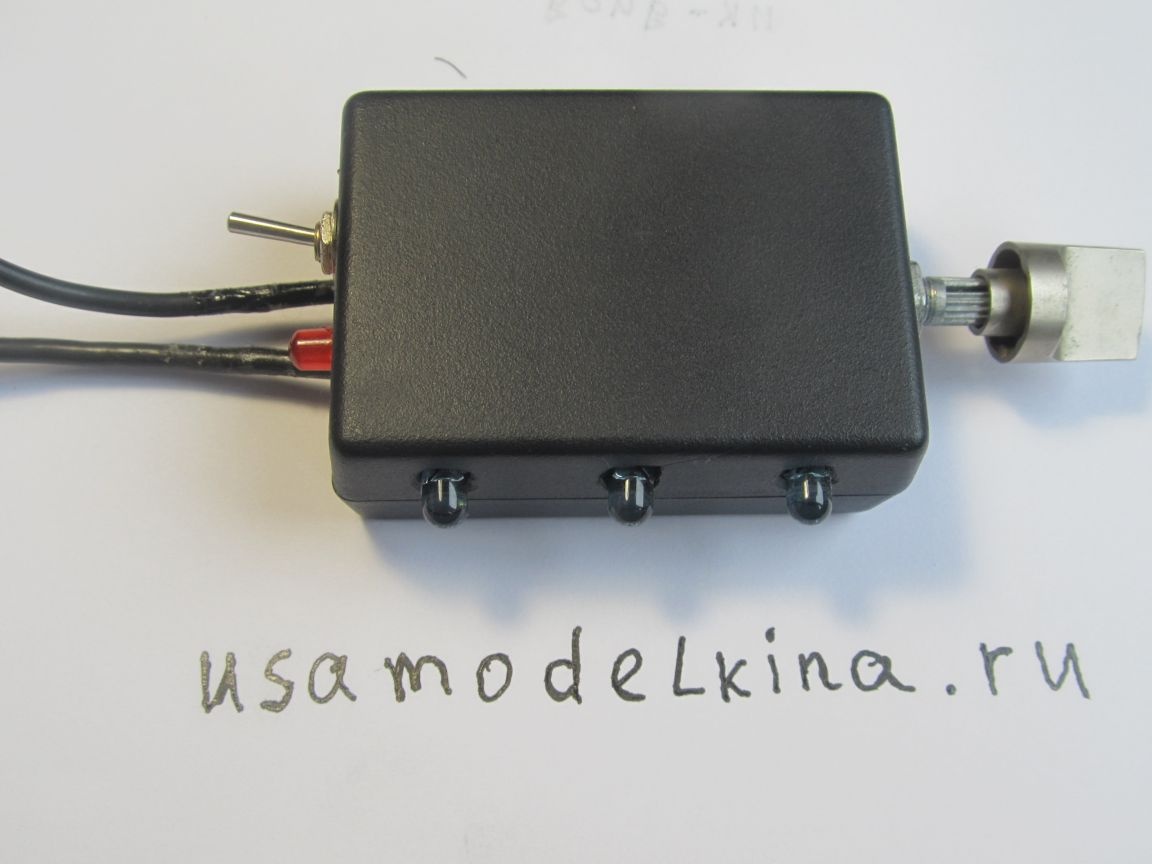
The transmitter board itself, after assembly.
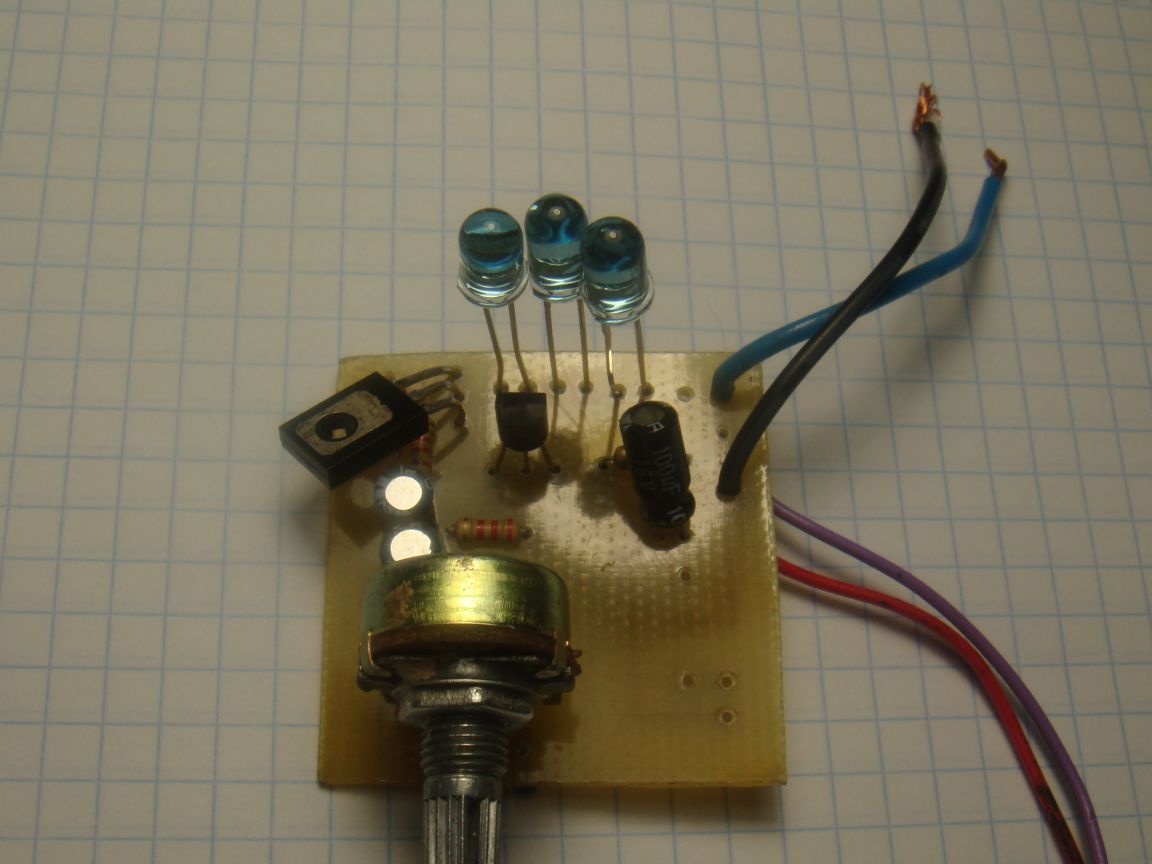
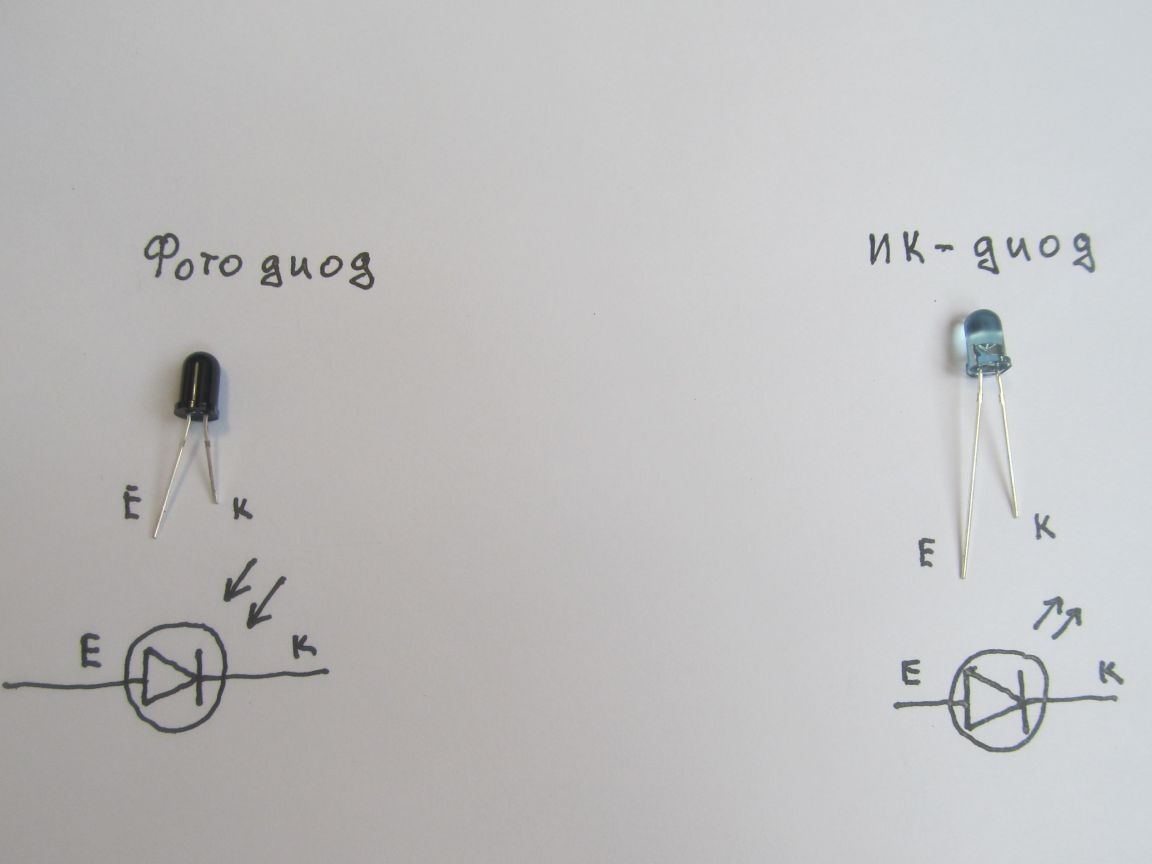
The diagram shows 4 IR diodes for transmission, but I applied only 3, there simply weren't any more. You can put one, but the more there are, the easier it is to catch the transmission signal. Connecting IR diodes and Photo diodes below in the photo:
The receiver also consists of a minimum of parts, even less than the transmitter.
Receiver circuit:
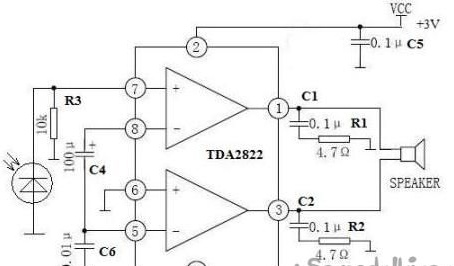
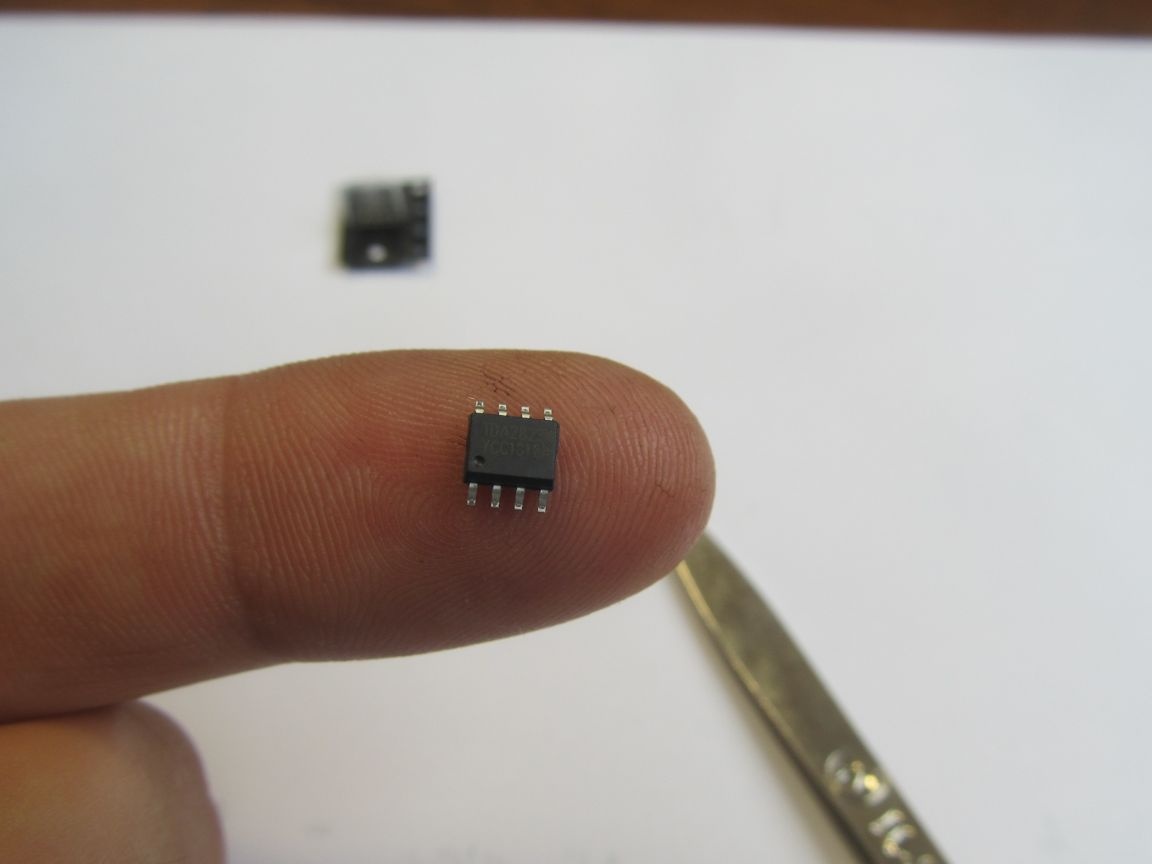
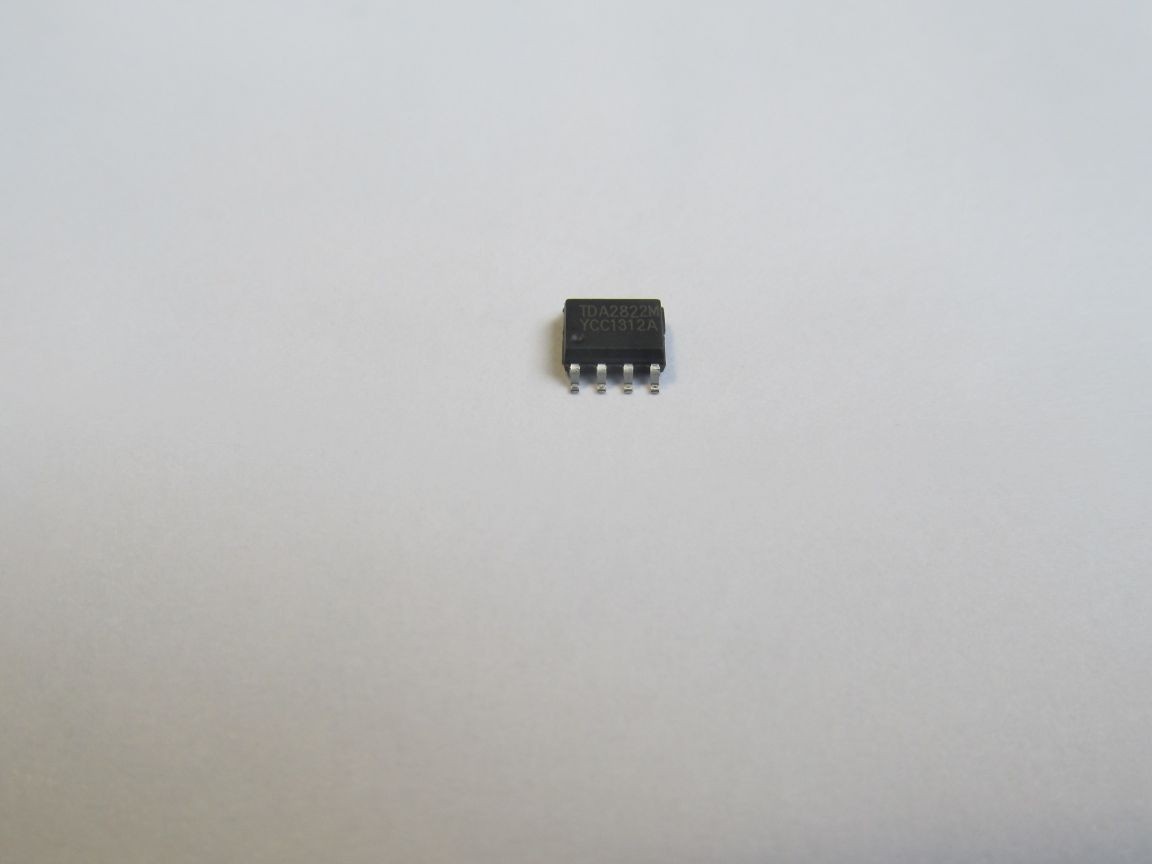
The heart of the receiver is the TDA 2822 chip. The stores are worth a penny.
The receiver is powered by 3-4.5V, from any power source.
The receiver board is quite compact.

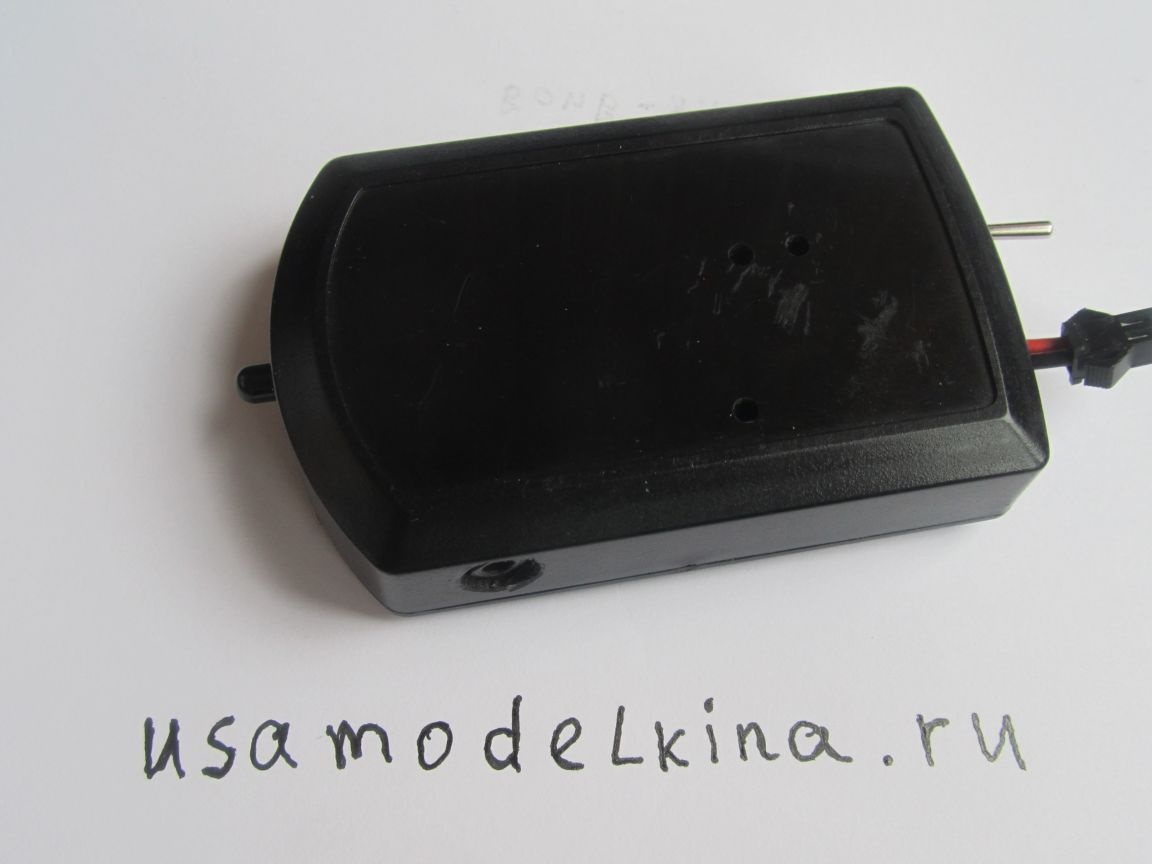
And so, a suitable housing was found for the receiver.
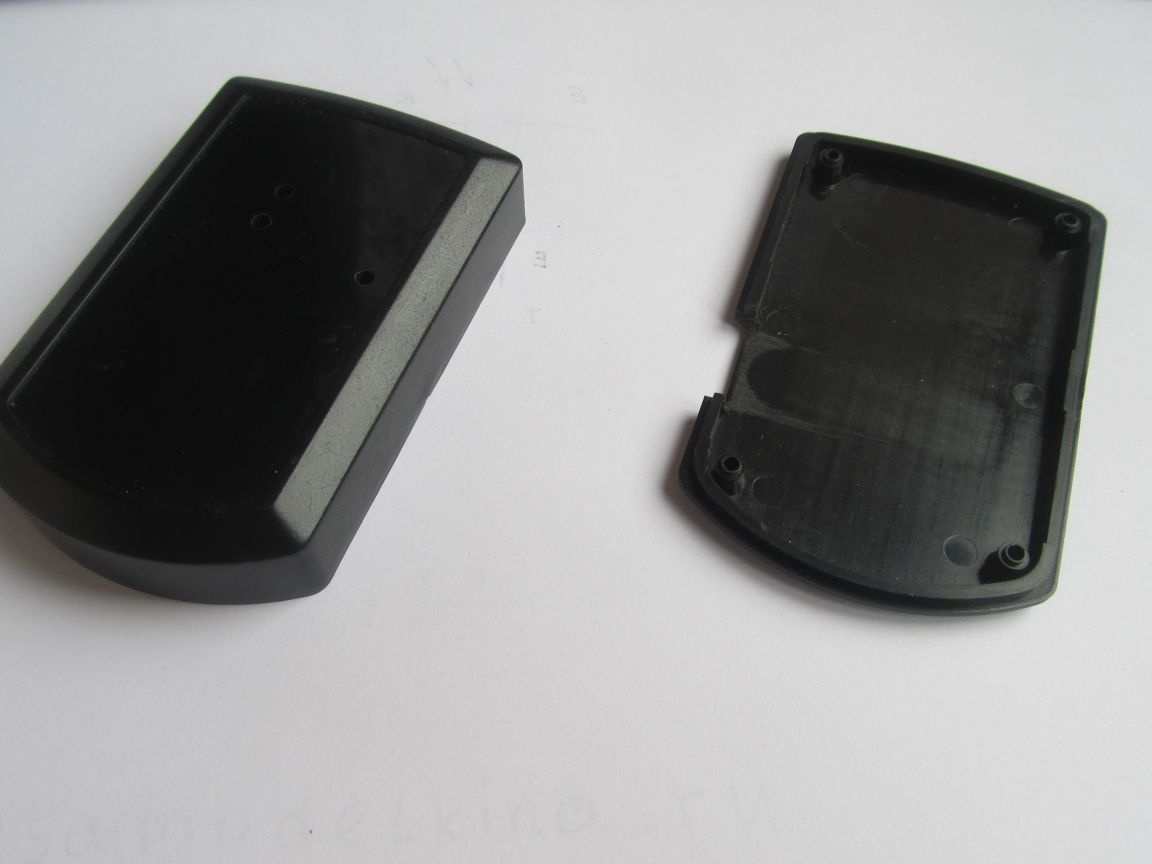
All the filling fit very well there, a lot of space left.
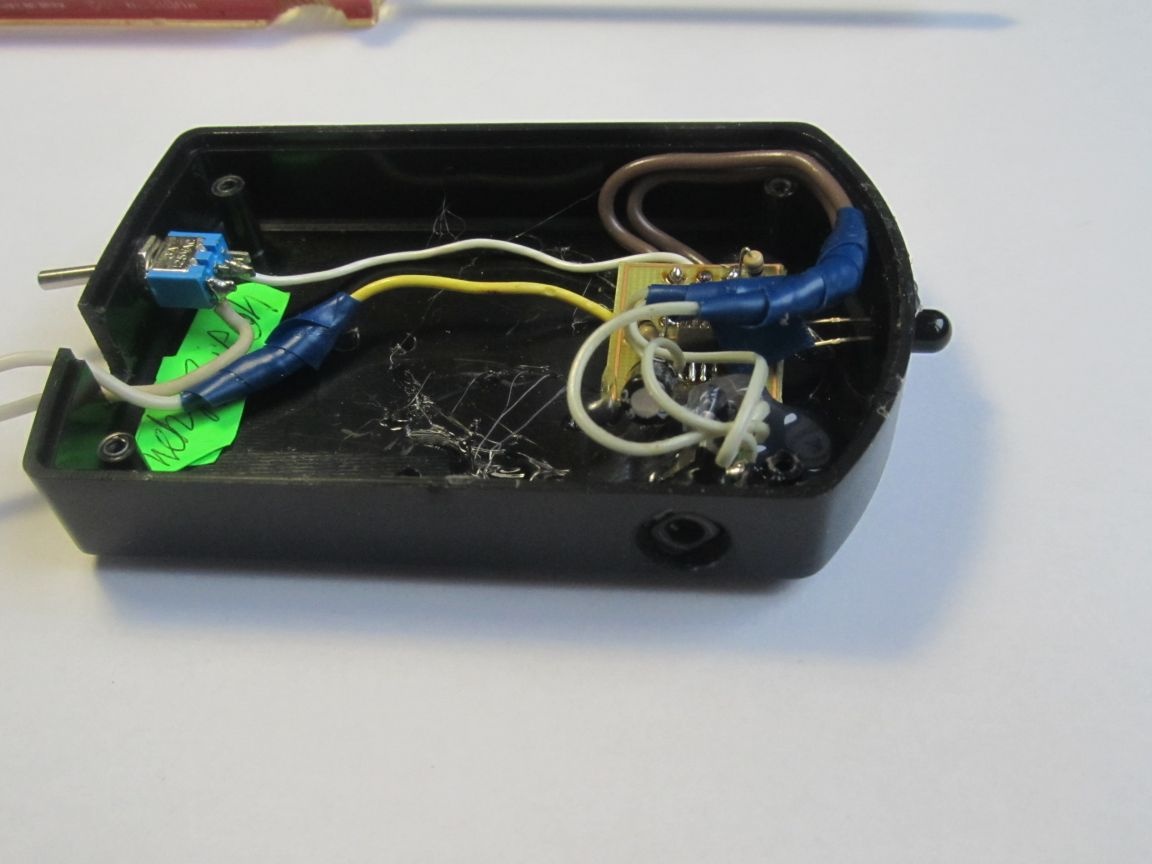
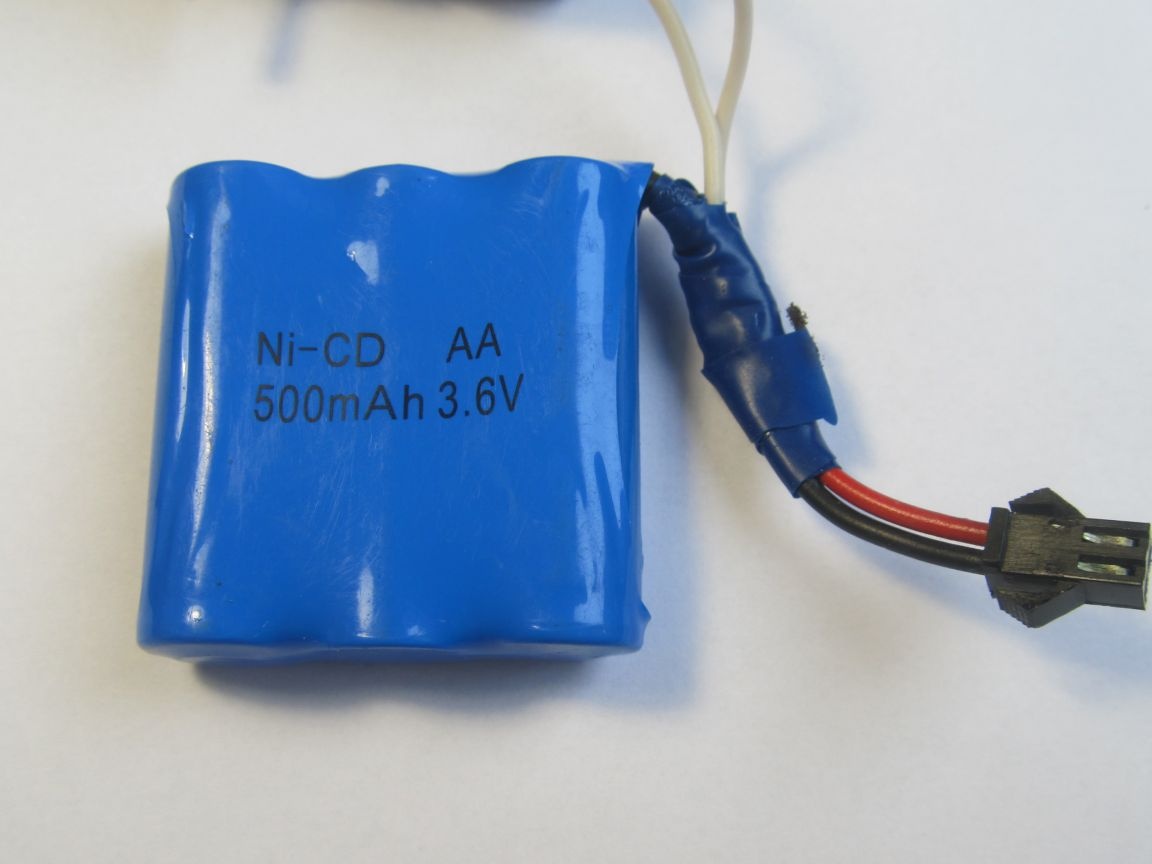
It was a matter of nutrition. I thought for a long time what to adapt there and opted for batteries from a children's toy. As a result, it will be possible to simply charge the batteries, rather than changing the batteries.
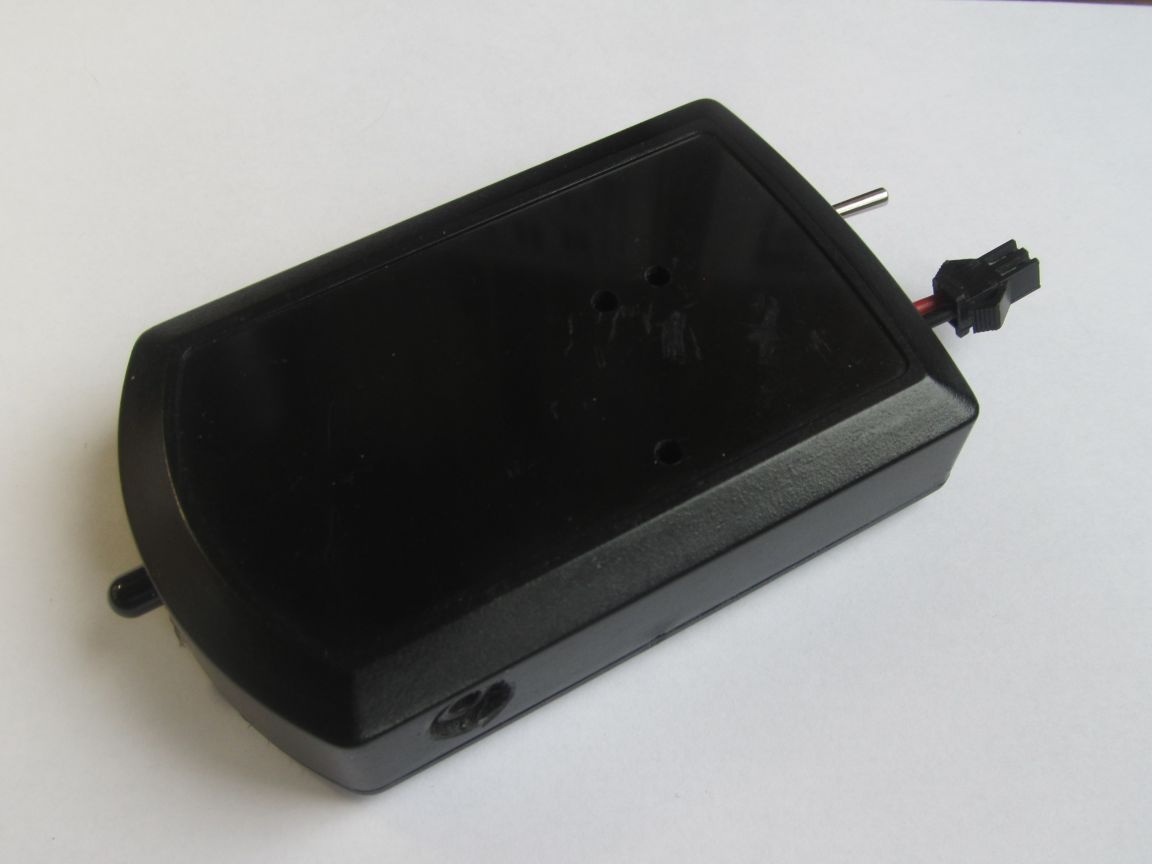
He packed everything in the case, there was enough space to spare.

In the end, everything looks great.
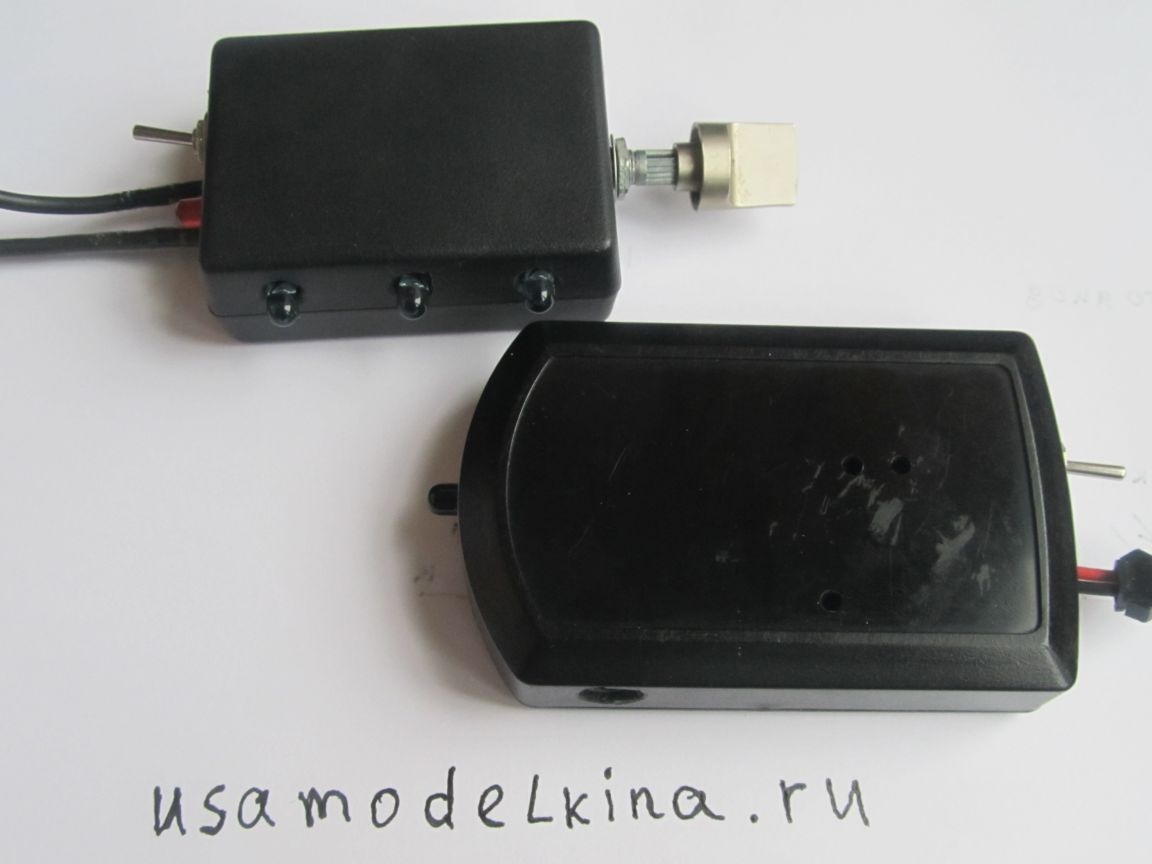
It was the turn of the transmitter body. I installed the case as I had at that time. After all, the power will be external, from the power supply.

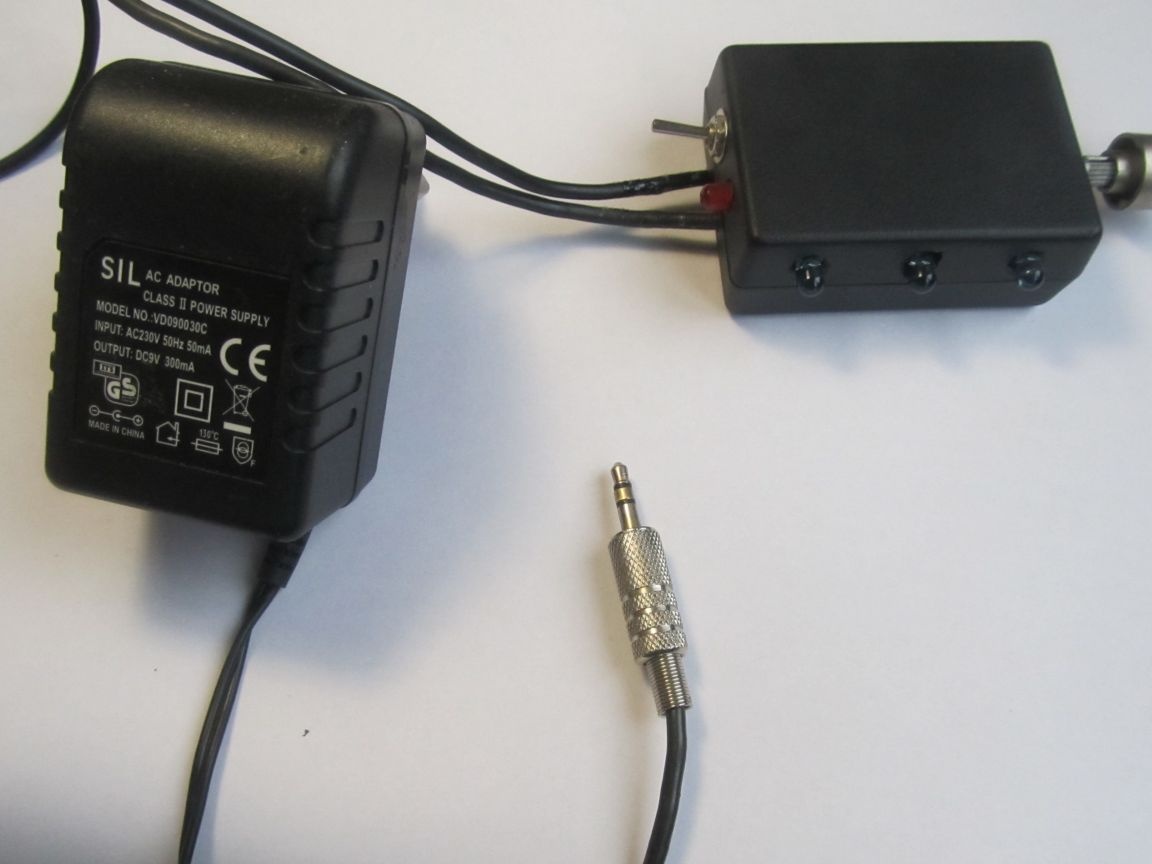
9V power supply
All is ready.To check the operability of the receiver, turn it on, connect the headphones, direct a simple remote control from the TV to it and press any button, clicks should be heard in the headphones, if there are any, then the receiver is working.
Well, as usual below the video of the device.