

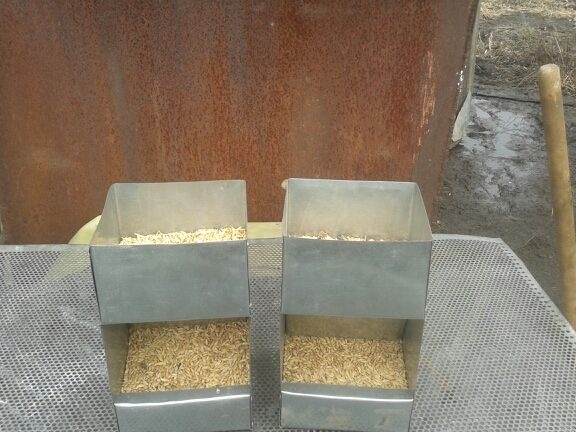
Hello dear the inhabitants of our site, as well as those who use the resources of this site. Today again I want to bring to your attention an automatic (bunker) feeder for eared rabbit pets. Today I will show how to make it from galvanized steel. The idea is not new, taken from the Internet. But the assembly process is too simplified there, so much remains behind the scenes, as well as the drawings that are indicated there do not always correspond to reality.
For assembly, we need such tools and accessories.
1. galvanized steel (or whatever else you have).
2. scissors for metal.
3. pliers.
4. riveting tool.
5. The rivets themselves.
6. screwdriver or drill.
7. ruler and marker to draw on metal.
8. hammer or mallet.
9. a small loop.
So, let's get started.
Step 1.
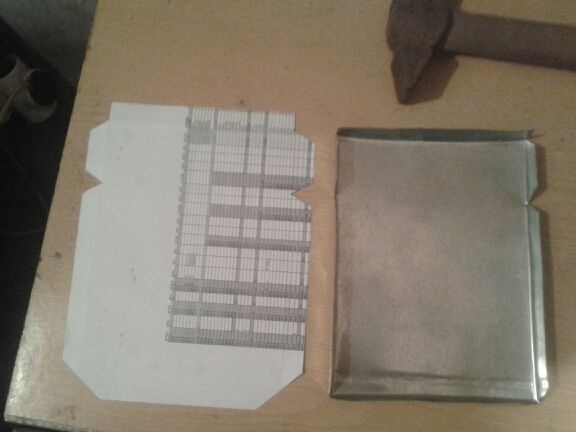
To start, I drew a pattern of the future feeding trough. Here is one:
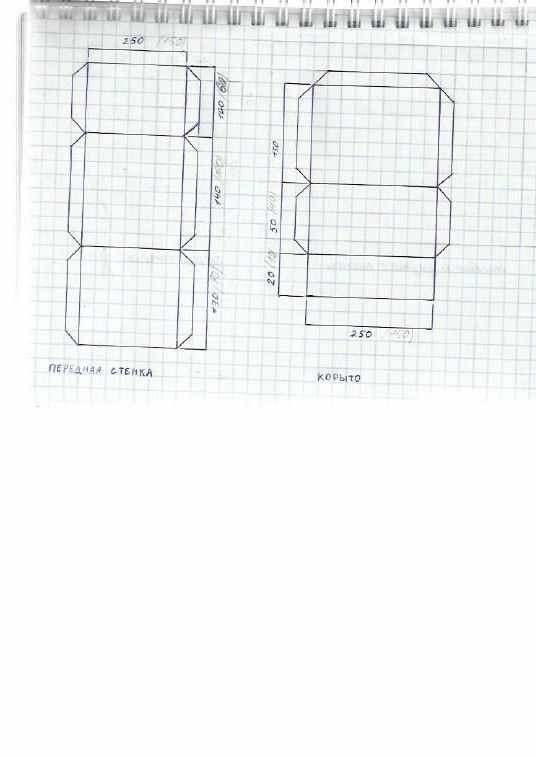
All dimensions indicated in this figure are true and are working. For them I did. Initially, this drawing was intended for a feeder with a volume of more than eight liters (the dimensions indicated by the handle are just for her). I did smaller in size (dimensions indicated by a simple pencil).
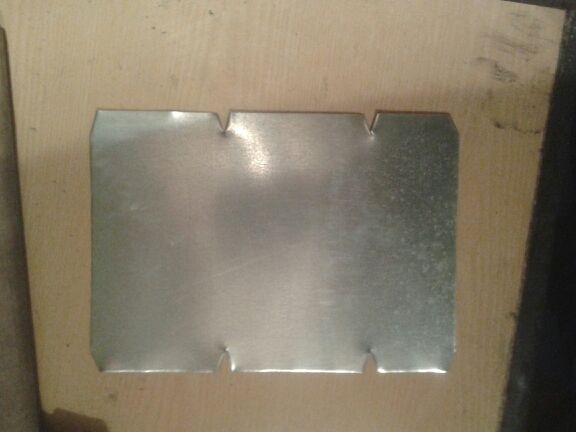
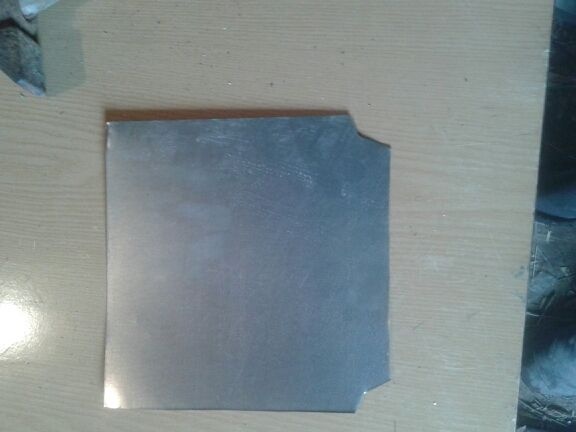
A galvanized steel sheet is taken. I have a thickness of 0.55 mm. Workpieces are marked. Cut them out.

Step 2
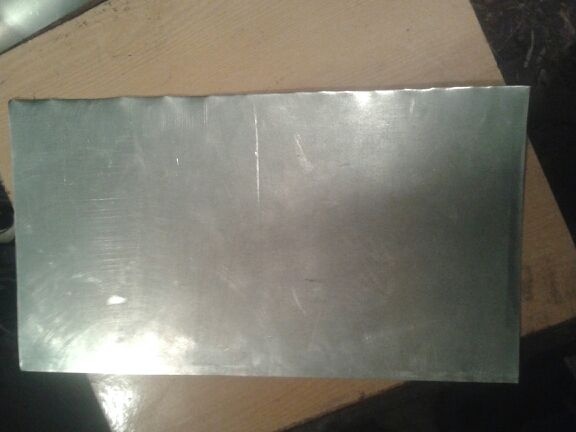
Now we take the blank of the front wall
On the cut, we begin to bend the edges for attachment to the base of the feeder. I used a small wooden plank and a hammer.
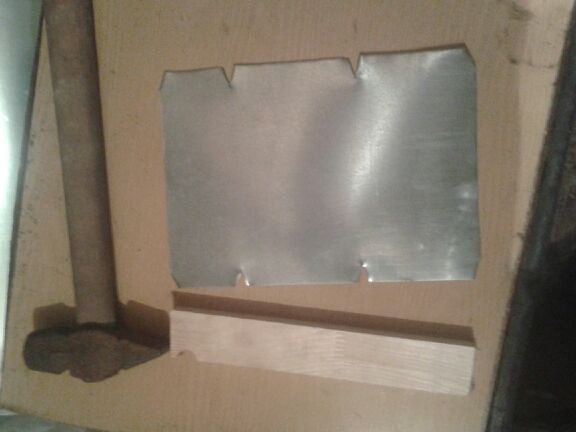
The result was such a blank.
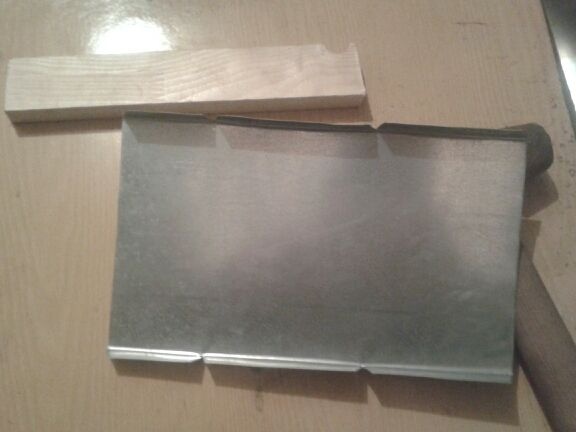
We bend both its parts in diametrically opposite sides, as shown in the photograph. On the Internet, they give advice to bend this workpiece at a certain angle, but in my opinion this is not advisable. Therefore, I did each feeding trough as it was convenient for me and the result from this is no worse than what was shown on the Internet. Here's what you should end up with:
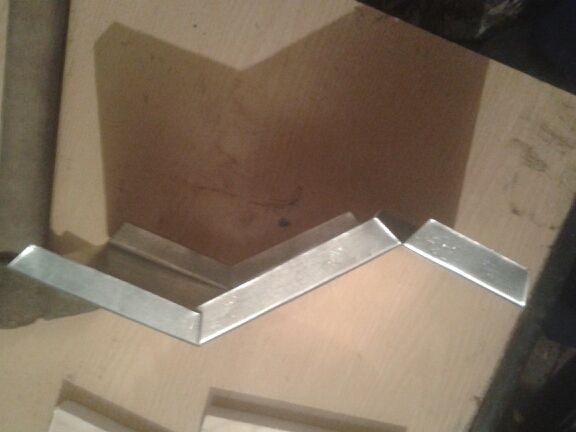
Step 3
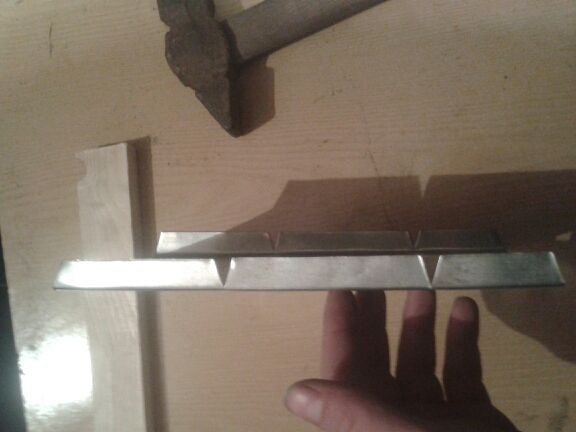
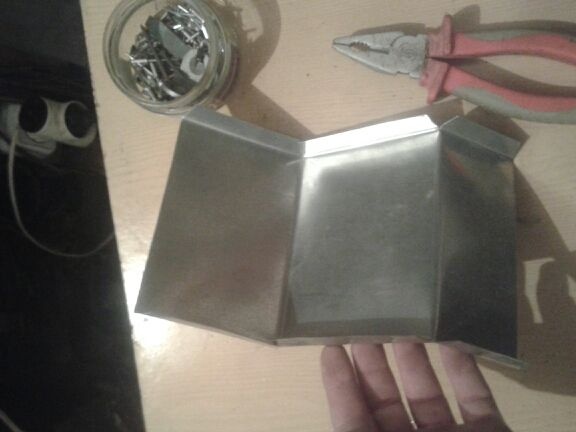
Now you need a blank tray (pallet) for feed.
We begin to bend it using the same tools as in the previous step. You should get a part resembling the letter G or a small box.
Step 4
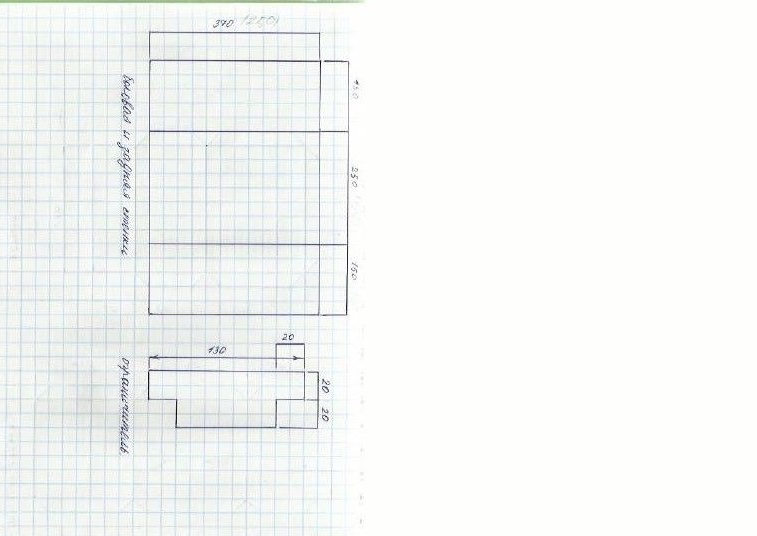
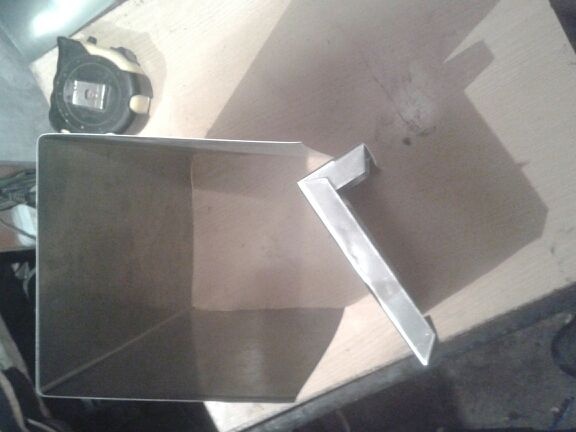
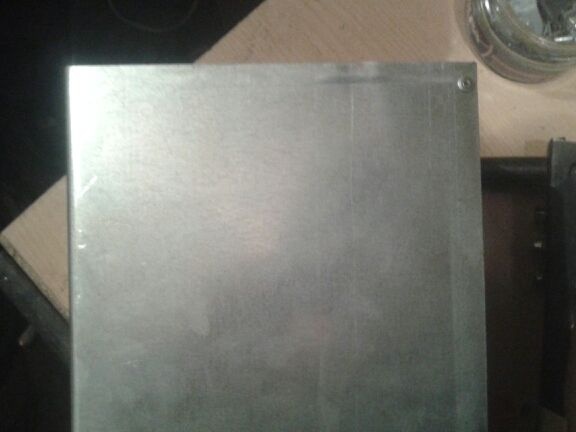
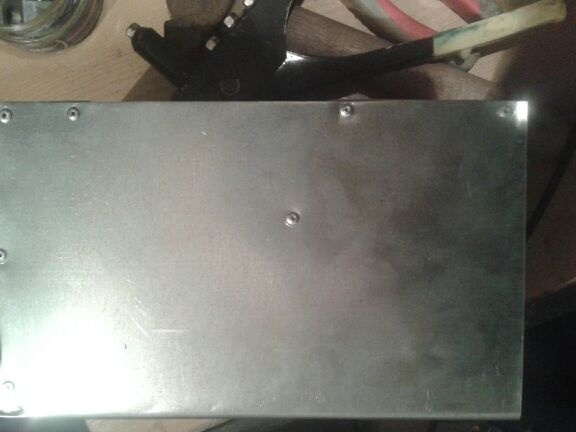
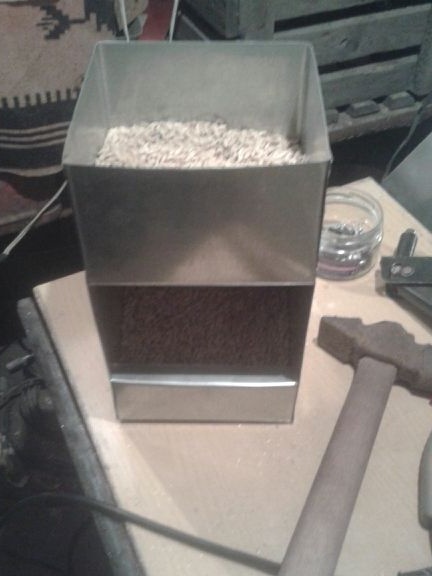
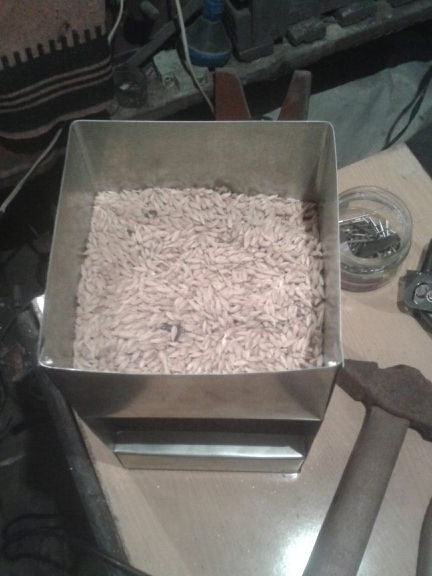
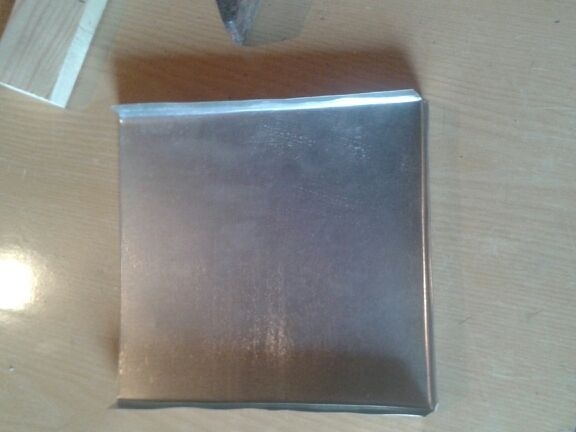
Now we take the basis of our feeder.
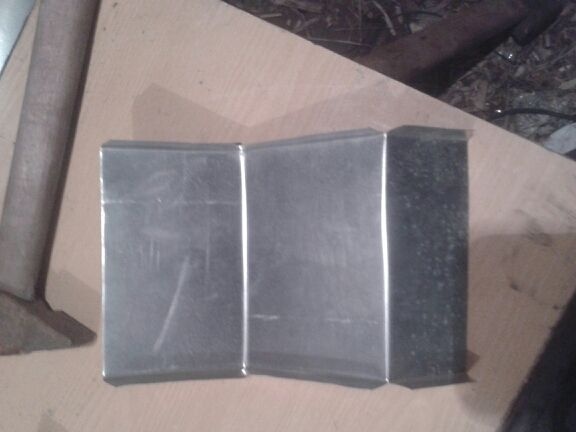
I have it sidewalls and a back wall of a feeding trough. The entire part has a length of 450 mm., And a width of 250 mm. All, as shown in the drawing, are pencil sizes. We mark the length into three identical parts, 150 mm long, and bend it. The result should be a detail resembling the letter P.


Step 5
Now that all of our workpieces are cut and bent as needed, the process of joining all the workpieces into a single structure begins. Determine the sequence as it suits you. In my case, the assembly begins with the feed pan and the base of the feeder.
To do this, I combine the feed pan with the bottom of the base and make holes for riveting.
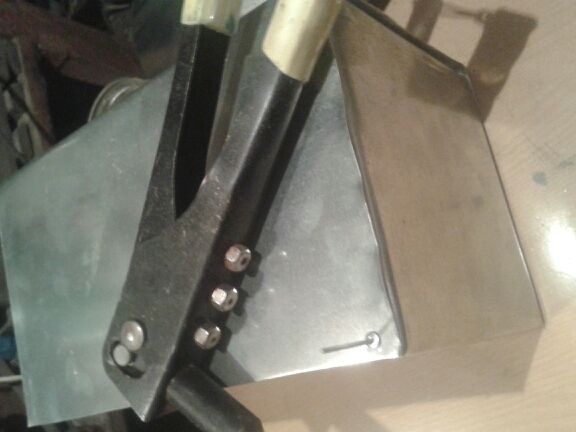
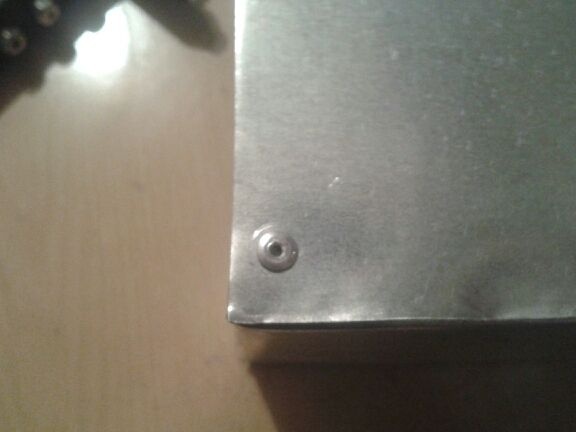
Using a clipper, I fix both parts together. I rivet the blanks in a circle.
Step 6
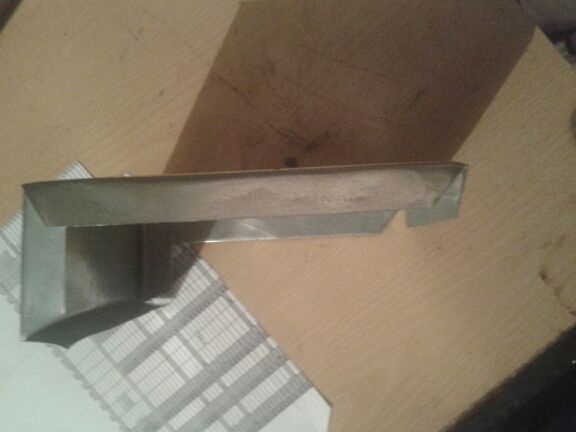
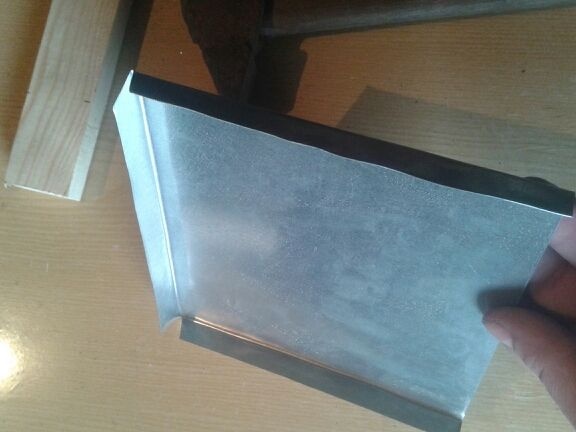
The next stage of assembly is the attachment to the base of the front wall of the feeder. This is the part that we bent in different directions.
We insert it into the workpiece and begin to rivet from the top, that is, from most of it. After you have rigidly fixed this part, you can determine and select the optimal hole width for you through which the feed will be poured using the fitting method.
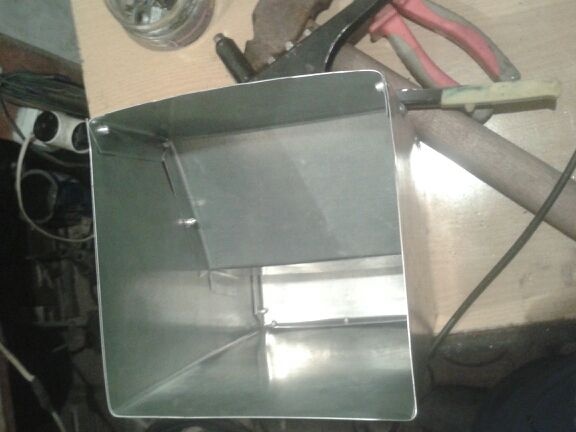
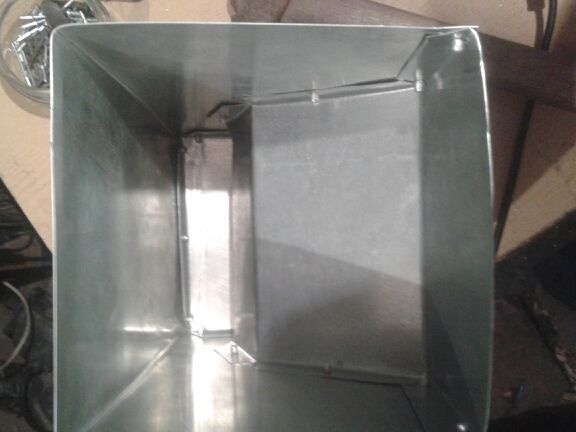
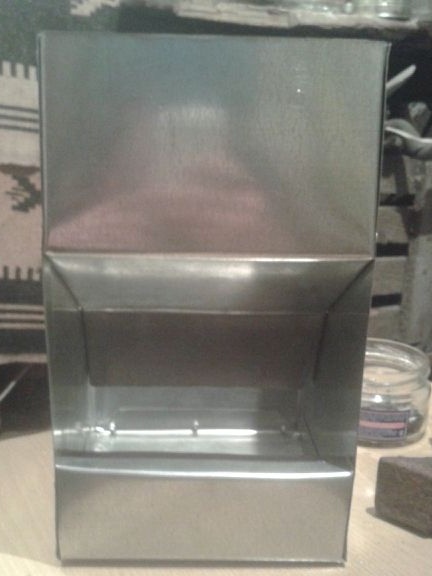
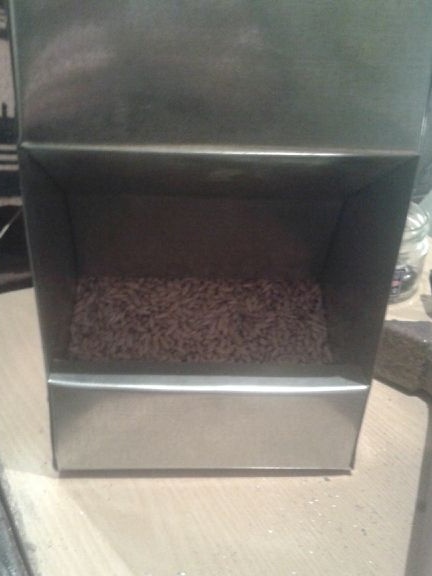
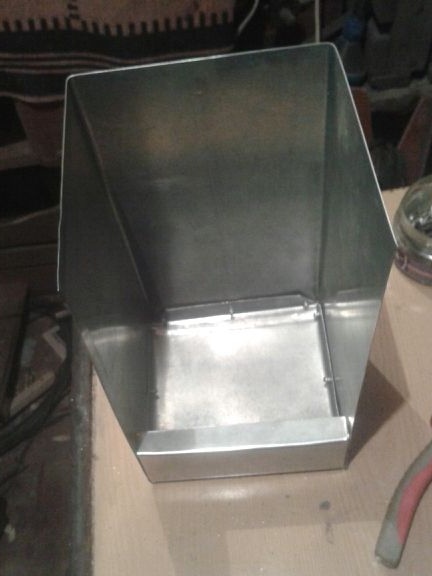
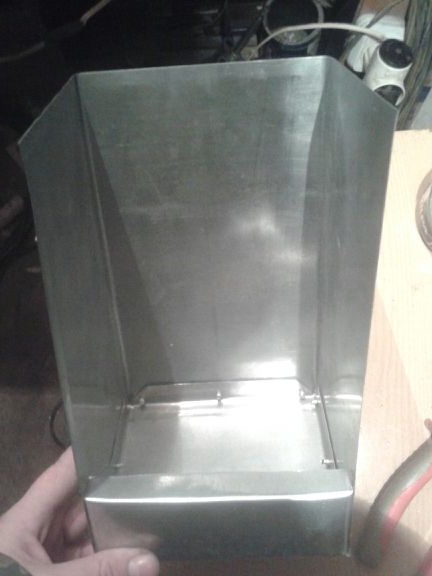
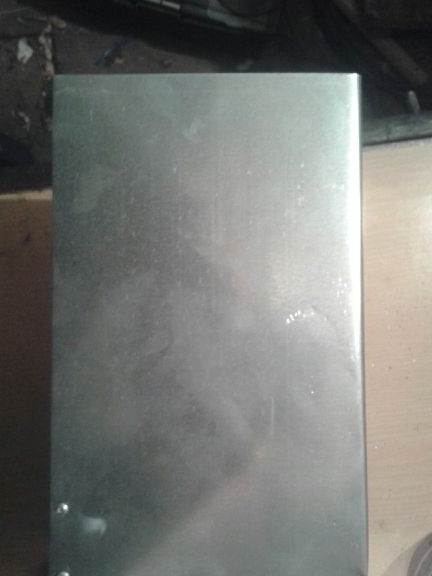
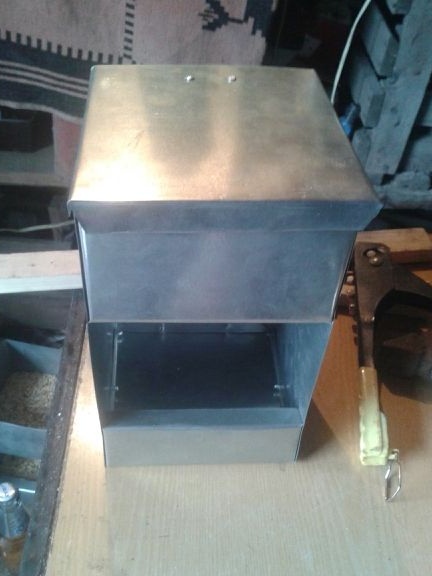
This is what we get as a result of our efforts.
I used rivets with a thickness of 3.5 mm., Thicker is not necessary.
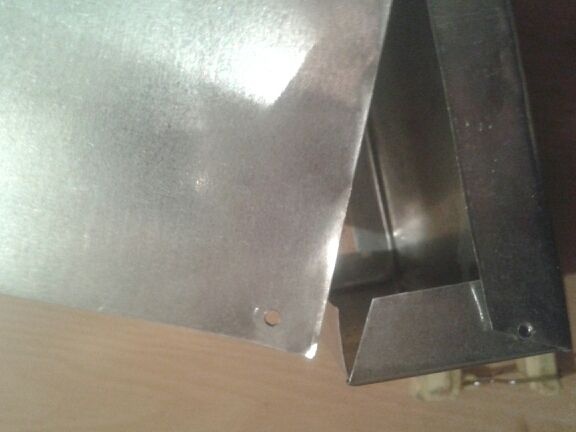
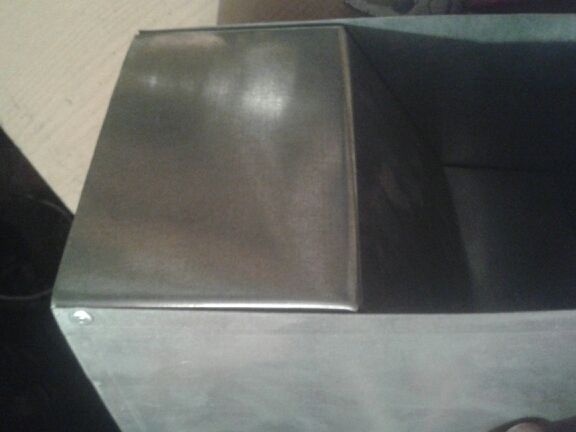
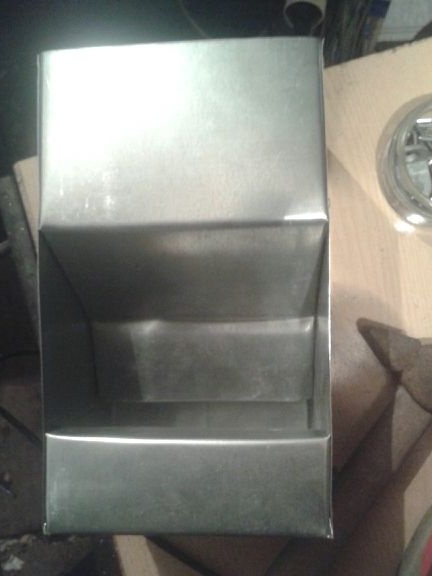
Step 7. Since I am going to use these feeders outside the cage, they will be mounted and will be mounted outside the cage in the open air, it is necessary to protect the feed from moisture. To do this, I made a small lid on the feeder.
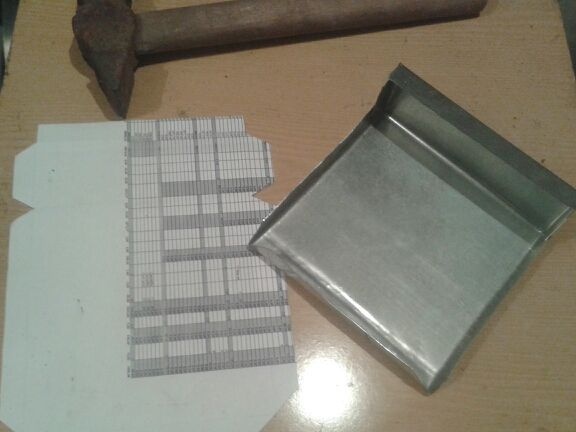
Cut galvanized blank cover
Bend the corners as shown in the photographs.
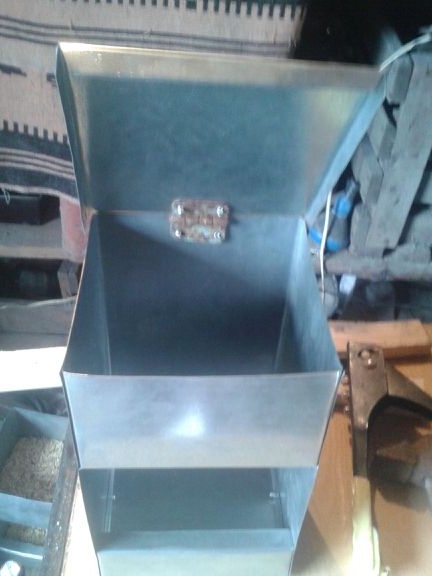
We mark on the cover the place where the loop will be attached.
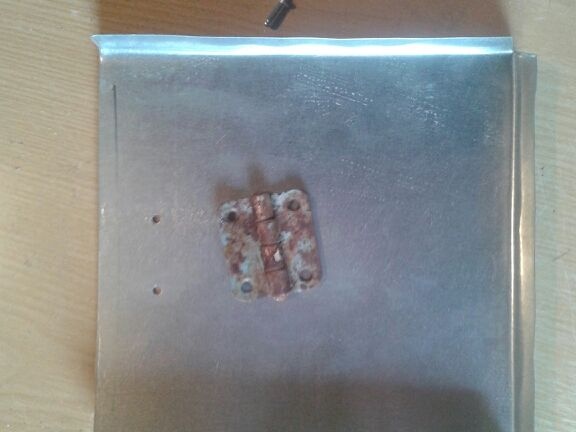
It is not necessary to fit the lid tightly to the feeder. And the loop needs to be fixed so that there is a small reserve for water flow. The cover to the feeder is also fastened with rivets. In the end, we get here such a wonderful thing that will save feed and prevent it from waking up from the feeder. And the limiter will not allow the rabbits to rake it.

By the way, the limiter is shown in the photo of the drawings. I did not begin to install it, since I selected the width for the feed pouring individually. Moreover, in such a feeder, he will limit the space inside the feeder. But if you need it, do it. It is suitable for both large and small construction. To whom it is difficult to draw myself, I can send scanned drawings of the pallet and front wall.
All the best, thank you for your attention.