


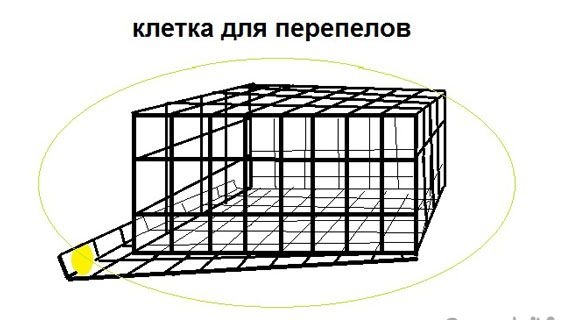
The correct quail cage is the key to the success of their maintenance, which means health and a lot of eggs.
I have been breeding quail for 10 years.
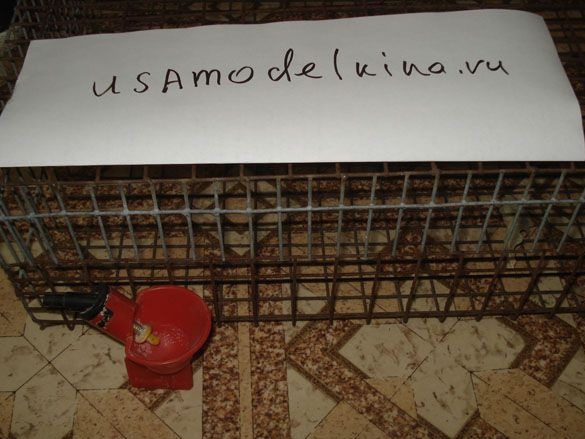
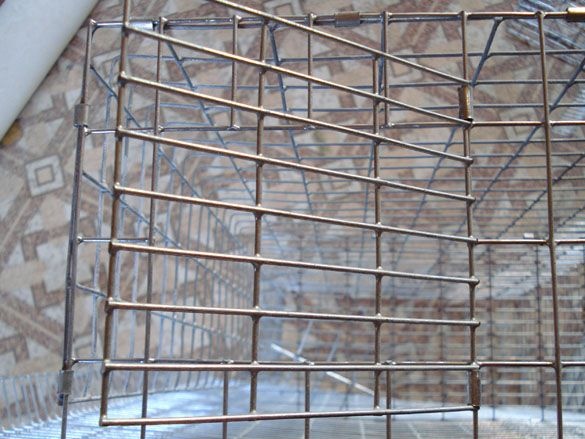
* at first such cells were obtained.
Whatever cells I had to invent and make, over time the best of the best practices was left.
Its advantage in everything, it is the material from which it is made, light and hard, does not rust, convenient for assembly in high batteries, two sections for two families, two drinking bowls, a common feeder, practically does not get dirty with feces.
Paragraph 1.
To make one two sectional cage for two families or 10 birds, we need:
• Galvanized welded wire mesh, cell 30 * 50 mm., With a roll width of 1000 mm., A cut = 1100 mm is needed. (you need to pay attention to the direction of the cells in the roll).
• Galvanized welded wire mesh, cell 10 * 50 mm., With a roll width of 1000 mm., A cut = 650 mm is needed.
• A small section of thin (0.3-0.5 mm) galvanized metal (for connection locks).
• Mounting profile for drywall 1 meter for one cage.
• Tape measure, marker, scissors for metal, small grinder, cutting disc 1-1.2 mm., Pliers.
Important! When buying a welded wire mesh, it is imperative to ensure that the starting edge of the measurement starts with a transverse wire and cut strictly after the same transverse wire, otherwise you need to add another length cell to the next cross-beam.
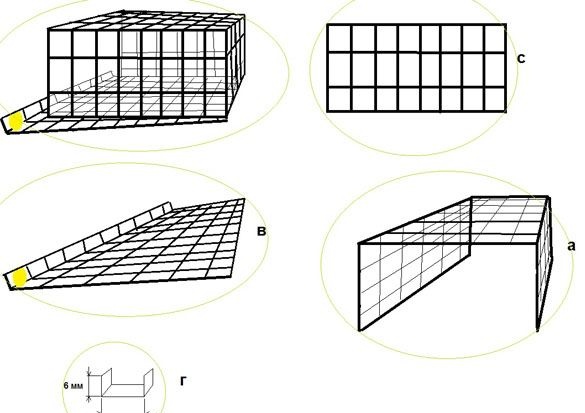
Fig. 1 The main elements of the cell.
For the main upper body of cell "a" we will use a mesh with a large cell, so that the head and neck of the quail easily fit into the cell, and the rest of the body does not pass. Therefore, the cell is 30 mm wide. the very thing that is necessary for an adult, for young animals under the age of 1 month, you need to use a cell with a width of 20-25 mm.
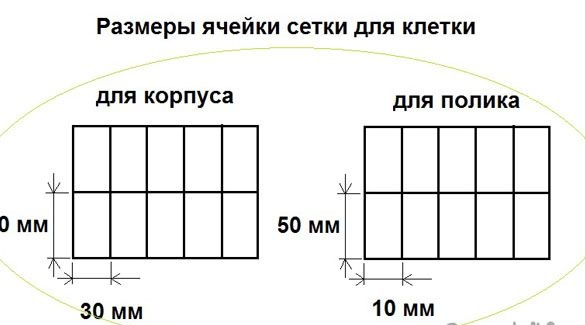
fig. 2 Dimensions of welded mesh for the cage.
We measure the mesh segment ~ 850 mm. from the initial cross-beam to the last cross-beam inclusively, we cut off the grinder along the cross-beam. From this piece we make the facade, top and rear of the hull, for this we need to make two bends at 90 degrees.
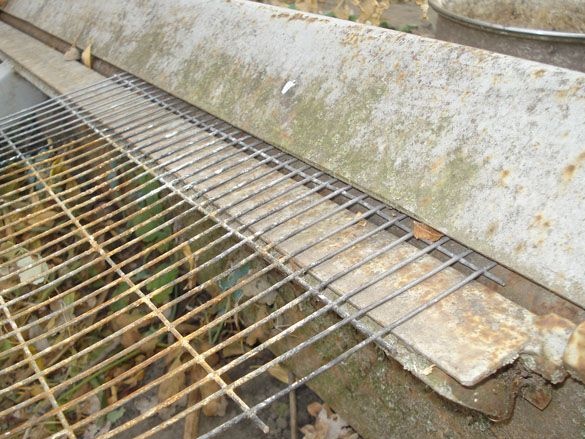
fig. The use of a homemade listogib.
For bending, it is correct to use a homemade sheet bending machine, if it is not there, then you will have to put a section of the grid at the corner of the table (workbench) and gradually, evenly bend the edge helping with light hammer blows, if you knock hard, the welding does not withstand and the wires fly off.
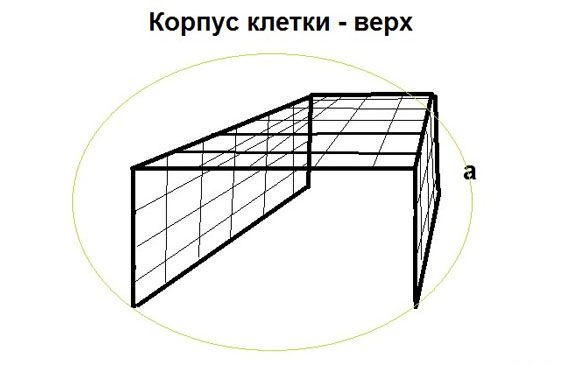
Figure 3. Cell body, detail "a"
For the facade of the cell, it is necessary to bend ~ 170 mm on one side of the mesh. (we get a gap for rolling eggs), for the back of the cage we bend ~ 200 mm., Everything else will be the ceiling. Such a small cell height is very important, because the quail bird is devoid of intelligence and constantly tries to jump (shoot) very sharply, which necessarily breaks its head into the blood, which with further cannibal inclinations leads to the death of the individual. And the small height of the ceiling makes it almost impossible for them to raise their heads to their full height, or even jump.
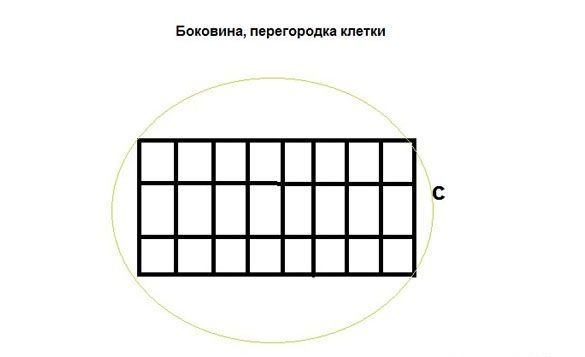
Figure 4. Partition, part "c".
Three rectangles (partitions), ~ 200 * 480 mm in size, must be cut out of the remaining part of the grid. These will be two lateral outer walls and one inner partition.
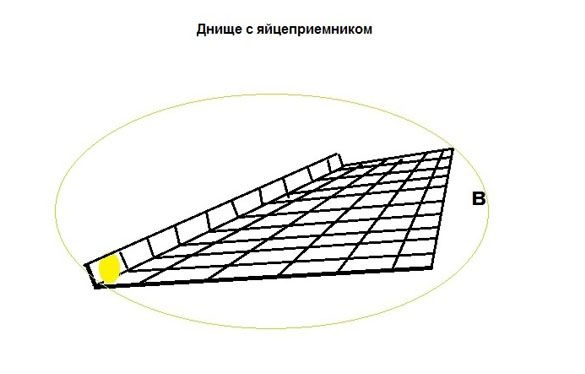
Figure 5. Floor, detail “c”.
To make a floor with an egg receiver (tray), you need to use a grid with a small cell so that the egg and paws of the bird do not fail, and the feces, on the contrary, fail without getting stuck. Grid with a cell 10 * 50 mm. or 10 * 20 mm. most suitable for this.
Here you need to make only one bend of 50 mm. from the edge, a small limiter for eggs, so as not to fall to the floor.

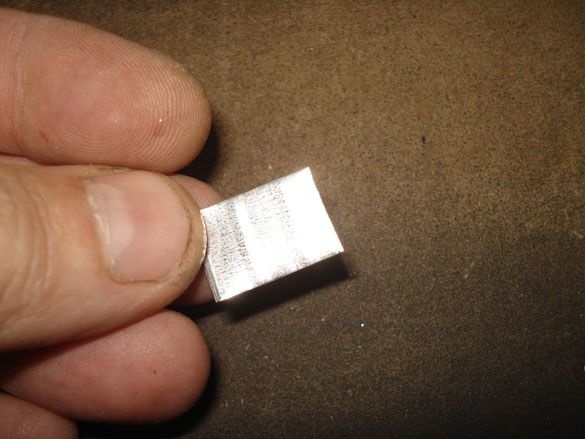
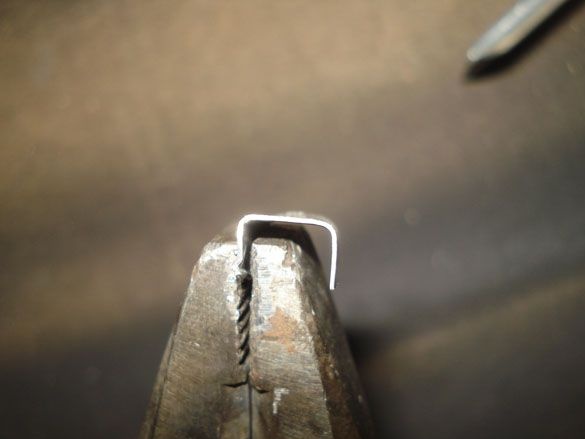
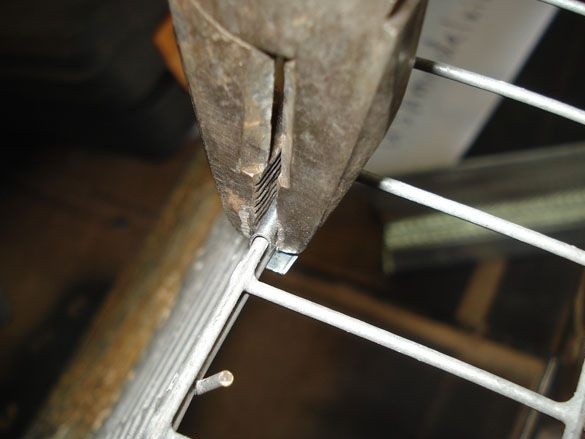
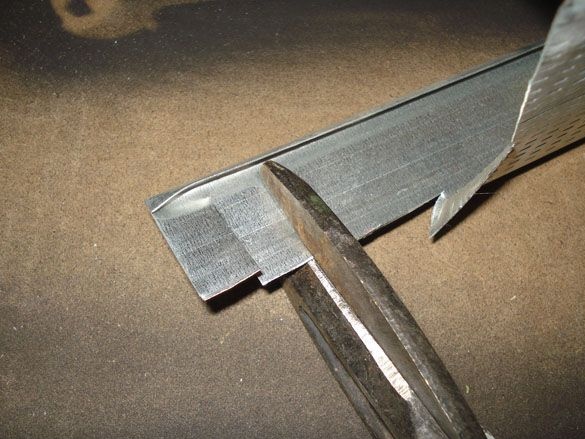
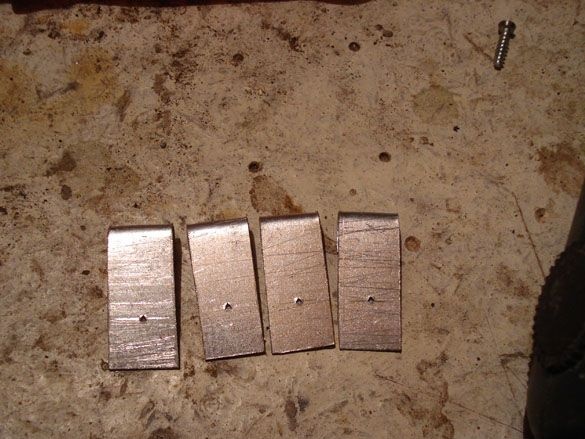
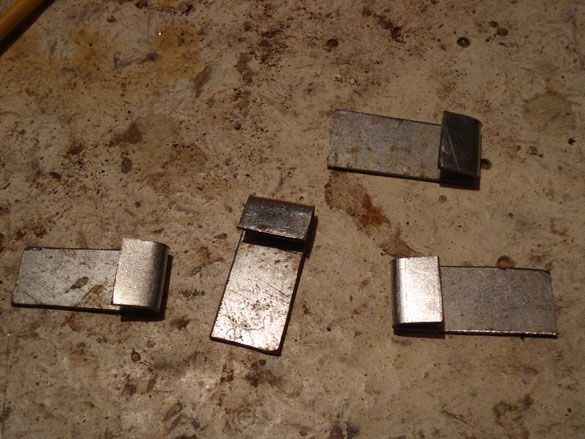
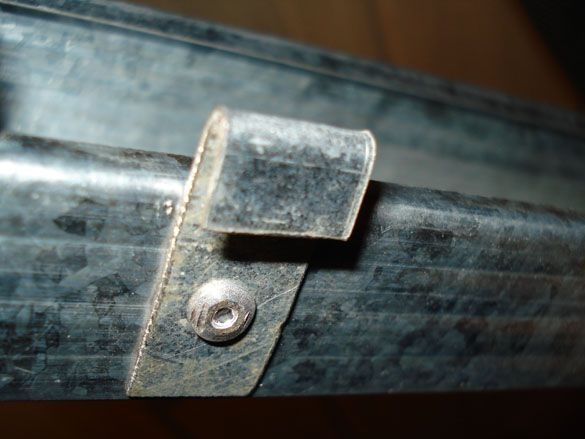
rice 6. Bracket lock "g".
Fastening brackets are made of thin galvanized sheet. We cut the strips in accordance with the dimensions from the figure and bend the pliers on both sides, we get a "P" shaped bracket.

Point 2.
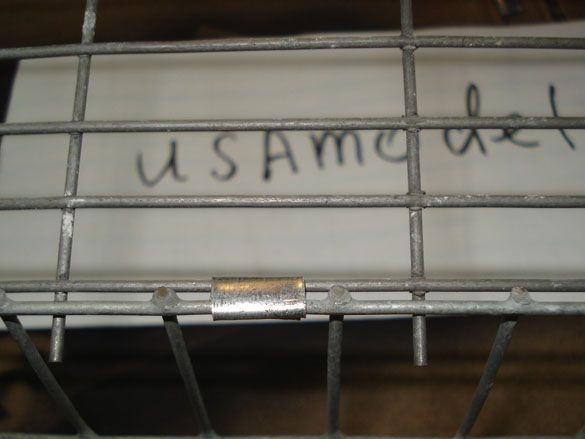
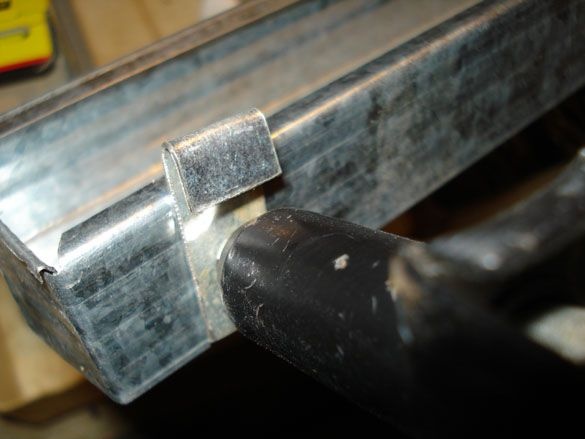
Figure 7. Fastening elements with brackets.
We assemble the cage, take the upper part “a”, lay the sides up, attach the outer side wall “c” and use the staple “g” and pliers to fasten the lowest mesh cell, put the next bracket through one cell and so on until the end of the joint. Then we set the middle partition in the middle and attach it in the same way, then the last side. An initial cell stiffness has already appeared.
We attach the floor, correctly positioning the bend of the limiter, fasten with brackets along the back wall, then along the side and middle partitions.
In both side walls, with a grinder, cut out through the hole for the doors, ~ 150 mm in size. height, ~ 120 mm. width, cut inward from the wire. From the remnants of any unused mesh, we cut out the doors themselves, of the same size, just out of the wire. We fix the doors to two brackets, as on awnings.
Point 3.
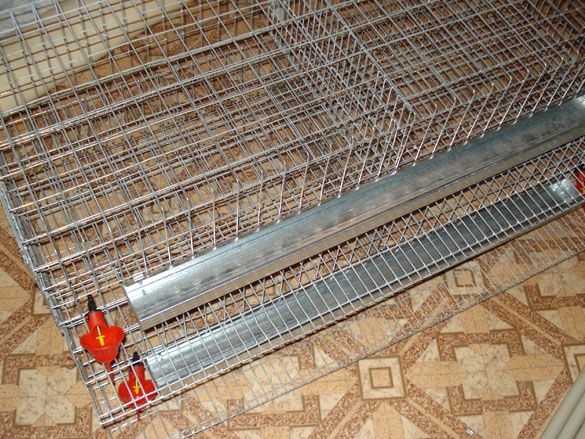
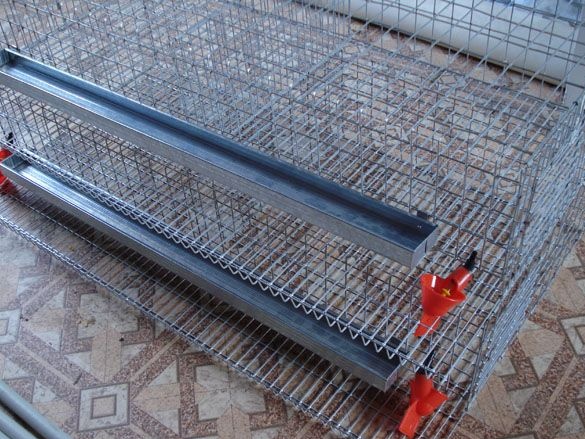
The cage is ready, it remains to make a feeder.
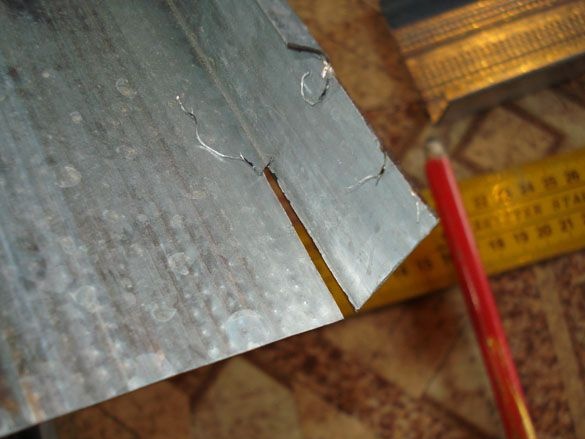
We will make a feeding trough from a meter-long piece of profile, first we make cuts in the corners equal to profile height + 5 mm.
We bend inward the middle at a right angle.
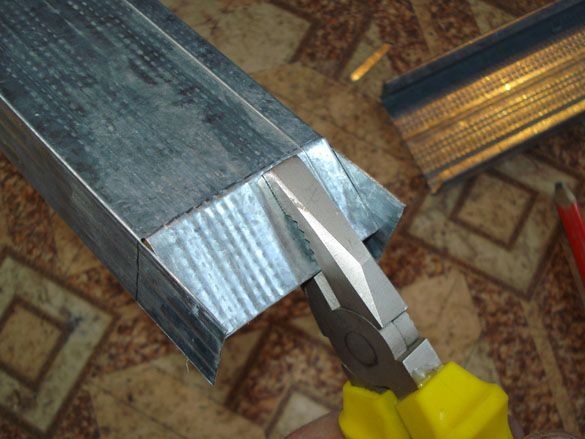
We bend the side petals.
We bend the upper ledge, clamp it with pliers.
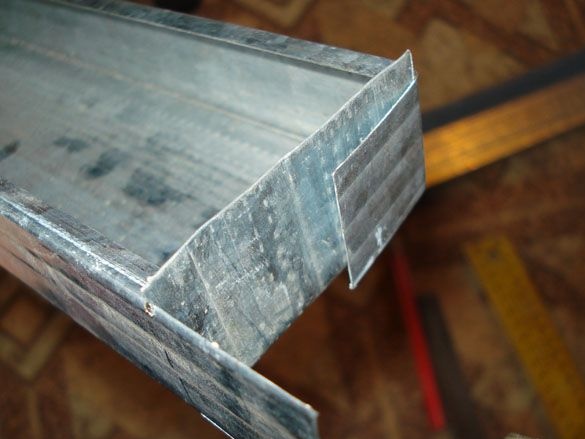
From galvanizing we will make ears for attaching the feeder to the cage.

We measure the distance between the distant cells on the facade of the cell where the feeder will be hung. We drill holes for the rivet in these sizes and rivet the fasteners into place.

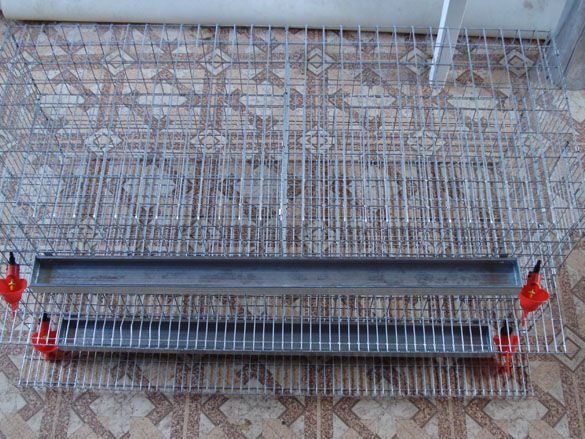
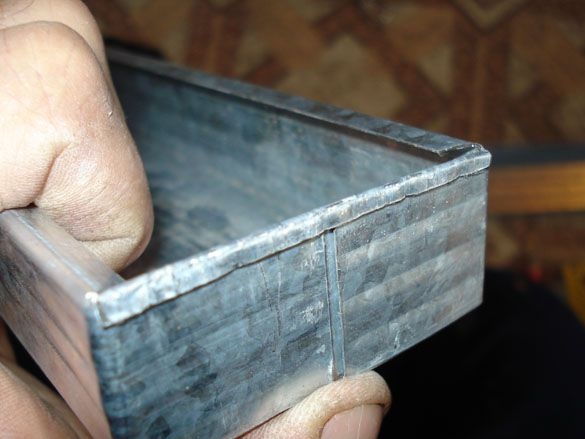
The feeder is ready, the edges of the profile bent into the inside, are very handy and well protect the food from spilling, because quail love to scatter food strongly with their beak while eating.
It remains to install one drinker per section, fix the cage on the wall with two nails or screws, bring the tubes with water. A quail cage under its own weight will take the correct sag and the laid egg immediately rolls out from under the feet into the receiving tray, which will save it from biting and pollution.