
It is entirely in your power to build a carpentry machine yourself, because this, in addition to the fact that a very useful little thing will appear in your household, is also a valuable experience, so to speak, advanced training. And if you can cope with the carpentry machine, then there will be no sense in doubting the success of your further endeavors.
Note that the main condition of any kind of machine is precisely the functionality that should be put forward in the first place with the hand-made production of a workbench. Behind it should be as convenient and easy as possible.
I would also like to note that not in all cases it makes sense to build a monolithic structure. Often, a person doesn’t have enough space, so even at the preparatory stage you should find out whether the workbench will move, or whether it is installed forever. If you dismantle it, then it will take up much less space.
So our author decided to make the garage workbench for carpentry do it yourself from material available to the owner
So now, let's take a close look at how the author performed this work, and what he needed for this.
Materials: board 30 mm, timber, screws, nails, chipboard.
Instruments: hacksaw, hammer, screwdriver, ruler, tape measure, plane, level.
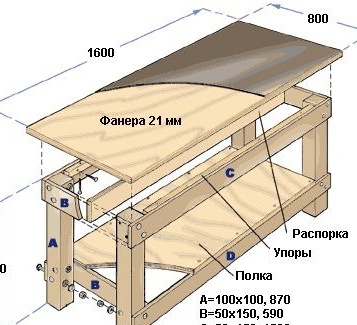
And so, first, the author gives us a familiarity diagram of a workbench.
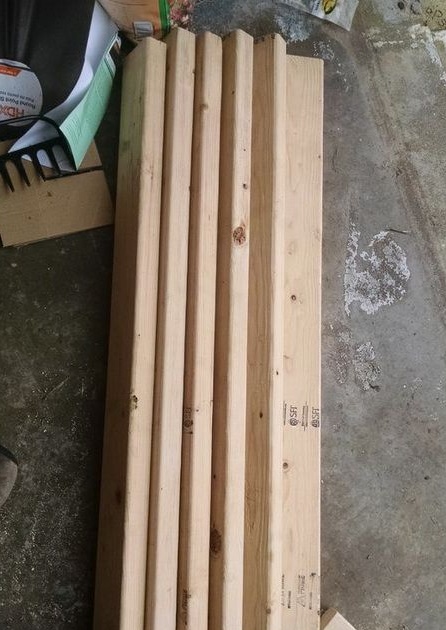
Then prepares the material
And he starts to work on creating a workbench, first made a blank for the future countertop.
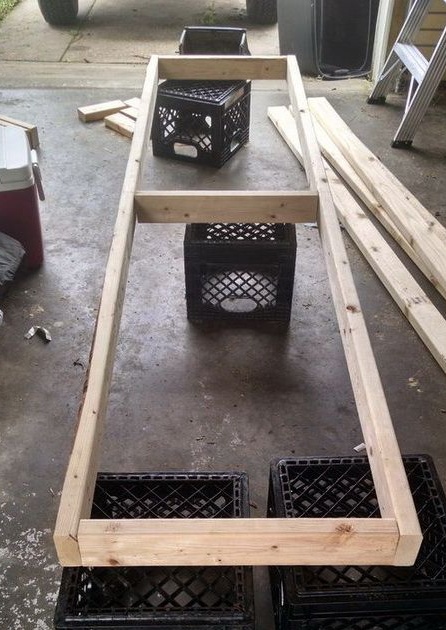
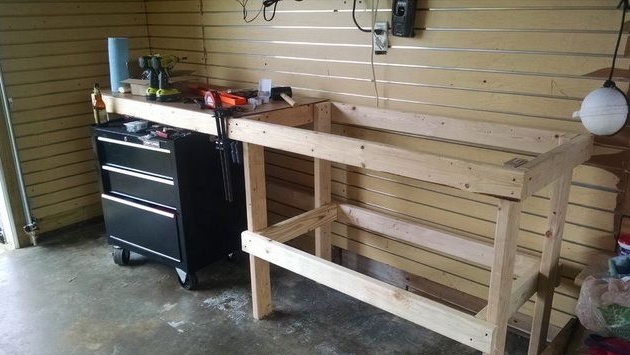
Then the foundation was made.
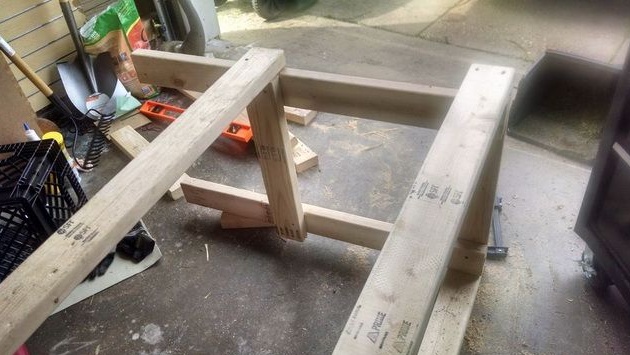
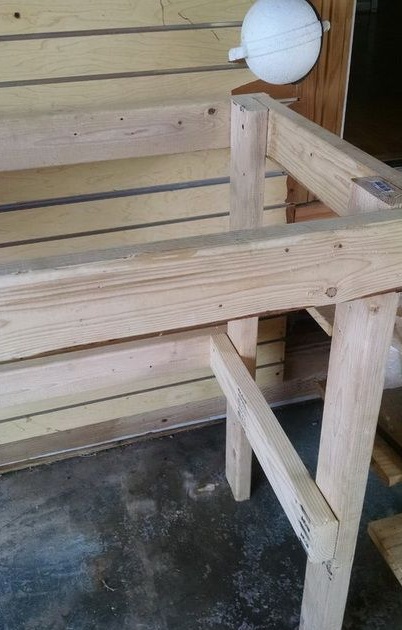
This is how the legs of the workbench are attached in this way.
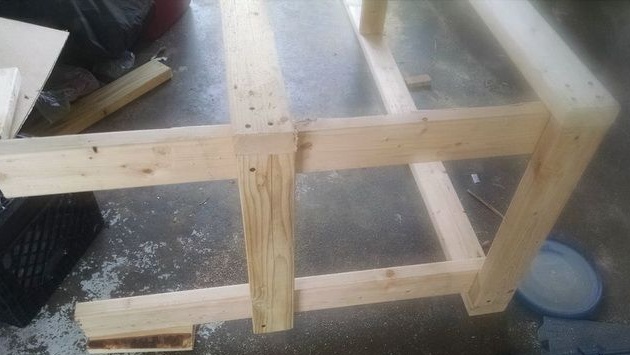
He puts on his feet.
In order for the workbench to be level it is necessary to measure out its level and correct irregularities.
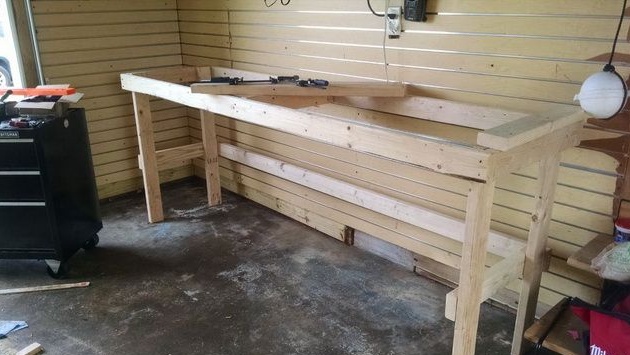
Further, the author puts in the future his place, for visual fitting.
Then he cuts the countertop in size.

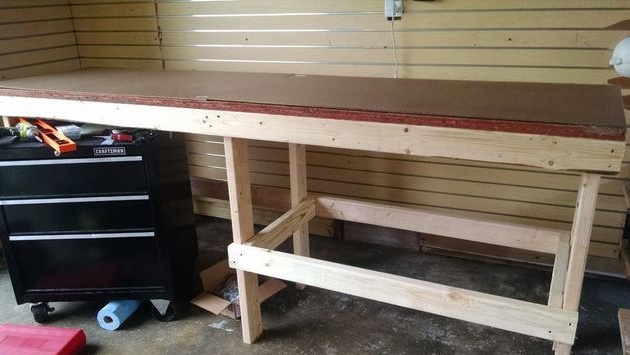
Sets the countertop to its rightful place.

And now the DIY workbench is ready for the garage.
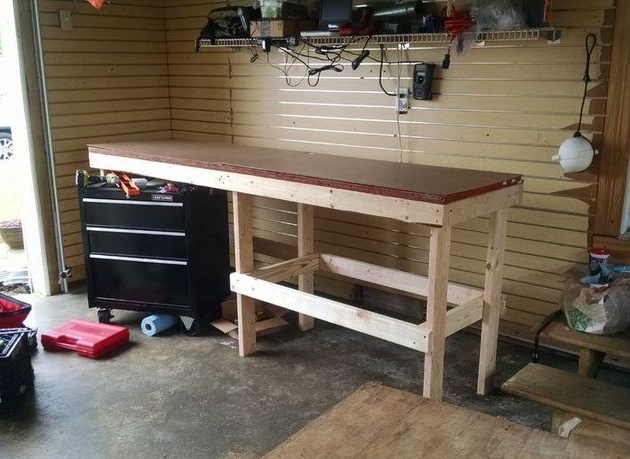
Now the author in the garage has an excellent home-made workbench that will facilitate the work of his master. As can be seen from this article, this thing can be done with ease yourself, only you need to make an effort.