


Good day, dear friends. Once again, I replenish the topic of rabbit breeding with my photo report on the construction of various devices for this type of animal husbandry. Since rabbits are very fast-growing and fast-breeding animals, I constantly have a very acute question about their placement. I made both ordinary cells and cells from old cabinets, which I wrote about on this site and posted reports. Today I want to bring to your attention a three-section cage with a place for maternity wards for rabbits or young animals. This cage will stand on the street all year round, since I no longer have space in the utility rooms. The fact that the cell will consist of mesh partitions is okay. In the autumn-winter period, I will cover the walls with silver insulation. The option is proven, repeatedly in this way insulated rabbit houses. Well, of course, queen cells will also be insulated, as newborns have very tender animals. The cage that I will show you is inexpensive enough to manufacture. I spent 915 rubles on its construction and purchase. But this is taking into account the fact that the grid was in my household and I did not spend money on its purchase. And if with a purchased net, then a total of 1570 rubles will be spent. As you can see, the budget option, because for that kind of money you won’t even buy one cell, not to mention a cell with three sections. In online stores, they cost from three and above thousand. This is a single section.
For the manufacture I needed the following materials and tools:
drywall profiles, a grid with a small cell for walls and partitions, a grid with large openings for the floor, a sheet of 6 mm plywood, a drill, a grinder with a cutting and flap discs, a drill, a drill for 4 mm metal, a rivet and some others tools that are likely to be found in your household if you decide to build this housing.
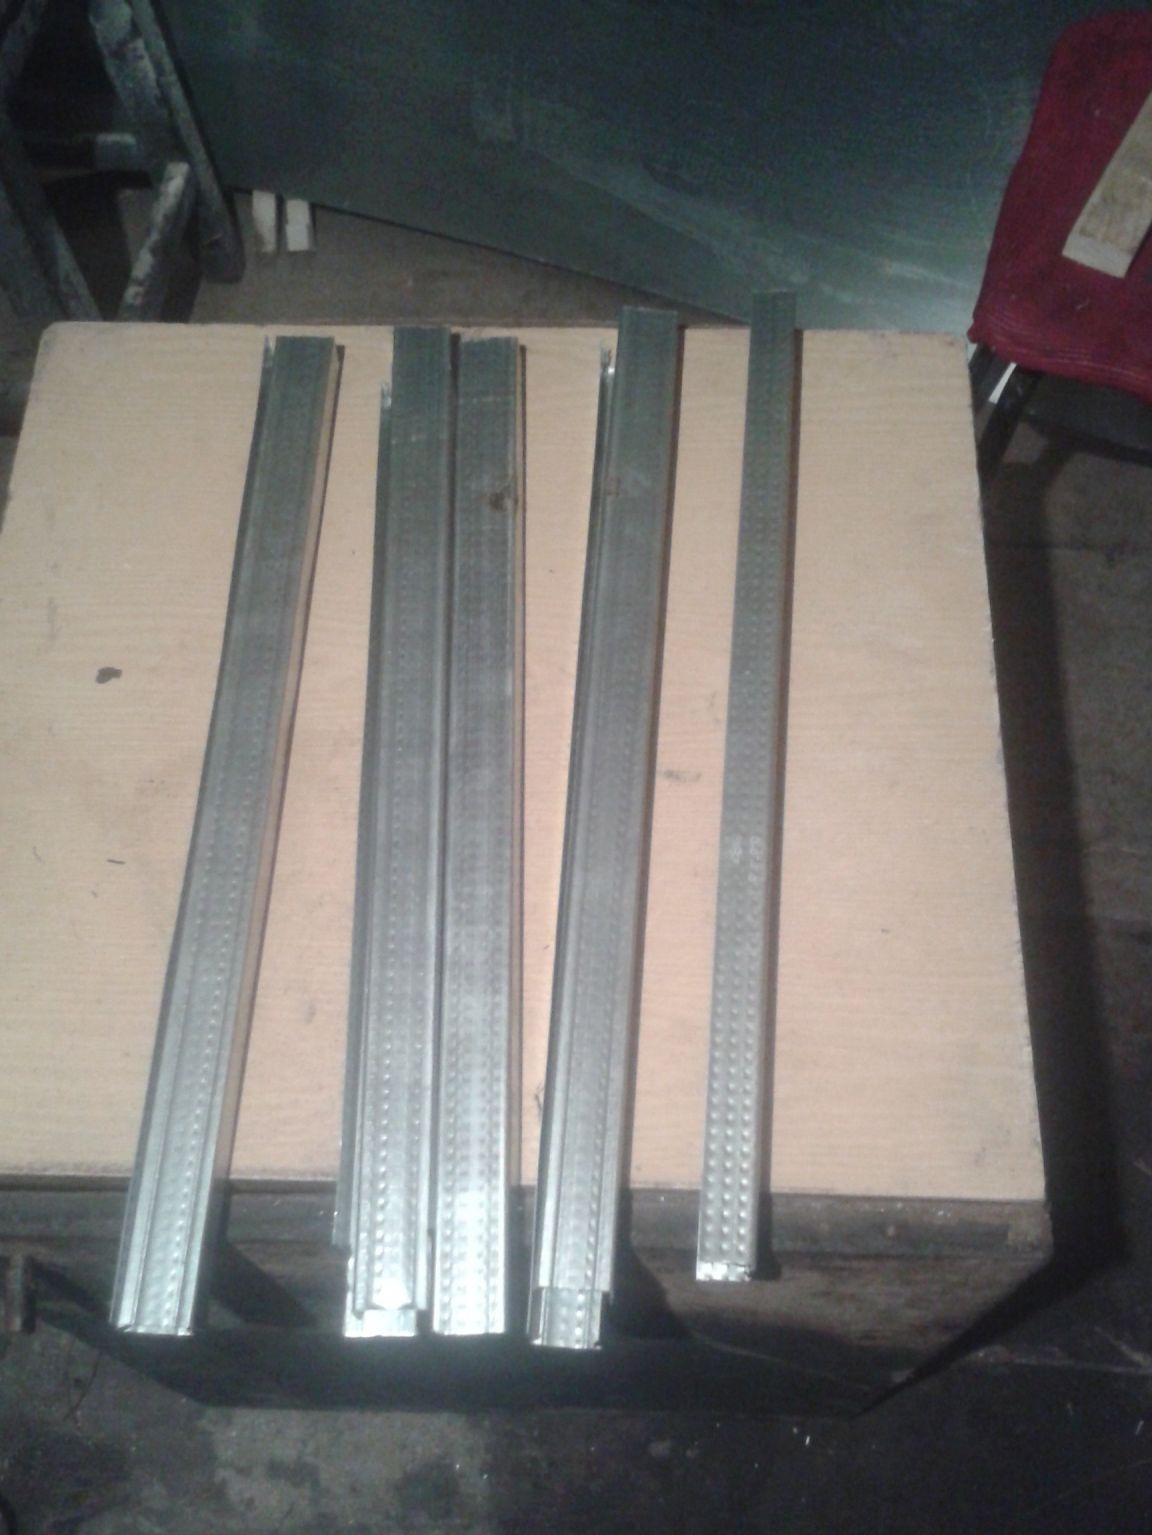
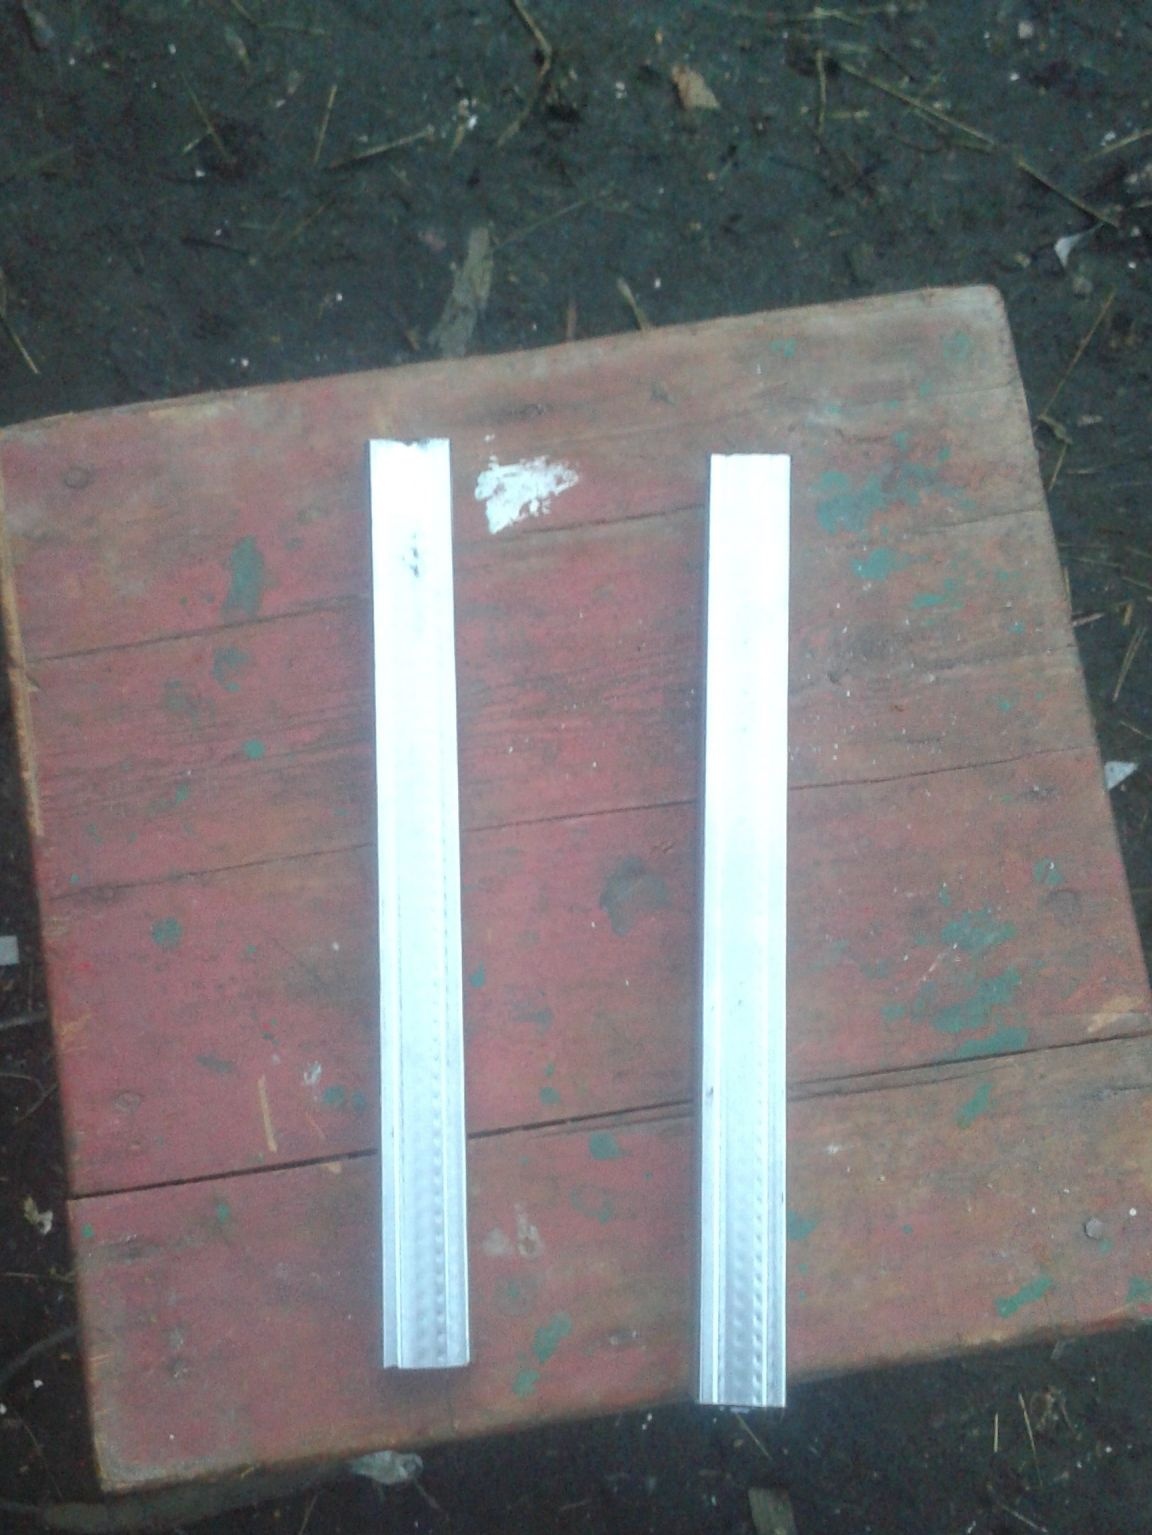
I bought a profile, the cheapest. A frame will be made of it.
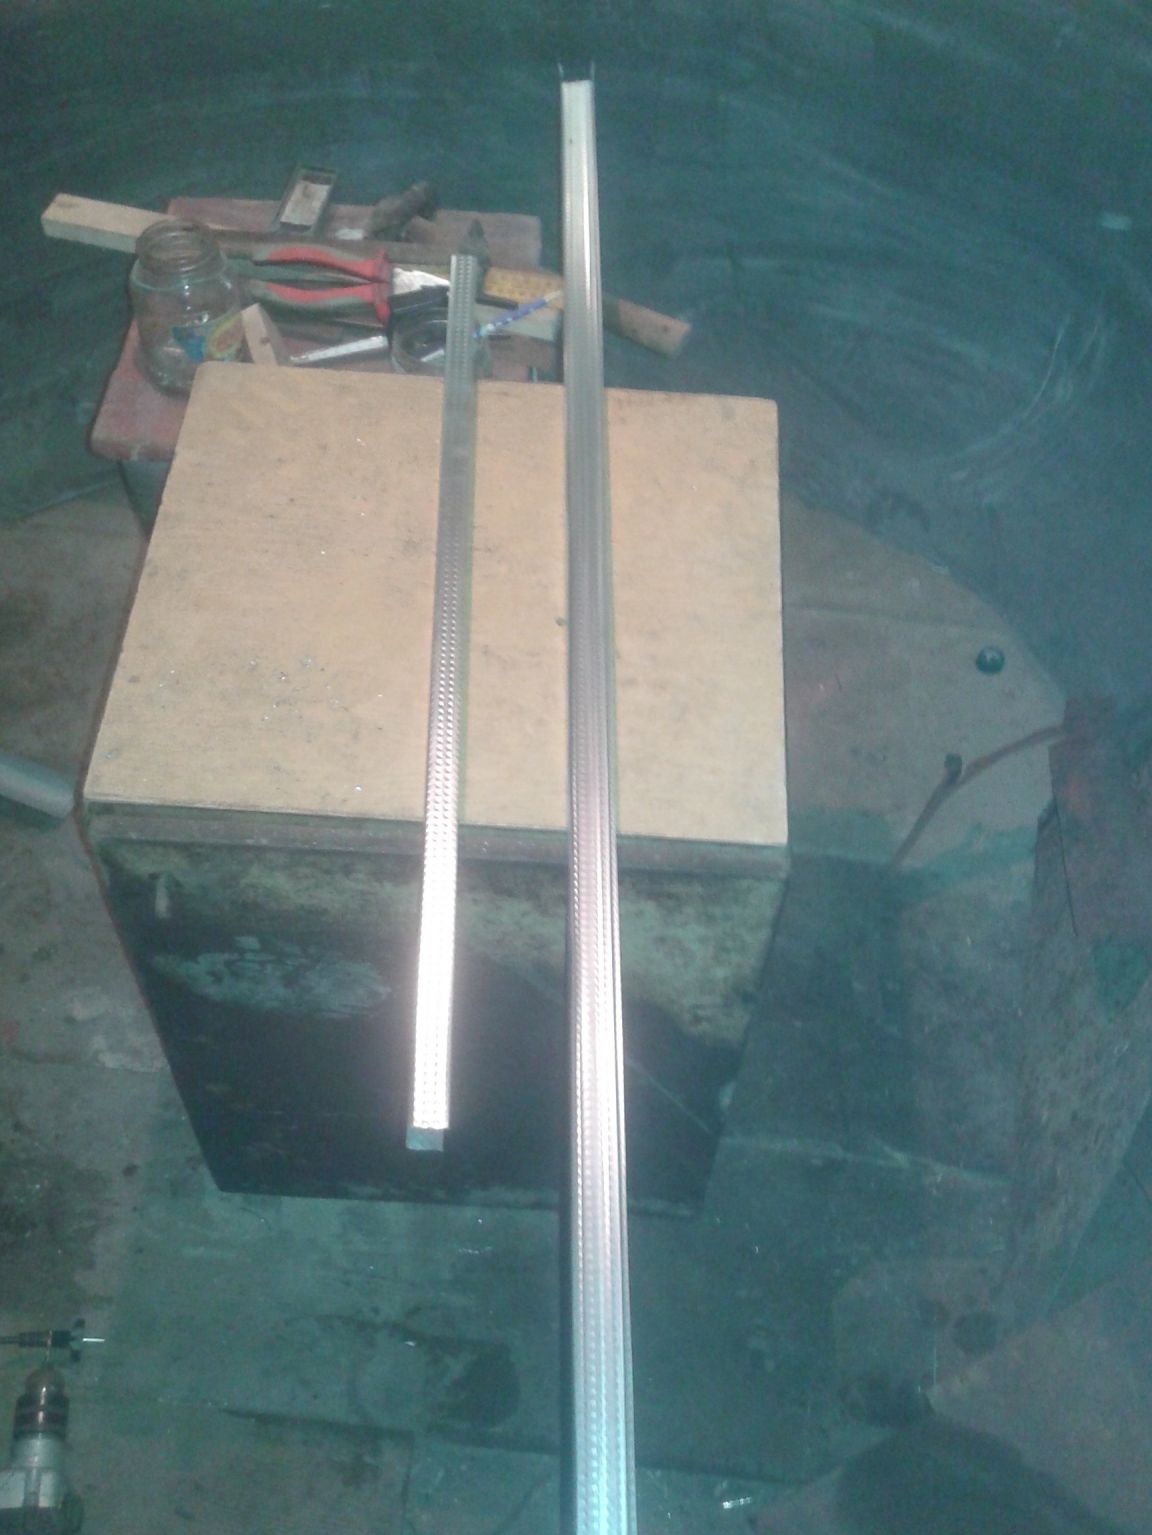
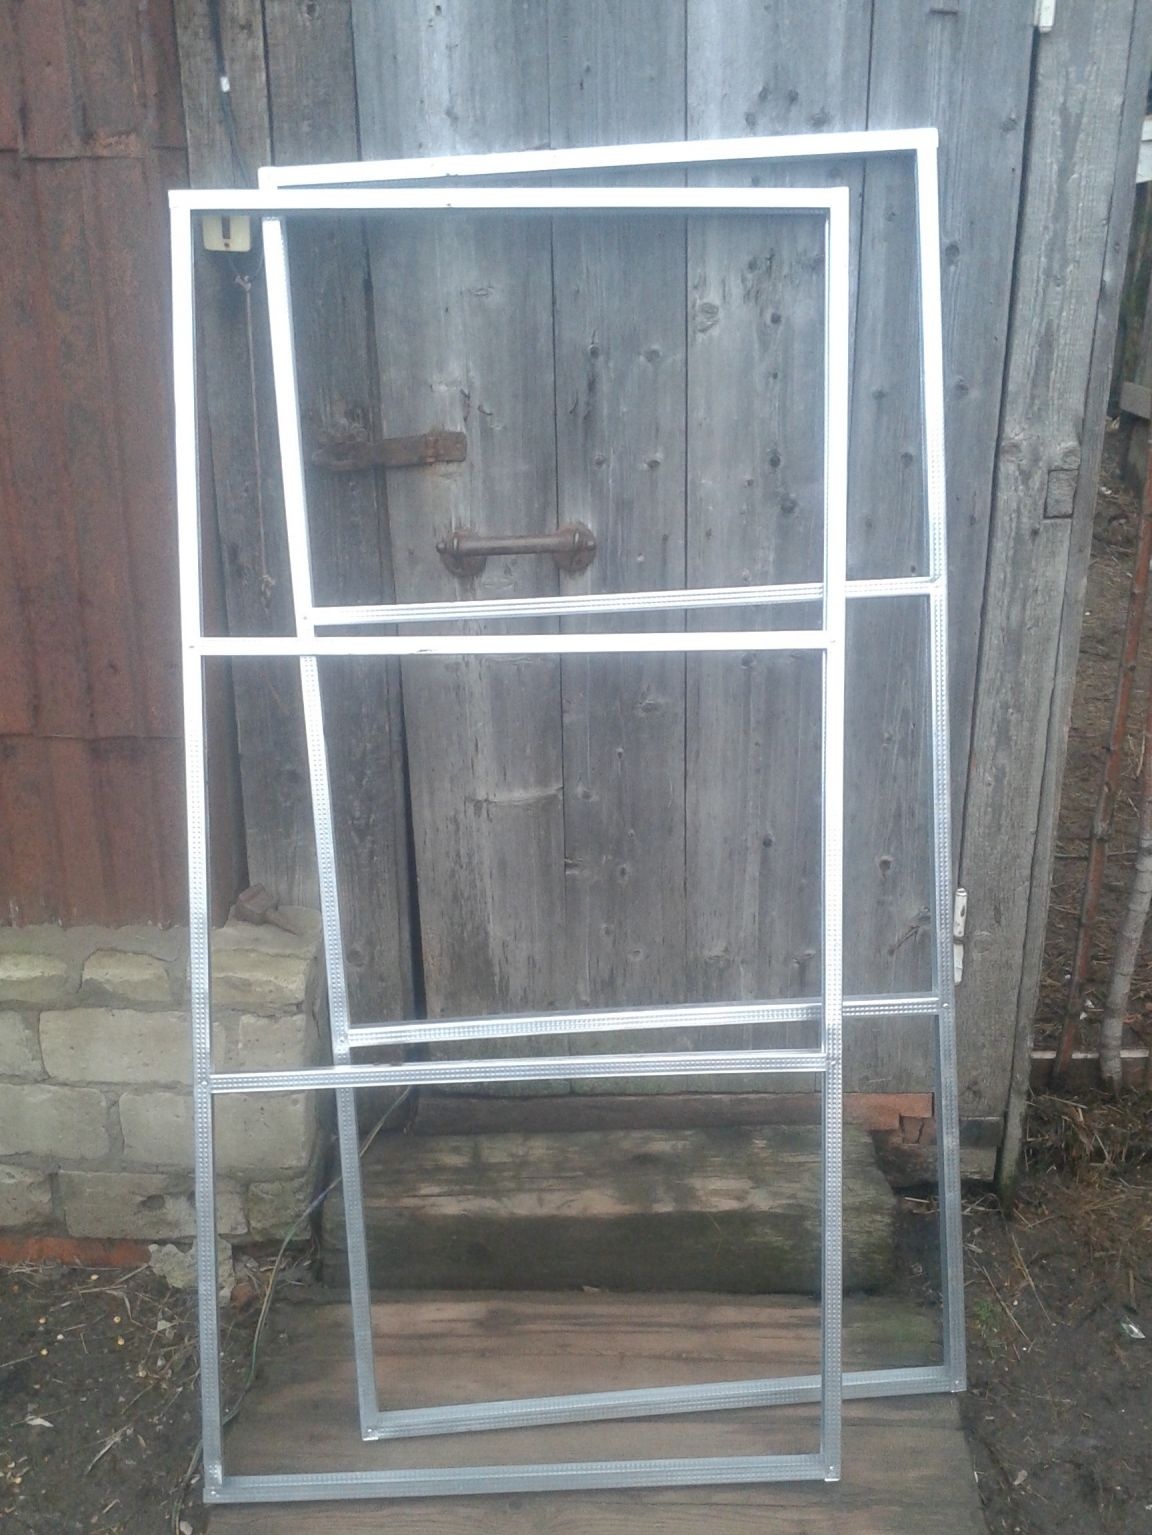
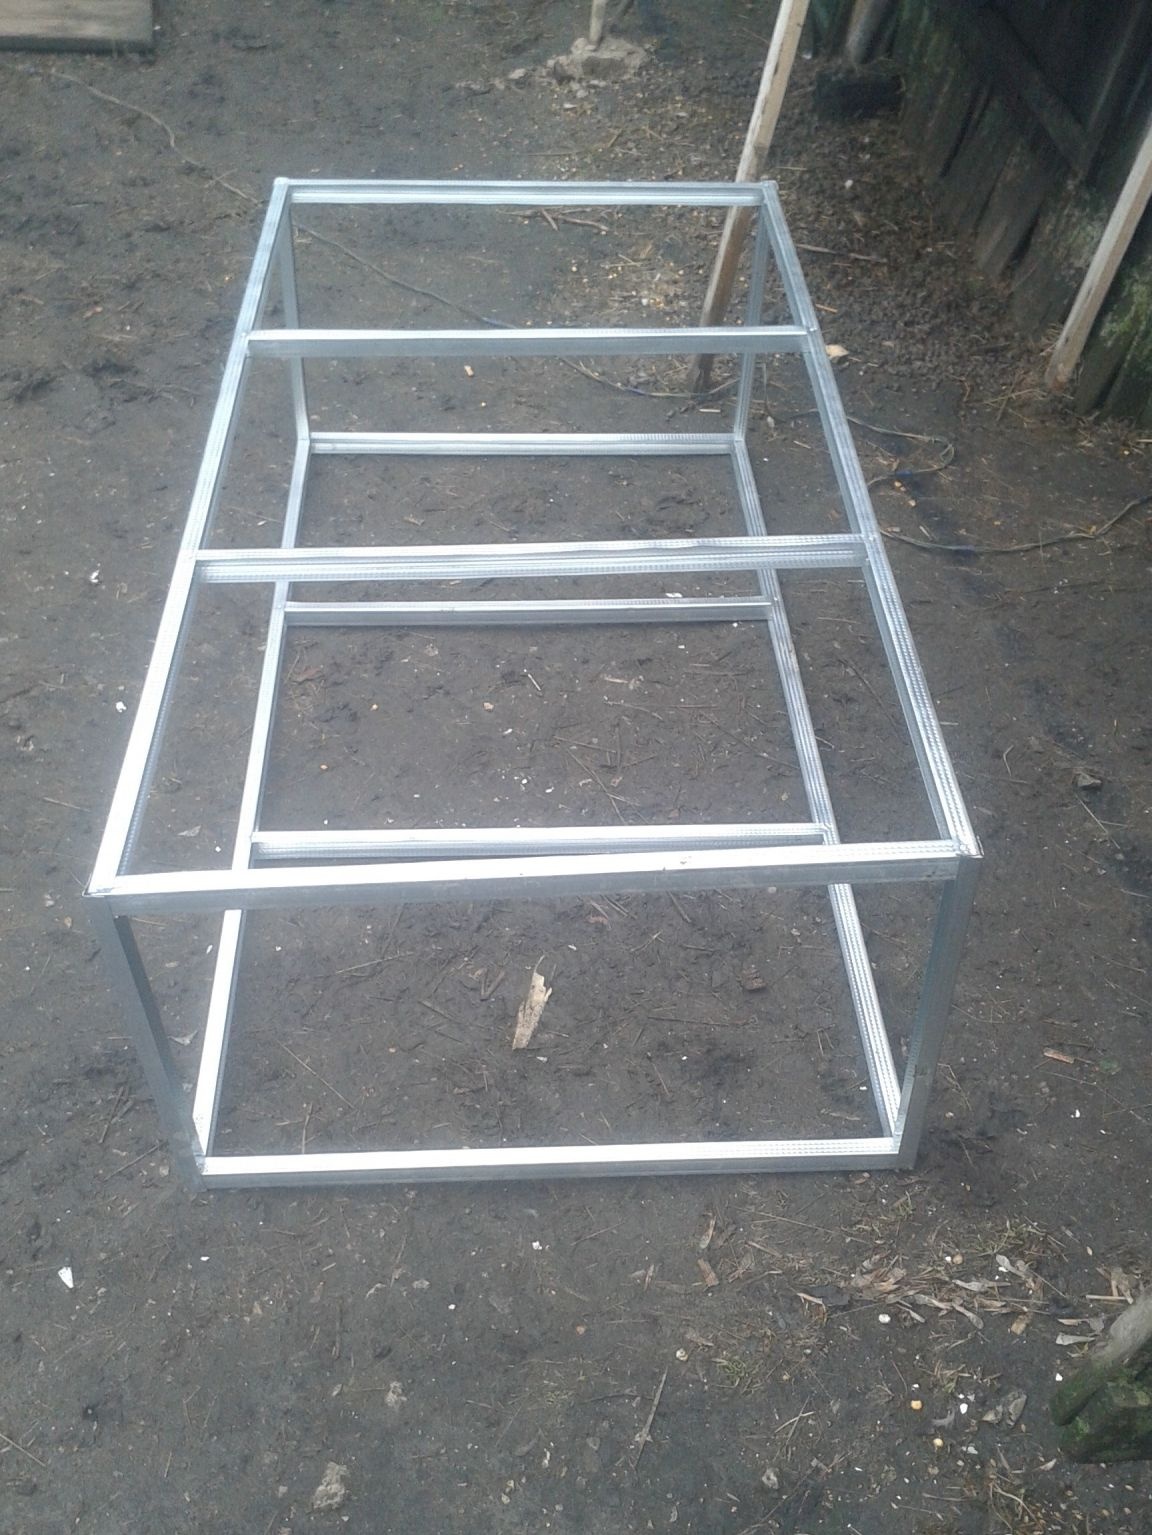
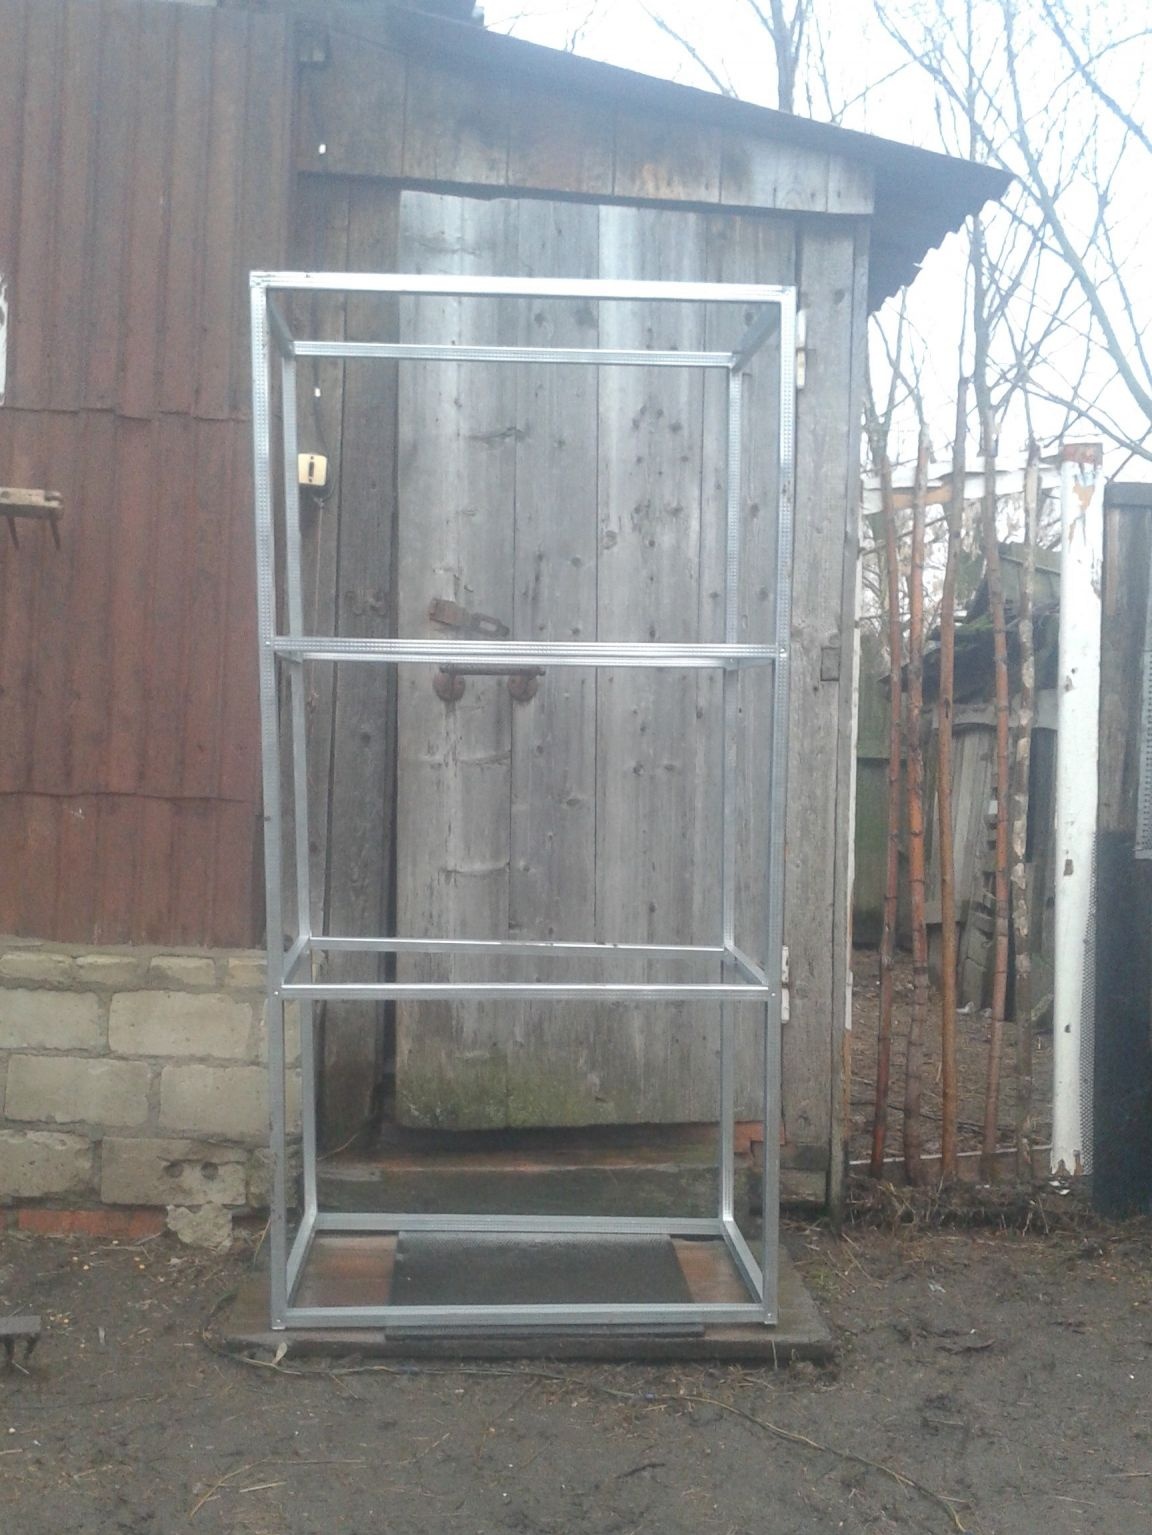
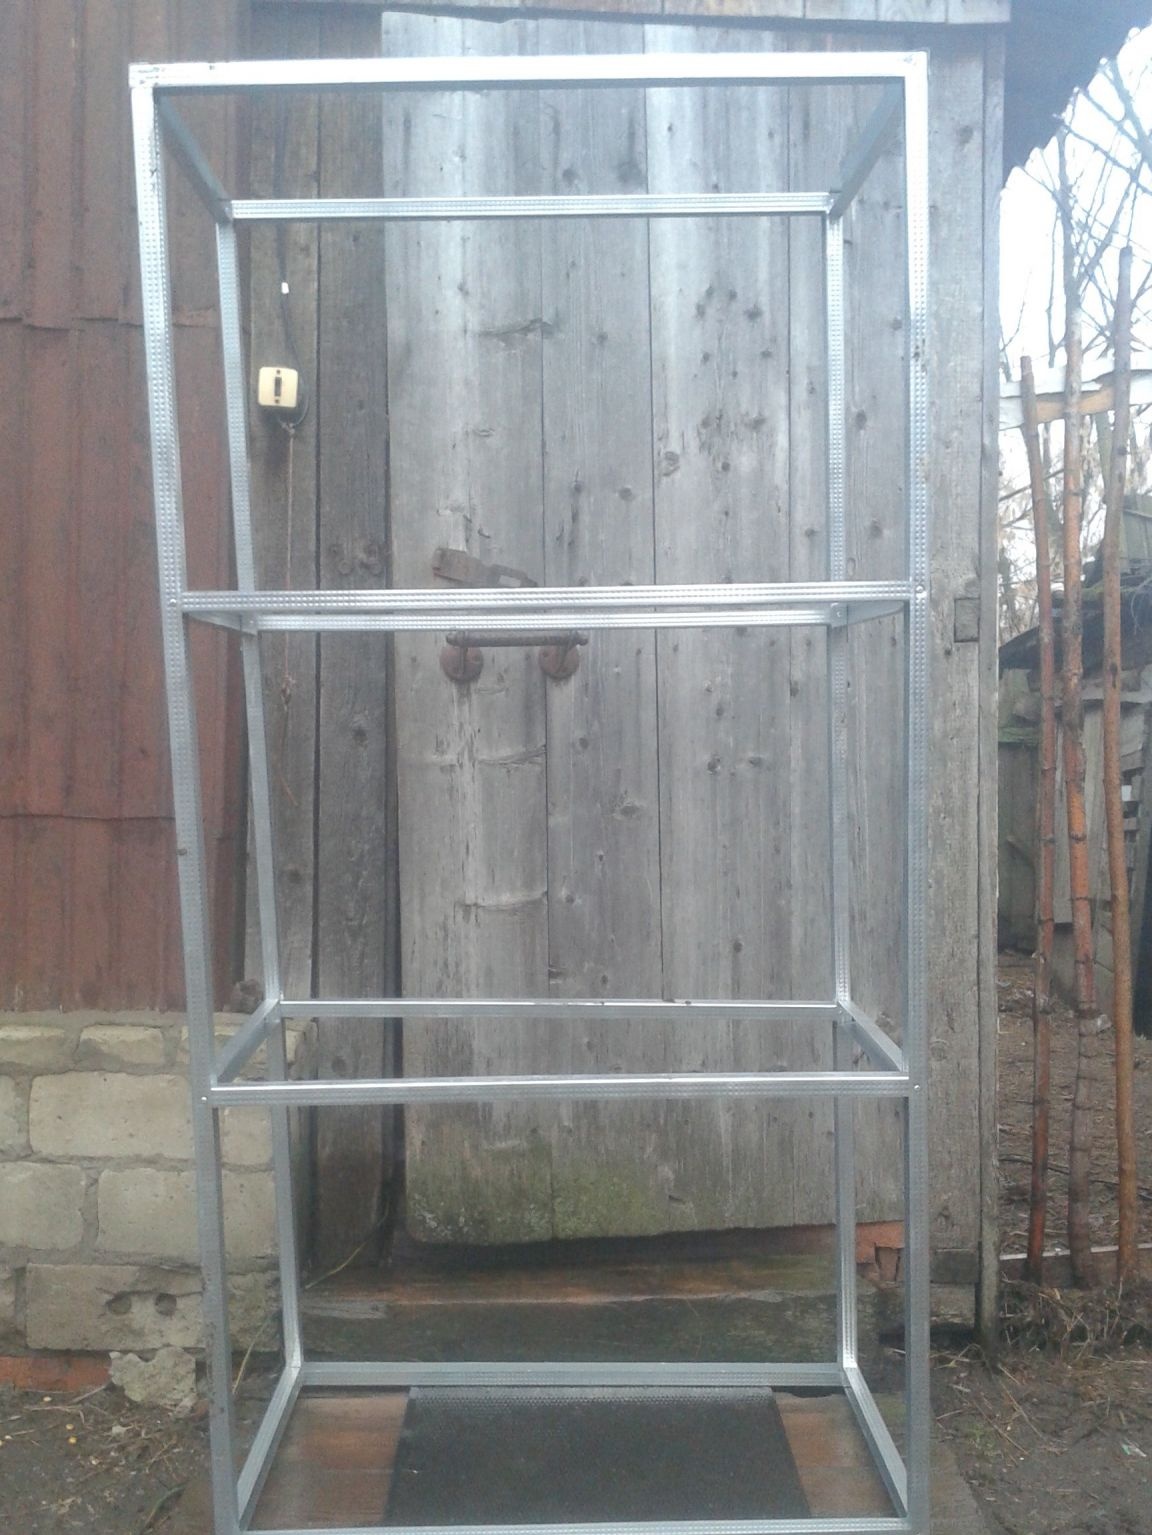
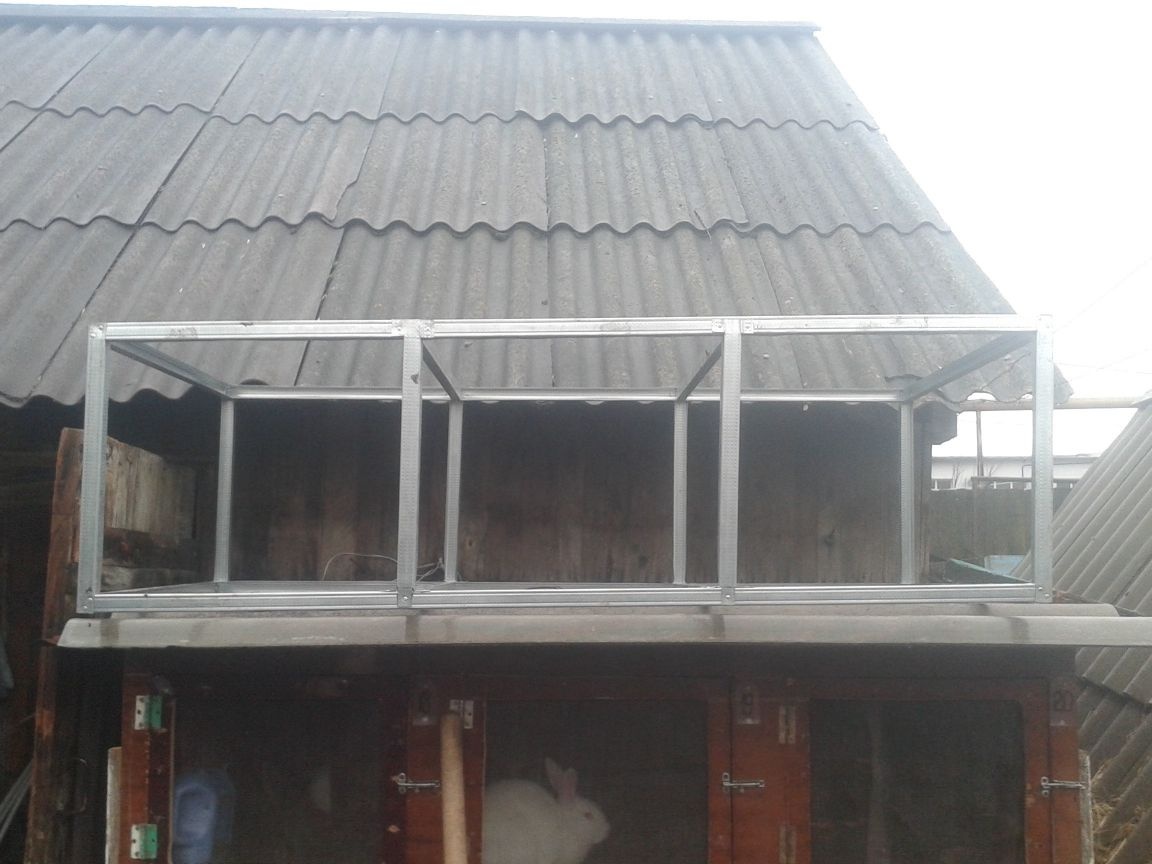
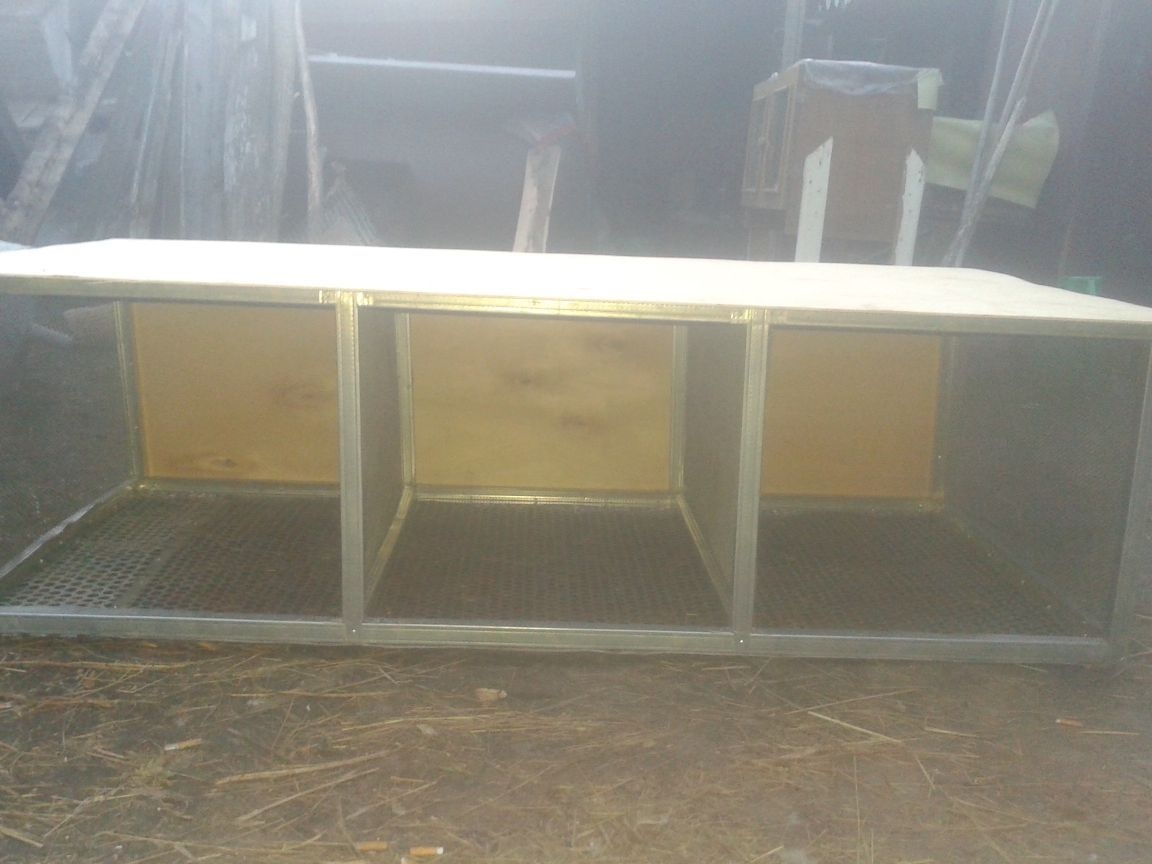
The cage is 1.5 meters long, 75 cm wide, 50 cm high.Since the profile is 3 meters, I divided it into 2 parts. Parts that are 1.5 meters long, I needed 4 pieces., 75 cm each, 8 pieces, and 8 pieces that are 50 cm long. Of these, I began to assemble the frame.
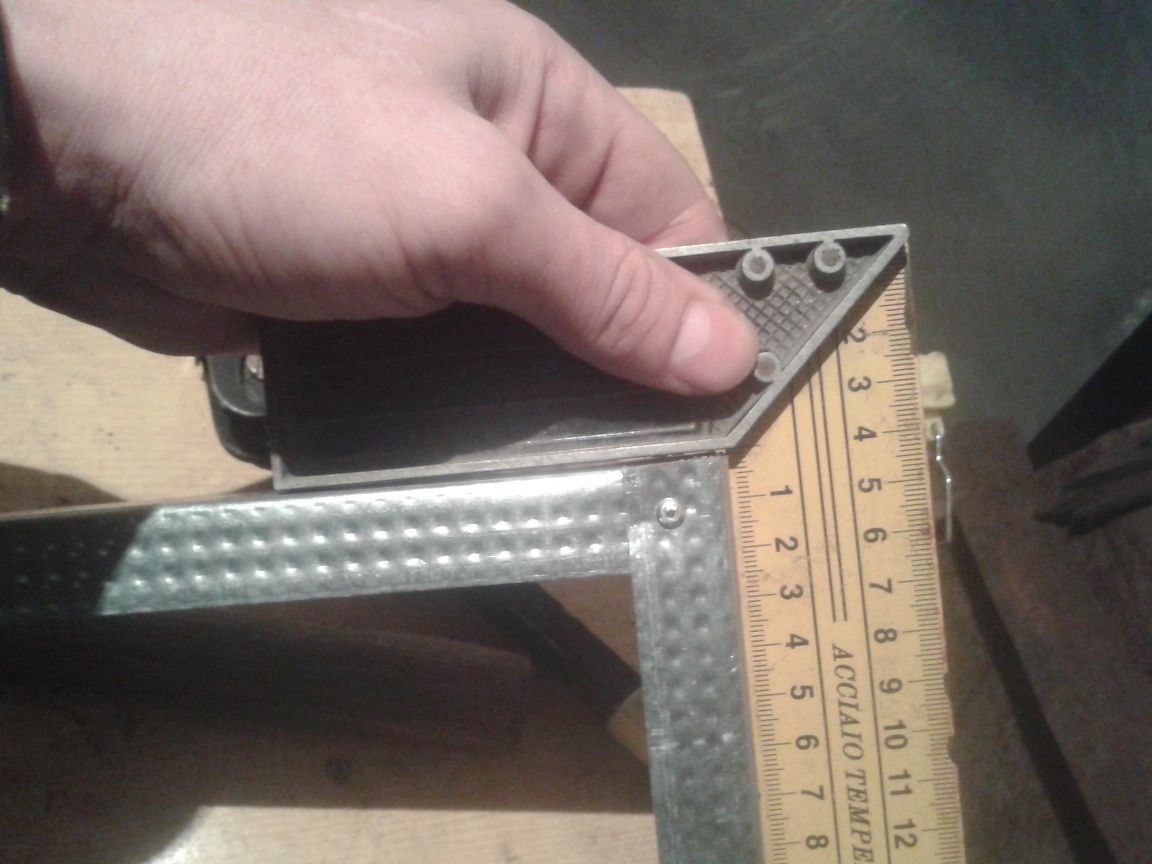
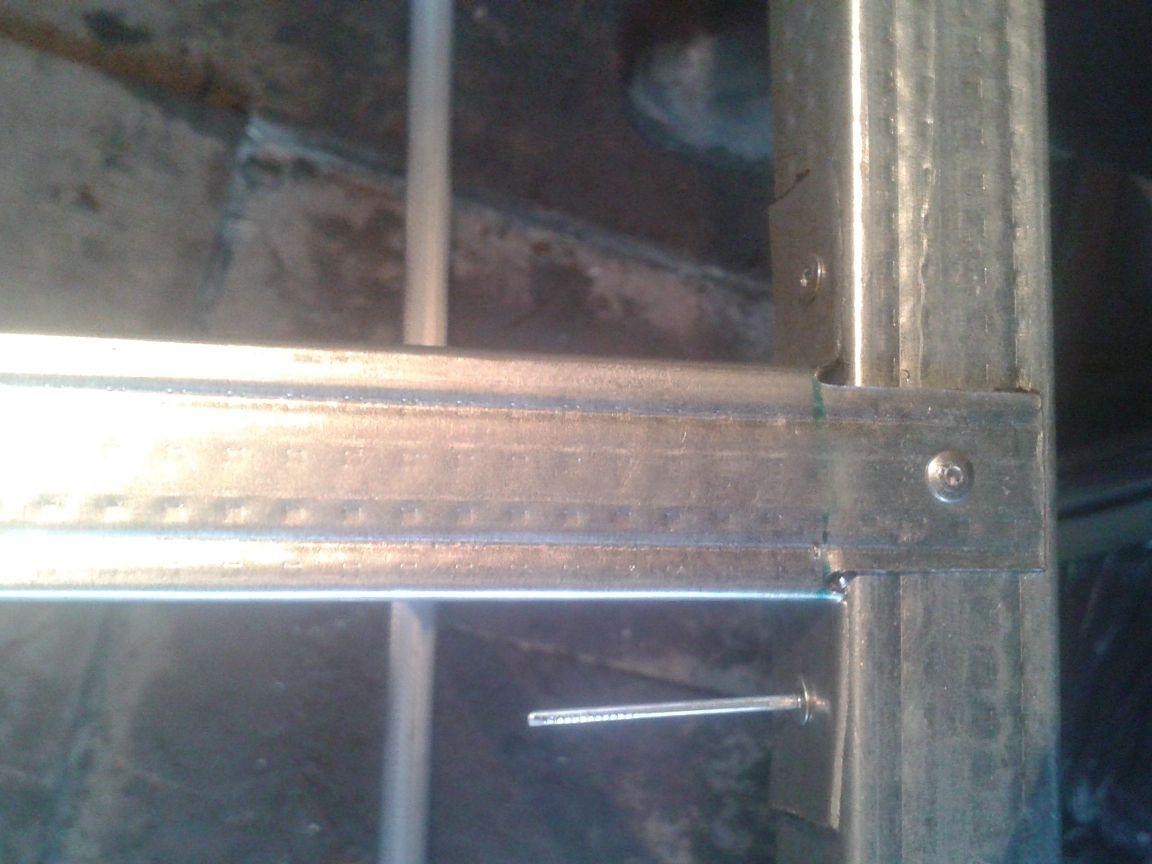
I connected the parts 1.5x0.75 m. To each other in a rectangle using rivets. Riveted at once from two sides. Everything is checked with the help of a corner so that it is smooth.
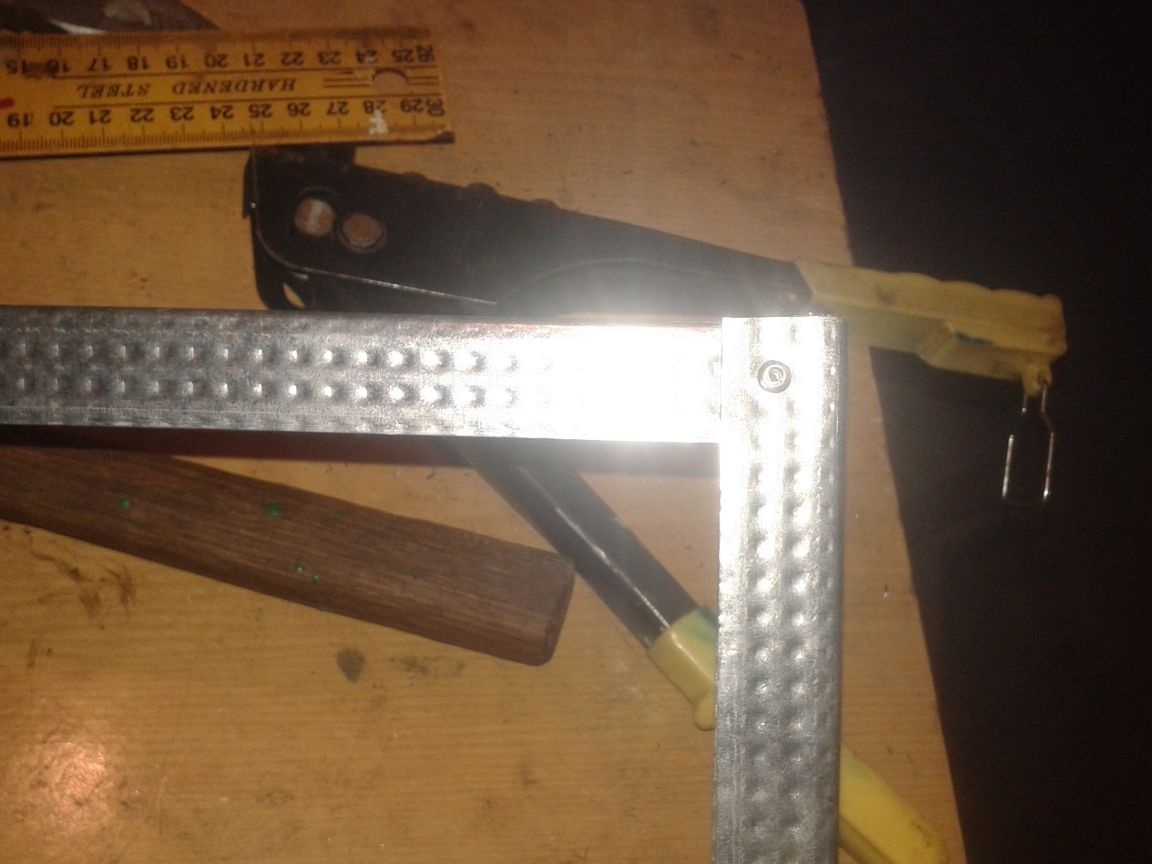
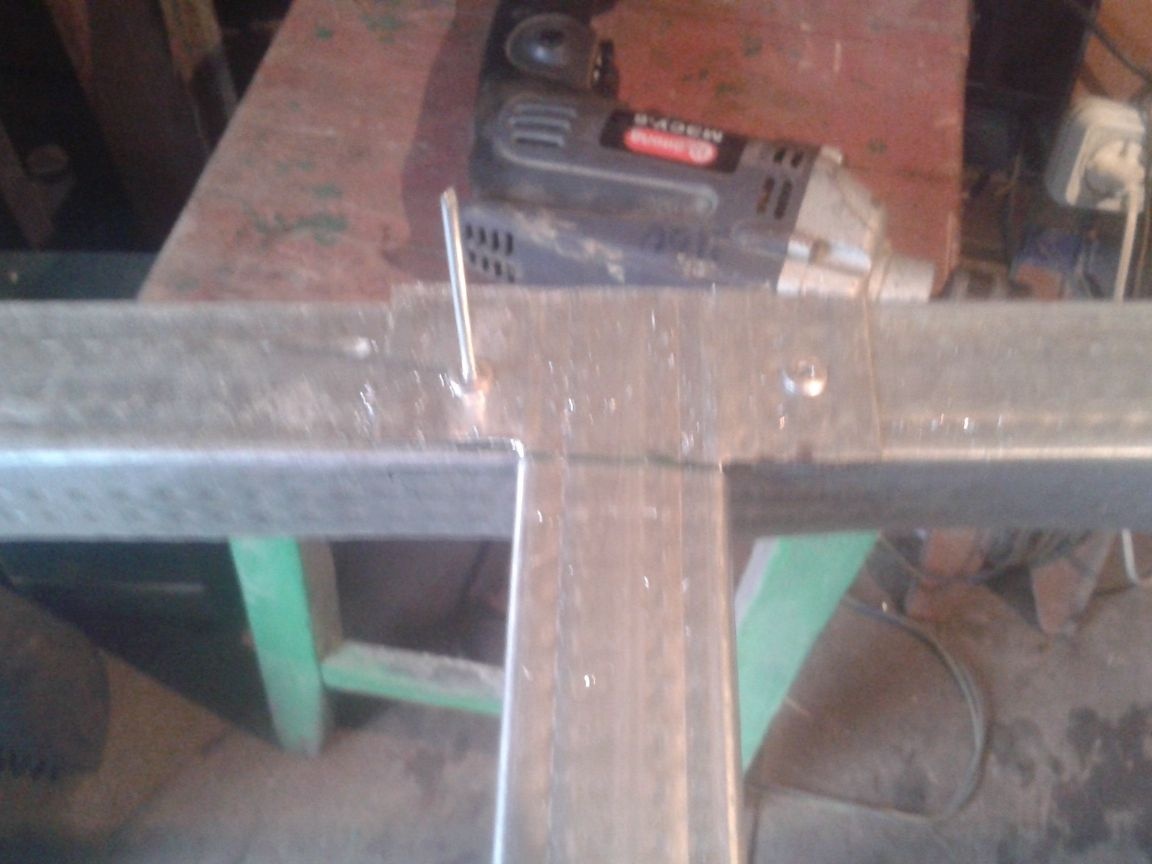
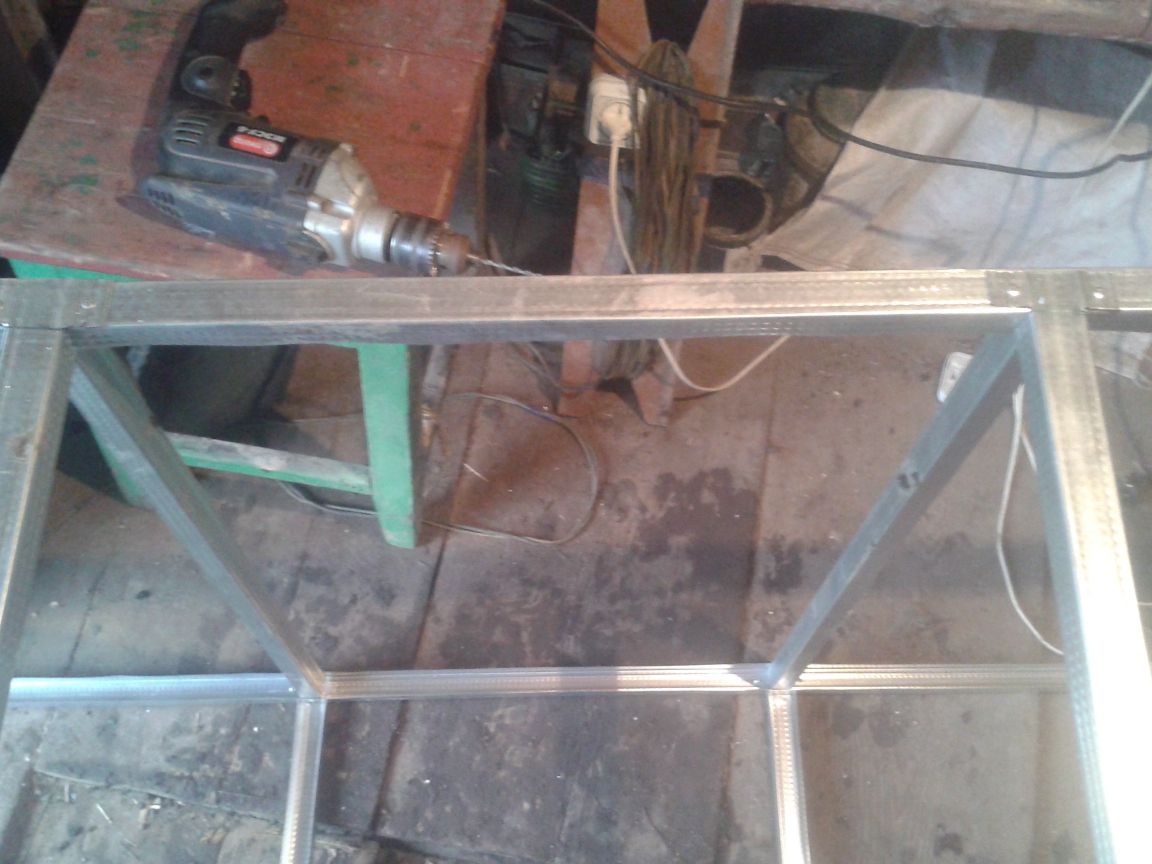
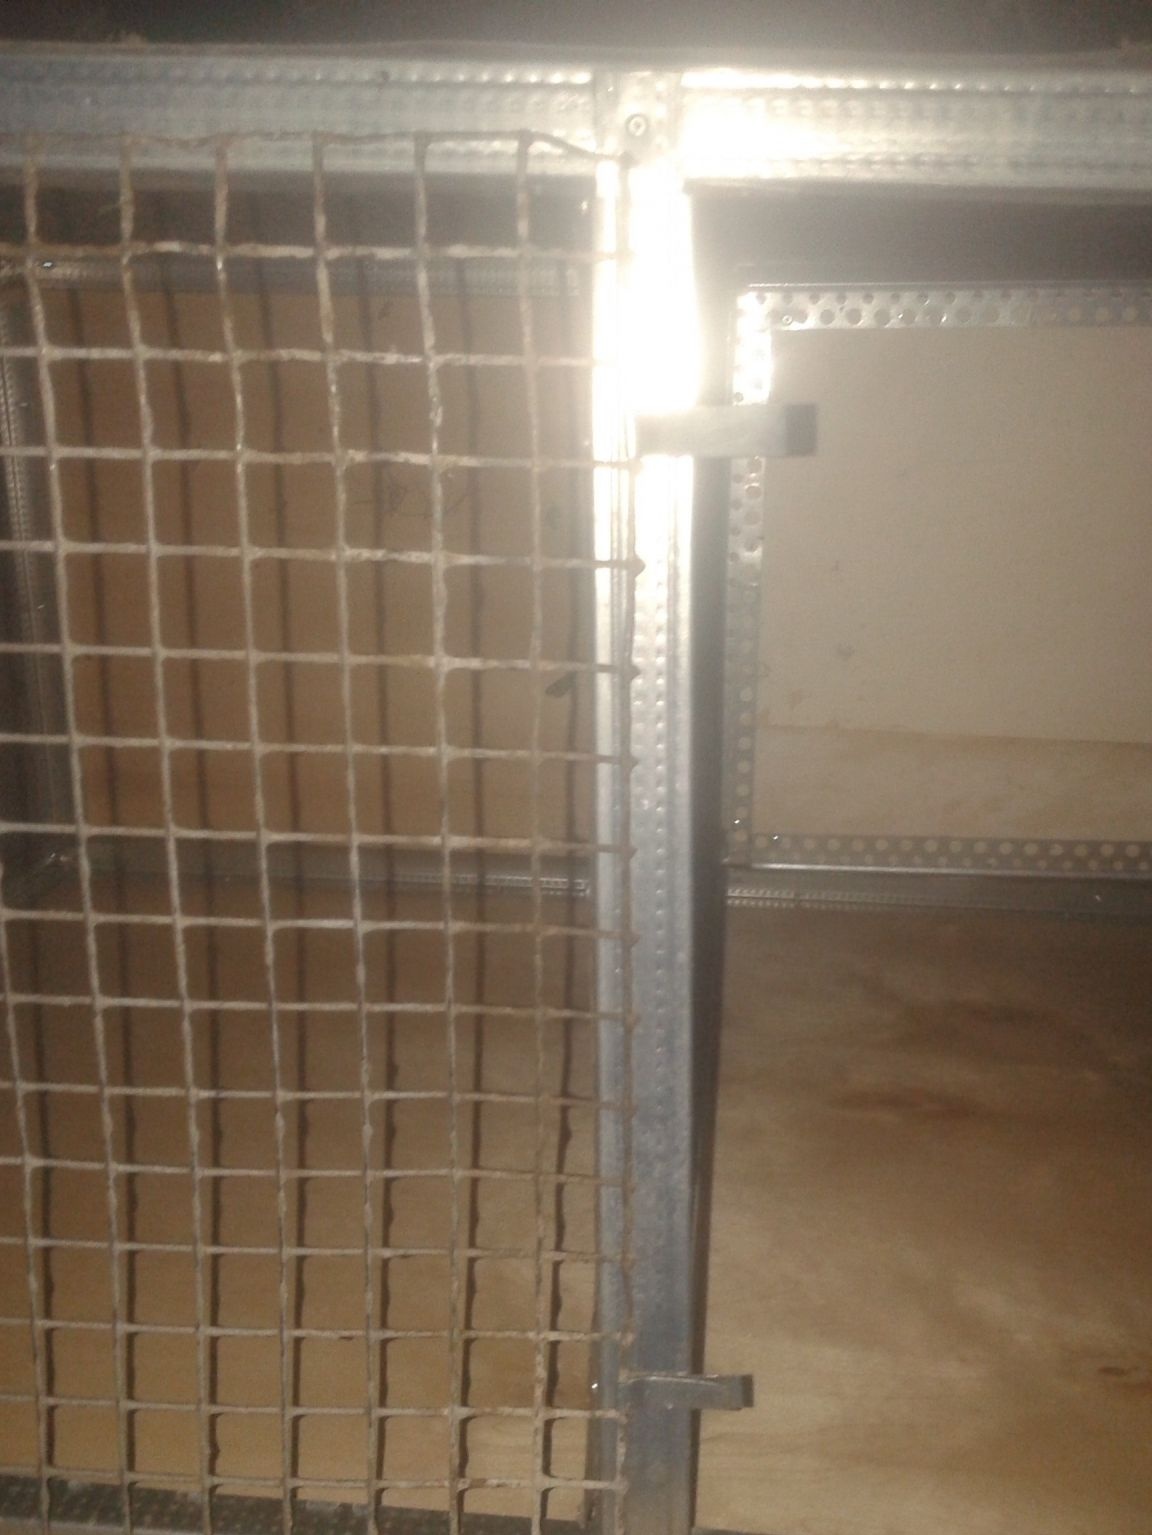
When this part was ready, every 50 cm I put another 0.75 m across. There should be two such parts.
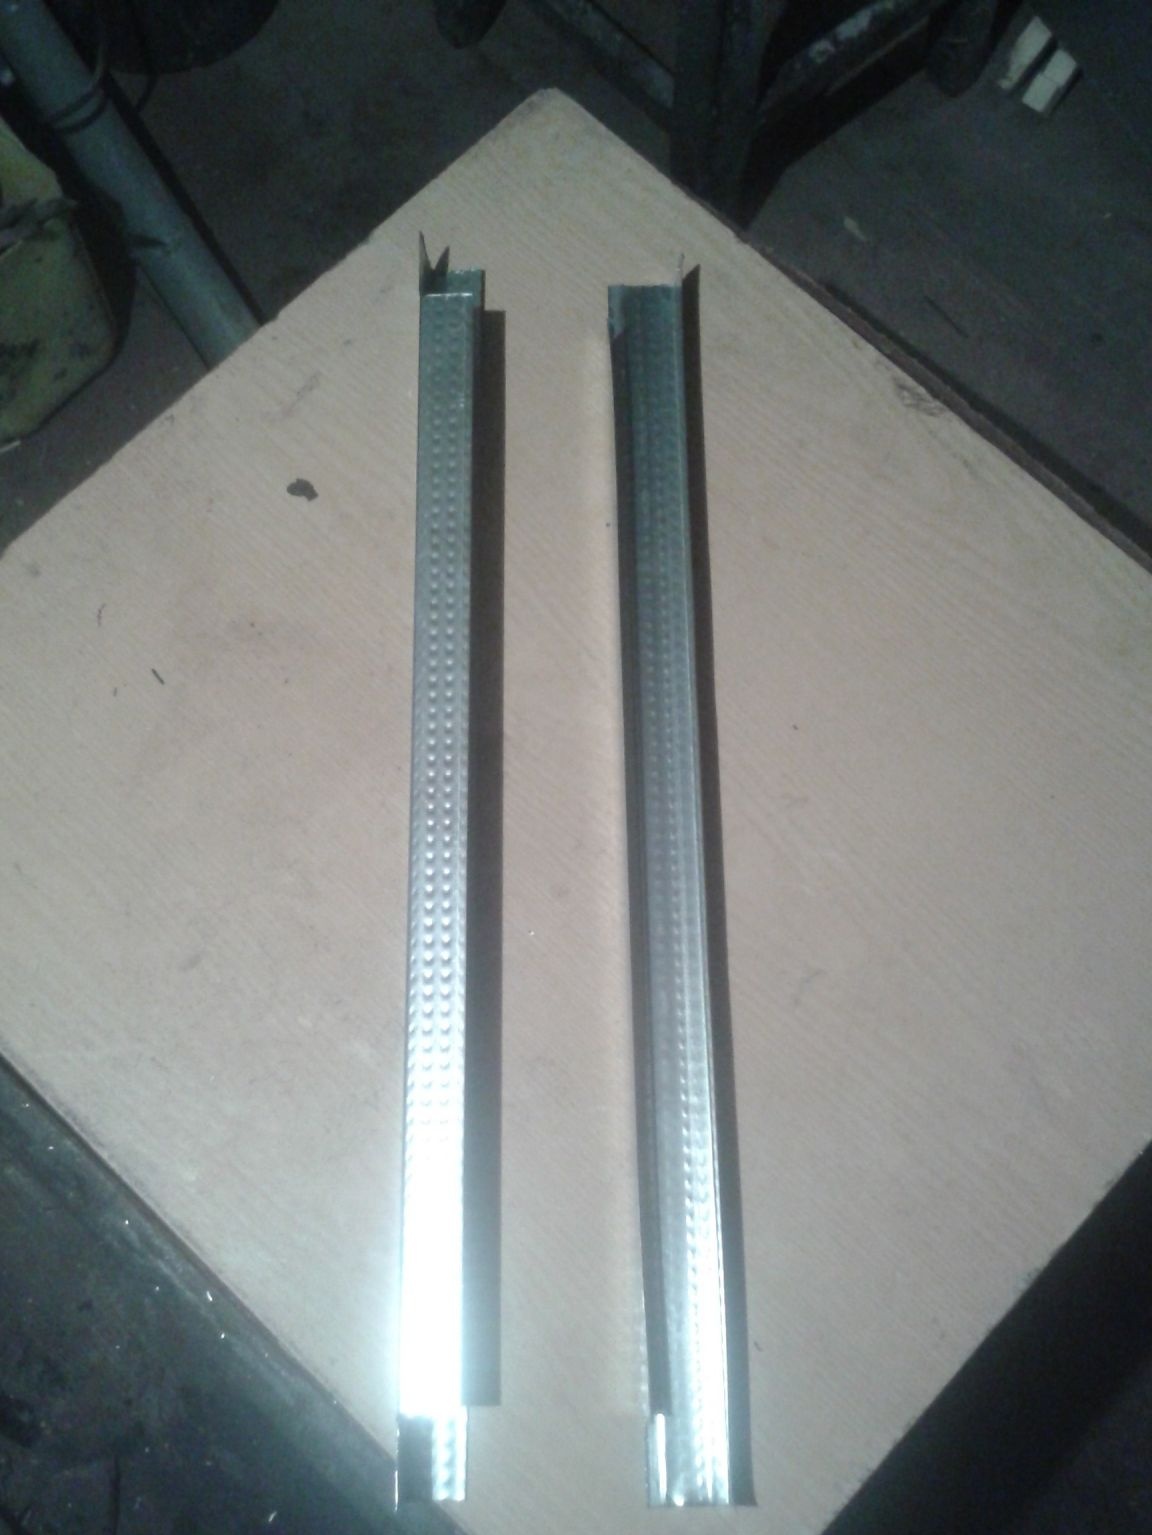
Now you need to fasten these parts together with supports of 50 cm each. For this, I cut the profiles as shown in the photographs.
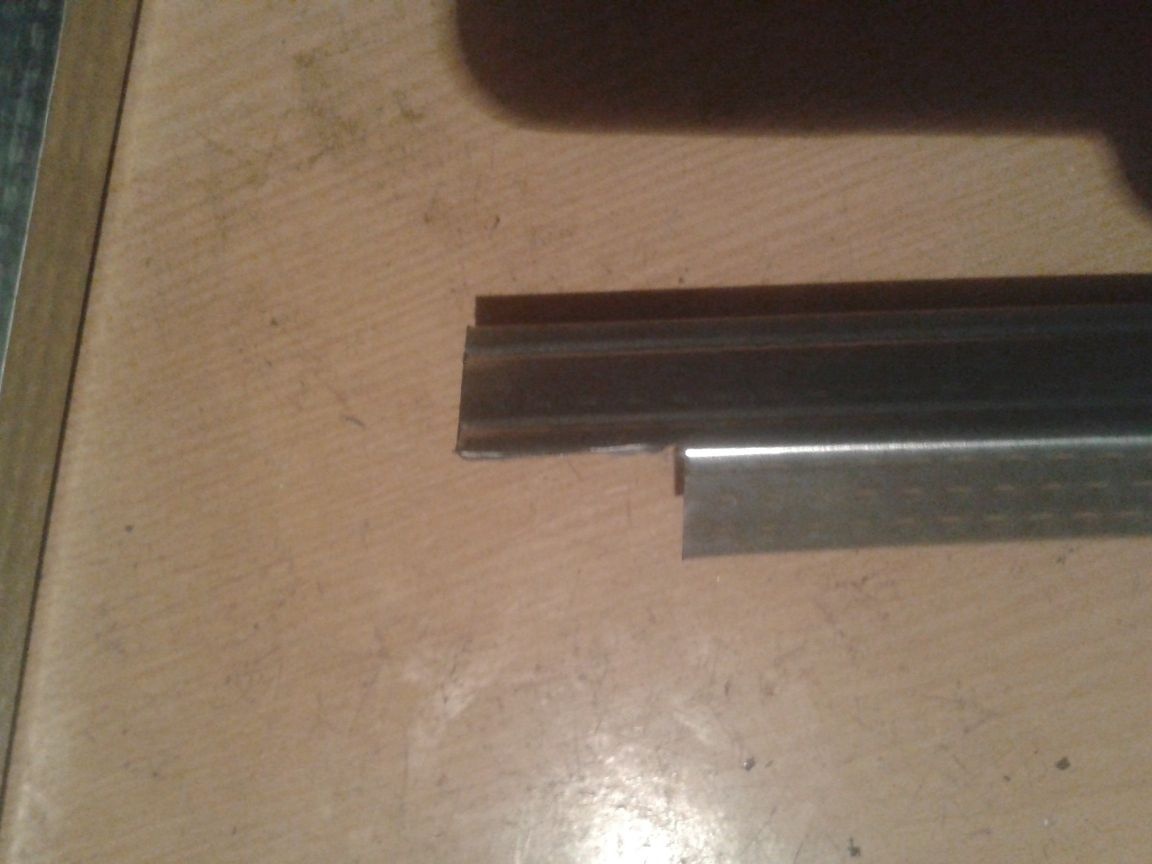
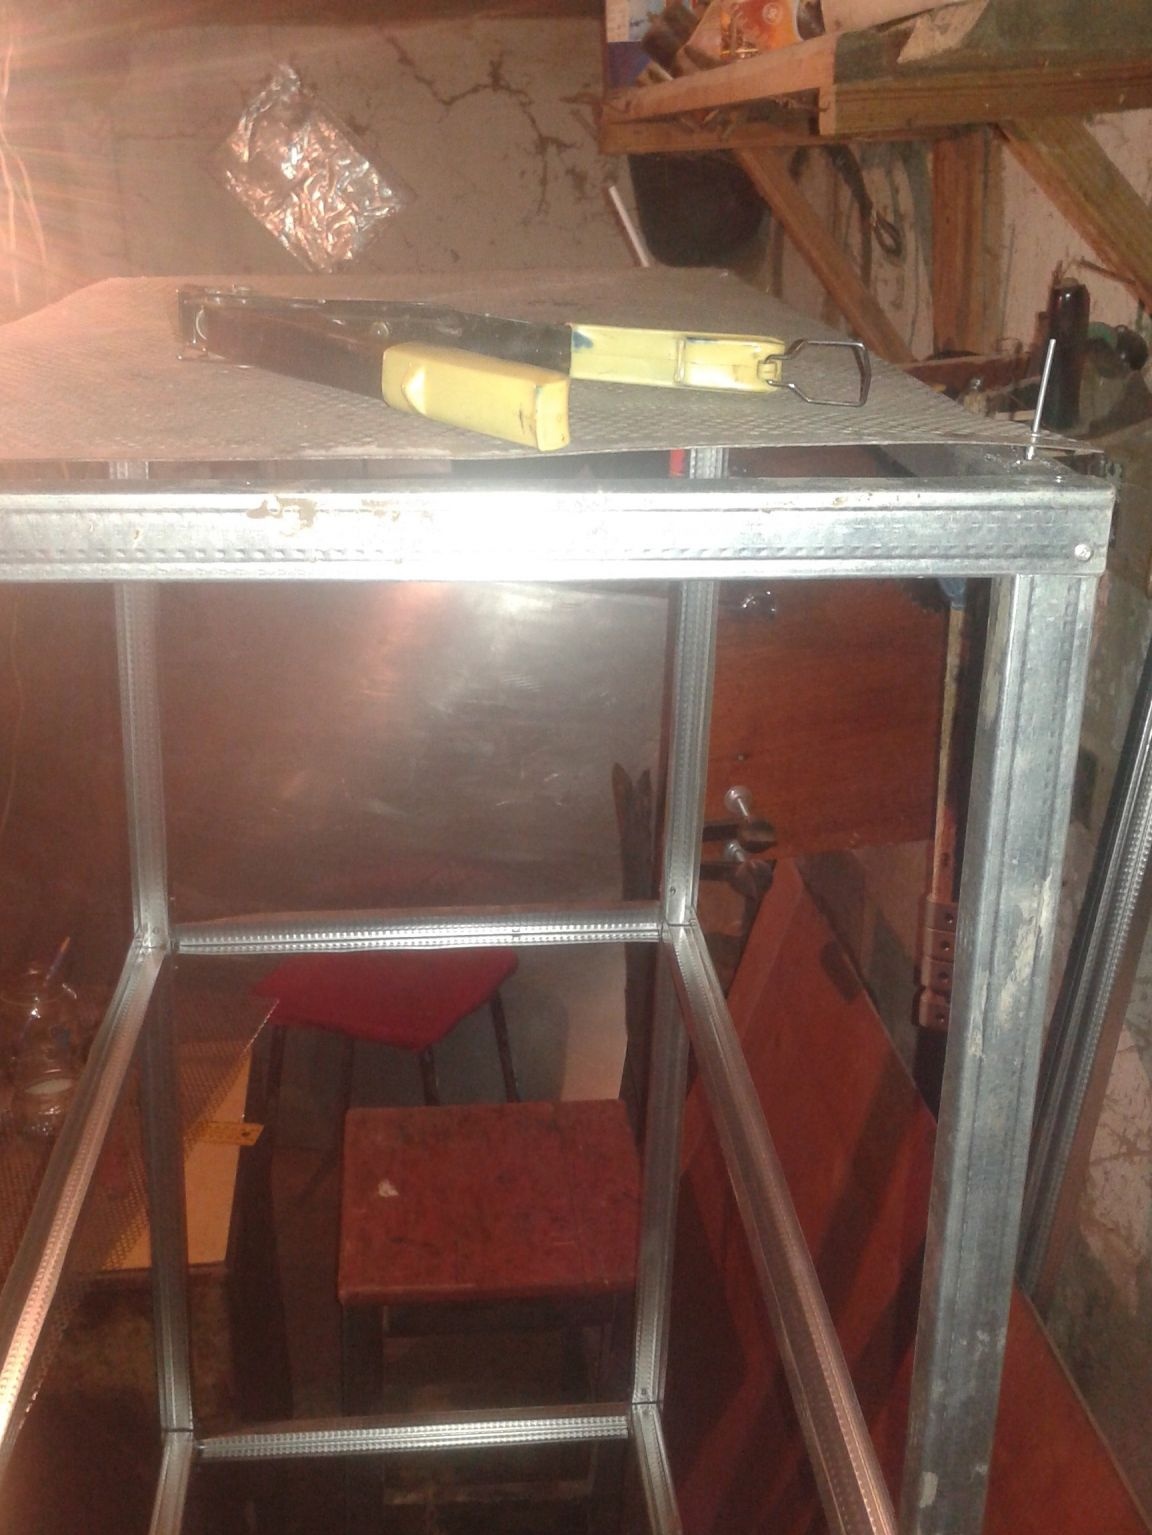
This is what happened after fixing the profile and connecting these two parts together.

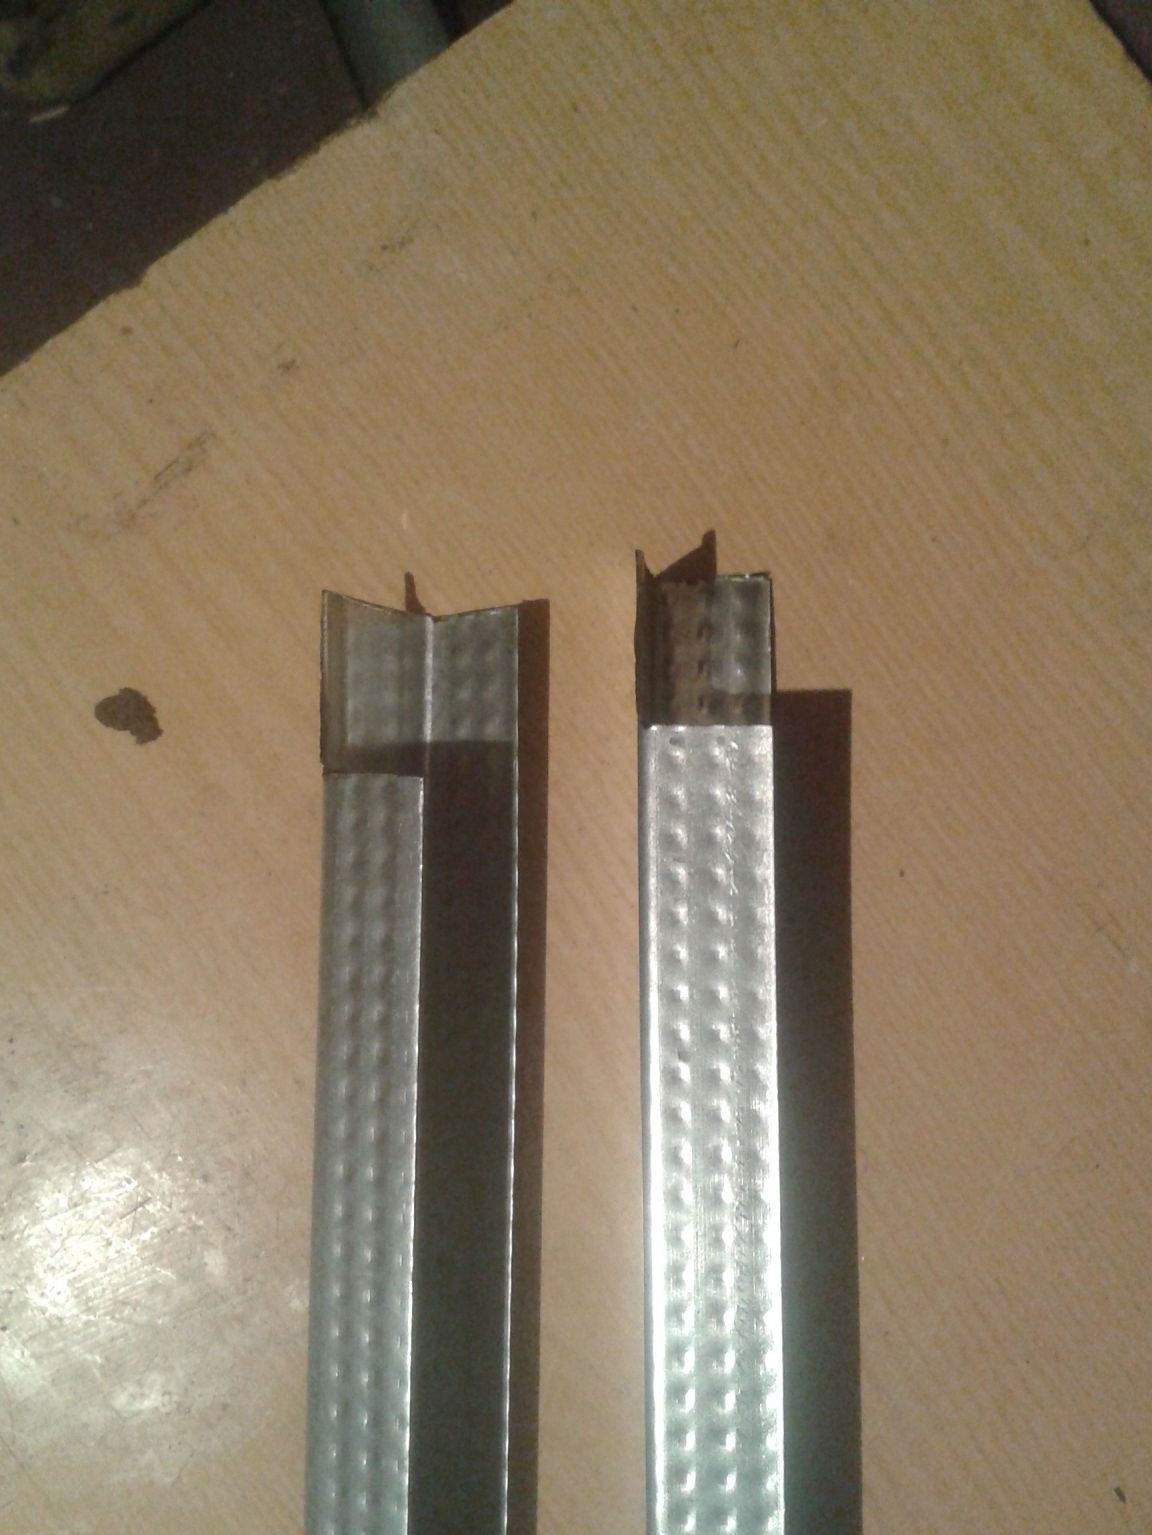
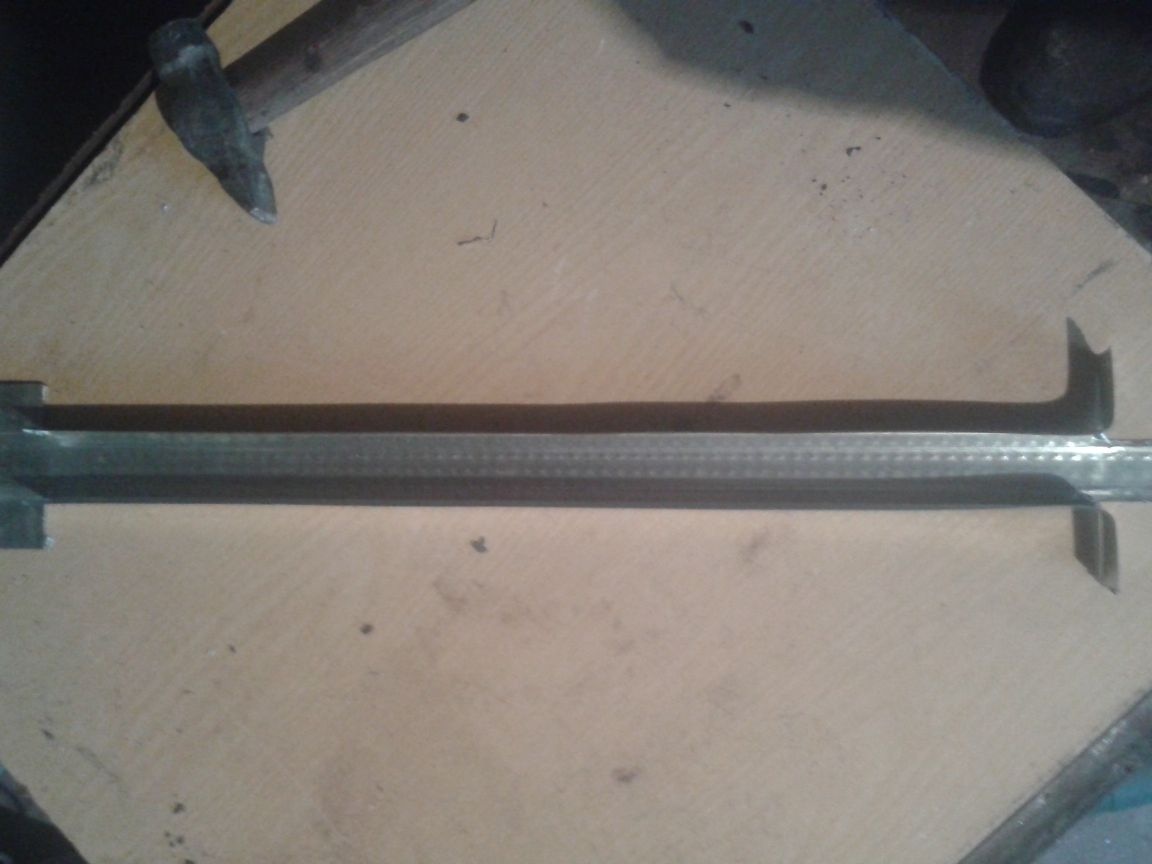
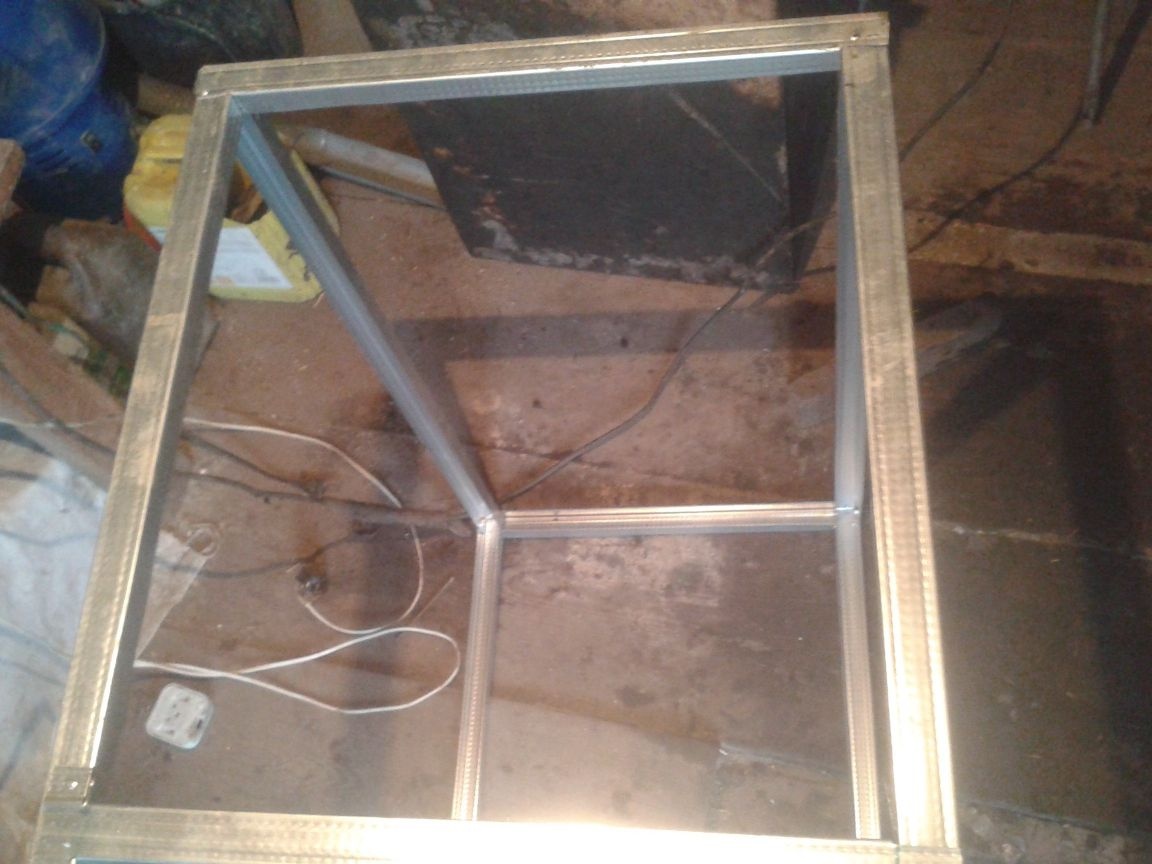
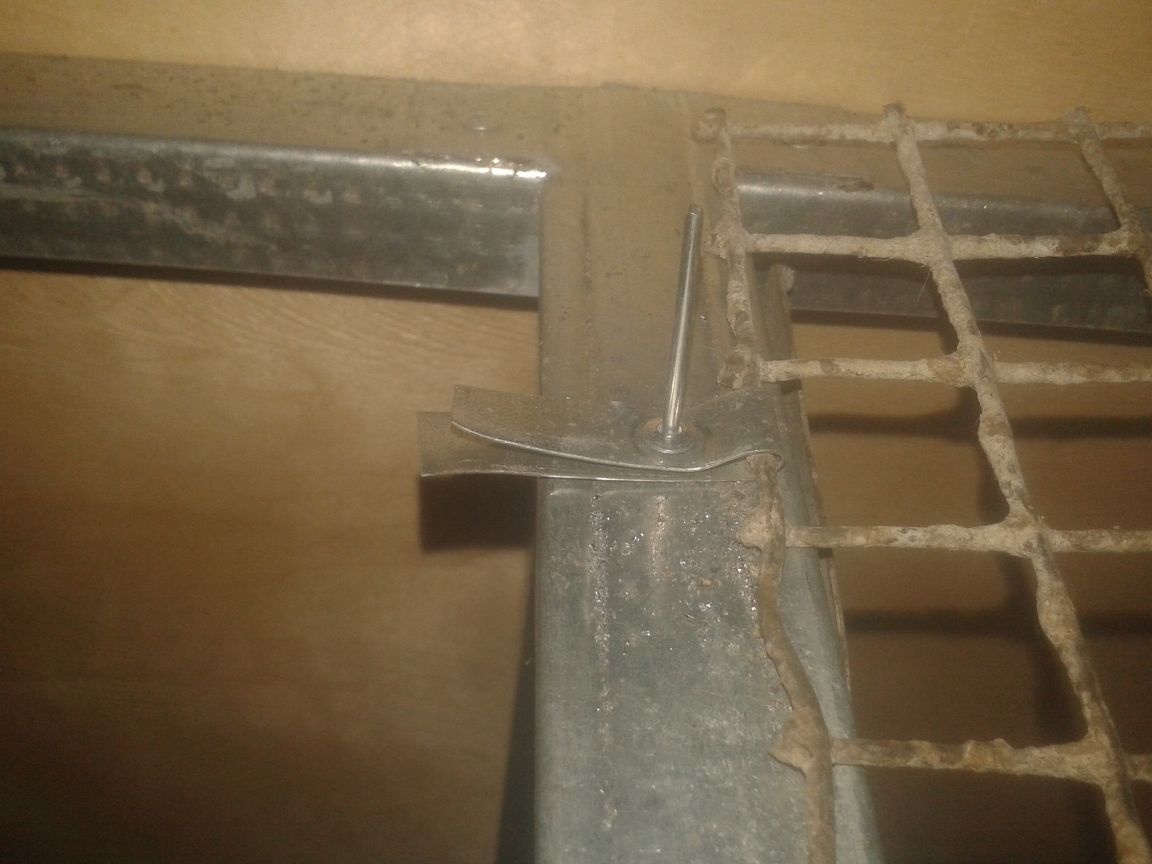
These mounts are for corner joints. For the rest they are different.

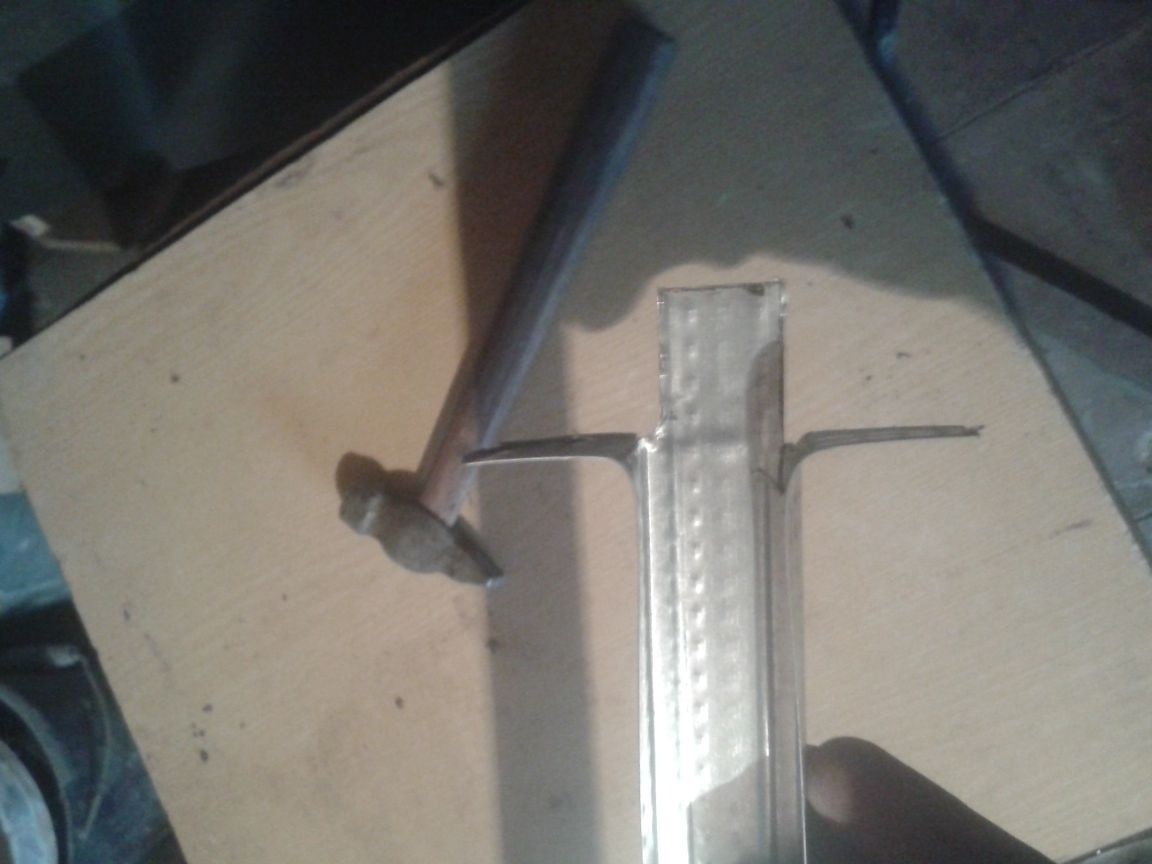
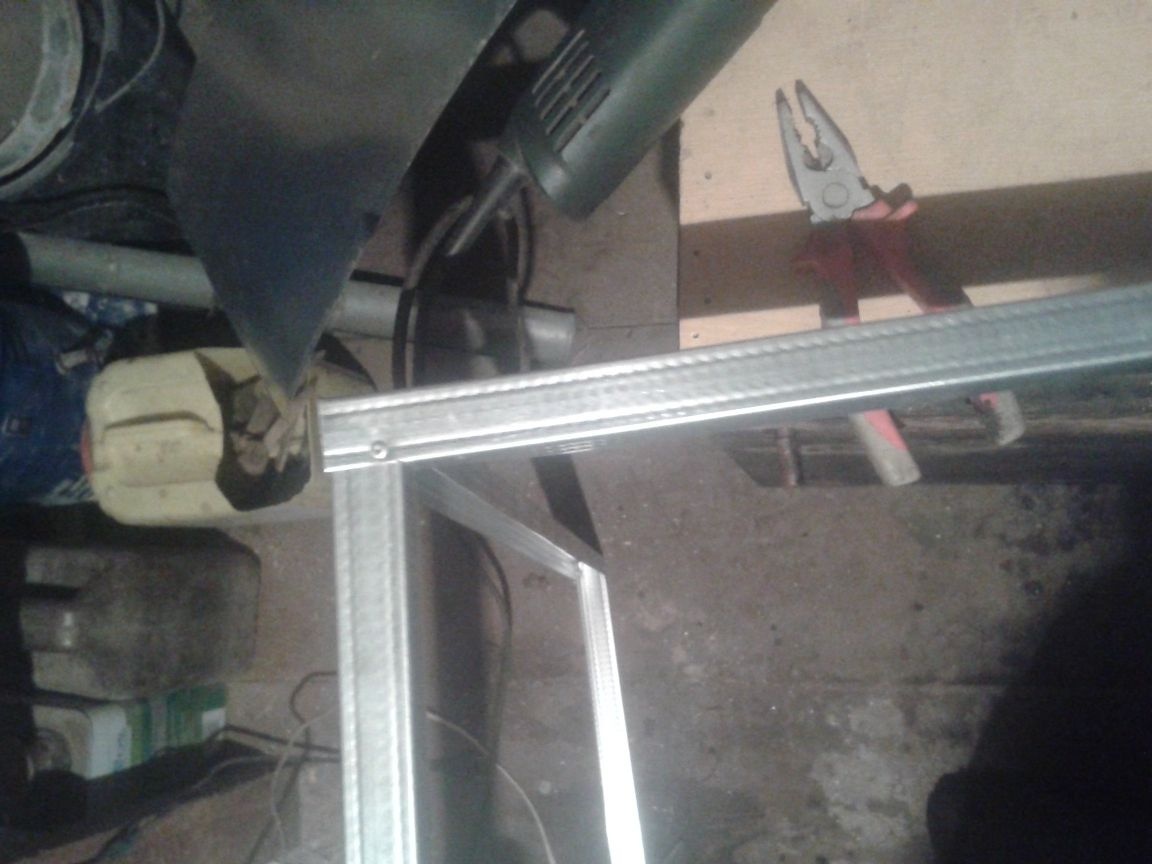
Now these details need to be fixed in the inner space of the future cell.
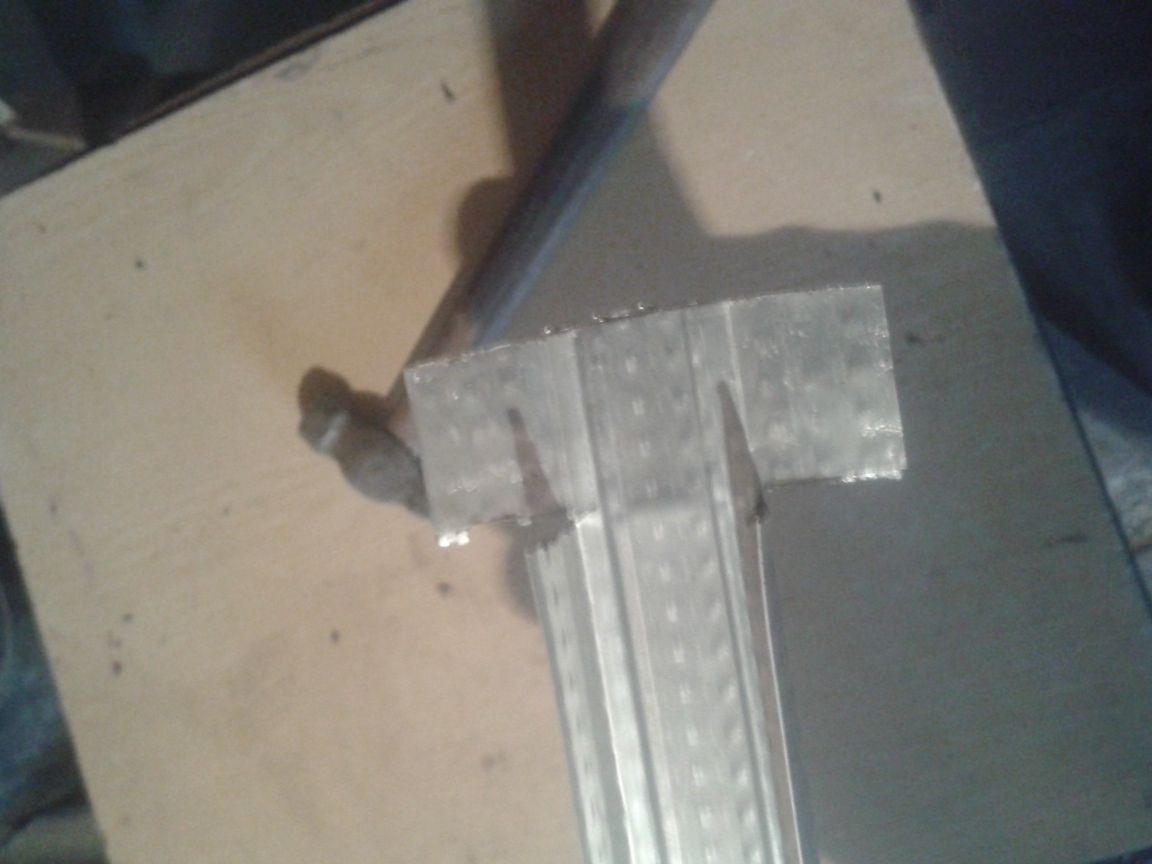
As you can see, the connecting parts of the profile are different. With three petals, I planned to put on the bottom of the cage, i.e. floor.
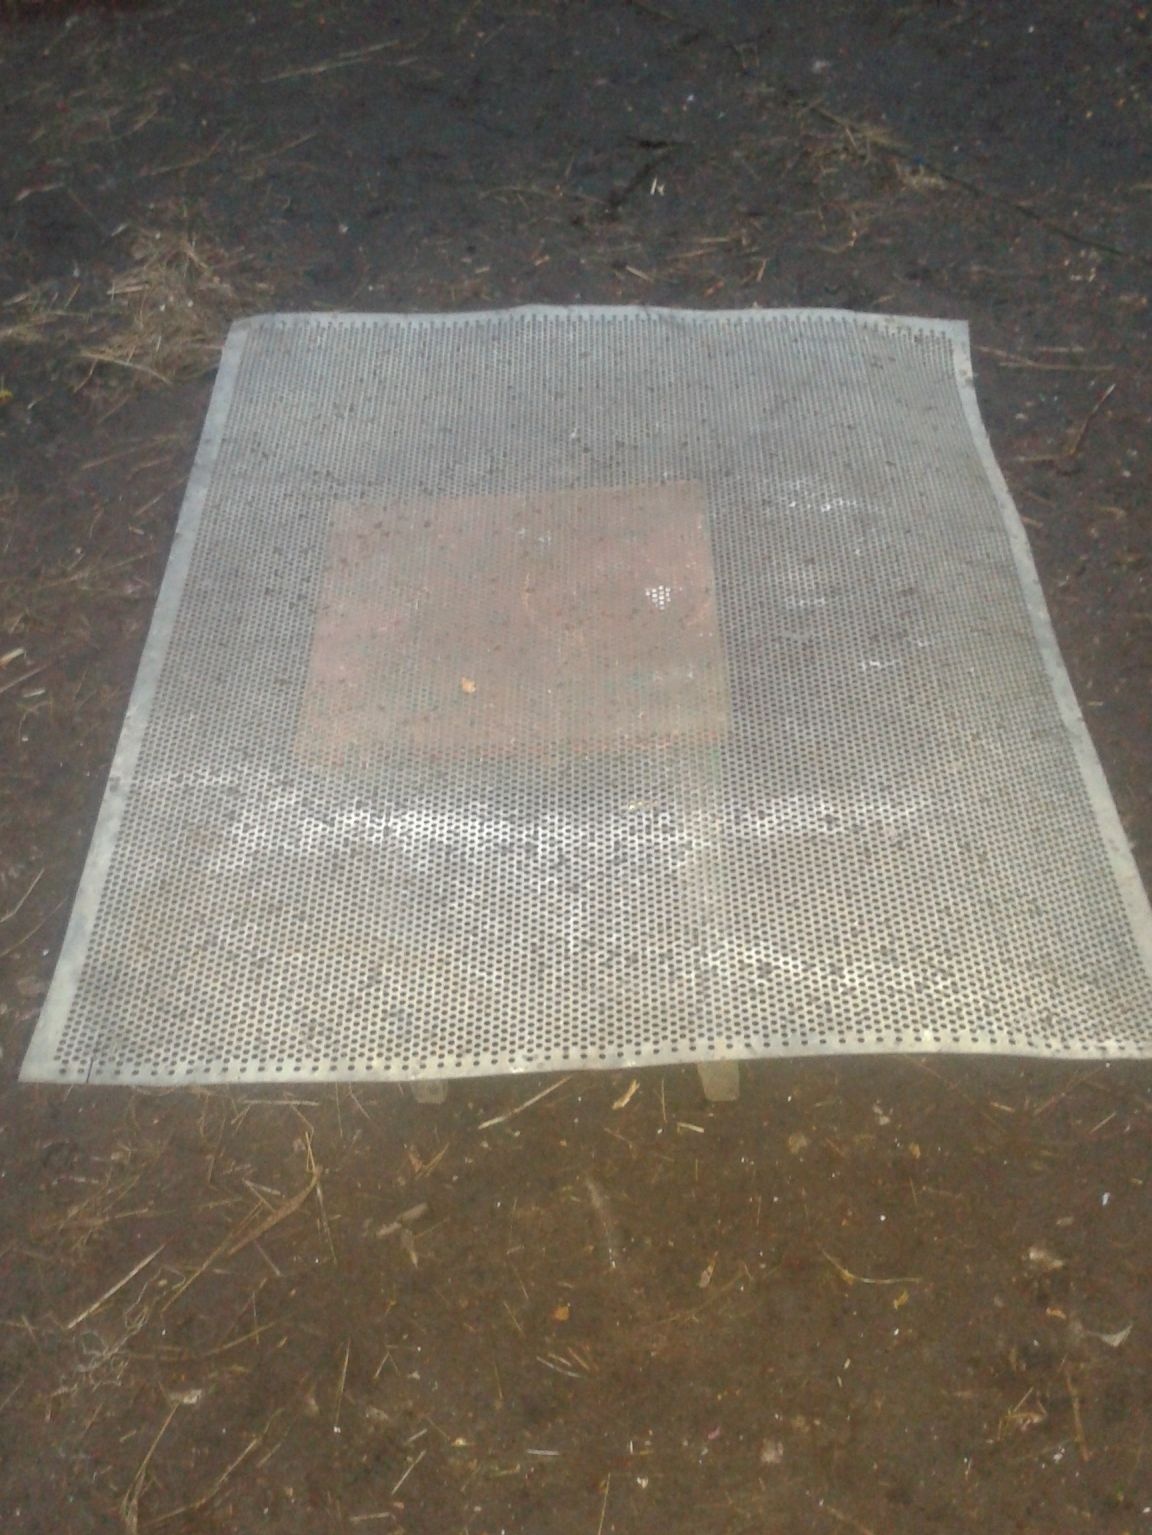
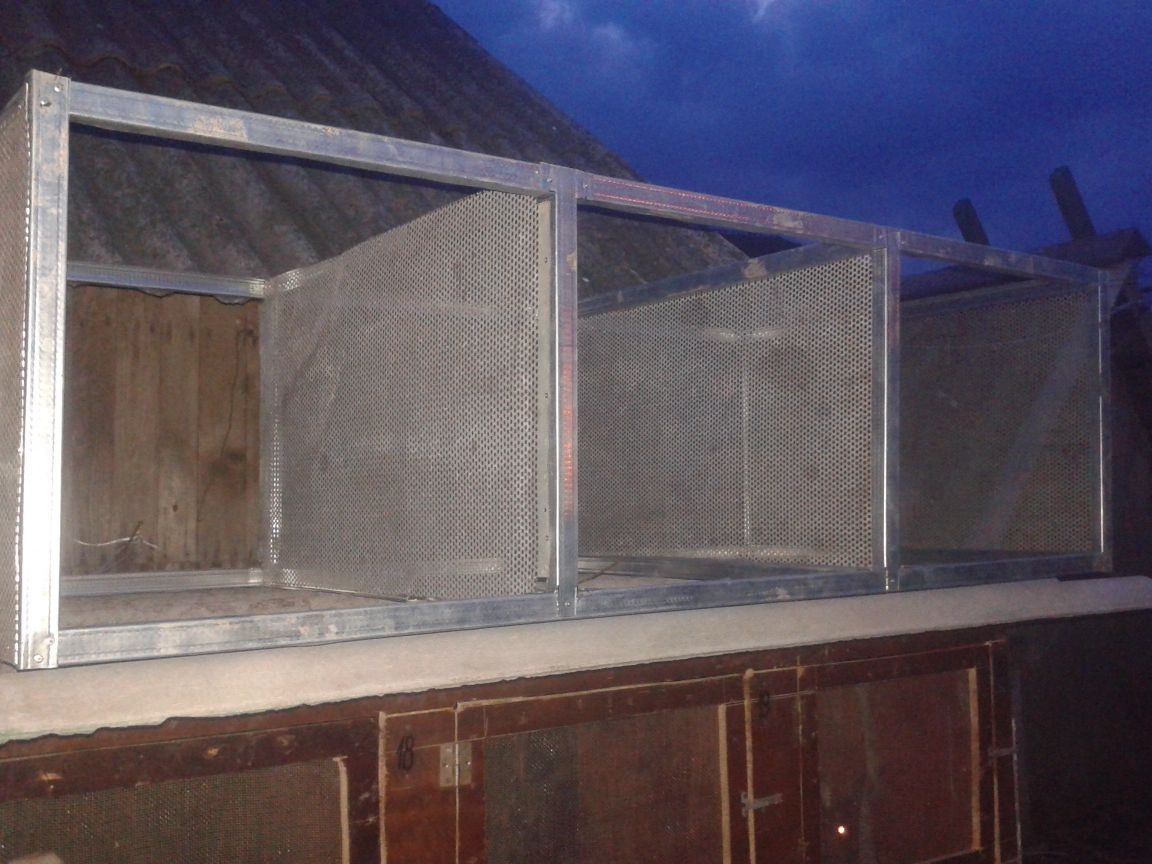
Now it’s the turn to make the walls between the cells. For these purposes, I used a grid that was in my household.
At first he made the end parts of the cell, since they are lighter and do not require figured cutting. Divided the grid into two parts, sized and began to fasten.
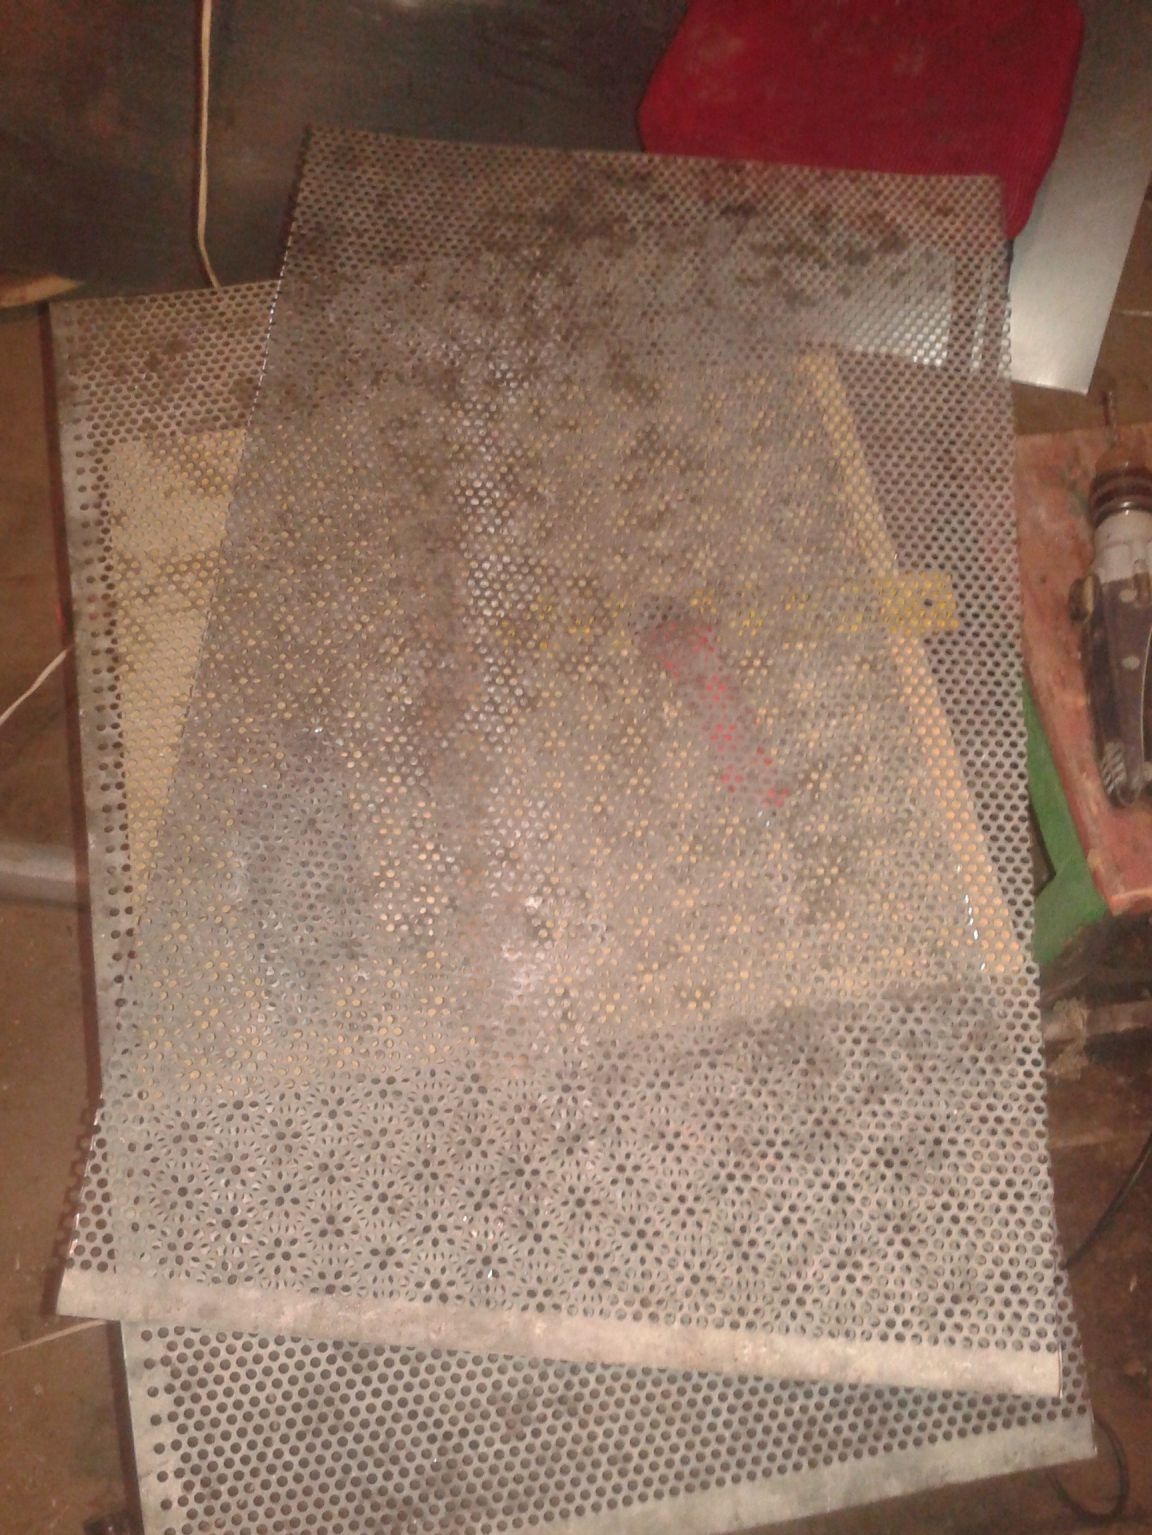

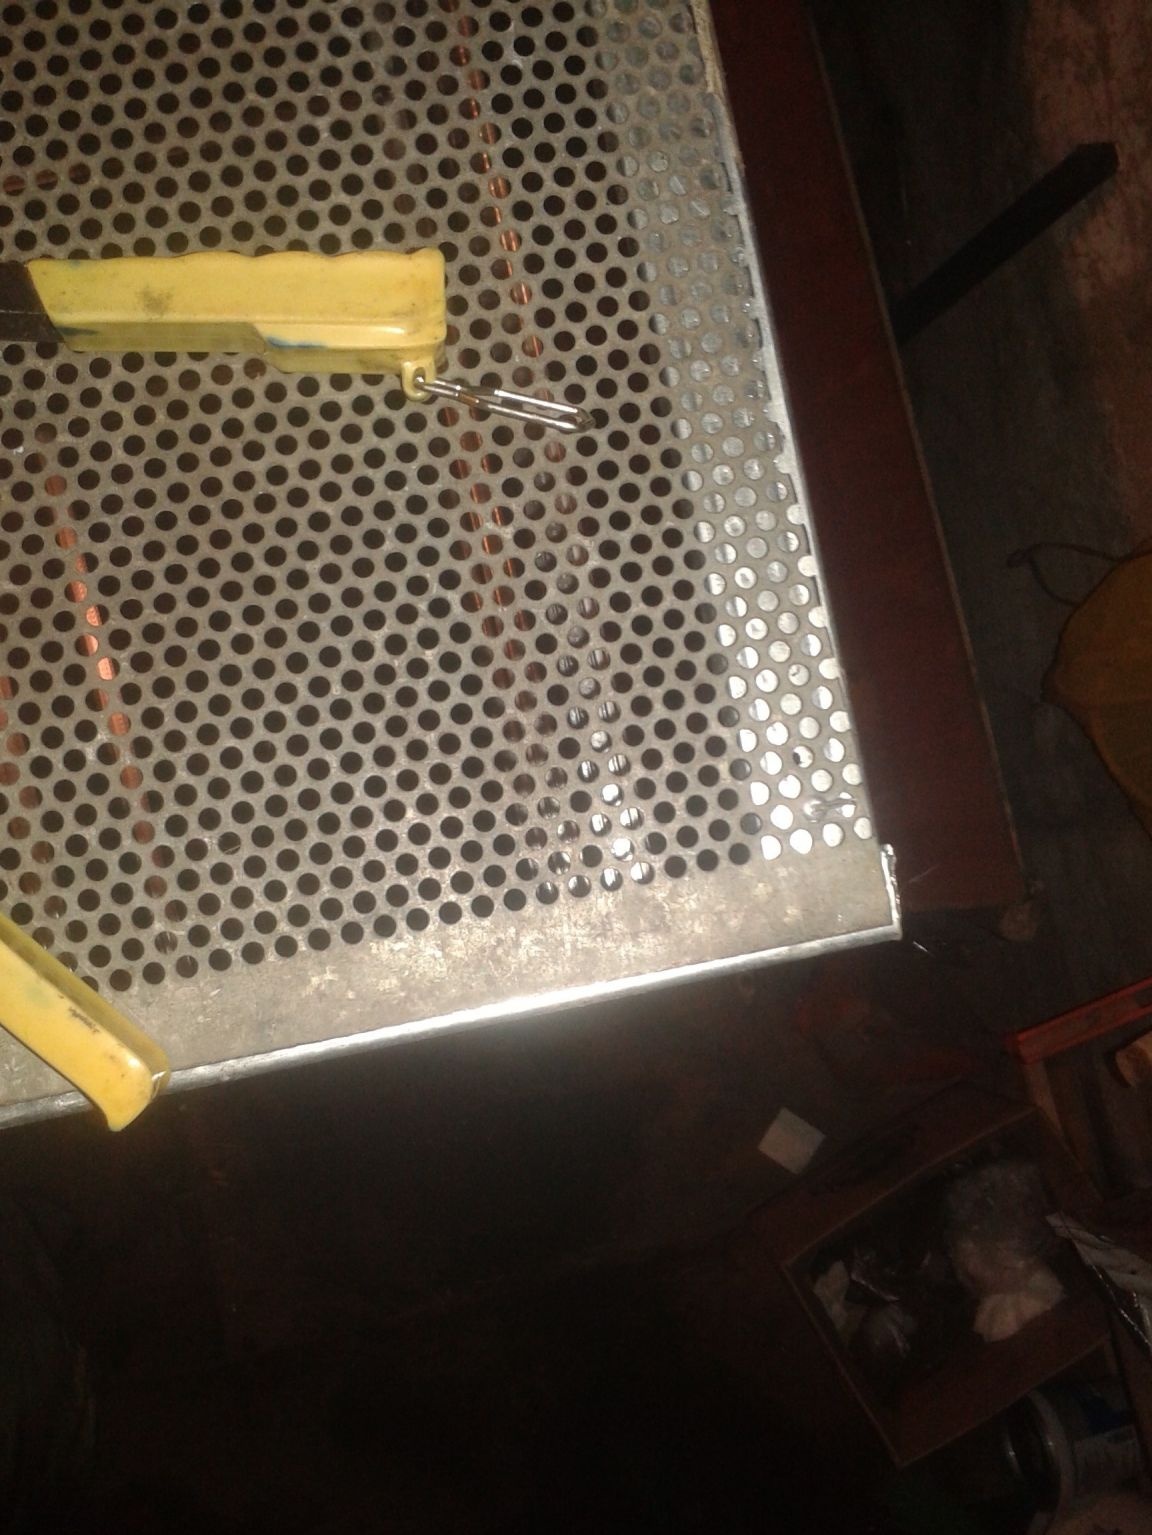

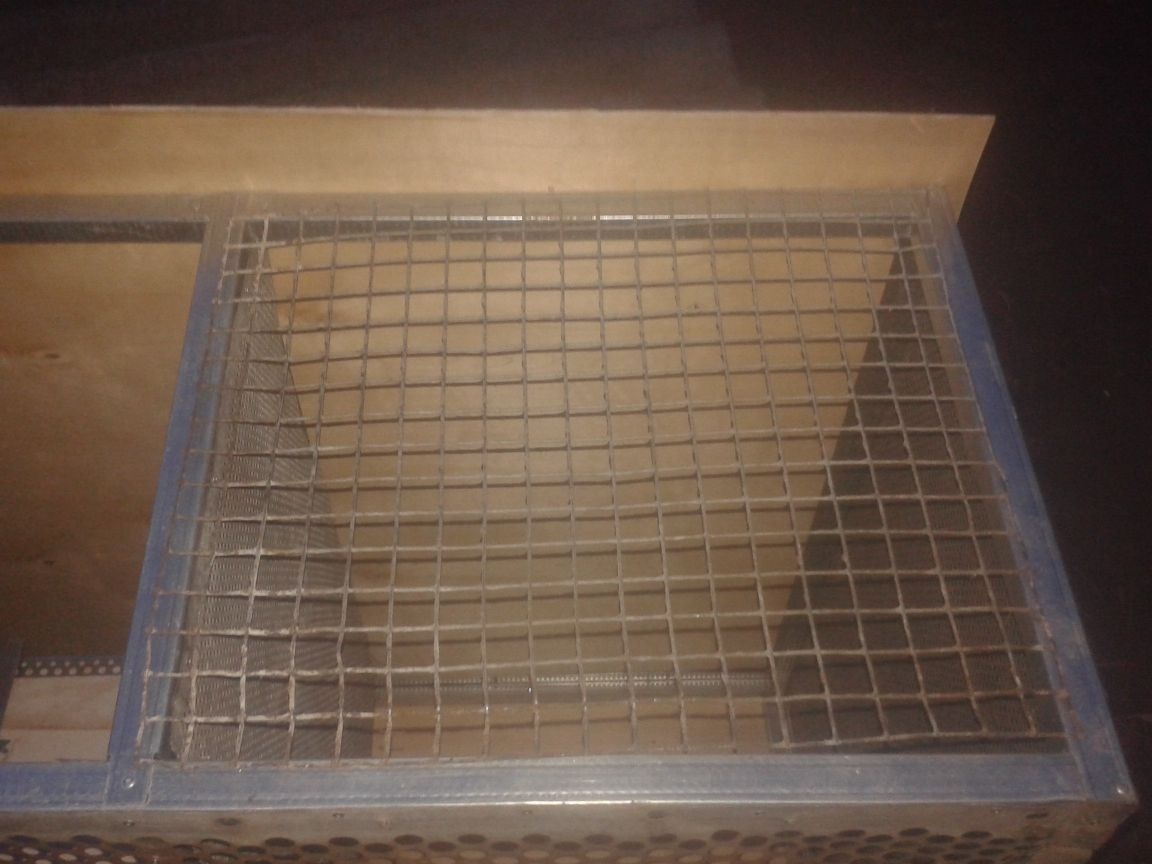
Now I’m doing partition walls. It’s more difficult with them, because you need to make cuts at an angle of 90 degrees, for profiles. Also adjust to size, cut off the corners and begin to fasten. But, since the profile is in the form of the letter P, therefore there is an empty part that needs to be filled with something before attaching the separator grid. I solved this problem simply: I cut off small pieces of the profile and inserted it into the attachment points of the mesh in another profile. All riveted. On it already and partitions fastened.
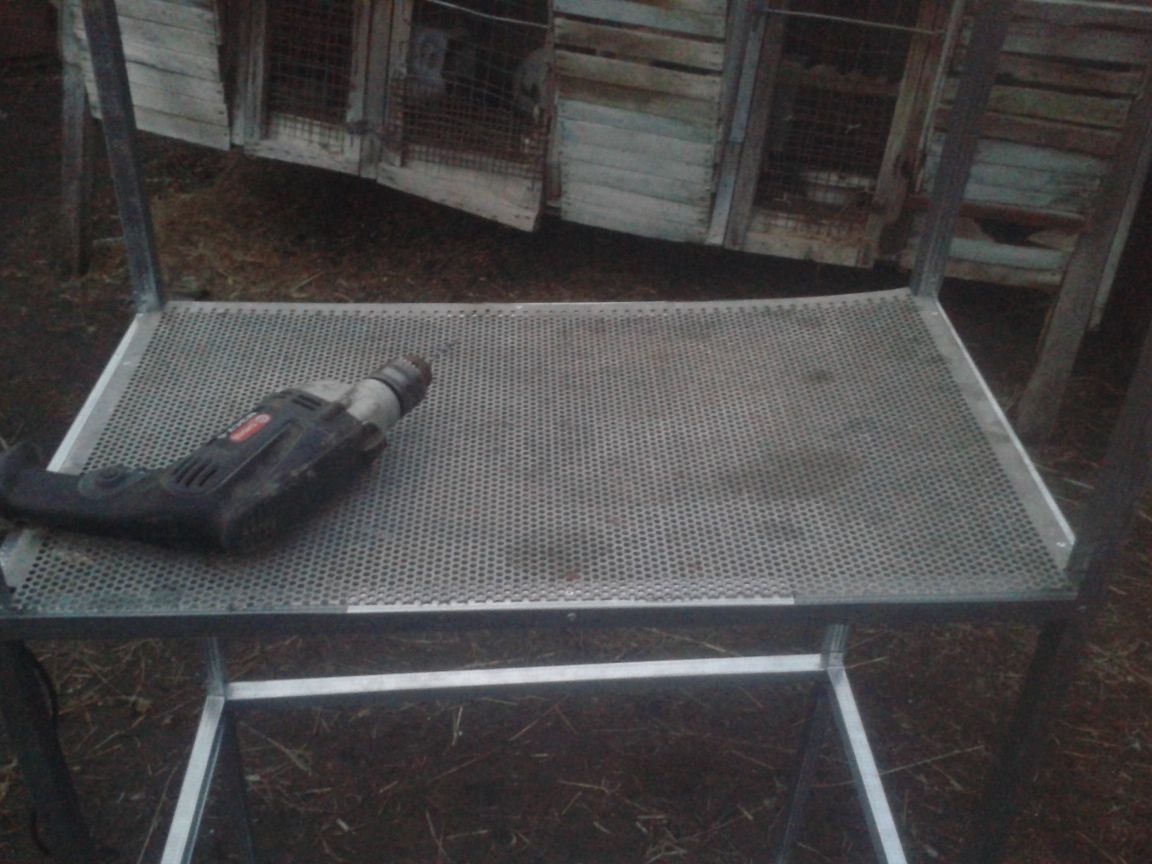
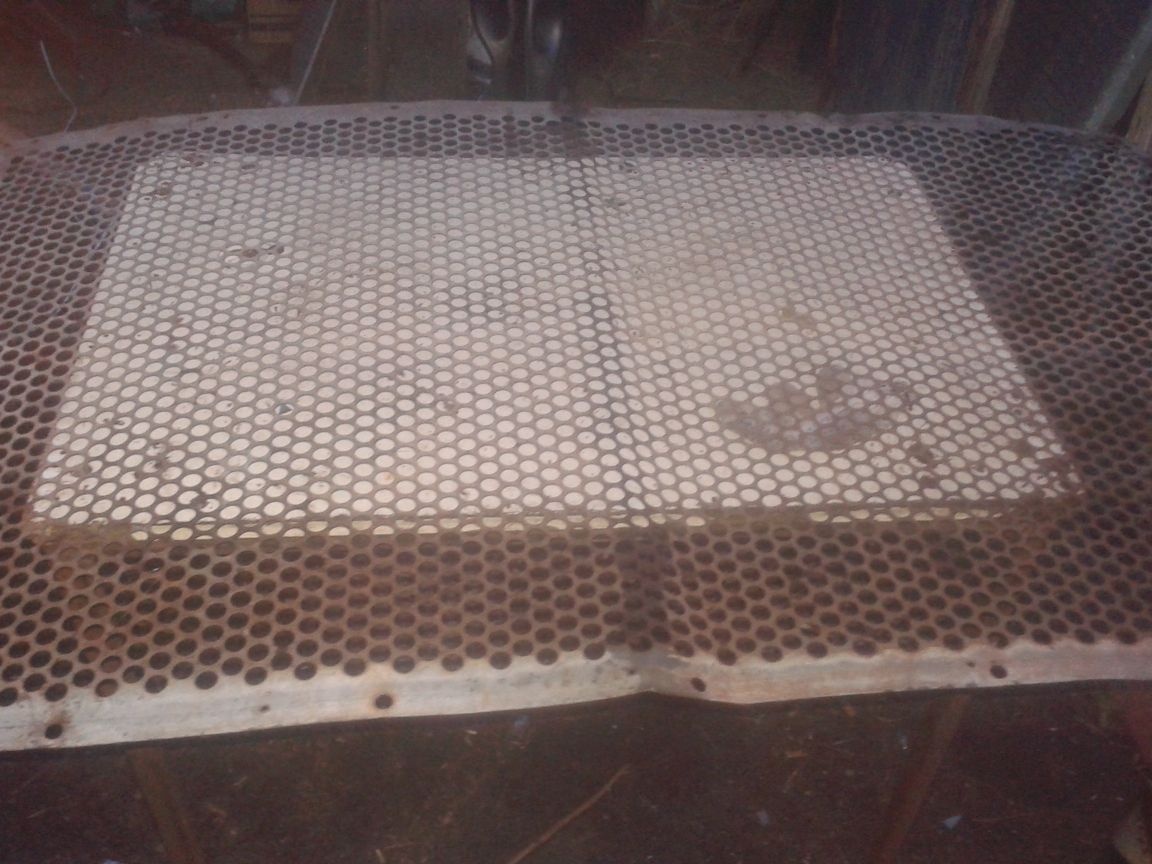
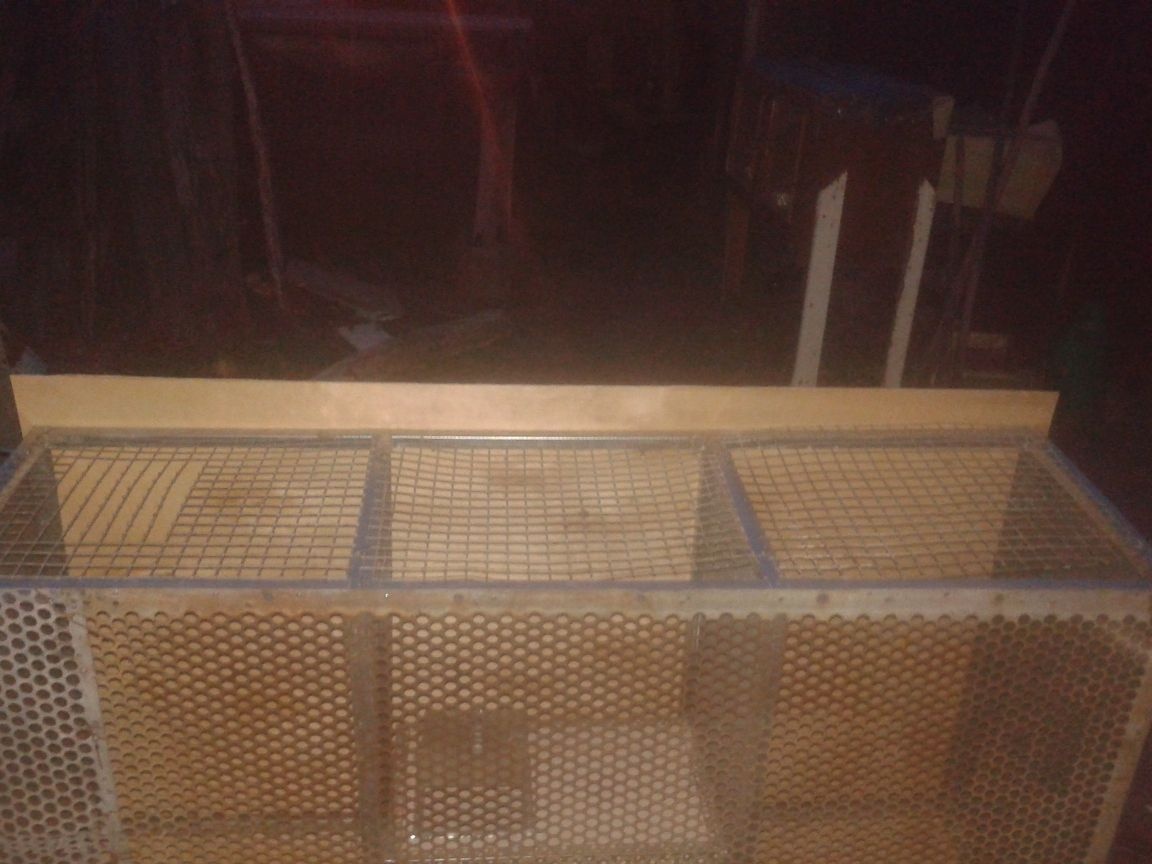
Now the floor. A mesh with large openings is placed on the floor so that all the waste products do not accumulate in the mesh. I fastened it from the outside. Nothing complicated.
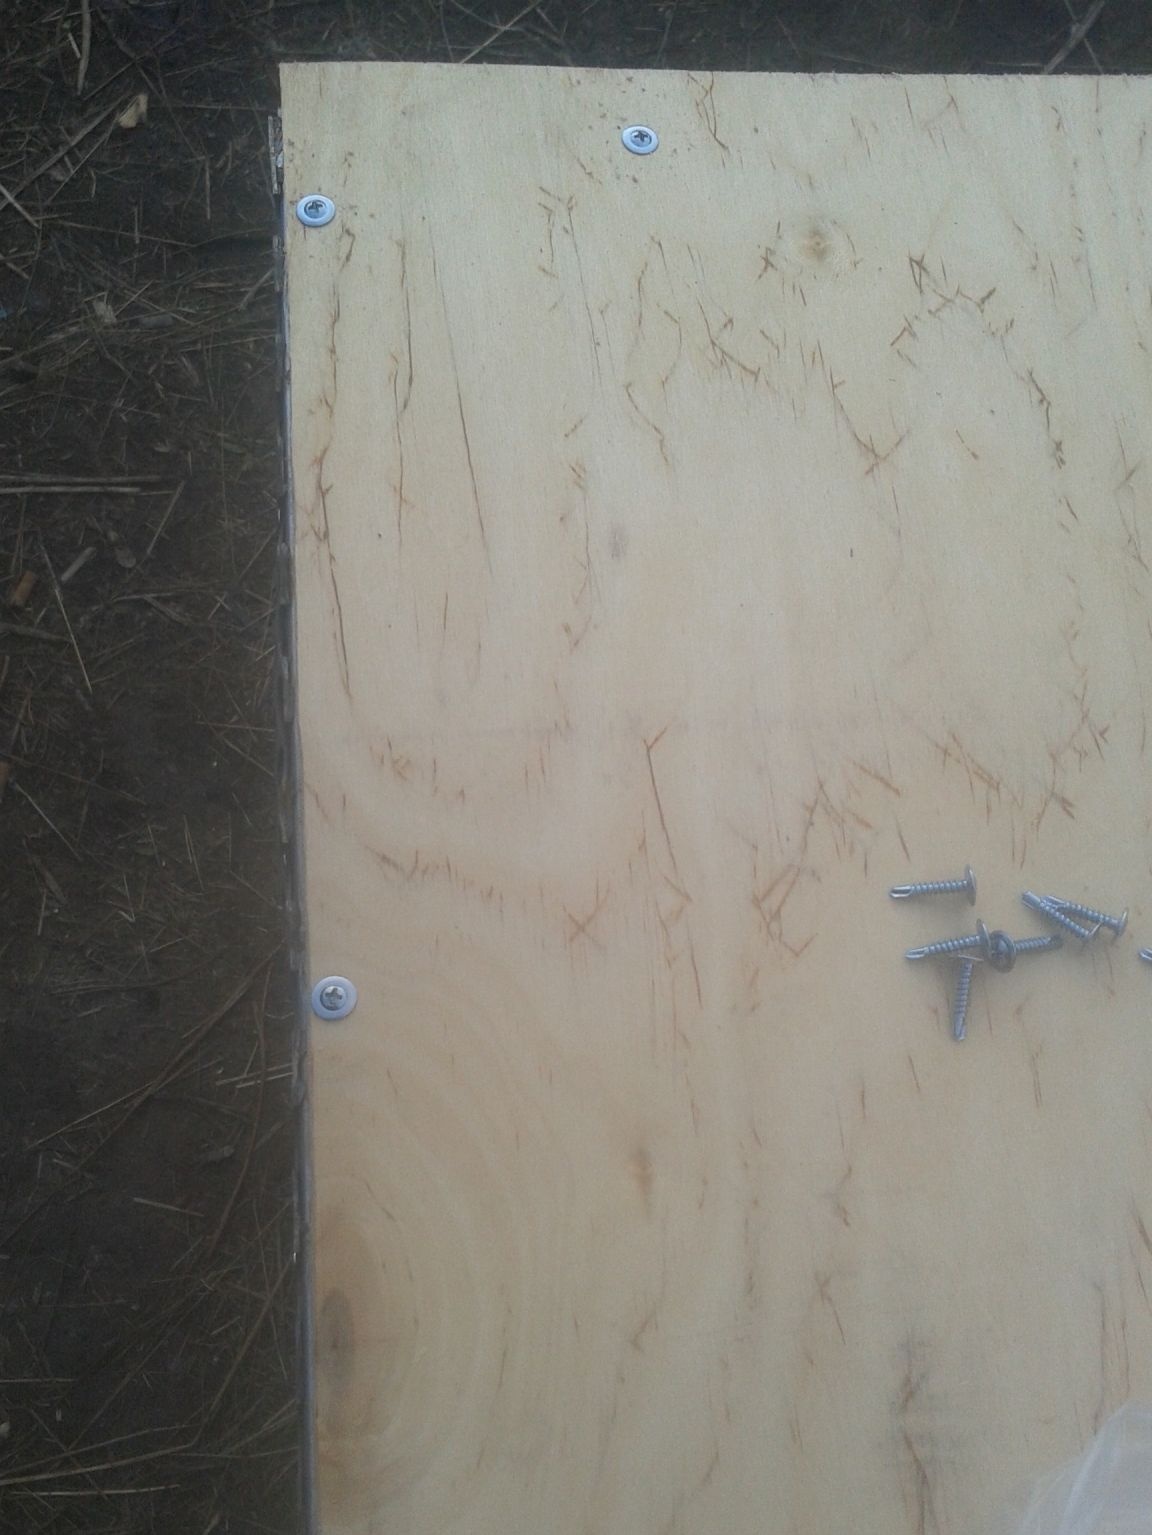
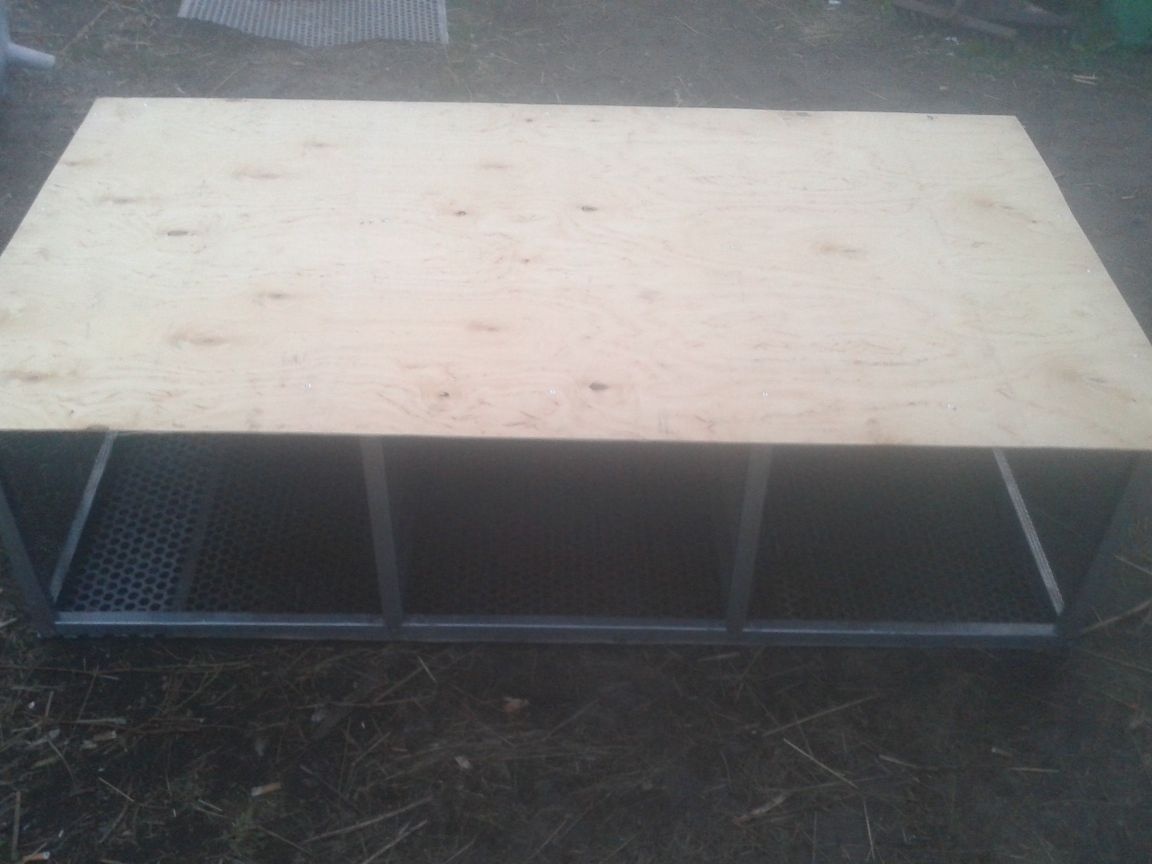
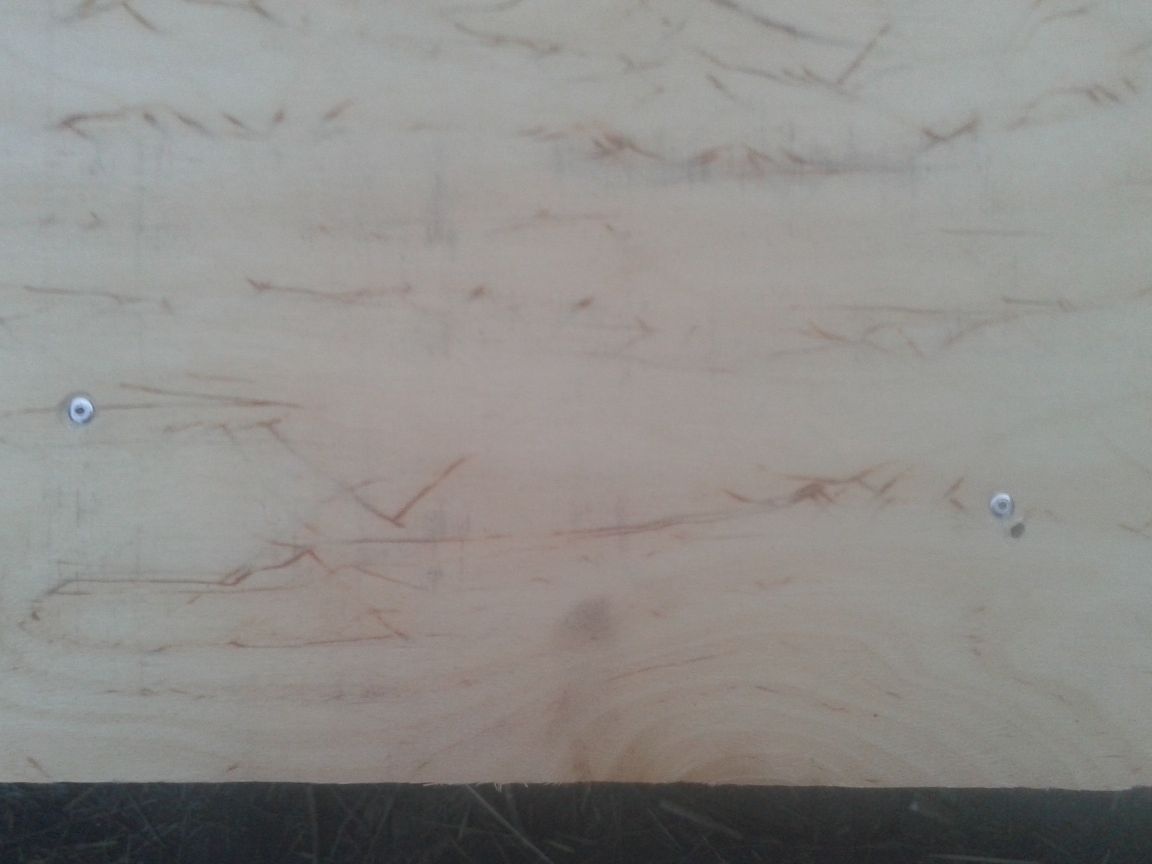
For the roof and back wall, I used 6 mm plywood, which, after building the cage, was varnished in several layers. Fastened initially with self-tapping screws, but when they ran out, the time was already later and the stores did not work. I was attacked by a worker. I remembered my experience with mother liquors when I fastened corners to plywood with rivets and started doing exactly the same. The result is excellent.


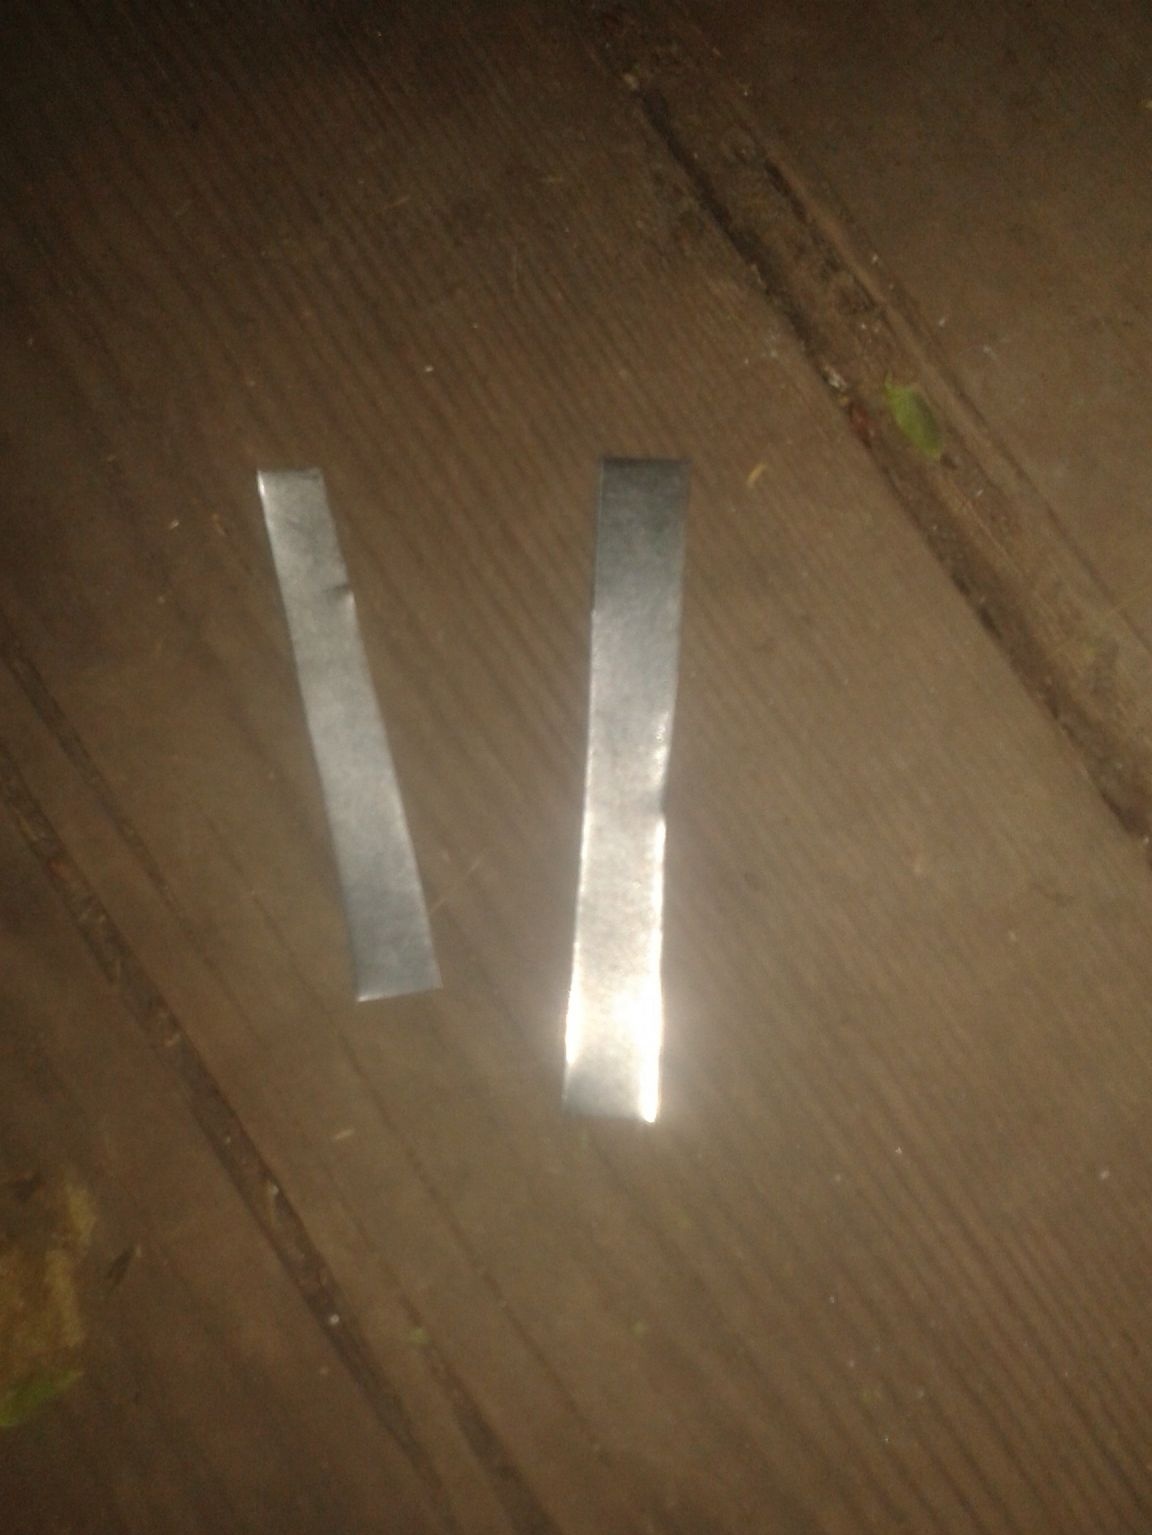
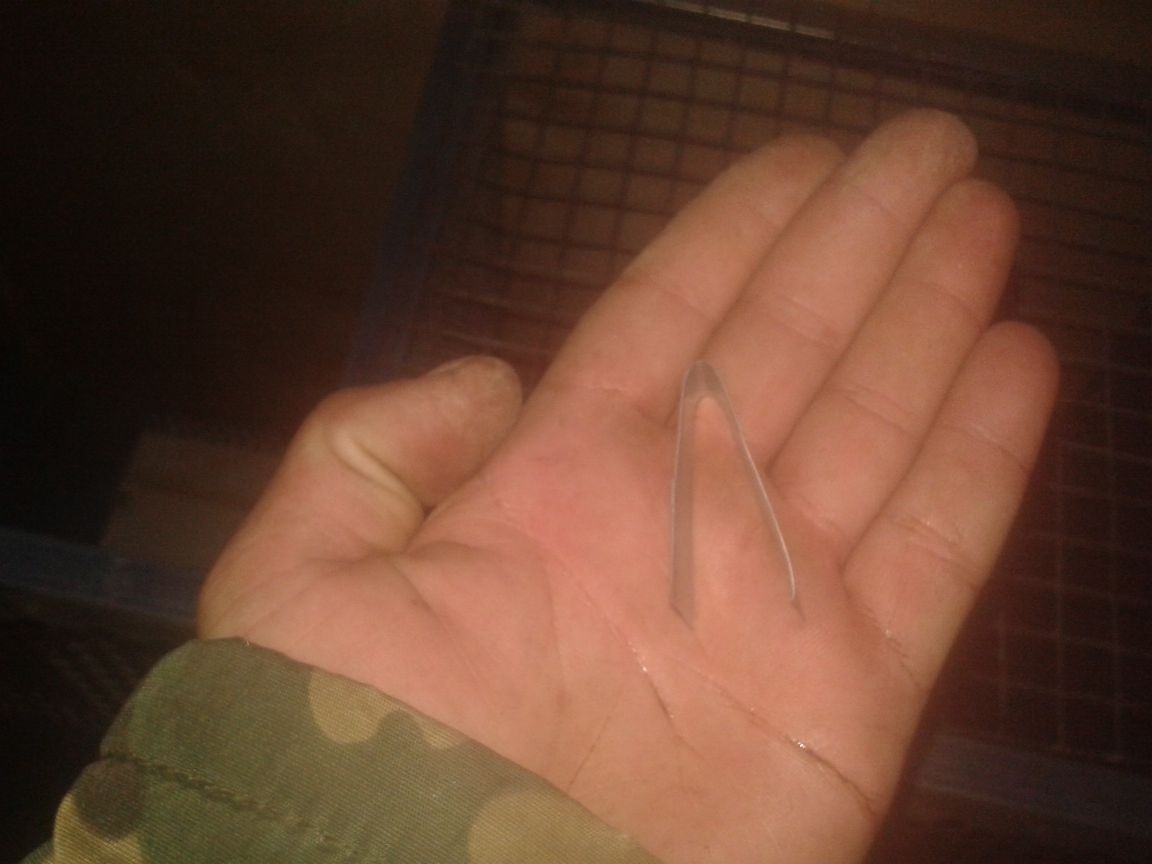
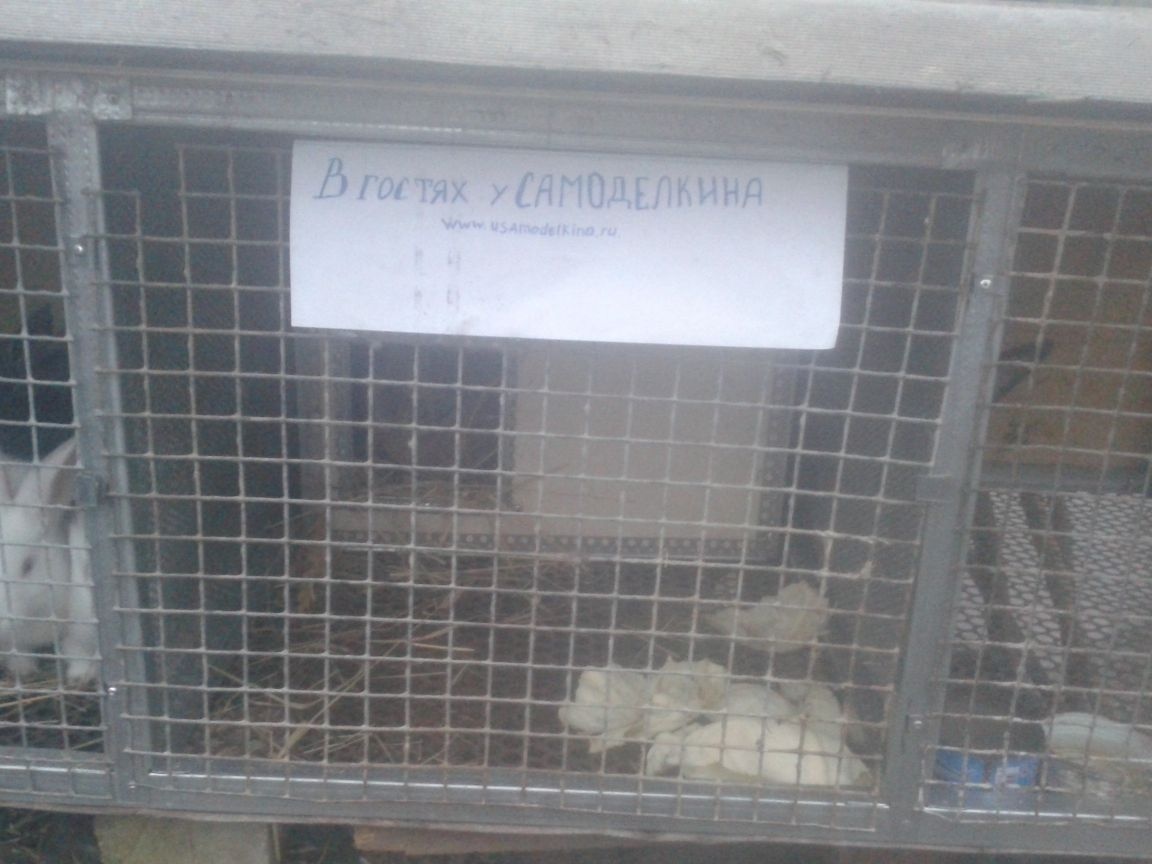
Now the door. Initially, I wanted to make them from a profile. But then I decided that it would be superfluous and started doing just from the grid. To do this, I fit the grid to the size of the inlet. Hinges made of thin strips of galvanized steel, which are fixed on a cage with nets together. Good loops came out. The ends are cut off by a grinder. I also made locking mechanisms from galvanizing. For more than a month now, the cell hasn’t fallen off or broken.
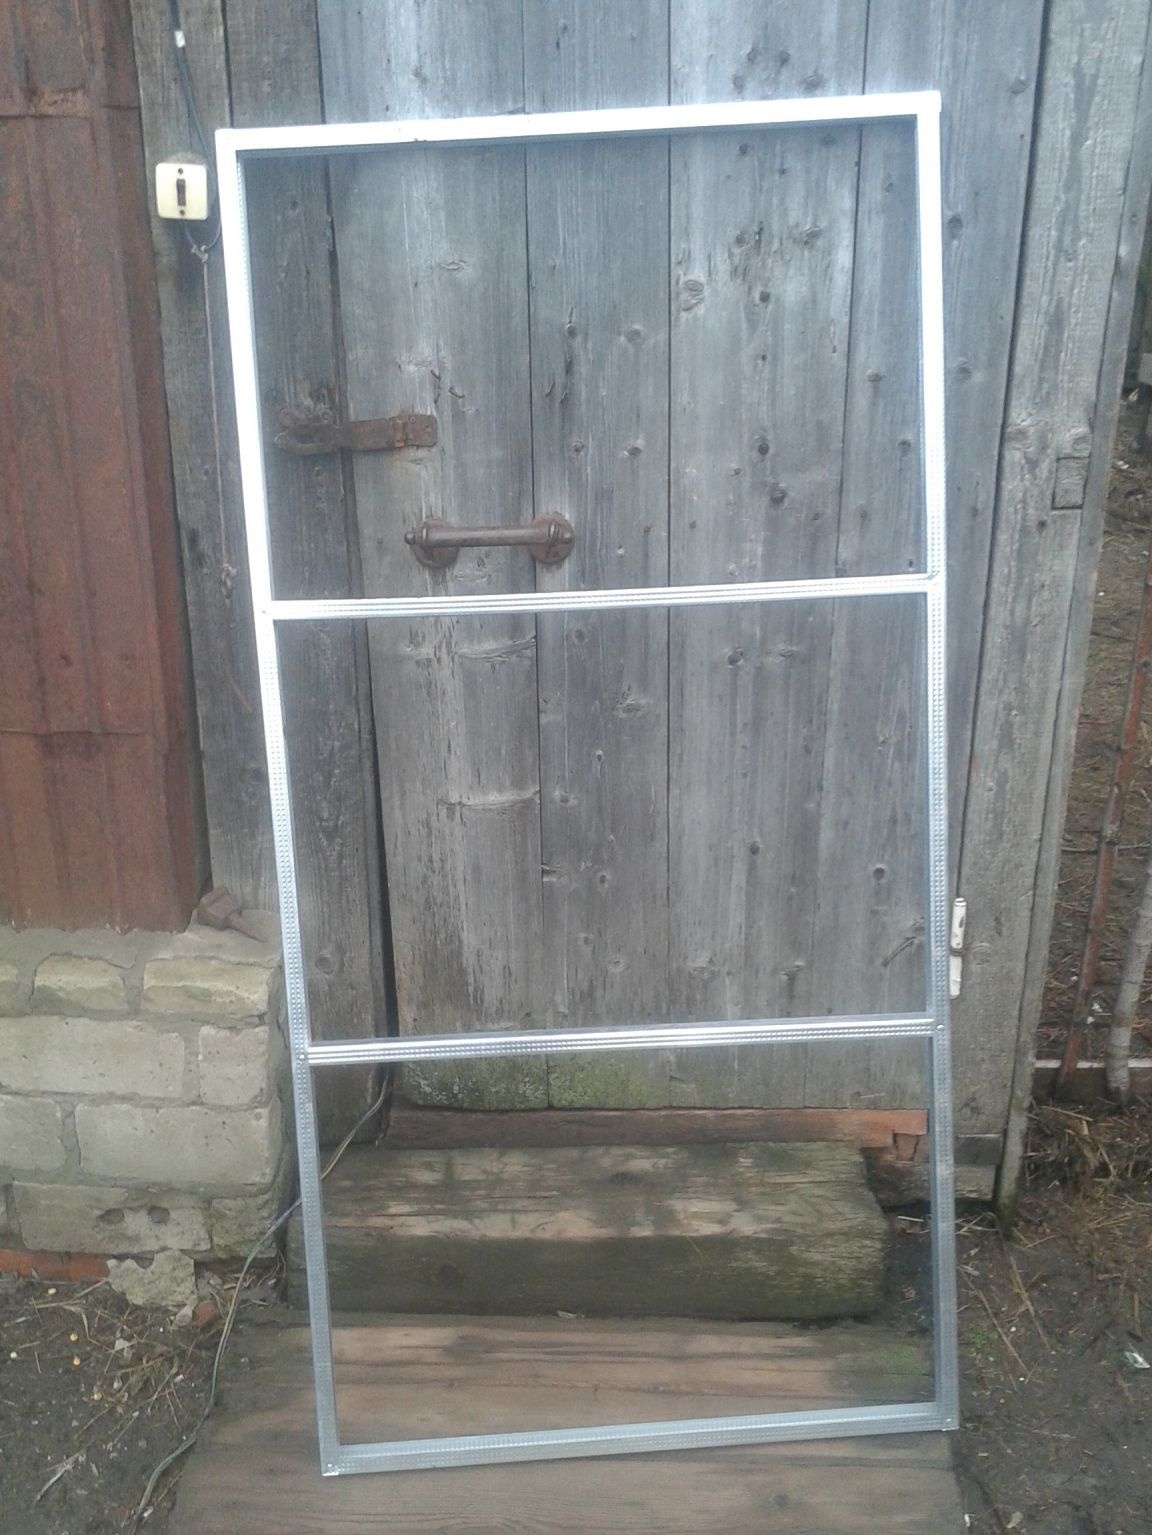
Here is the finished result, populated by residents.
So far, he has set the cage on another rabbit house. At the moment, I am engaged in the construction of a second such cage, which with the help of corners will be attached above this cage. There will be a distance of 40 cm between them. In it I will strengthen the inclined guides and lay sheets of steel or polycarbonate on them to drain waste from the top floor. Anyone who will do exactly the same design - put metal or polycarbonate in such a size that its lower edge protrudes 25-30 cm from the back wall of the lower tier. The whole structure will stand on profiles, only more powerful ones.
I wish you all successful buildings and the health of your pets!