

Hello, dear visitors of the site. Today I want to tell you about how very cheaply and quickly I made a strong pillar from the waste material on which the roof of the terrace will rest.
As I wrote in previous publications, this summer I am engaged in the reconstruction of a private house. Simply put, I'm doing an extension. According to my project, part of it will be an unglazed terrace where you can sit with a cup of coffee and a cigarette.))))
The terrace will be under the common roof of the annex. This part of the roof will be supported by two columns. When I poured the foundation, I just stuck a thick piece of reinforcement in their place, and decided to think about the method of their manufacture later.)))))
And now the turn came to build these columns.
There are a great many ways of constructing support columns. Basically, two methods prevail: the column is laid out of brick, or made of an asbestos-cement pipe, into which cement mortar is poured. (The pipe acts as a fixed formwork).
I need square columns, so the second way is no longer needed.
So, you need to build a brick! ... But this is not my method !!!!
After all, I’m a practical person, and I really like to use materials that are often suitable only for spinning, or for throwing away!)))) ... After all, I do not use wage labor, I do everything myself, do it yourself!
So, we need:
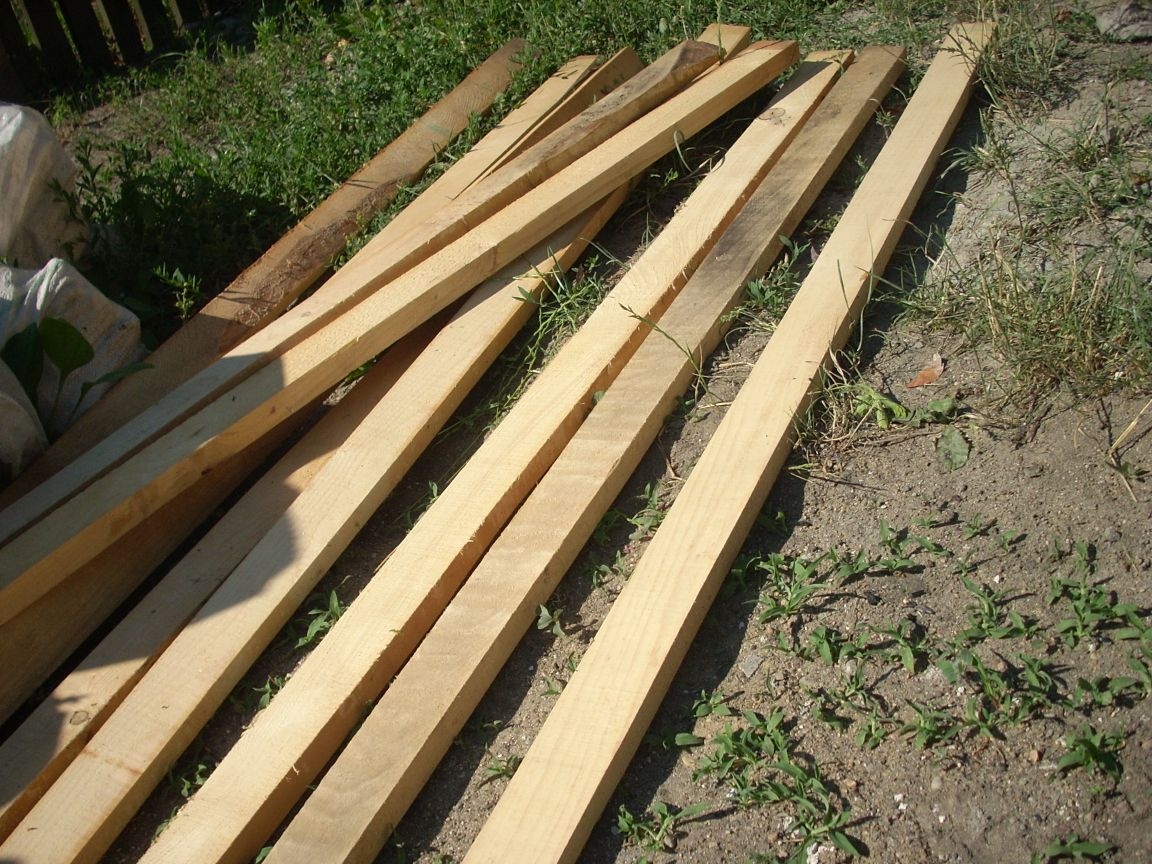
1. Trimming (or plywood, boards ... in short, that is))))
2. Wooden slats (or bars, or planks ... again, it depends on what you have lying around))))
3. Brick fragments (or concrete fragments, tiles, or stones))))
4. Cement.
5. Sand (gravel, or ASG).
6. Fittings.
At first, I started the construction of the formwork. Rummaging around in the sheds, I found several rails with a cross section of 50 by 25 millimeters remaining after the repair and several scraps of the OSB plate. (I try not to throw away the remains of building materials.)

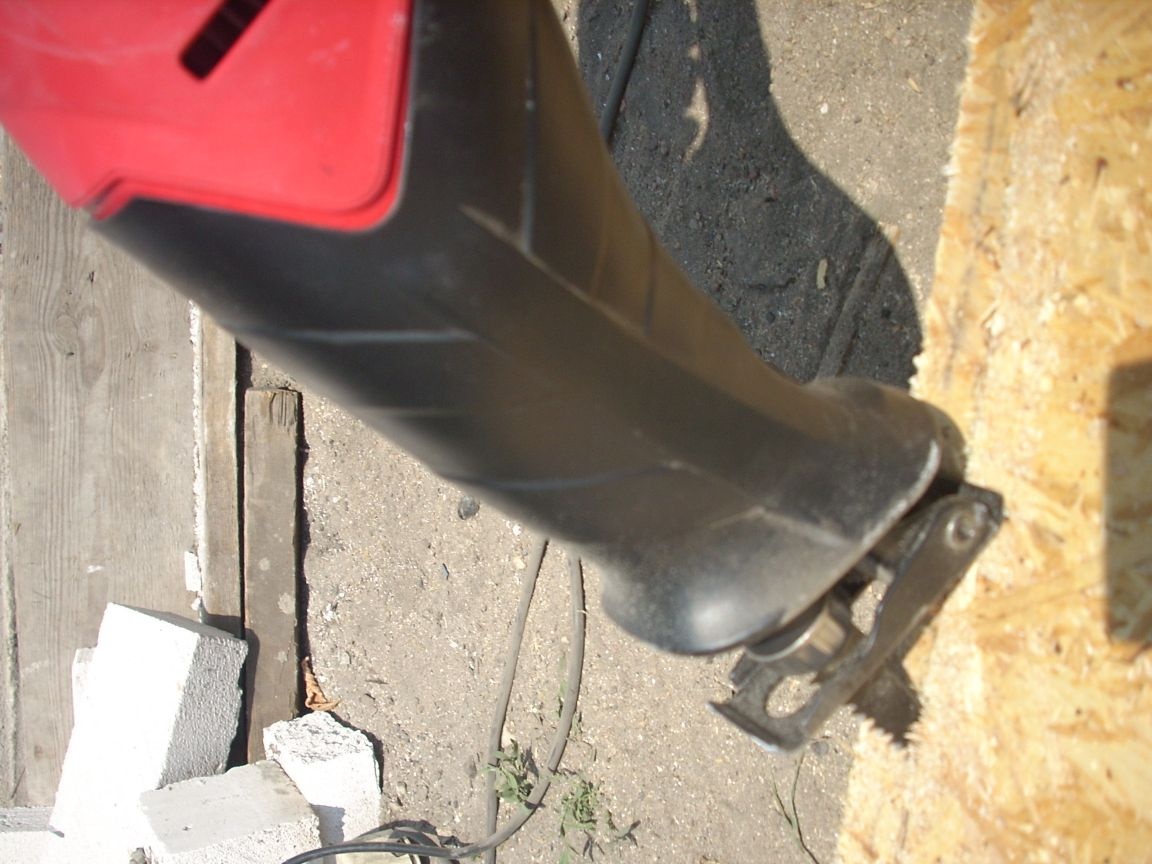
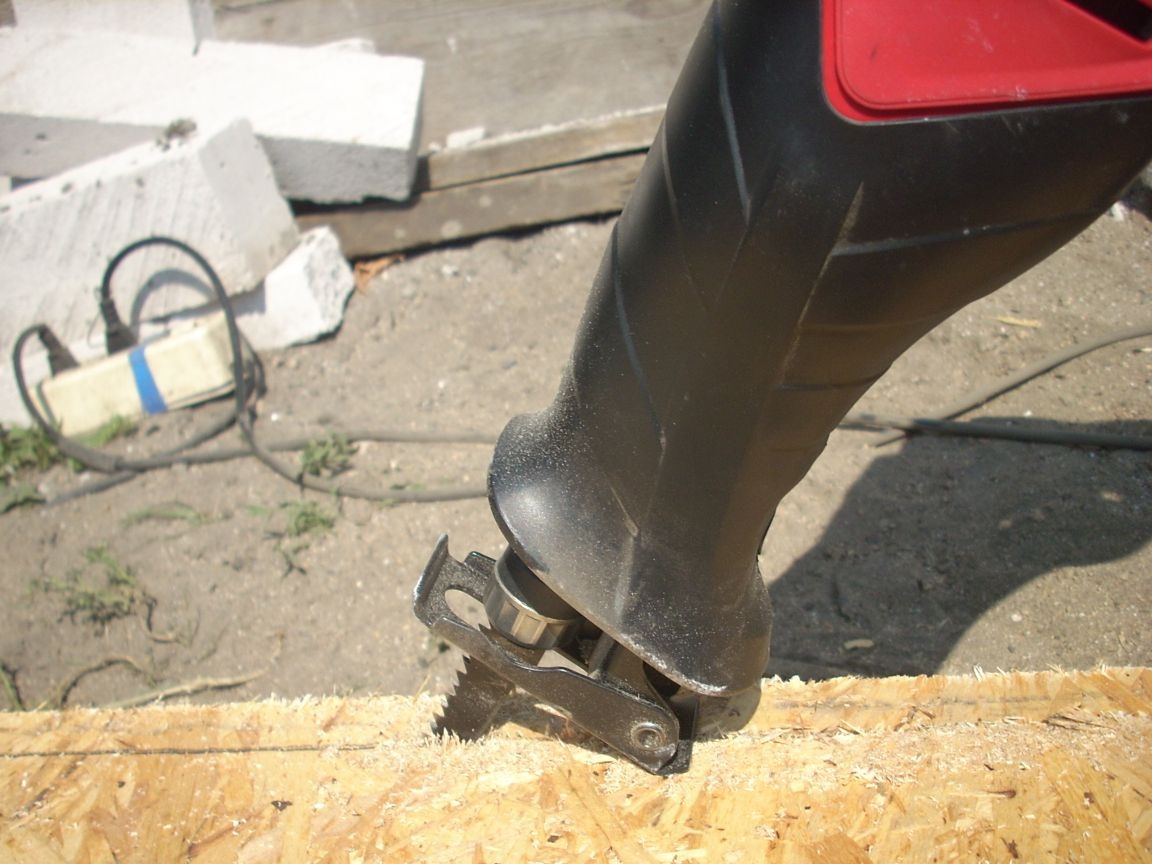
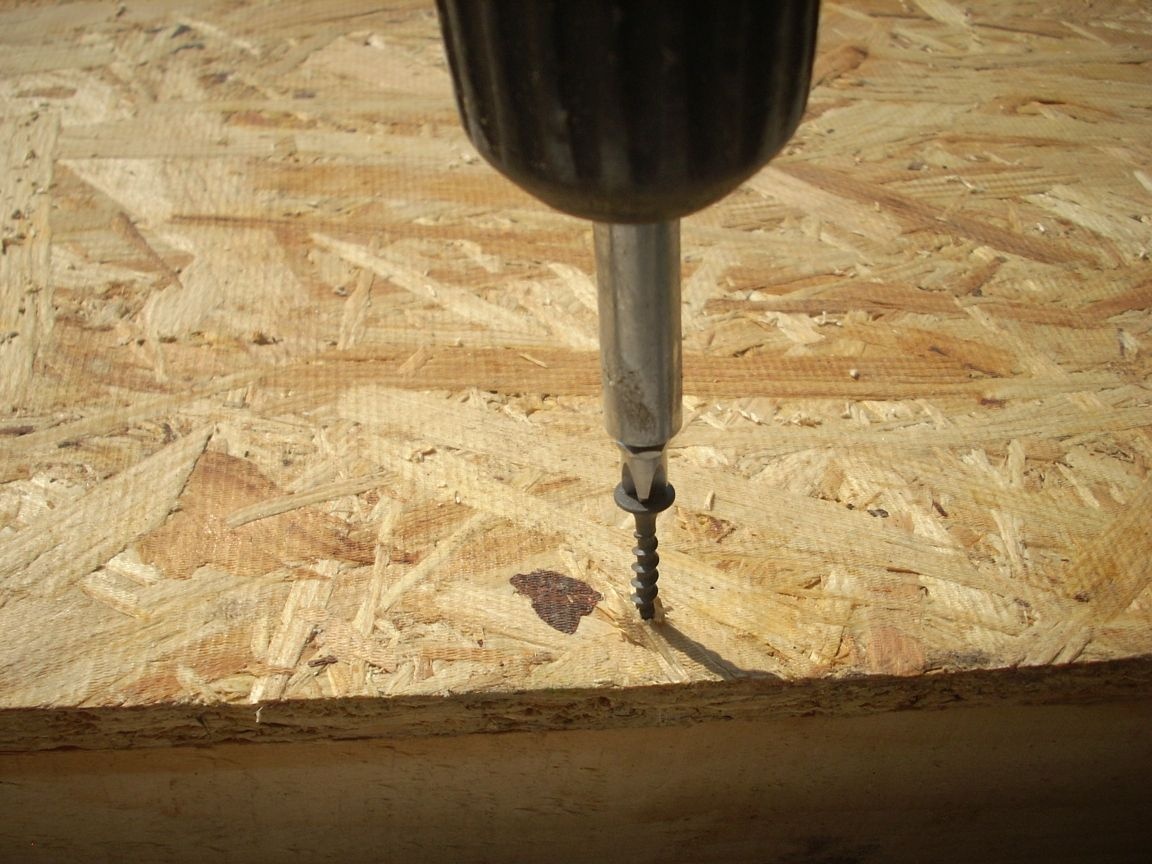
I cut the OSB into strips 30 and 40 cm wide. This is good to do with a jigsaw, but I forgot to buy blades for it, so I used a reciprocating saw:
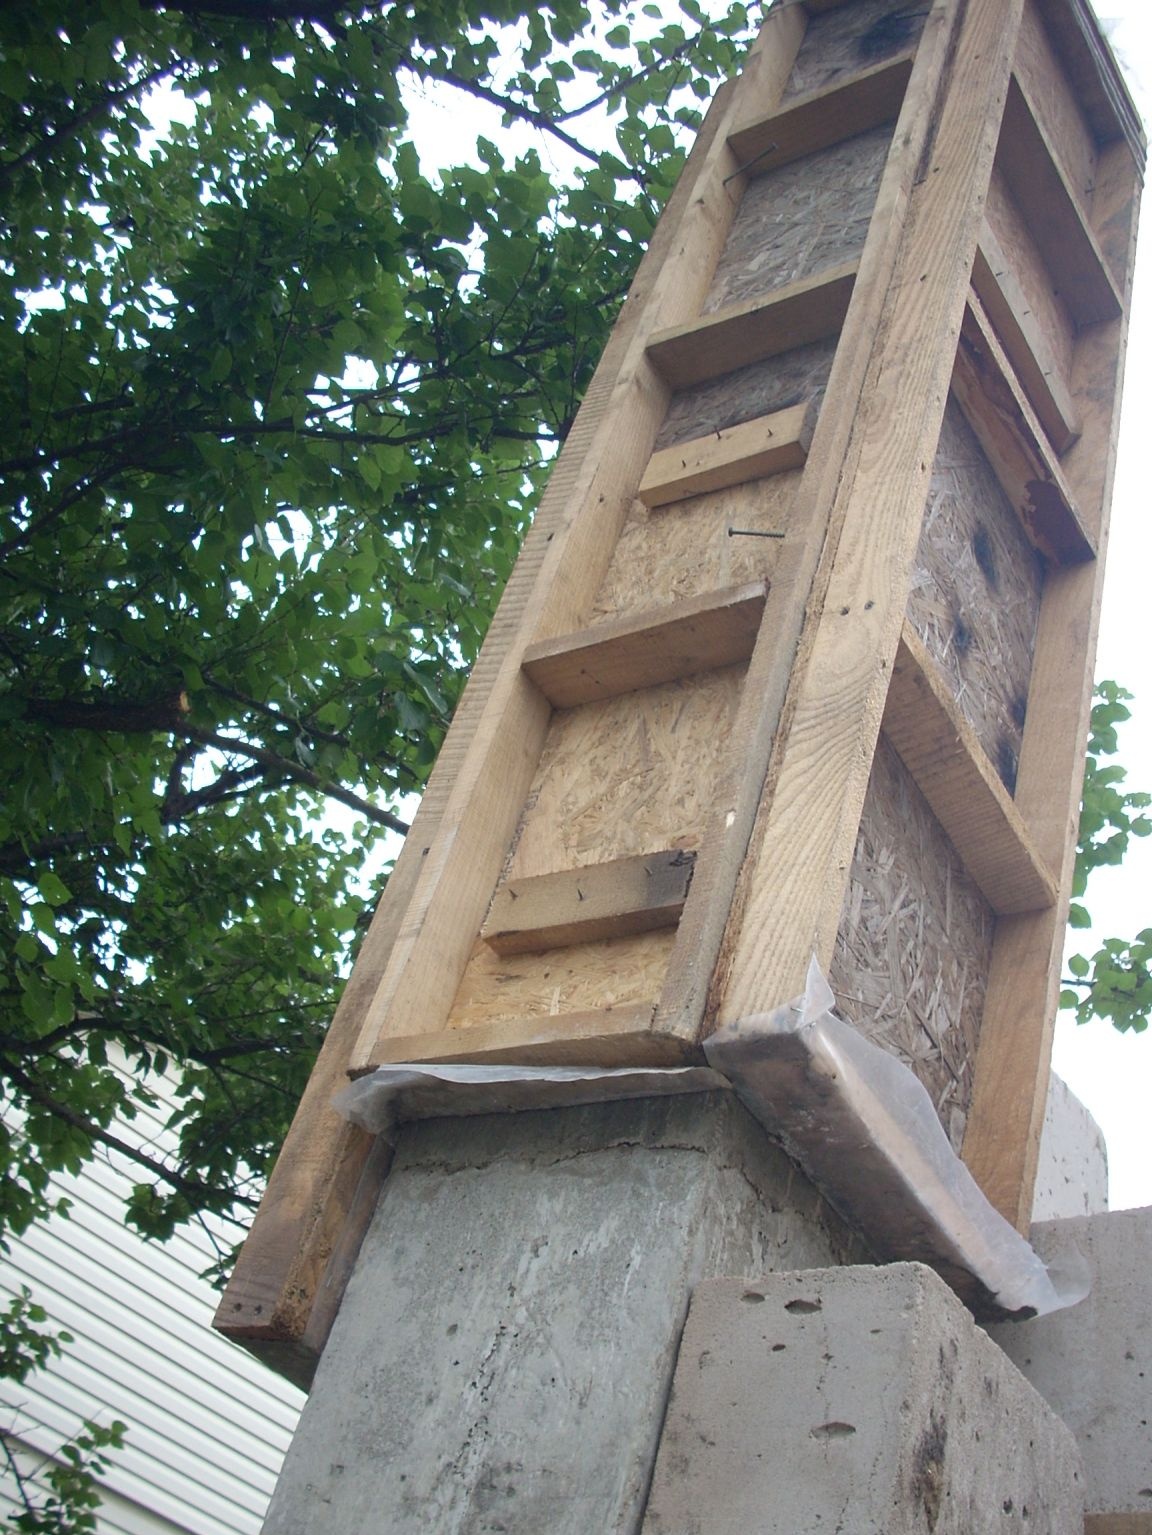
And he built four formwork, two meters long. (Reiki were two meters high). I made two of them with a width of 30 cm (section of my future column), and the other two with a width of 40 cm. (Although it would be necessary to 42, since the thickness of the end is 6 cm, but my trim pieces of 40 were well cut and not enough for 42)))). I screwed the perimeter of the formwork with screws to the rails set "on the edge"
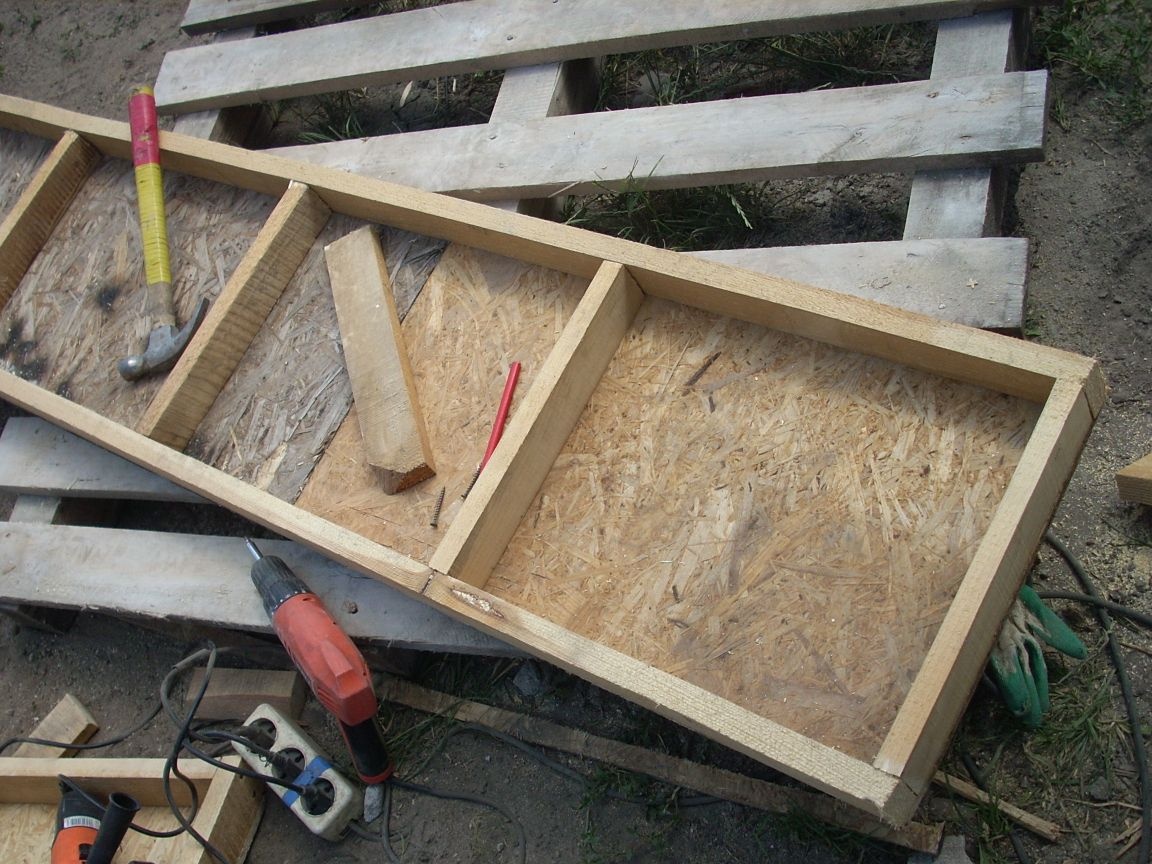
I placed the crossbars inside, trying to place them relatively evenly. This did not quite work out, since I did it from scraps, not from a solid sheet, and the cross-pieces should fall on the joints of pieces of an OSB-plate). The crossbars were fixed with long (75 mm) screws to the side rails.
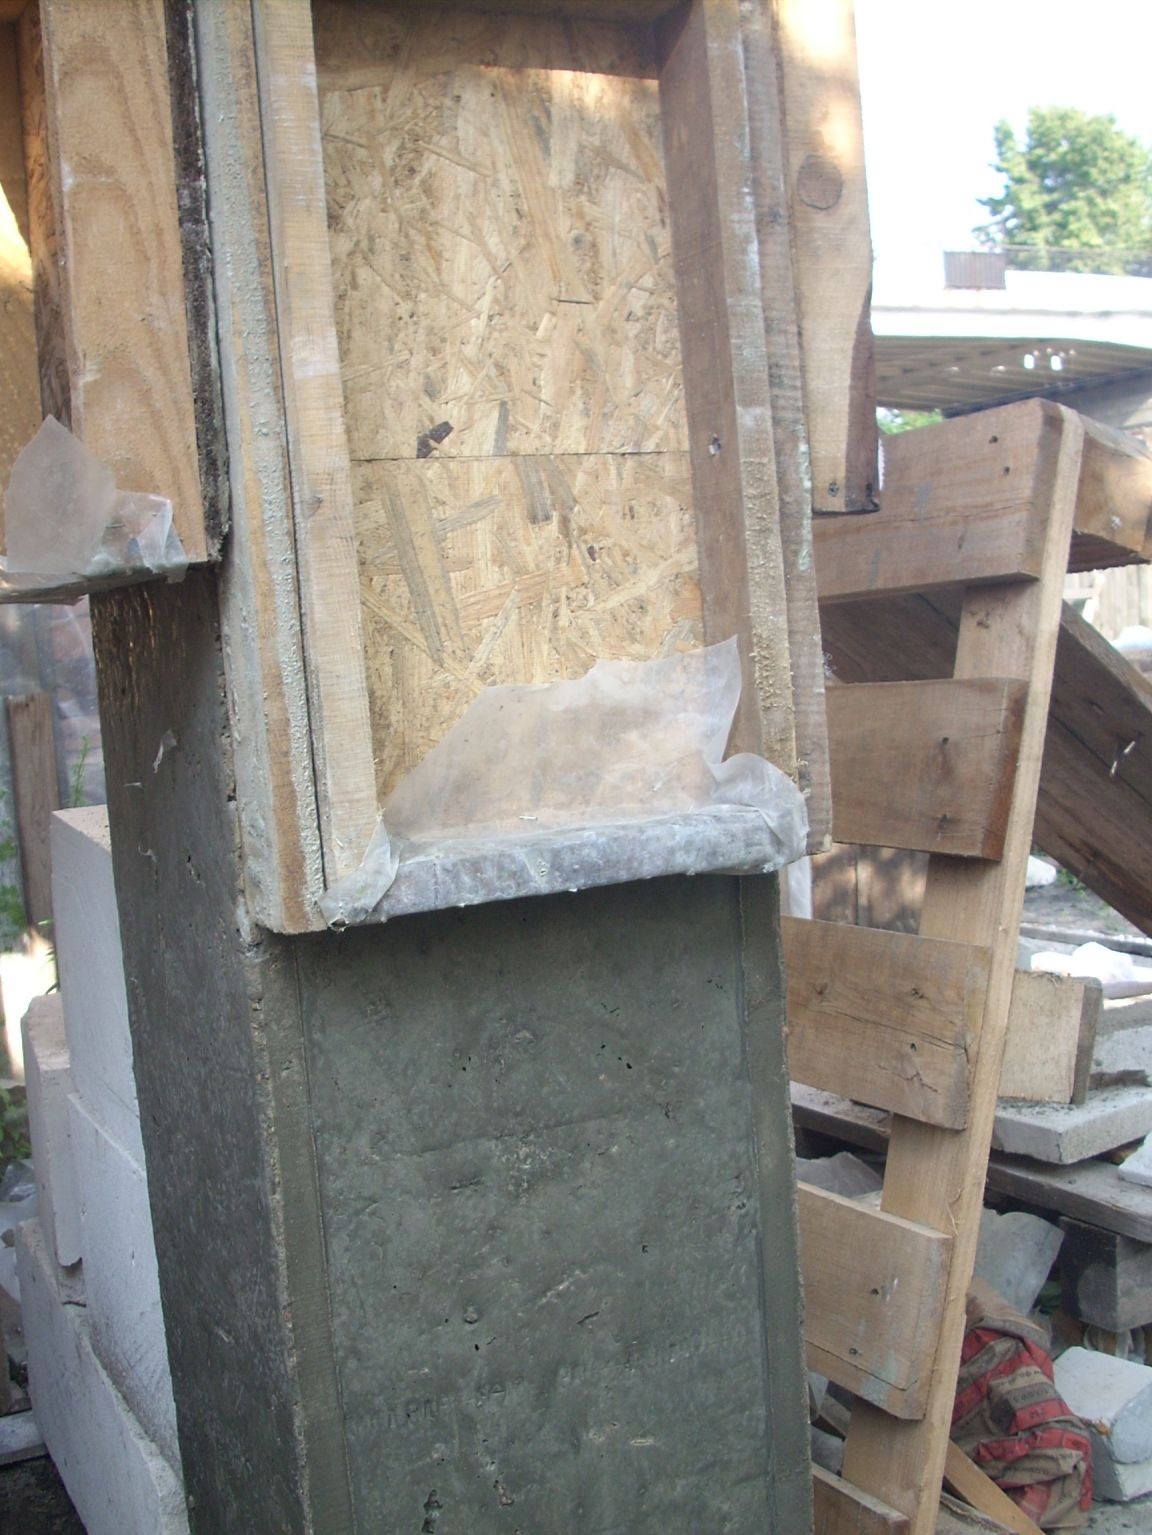
After that, with the help of a stapler, I covered them with plastic wrap. (Film scraps remained after the construction of the greenhouse for seedlings ... I never throw anything away)))))))
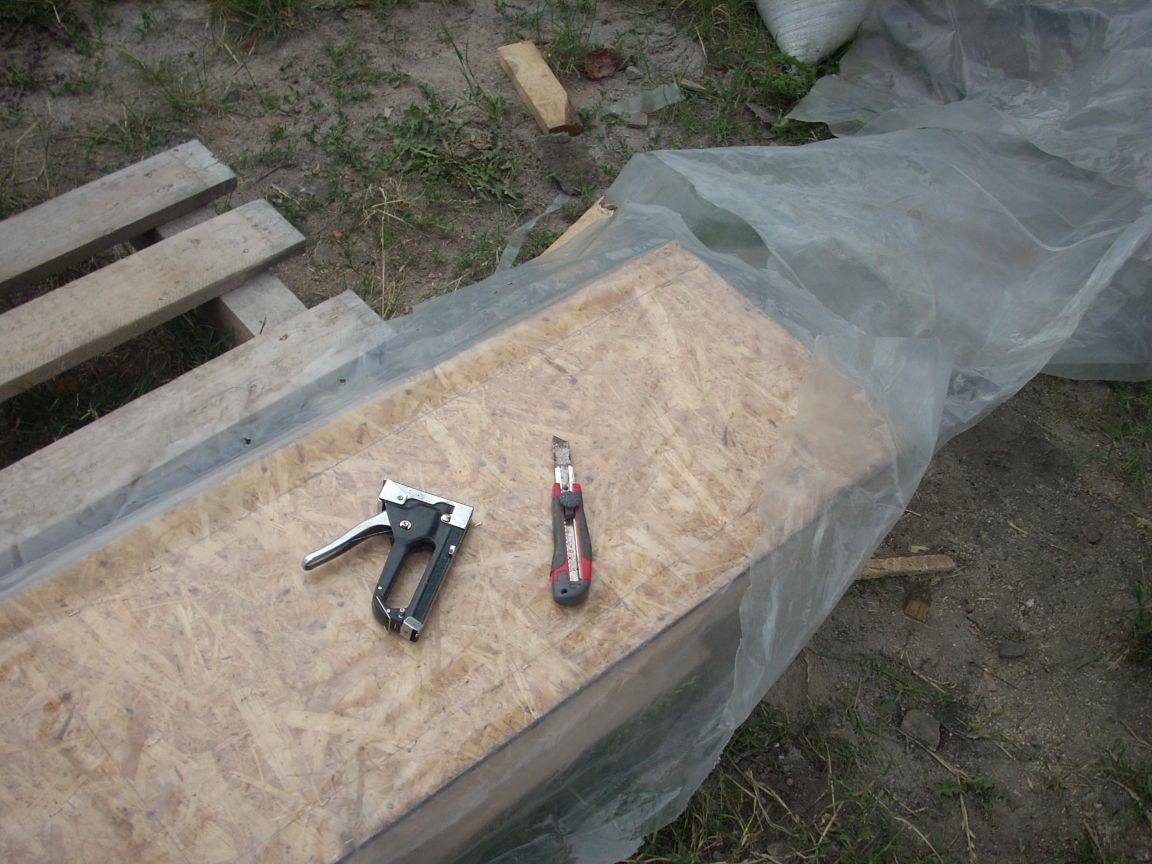
This film has two purposes at once:
(everyone, I think, understood) thanks to her, the formwork is much easier to lag behind concrete.
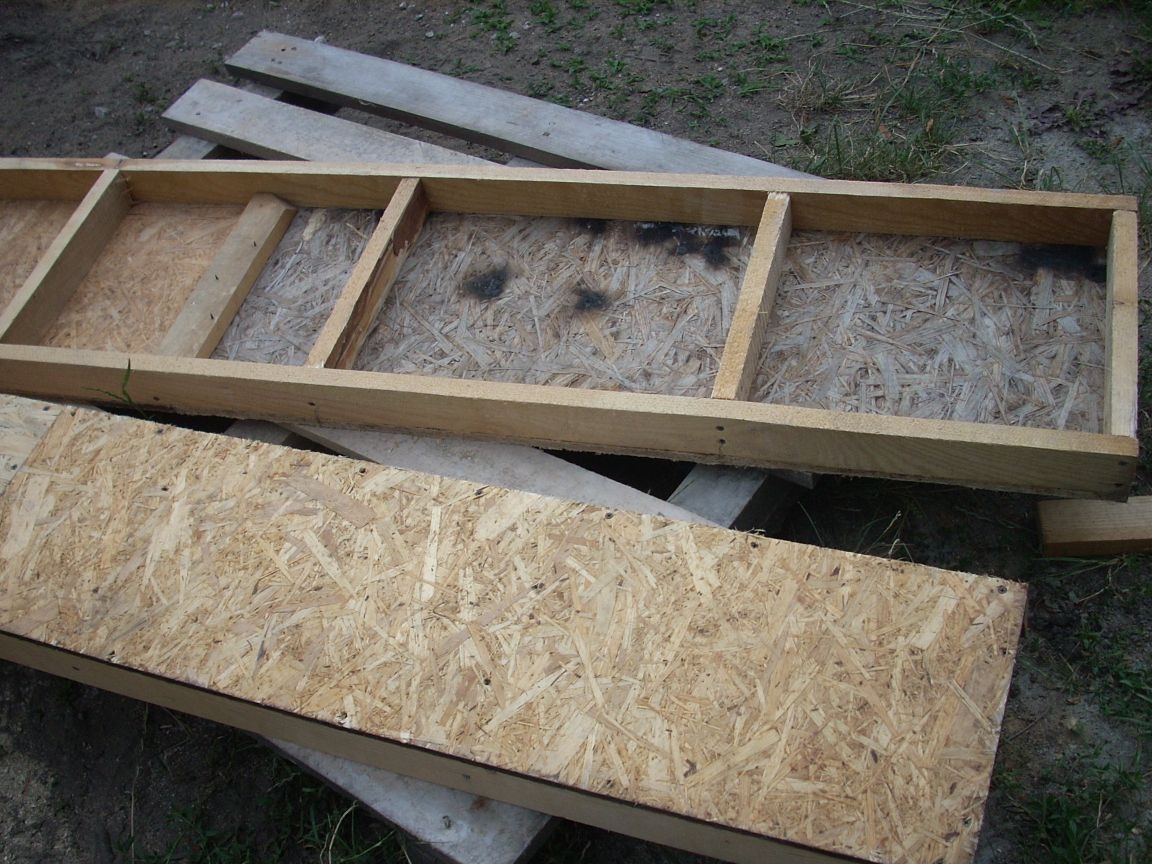
... I told you that I never throw away anything!)))) Removing the film, I get clean formwork. Having screwed two bars along the sides of the narrower formwork with screws, I will equalize their width .... and I will get four very strong two-meter shelves for shelving in the basement, or shed .... It remains only to attach them to vertical beams. "Waste-free production from waste"))))))
So, it's time to collect the formwork. For the convenience of this operation, I drilled wider shields in the long side rails along a series of holes with a diameter of about 3.5 mm with an interval of about 10-15 cm.
By the way, it’s better not to do this with a drill. Drill, even if you have a long drill of such a small diameter, you will most likely break it on the fifth hole))))). Therefore, it is easier to bite off the hat of a hundred and twenty-nails, pinch it into a drill and drill it ...
I assembled the formwork, twisting it with 100 mm screws passed through these holes.
The upper part was fixed with struts made from the remaining rails. From above I screwed the spacers to the formwork with screws:

Having set, in level, fixed the lower parts on the ground with metal pins:
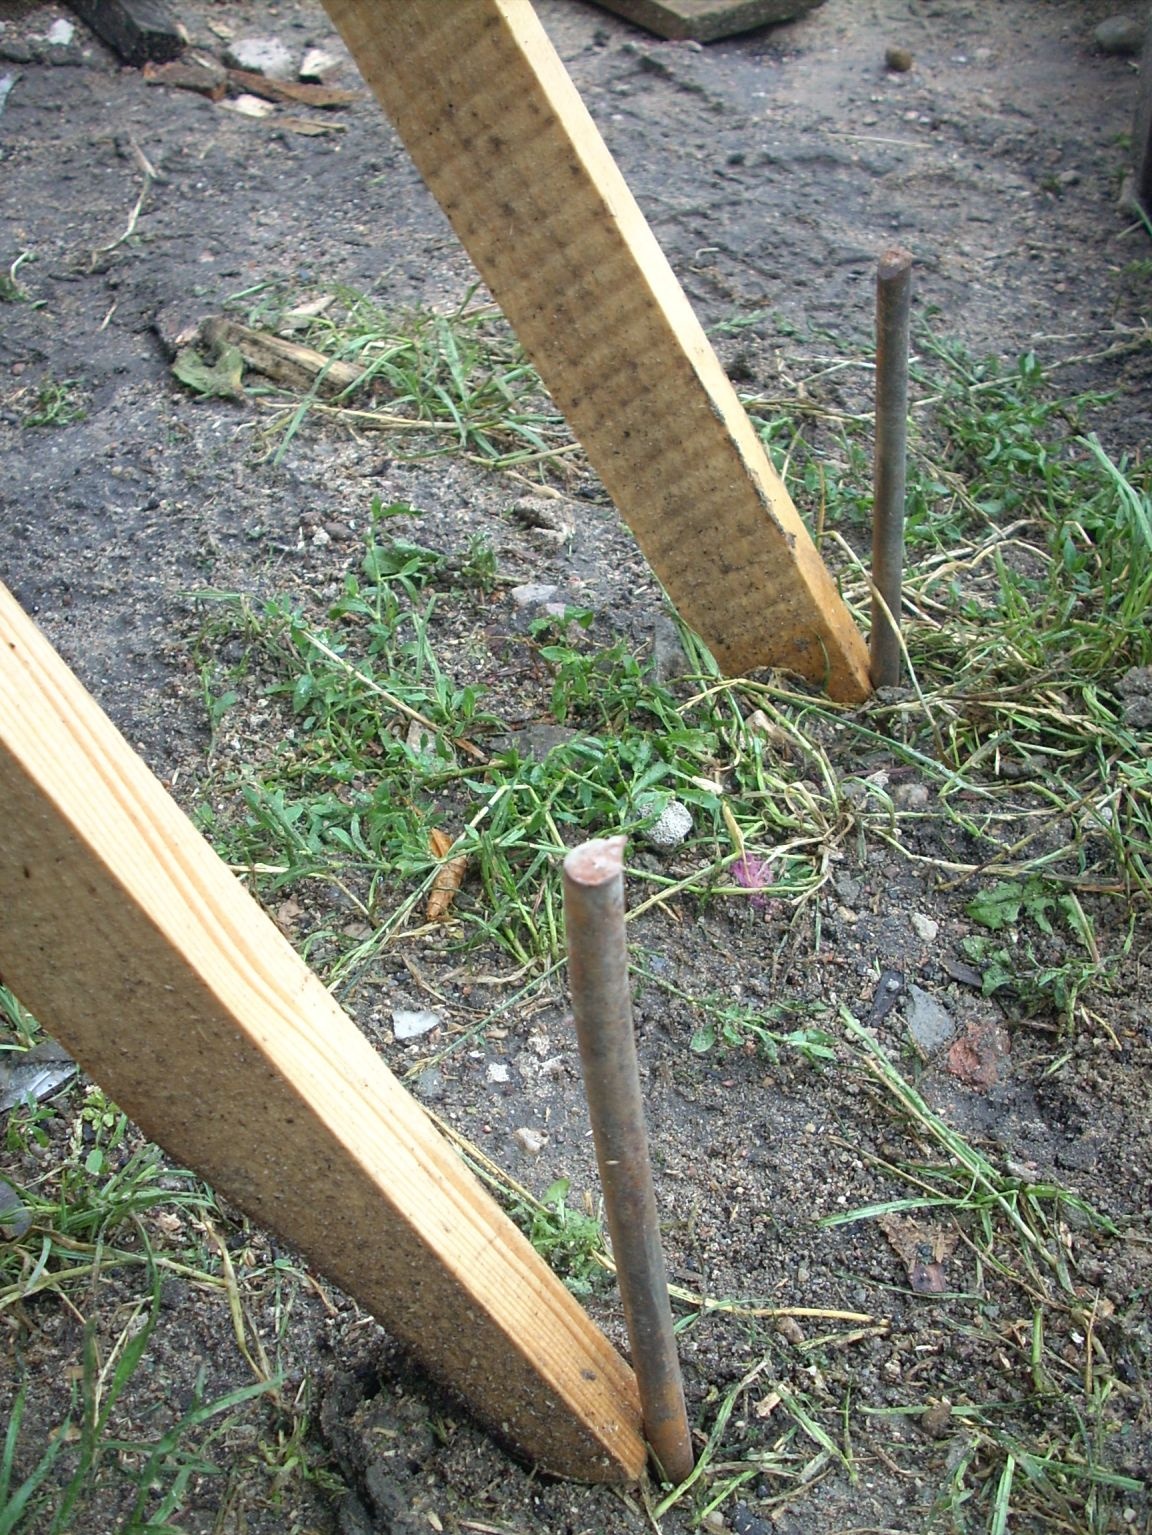
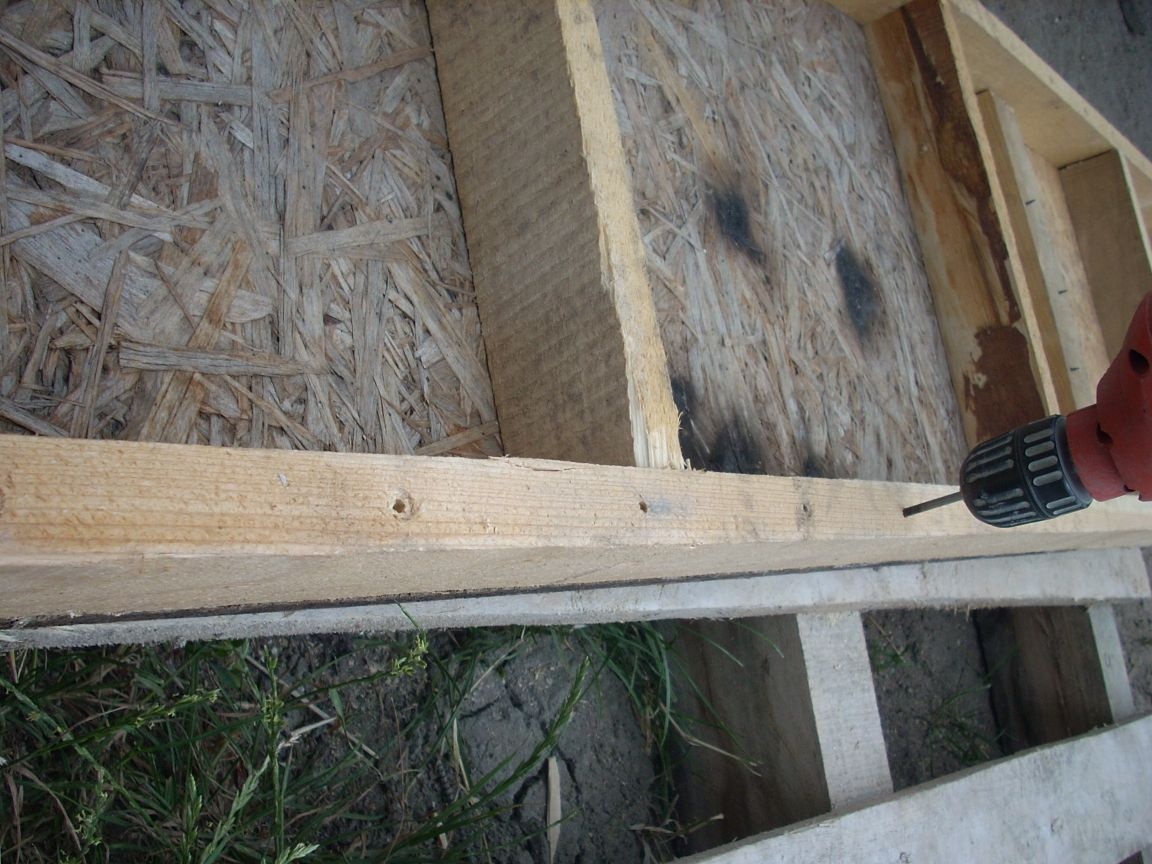
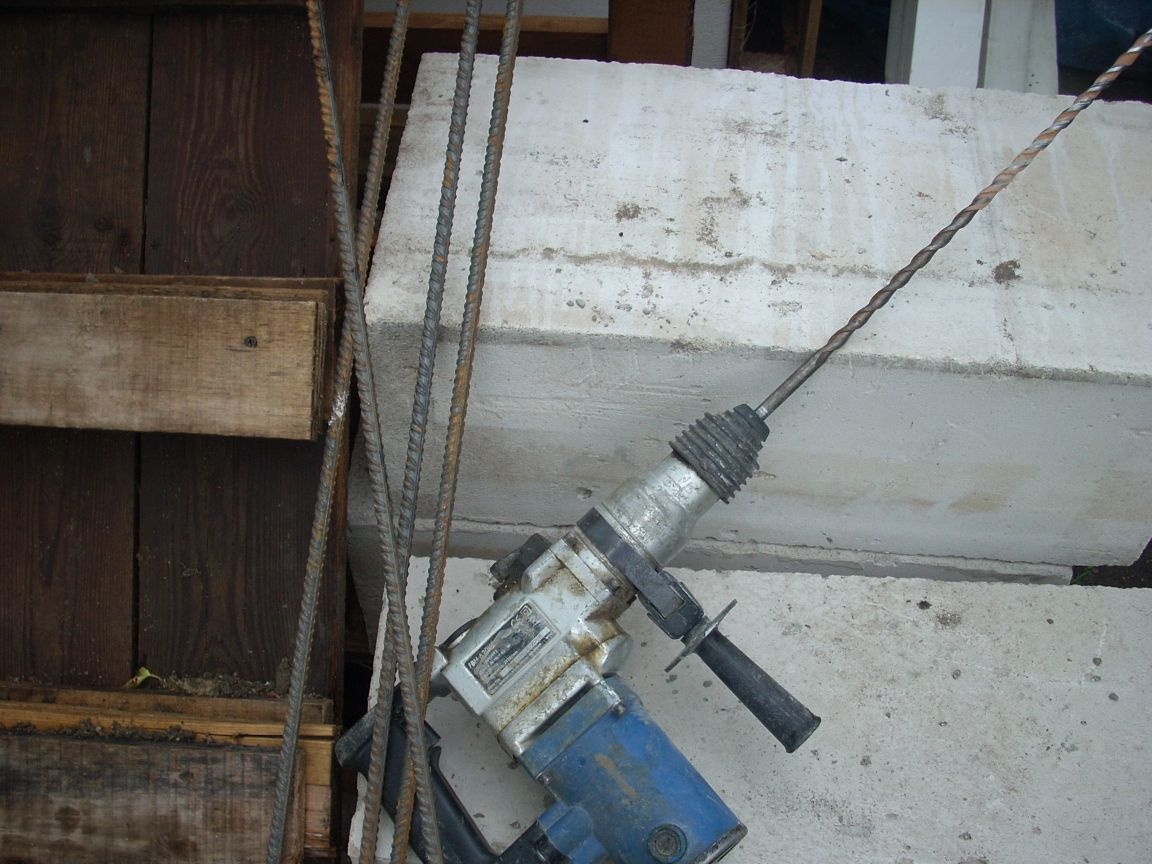
Then I remembered the fittings. I decided to use reinforcement with a diameter of 10 mm (left after pouring the foundation))). If you install four of these rods in the corners of our column, this will significantly increase its strength. It was necessary to do this before installing the formwork. And now it has already been installed and verified according to the level, so I decided to use a perforator with a long drill, drill blind holes in the foundation and hammer the rods into them.
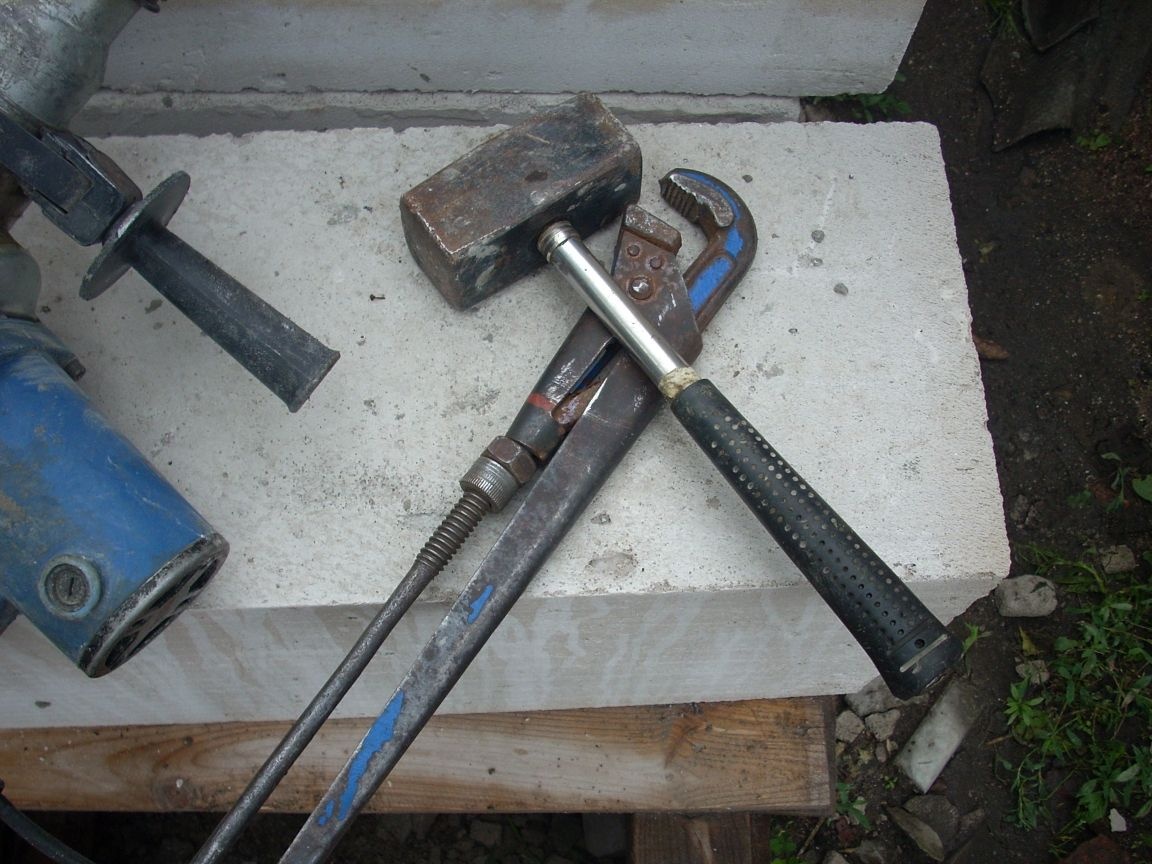
I prepared a light sledgehammer and inserted the rods into the holes.
And I ran into a small problem: the column will be about three meters high, and still stands on a high foundation, therefore, to get to the ends of the reinforcement with a sledgehammer, scaffolding is needed))))

But the "goal of fiction is tricky" ... I solved this problem with a pipe wrench: I grabbed the fittings with them and hit the key with a sledgehammer. With a slight bias, the jaws of the key tightly cling to the "ribs" of the valve:
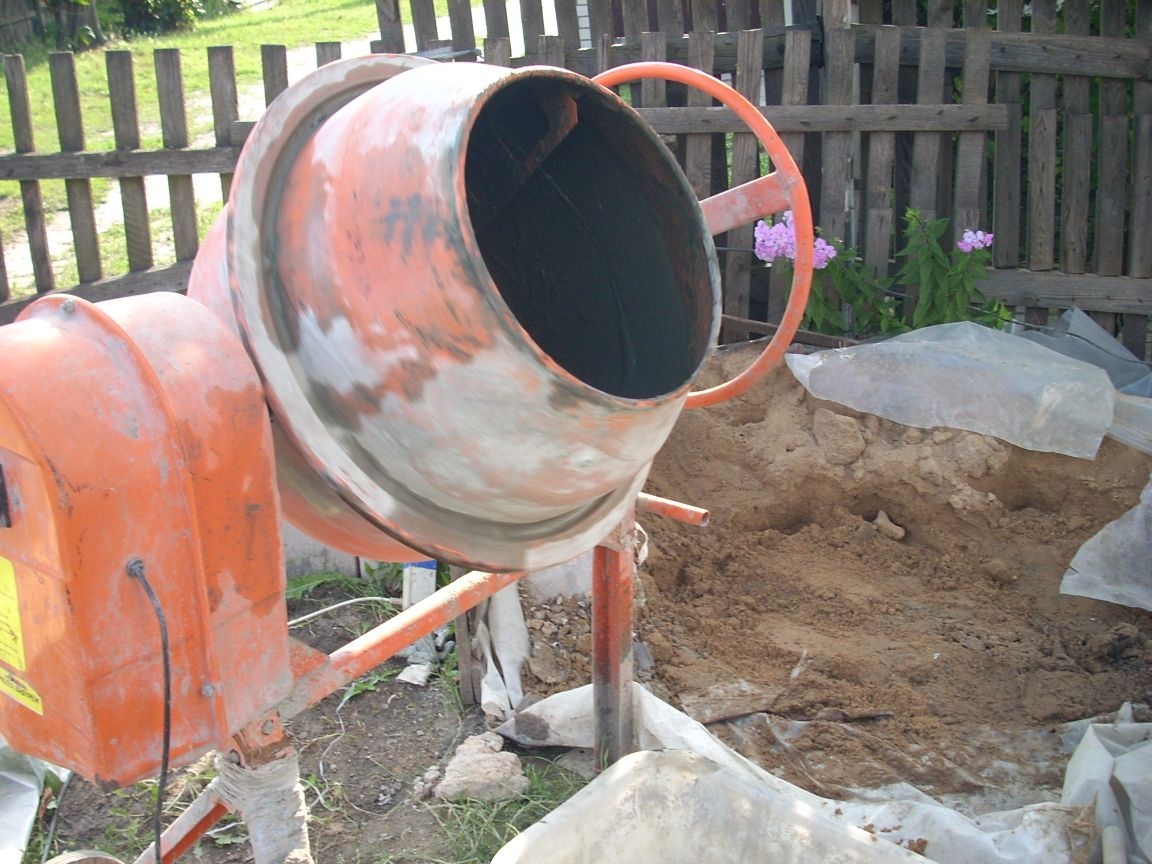
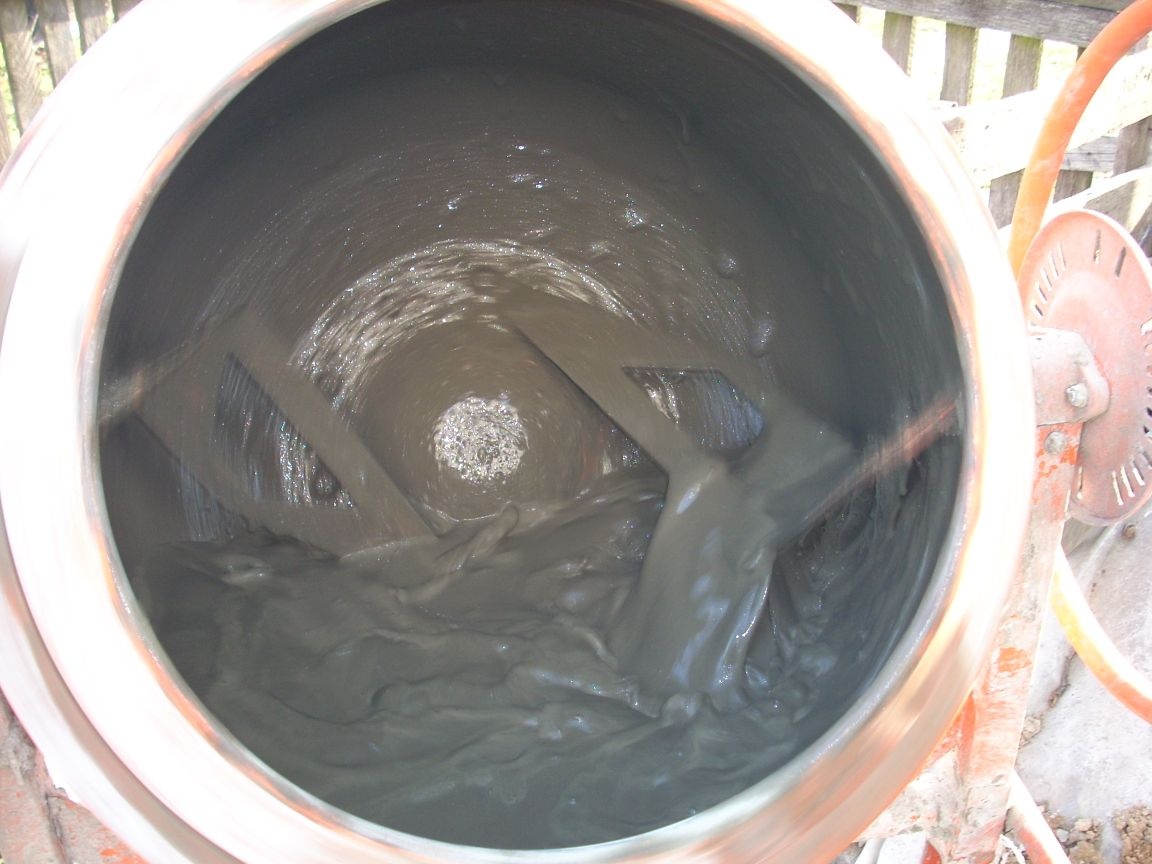
It remains to cast the column itself. Using a concrete mixer, I prepared a solution of one part of cement and four parts of a sand-gravel mixture (again, it remained after pouring the foundation.)
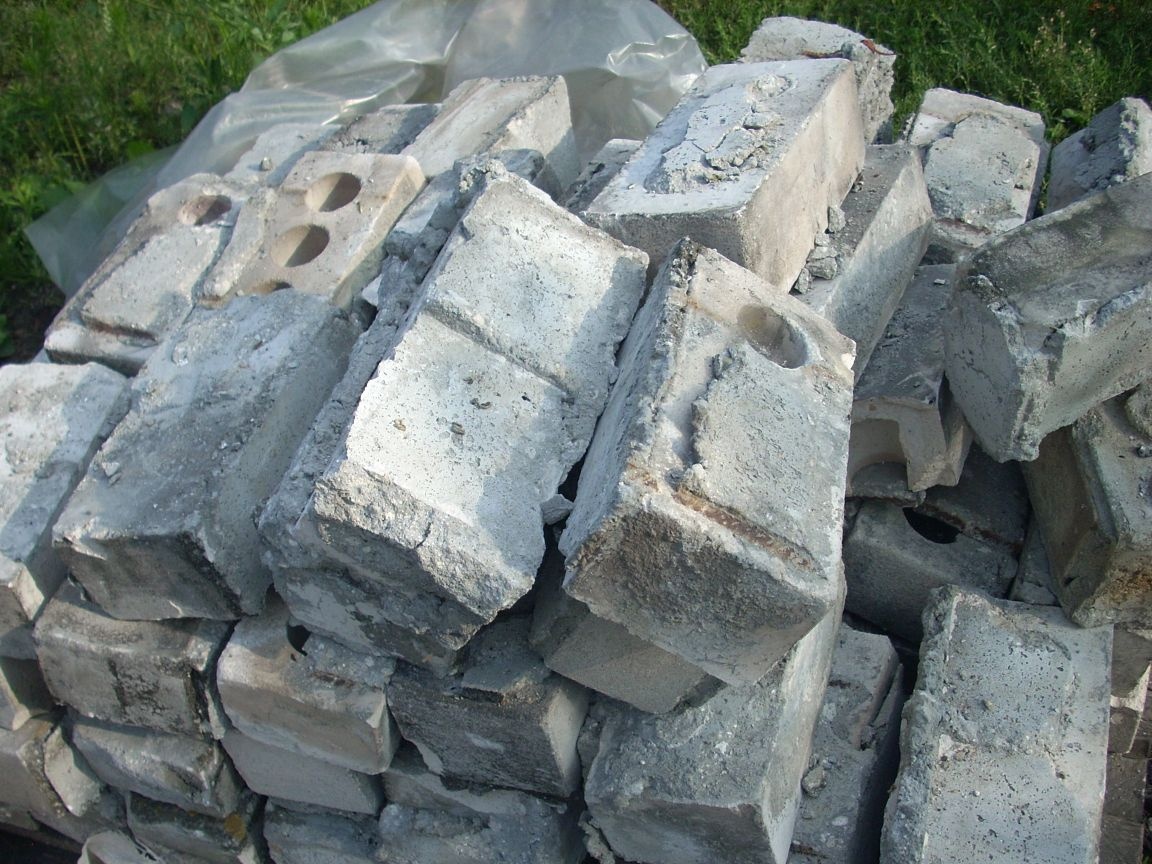
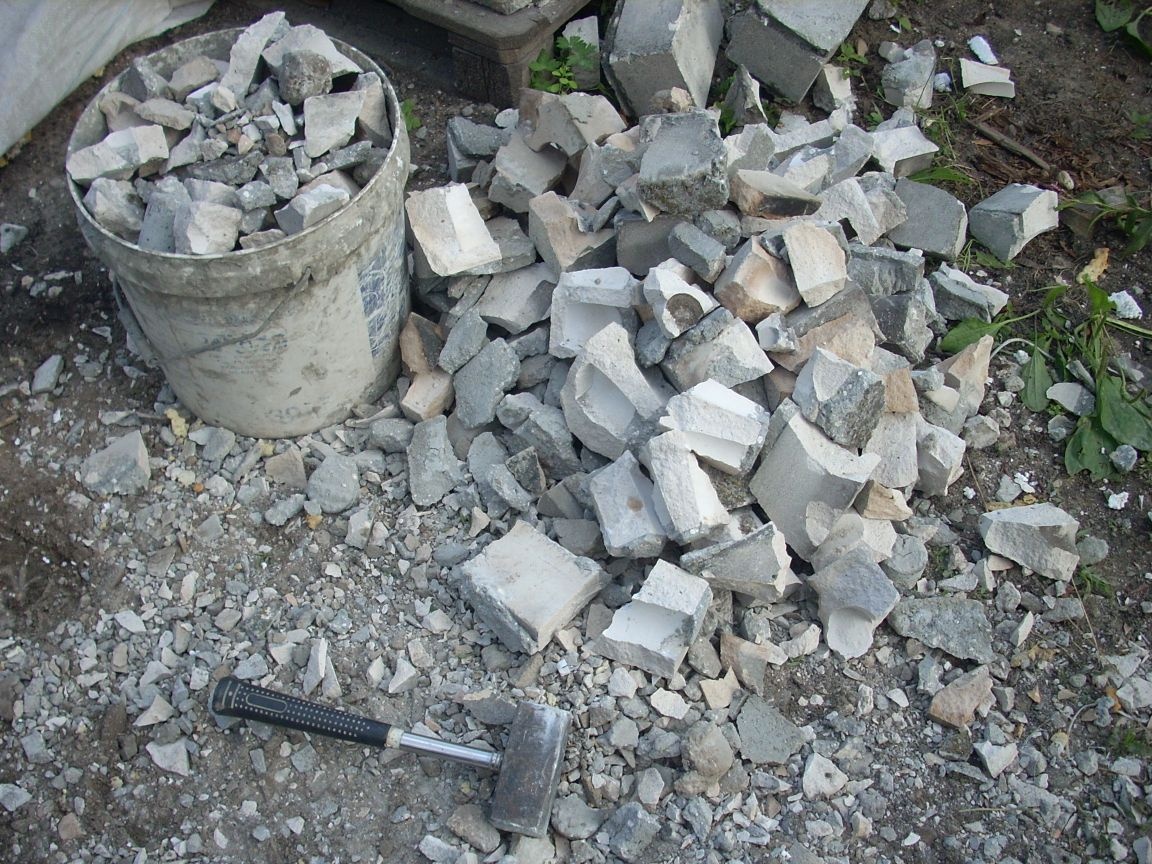
I sent the wreckage to the concrete mixer. I won’t say the proportion - I made sure that concrete covered the debris. After that, all this went into the formwork. I did not photograph this process - my hands were dirty))))).
An important point: after placing concrete in the formwork, it must be carefully compacted! I did this with a board, wielding it like a pestle in a mortar.
...A small digression. When I was preparing concrete, a neighbor came running (a "professional cobbler") and told me that it is impossible to add brick to concrete - it will greatly weaken the structure and "everything will fall apart in a couple of years!"
... For those who think so, I’ll explain that they “confuse smooth with sour.” Brick really can’t be added to concrete, for example, in the production of foundations - it quickly collapses under the influence of moisture! But in structures that do not have contact with the soil and are under the roof, the brick does not shine from moisture to decompose!))) They build walls from it!)))
As for the weakening of the structure, the silicate brick has a brand in strength M150, and most home-made concrete have about the same brand. (People often think that they are preparing harder concrete, but measuring the proportions with a shovel (cement usually forms a lower slope than sand), and especially neglecting the exact ratio of the amount of water to the rest of the components, which is actually very important, leads to that the brand is significantly reduced. Sometimes, at times! ...
... Well, as the last argument for those who do not want to bother with the brands of the fortress - you must admit, my column of brick fragments reinforced with concrete and reinforcement will certainly not be weaker than the column entirely made of such brick on a lime masonry mortar! ))))) But that's exactly how they are built ...
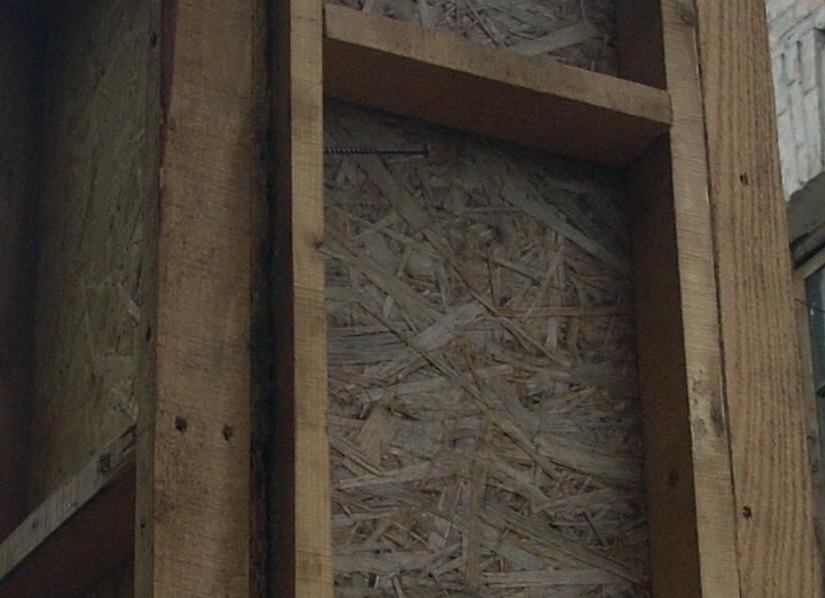
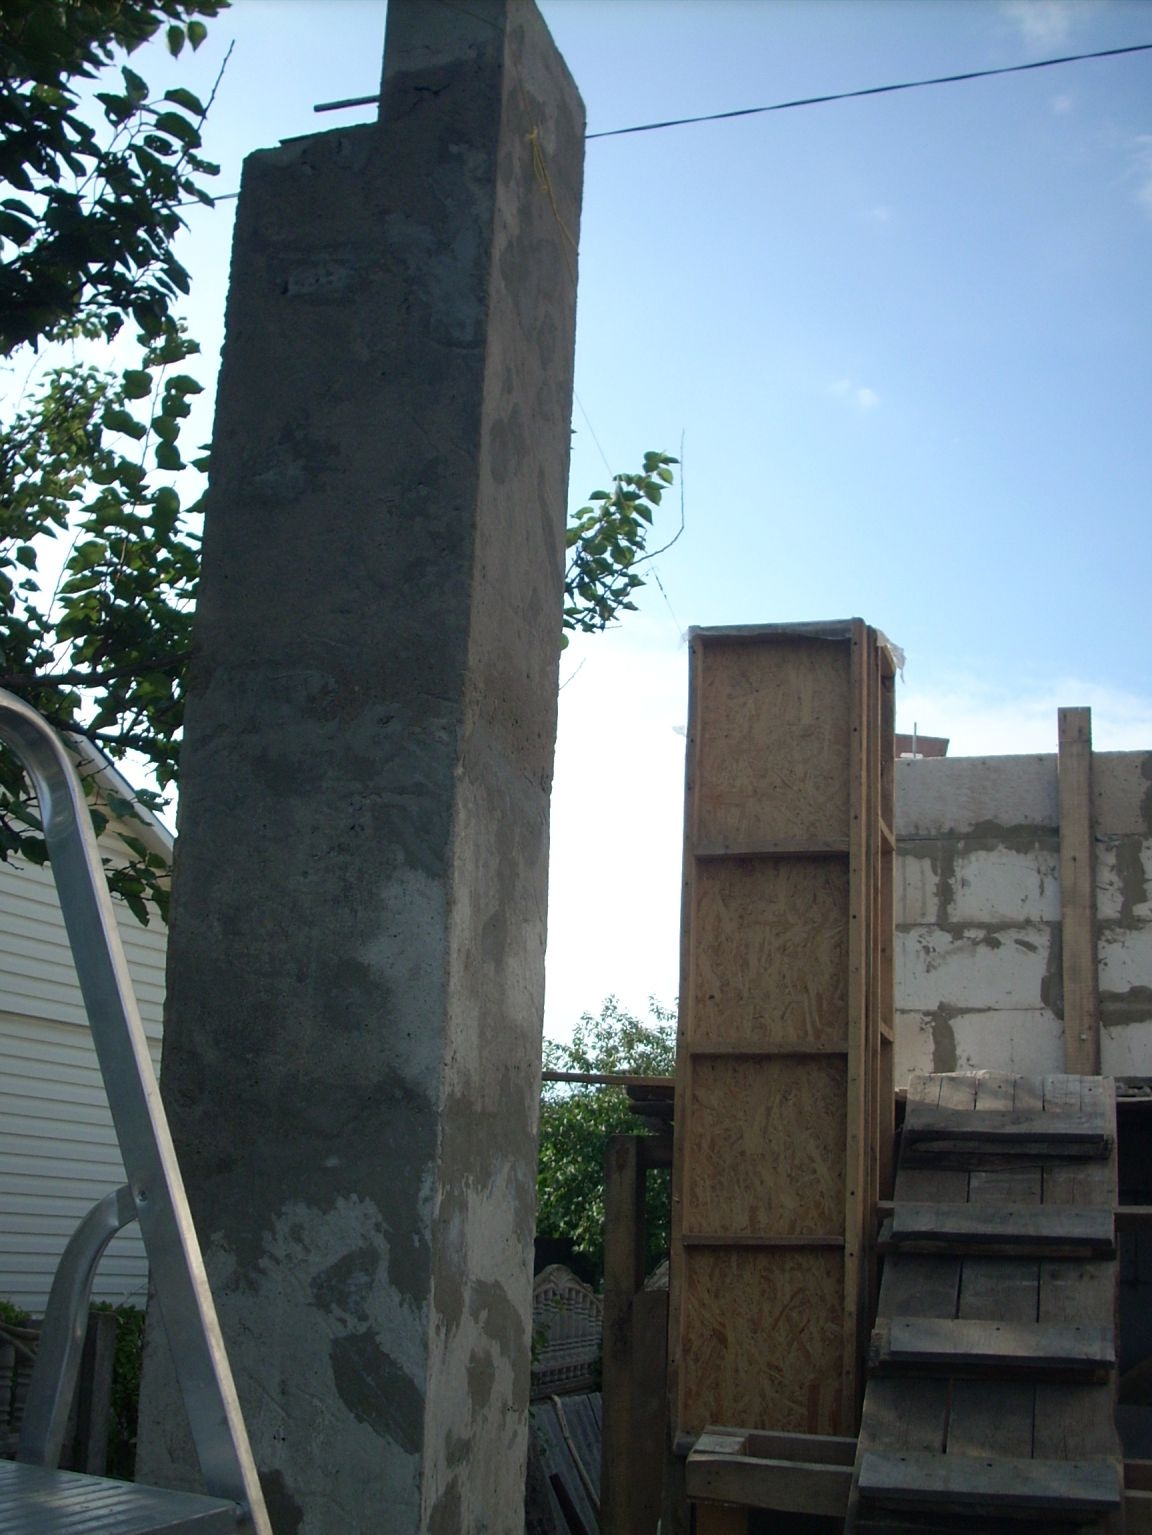
Back to the column. The weather is warm, the solution sets quickly, so the next day I removed the supports, loosened the screws and tapped the sledgehammer, pushed the formwork up to the height I needed.
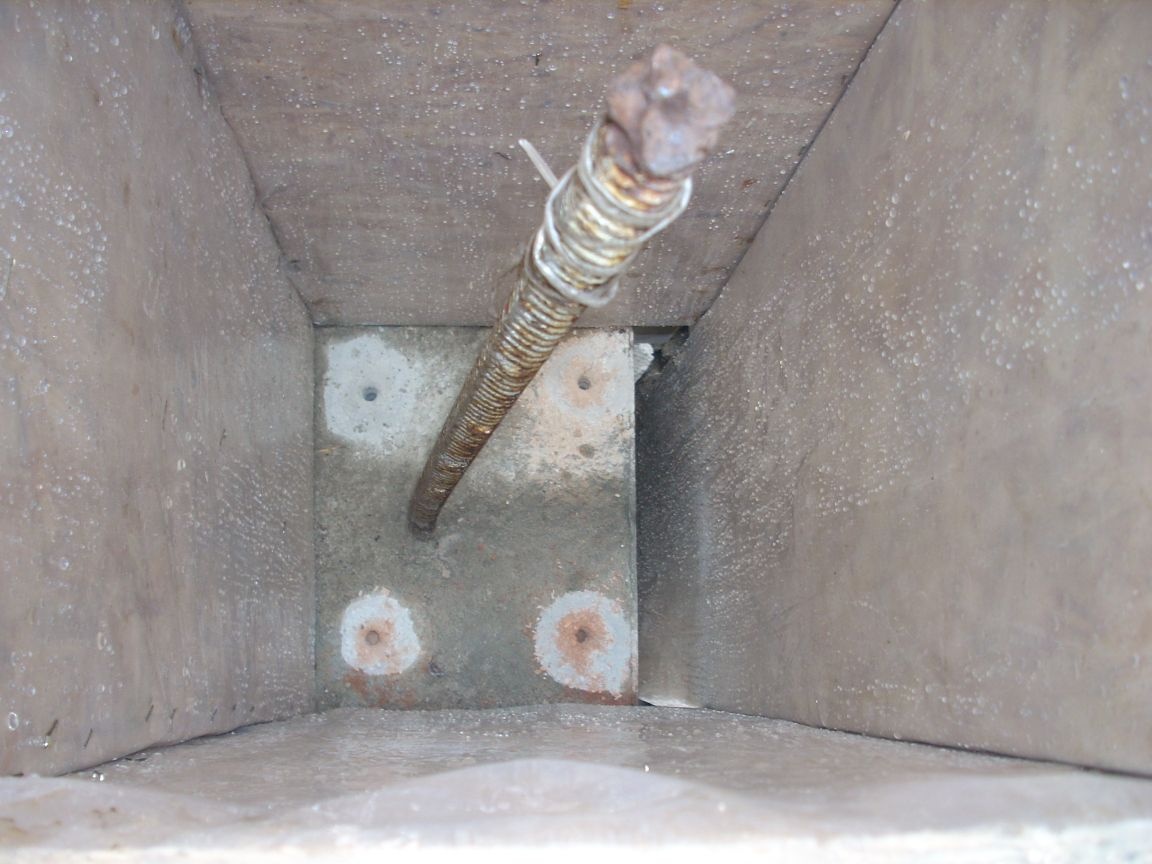
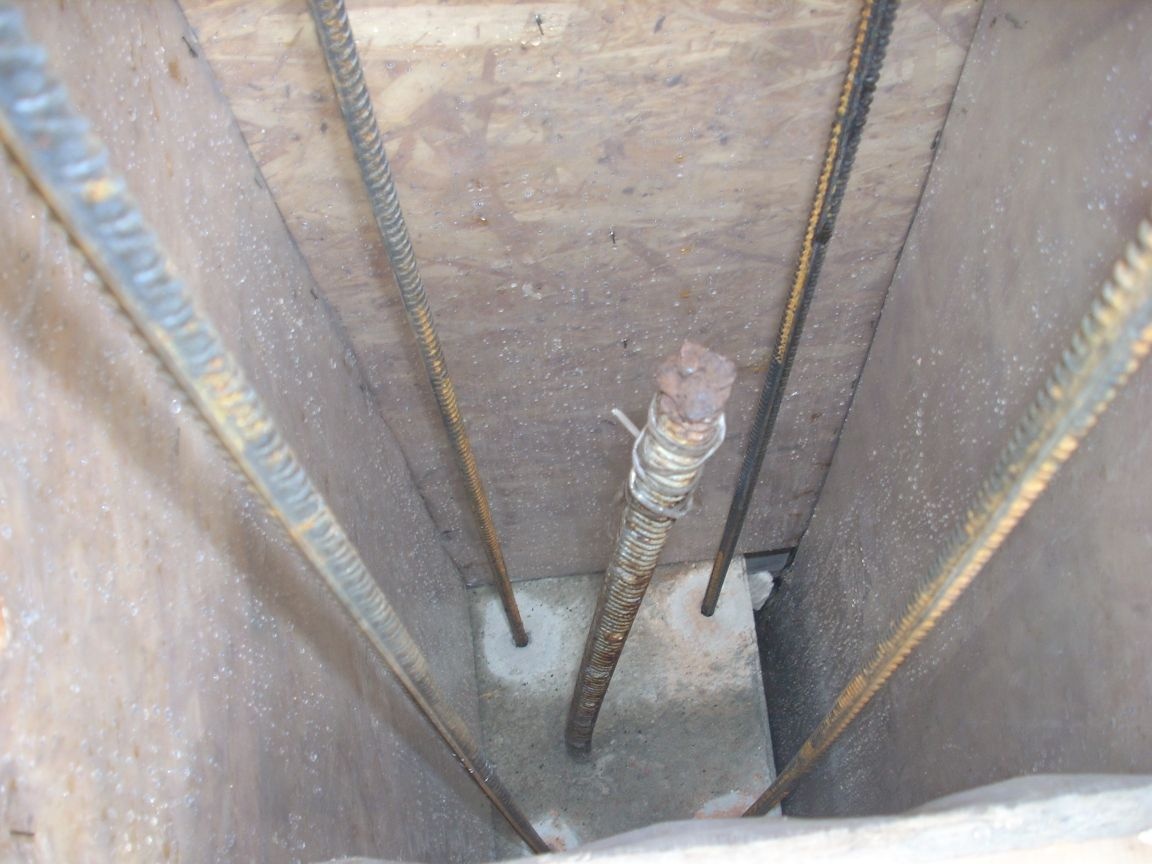
(I’ll explain why the photo shows that I have one formwork shield below the rest: because I made a “step” for the support beam on top of the column, for which I installed there a pre-welded metal embedded with threaded rods ...)
After that, I again clamped the screws and turned on the concrete mixer ...))))
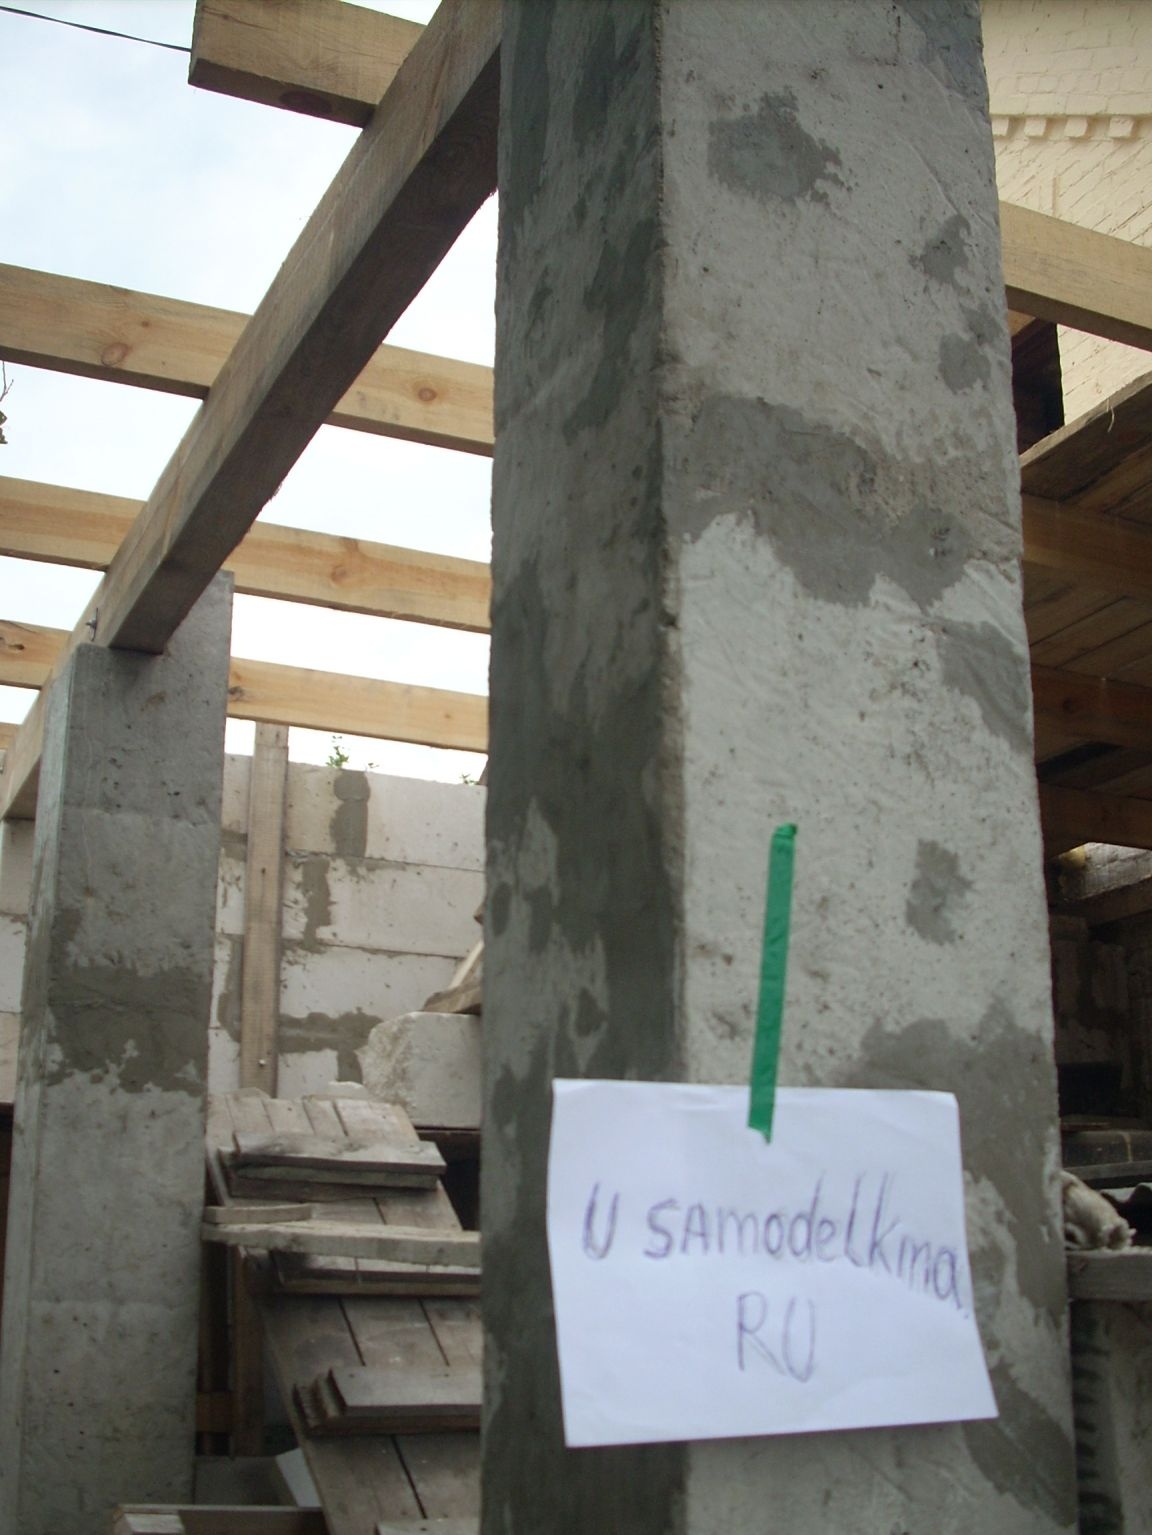
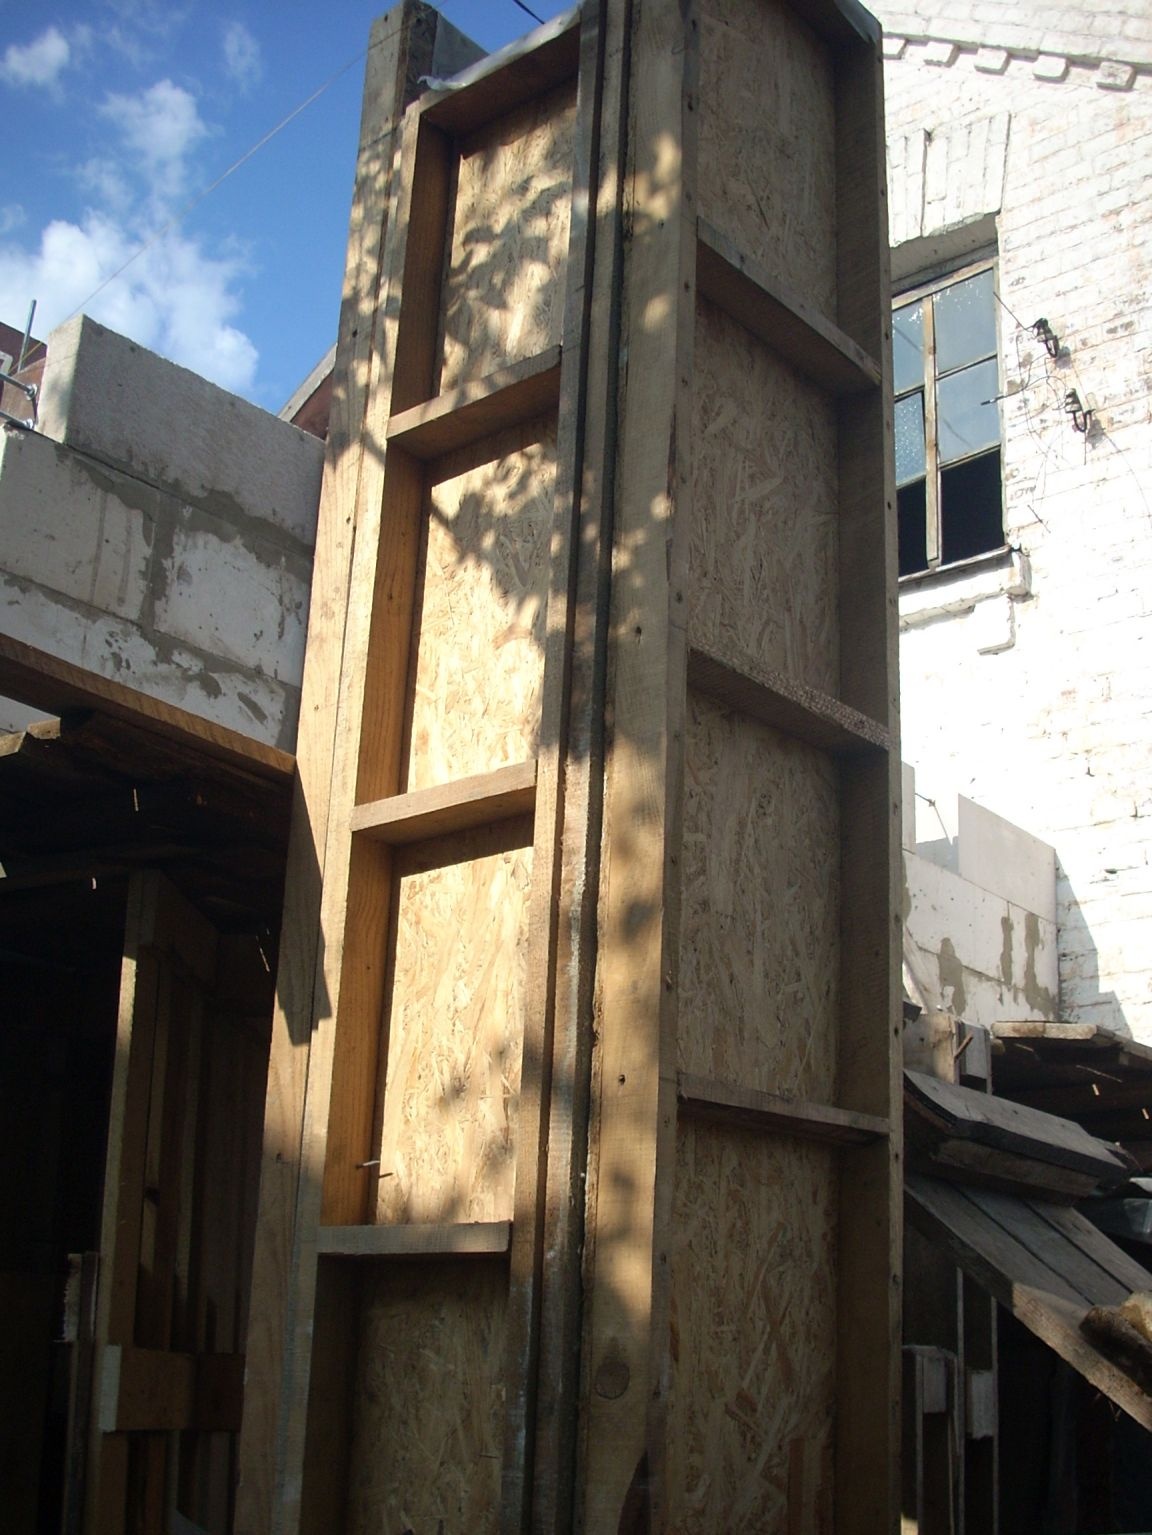
And a day later he completely removed the formwork:

The column is ready. She will gain her full strength in 28 days, but after a few days it is already possible to mount the rafter system .... And then, when the roof is ready, the time will come for the final finishing. There are many options - tiles, siding, various decorative plasters and so on ...
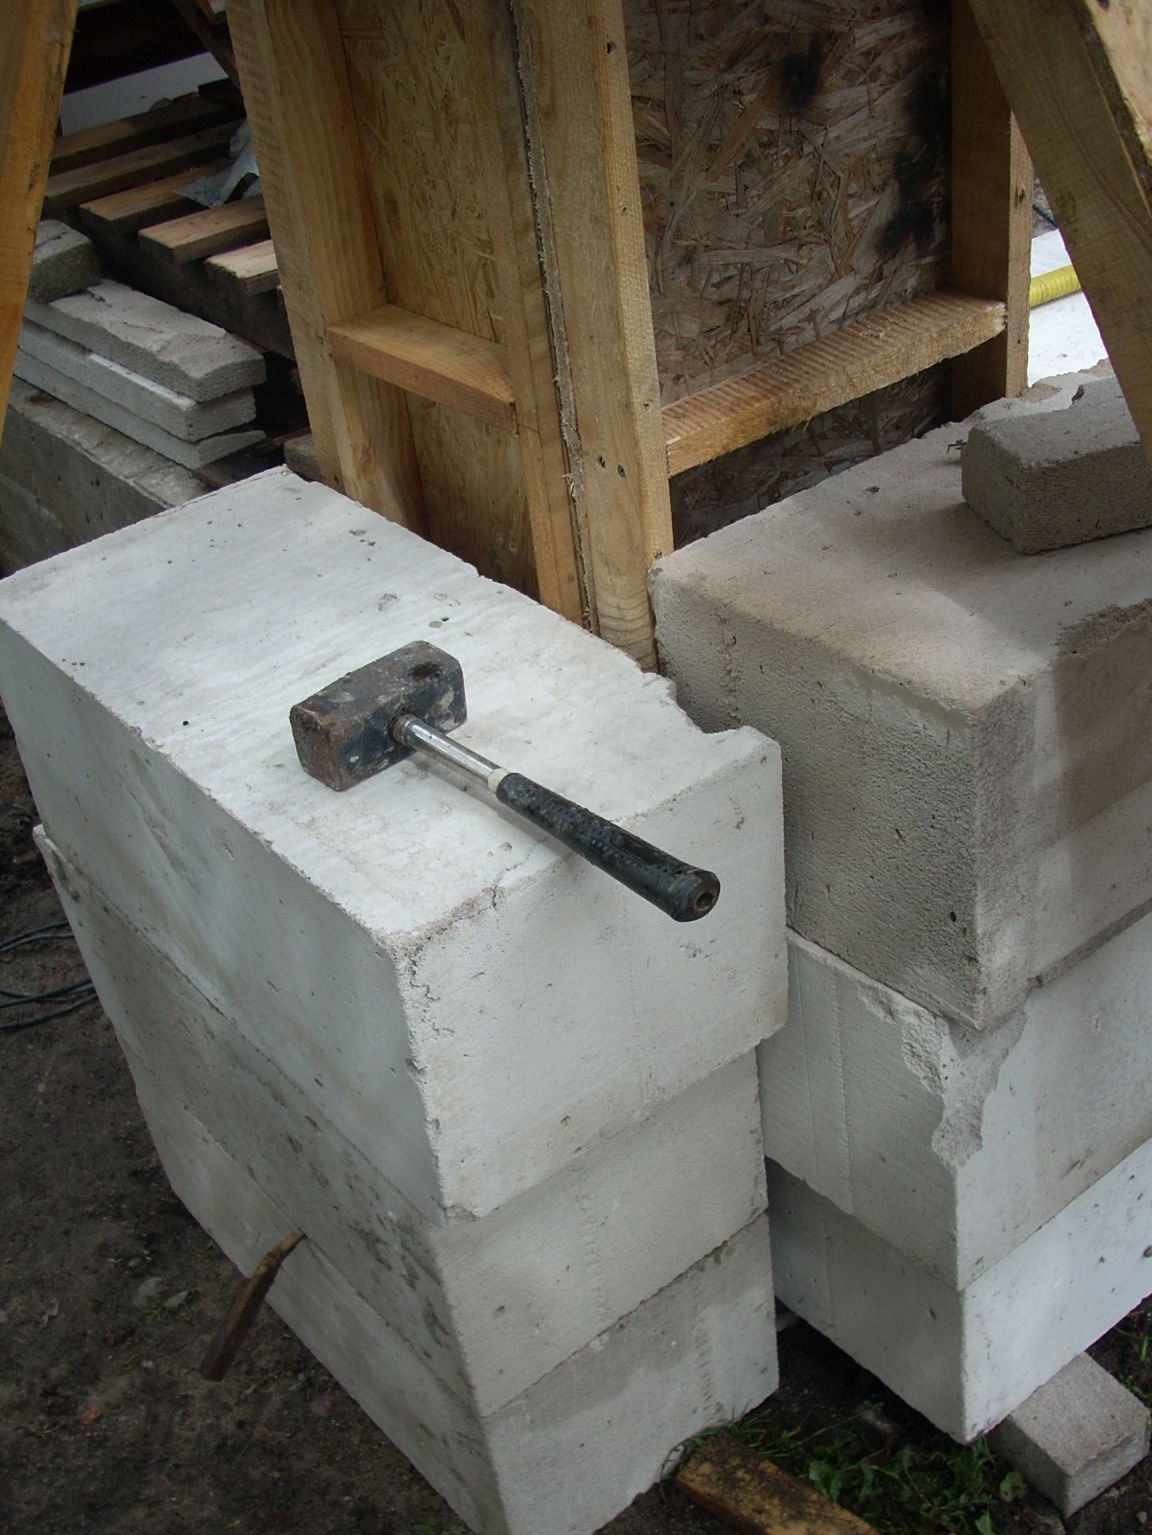
And the formwork, meanwhile, migrated to a new place where another column will appear:
And then she will take a place in the basement in the form of a rack!
And finally, I’ll say that all that I bought specifically for the manufacture of both columns is 4 (25 kg) bags of cement! The rest is leftovers, trimmings and debris))))).