

Hello!
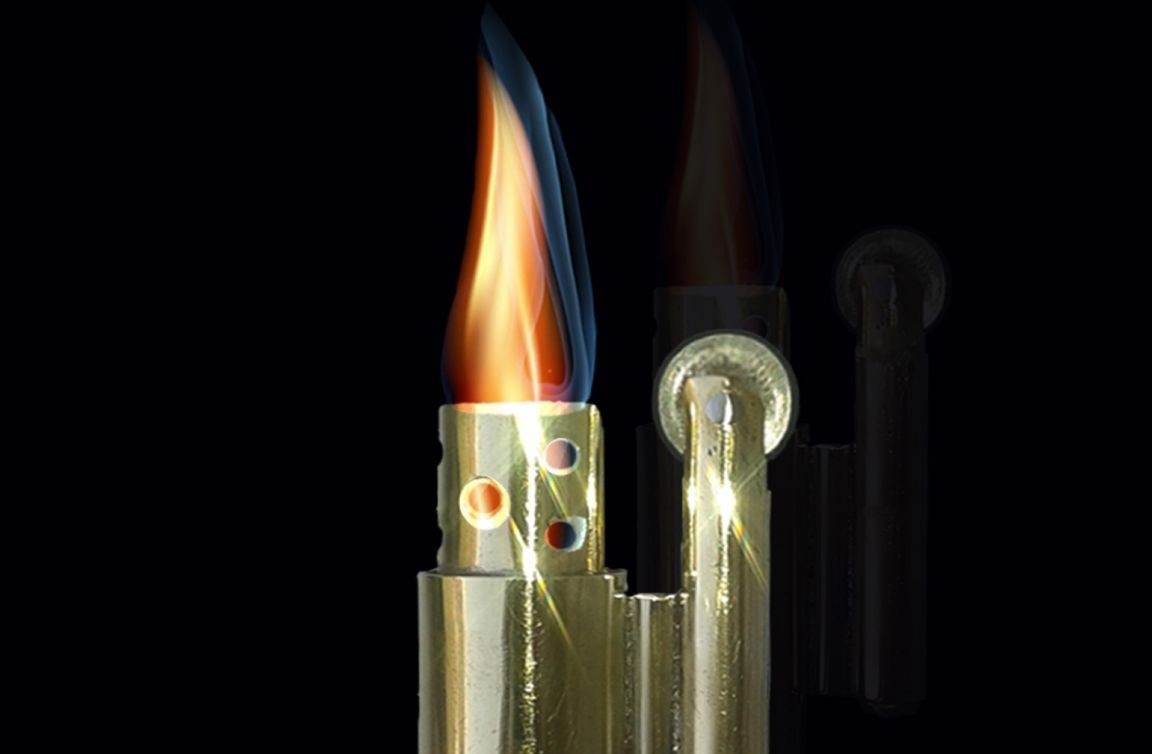
In this article we will talk about a lighter, the special advantage of which is that the fuel is stored in it for a long time and does not evaporate anywhere.
Video how to make a gas lighter do it yourself
Materials and tools:
- 2 pumps from the Bumblebee primus;
- cheap lighter "Zippo";
- a nipple from the truck’s chamber;
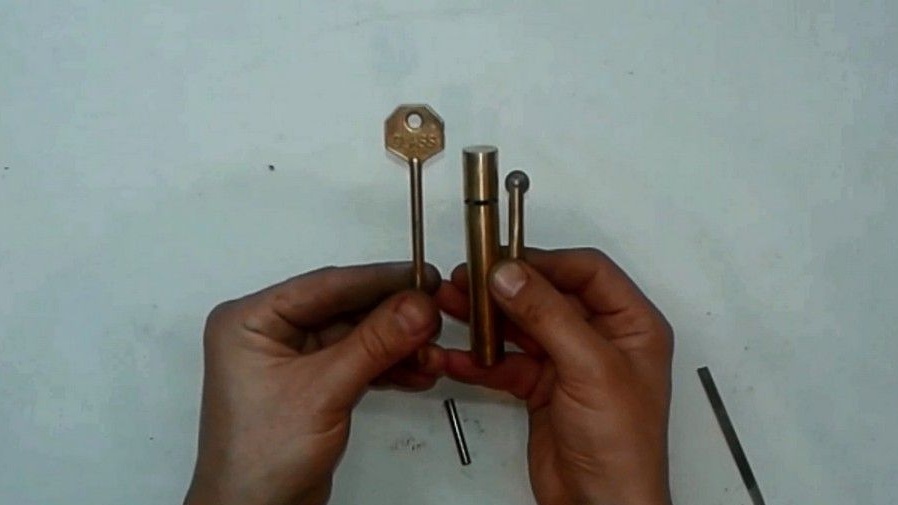
- brass lever key (butterfly);
- solder tin;
- soldering iron;
- soldering flux or soldering acid;
- gasoline or gas burner;
- fine sandpaper;
- file;
- flint and wick;

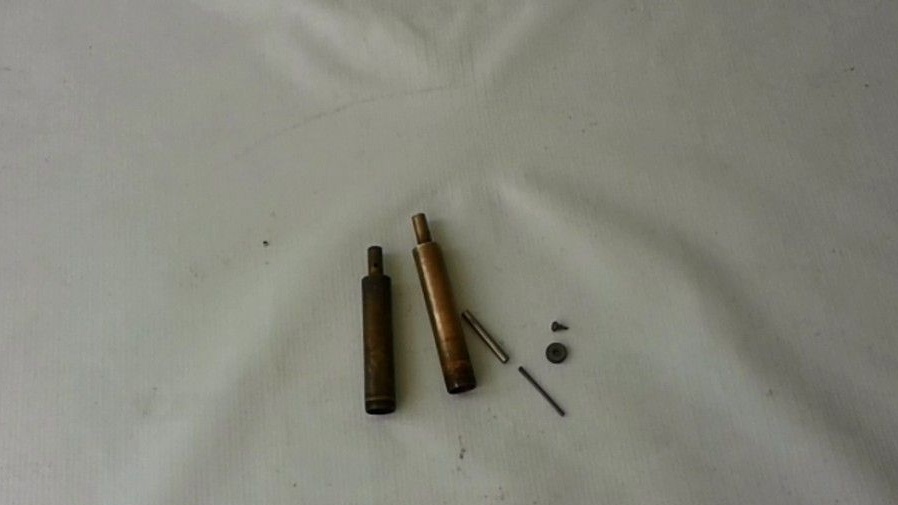
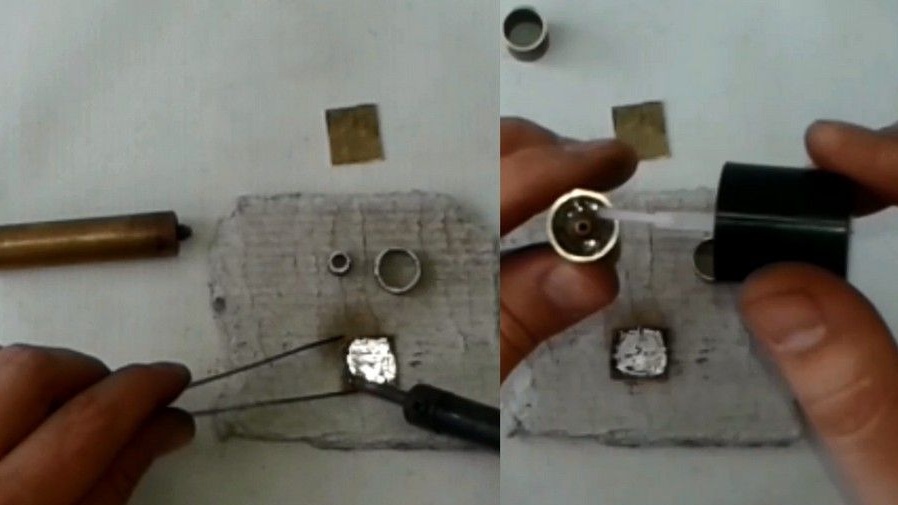
Before you begin to work, you need to get rid of excess and leave only useful materials. From the donor of the lighter, we need a tube in which there is a spring, the spring itself with its fixing screw and a wheel carving a spark. And from the "Bumblebee" pumps, we leave only the case with valves on the threaded connection.
First, from the pump housings, you need to make a lighter body, and then the upper and lower caps.
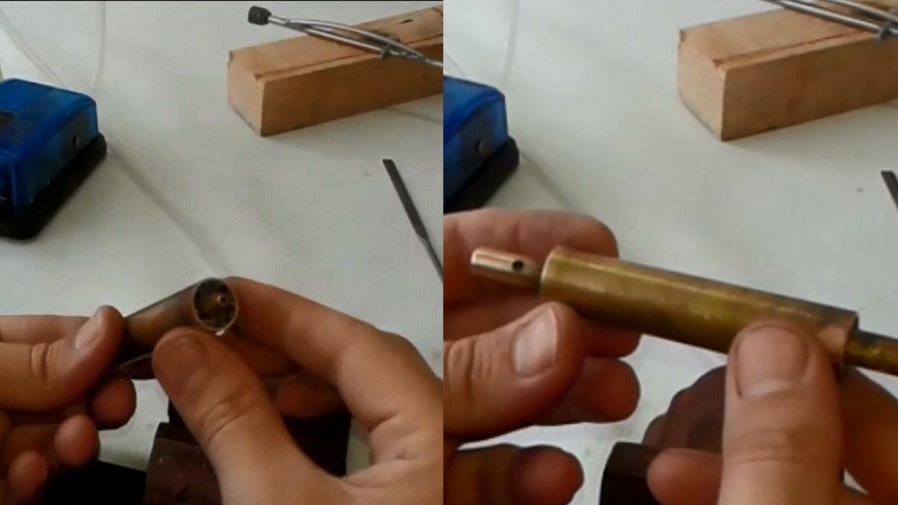
From one of the pump tubes you need to evenly cut the thread. This is the place where the piston lamb is wound.
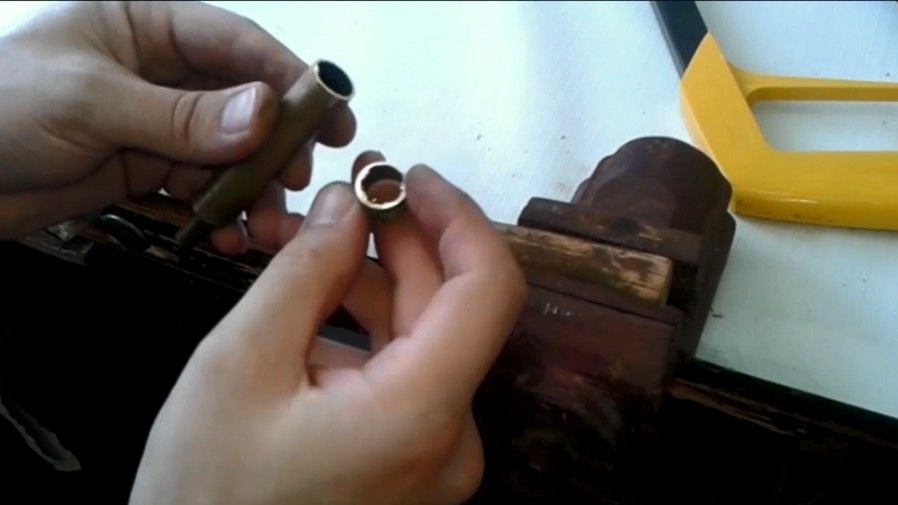
The second pump tube, the whole will go to spare parts.
From it, warming up the burner, solder the threaded connection of the valve.
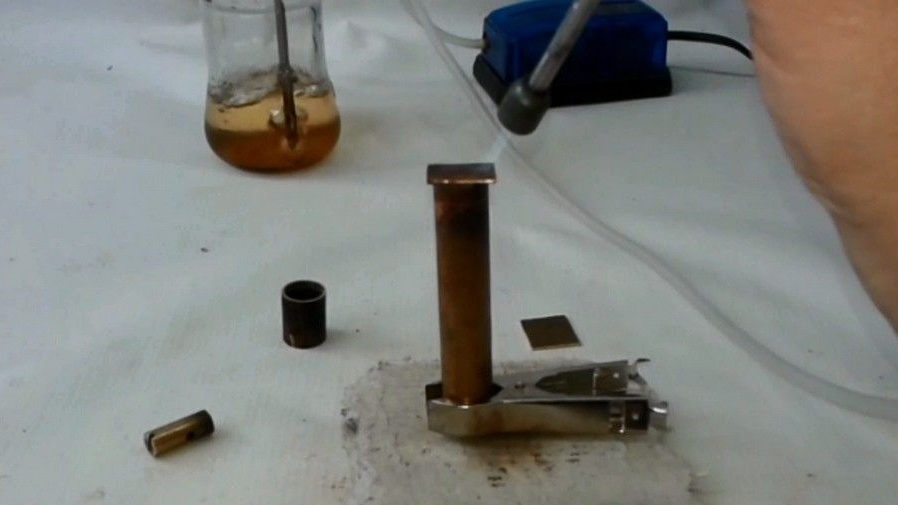
Now, using the same torch, this threaded part must be soldered into the first tube, on which on the back there is already exactly the same connection.
Next, we make the top cap.
To do this, having determined which side of the first tube is more acceptable for the upper cap, we wrap the valve. Having placed the second tube, mark the height of the cap and cut it off.
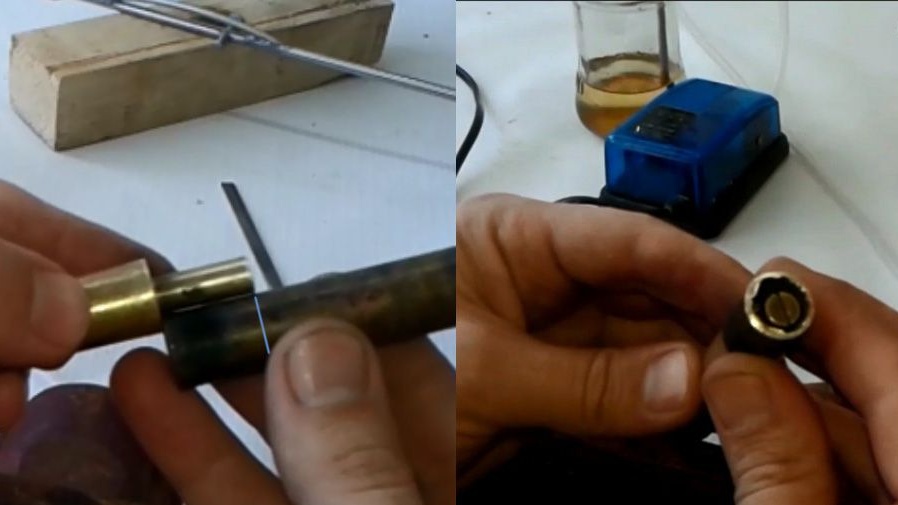
We remove all irregularities and burrs by processing with a file, and at the same time we adjust the height of the tube to the height of the valve.
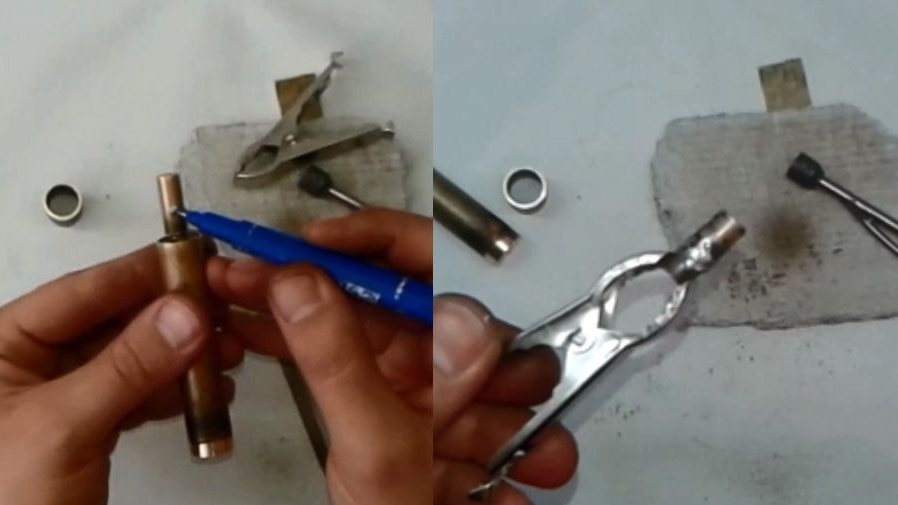
The lower cap, the one for refueling, can be made smaller.
To do this, wrapping the valve in the lower part of the lighter and also placing the second tube, mark it. Only now at the level of the side opening of the valve.
Having cut off the part, at the same level we cut off the valve and process the file using the same procedure as the upper cap.
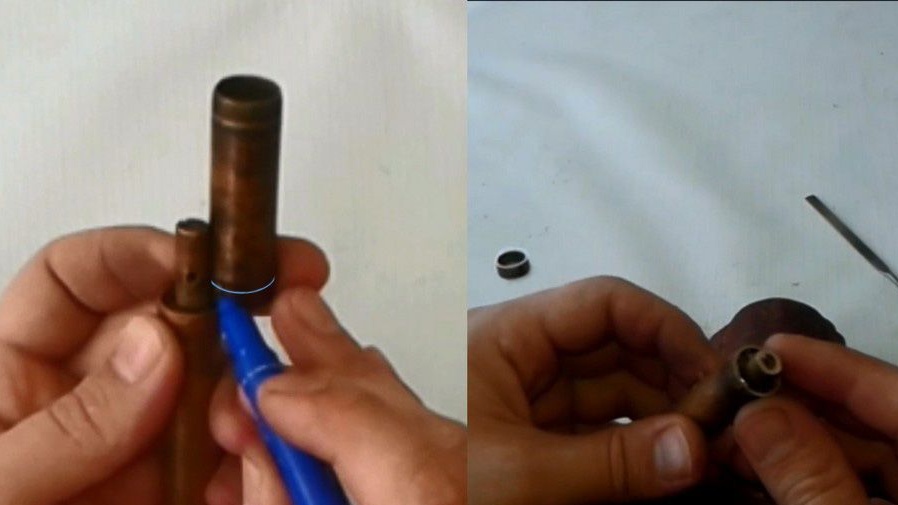
From what remains of the second tube, two parts must be cut.
The first is a 15 mm long tube. We will make wind protection from it a little later, which will also serve as a guide for conveniently screwing the top cap.
The second is the plate. Clamping in a vice, you need to saw the tube along and straighten the plate out of it by gently tapping with a mallet.
The resulting plate must be divided in half, and on one of them having treated the surface with flux, a solder is applied using a soldering iron. We also apply solder to the place of cut of the valve and one of the sides of the cut of the tube of the small cap. To avoid unwanted adhesions, apply nail polish to the places of contact of the body and tube of the cap, as well as the threaded connection of the valve. The varnish will create a kind of barrier between the parts, which will prevent their soldering in the event that excess solder leaks.
Then, turning the valve and installing the housing in an upright position, you need to evenly place the tube on it, and on top the plate with the tinned sides to each other.
Evenly heating the structure with a burner, solder together all three parts into one.
After soldering, cool the part and with a little effort, unscrew the cap. He is almost ready. It remains to cut off the excess with scissors and process the file with bumps and burrs.
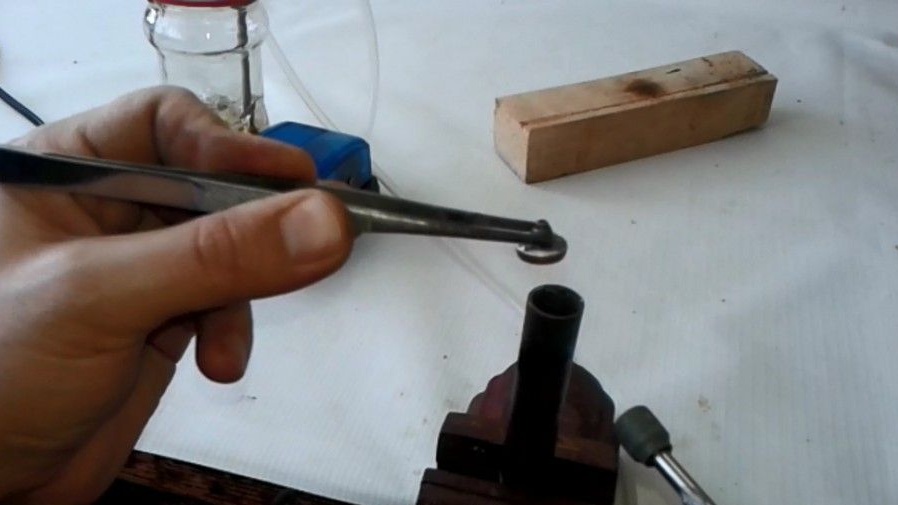
We do the same operation with the details of the upper cap, just before proceeding with soldering, in order to avoid fuel leakage in the future, you need to plug the upper and side opening of the valve.
To do this, we unwind the copper wire from the small coil of the transformer, remove the varnish from it and rewind it with a soldering iron on the side of the valve. The top hole is quite small. It closes by applying solder to the top of the valve.
After soldering and removing excess elements, we wrap both caps and process the case with sandpaper.
Further, the mechanical part, namely the element without which your lighter will not be able to burn.
For its body we need a nipple from the truck’s camera.
From it it is necessary to cut a part with a length of 45 mm and from its end make a groove deepening it by 10 mm.
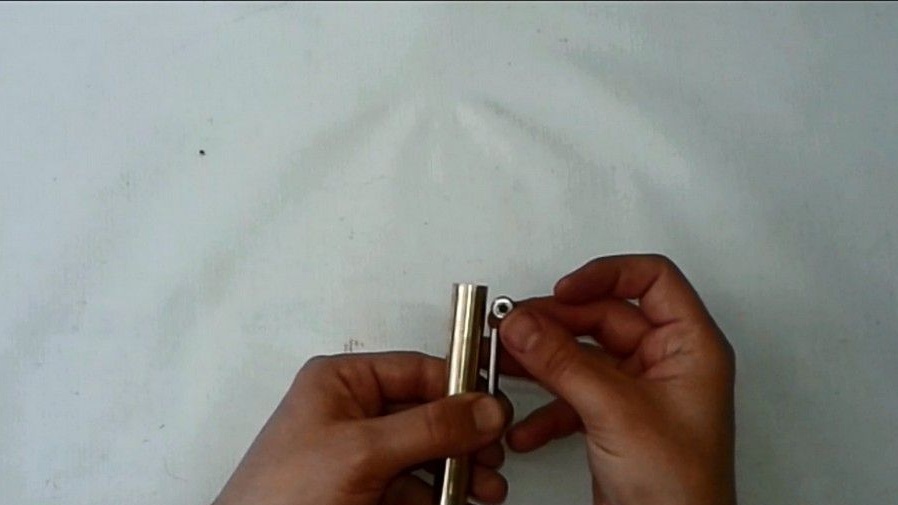
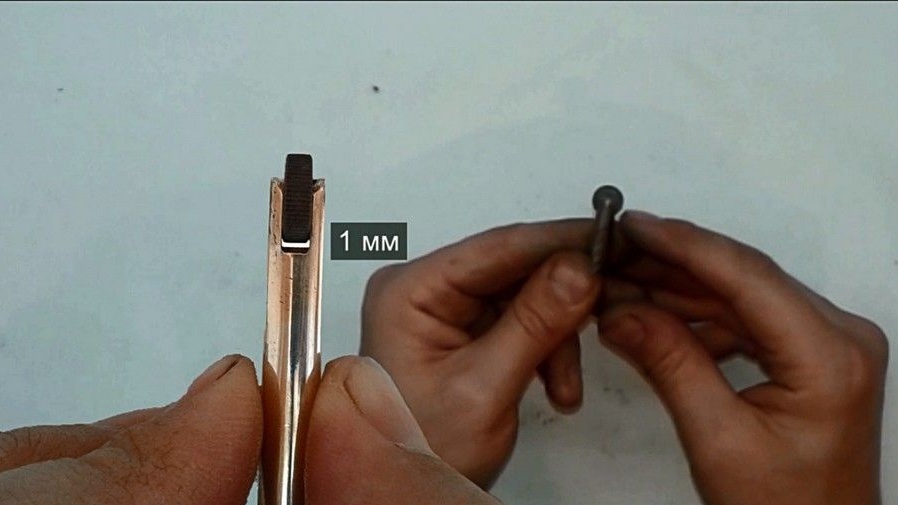
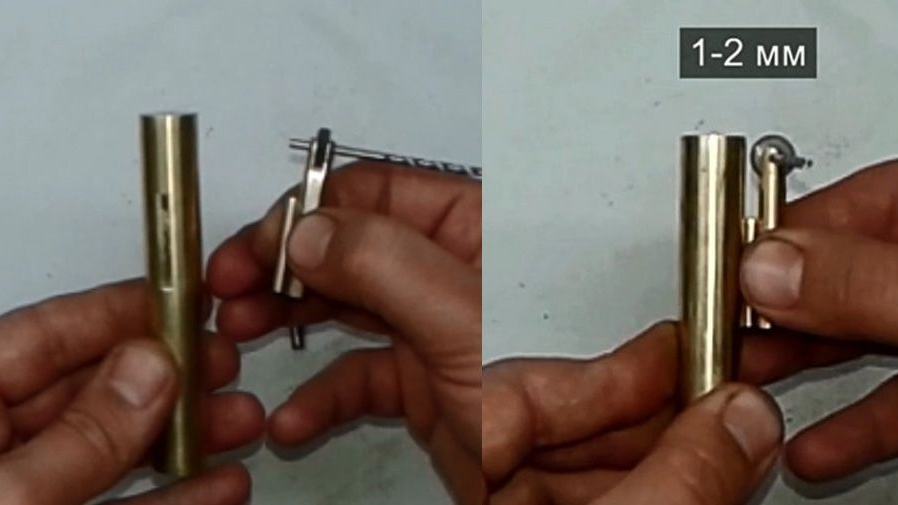
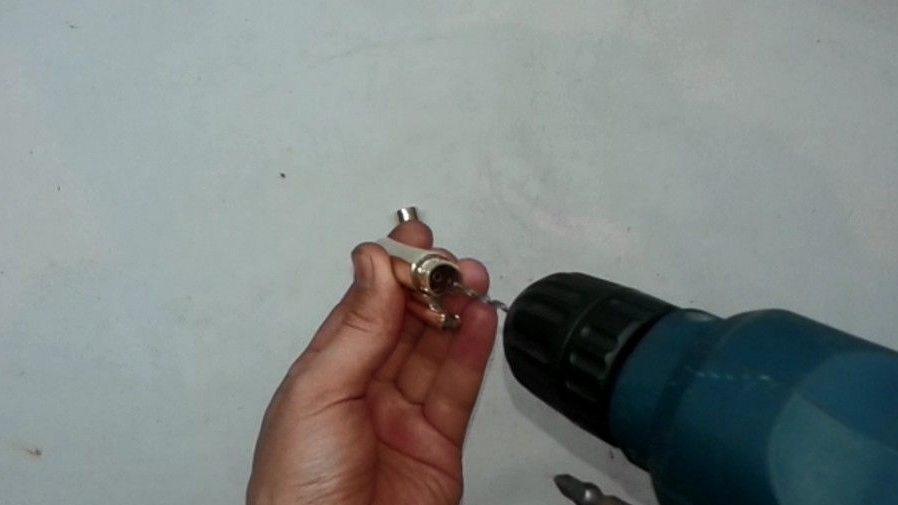
Having tried in the groove a roller for carving sparks, we leave a gap of 1 mm between it and the body, mark it and make a hole with a 3 mm drill.
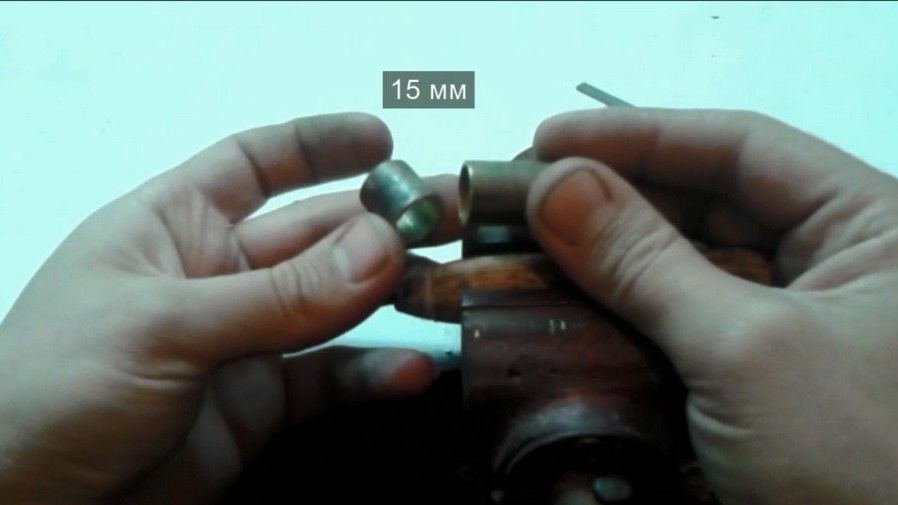
After that, having fixed the roller for a while, we apply the mechanism to the lighter body by installing a rod from the brass key between them, and try on. The distance between the roller and the housing should be about two mm. The diameter of the rod is a bit big and the distance is large.
By the way, you should pay attention to the fact that the clearance of sparks, the one under the roller should be 1-2 mm above the upper point of the threaded element. In that place there will be a wick and the sparks produced by the roller should fall exactly on this wick.
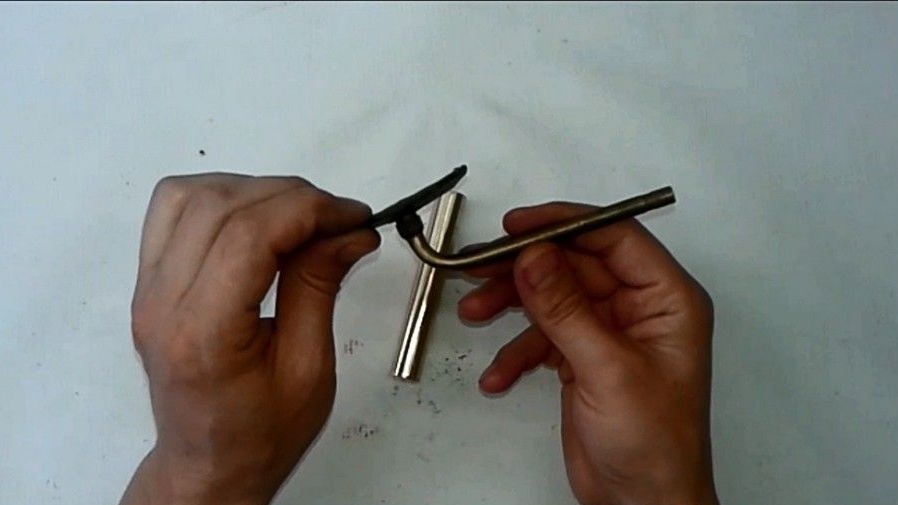
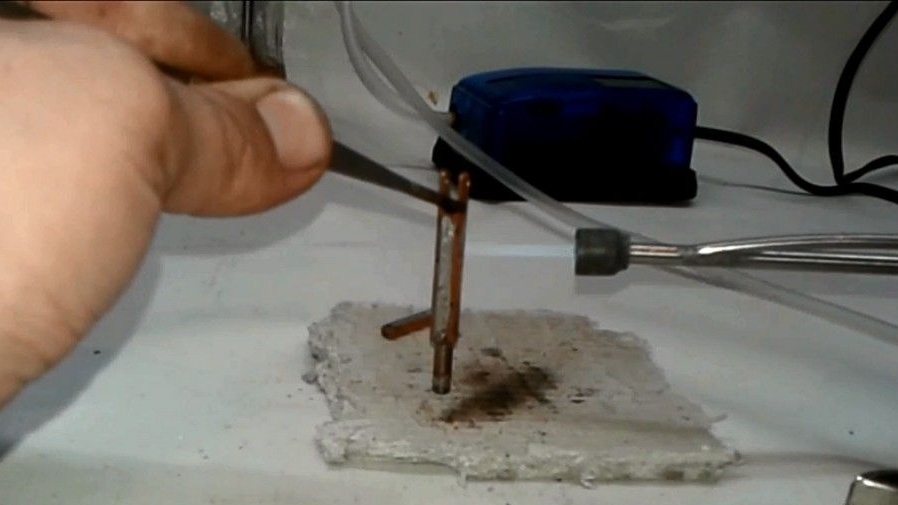
Having cut off the 27 mm from the rod, we grind it with a file, thereby reducing the gap between the roller and the lighter body to the desired one. For the convenience of connecting parts, it is also necessary to file the parts of the lighter body and the tube of the mechanism for sparks adjacent to the rod with a file. Thus, make rounded surfaces flat.
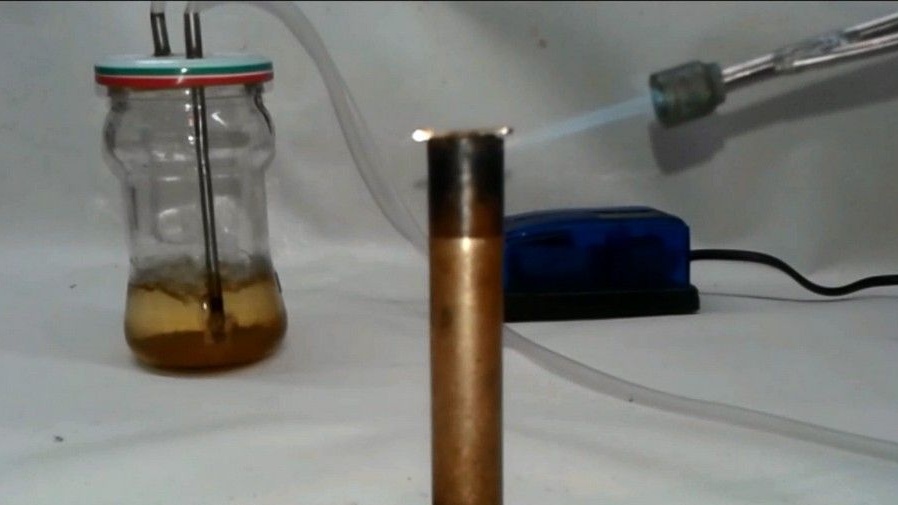
Next, on the tube for the spring, which we removed from the donor’s lighter, on the outside we apply solder in several places, and then inserting it into the tube of the spark-cutting mechanism, heating it with a torch, solder them together. Then, at the joints between the mechanism, the rod and the lighter body, we also apply solder.
We assemble the design. After making sure that the spark-cutting gap is 1-2 mm higher than the upper point of the threaded element, we fasten all three parts with a crocodile, and then we weld them together with a burner.
The lighter is almost ready, just a little remains, namely wind protection.
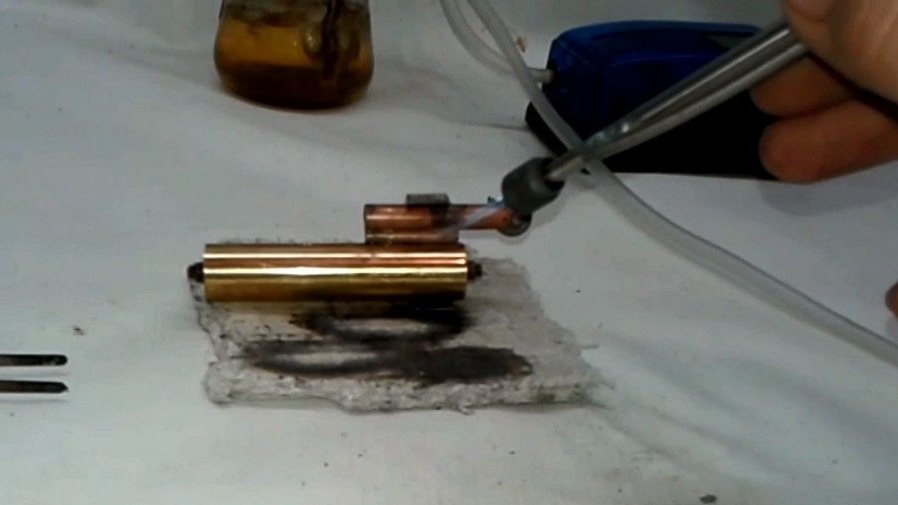
In a previously prepared tube, on the front part, with a 3 drill in a checkerboard pattern, we make 8 holes at a distance of about 7 mm from each other.
On the reverse side we make a cut and cut off 13 mm of the tube wall.
After this, it is necessary to reduce the internal diameter of the part by tapping it with a mallet, having previously installed a drill of 11 mm in it.
We apply solder to the cut of the part, install it on the lighter, fixing the previously soldered parts with a crocodile, carefully supply the burner fire and solder the part to the body. Care must be taken to prevent warming of previously soldered parts and spreading over the surface of the solder body.

The holes of the threaded valve elements are smaller than the diameter of the wick. We increase them with a drill by 2.5. The lower hole can be made larger, 3.5 mm. So it will be more convenient to lay the wick and cotton.
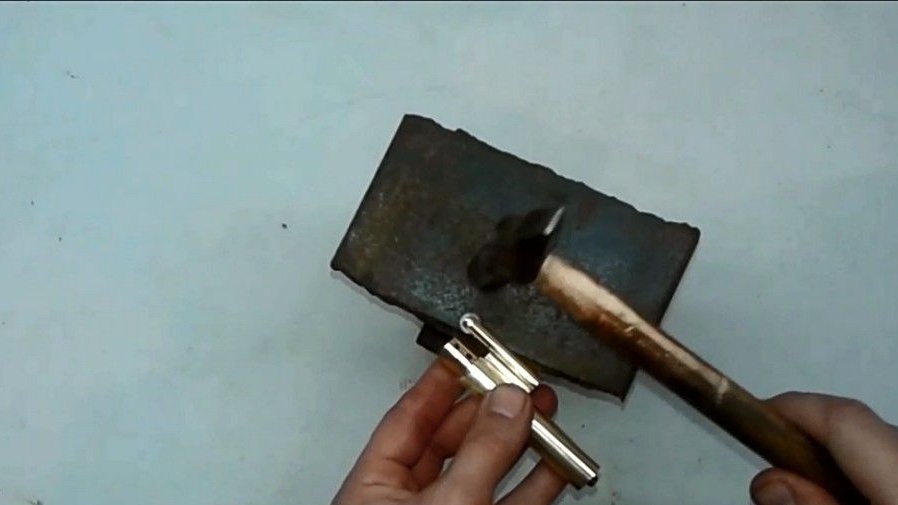
We select the nail according to the diameter of the hole of the mechanism for sparks and not with strong blows of the hammer, expand it and finally fix the roller.
In this case, you should pay attention to the direction of the teeth of the roller, it is important not to make a mistake.
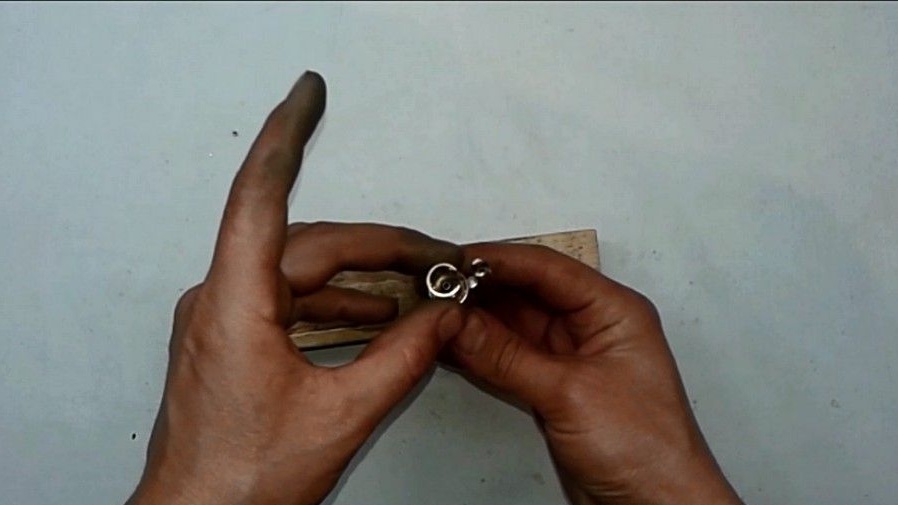
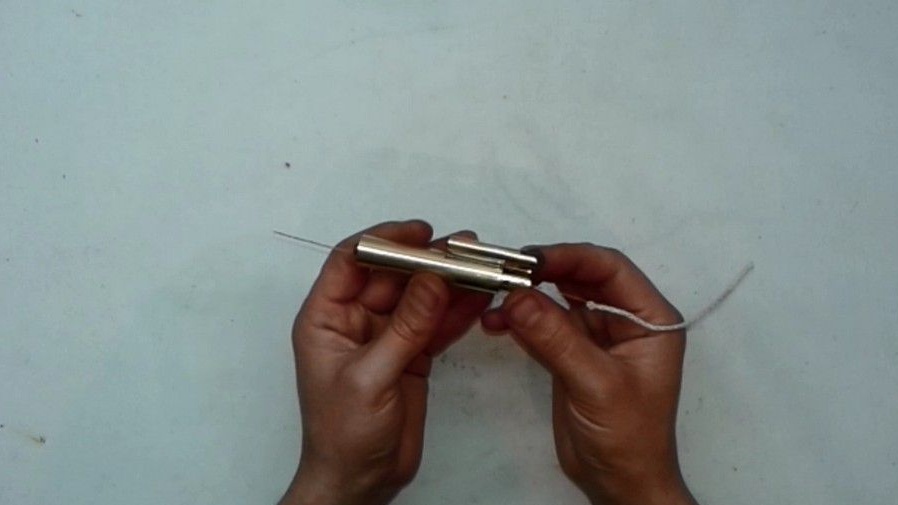
After installing flint, we lay the wick.
To do this, we unwind a little copper wire from the same transformer coil, make it a knot on one of the ends of the wick. Aligning the ends of the wire, we pass it into the upper hole of the lighter and remove it from the bottom. Then we pull the wire until almost all the wick is laid.
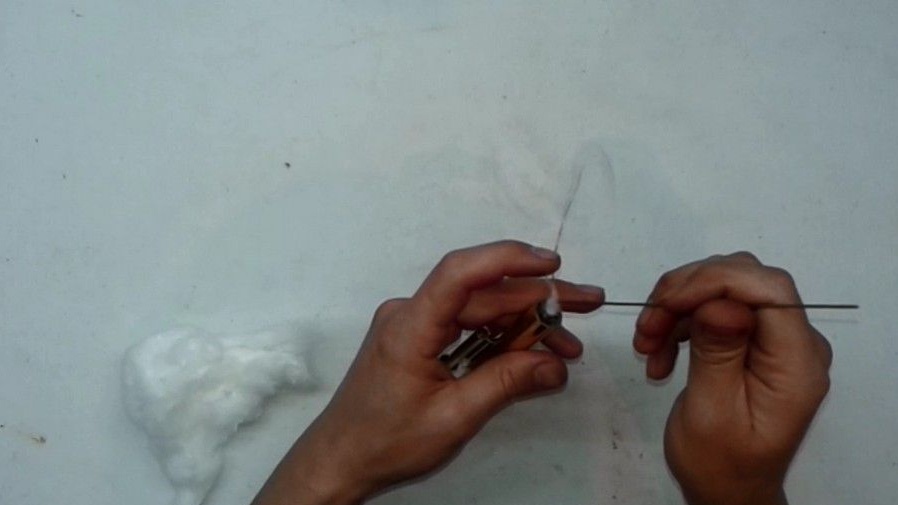
Using a toothpick or a spoke from a bicycle wheel, we stuff the lighter with cotton and refuel with a syringe.
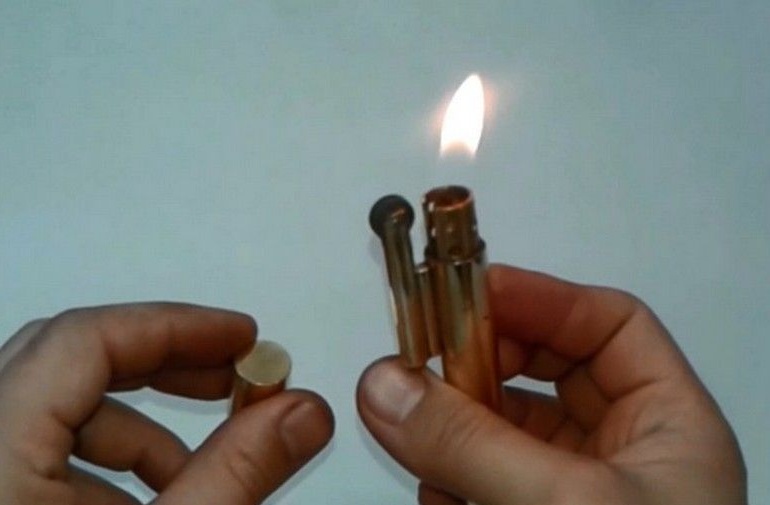
Twisting the lower cap, we spark out ...
Now, whether you are on a camping trip or fishing, you can be sure that your backpack has a reliable source of fire that will not let you down in any weather.
If something seemed unclear to the reader in the article, write your questions in the comments or I suggest you watch the video at the beginning of the article.