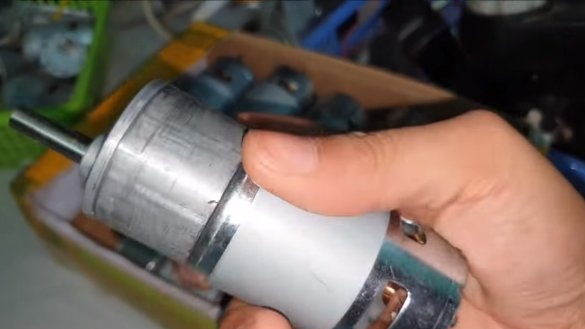
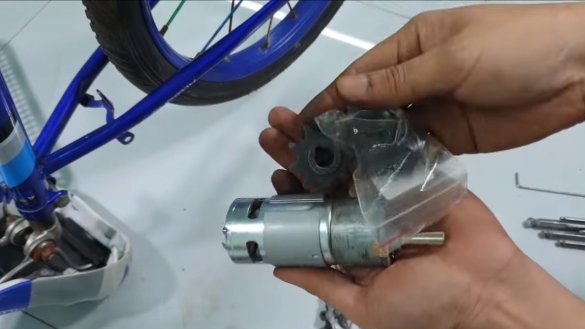
Hello everyone, in this instruction we will analyze a fairly simple and reliable design of an electric bike. It can easily go to work, to the country, to the store. It is lightweight, compact and easy to manage. The author used a power element equipped with a gearbox. These motors are powered by 12-24V and are quite powerful. It is best to choose ball-bearing motors, their service life is much longer than with conventional sleeve versions. Overheating such an engine will also be quite difficult, as they have a forced ventilation system. If you are interested in the project, I suggest that you familiarize yourself with it in more detail!
Materials and tools used by the author:
Material List:
- ;
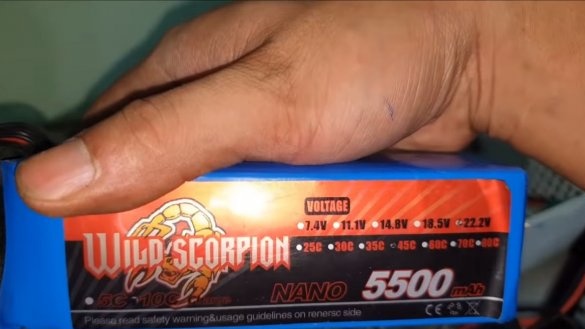
- batteries;
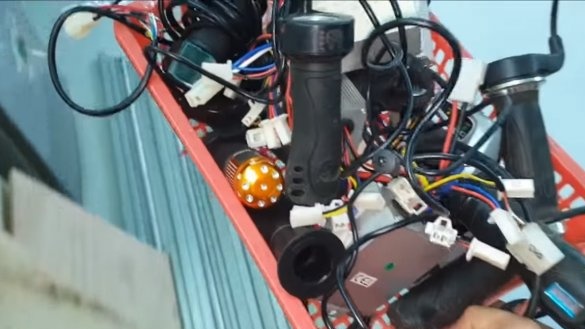
- electronics and an electronic pen "gas" to control engine speed;
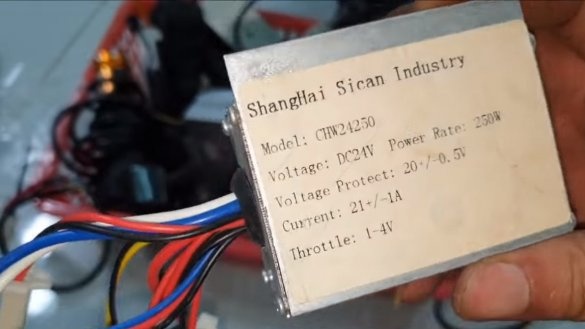
- controller and charger (depending on the batteries used);
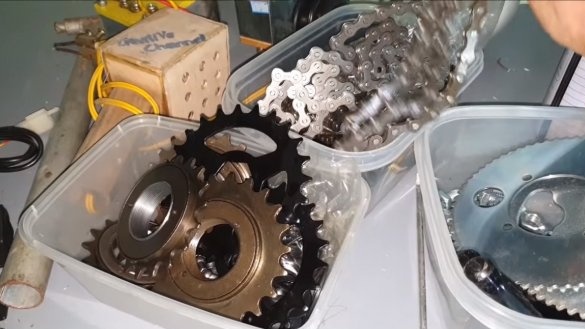
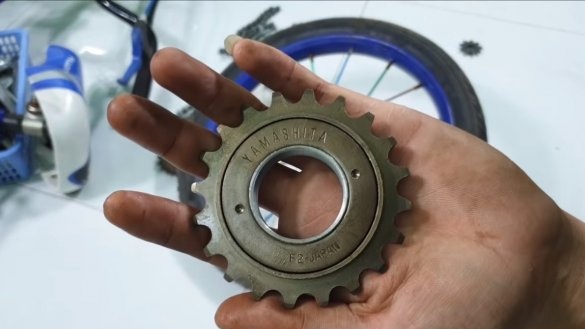
- rear bicycle sprocket;
- a small driving asterisk (suitable on a step);
- bicycle chain;
- bike;
- ;
- steel clamp;
- a piece of steel pipe:
- paint.
Tool List:
- grinder;
- welding machine;
- screwdriver;
- screwdrivers and wrenches;
- soldering iron.
Manufacturing process homemade:
Step one. Driven asterisk
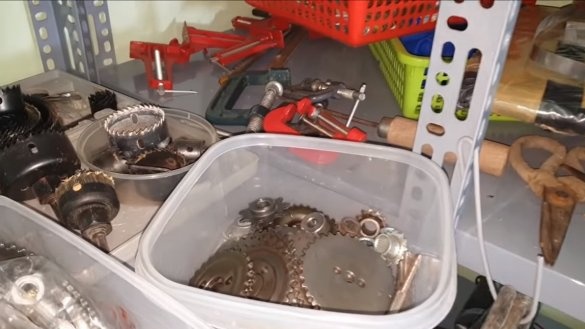
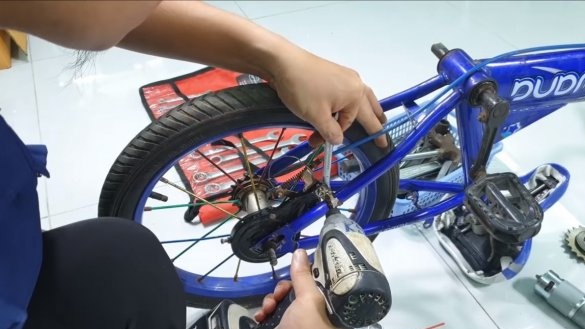
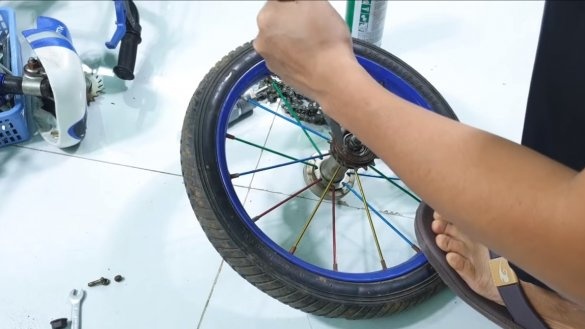
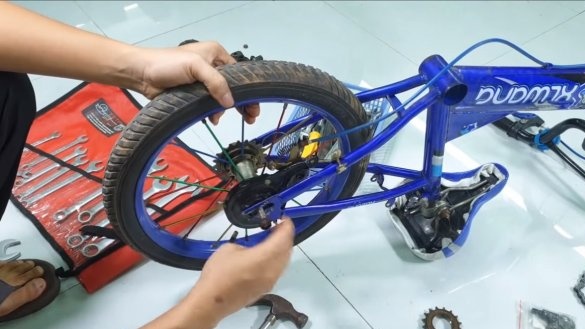
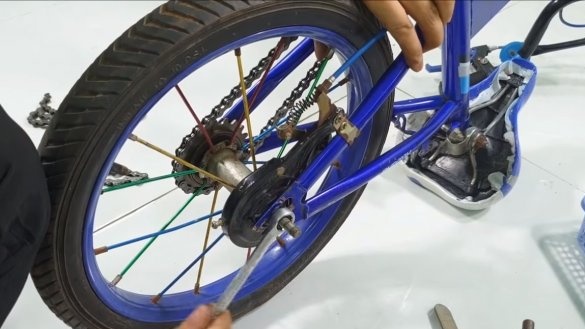
We will start altering the bike with a rear driven sprocket. Its diameter is responsible for the traction and speed characteristics of the bike. The author installs a larger rear sprocket to get high torque. This will allow you to call on steep slides with a considerable load. Unfortunately, the author did not indicate the number of links and gear ratio.
Step two. Place for engine installation
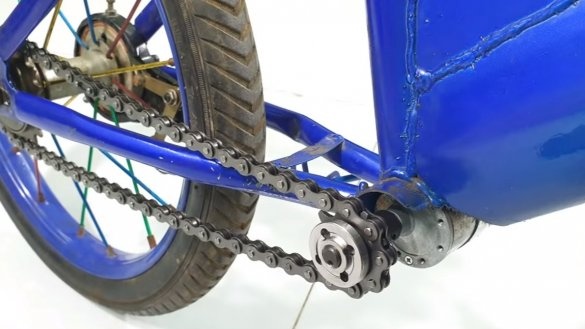
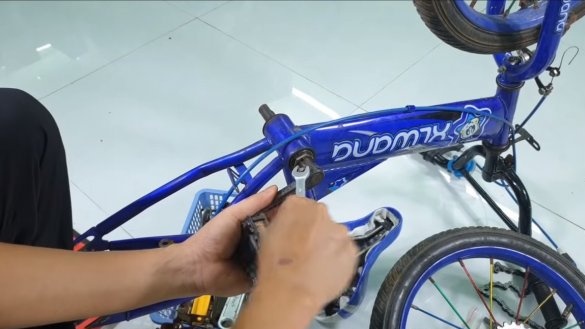
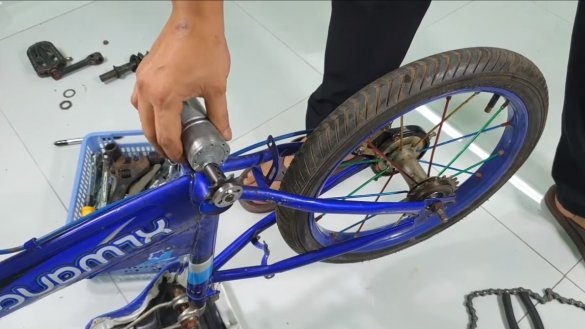
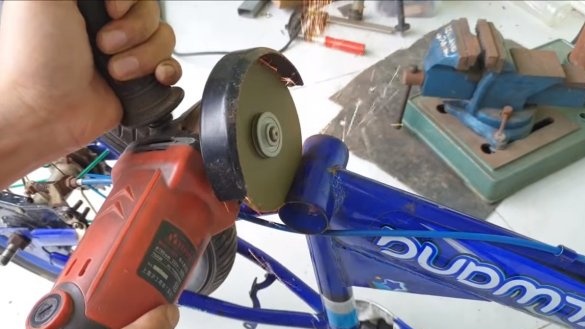
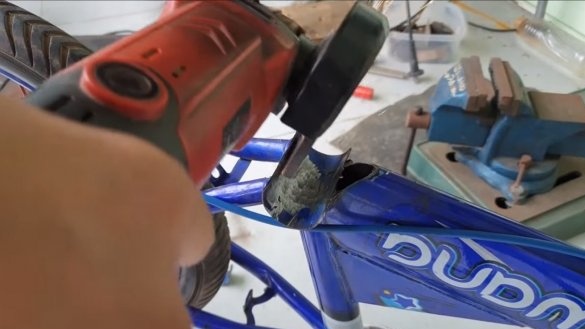
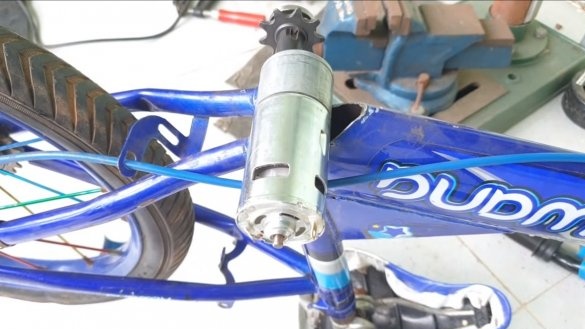
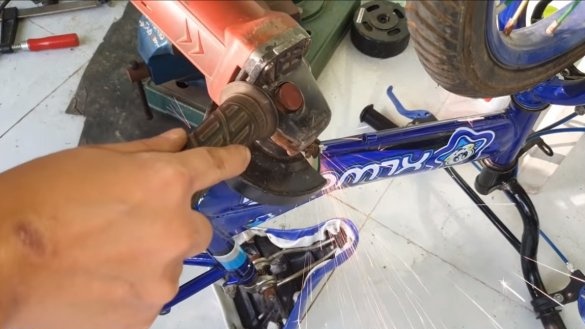
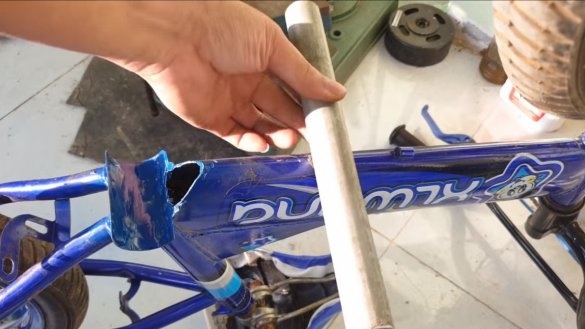
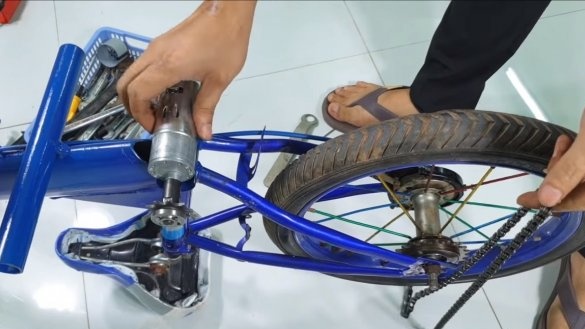
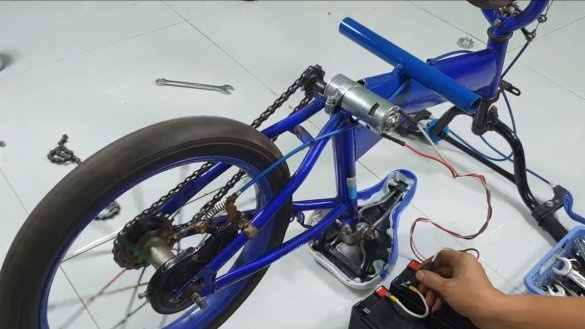
The author changes the design of the bike, so if the battery runs out, you will have to drive the bike in your hands. It is necessary to charge the battery in time and monitor the charge. We will install the motor in the place where the axle with the connecting rods is located. First, remove the connecting rods, and also pull out the axle with bearings.Now we take the grinder and cut off a part of the frames so that a bracket for the engine is formed.
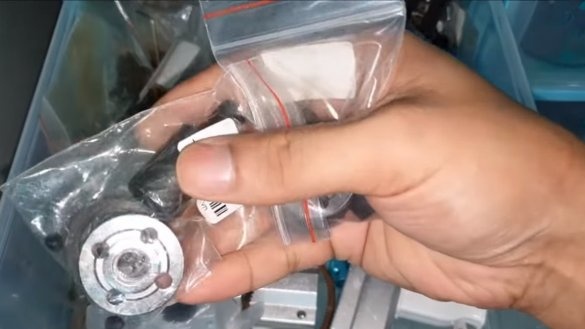
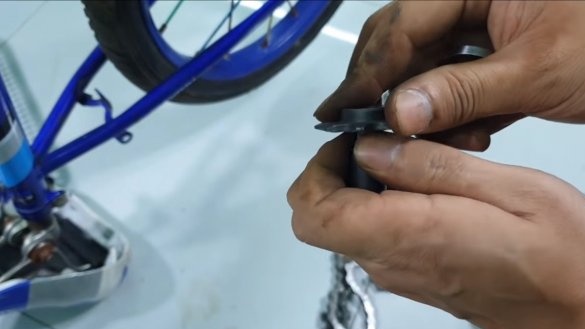
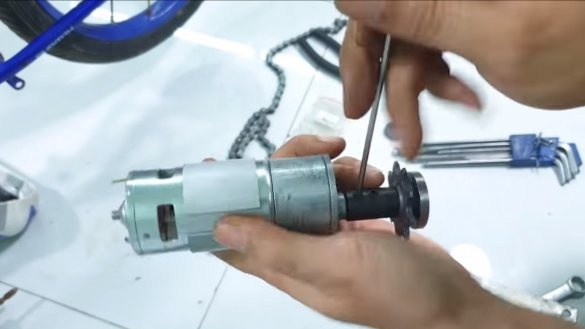
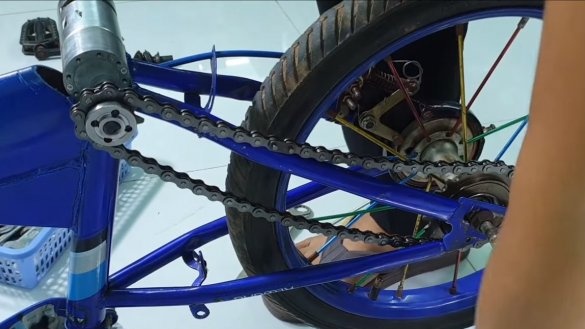
We install a drive sprocket on the motor shaft, it is small in size. To install the sprocket, the author uses the Bulgarian M10 adapter.
Step Three Footboard
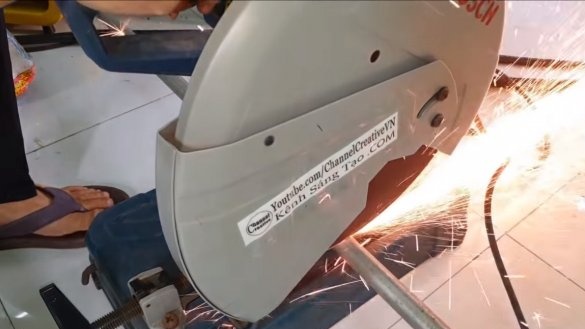
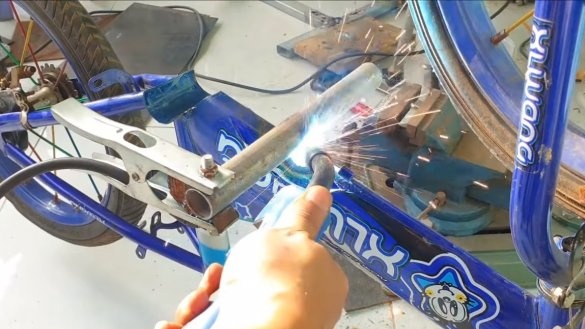
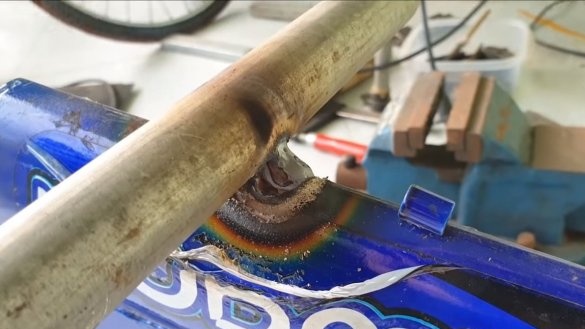
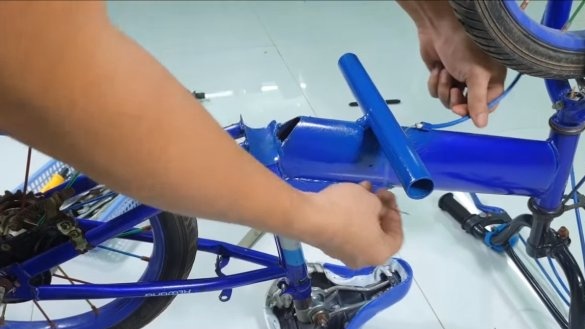
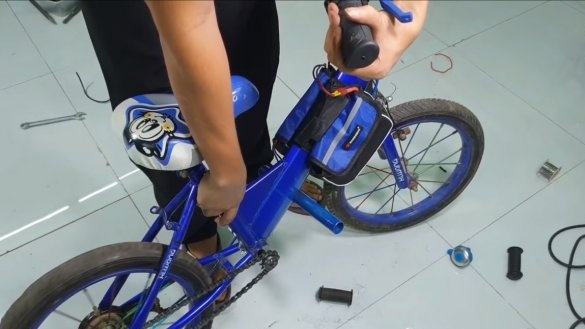
We no longer have connecting rods, which means we need to make a footrest. The author solves this problem by welding a piece of a round pipe in a convenient place. We clean the metal and weld. It is best to cook thin metal using a semiautomatic device.
Step Four Painting
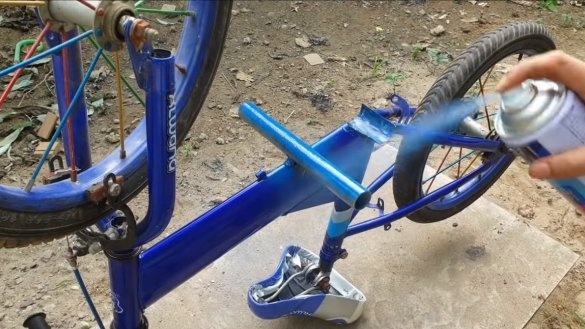
Paint the metal parts so that they do not rust and look beautiful. The author painted everything in the color of the bicycle frame - in blue.
Step Five Bike assembly
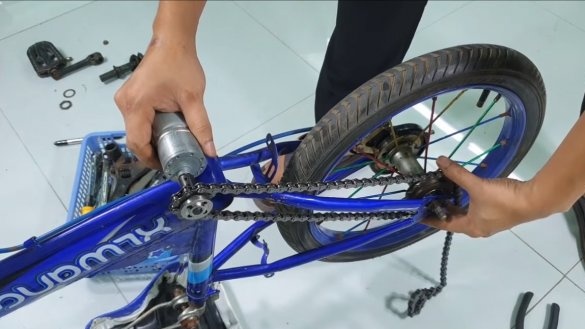
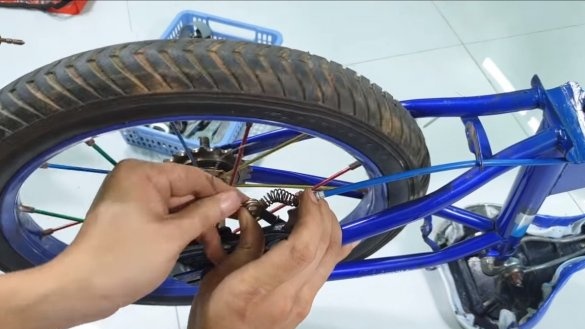
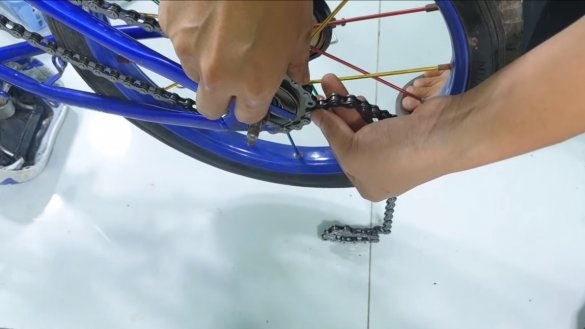
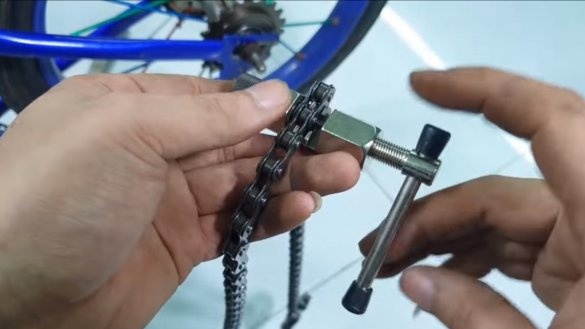
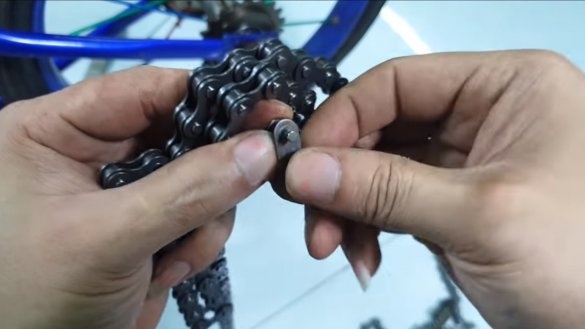
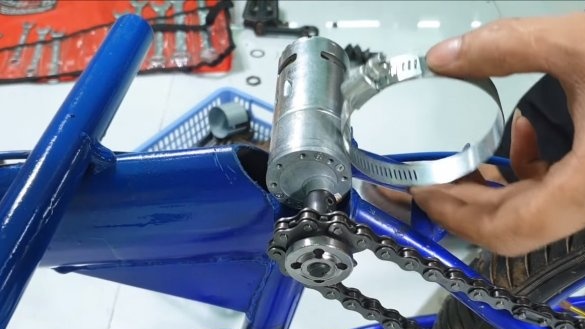
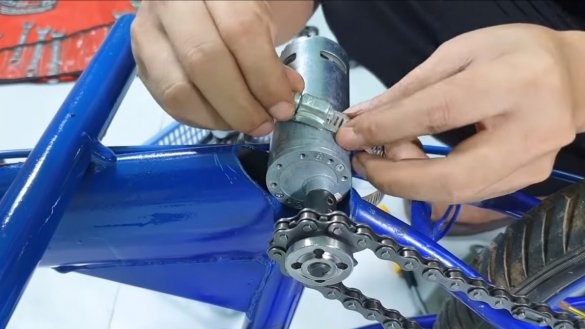
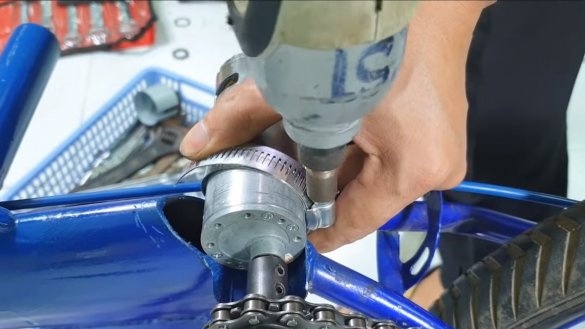
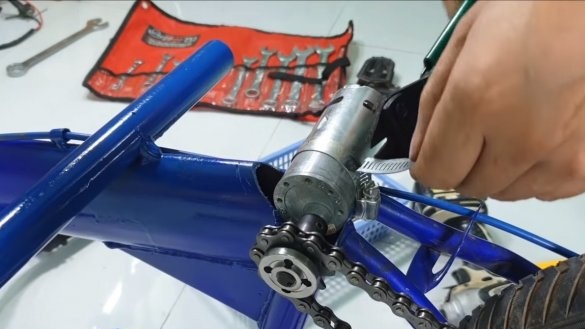
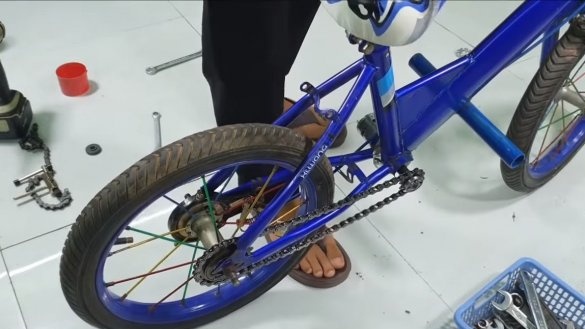
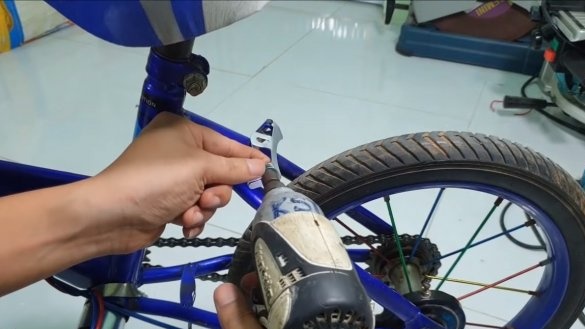
We start assembling the bicycle, for a start we connect the rear brake, oh well, the author is manual. Next, we determine the length of the chain, cut off the excess and install a chain lock. After that, you can fix the engine. The author fastens it with one single steel clamp.
After tightening the chain, you can energize the engine and see if everything works well.
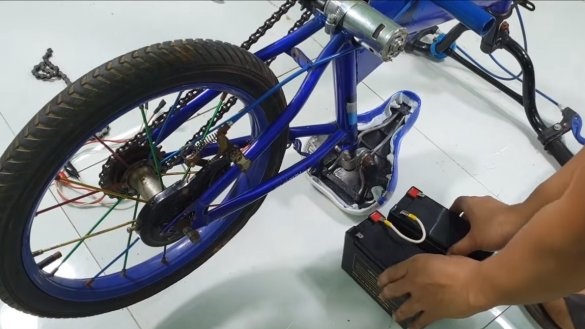
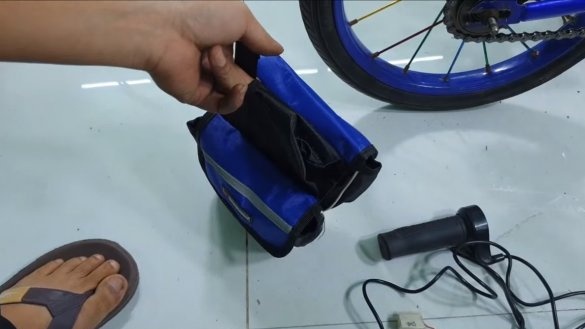
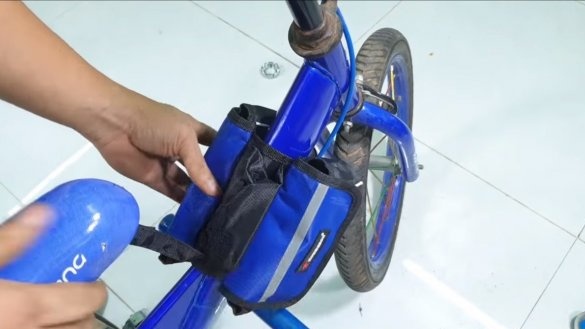
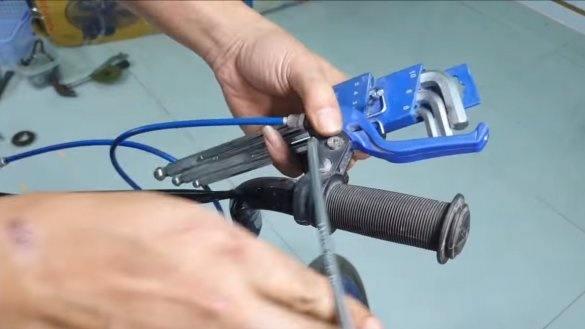
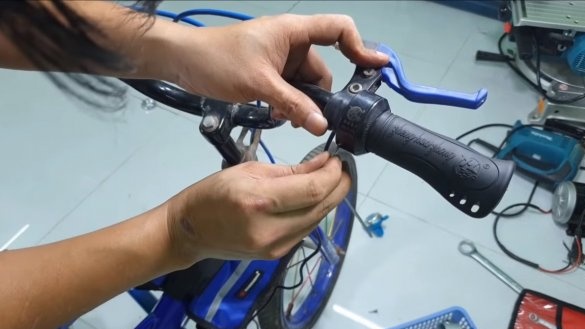
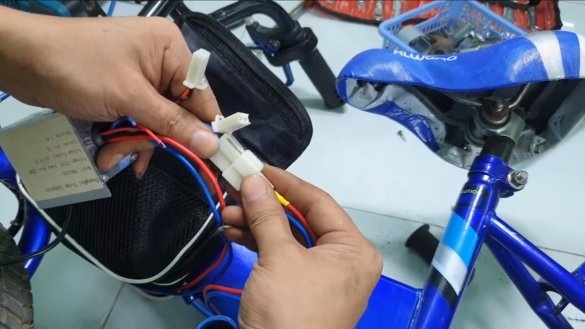
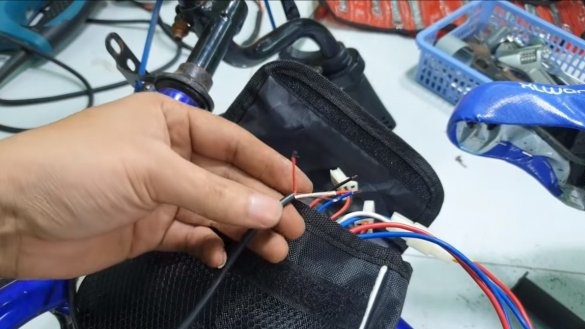
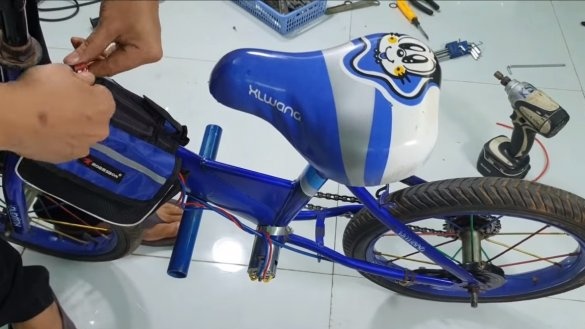
At the next stage, the electronics are installed. We install an electronic “gas” handle on the steering wheel, and the controller will be mounted on the frame, the author installs it and the battery in small bags. As for the battery, the author has a capacity of 5500 mAh.
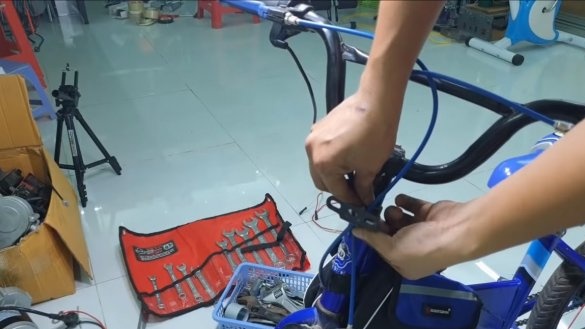
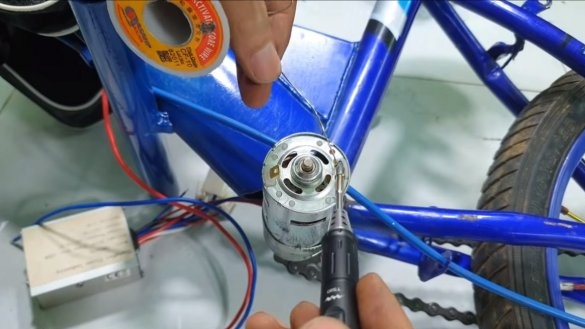
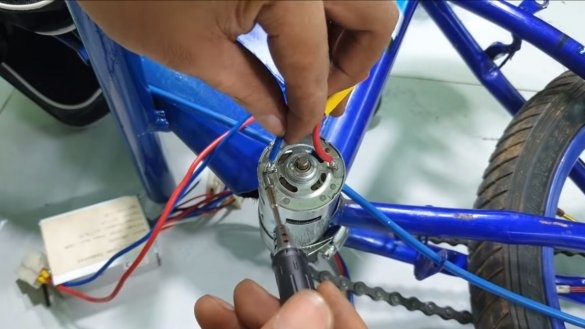
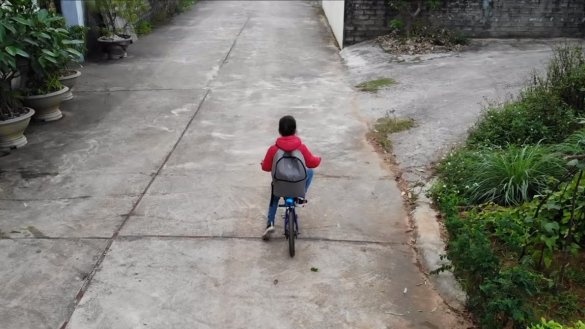
We connect the wiring, solder the wires to the engine and that’s all. You can test the bike, the author’s daughter took care of this. The bike starts off quite quickly. The only problem is that a shield must be made for the engine. Otherwise, it will quickly destroy the dust, which will fall into the ventilation holes.
That's all, the project is over, I hope you enjoyed your homework. Good luck and creative inspiration, if you decide to repeat it. Do not forget to share your homemade products with us.

