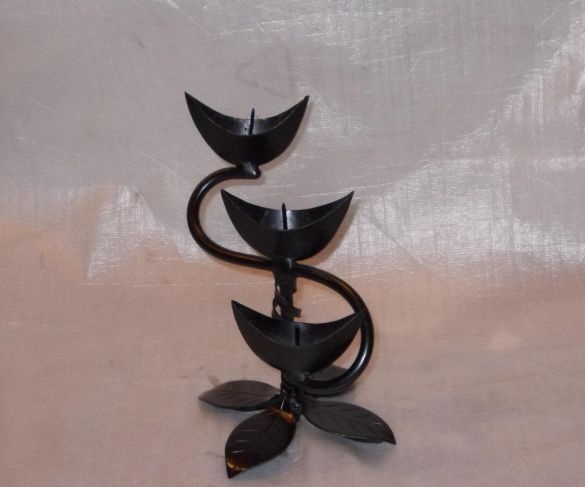
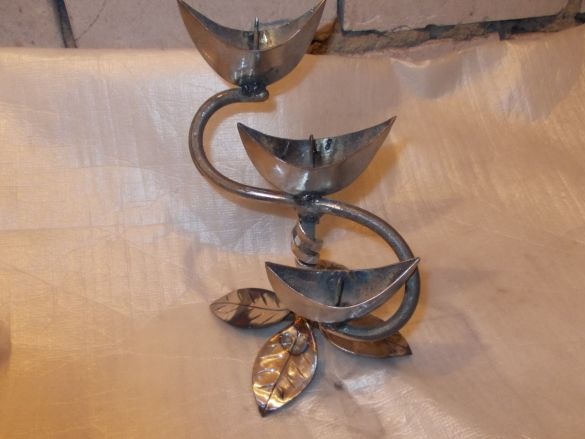
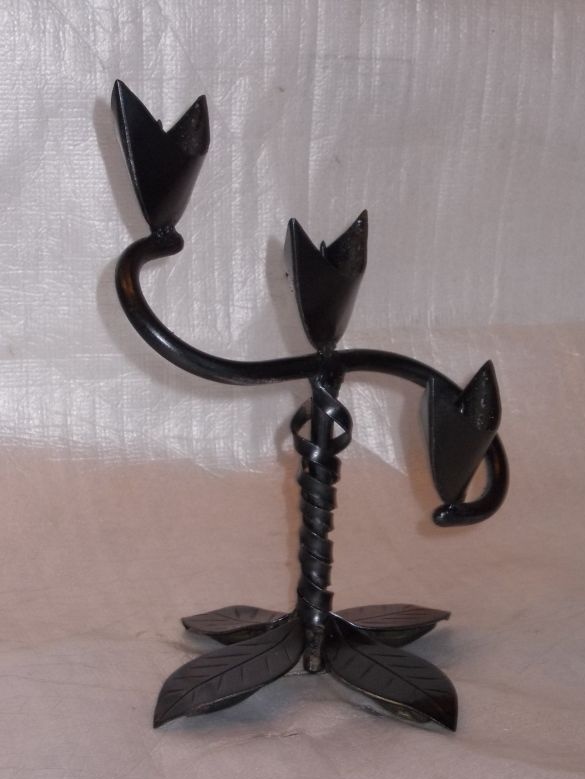
One author shared the technique of how to make a forged candlestick yourself. Everything is made of sheet metal, as well as a steel bar. The elements are connected by welding, it is very important to be able to cook with dots. So, let's get down to manufacturing.
Materials and tools for homemade:
- metal rod (diameter 10 mm);
- sheet steel (thickness 1-1.5 mm);
- three carpentry nails;
- pliers or pliers;
- building corner (wall thickness 4 mm);
- a piece of pipe with a diameter of 2-3 cm with a wall thickness of at least 2 mm;
- slotted screwdriver;
- Bulgarian (need cutting and grinding wheels);
- an inverter type welding machine (it will be necessary to cook with a 2 mm electrode with a current strength of 60-80 A), a semiautomatic device is also suitable for such purposes;
- paint and primer for metal;
- felt-tip pen.
The process of manufacturing a wrought iron candlestick:
Step one. Device for bending bars
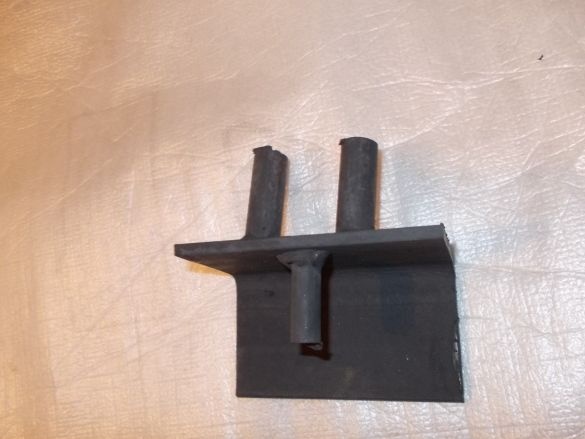
First of all, you need to start with the manufacture of a small template, with which it is convenient to bend a metal rod for a candlestick. The template is made very simply, for this you need to take a piece of a corner 10 cm long and then weld two rods 5 cm long to it, the distance between them should be 3-4 cm. That's all, this device can now be clamped in a vice. If there is no vise, then another rod can be welded to the corner on the other side, so that the fixture could be fixed to the table with a hole.
Step Two We make blanks
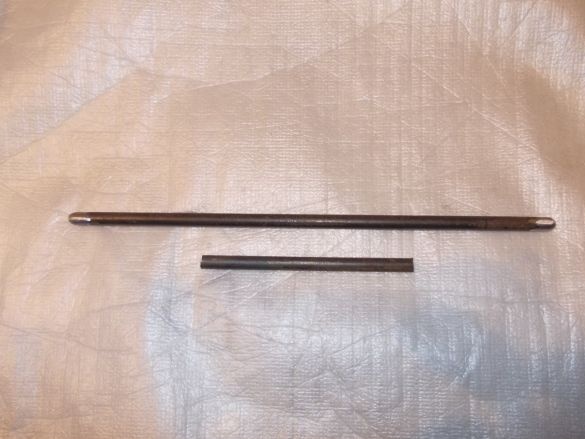
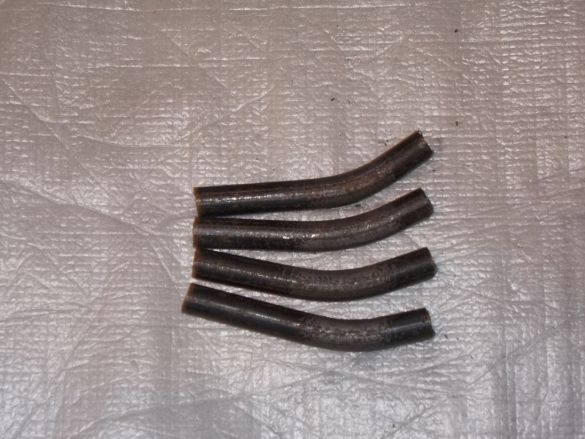
To make the first blanks for the candlestick, you will need to work as a grinder. Two pieces of length 15 and 35 cm must be cut from the rod. The ends of the rods must be rounded with a grinding machine.
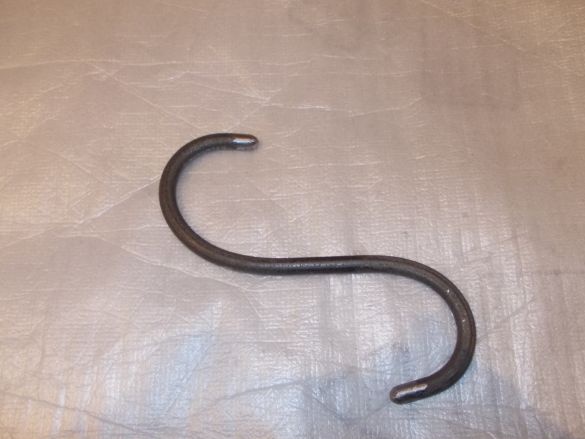
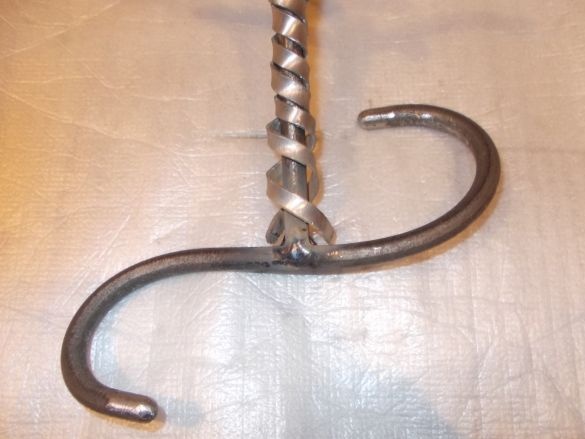
Then our previously made stanchok comes into play, with the help of it the rods need to be bent in the form of the letter S. The rod is inserted into the template and slowly bends to the desired shape. To get the desired bend, the fulcrum of the rod during the bending process needs to be slightly shifted. To bend the rod was easy, you need a lever, for such purposes a steel tube is suitable. The longer the pipe, the easier it will be to bend the rod.
Step Three Production and installation of legs for a candlestick
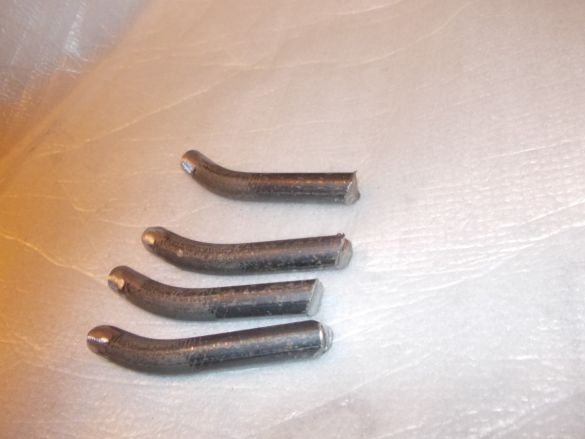
To make the legs, the rod needs to be cut into 4 parts 8 cm long. The made segments will need to be bent a little, this is conveniently done using the same template made earlier and the lever. The segments must be mentally divided into three parts, and then bend, stepping back from the edge 1/3.
Next, the legs of the candlestick must be rounded at the ends, the grinding machine again enters the course. So that the legs can be securely and beautifully fixed on a candlestick, special recesses must be made at opposite ends. For such purposes, a stone-type disk is well suited.
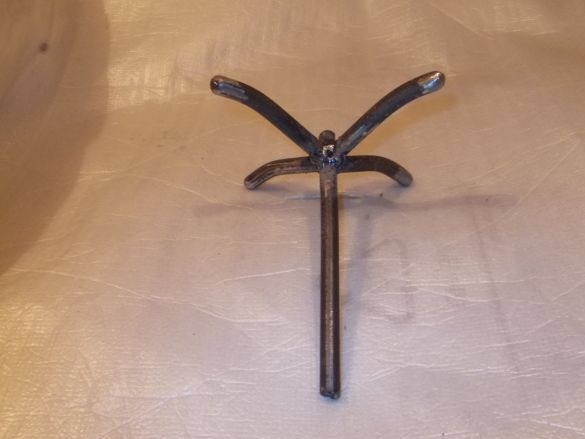
After the legs are made, they can be attached to the candlestick, here welding comes into play. The legs must be welded to a rod 15 cm long, 1 cm must be retreated from the edge of the rod. The deflection of the legs should look down. It is not necessary to weld the legs immediately tightly to the rod. First you just need to grab them, and then see if everything is done smoothly. If you put the rod on the table with the legs down, all four legs should touch the table, and the rod should be placed strictly vertically. If this is not the case, the legs must be adjusted or broken off, and then welded again. After the desired accuracy is achieved, the legs are welded along the entire diameter of the rod. Further, the welding spots must be sanded.
Step Four Decorate the vertical axis
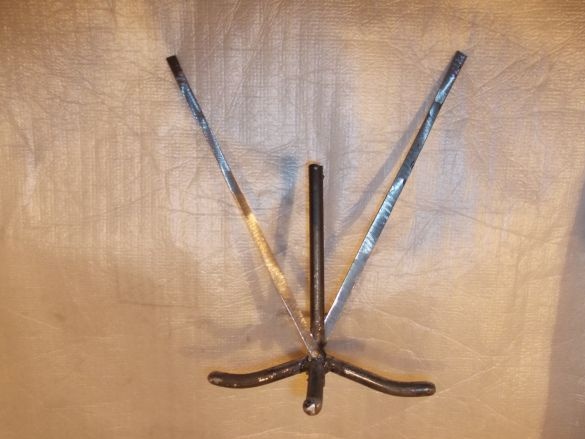
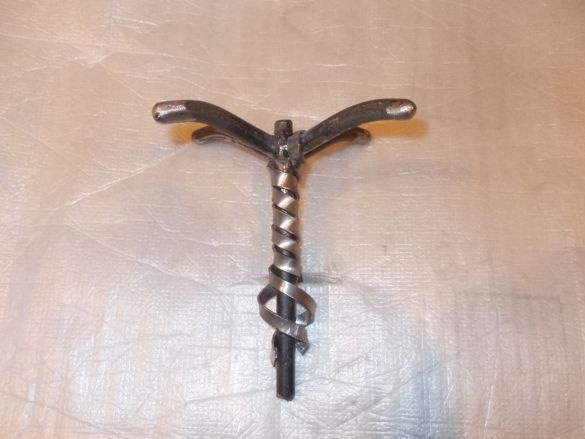
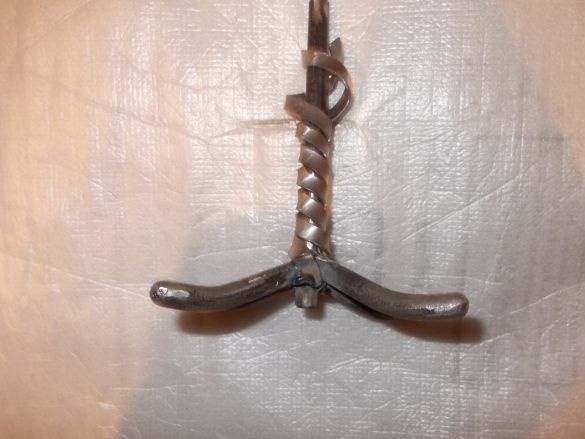
In order to decorate the vertical axis, two strips need to be cut from a sheet of steel. Their length should be 40 cm and a width of 1 cm. The strips are welded to the candlestick by welding in several places. As for the angle of installation of the strips, here you can choose to your taste, the most important thing is that the angle of the two strips is the same.
Now the strips can be bent around the bar, the strip goes one after another with alternating half a turn. It’s easiest to bend them with your hands, but you can use pliers. Closer to the top of the strip, it is no longer necessary to wrap it around the bar. In the process of winding metal strips, a small distance must be maintained between them. If this did not work out right away, then you can get it later by sliding the plates with a slotted screwdriver.
At the final stage, the strips must be broken off from the bar with a slotted screwdriver and then bent around the legs. In this position, the strips are welded permanently. To get around the strips well, you can use a hammer.
Step Five Further assembly
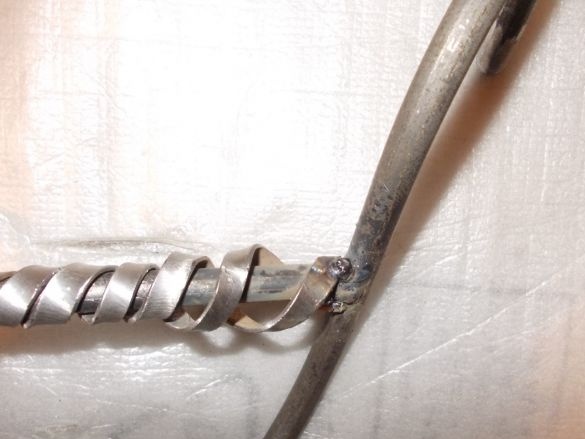
Next, the author attaches the S-shaped part of the candlestick to the second element, that is, a vertical rod with legs, made earlier. This is done using spot welding, you need to weld well. Subsequently, the weld points must be sanded.
After that, other edges of metal strips wrapped around the rod are welded in the same place. Before welding, make sure that they are symmetrical.
Step Six Making leaves for legs
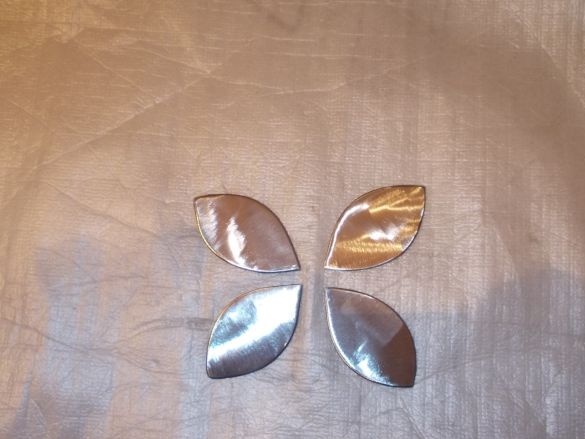
To cover the legs of the candlestick, the author makes leaves of metal. In total, four such leaves will be needed, they should be even, the same in size and beautiful. To make sheets, you need to make a template, for such purposes you need a sheet of cardboard 9 cm long and 5 cm wide. Then the template is circled on a metal sheet and cut with a grinder. Edges are processed using a grinding disc.
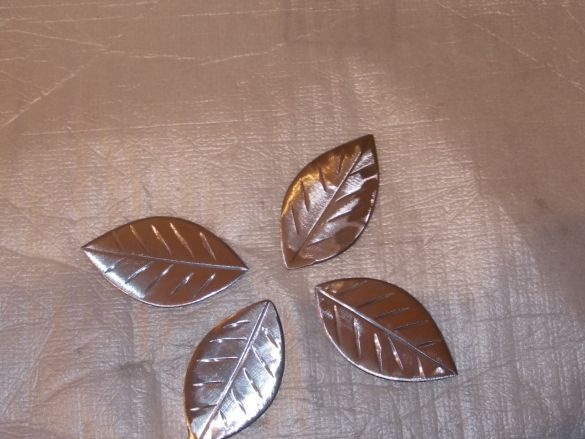
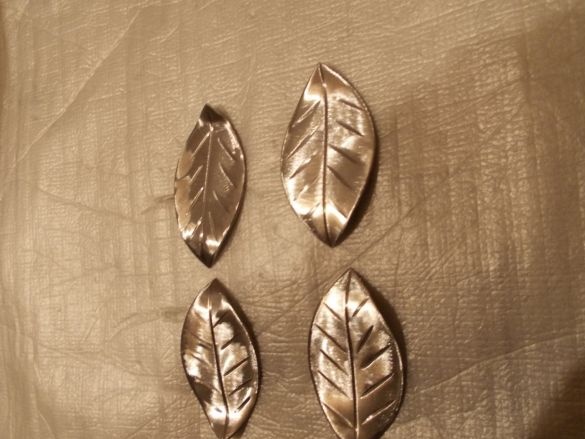
The author also makes streaks on the leaves, for this the leaf is pre-marked with a felt-tip pen. On these lines then you need to make a serif of small depth notches. Next, the leaves are processed from above by the grinding wild of the petal sample.
To give the leaves a relief, their tips need to be bent using pliers. This can be done with your hands if the metal is soft. One end of the leaf should look up and the other down. In this case, the bends should be smooth, without creases.
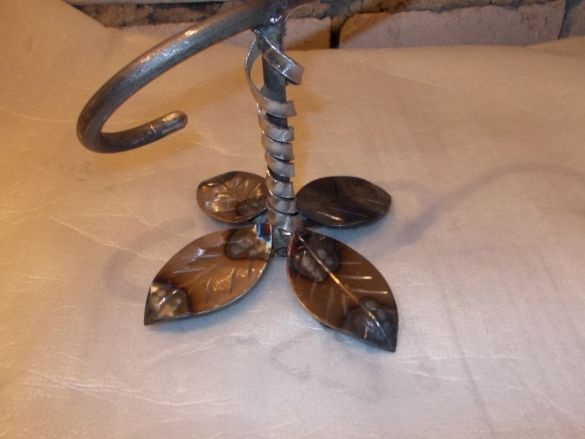
That's all, now the leaves can be welded to the legs. Welding is carried out on the other hand. Care must be taken not to burn the leaves. It’s even easier to solder them. The leaves during welding can change color, this is absolutely normal. Everything, at this stage, the base of the candlestick is finished.
Step SixMaking candle bowls
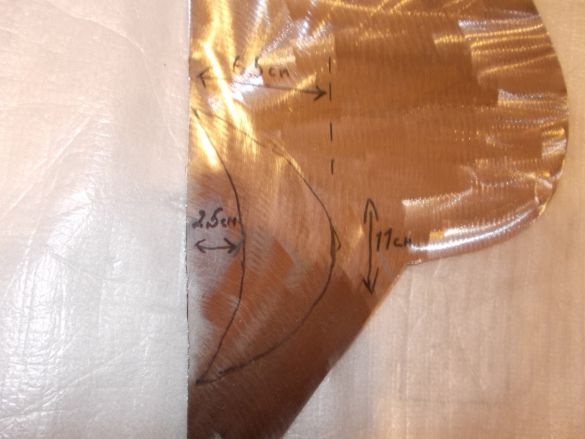
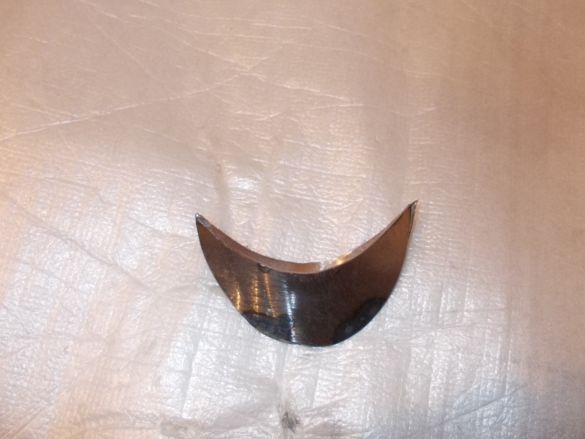
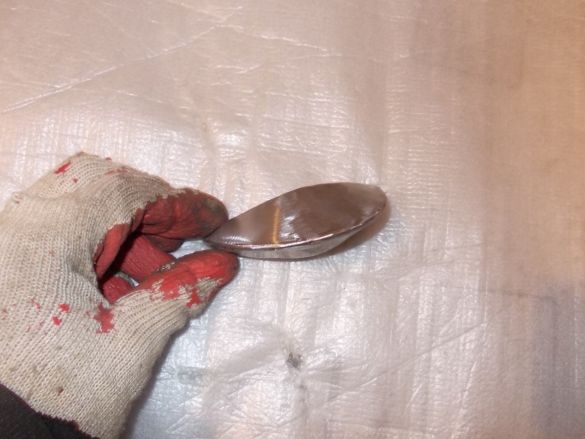
First, the author makes a crescent-shaped template from paper, it is 11 cm long, 6.5 cm wide, and the bending depth is 2.5 cm. Well, then the template is encircled on a sheet of metal and cut with a grinder.
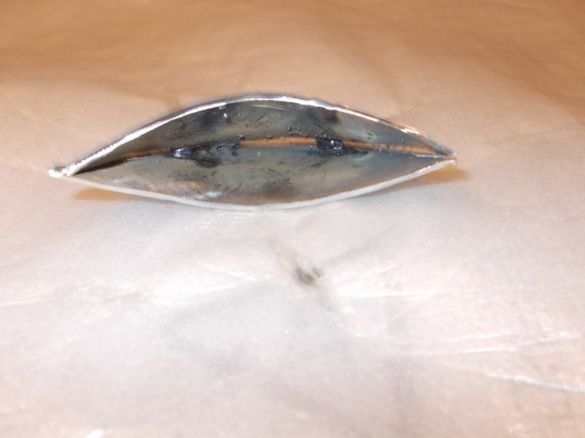
Two crescents need to be adjusted to each other so that they are tightly connected. Then they bend from the inside, and a bowl forms. Between the halves of the bowl there may be a gap of not more than 1 mm. To bend the bowls, you need an even object of round shape. For such purposes, a pipe or a round mallet is suitable. Halves are welded from the inside.
When the structure is assembled, it can now be well boiled at the junction outside and inside. You need to weld with points, while each new point should slightly close the previous one. As a result, a full welding seam is formed. Outside then it needs to be processed with a blade of a petal type.
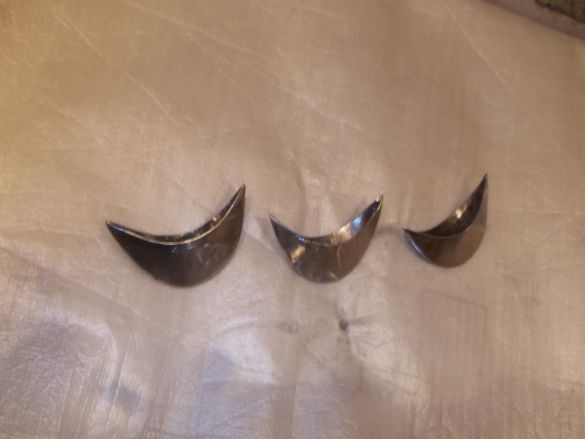
The author has a candlestick with three candles, so you will need to make three such bowls.
Seventh step. The final stage. Assembly assembly
Inside each tea, in the center, you need to weld a carpentry nail, it should be 3-4 cm long. Then the bowls can be attached to the candlestick, the operation is carried out using spot welding. The angle of installation of the bowls must be adjusted, grabbing them with welding points. Then the bowls can be welded completely. In conclusion, the seams must be treated with a blade of petal type.
That's all, the candlestick is ready. But in order to give it a beautiful appearance, the product still needs to be painted. The author chose black paint for such purposes. The paint does not have to be heat-resistant, since the candle cannot heat the candlestick very much. It is best to work with spray cans with auto enamel, so no additional devices are needed for painting. You will also need a primer, with it you need to process the candlestick before painting.
The primer must be applied with an interval of 20 minutes, just two thin layers. Before priming, the metal must be cleaned of rust, if any. After the primer is completely dry, the candlestick can be painted. In total, 2-3 layers should be applied with an interval of 15 minutes. When the paint dries, the candlestick can be used for its intended purpose.

