
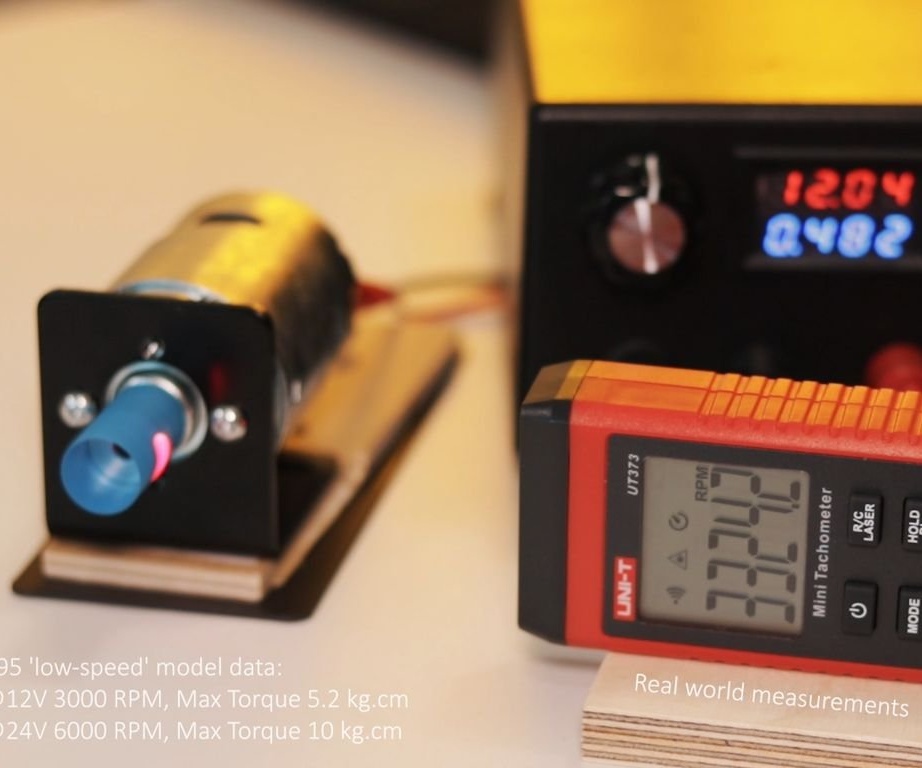
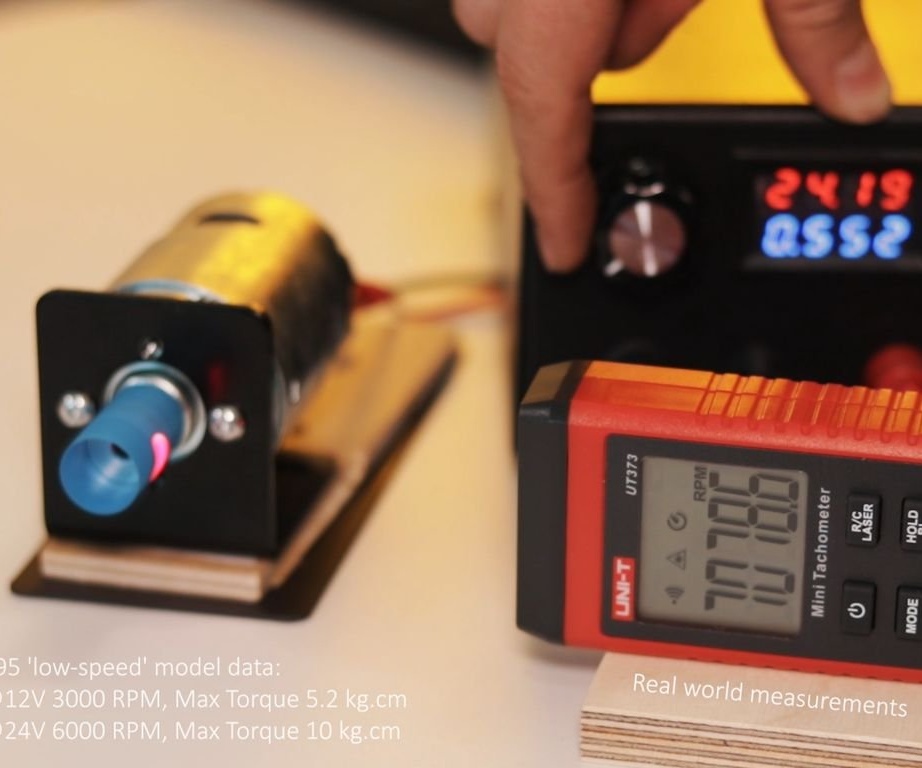
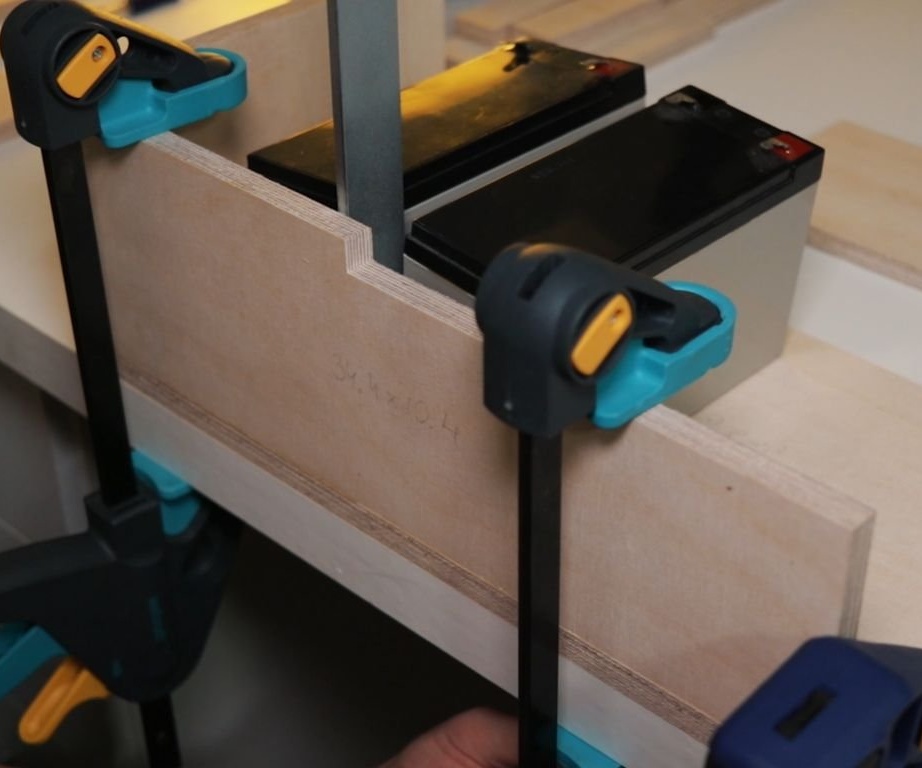
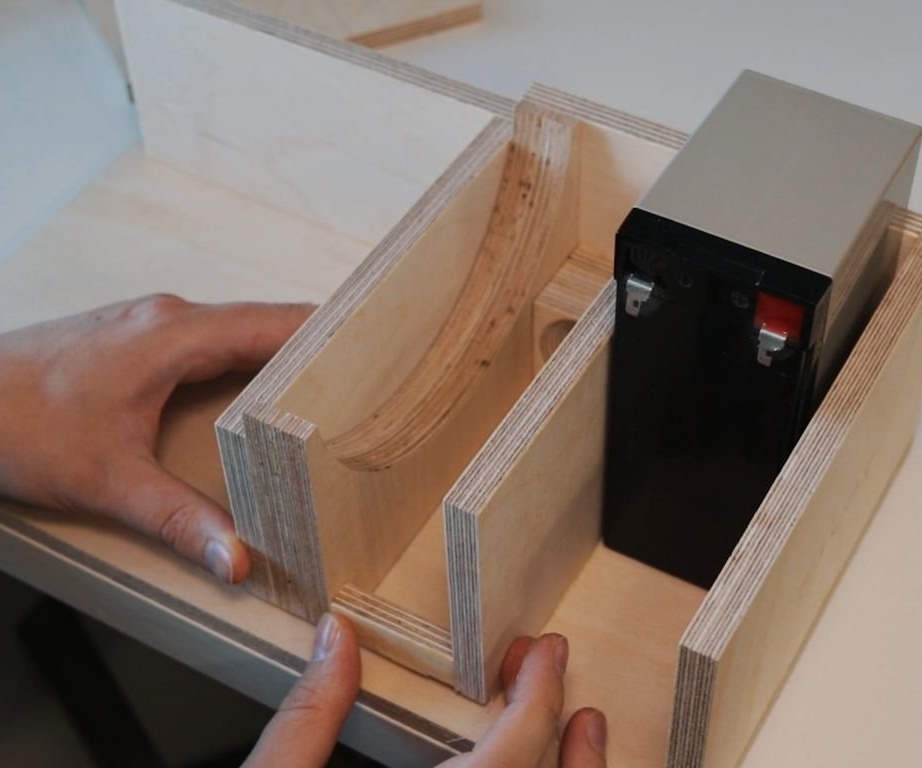
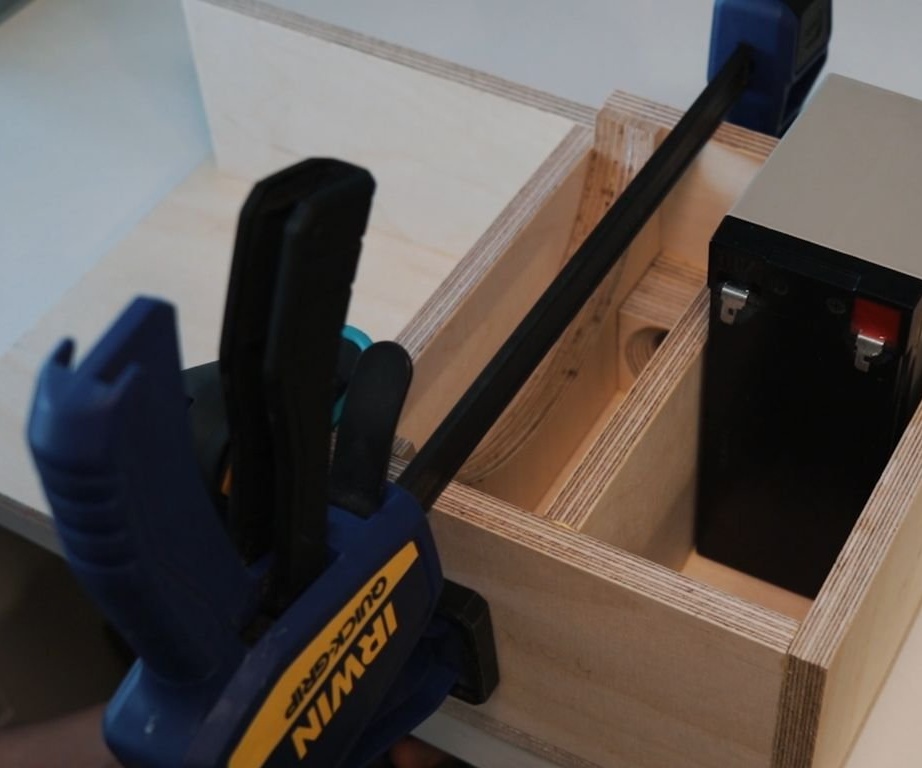
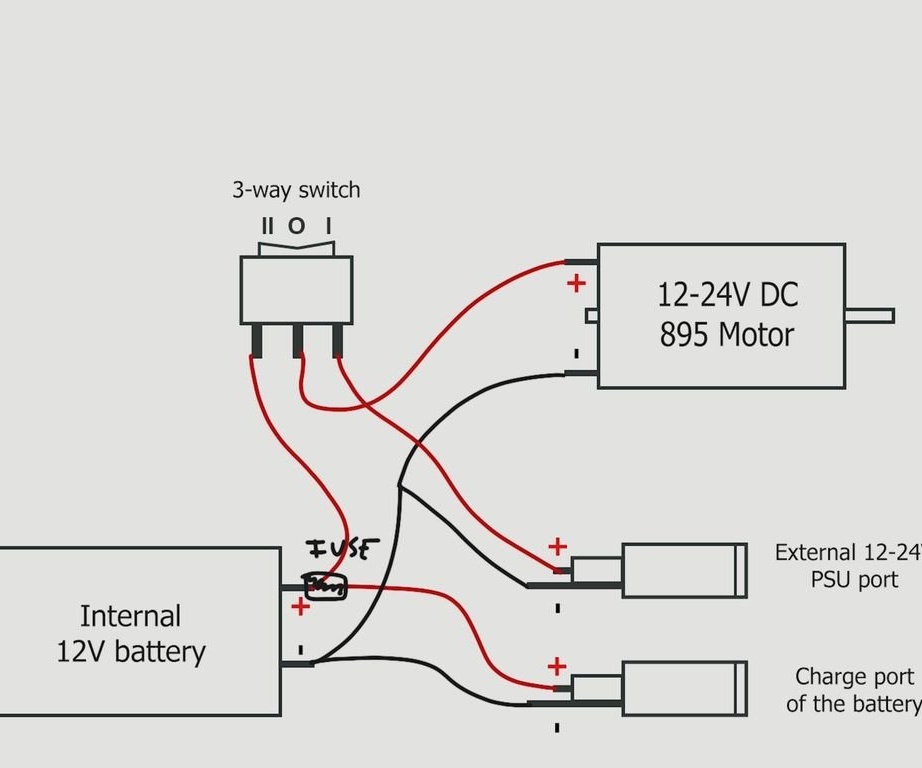
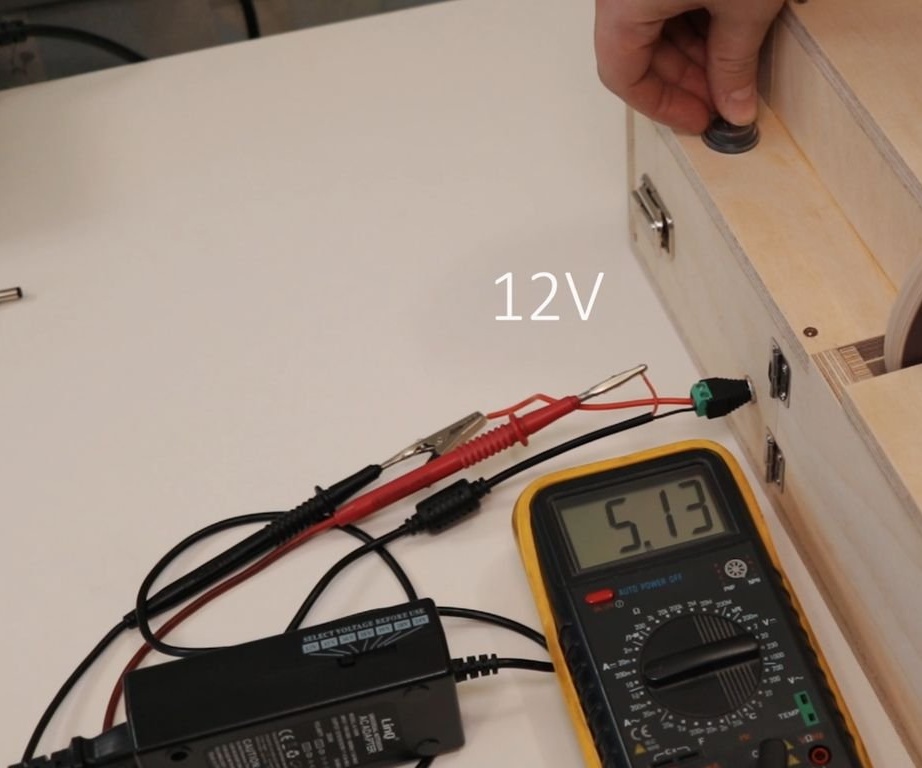
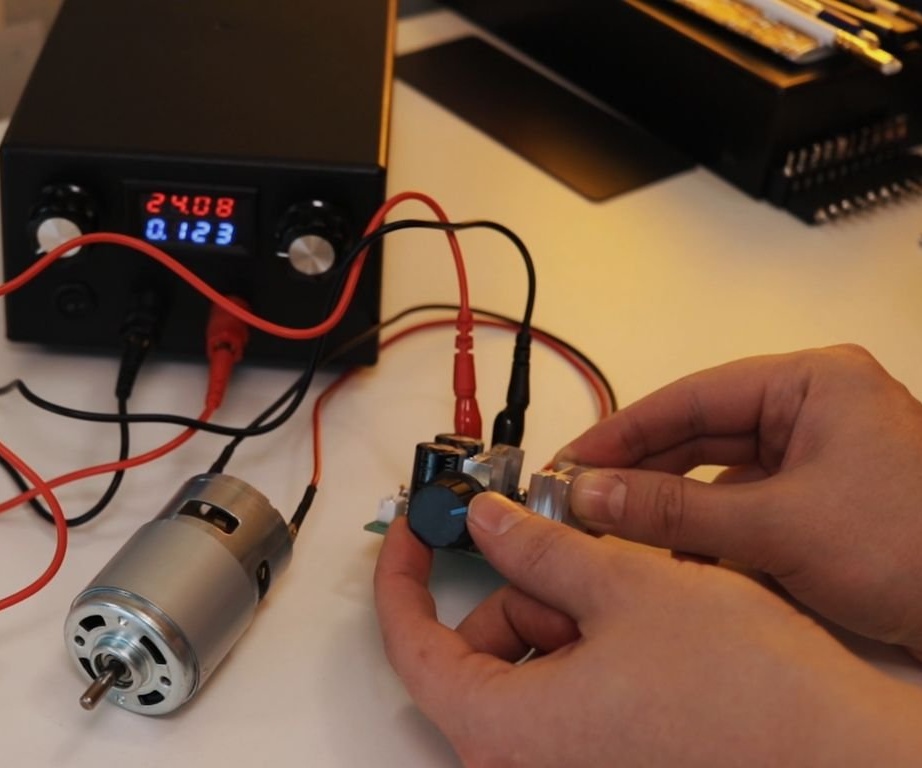
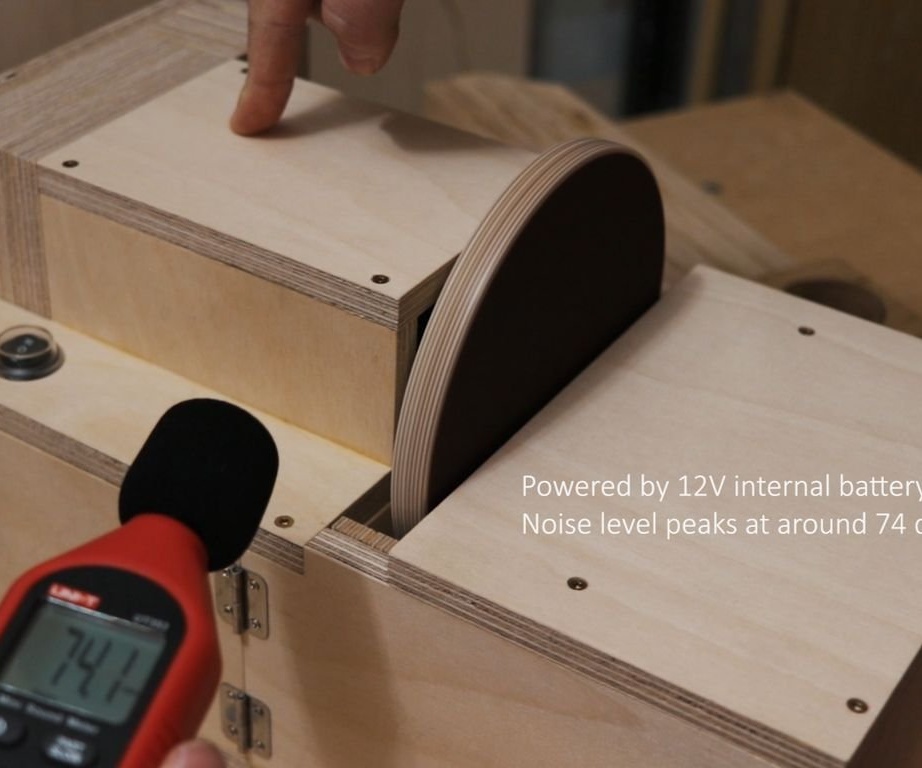
This portable machine has a built-in 12V 7Ah lead-acid battery and is powered by a 895 12-24V DC motor. If necessary, you can easily connect an external 12-24V power supply. The grinding machine has two inputs for connecting a vacuum cleaner, one to remove dust when using a disk, the second when using a drum.
This project focuses on mobility and convenience for very small workspaces. The real power when using a grinding machine is ~ 30 W at a voltage of 12 V and ~ 100 W at 24 V. Despite the low power, the machine works and performs its tasks.
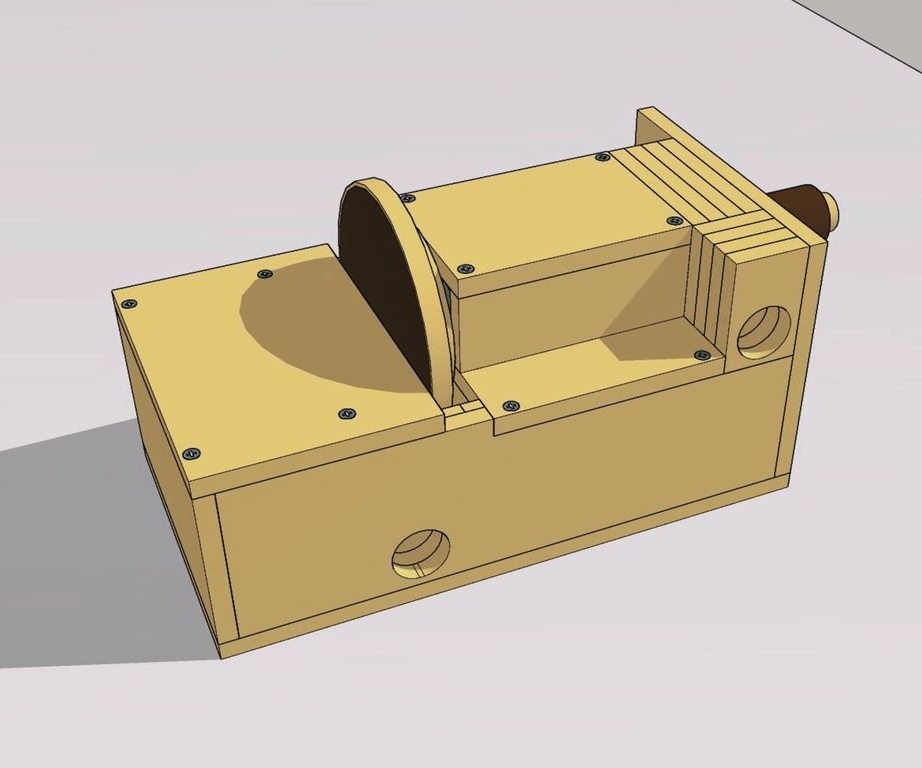
3D model of grinding machine can be downloaded here.
Tools and materials:
-Drill;
-A screwdriver;
- Electric jigsaw;
Milling cutter;
-Dremel;
-Multimeter;
- Clamps;
-Gon;
-Crown on wood;
- Chisels;
- Jigsaw;
- Feather drills;
-Switch;
- Terminals;
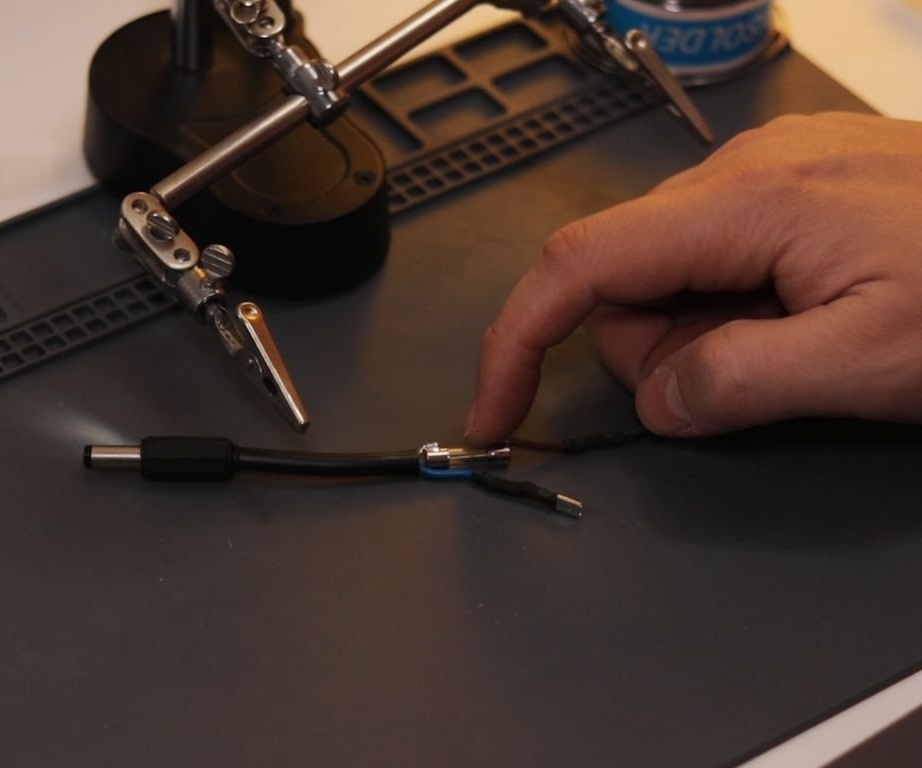
-Power connector;
-Circuit breakers;
- A roll of sandpaper;
-Fasteners;
-Cold welding;
-Plywood;
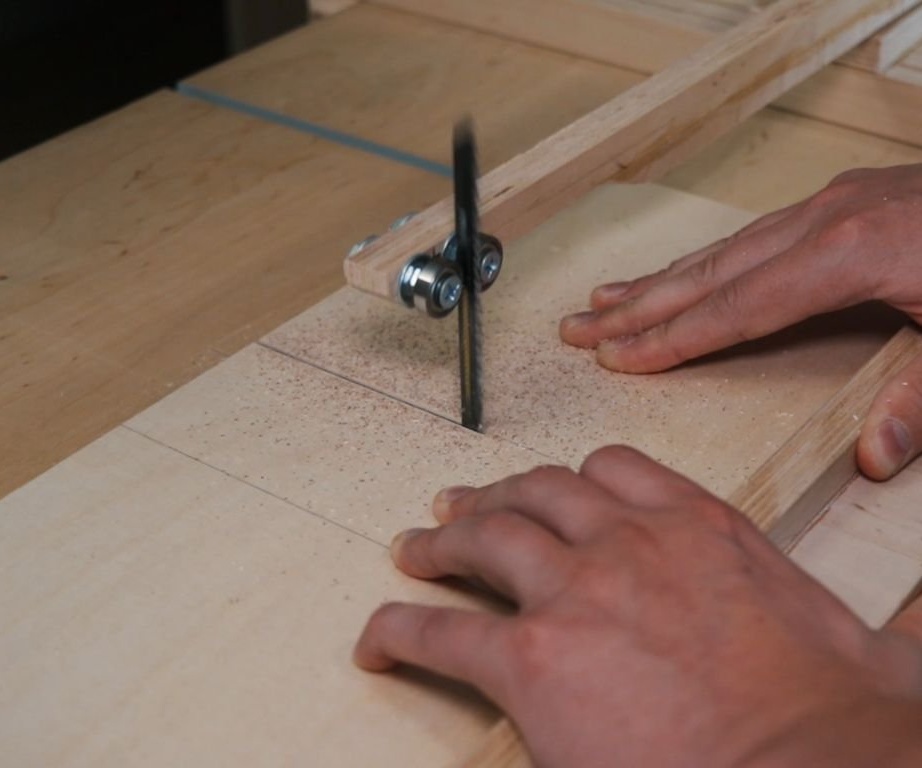
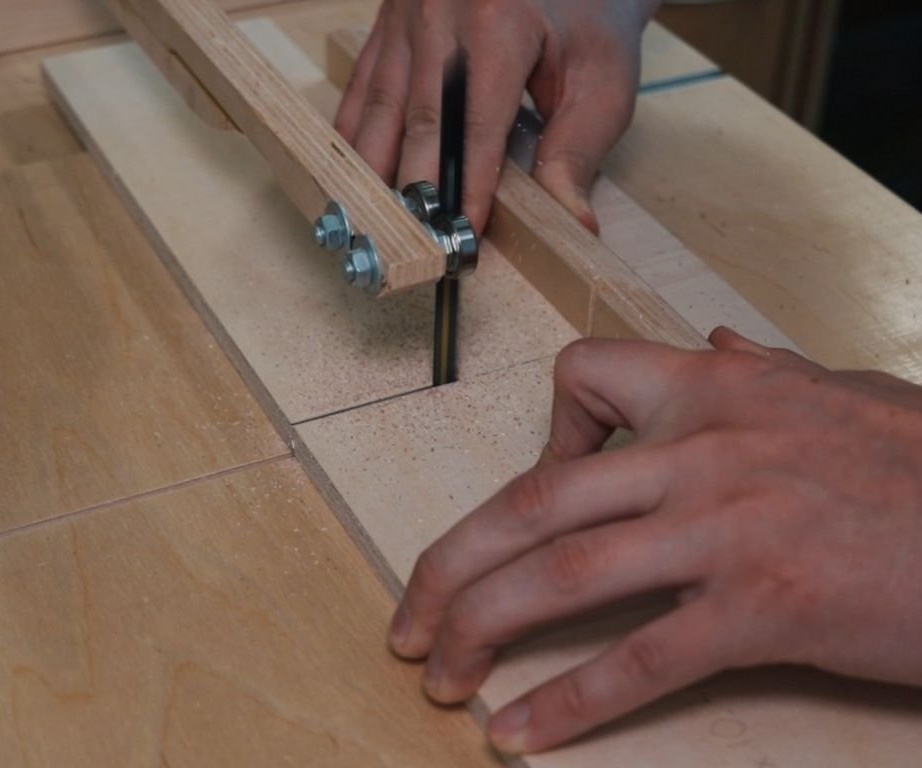
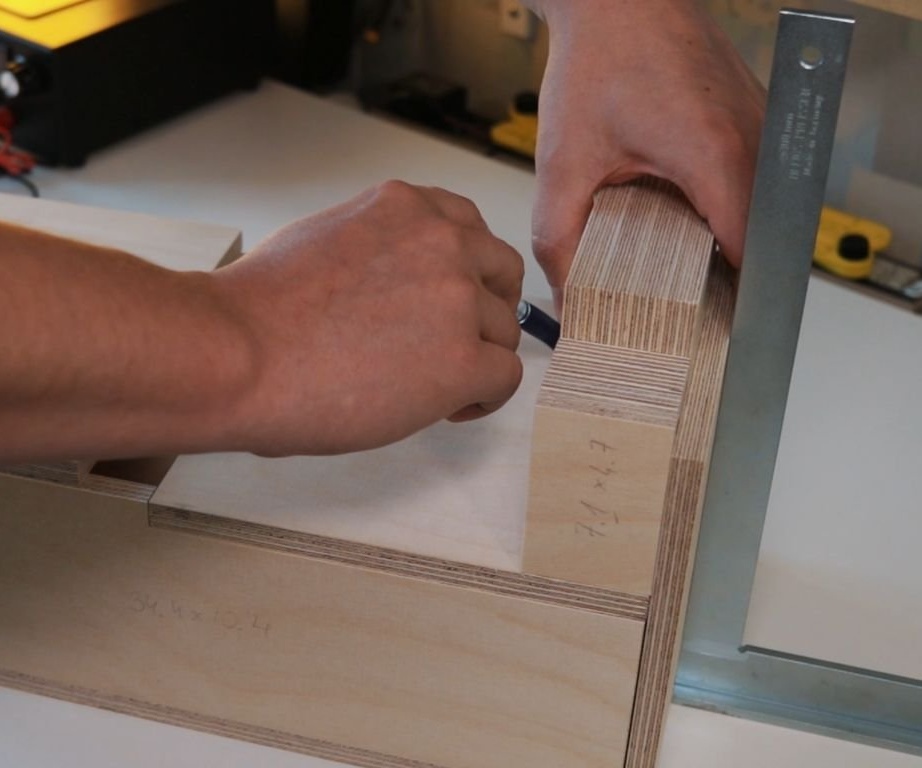
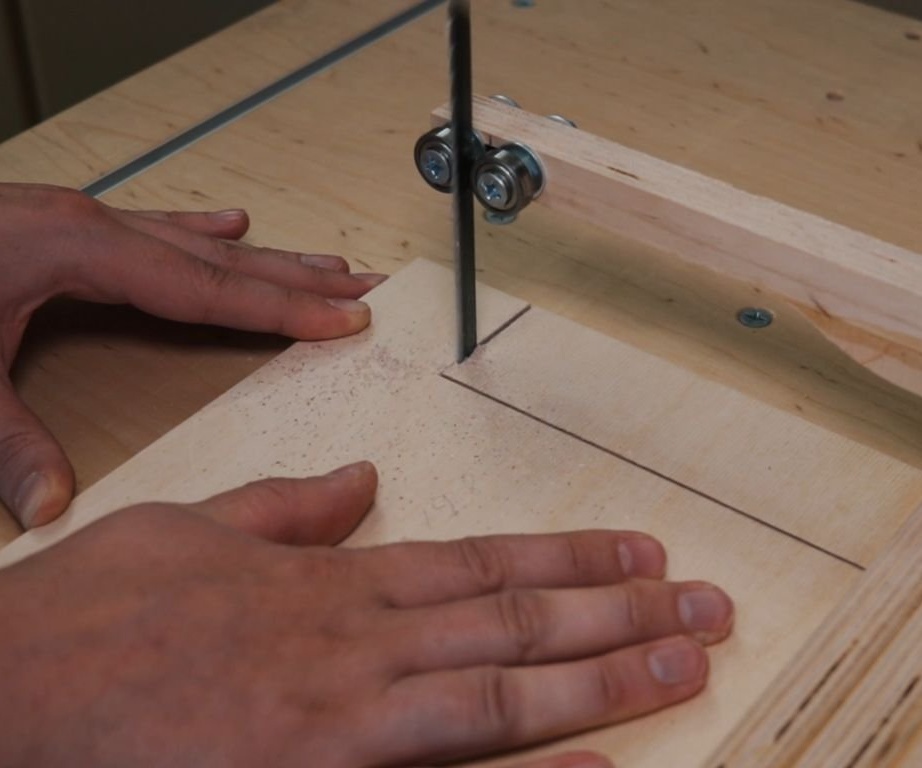
Step One: Sawing
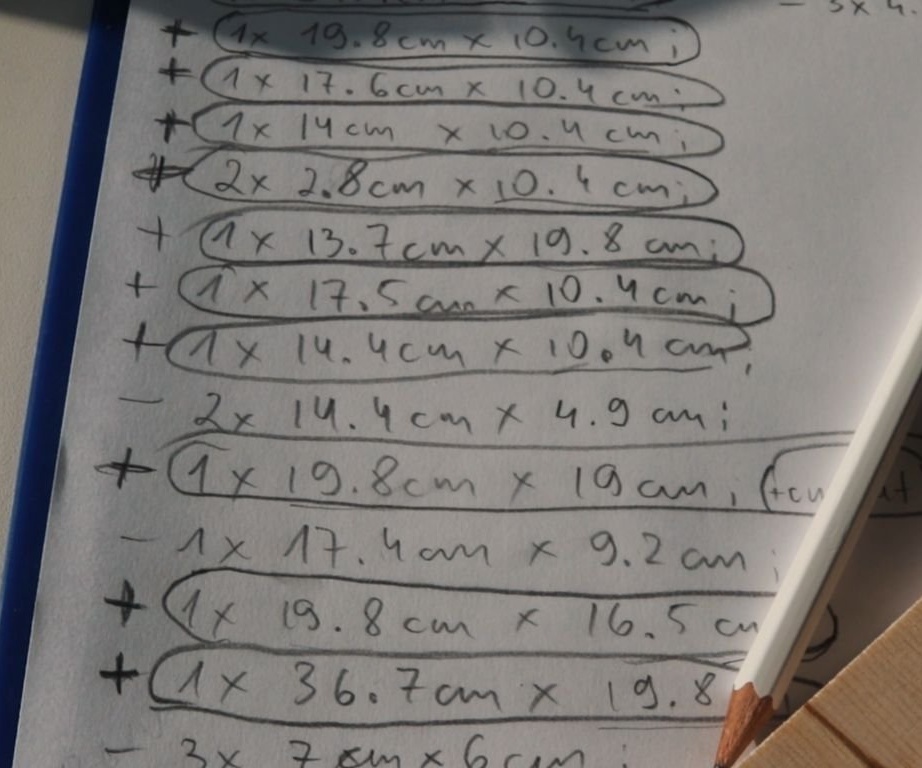
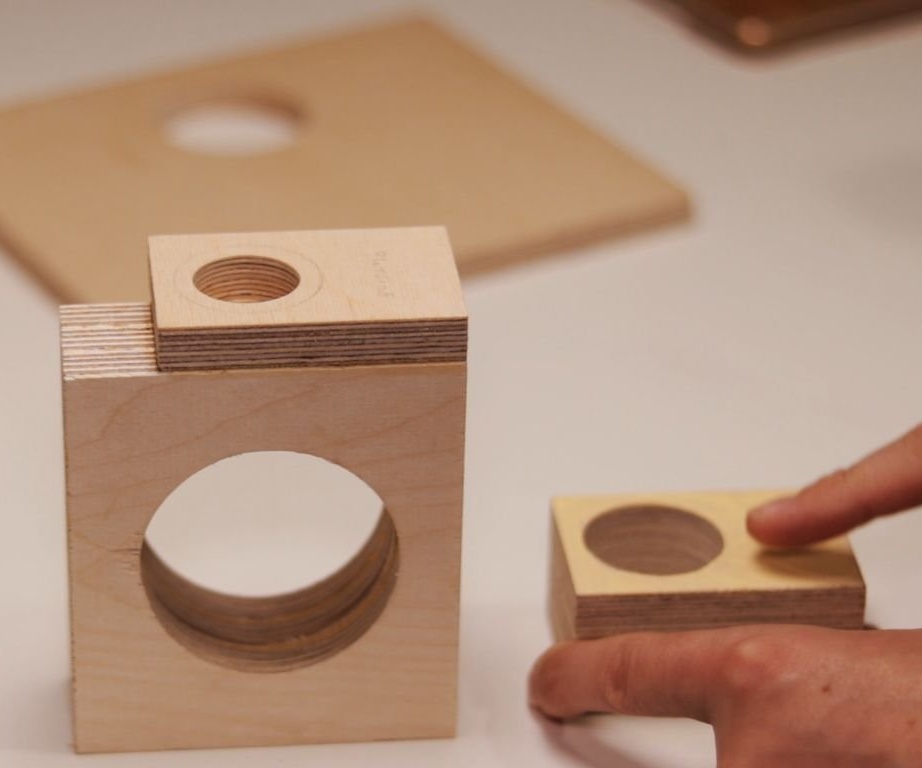
The master makes the frame of the grinder from plywood. The first step is to prepare the body parts, cut the plywood according to the dimensions.
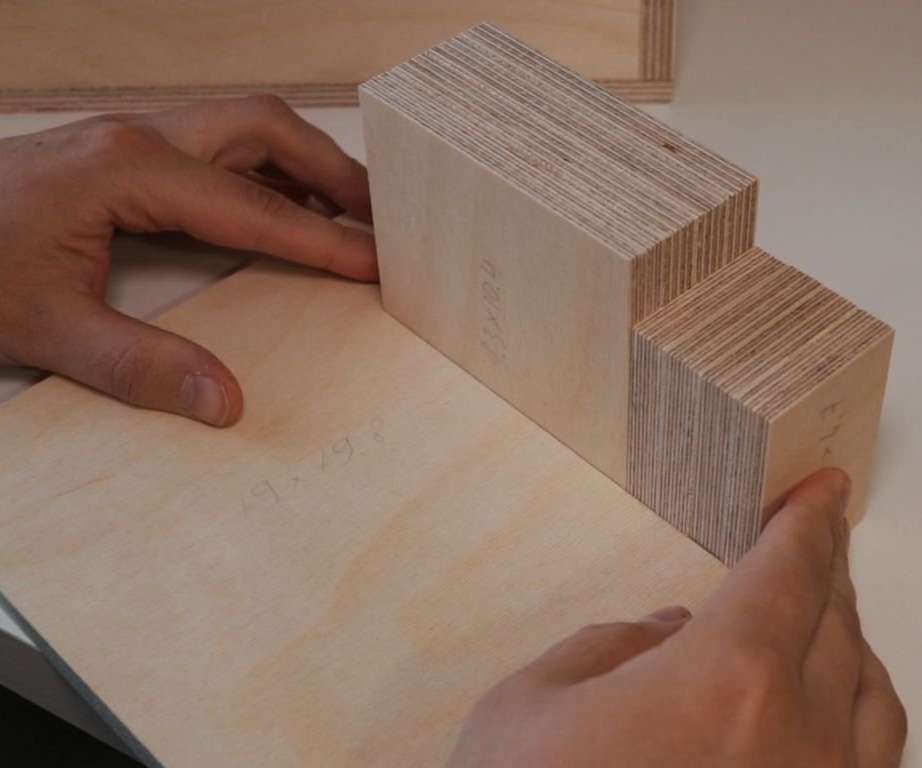
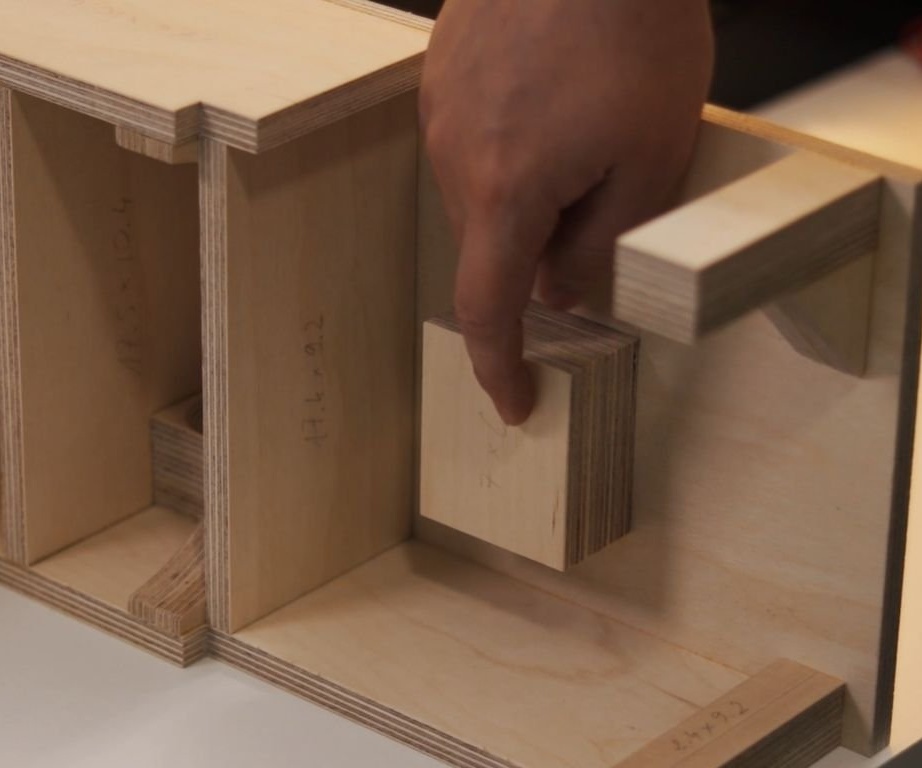
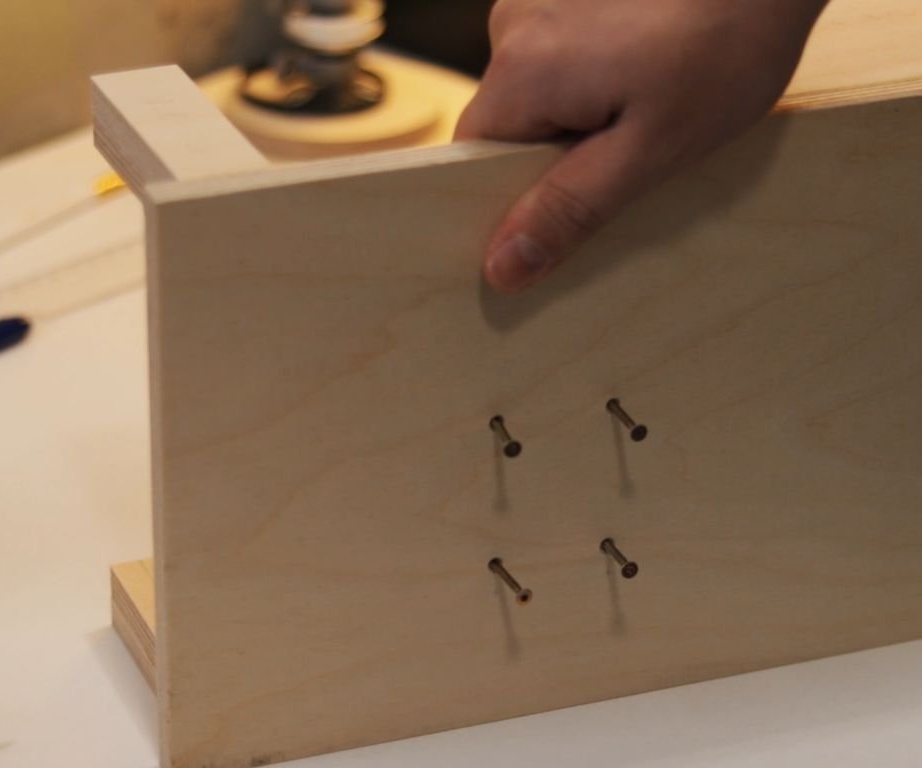
Step Two: Assembly
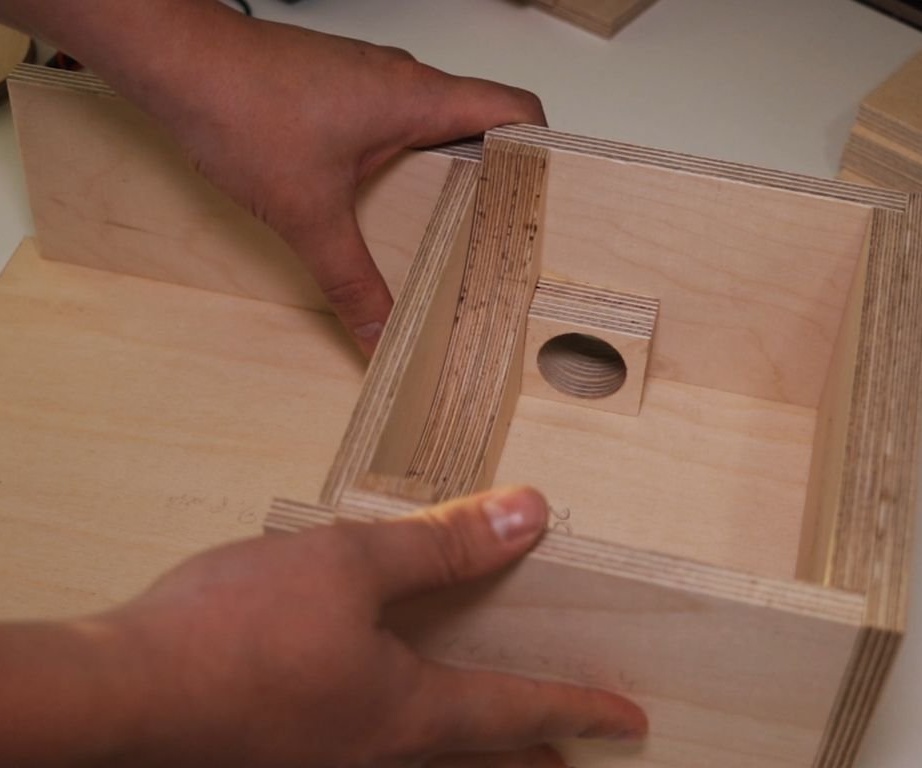
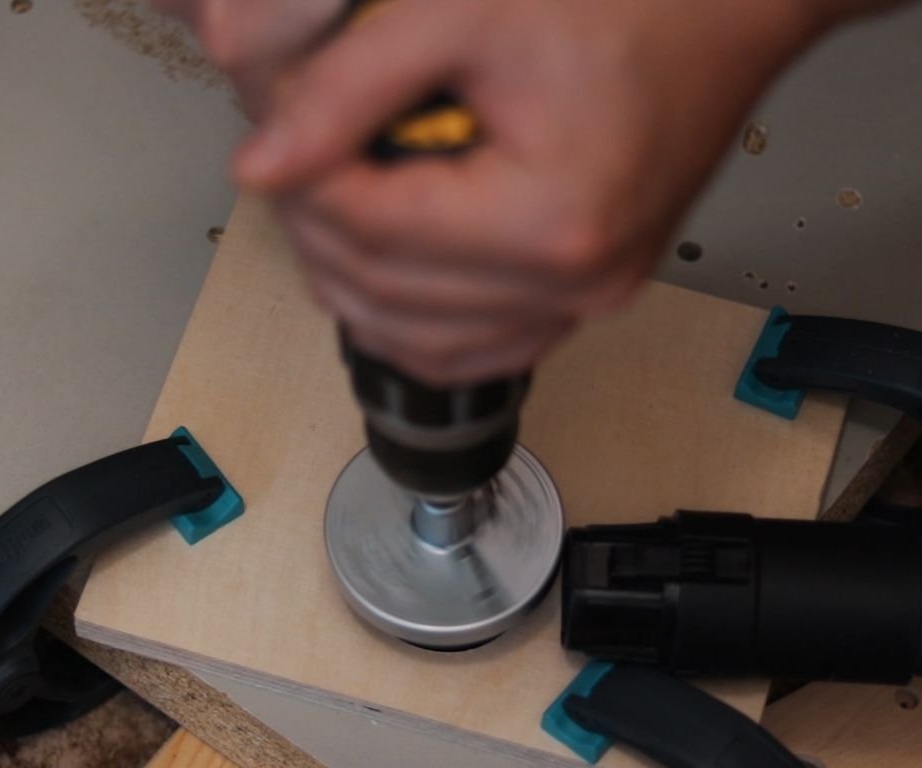
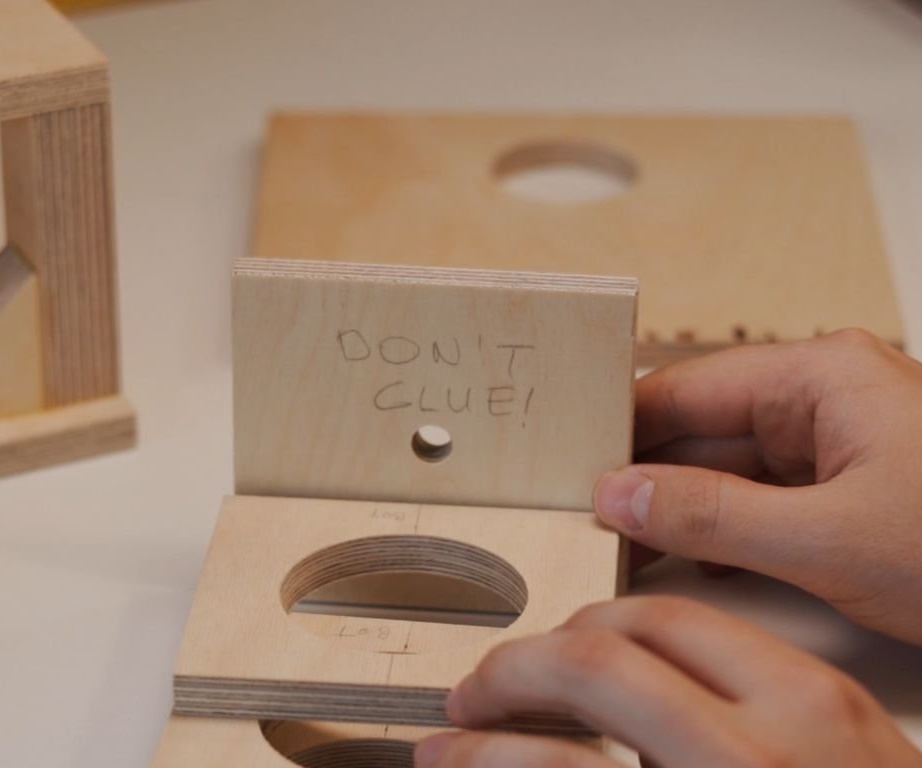
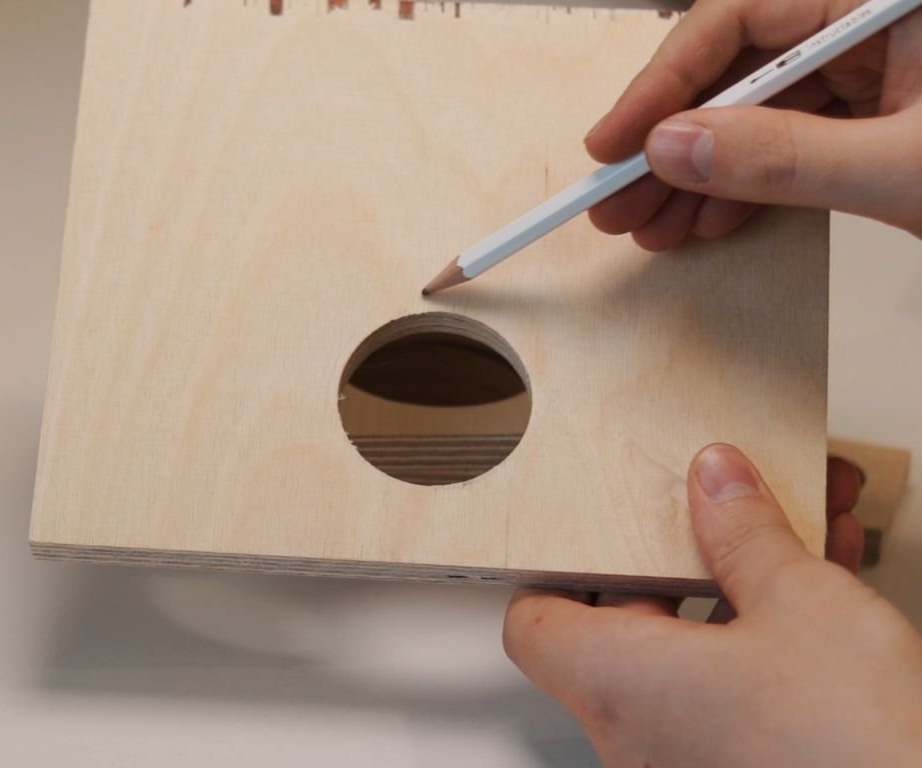
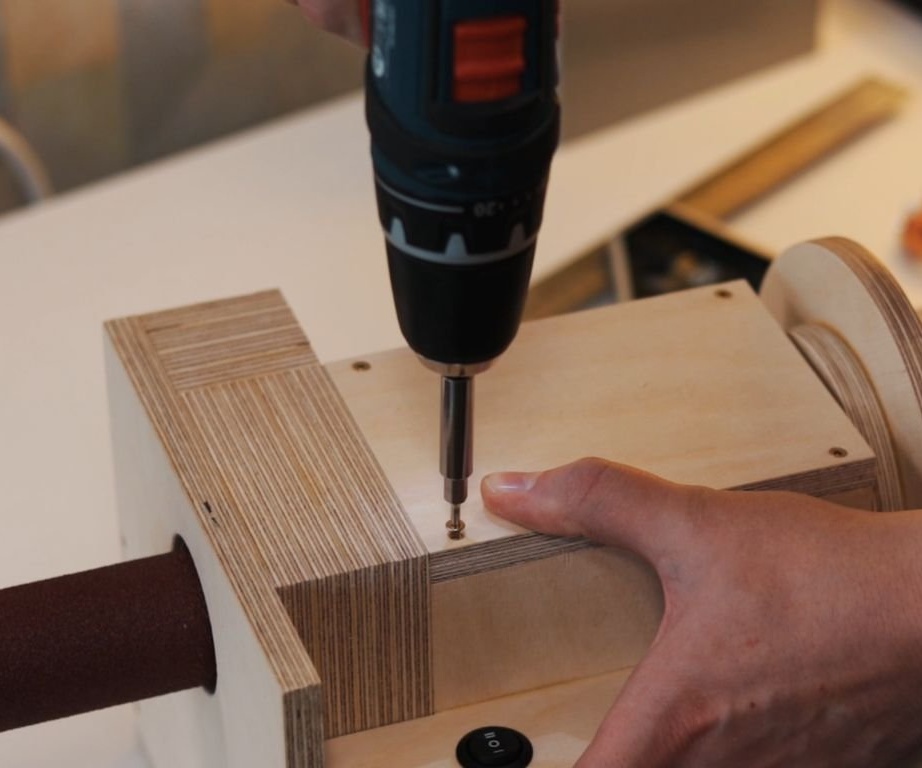
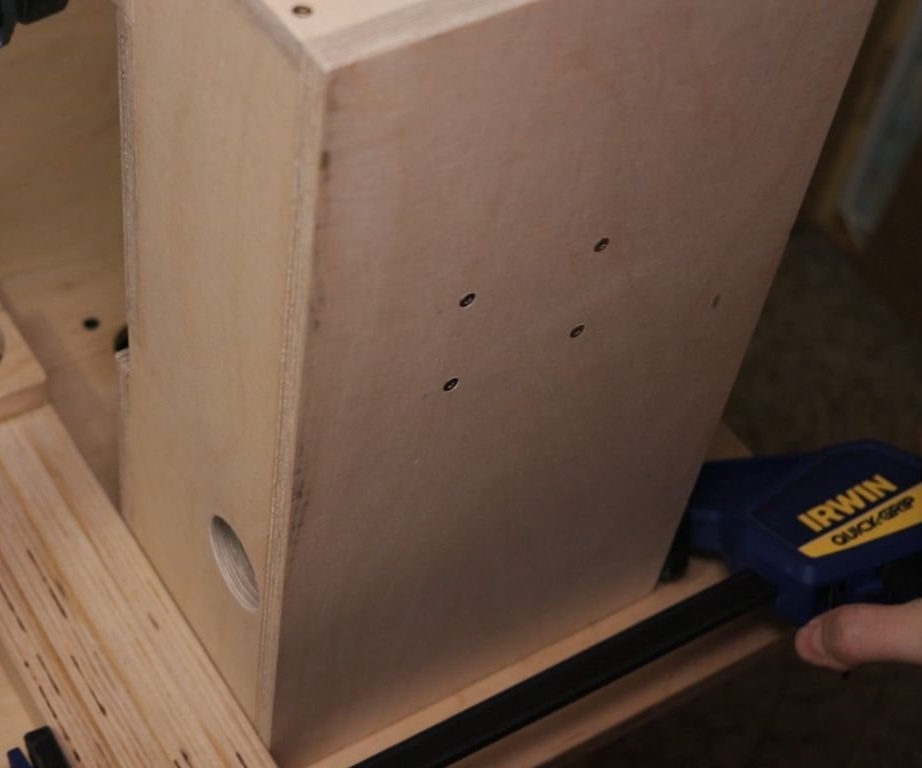
The master fixes the housing details with carpentry glue. It glues the parts of the battery and engine compartments to the base. Cut a hole for the dust collector adapter.
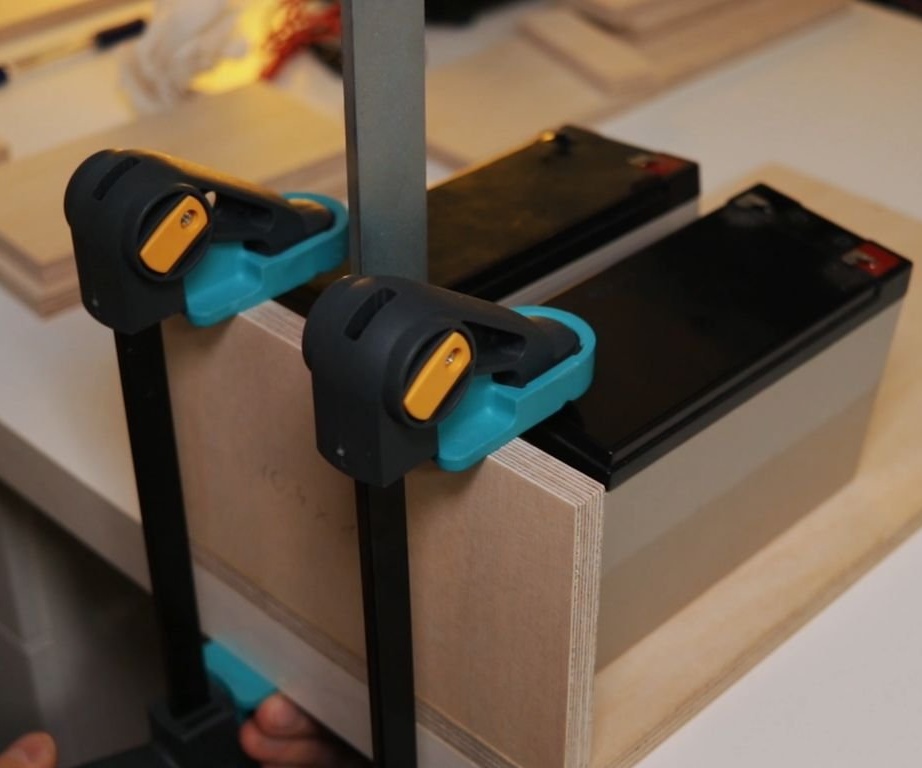
The rest of the body will be added later.
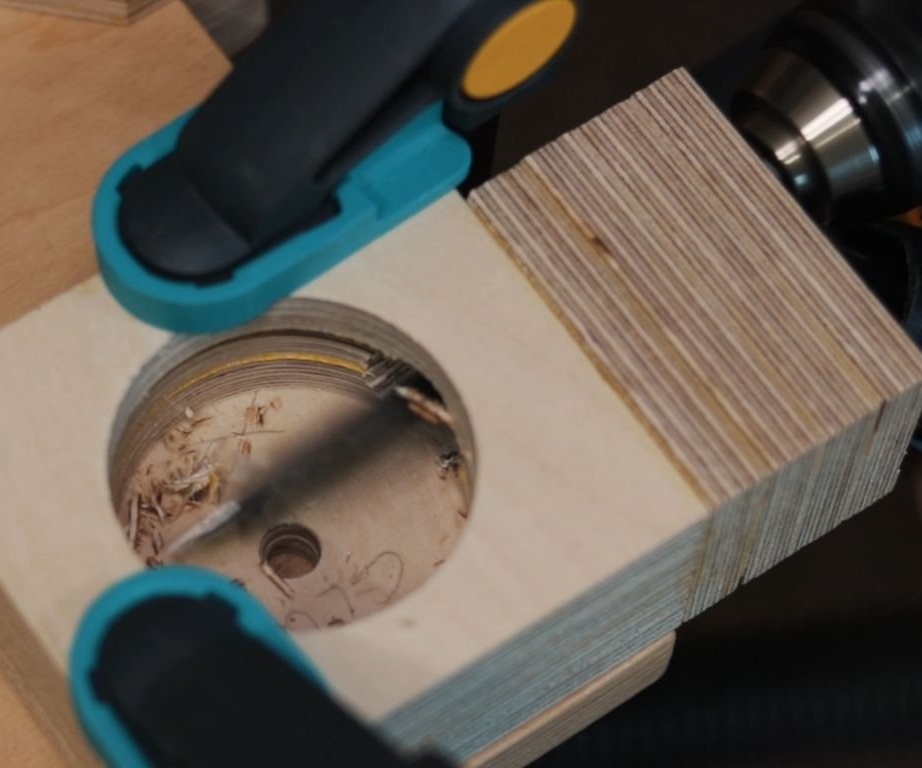
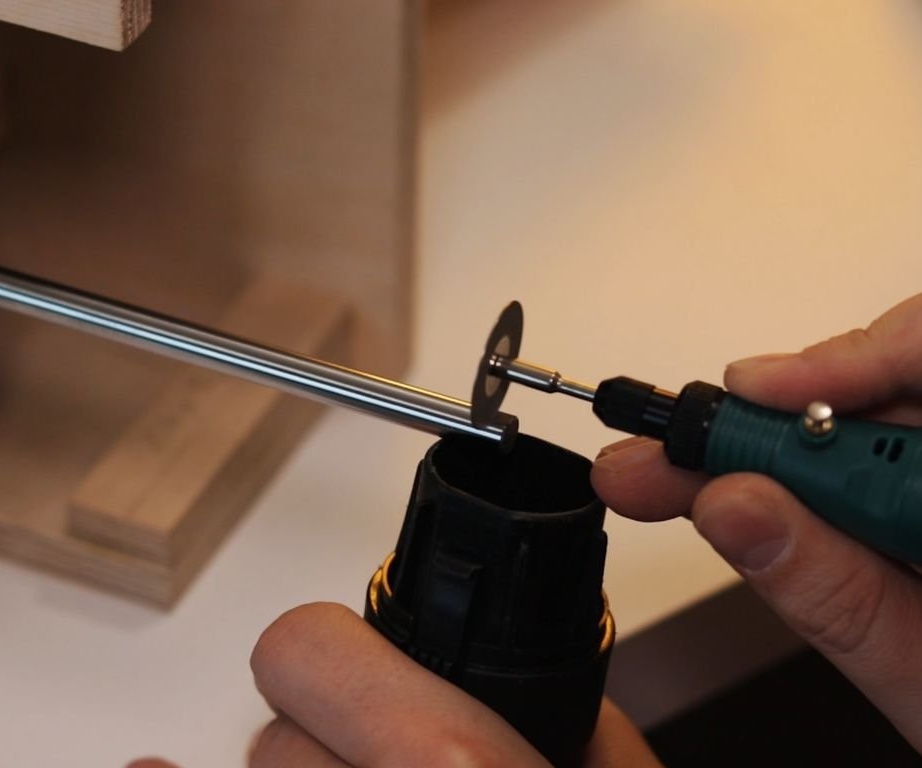
Step Three: Drives
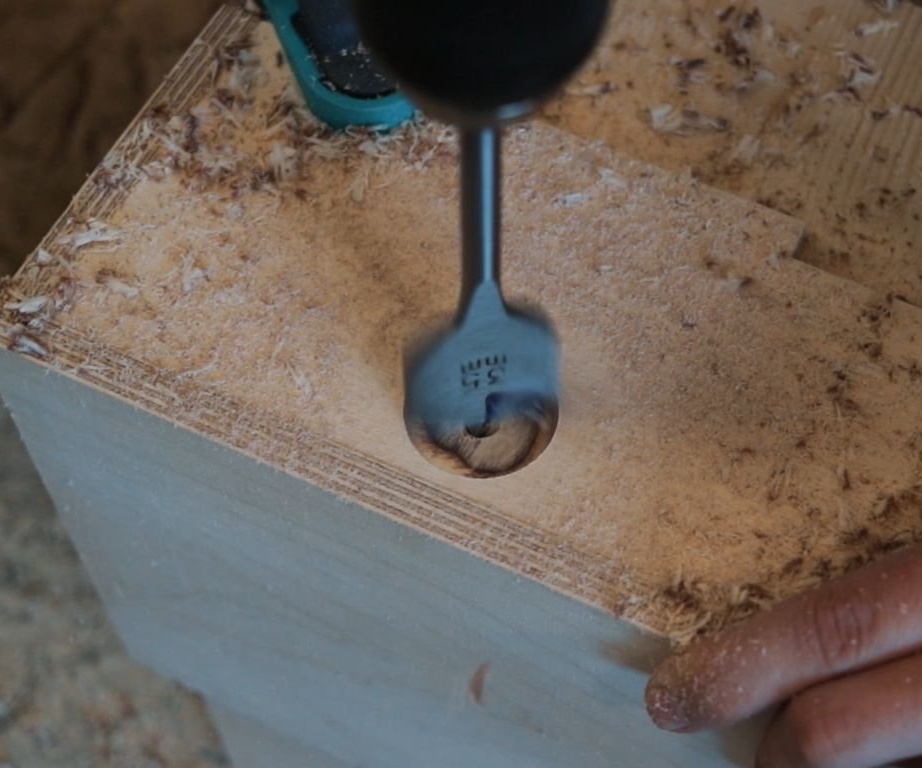
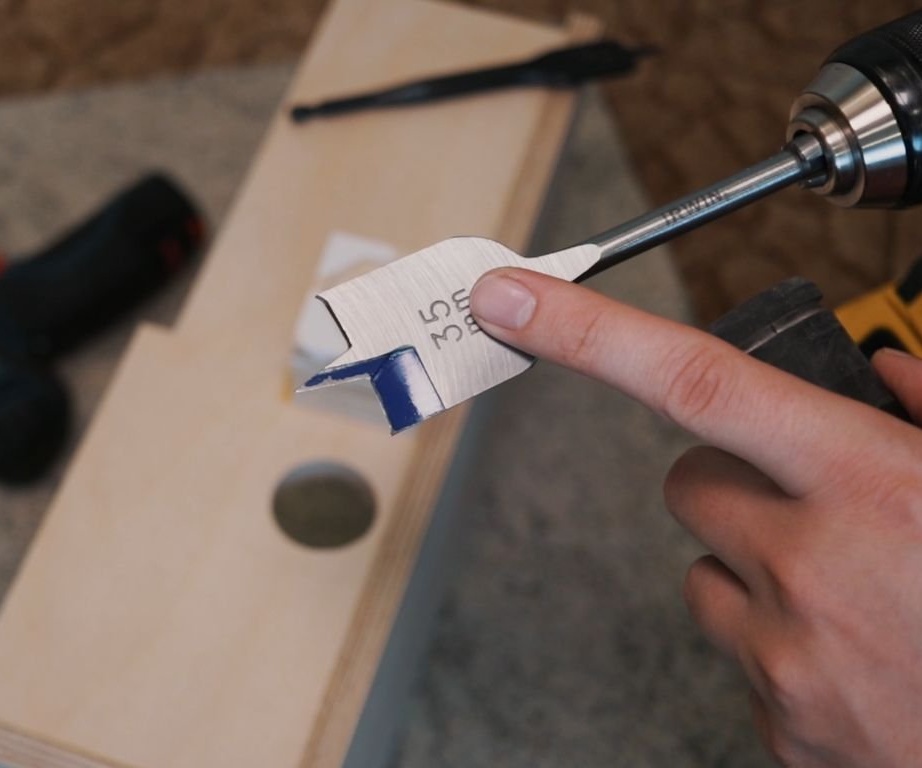
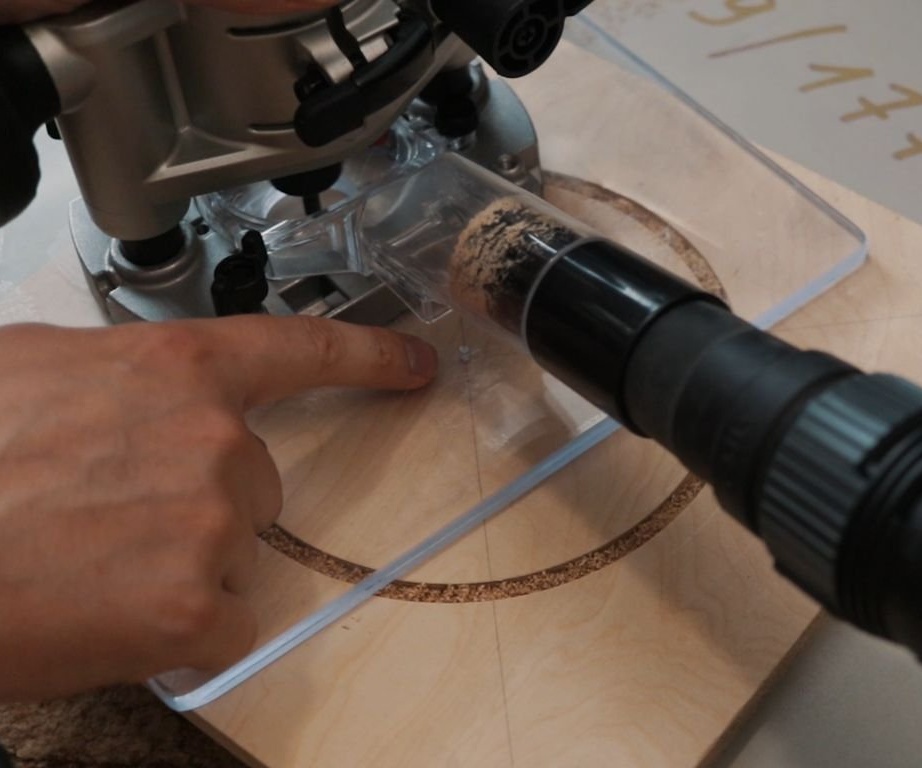
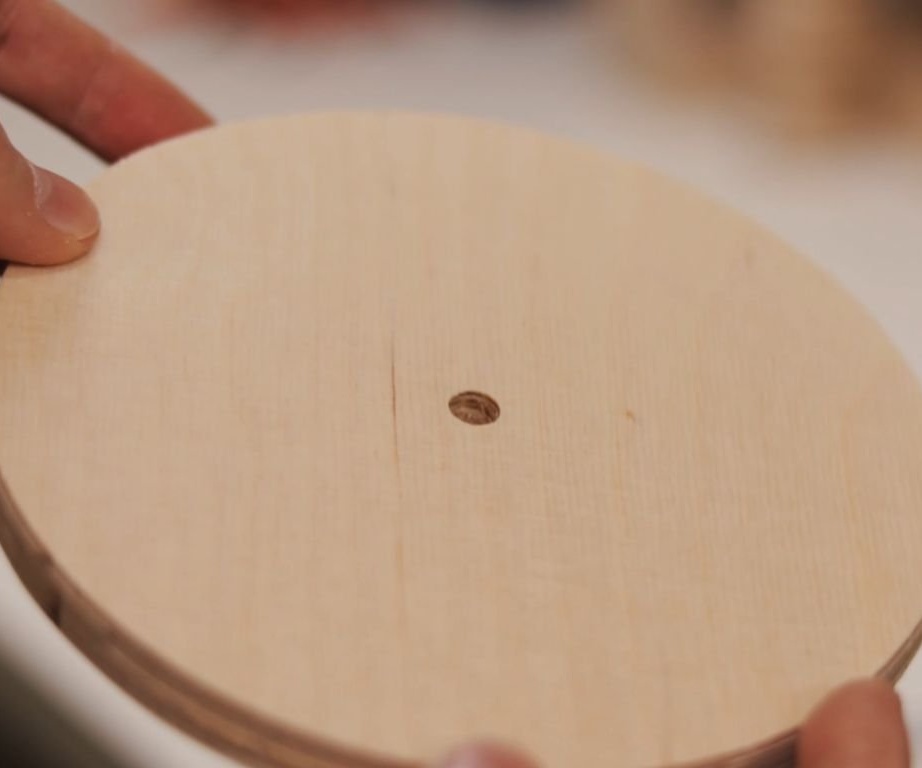
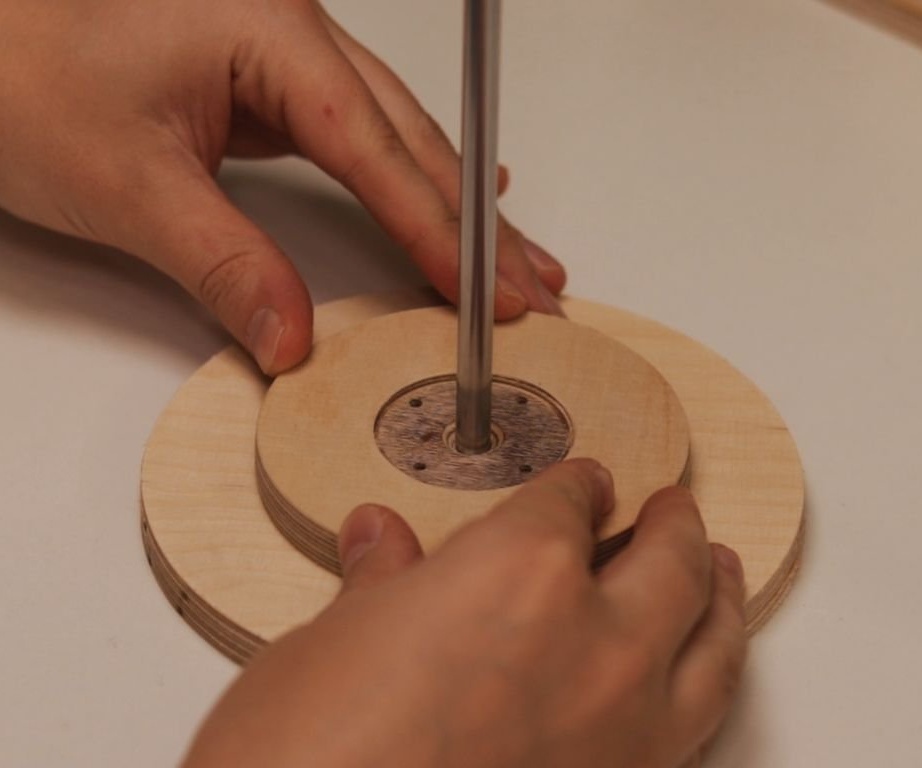
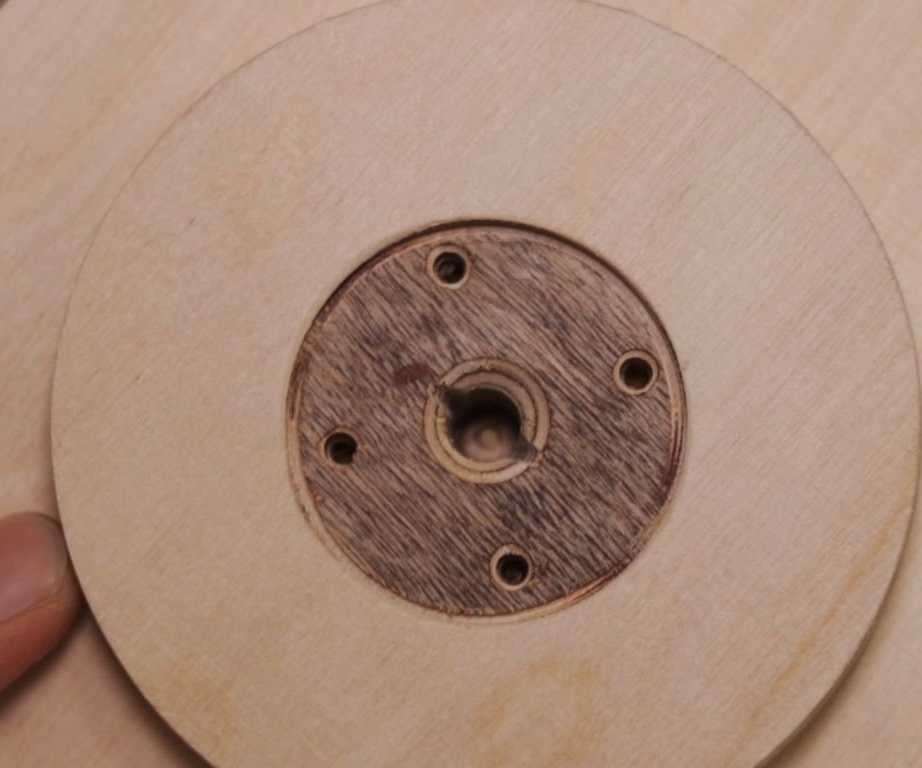
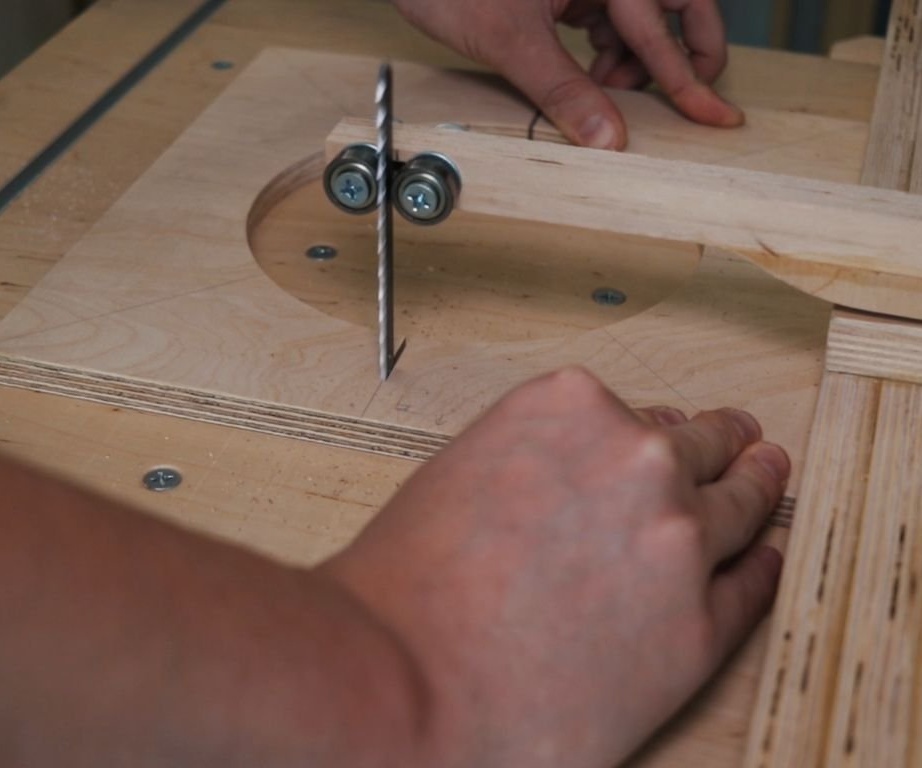
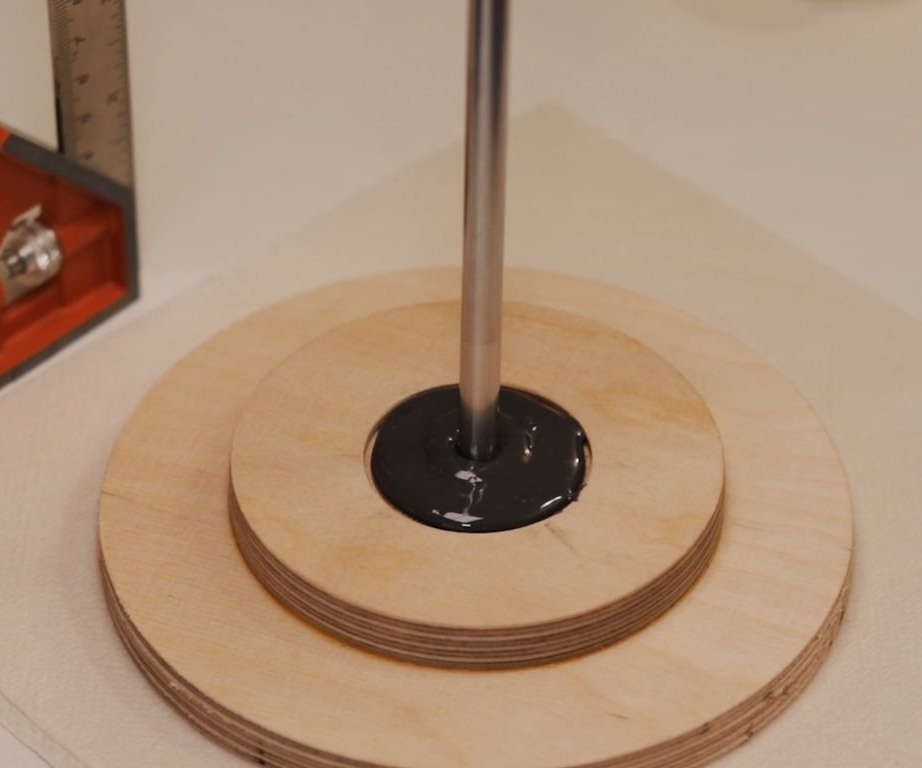
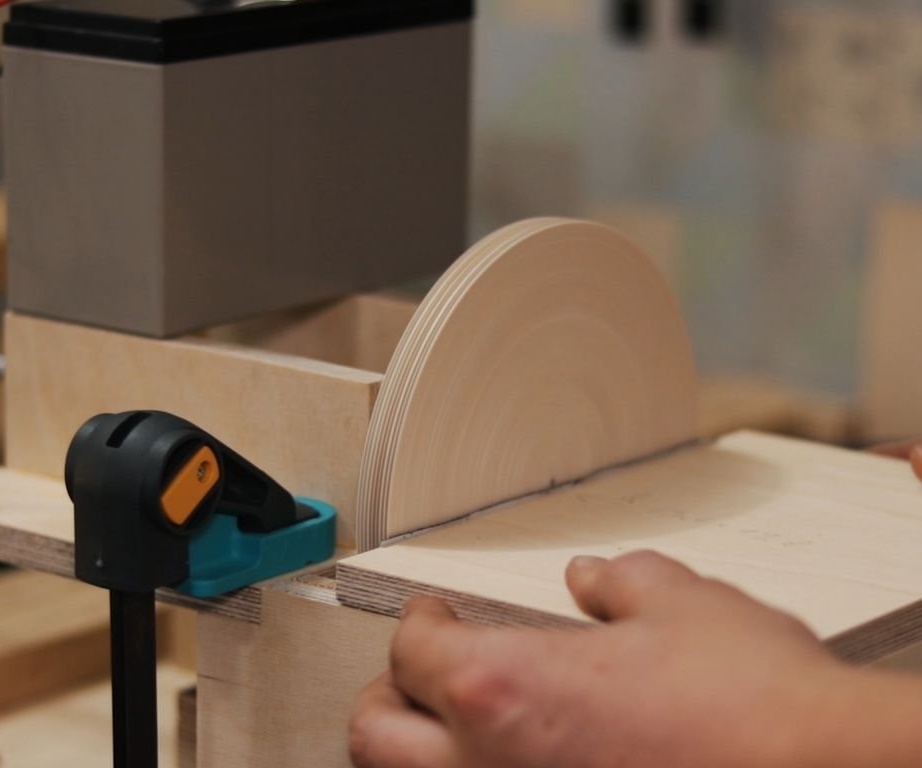
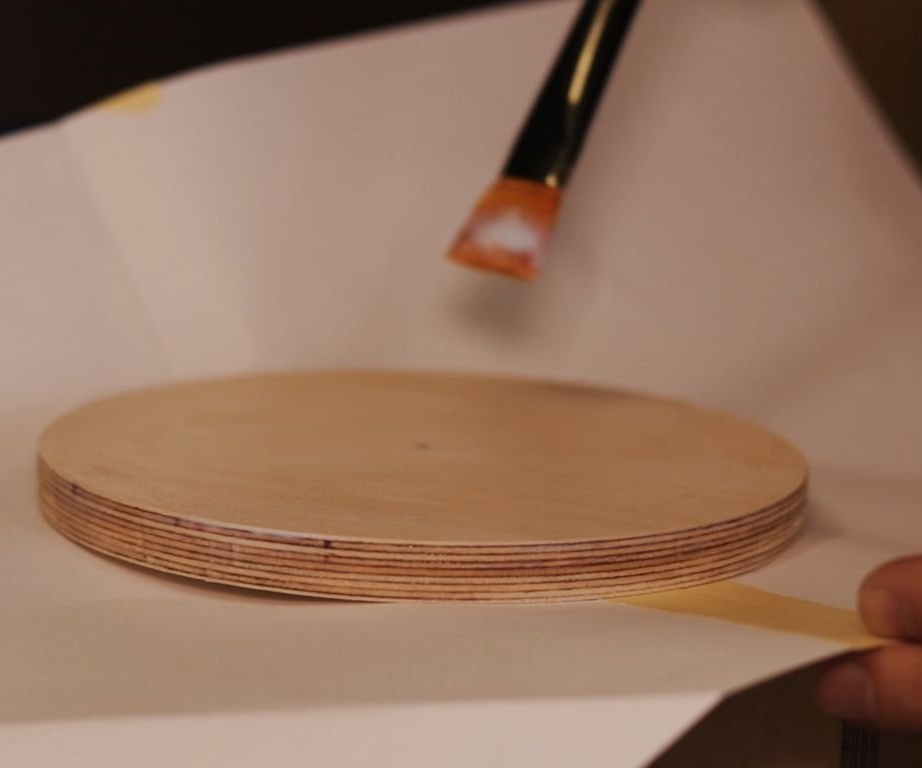
For the manufacture of discs of 150 mm and 100 mm, the master used a router. Then the discs are glued together and a hole is drilled from the back side, first 8 mm, and 2 mm at the outlet. Four mounting holes are drilled and 2 cuts are made in the center.

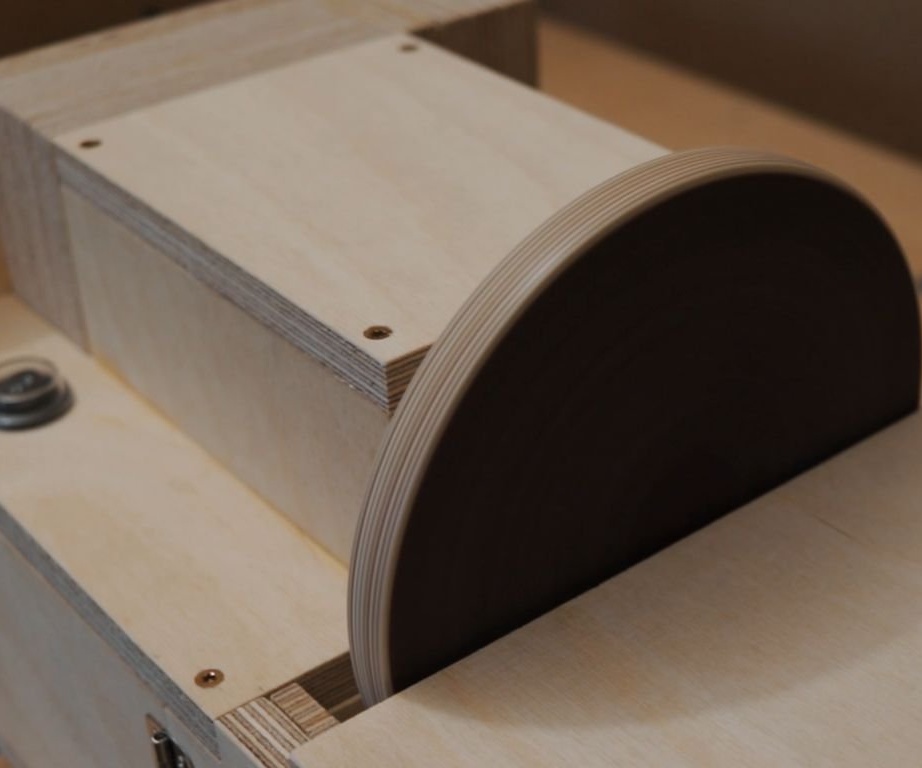
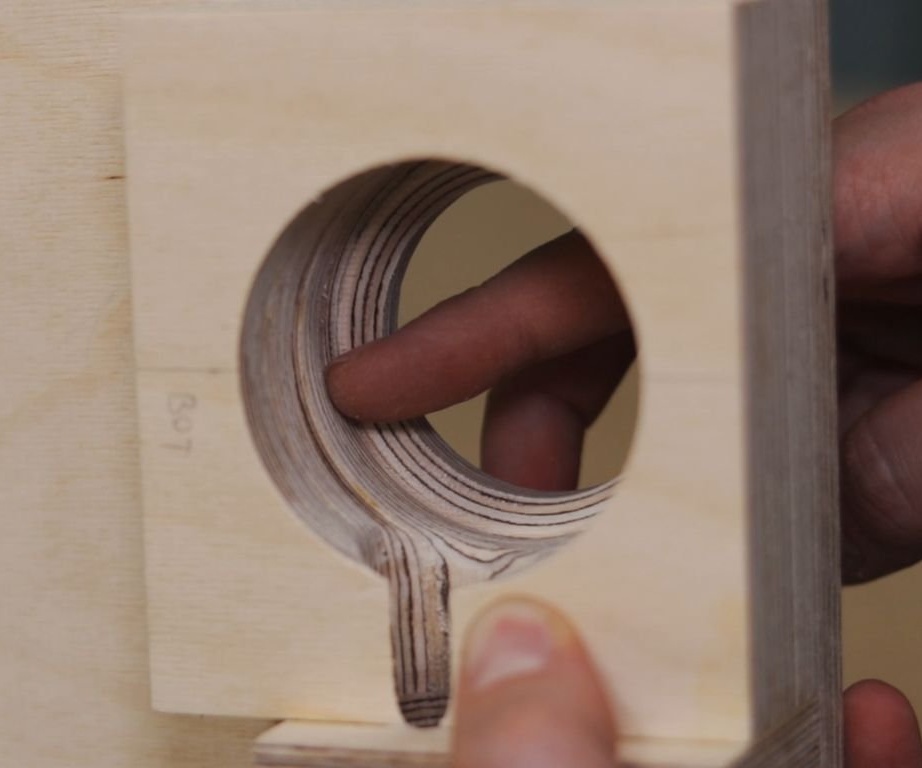
Step Four: Cover
A blank with a semicircular cut, after cutting a 150 mm disc, is installed as a partition.

Glue a cut-out lid on top.

Two bearings and a shaft with a pulley will be installed on this cover, and the engine will be in the lower compartment.
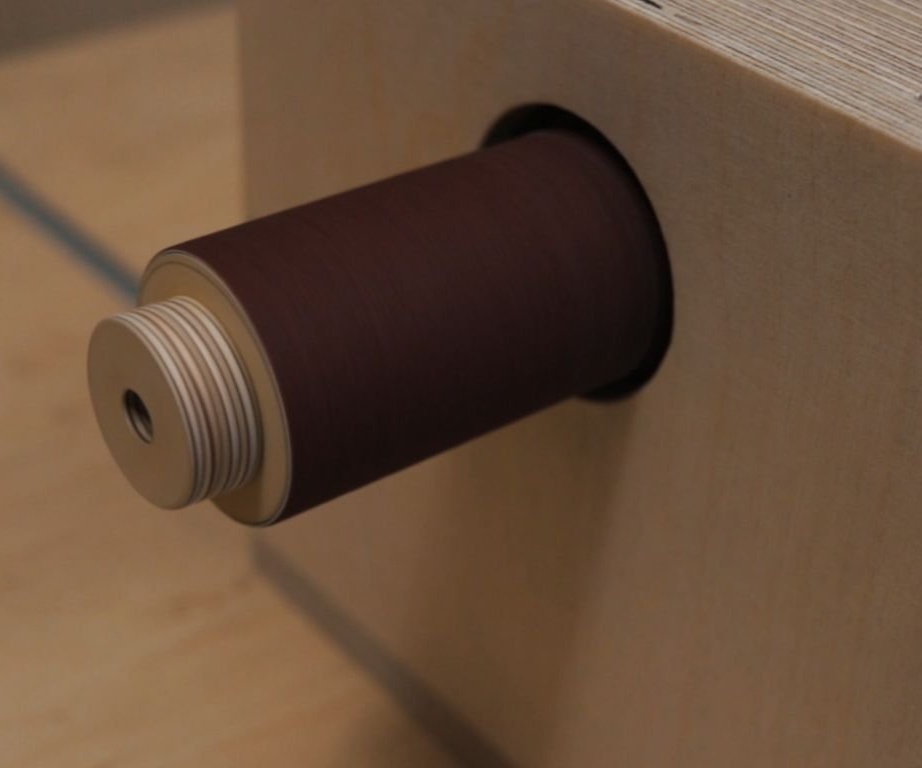
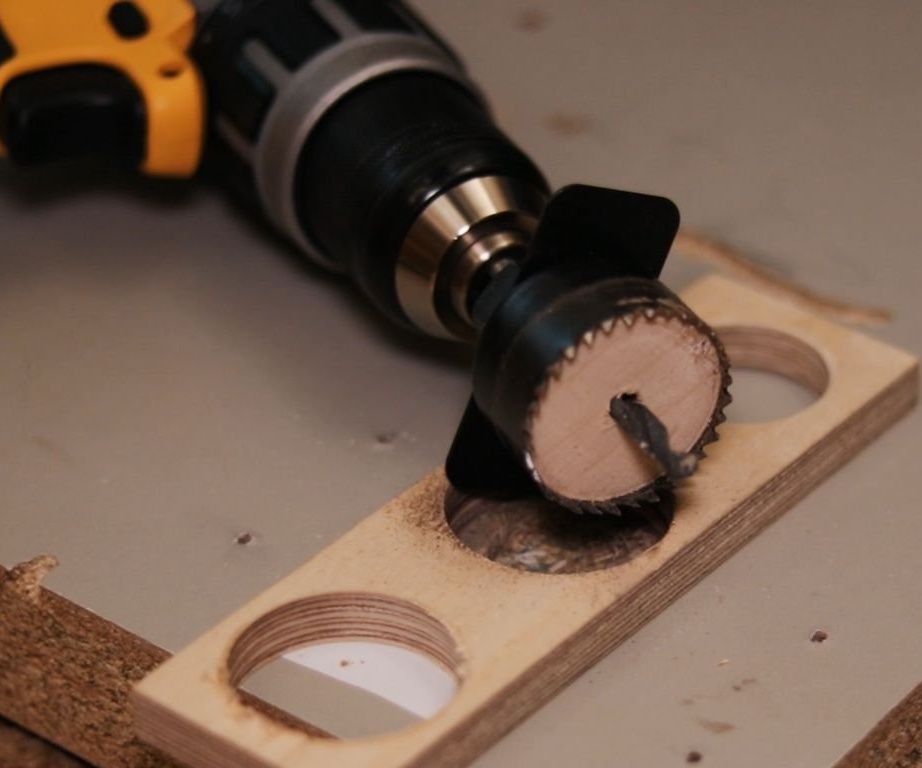
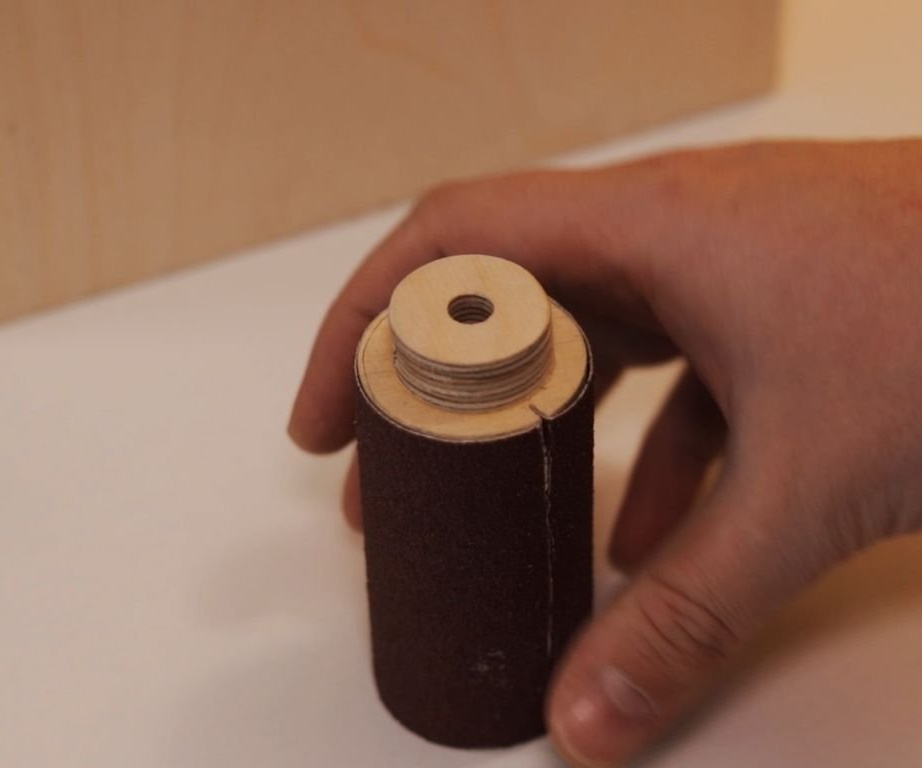
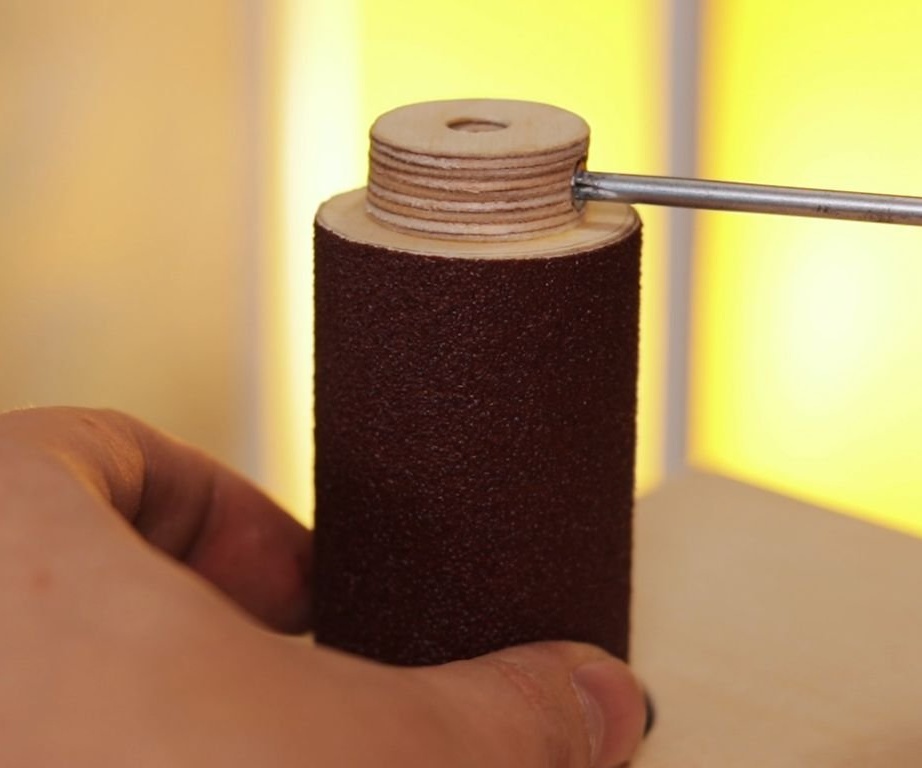
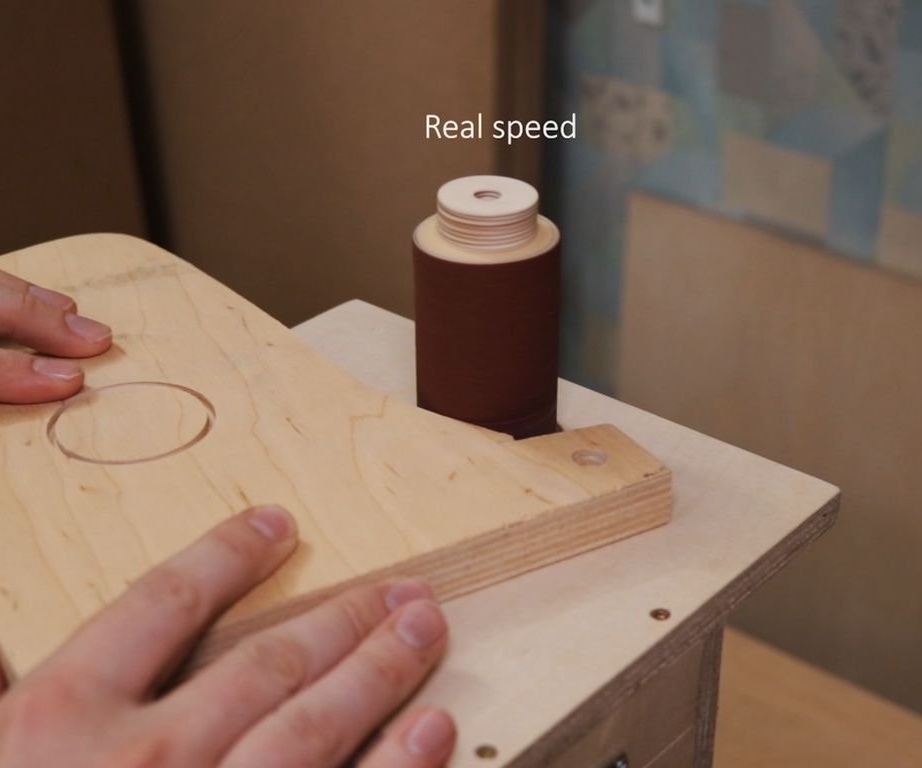
Step Five: Drum
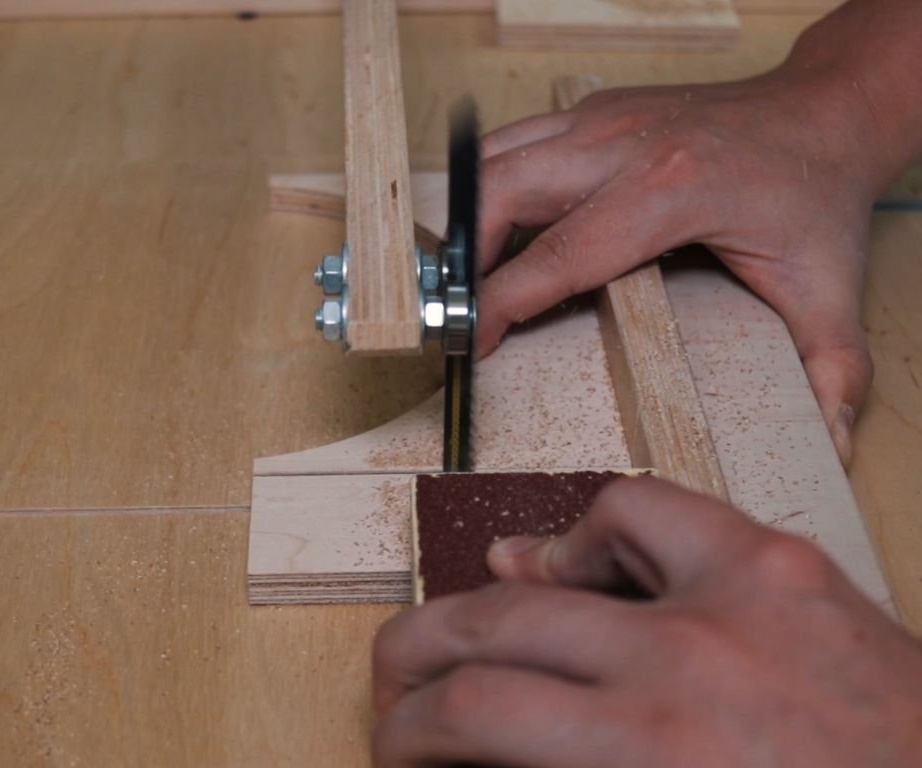
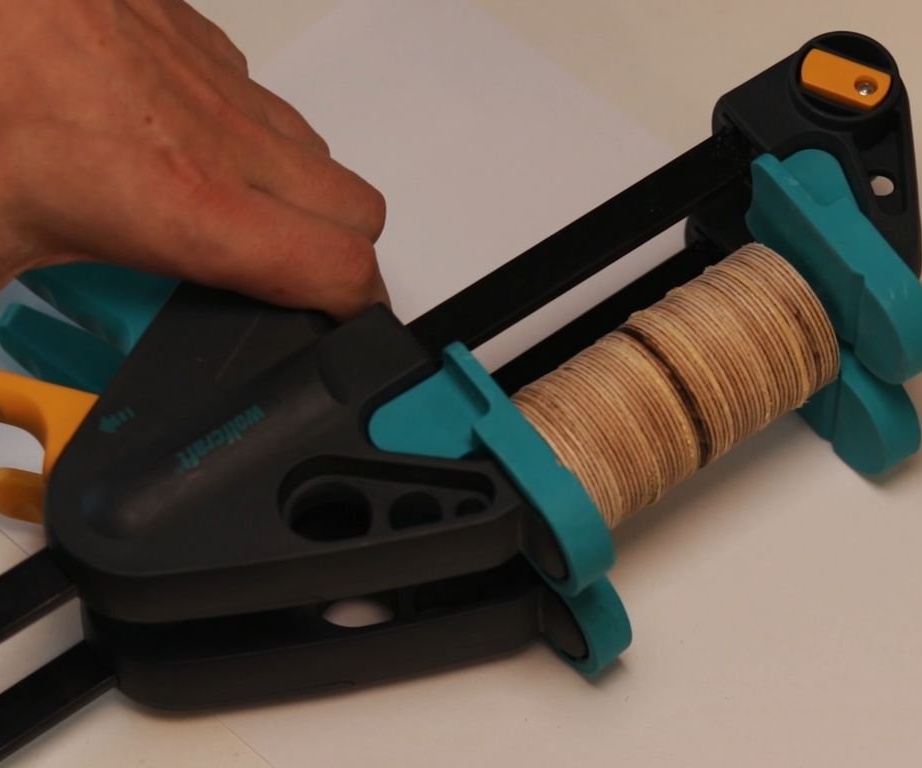
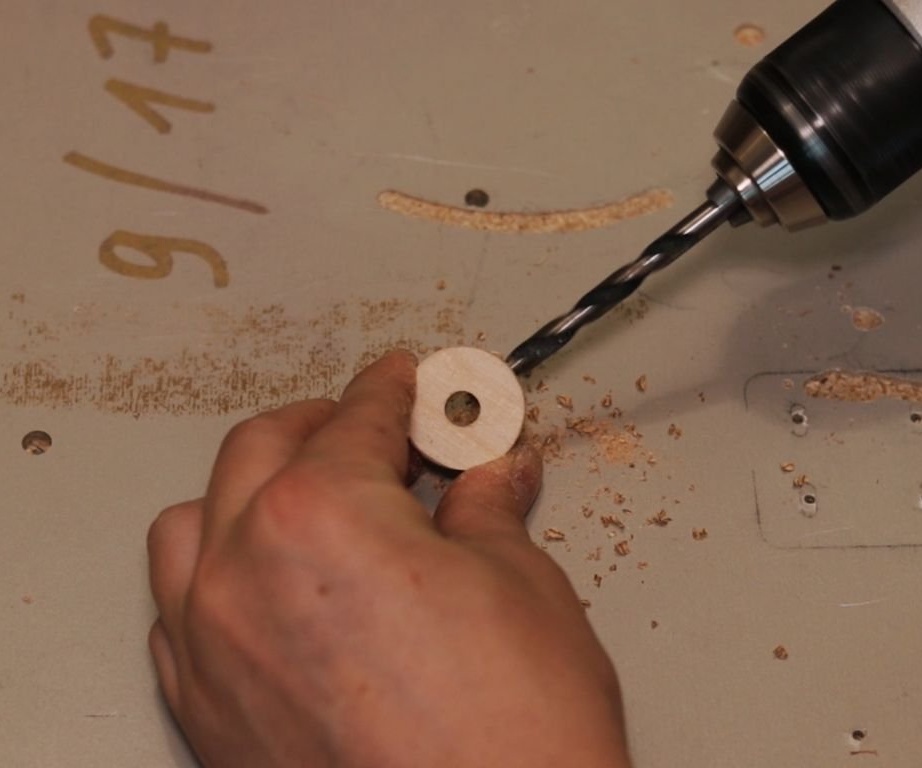
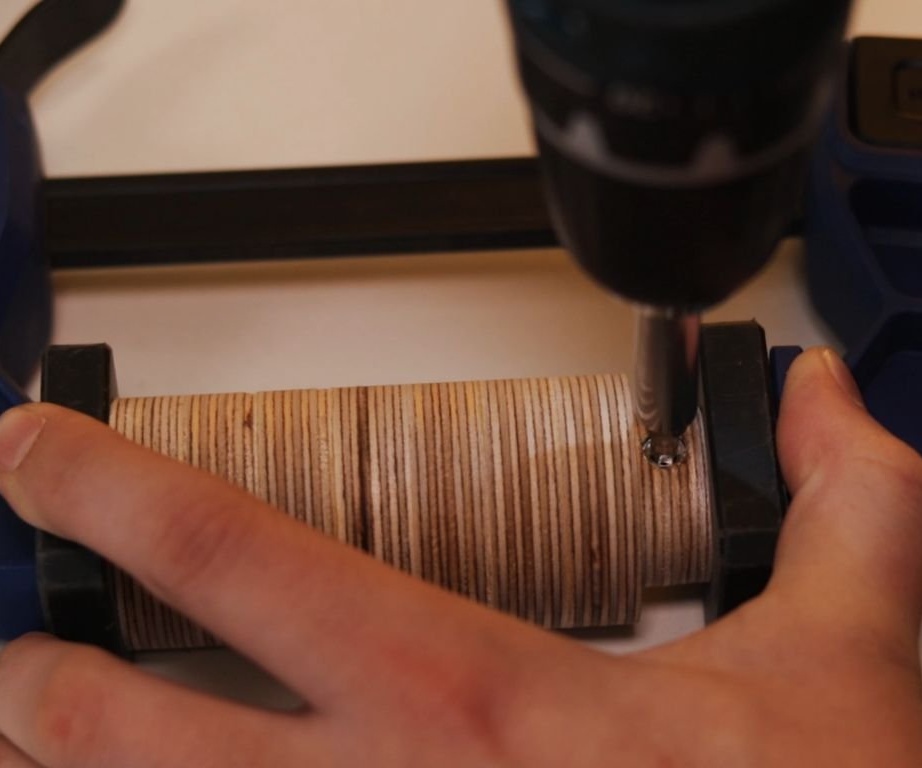
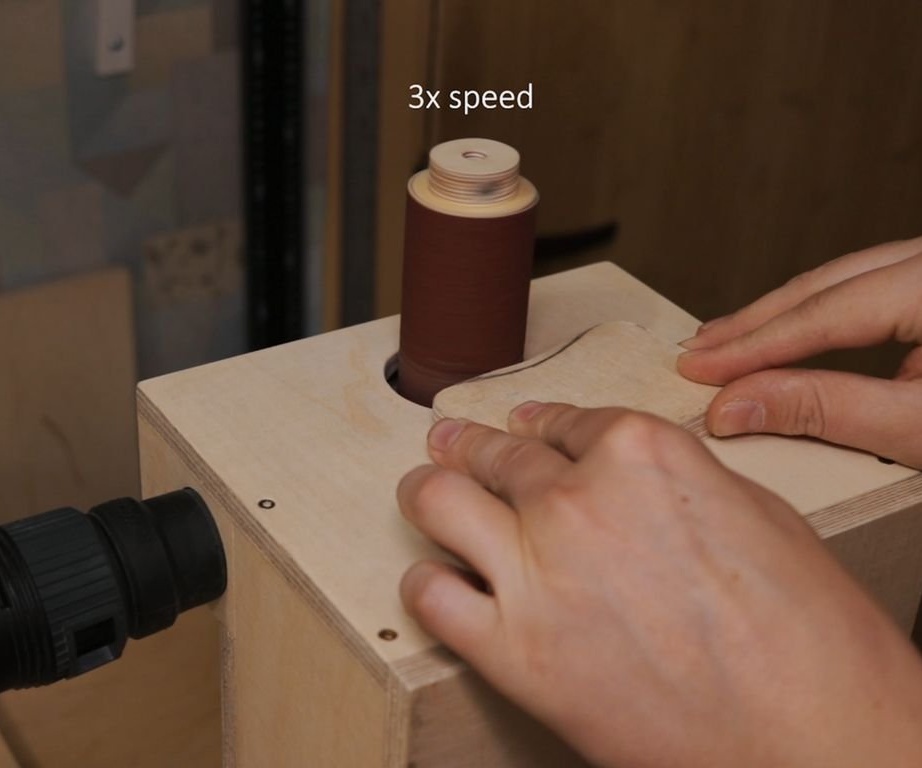
To make a drum, the master cut out seven disks with a diameter of 40 mm with a crown and glued them together. After gluing, the drum was sanded.
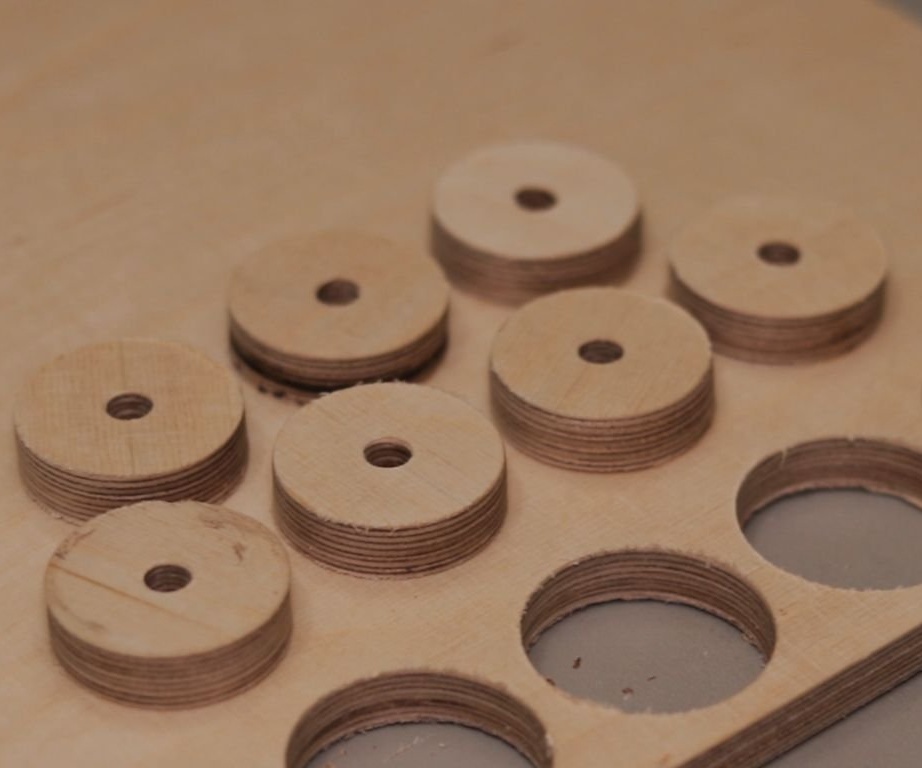
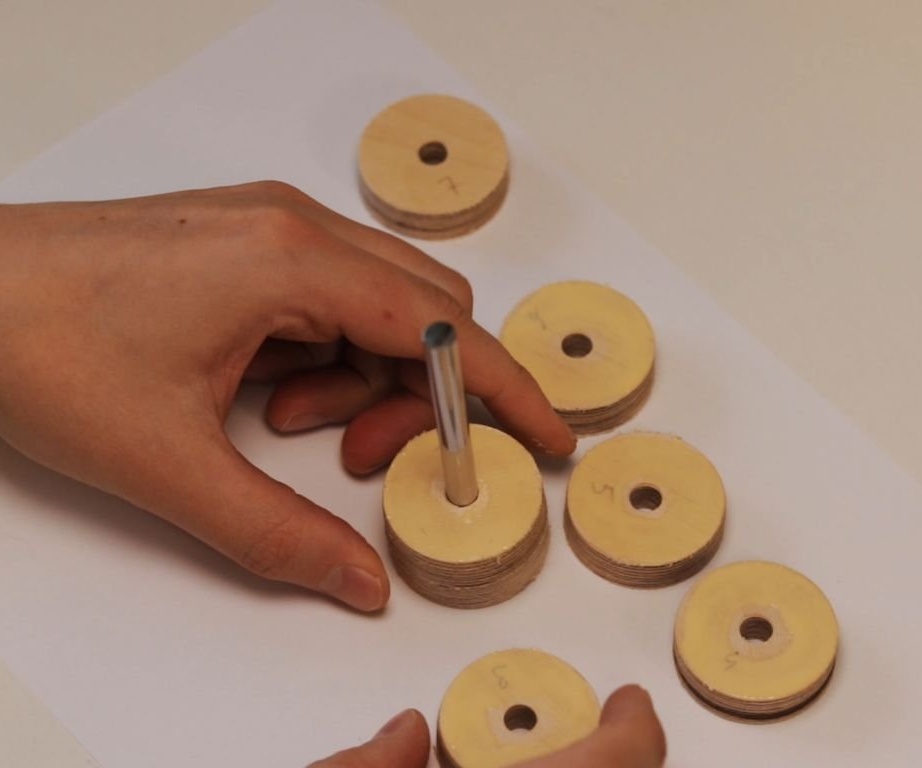
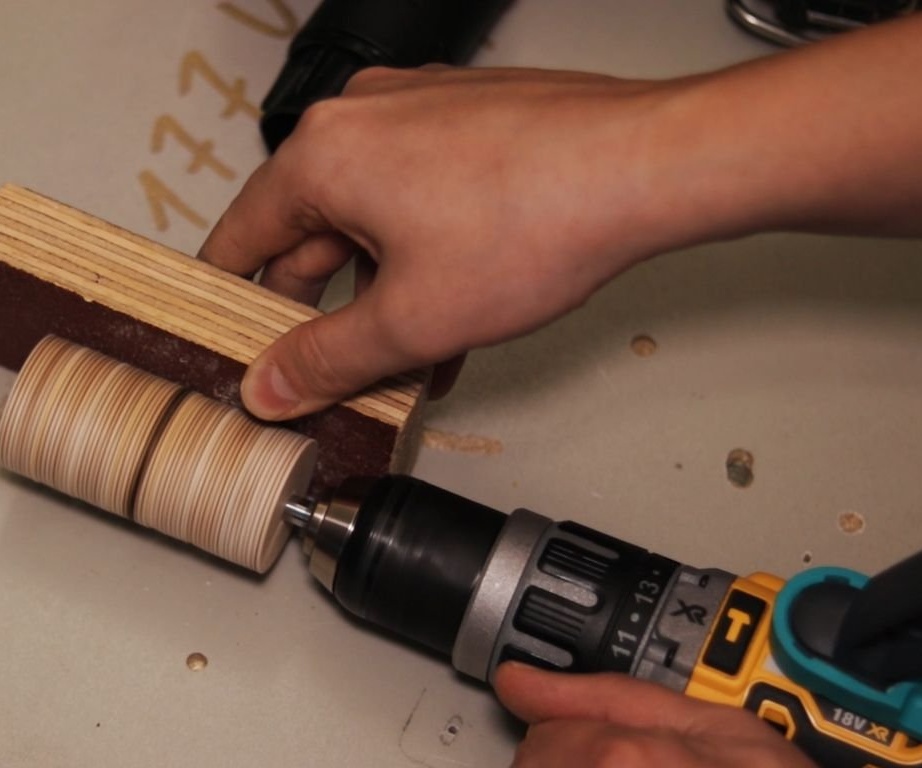
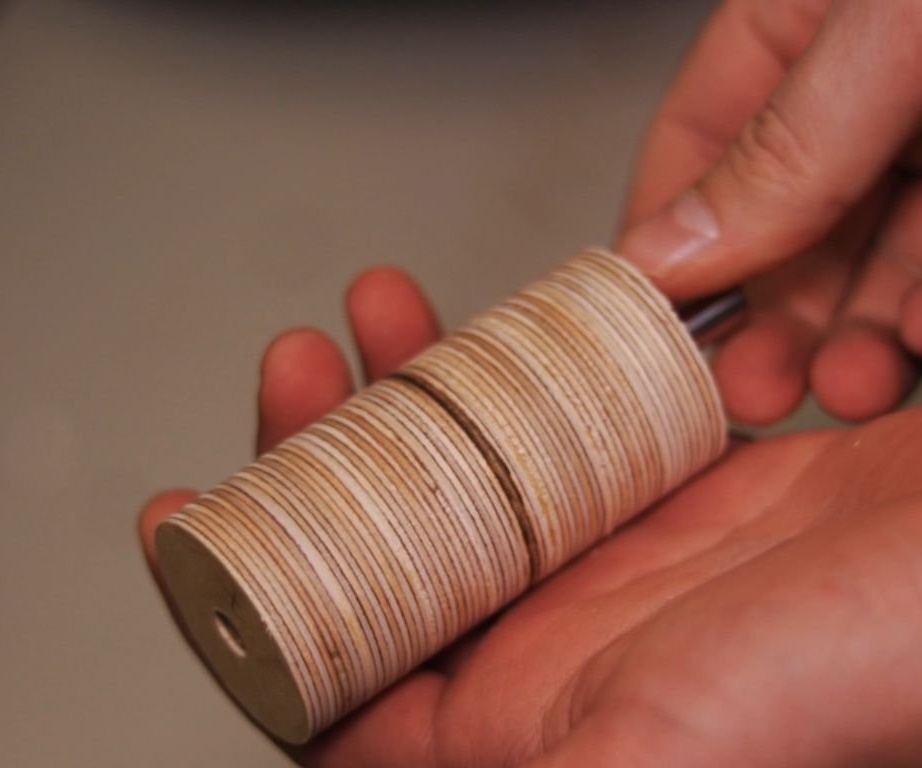
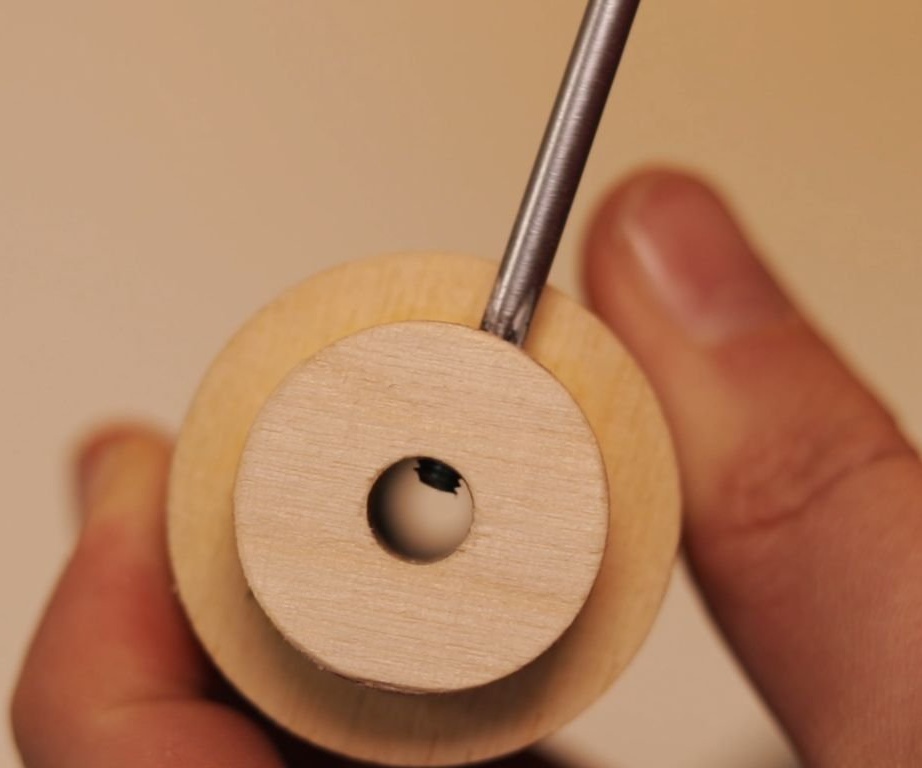
For fastening the drum to the shaft, a disk of a smaller diameter was cut. Then it was glued to the main drum and a mounting hole was drilled in it.
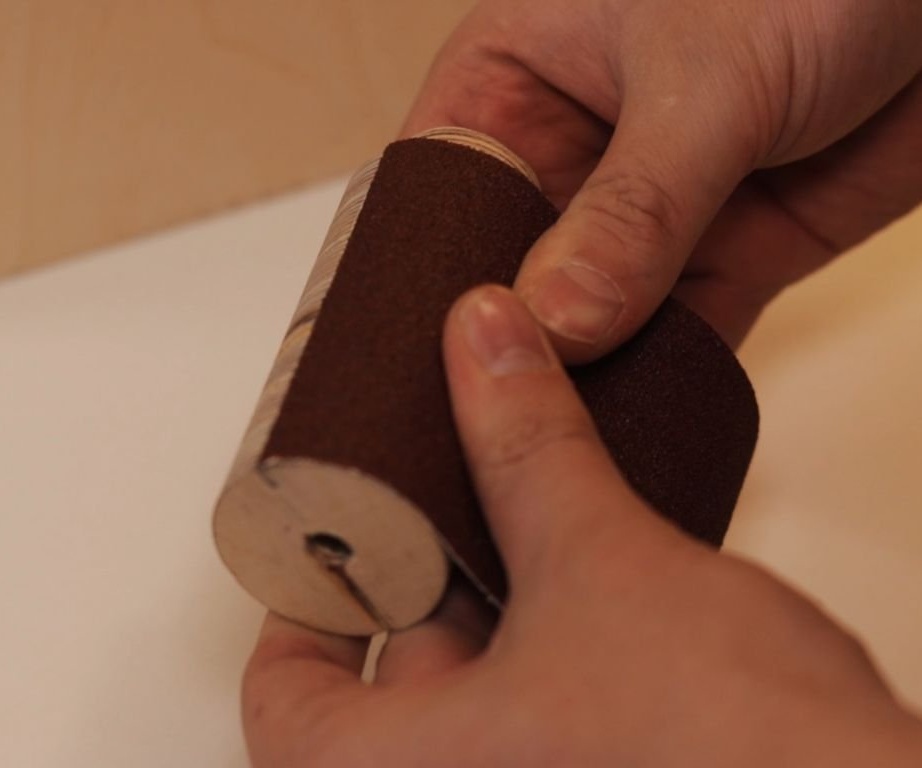
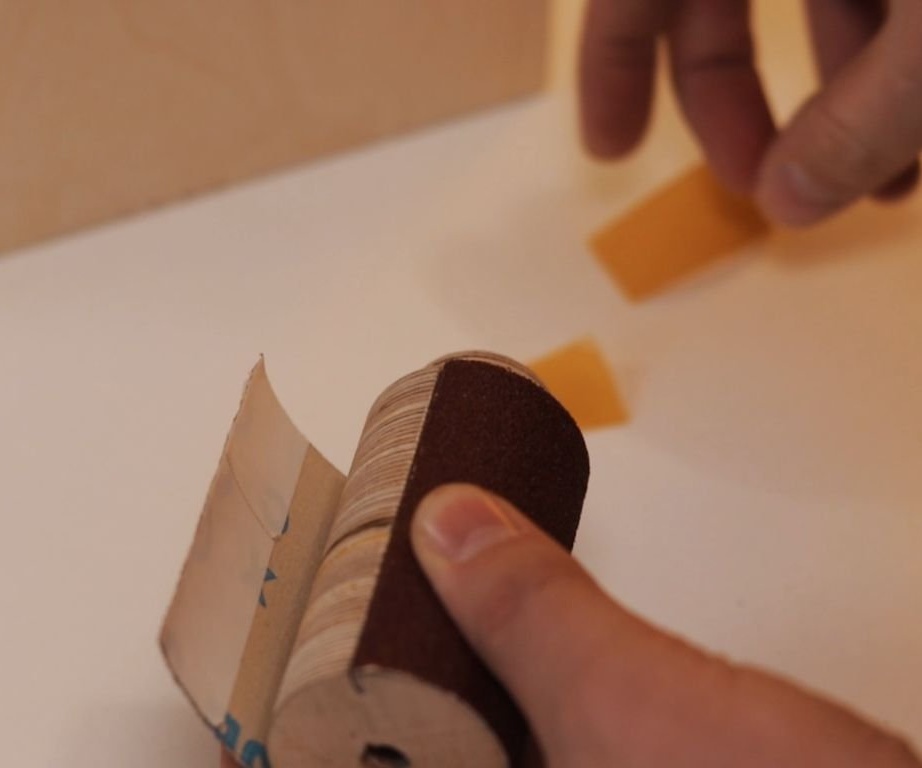
To fix sandpaper to the drum, the master made a longitudinal cut on the drum. One end of the sandpaper is fixed in the groove, the other end is glued.The only condition is that you need to start wrapping the sandpaper in the opposite direction to the rotation of the drum.


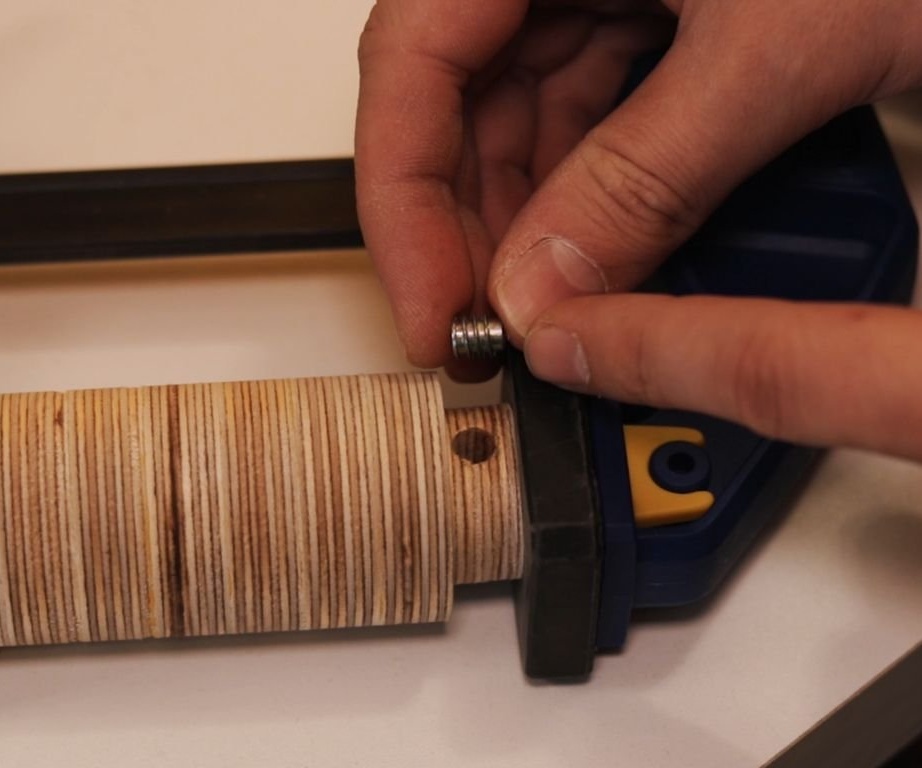
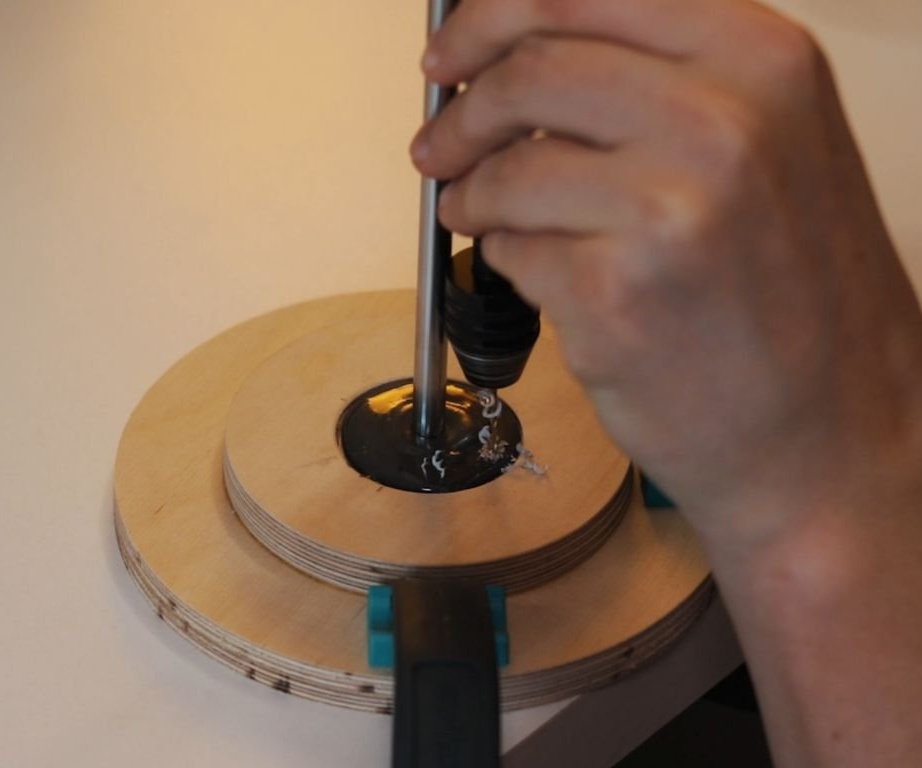
Step Six: Installing a Disc on a Shaft
For better adhesion, the end of the shaft on which the disk will be mounted, the master sanders, and then makes small cuts.
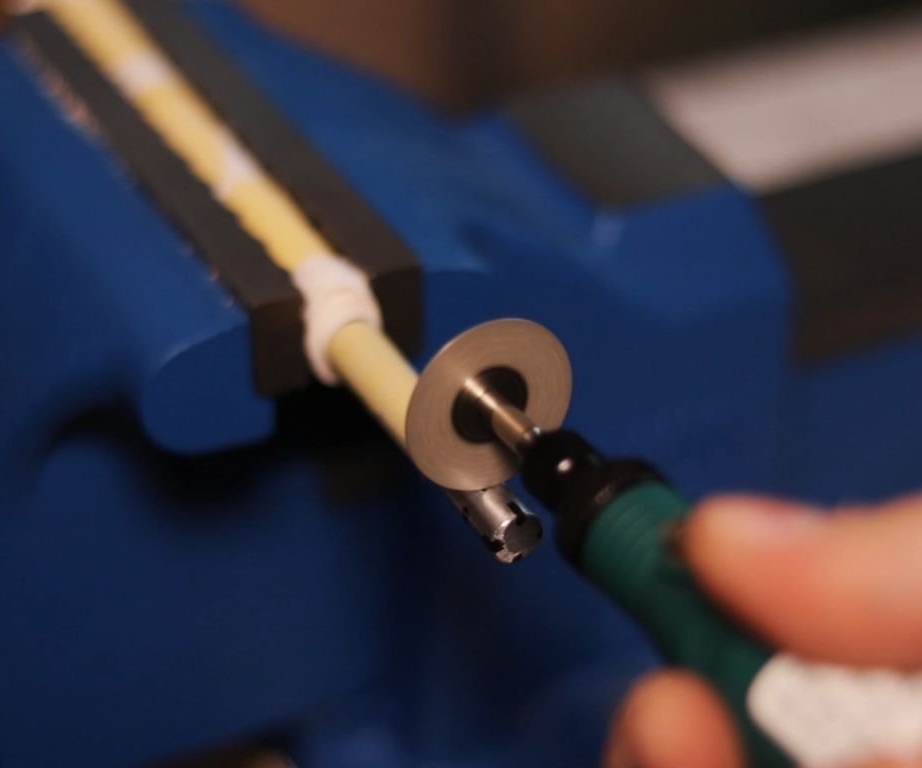
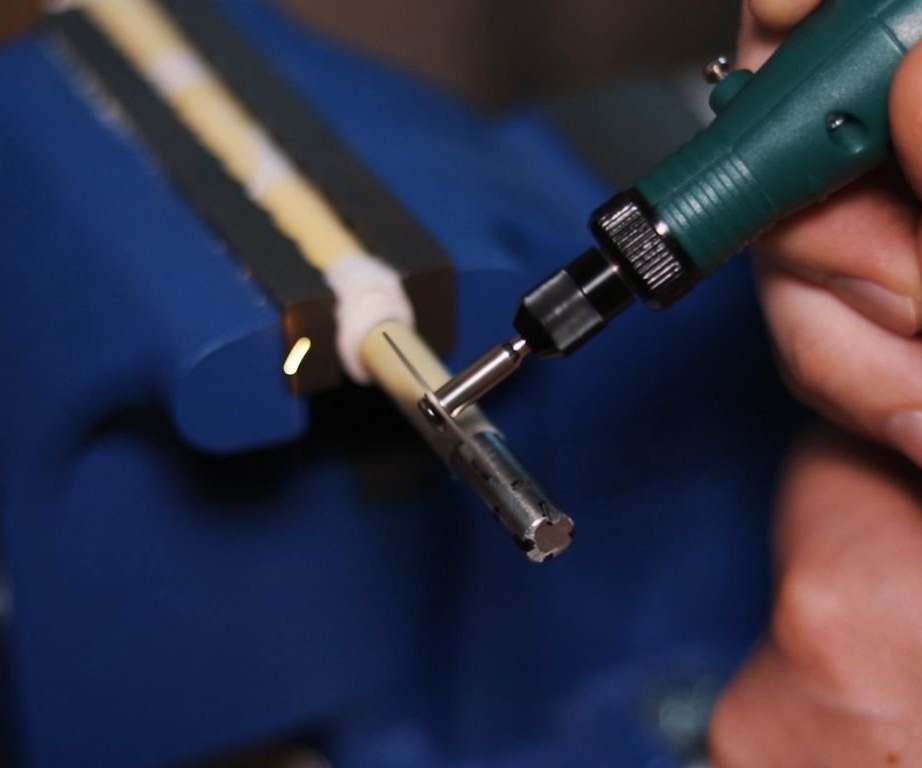
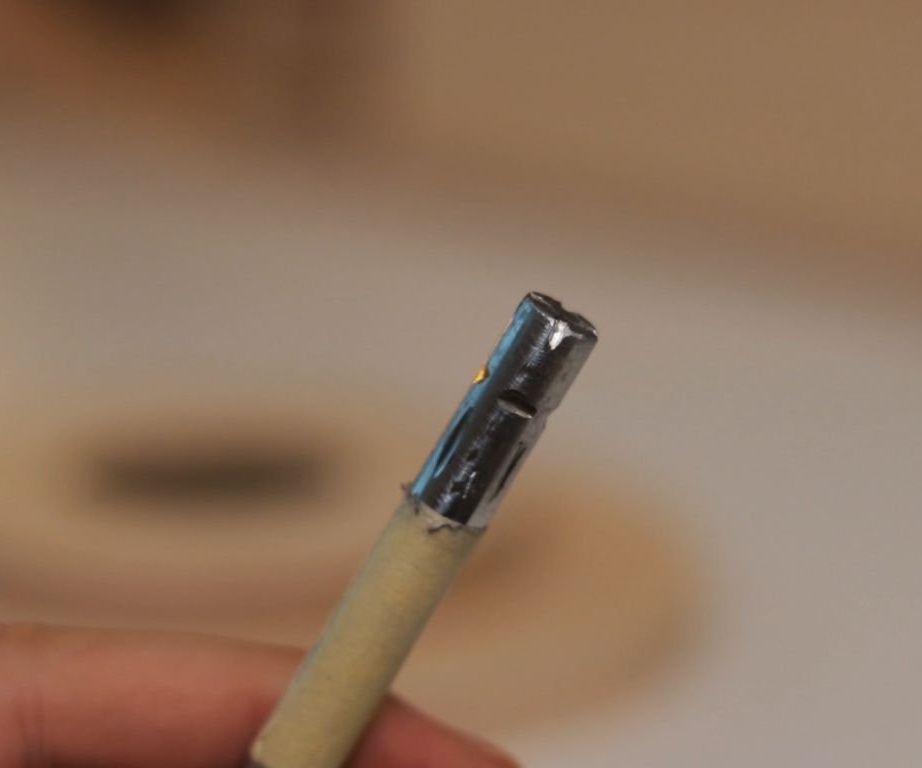
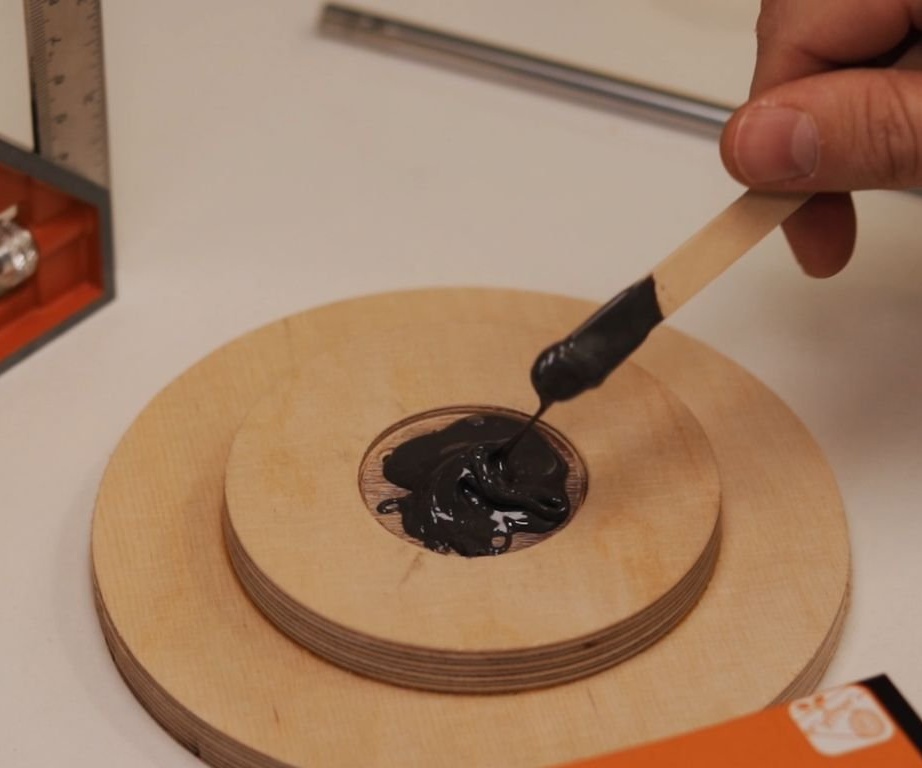
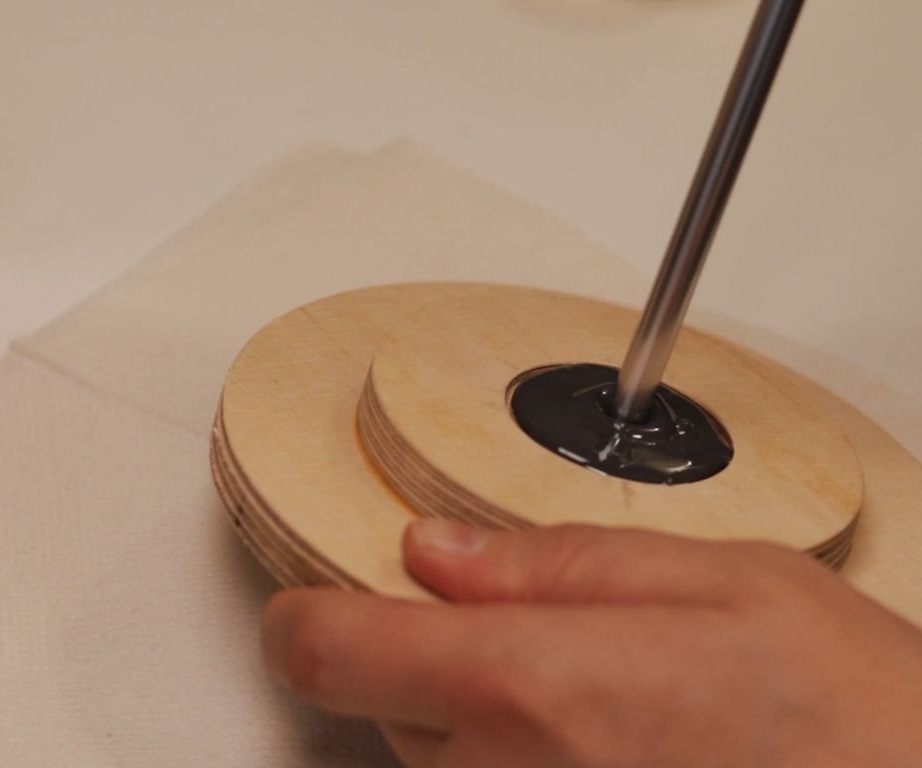
Installs the disk on the shaft, fixes it by cold welding.
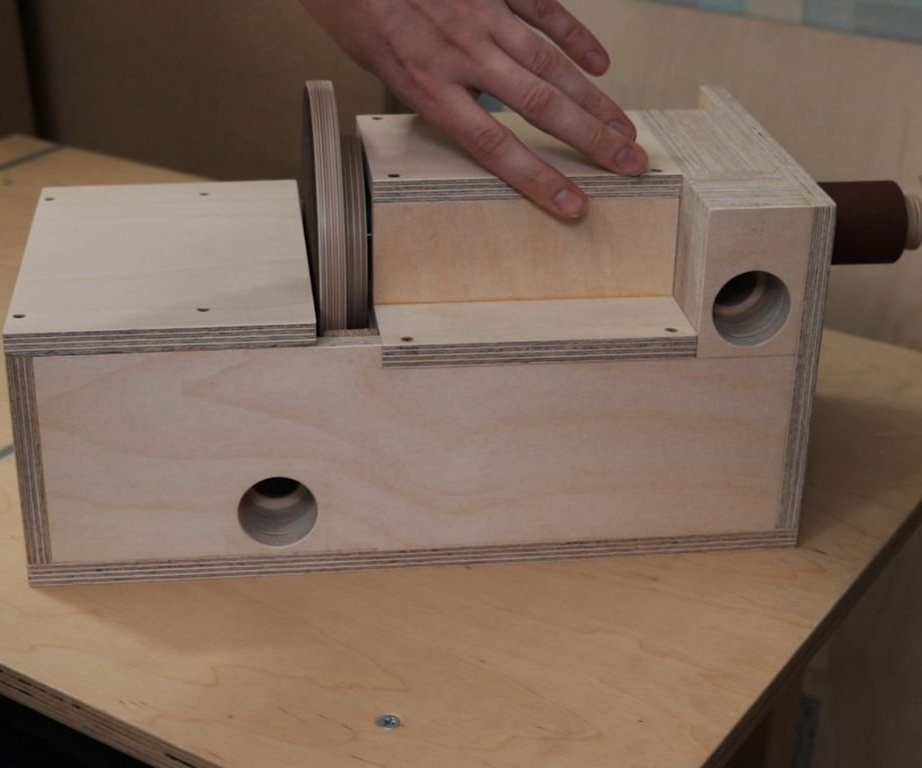
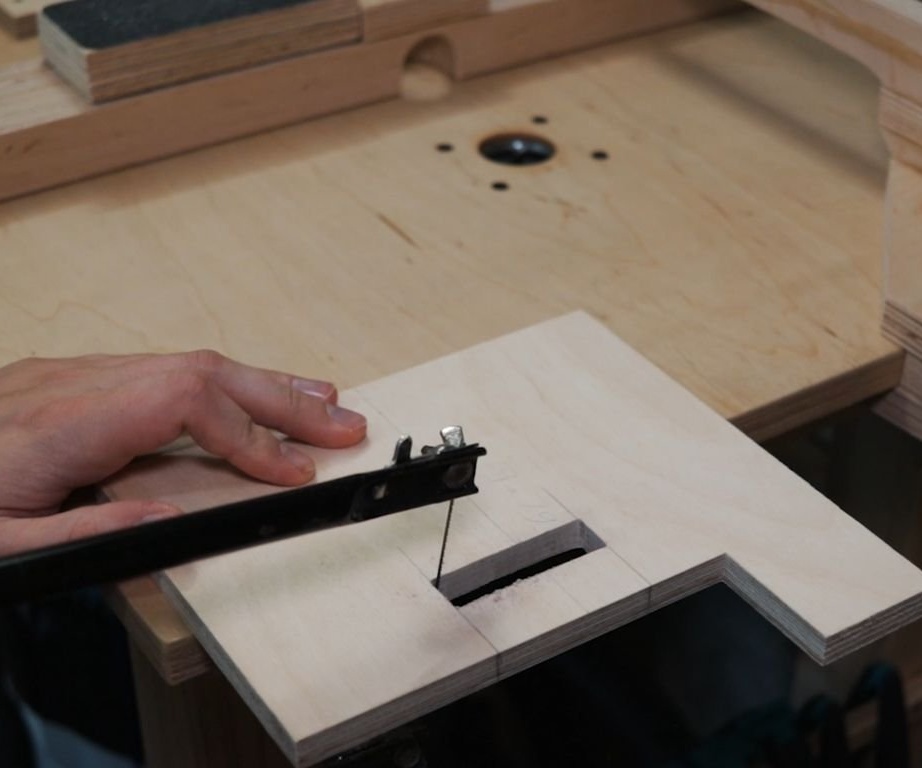
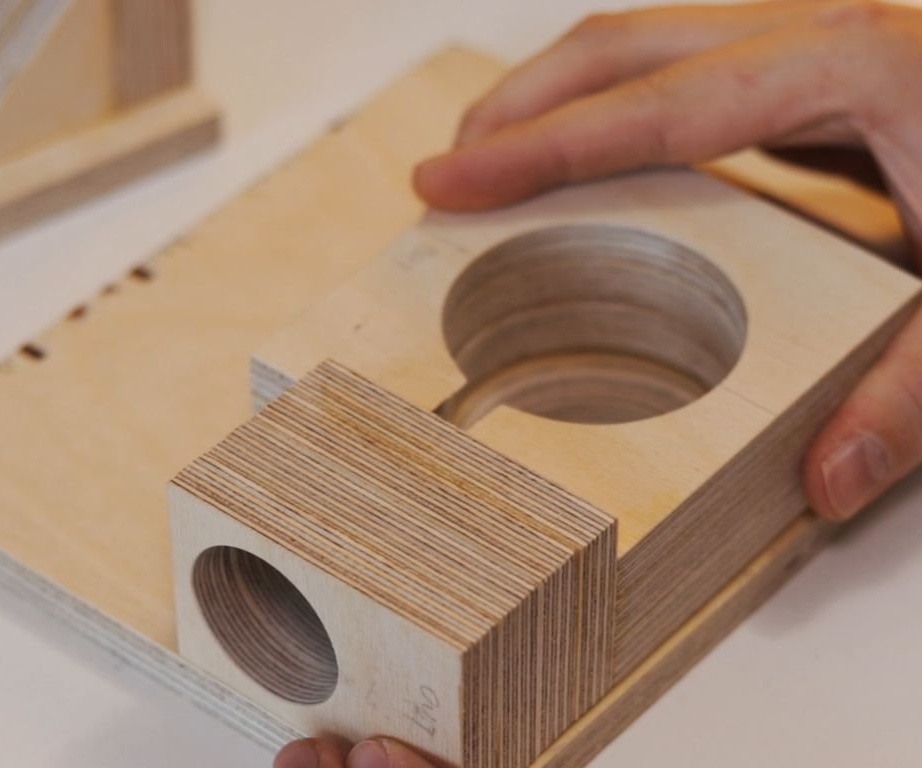
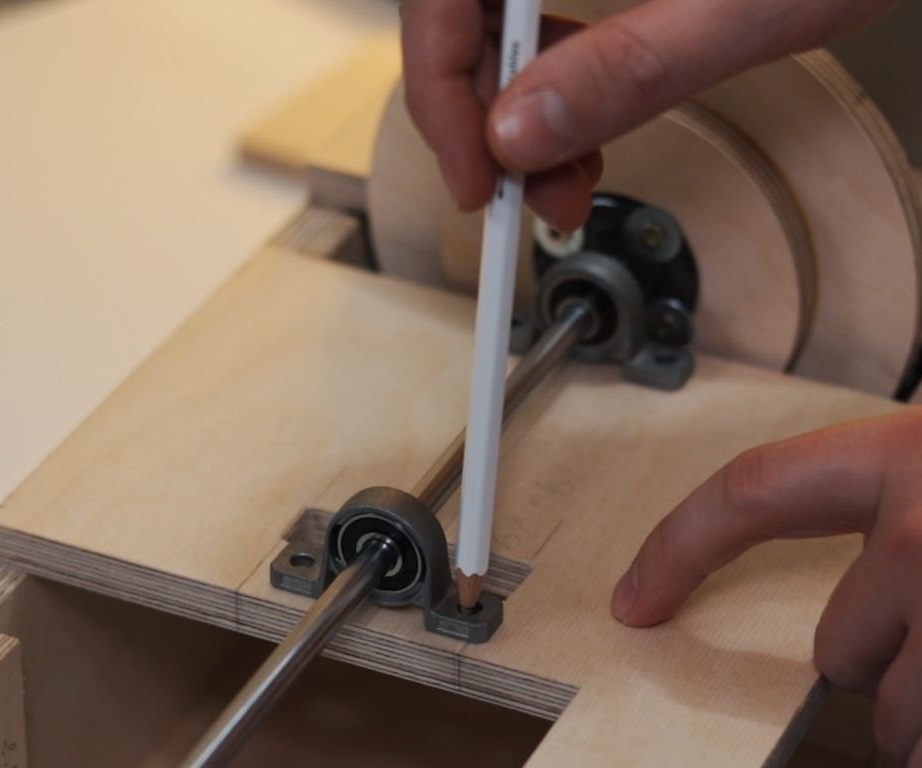
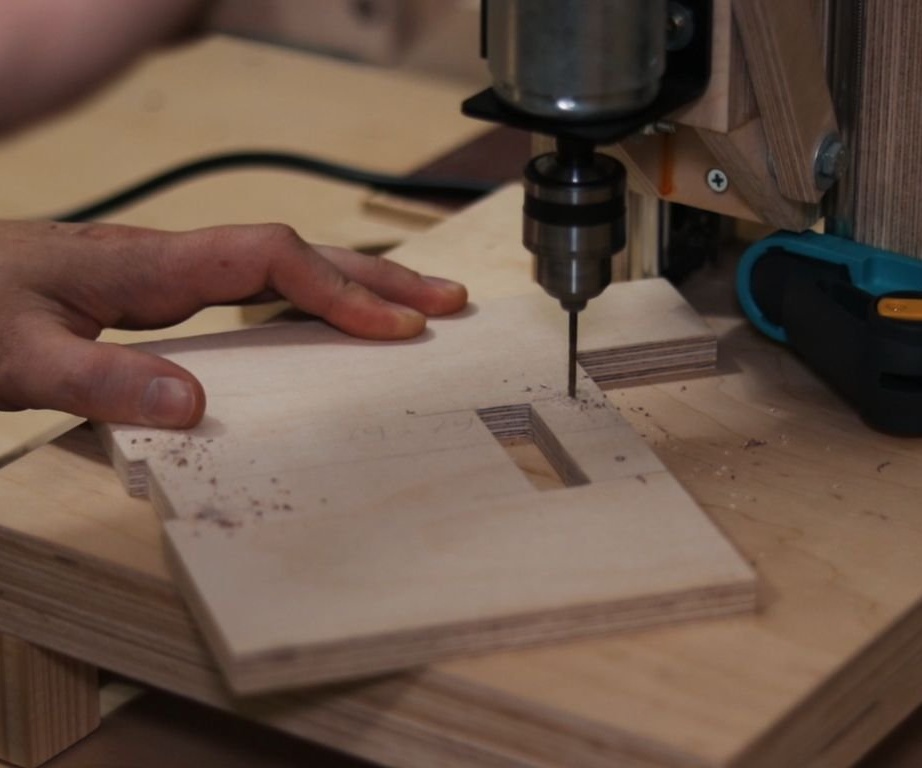
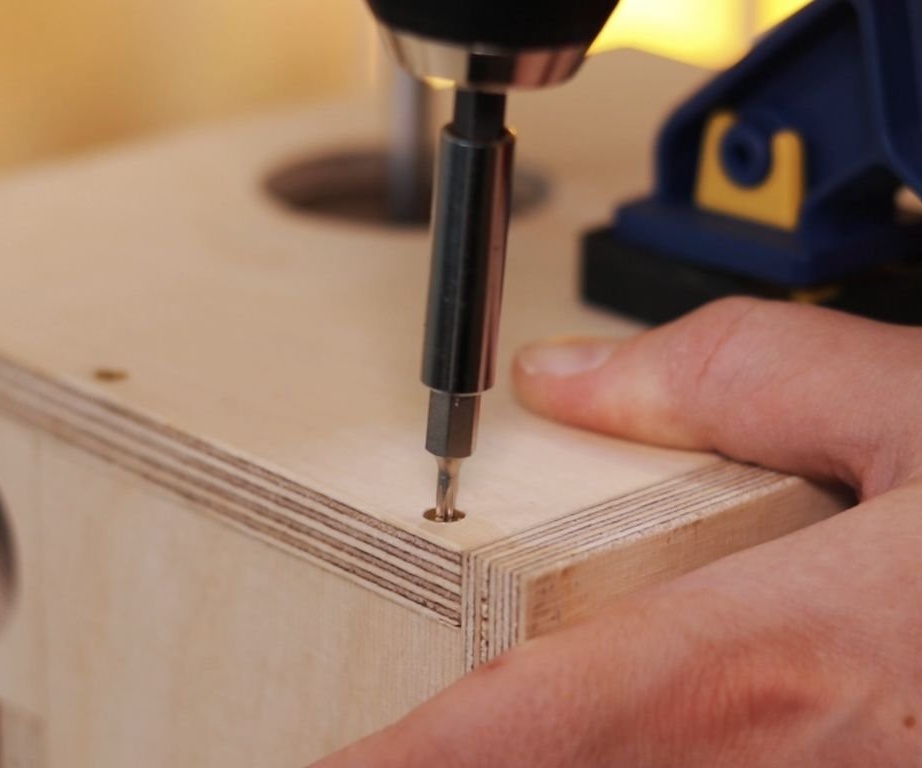
Seventh step: drum installation site
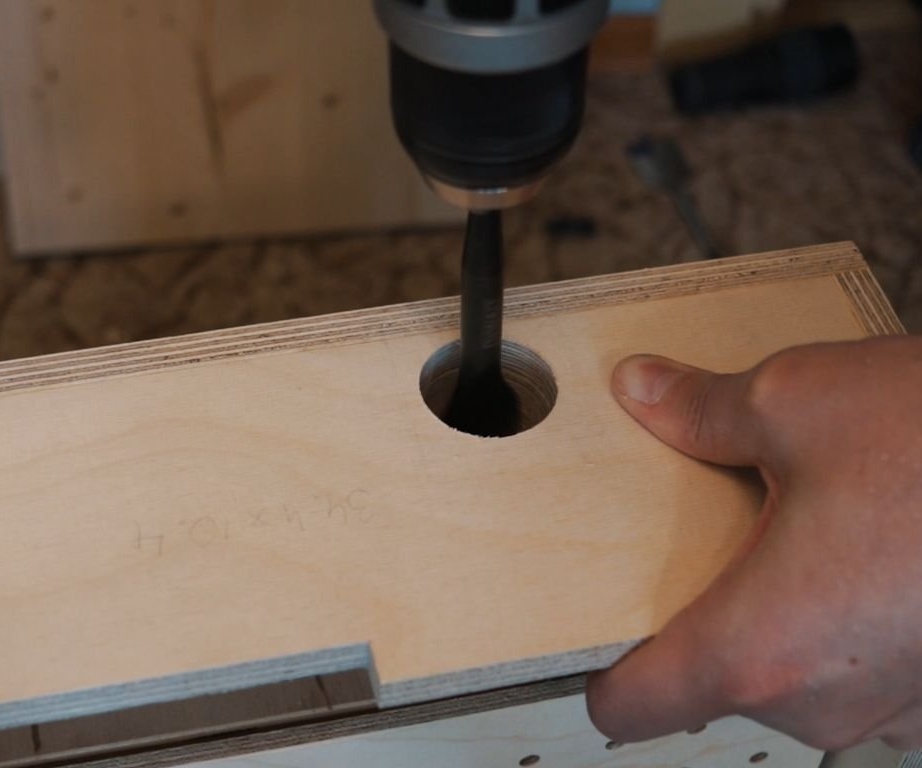
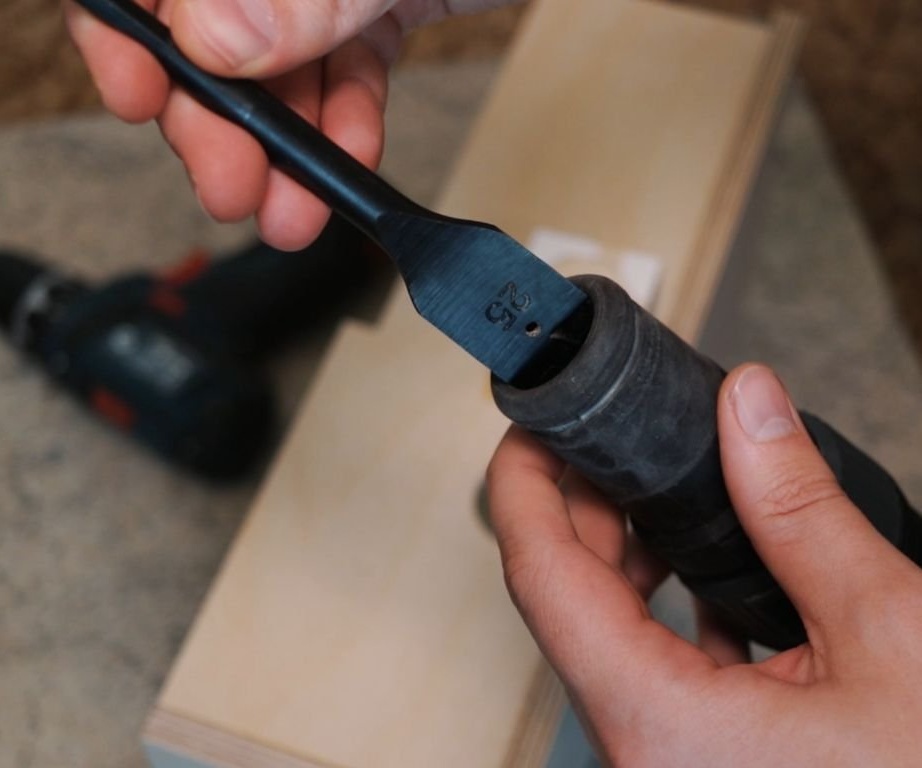
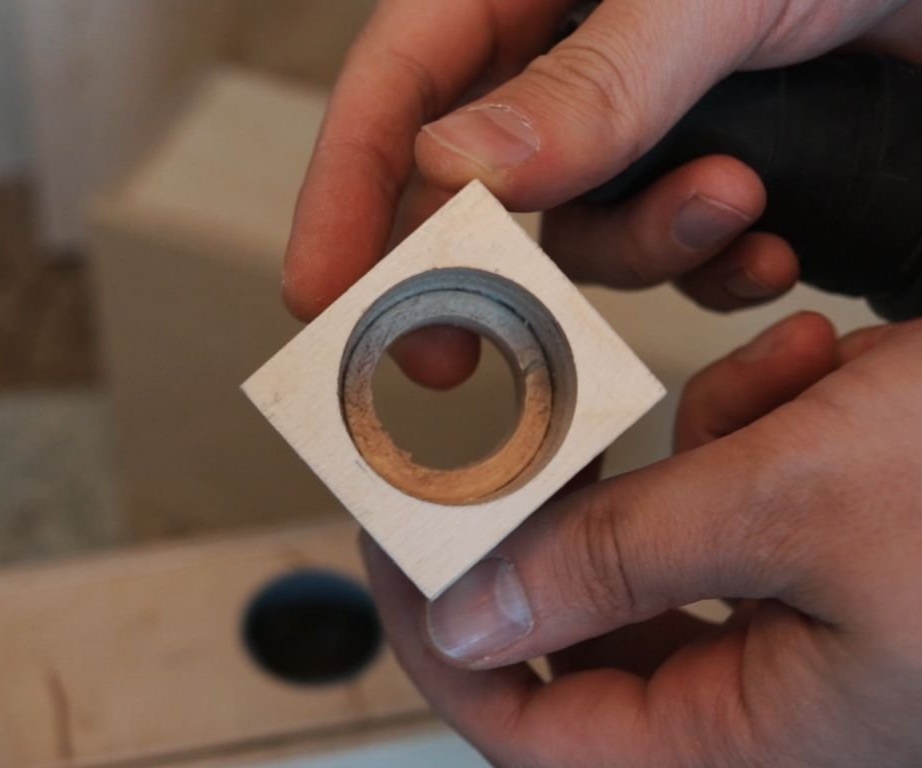
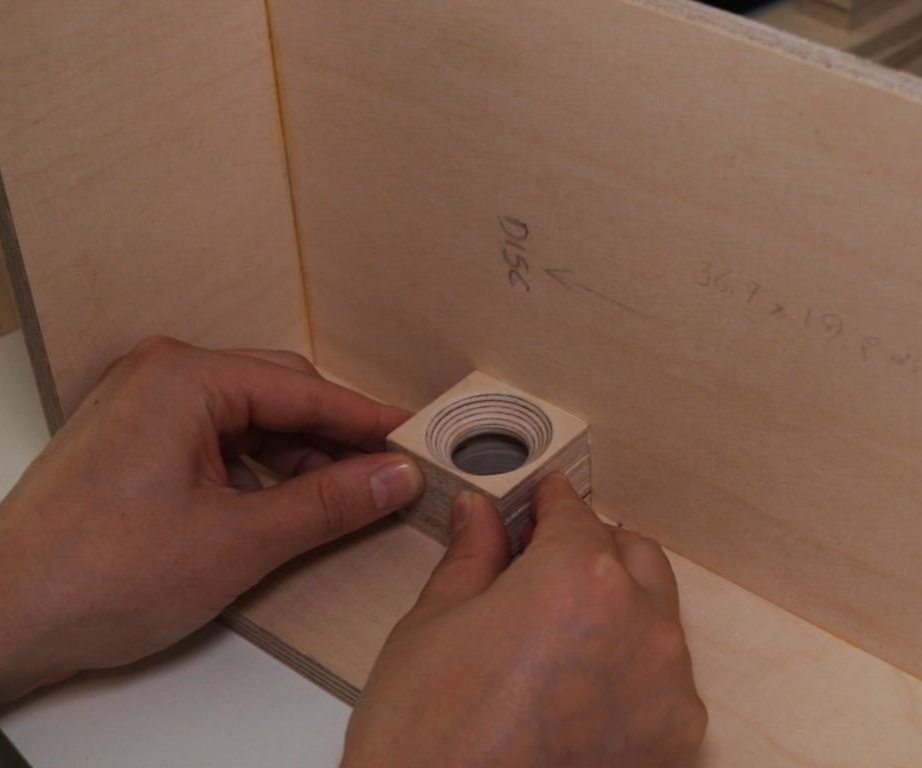
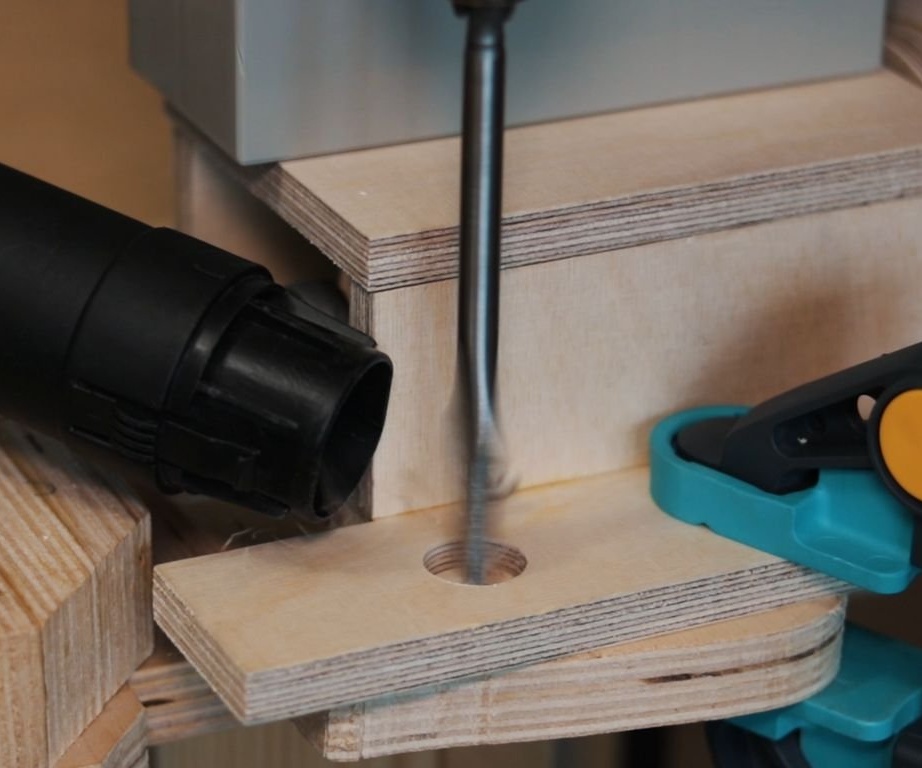
To install the drum and pair the shaft with the engine, the master cuts a hole in the workpieces.

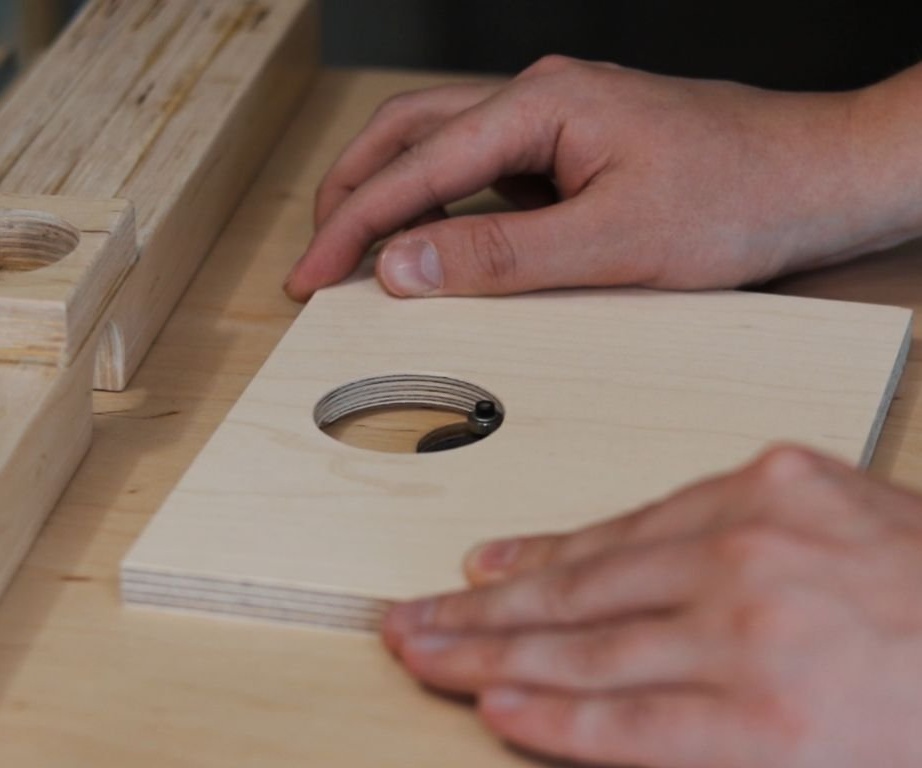
Glues parts. Glues the workpiece with a hole for connecting a vacuum cleaner.

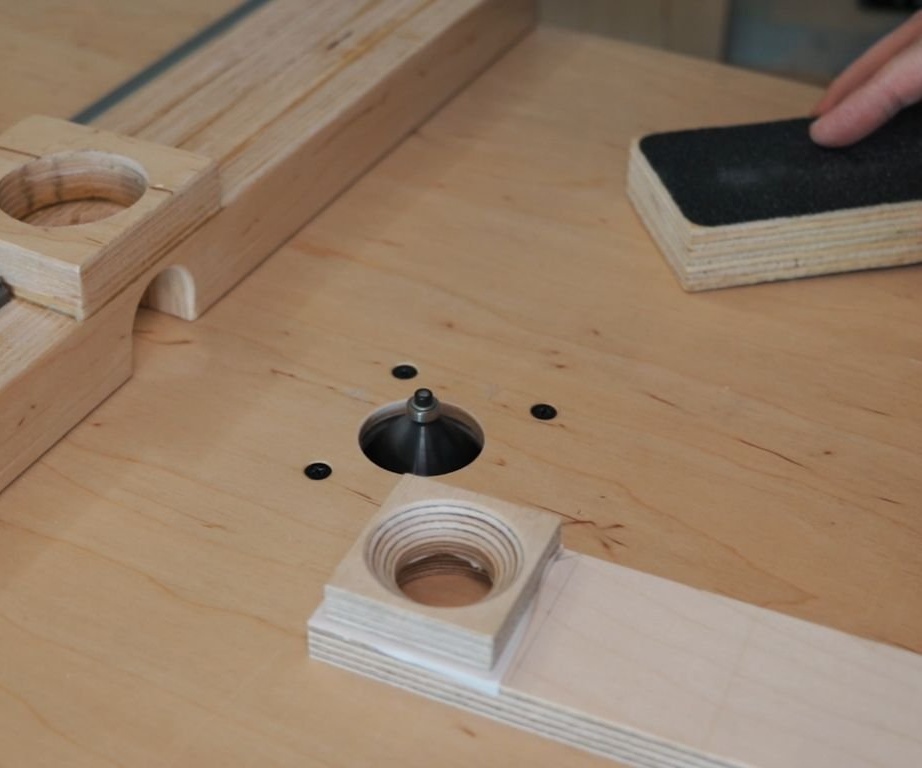
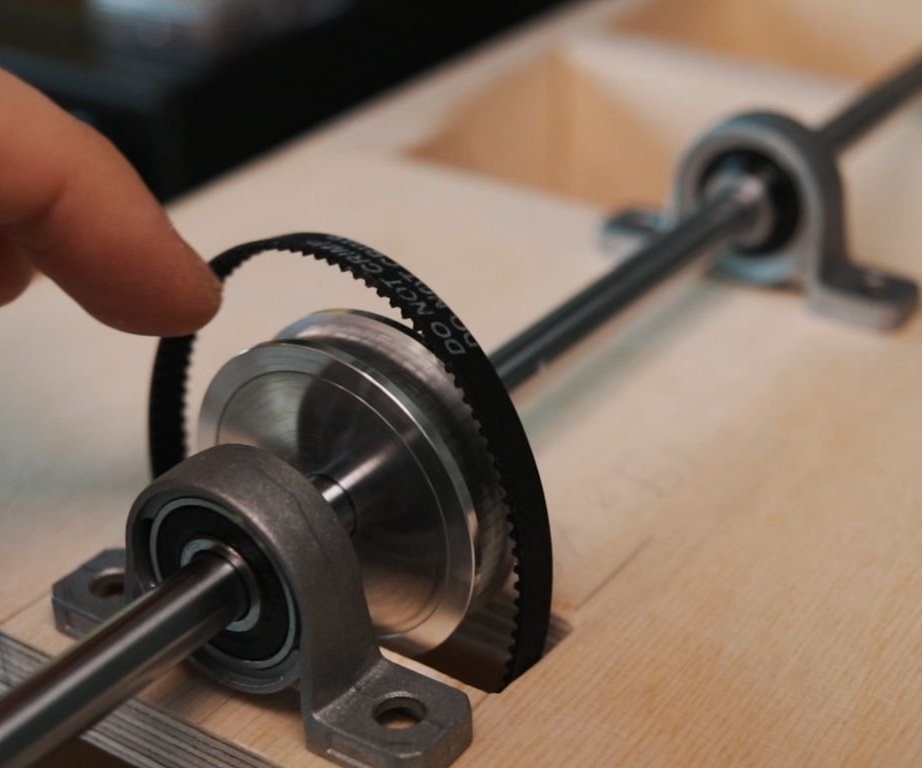
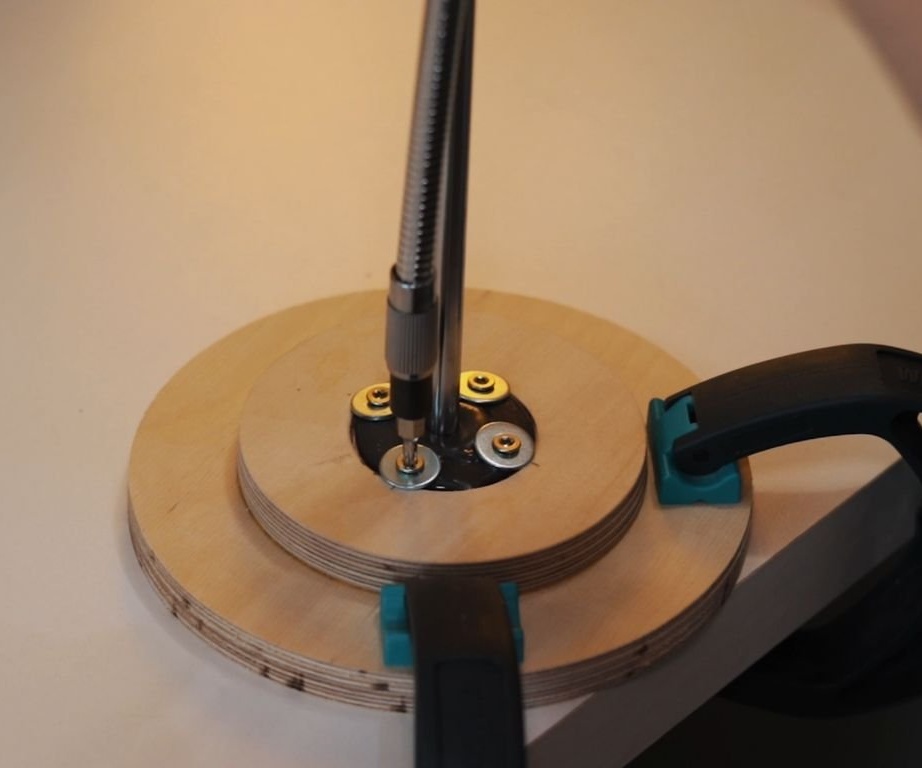
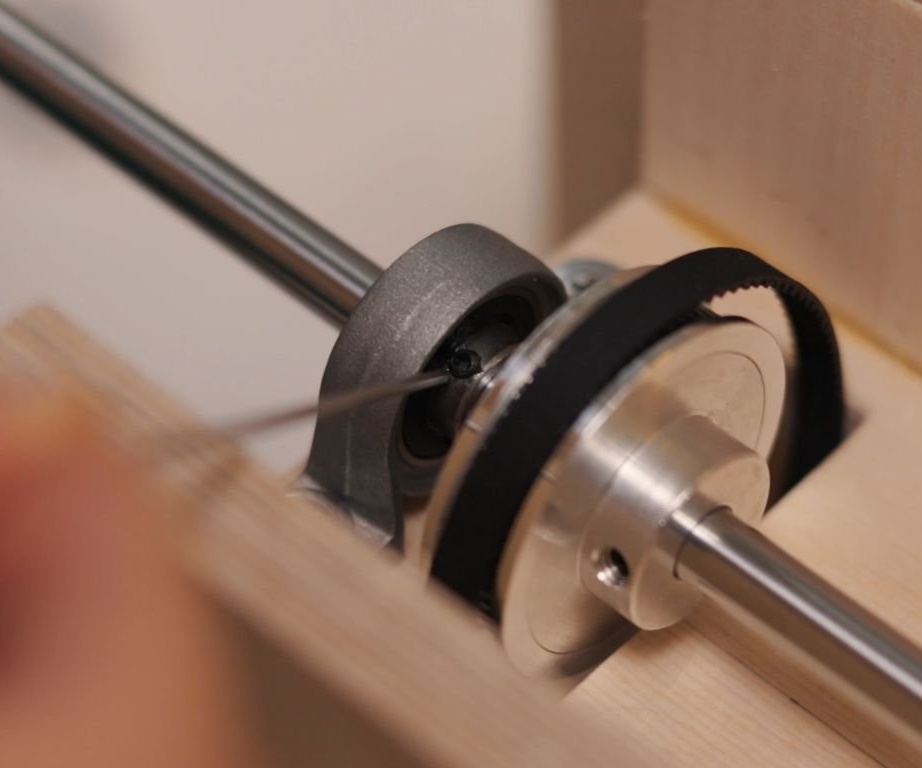
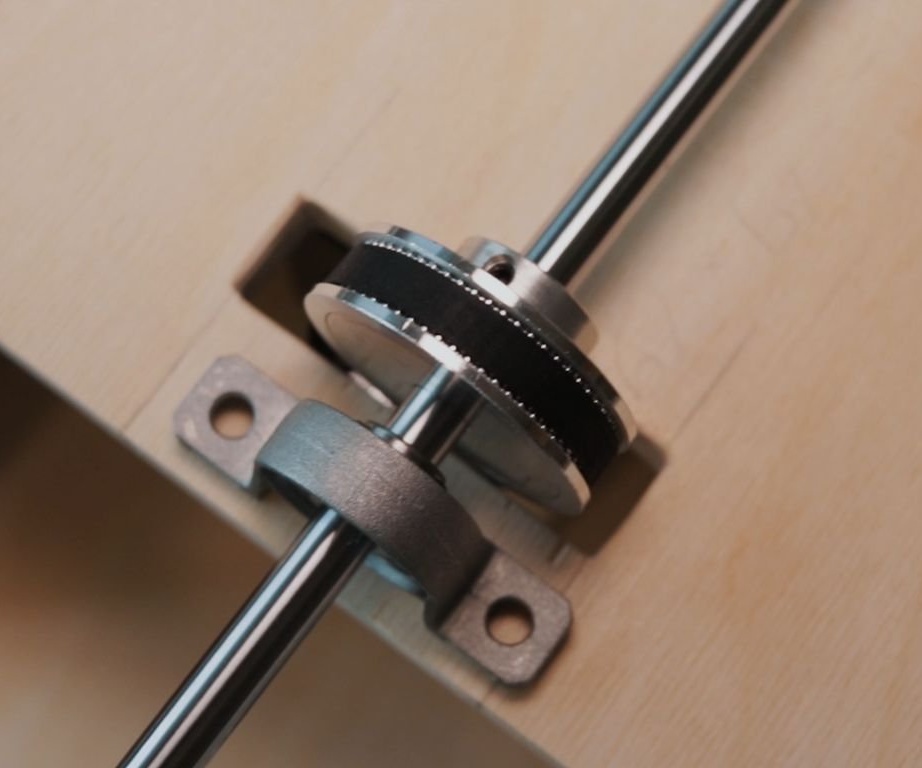
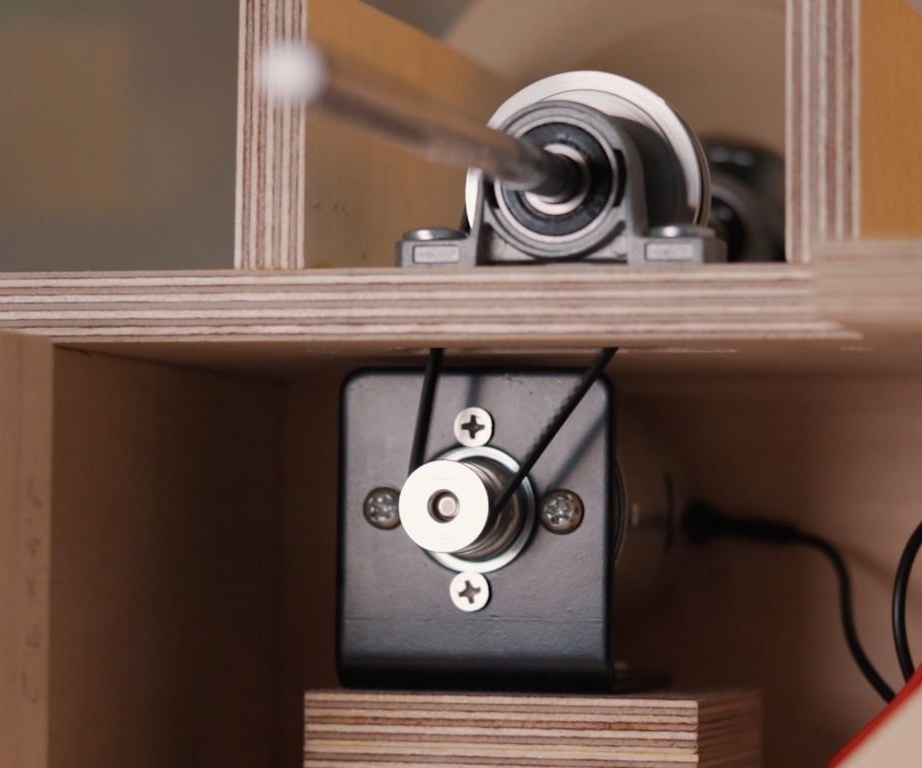
Step Eight: Installing the Shaft
Further, the master installs the shaft, tightens the supports.

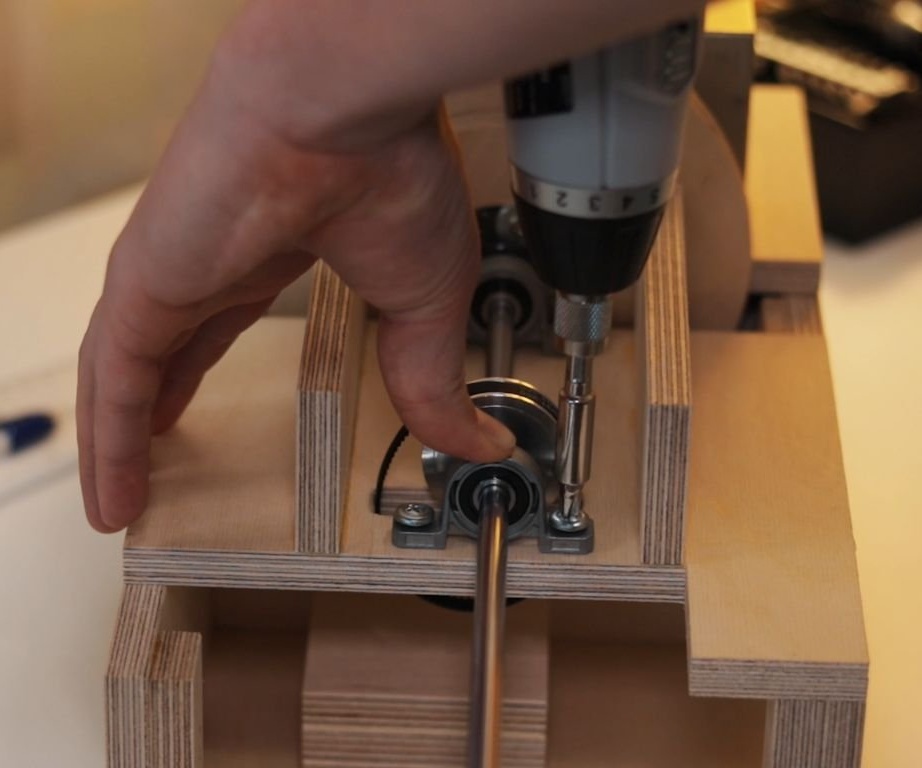
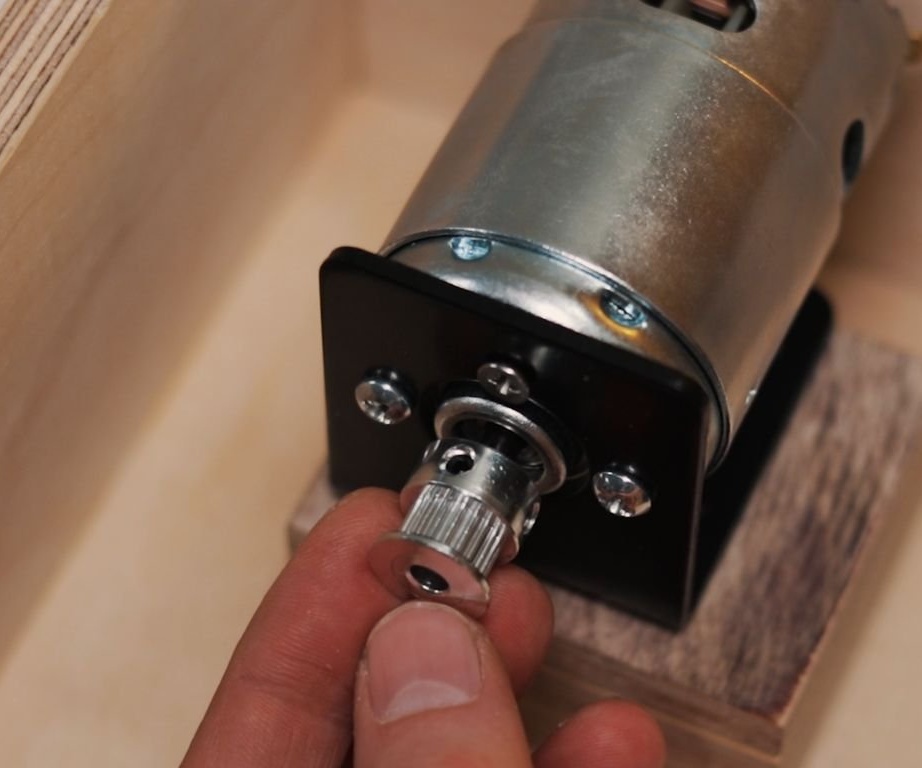
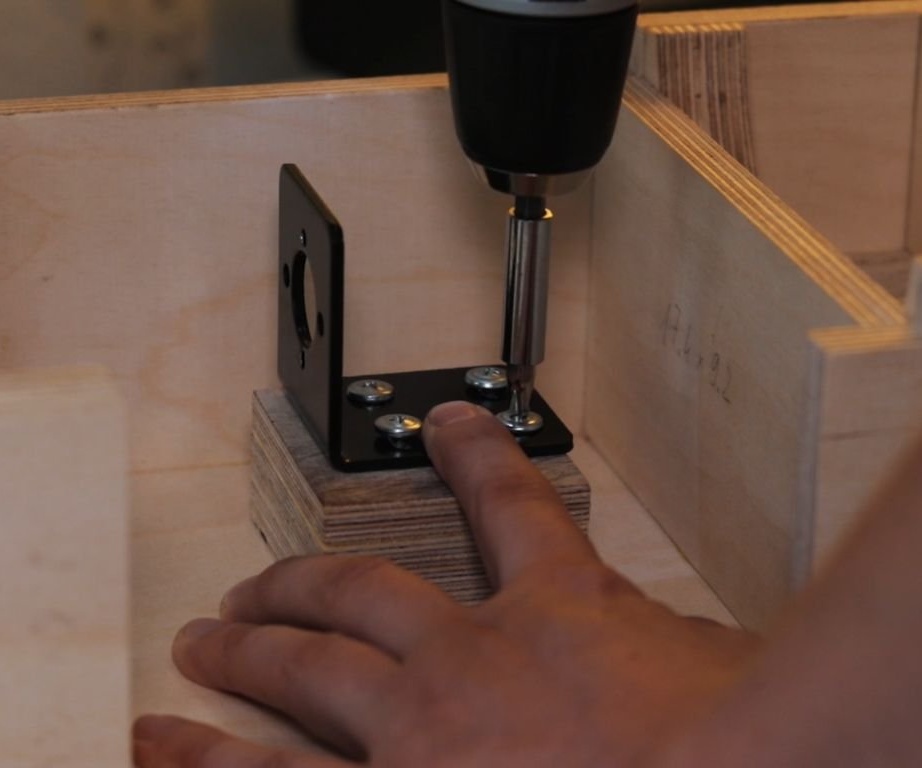
Step Nine: Engine Installation
When mounting the engine, it is important that its shaft is parallel to the upper shaft. Since there are wide screw holes in the bracket, you can adjust the position using them.
In addition, it is recommended that you polish a place on the motor shaft for the pulley. Also, the belt should not be too loose or tight.

Step ten: finalizing the disk
Further, the master powered the engine and, using the chisel, balanced the disk.
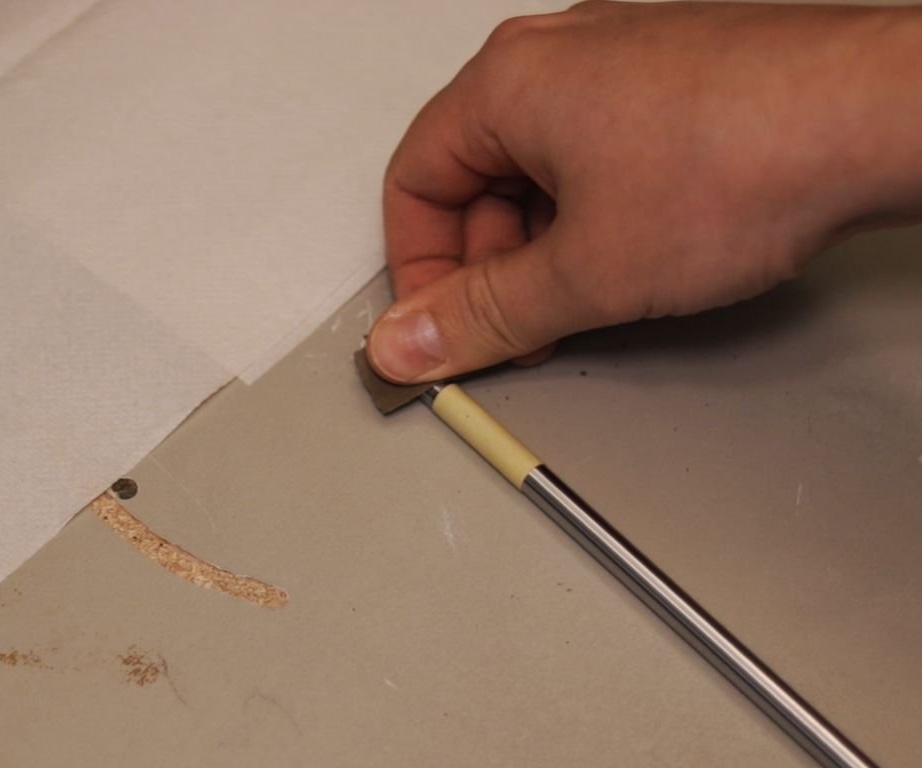
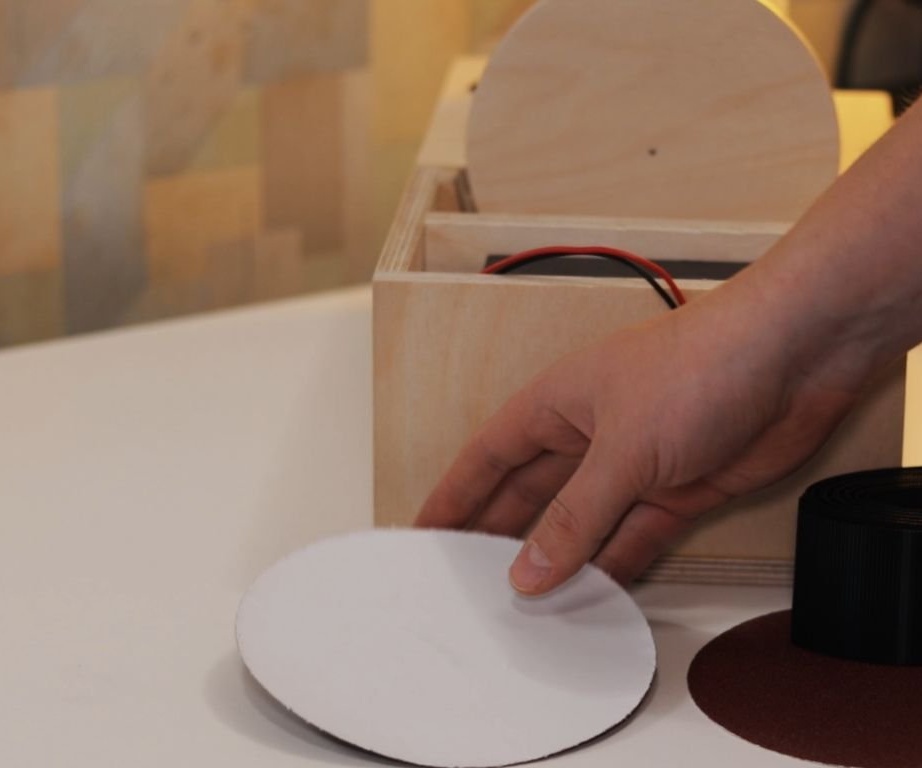
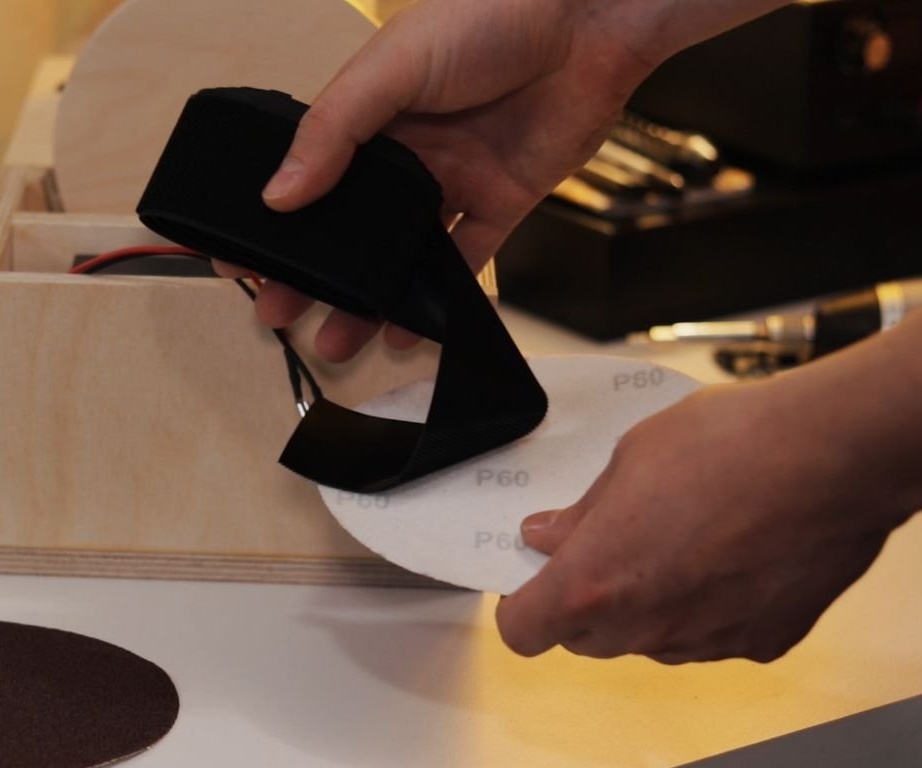
Then varnished the disk. The master will use adhesive-based grinding wheels.
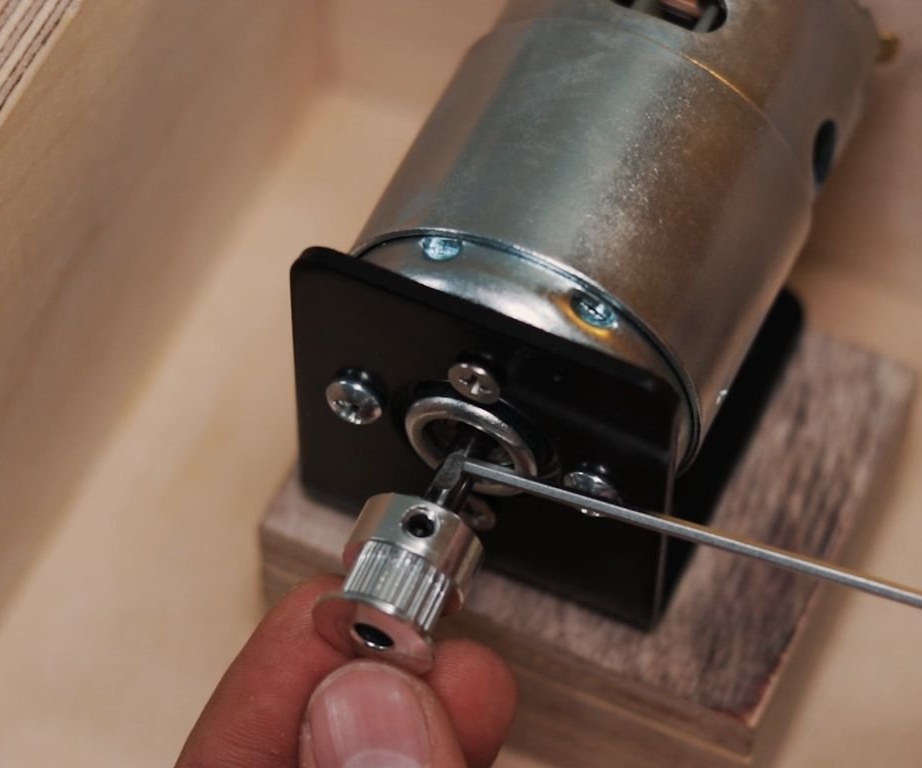
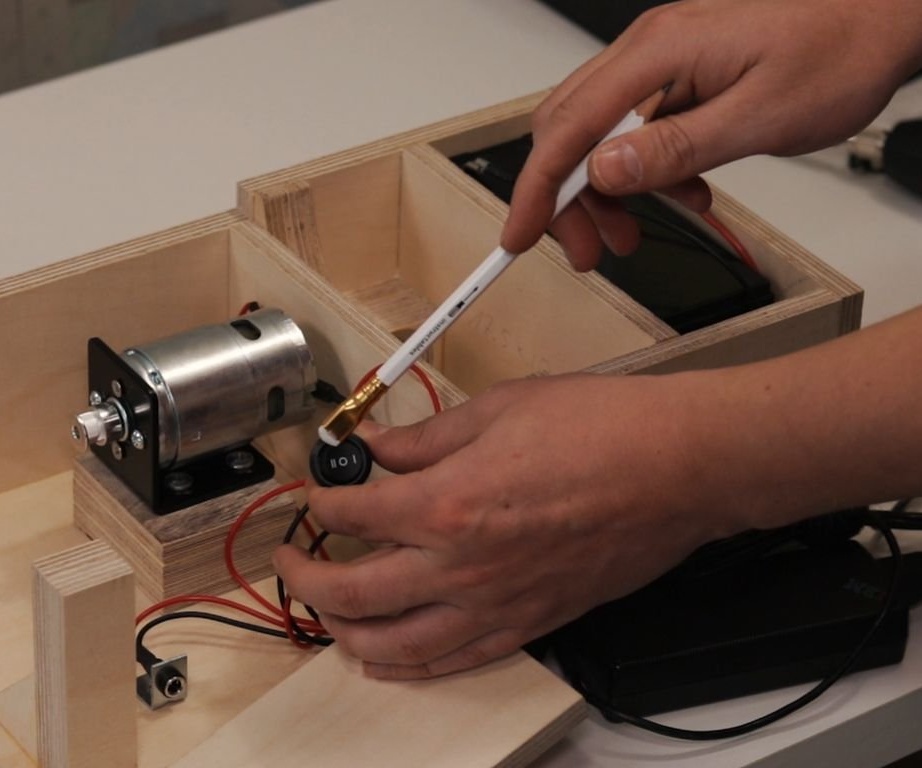
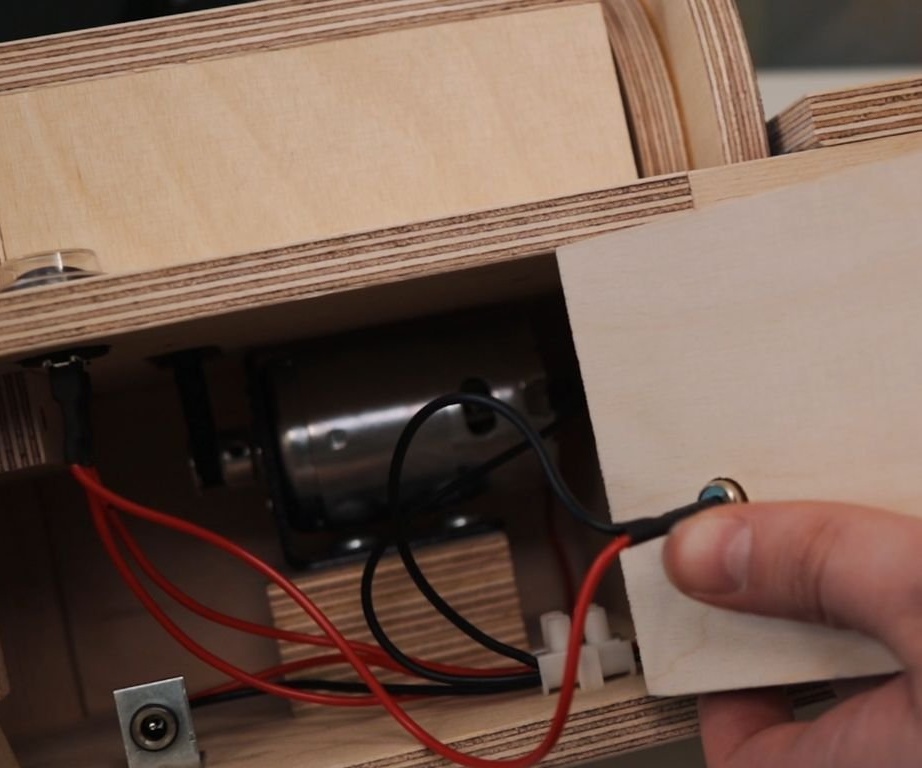
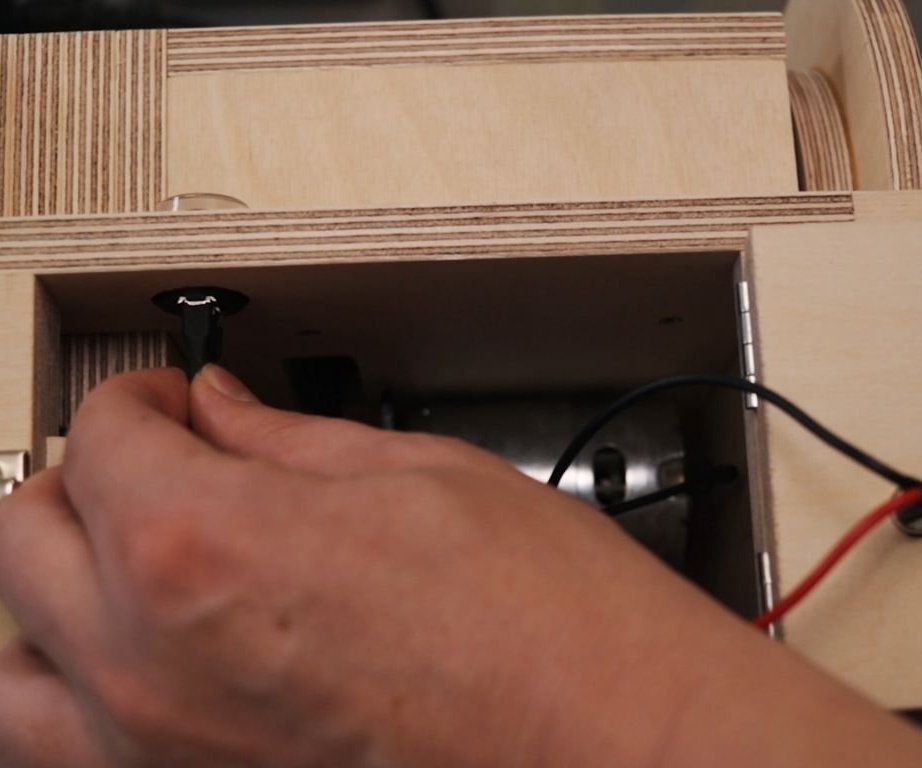
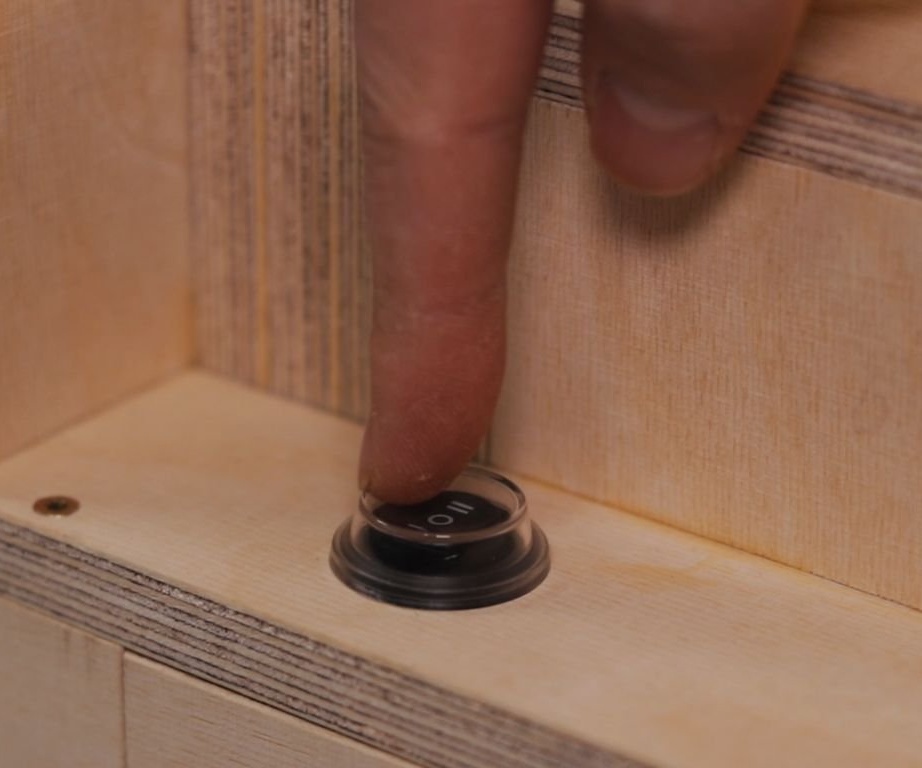
Step Eleven: Connecting the Motor
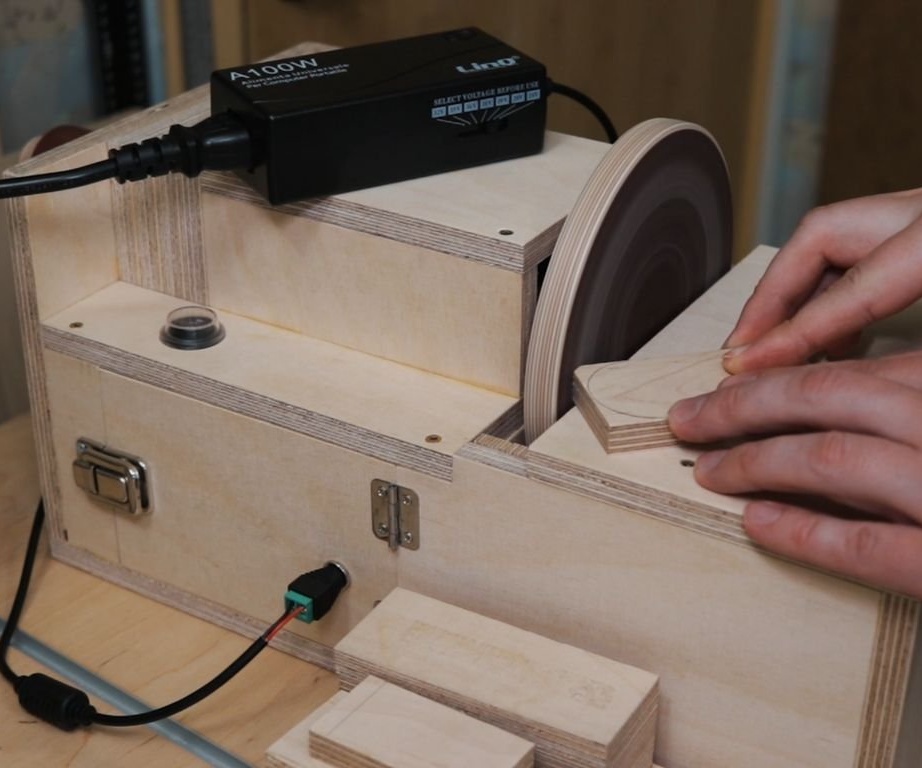
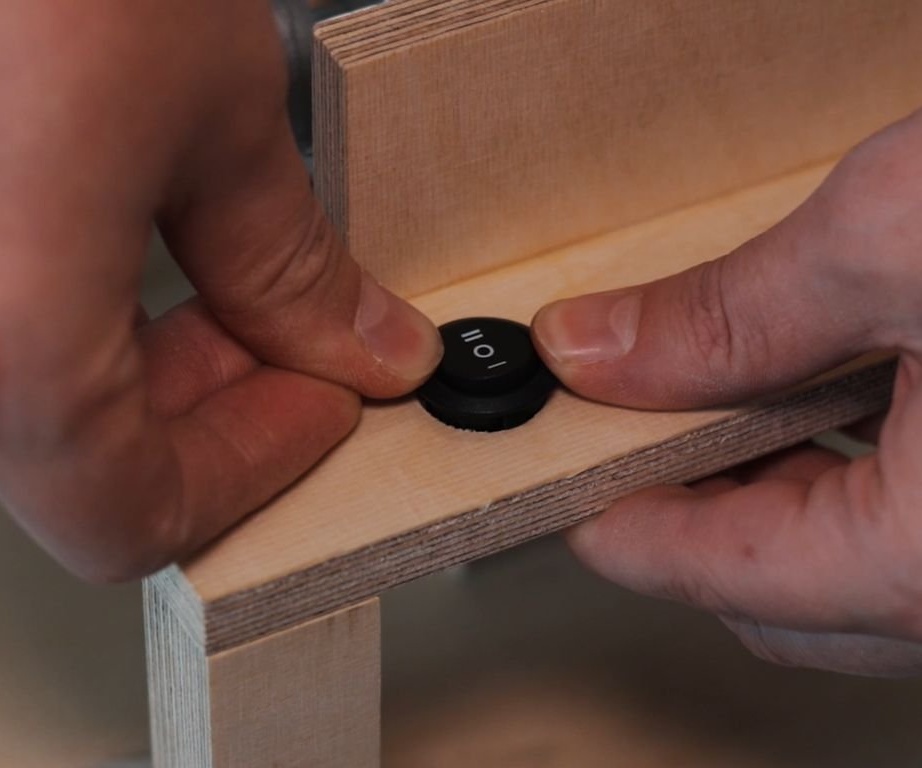
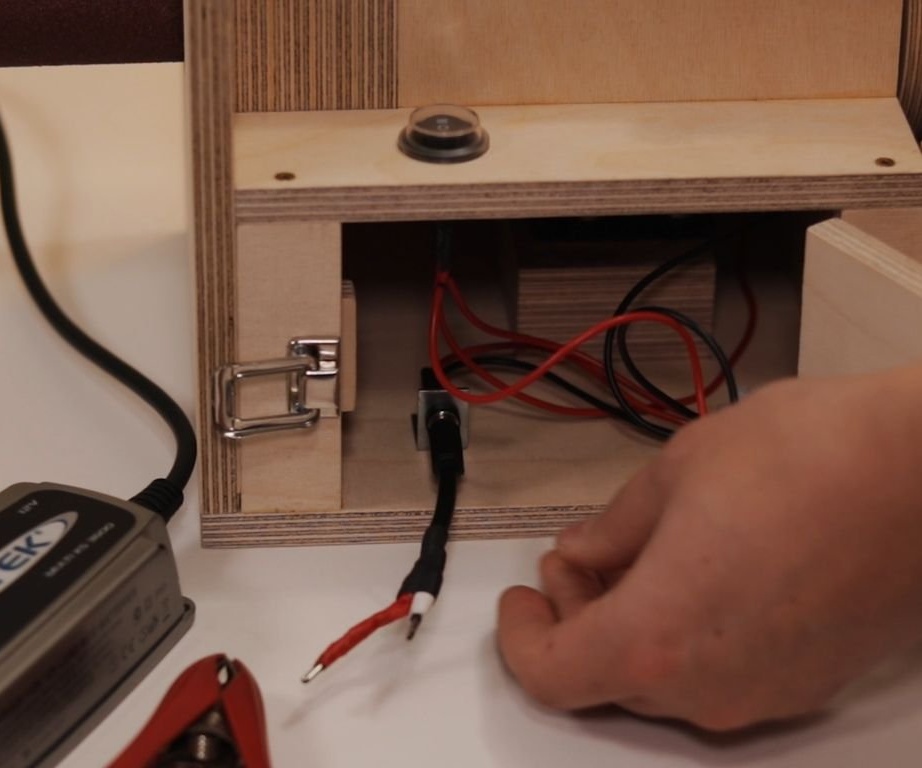
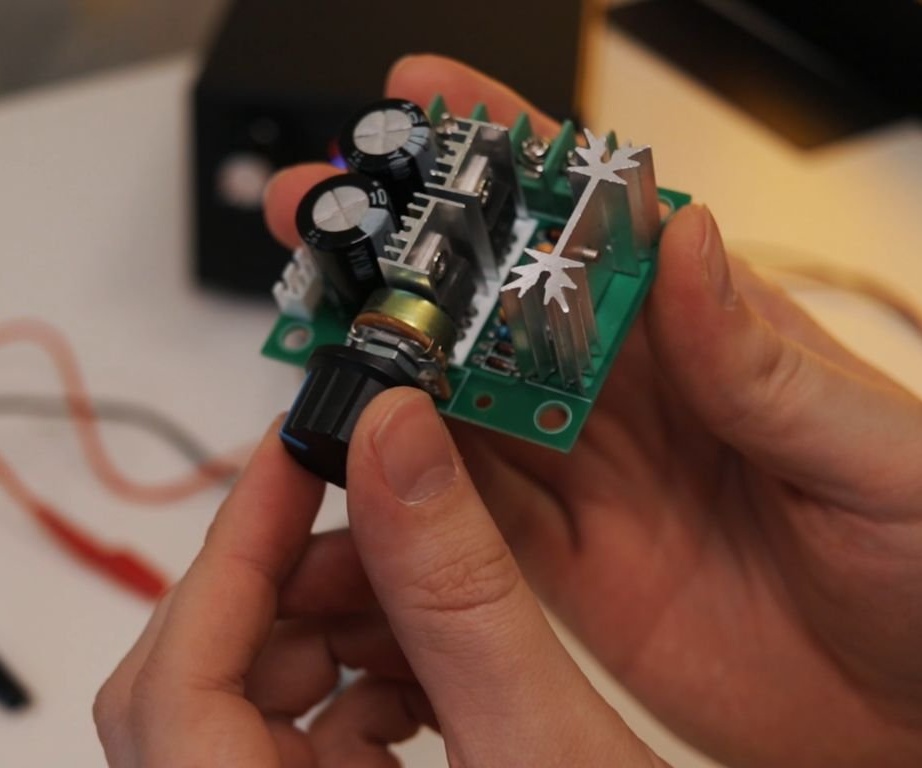
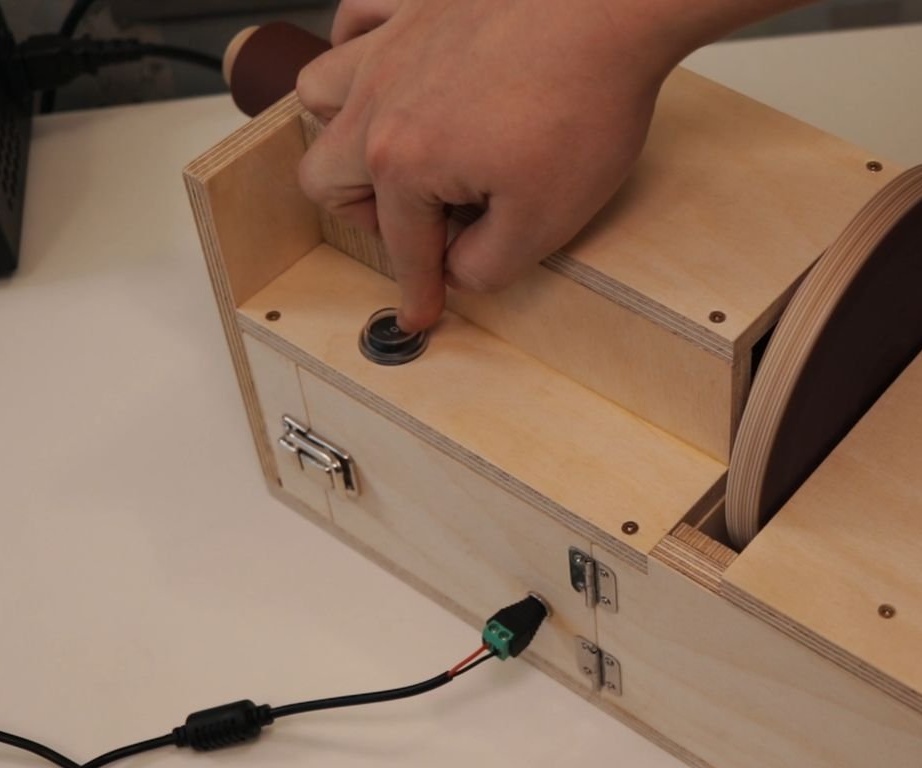
The master makes a hole for the 3-position switch. It is important that it be at least 10A.
When the switch is in the first position, the engine is powered by an internal 12 V sealed lead-acid battery. When the switch is in the off position, the battery and power source are turned off. When the switch is in the second position, the motor receives power from an external power source.
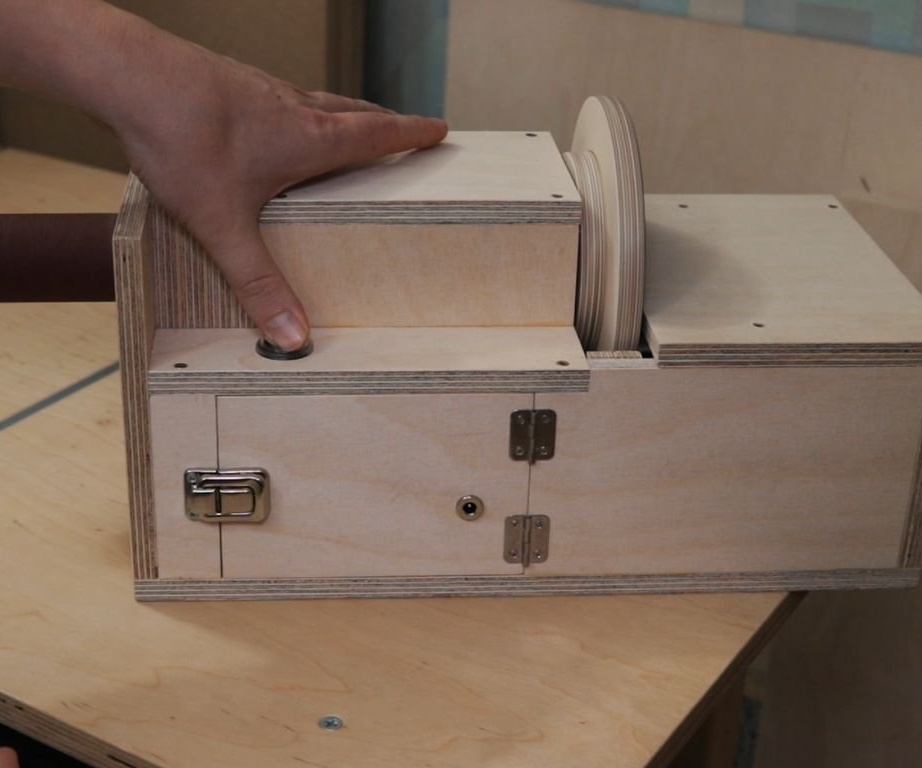
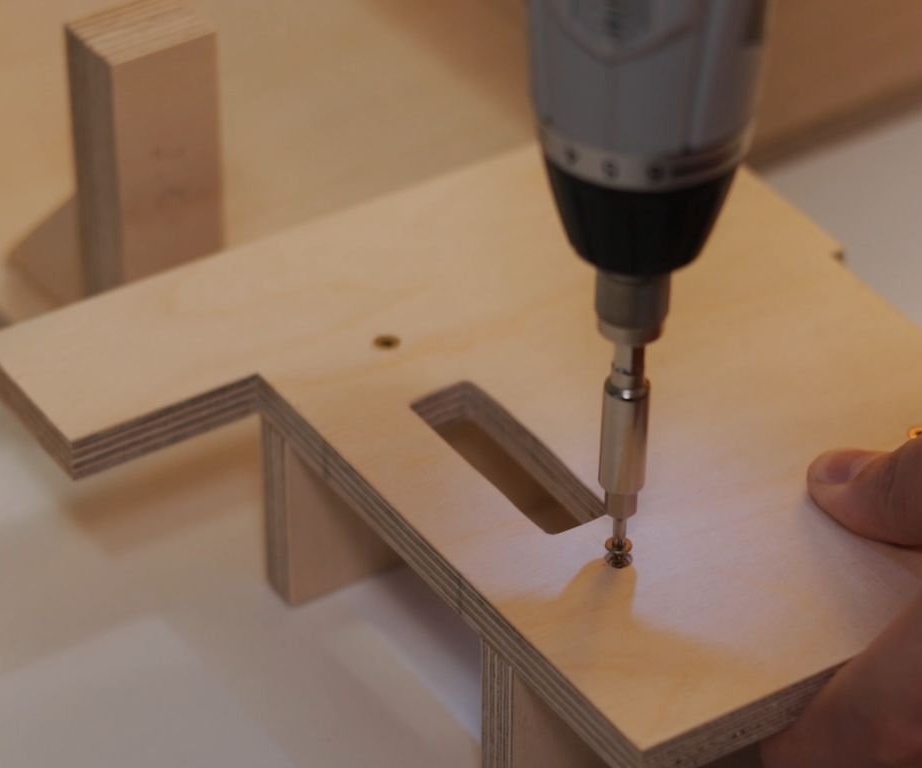
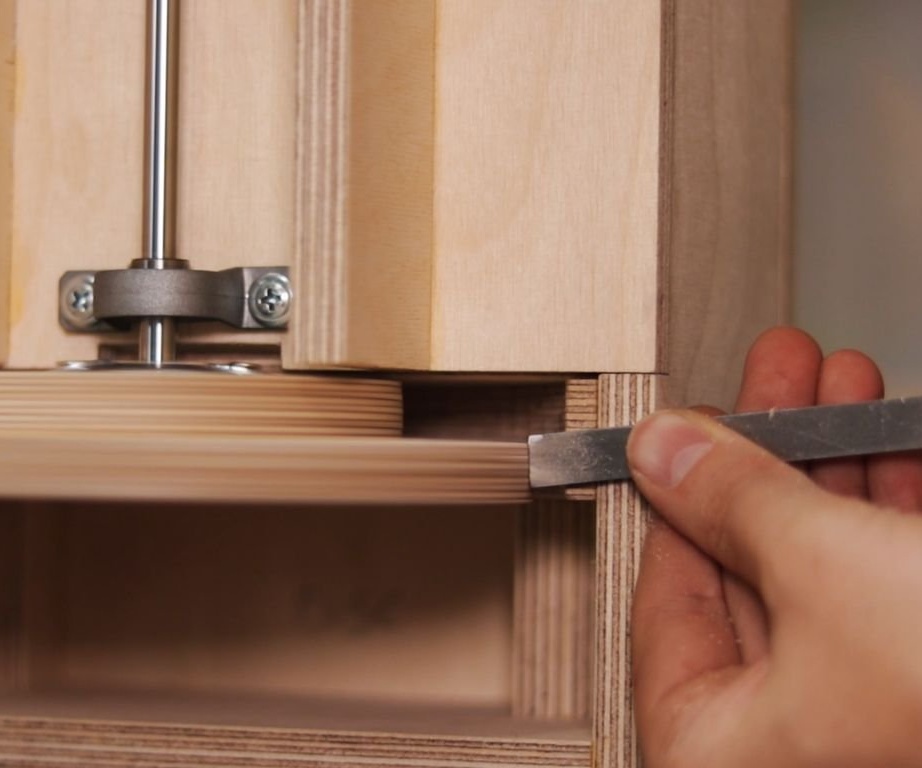
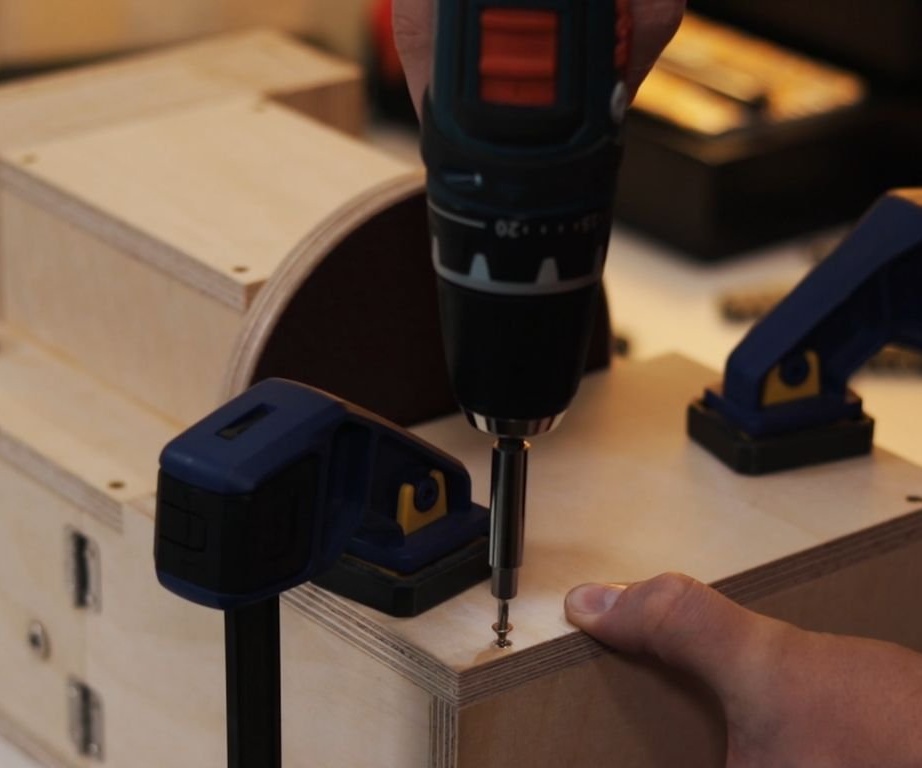
Step Twelve: Final Assembly
Then there were minor improvements. The master sets the back door. With it, it will be easy to access the engine.
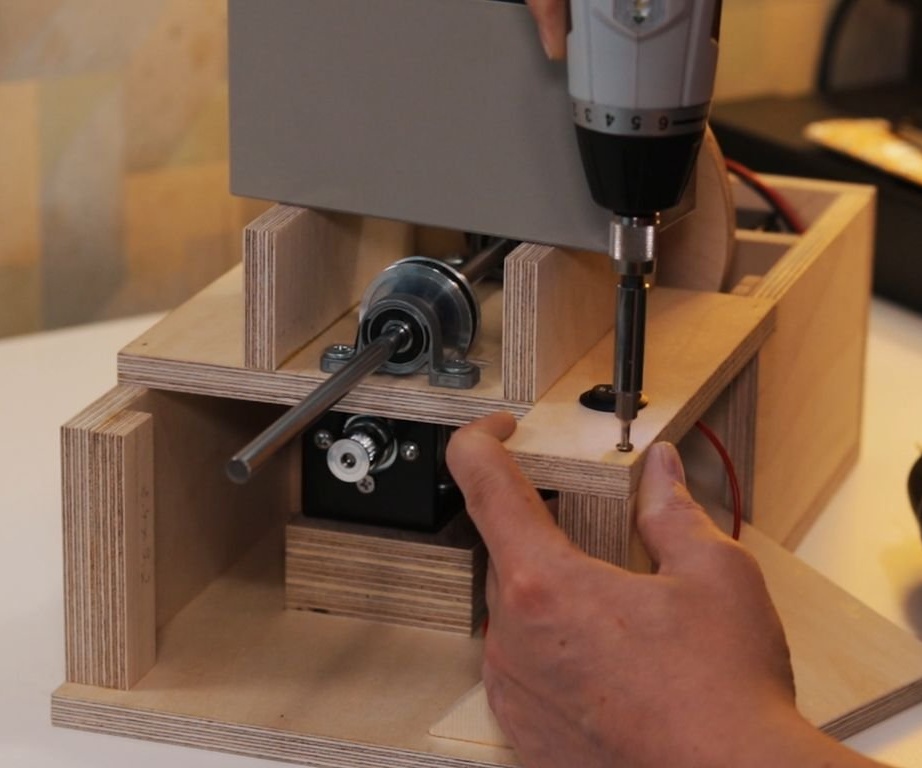
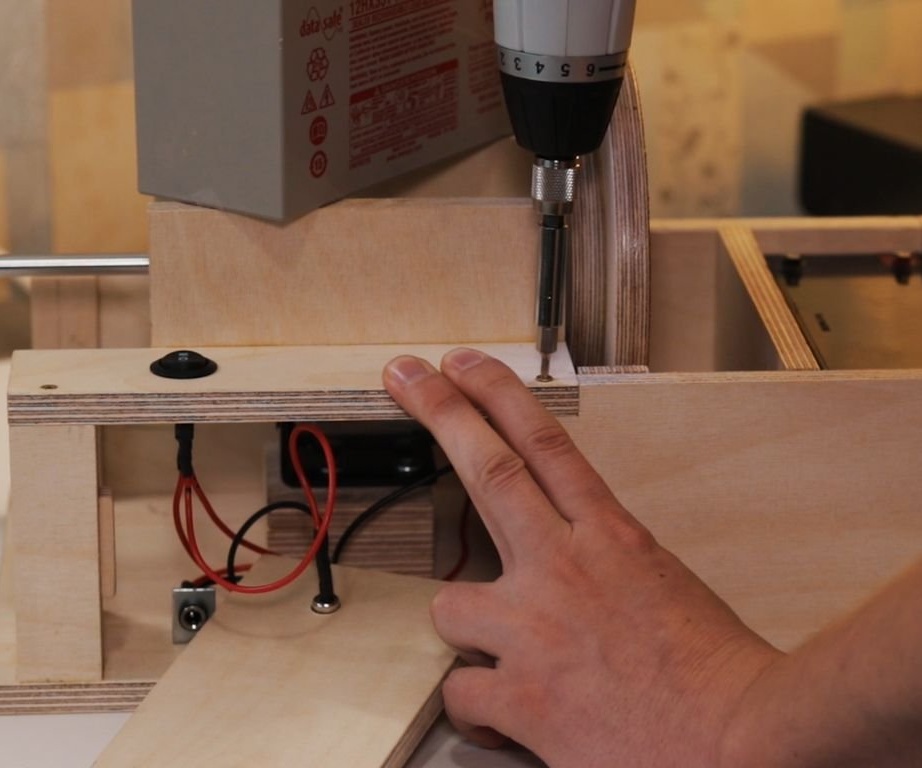
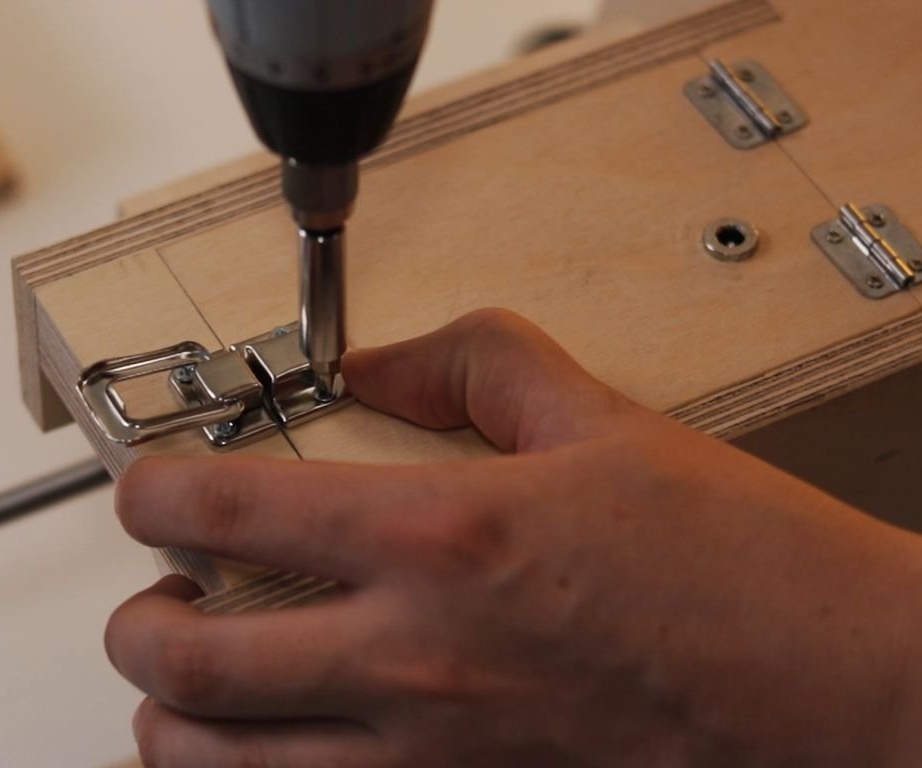
On the shaft makes serifs for installing the drum.
Screws the lid, sets the drum.
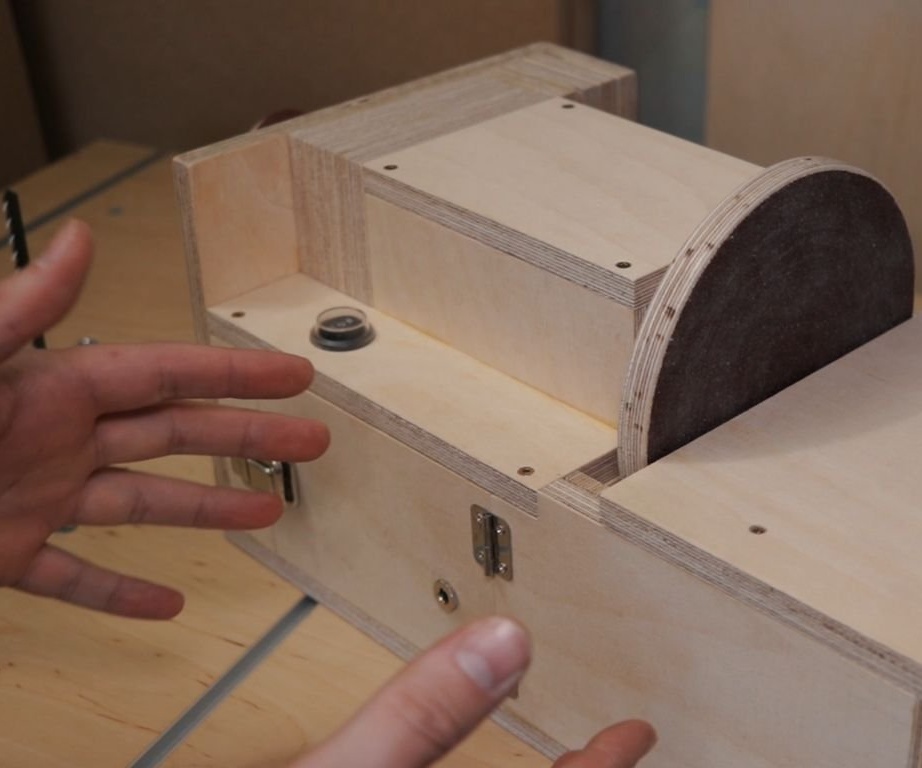
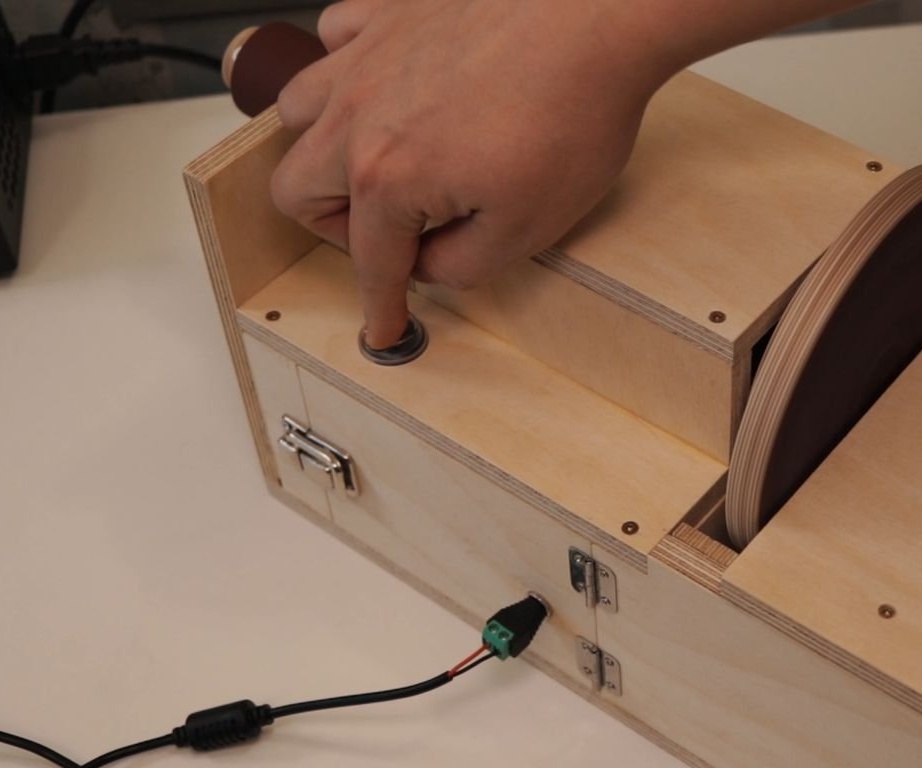
Sets the connector.
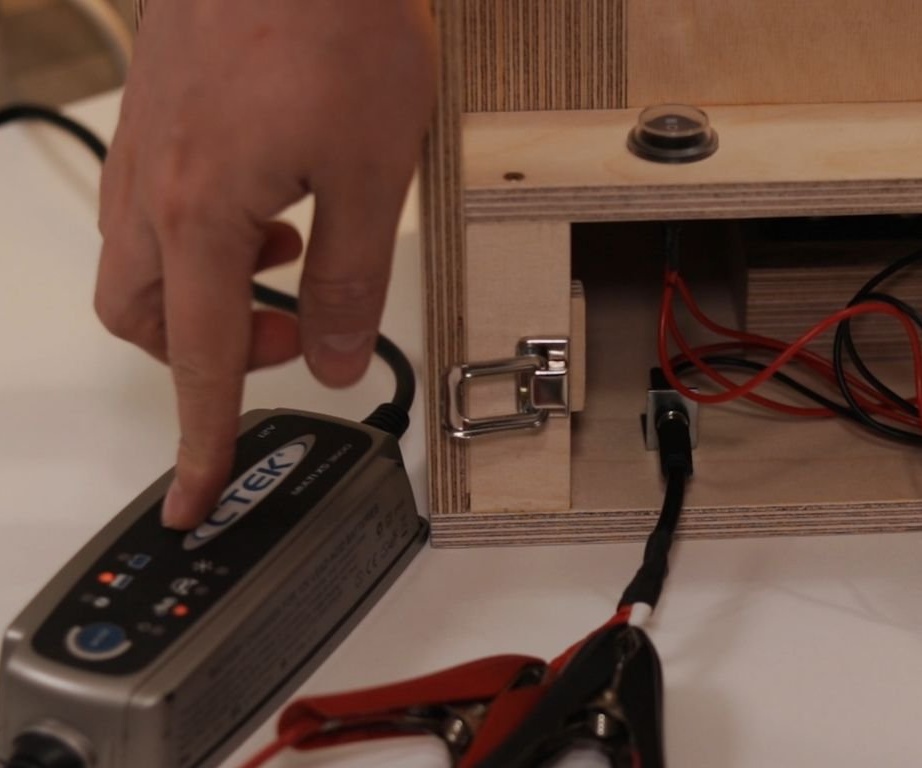

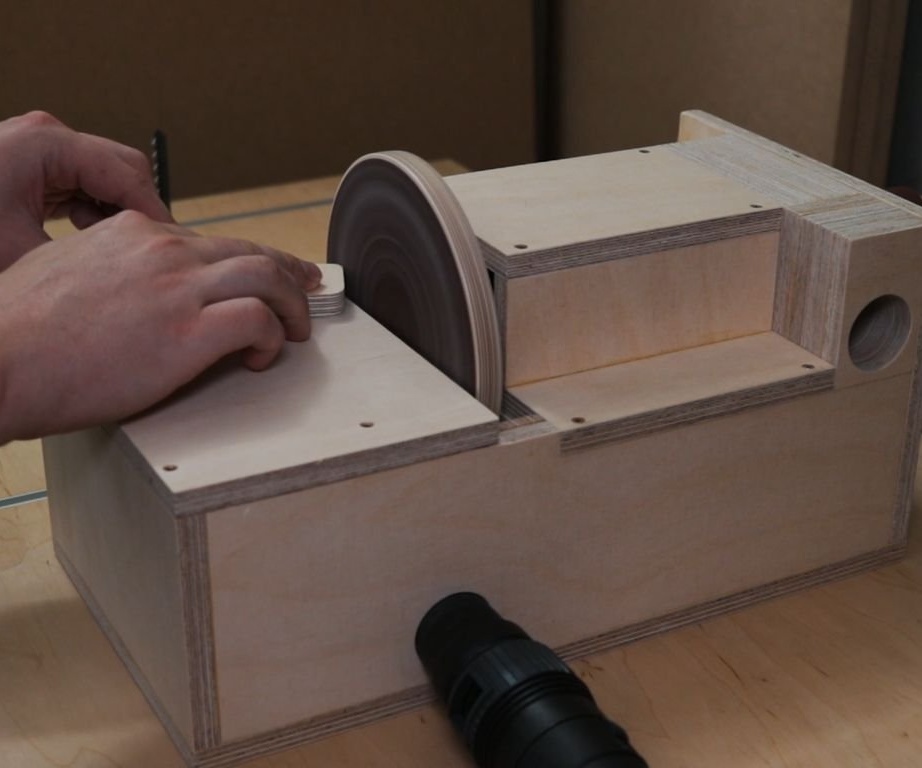
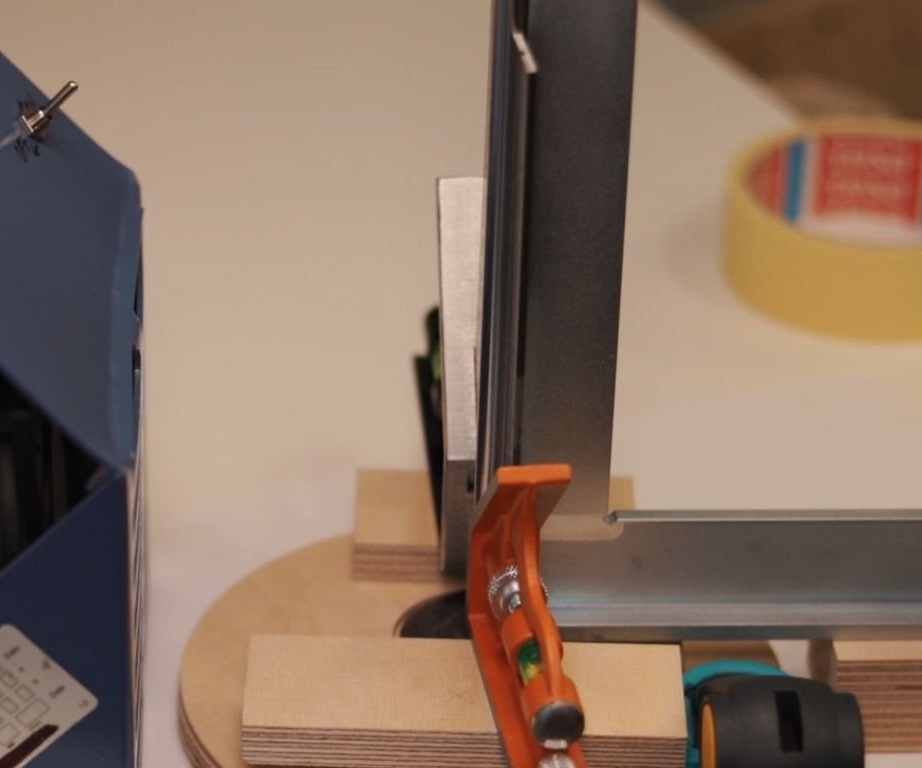
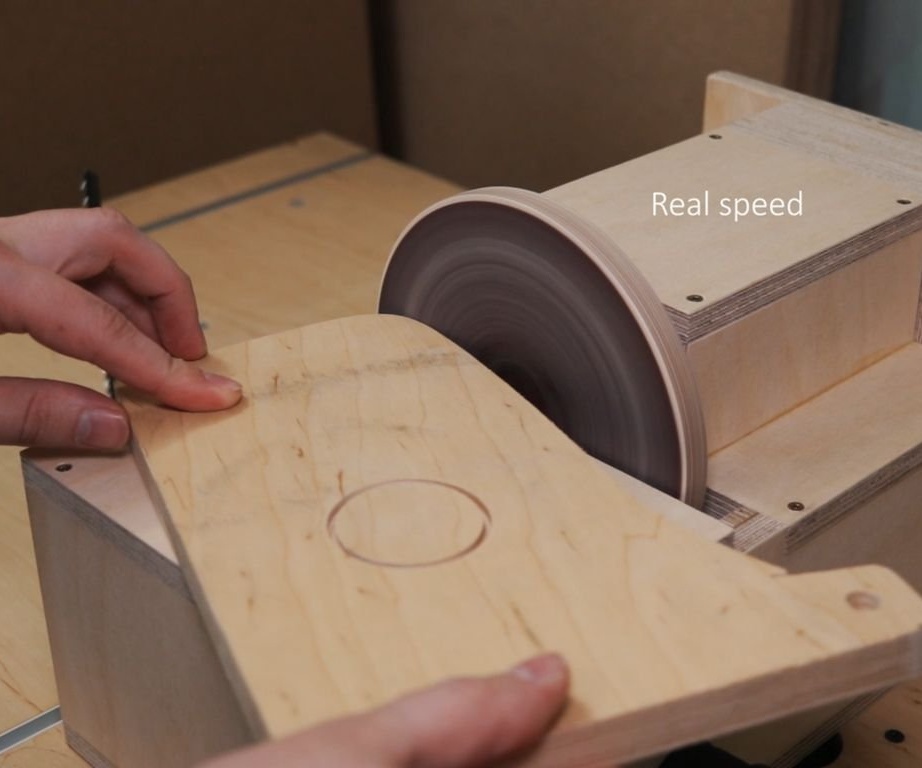
Now you need to connect the hose of the vacuum cleaner, fix the machine on the table with a clamp and you can try the machine in action.

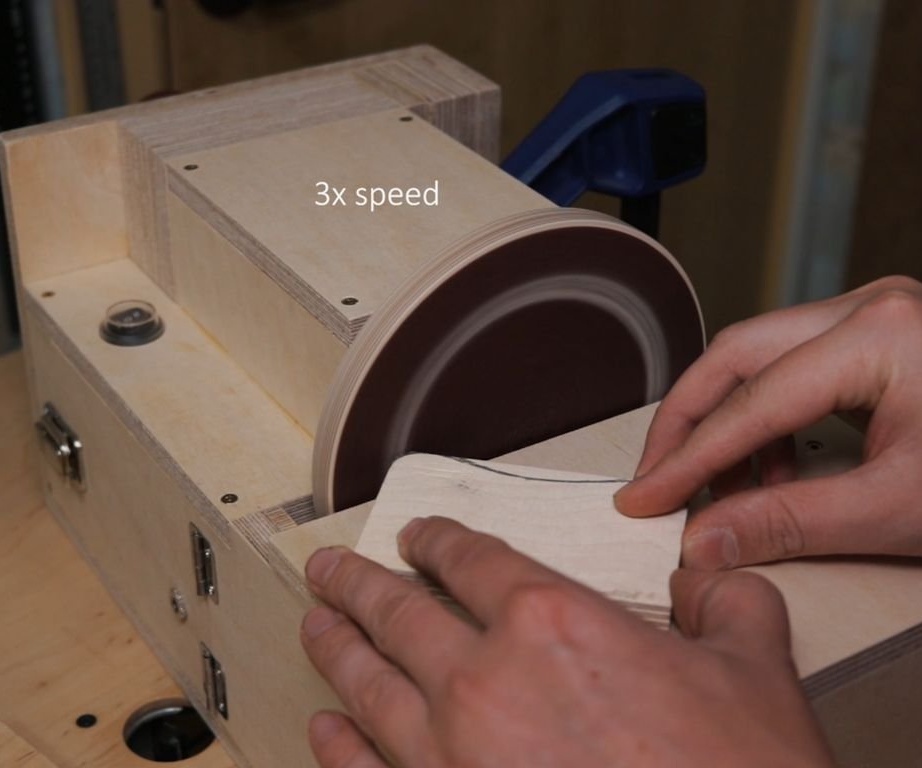
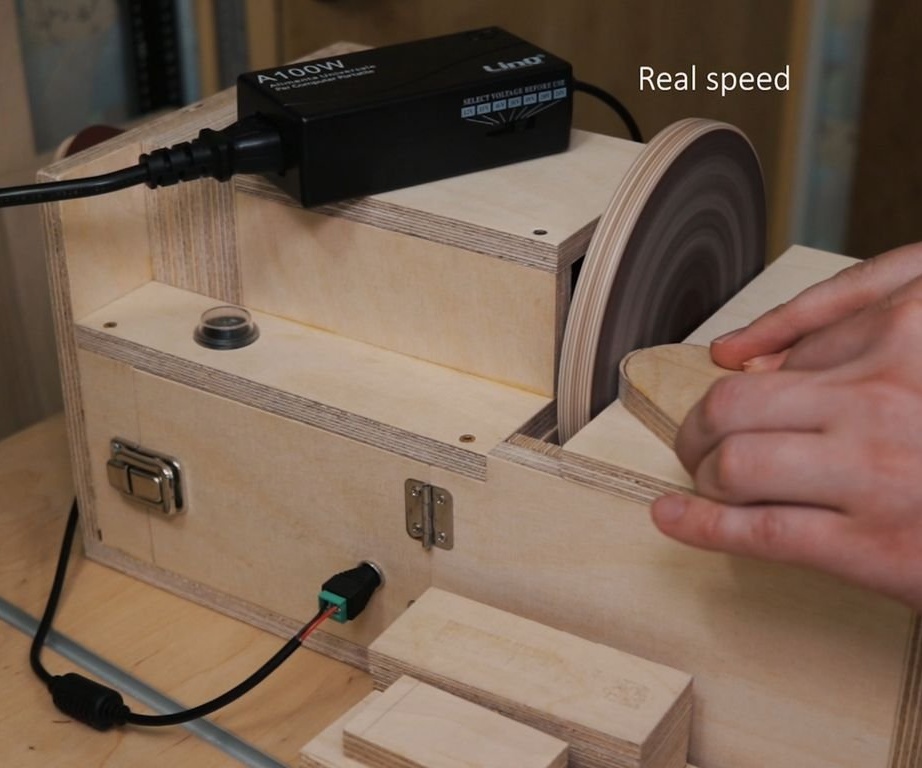
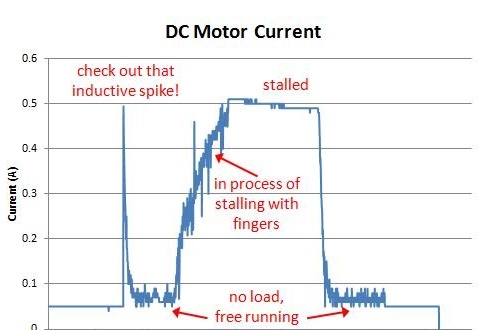
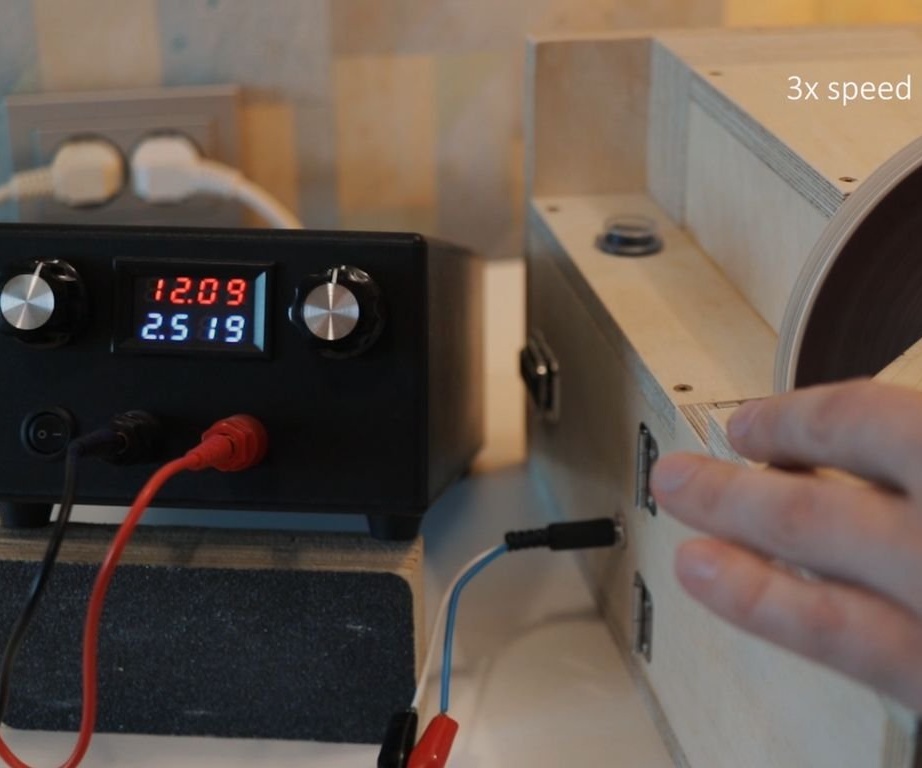
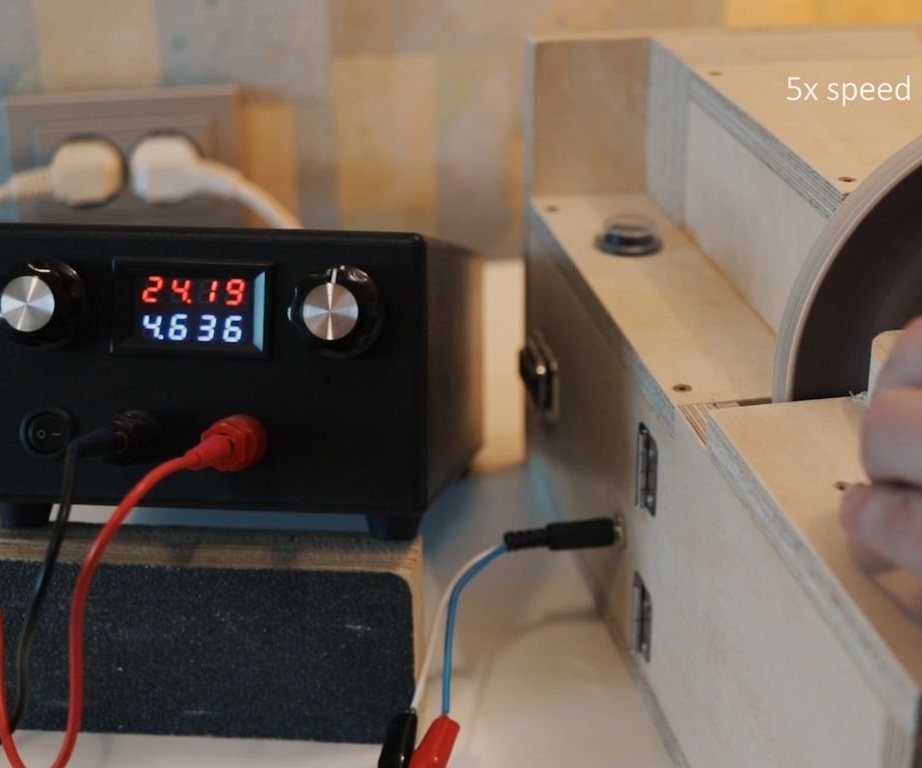
The machine does an excellent job. The master can work both from 12 V (battery), and from an external 24 V power supply.

To reduce the starting current with external power, you can install a dimmer, or start the engine on the battery, and then switch to an external power source.
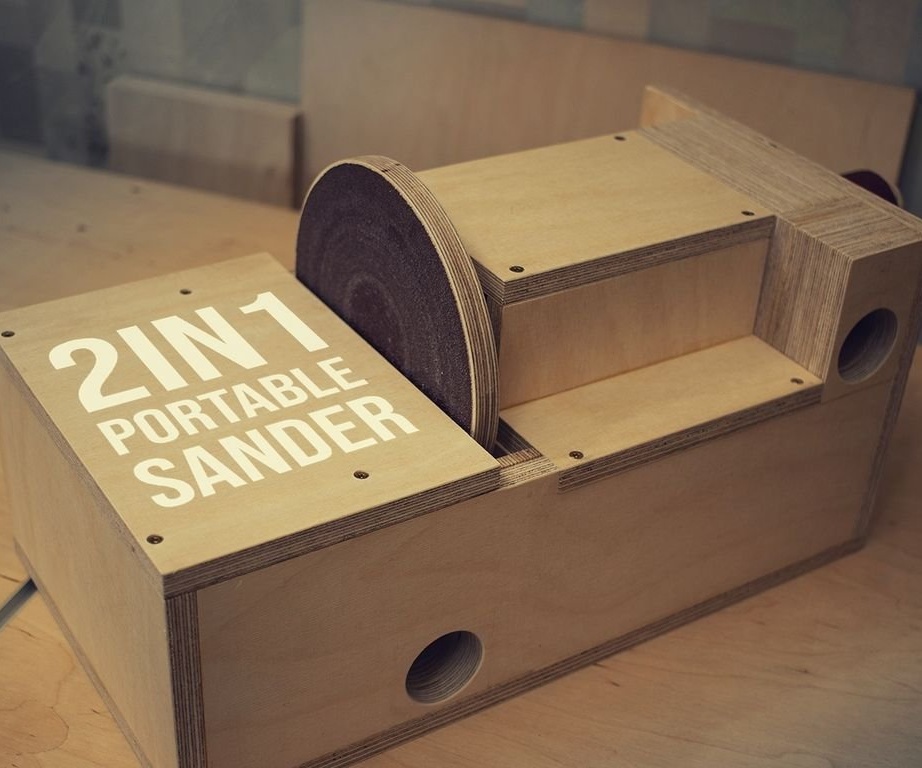
The master really liked this product. With limited working space, a full-featured grinding machine was obtained with the possibility of grinding both direct and radial workpieces.
The whole process of manufacturing this product can be seen in the video.